ignition BMW 325CI 2005 Owner's Manual
[x] Cancel search | Manufacturer: BMW, Model Year: 2005, Model line: 325CI, Model: BMW 325CI 2005Pages: 190, PDF Size: 2.79 MB
Page 85 of 190
85
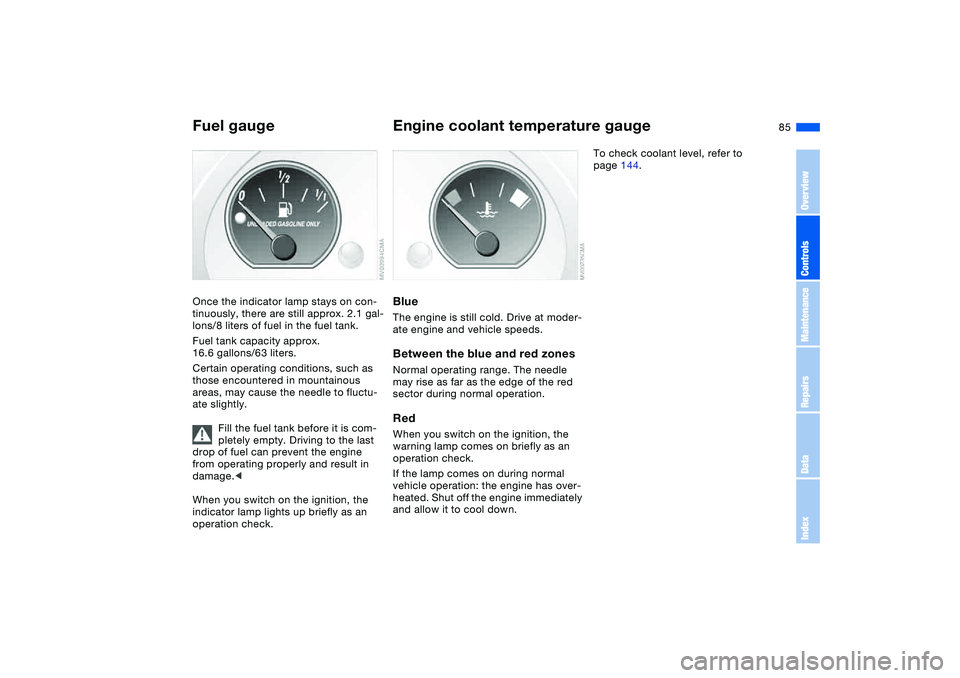
Fuel gaugeOnce the indicator lamp stays on con-
tinuously, there are still approx. 2.1 gal-
lons/8 liters of fuel in the fuel tank.
Fuel tank capacity approx.
16.6 gallons/63 liters.
Certain operating conditions, such as
those encountered in mountainous
areas, may cause the needle to fluctu-
ate slightly.
Fill the fuel tank before it is com-
pletely empty. Driving to the last
drop of fuel can prevent the engine
from operating properly and result in
damage.<
When you switch on the ignition, the
indicator lamp lights up briefly as an
operation check.
Engine coolant temperature gaugeBlueThe engine is still cold. Drive at moder-
ate engine and vehicle speeds.Between the blue and red zonesNormal operating range. The needle
may rise as far as the edge of the red
sector during normal operation.RedWhen you switch on the ignition, the
warning lamp comes on briefly as an
operation check.
If the lamp comes on during normal
vehicle operation: the engine has over-
heated. Shut off the engine immediately
and allow it to cool down.
To check coolant level, refer to
page 144.
OverviewControlsMaintenanceRepairsDataIndex
Page 86 of 190
86
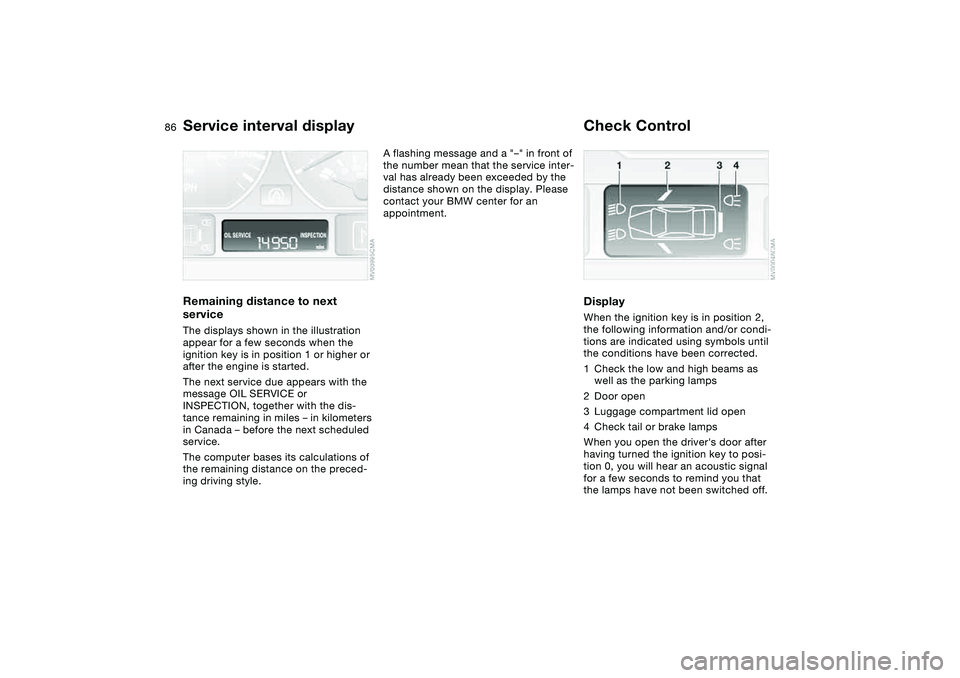
Service interval displayRemaining distance to next
serviceThe displays shown in the illustration
appear for a few seconds when the
ignition key is in position 1 or higher or
after the engine is started.
The next service due appears with the
message OIL SERVICE or
INSPECTION, together with the dis-
tance remaining in miles – in kilometers
in Canada – before the next scheduled
service.
The computer bases its calculations of
the remaining distance on the preced-
ing driving style.
A flashing message and a "–" in front of
the number mean that the service inter-
val has already been exceeded by the
distance shown on the display. Please
contact your BMW center for an
appointment.
Check ControlDisplayWhen the ignition key is in position 2,
the following information and/or condi-
tions are indicated using symbols until
the conditions have been corrected.
1Check the low and high beams as
well as the parking lamps
2Door open
3Luggage compartment lid open
4Check tail or brake lamps
When you open the driver's door after
having turned the ignition key to posi-
tion 0, you will hear an acoustic signal
for a few seconds to remind you that
the lamps have not been switched off.
Page 87 of 190
87
ClockIf you wish to have a permanent time
display, you can make this setting in the
radio display, refer to the Owner's Man-
ual for Radio.
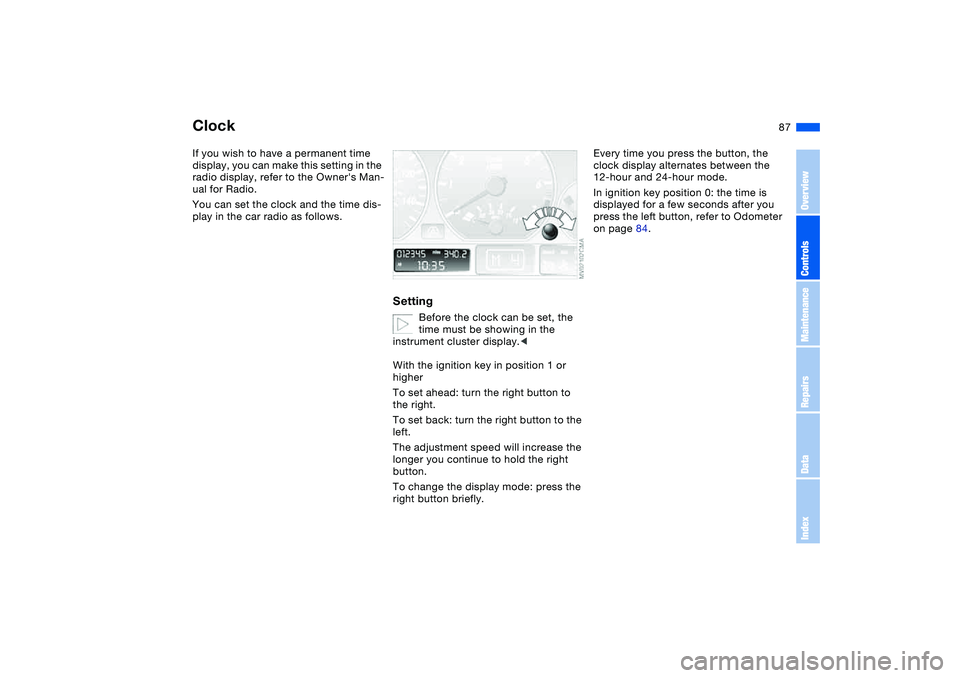
You can set the clock and the time dis-
play in the car radio as follows.
Setting
Before the clock can be set, the
time must be showing in the
instrument cluster display.<
With the ignition key in position 1 or
higher
To set ahead: turn the right button to
the right.
To set back: turn the right button to the
left.
The adjustment speed will increase the
longer you continue to hold the right
button.
To change the display mode: press the
right button briefly.
Every time you press the button, the
clock display alternates between the
12-hour and 24-hour mode.
In ignition key position 0: the time is
displayed for a few seconds after you
press the left button, refer to Odometer
on page 84.
OverviewControlsMaintenanceRepairsDataIndex
Page 88 of 190
88
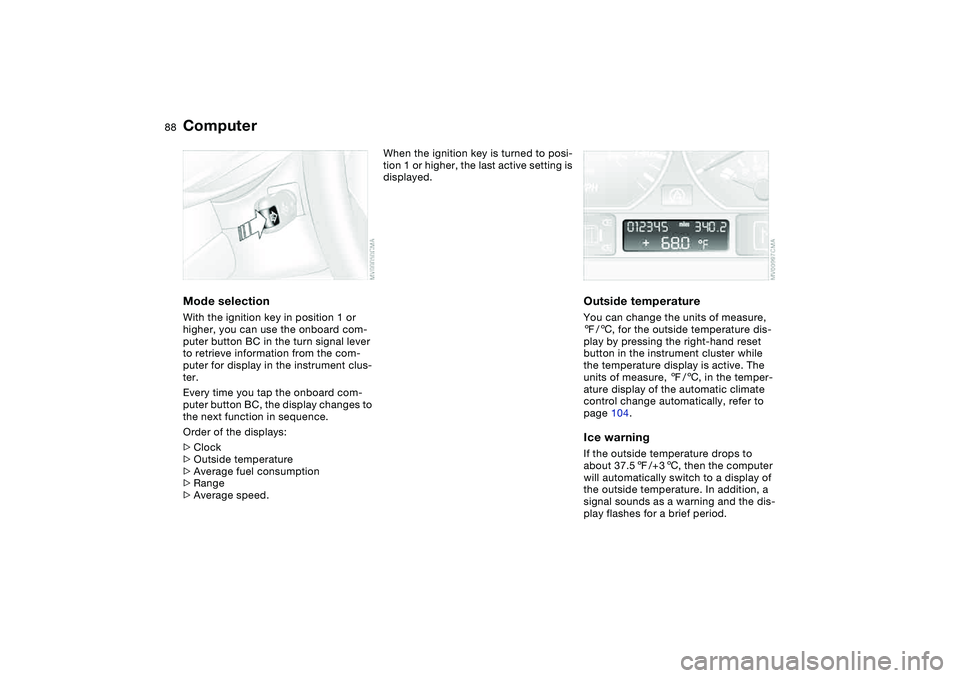
ComputerMode selectionWith the ignition key in position 1 or
higher, you can use the onboard com-
puter button BC in the turn signal lever
to retrieve information from the com-
puter for display in the instrument clus-
ter.
Every time you tap the onboard com-
puter button BC, the display changes to
the next function in sequence.
Order of the displays:
>Clock
>Outside temperature
>Average fuel consumption
>Range
>Average speed.
When the ignition key is turned to posi-
tion 1 or higher, the last active setting is
displayed.
Outside temperatureYou can change the units of measure,
7/6, for the outside temperature dis-
play by pressing the right-hand reset
button in the instrument cluster while
the temperature display is active. The
units of measure, 7/6, in the temper-
ature display of the automatic climate
control change automatically, refer to
page 104.Ice warningIf the outside temperature drops to
about 37.57/+36, then the computer
will automatically switch to a display of
the outside temperature. In addition, a
signal sounds as a warning and the dis-
play flashes for a brief period.
Page 90 of 190
90Technology for safety and driving convenience
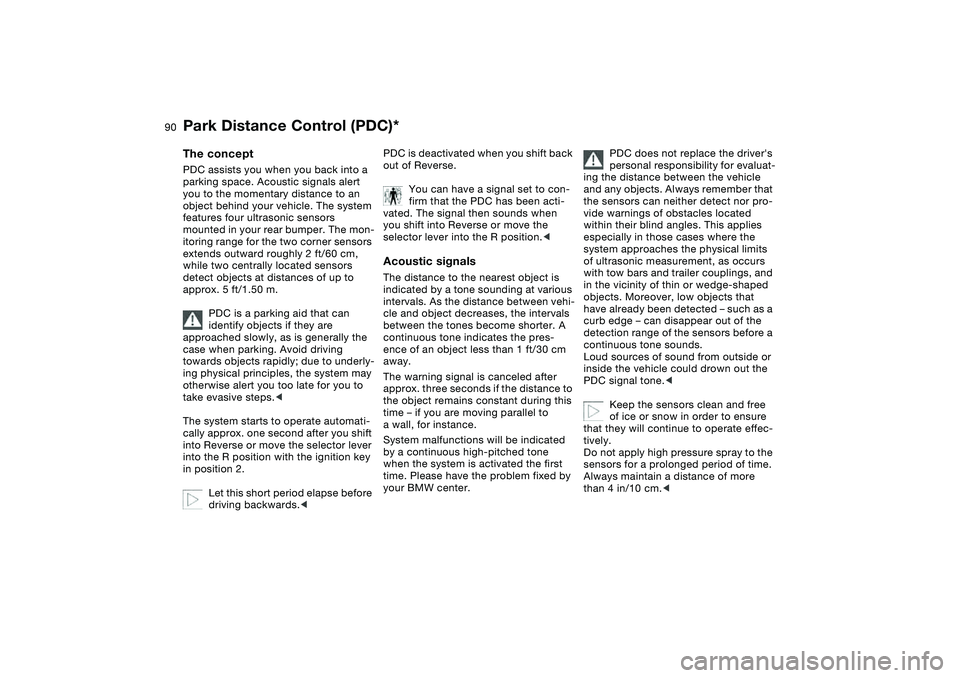
Park Distance Control (PDC)*The conceptPDC assists you when you back into a
parking space. Acoustic signals alert
you to the momentary distance to an
object behind your vehicle. The system
features four ultrasonic sensors
mounted in your rear bumper. The mon-
itoring range for the two corner sensors
extends outward roughly 2 ft/60 cm,
while two centrally located sensors
detect objects at distances of up to
approx. 5 ft/1.50 m.
PDC is a parking aid that can
identify objects if they are
approached slowly, as is generally the
case when parking. Avoid driving
towards objects rapidly; due to underly-
ing physical principles, the system may
otherwise alert you too late for you to
take evasive steps.<
The system starts to operate automati-
cally approx. one second after you shift
into Reverse or move the selector lever
into the R position with the ignition key
in position 2.
Let this short period elapse before
driving backwards.<
PDC is deactivated when you shift back
out of Reverse.
You can have a signal set to con-
firm that the PDC has been acti-
vated. The signal then sounds when
you shift into Reverse or move the
selector lever into the R position.
intervals. As the distance between vehi-
cle and object decreases, the intervals
between the tones become shorter. A
continuous tone indicates the pres-
ence of an object less than 1 ft/30 cm
away.
The warning signal is canceled after
approx. three seconds if the distance to
the object remains constant during this
time – if you are moving parallel to
a wall, for instance.
System malfunctions will be indicated
by a continuous high-pitched tone
when the system is activated the first
time. Please have the problem fixed by
your BMW center.
PDC does not replace the driver's
personal responsibility for evaluat-
ing the distance between the vehicle
and any objects. Always remember that
the sensors can neither detect nor pro-
vide warnings of obstacles located
within their blind angles. This applies
especially in those cases where the
system approaches the physical limits
of ultrasonic measurement, as occurs
with tow bars and trailer couplings, and
in the vicinity of thin or wedge-shaped
objects. Moreover, low objects that
have already been detected – such as a
curb edge – can disappear out of the
detection range of the sensors before a
continuous tone sounds.
Loud sources of sound from outside or
inside the vehicle could drown out the
PDC signal tone.<
Keep the sensors clean and free
of ice or snow in order to ensure
that they will continue to operate effec-
tively.
Do not apply high pressure spray to the
sensors for a prolonged period of time.
Always maintain a distance of more
than 4 in/10 cm.<
Page 91 of 190
91
Dynamic Stability Control (DSC)The conceptDSC supports vehicle stability, even in
critical driving situations.
DSC is operational every time you start
the engine.
DSC contains the Dynamic Traction
Control (DTC) and Cornering Brake
Control (CBC) functions.Indicator lamps
The indicator lamp in the instru-
ment cluster goes out shortly
after you switch on the ignition,
refer to page 19.
>The indicator lamp flashes: DSC is
actively controlling drive torque and
braking intervention
>The indicator lamp stays lit: DSC has
been switched off with the button;
DTC and DBC are operational. DTC
control intervention is not indicated.
The indicator lamp and the
brake warning lamp continu-
ously light up in yellow:
The DSC, DTC and DBC have
been switched off manually or
there is a system malfunction.
The vehicle will remain completely
operational, however, without DSC. In
the event of a fault, please consult your
BMW center.
Indicator and warning lamps for
Canadian models.
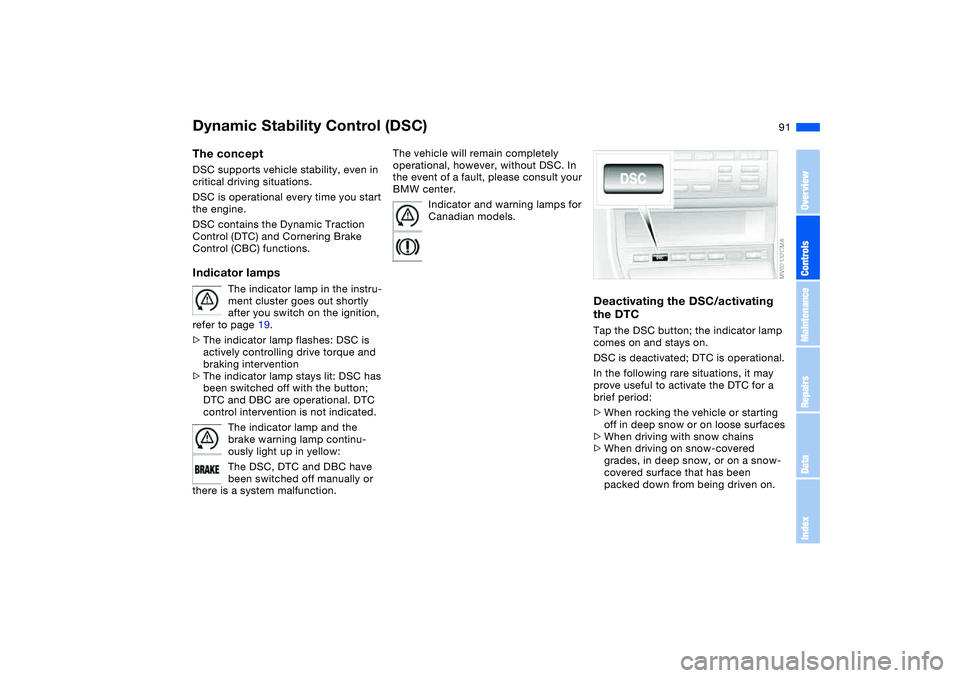
Deactivating the DSC/activating
the DTCTap the DSC button; the indicator lamp
comes on and stays on.
DSC is deactivated; DTC is operational.
In the following rare situations, it may
prove useful to activate the DTC for a
brief period:
>When rocking the vehicle or starting
off in deep snow or on loose surfaces
>When driving with snow chains
>When driving on snow-covered
grades, in deep snow, or on a snow-
covered surface that has been
packed down from being driven on.
OverviewControlsMaintenanceRepairsDataIndex
Page 95 of 190
95 Lamps
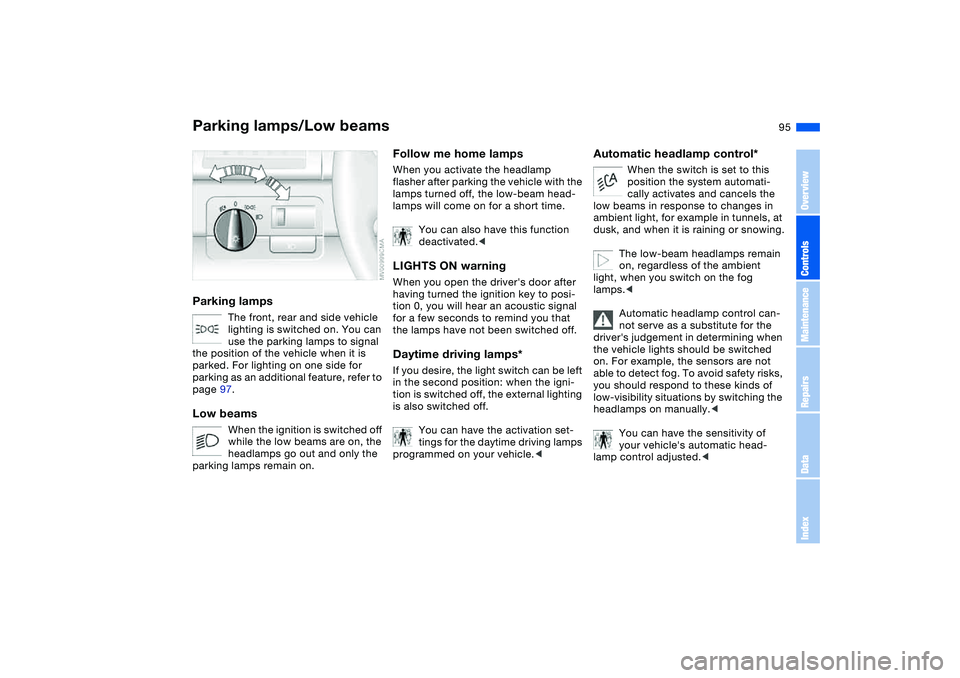
Parking lamps/Low beamsParking lamps
The front, rear and side vehicle
lighting is switched on. You can
use the parking lamps to signal
the position of the vehicle when it is
parked. For lighting on one side for
parking as an additional feature, refer to
page 97.
Low beams
When the ignition is switched off
while the low beams are on, the
headlamps go out and only the
parking lamps remain on.
Follow me home lampsWhen you activate the headlamp
flasher after parking the vehicle with the
lamps turned off, the low-beam head-
lamps will come on for a short time.
You can also have this function
deactivated.
tion 0, you will hear an acoustic signal
for a few seconds to remind you that
the lamps have not been switched off.Daytime driving lamps*If you desire, the light switch can be left
in the second position: when the igni-
tion is switched off, the external lighting
is also switched off.
You can have the activation set-
tings for the daytime driving lamps
programmed on your vehicle.<
Automatic headlamp control*
When the switch is set to this
position the system automati-
cally activates and cancels the
low beams in response to changes in
ambient light, for example in tunnels, at
dusk, and when it is raining or snowing.
The low-beam headlamps remain
on, regardless of the ambient
light, when you switch on the fog
lamps.<
Automatic headlamp control can-
not serve as a substitute for the
driver's judgement in determining when
the vehicle lights should be switched
on. For example, the sensors are not
able to detect fog. To avoid safety risks,
you should respond to these kinds of
low-visibility situations by switching the
headlamps on manually.<
You can have the sensitivity of
your vehicle's automatic head-
lamp control adjusted.<
OverviewControlsMaintenanceRepairsDataIndex
Page 96 of 190
96
Adaptive headlights*The conceptAdaptive headlights is a variable head-
lamp control system for dynamically
illuminating the road. Depending on the
steering angle and other factors the
light from the headlamps follows the
course of the road.Activating Adaptive headlights
With the ignition key in position
2, turn the light switch to the
automatic headlamp control
position, refer to page 95. The LED next
to the symbol lights up.
To avoid blinding oncoming traffic,
adaptive headlights are
>not active while reversing,
>active only towards the front passen-
ger side while the vehicle is at a
standstill.
System malfunctionThe LED next to the symbol for auto-
matic headlamp control flashes. The
adaptive headlight system is malfunc-
tioning or out of order. Have the system
checked as soon as possible.
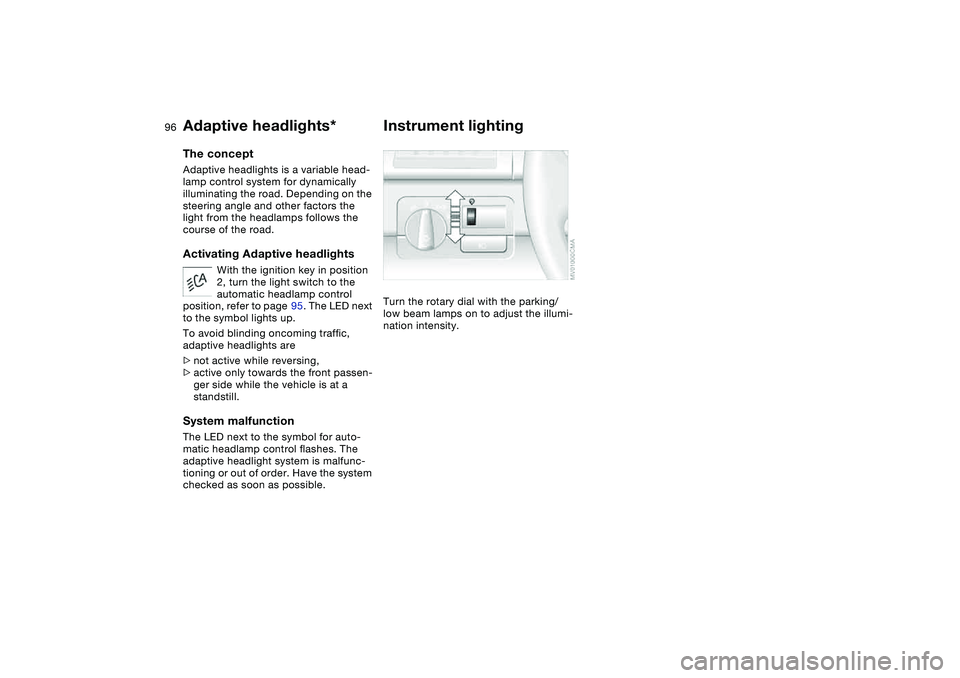
Instrument lightingTurn the rotary dial with the parking/
low beam lamps on to adjust the illumi-
nation intensity.
Page 97 of 190
97
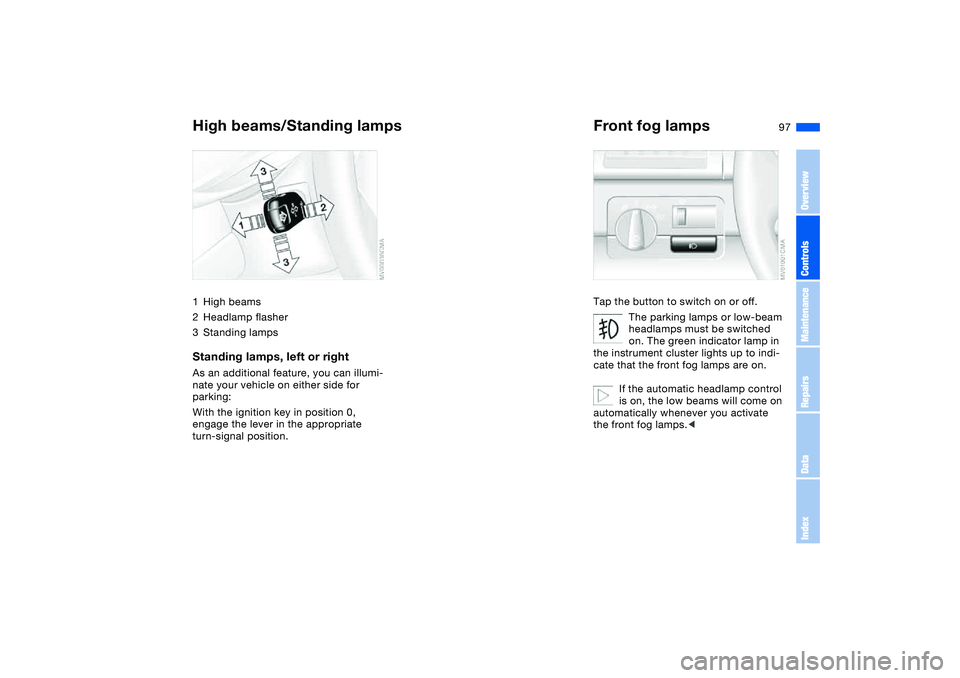
High beams/Standing lamps1High beams
2Headlamp flasher
3Standing lampsStanding lamps, left or rightAs an additional feature, you can illumi-
nate your vehicle on either side for
parking:
With the ignition key in position 0,
engage the lever in the appropriate
turn-signal position.
Front fog lampsTap the button to switch on or off.
The parking lamps or low-beam
headlamps must be switched
on. The green indicator lamp in
the instrument cluster lights up to indi-
cate that the front fog lamps are on.
If the automatic headlamp control
is on, the low beams will come on
automatically whenever you activate
the front fog lamps.<
OverviewControlsMaintenanceRepairsDataIndex
Page 98 of 190
98
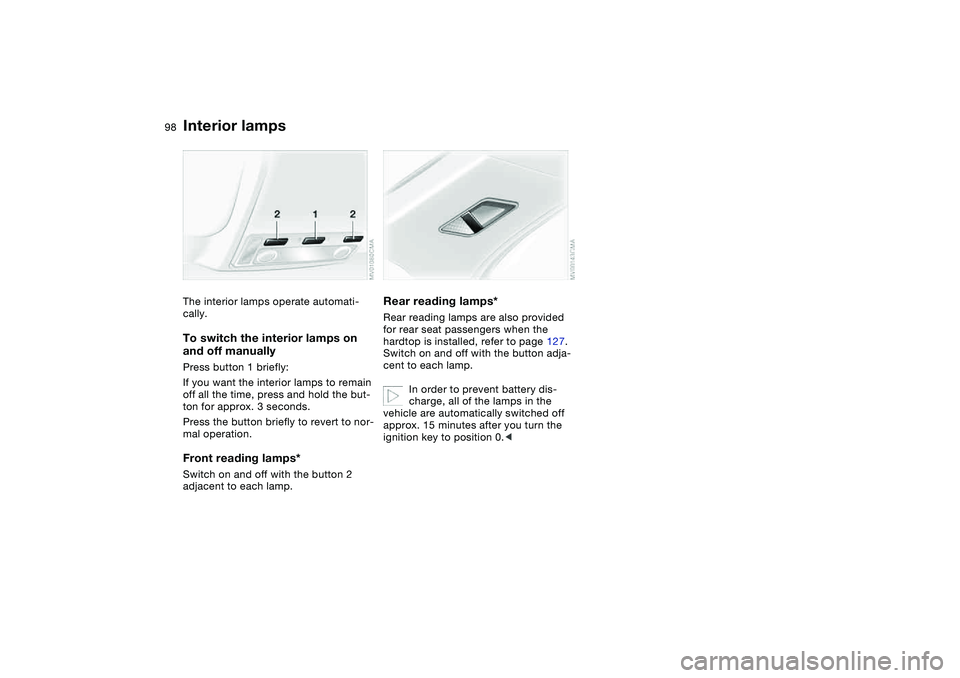
Interior lampsThe interior lamps operate automati-
cally.To switch the interior lamps on
and off manuallyPress button 1 briefly:
If you want the interior lamps to remain
off all the time, press and hold the but-
ton for approx. 3 seconds.
Press the button briefly to revert to nor-
mal operation.Front reading lamps*Switch on and off with the button 2
adjacent to each lamp.
Rear reading lamps*Rear reading lamps are also provided
for rear seat passengers when the
hardtop is installed, refer to page 127.
Switch on and off with the button adja-
cent to each lamp.
In order to prevent battery dis-
charge, all of the lamps in the
vehicle are automatically switched off
approx. 15 minutes after you turn the
ignition key to position 0.<