fuel cap BMW 325i SEDAN 2003 E46 Owner's Manual
[x] Cancel search | Manufacturer: BMW, Model Year: 2003, Model line: 325i SEDAN, Model: BMW 325i SEDAN 2003 E46Pages: 166, PDF Size: 3.16 MB
Page 20 of 166
20
Automatic Stability Control plus
Traction (ASC+T)/Dynamic
Stability Control (DSC)
●
Indicator lamp flashes:
The system is actively regulating drive
torque and braking force.
The indicator lamp stays lit:
The ASC+T has been switched off via
the button, ADB is operational; or DSC
has been switched off using the button,
DTC is operational.
Please consult the nearest BMW center
in case of a malfunction.
Additional information beginning on
page 78
BMW 325xi, 330xi:
DSC has been switched off manually or
there is a system malfunction.
ADB-X is operational in its standby
mode. If the warning lamp fails to go
out when you press the DSC button
again, this indicates a system malfunc-
tion affecting both DSC and ADB-X.
Please consult the nearest BMW cen-
ter.
For additional information: refer to
page 82
Automatic Stability Control plus
Traction (ASC+T)/Dynamic Sta-
bility Control (DSC) and brake
warning lamp
●
The indicator lamps remain on:
The ASC+T/ADB or DSC/DTC
have been switched off manually or
there is a system malfunction.
Please consult the nearest BMW cen-
ter.
Additional information beginning on
page 78
BMW 325xi, 330xi:
DSC and ADB-X system malfunction.
There is no provision for deactivating
ADB-X.
Please consult the nearest BMW cen-
ter.
For additional information: refer to
page 82
DSC and ADB indicator and
warning lamps for Canadian
models.
Dynamic Brake Control (DBC)
●
Malfunction in DBC system.
Conventional braking efficiency
is available and unrestricted.
Have the system repaired at your BMW
center as soon as possible.
For additional information: refer to
page 115
Dynamic Brake Control (DBC)
warning lamp for Canadian
models.
Add washer fluid
The washer fluid level is too low.
Top off the fluid at the earliest
opportunity.
For additional information: refer to
page 126
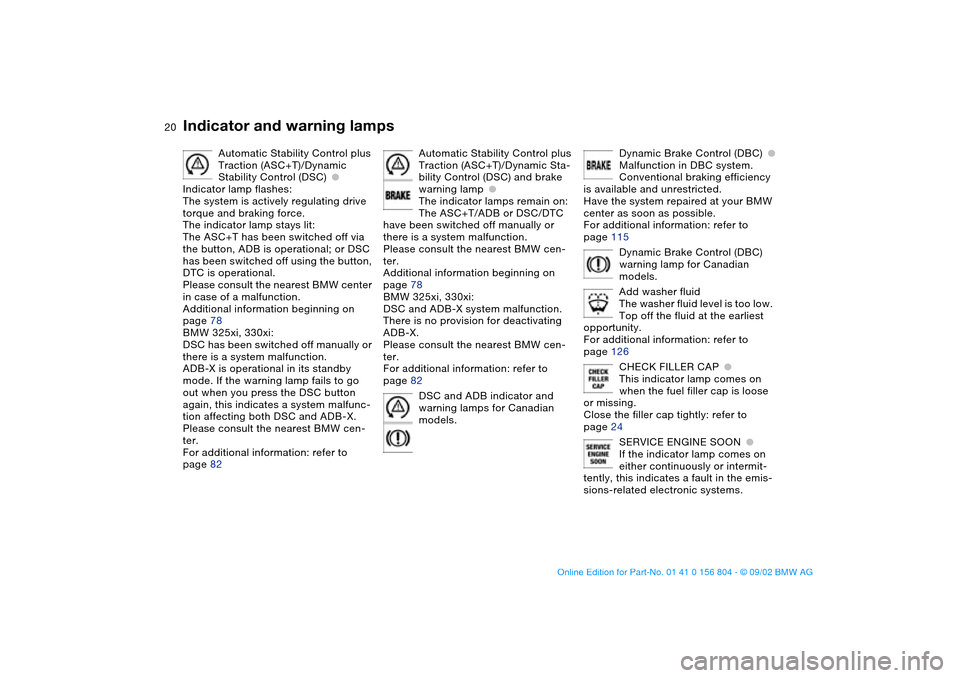
CHECK FILLER CAP
●
This indicator lamp comes on
when the fuel filler cap is loose
or missing.
Close the filler cap tightly: refer to
page 24
SERVICE ENGINE SOON
●
If the indicator lamp comes on
either continuously or intermit-
tently, this indicates a fault in the emis-
sions-related electronic systems.
Indicator and warning lamps
Page 24 of 166
24
RefuelingFuel filler door
Always switch off the engine
before refueling, as it is not possi-
ble to add fuel with the engine running,
and attempts may also trigger the
SERVICE ENGINE SOON lamp.<
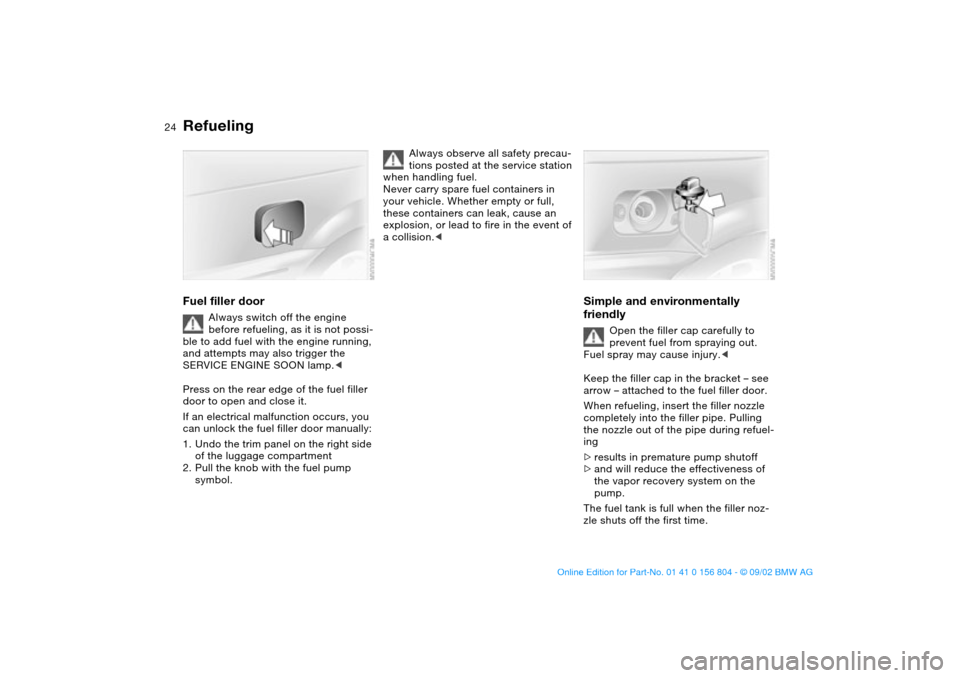
Press on the rear edge of the fuel filler
door to open and close it.
If an electrical malfunction occurs, you
can unlock the fuel filler door manually:
1. Undo the trim panel on the right side
of the luggage compartment
2. Pull the knob with the fuel pump
symbol.
Always observe all safety precau-
tions posted at the service station
when handling fuel.
Never carry spare fuel containers in
your vehicle. Whether empty or full,
these containers can leak, cause an
explosion, or lead to fire in the event of
a collision.<
Simple and environmentally
friendly
Open the filler cap carefully to
prevent fuel from spraying out.
Fuel spray may cause injury.<
Keep the filler cap in the bracket – see
arrow – attached to the fuel filler door.
When refueling, insert the filler nozzle
completely into the filler pipe. Pulling
the nozzle out of the pipe during refuel-
ing
>results in premature pump shutoff
>and will reduce the effectiveness of
the vapor recovery system on the
pump.
The fuel tank is full when the filler noz-
zle shuts off the first time.
Page 25 of 166
25
Close the fuel filler cap carefully
after refueling until a click is
heard. While closing, be sure not to
squeeze the strap which is fastened to
the cap. A loose or missing cap will
activate the CHECK FILLER CAP
lamp.<
Tank capacity>Approx. 16.6 gal./63 liters, of which
>approx. 2.1 gal./8 liters are reserve
capacity.
Do not drive to the last drop of
fuel. This can prevent the engine
from operating properly and result in
damage.<
Fuel specificationsThe engine uses lead-free gasoline
only.
Required fuel:
>Premium Unleaded Gasoline,
min. 91 AKI.
AKI = Anti Knock Index
Never use leaded fuel, as it would
cause permanent and irreversible
damage to the oxygen sensor and the
catalytic converter.<
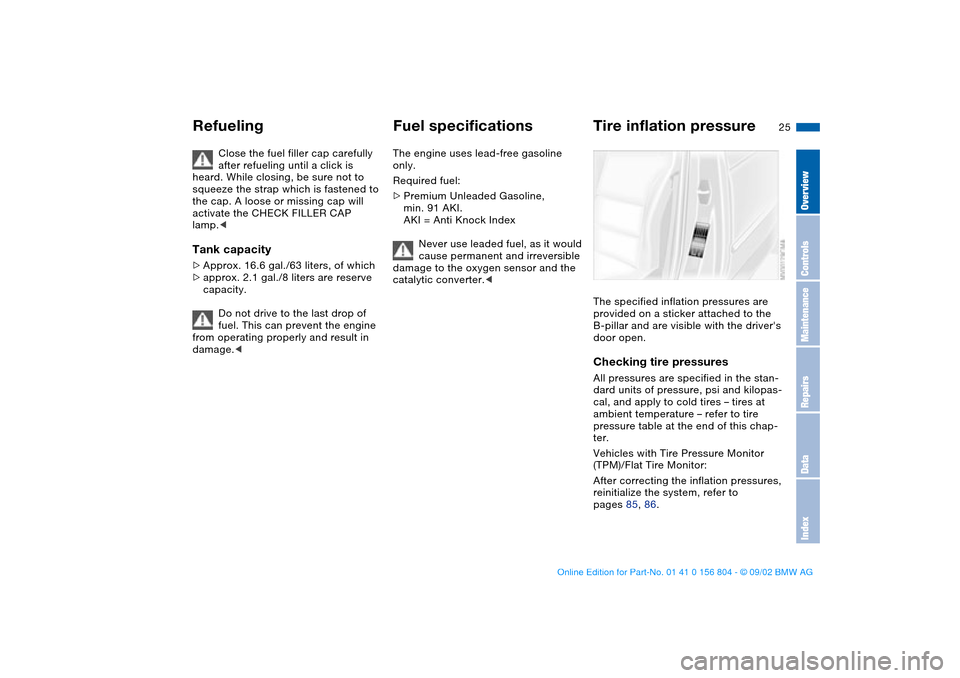
Tire inflation pressureThe specified inflation pressures are
provided on a sticker attached to the
B-pillar and are visible with the driver's
door open.Checking tire pressuresAll pressures are specified in the stan-
dard units of pressure, psi and kilopas-
cal, and apply to cold tires – tires at
ambient temperature – refer to tire
pressure table at the end of this chap-
ter.
Vehicles with Tire Pressure Monitor
(TPM)/Flat Tire Monitor:
After correcting the inflation pressures,
reinitialize the system, refer to
pages 85, 86.
Refueling
OverviewControlsMaintenanceRepairsDataIndex
Page 72 of 166
72
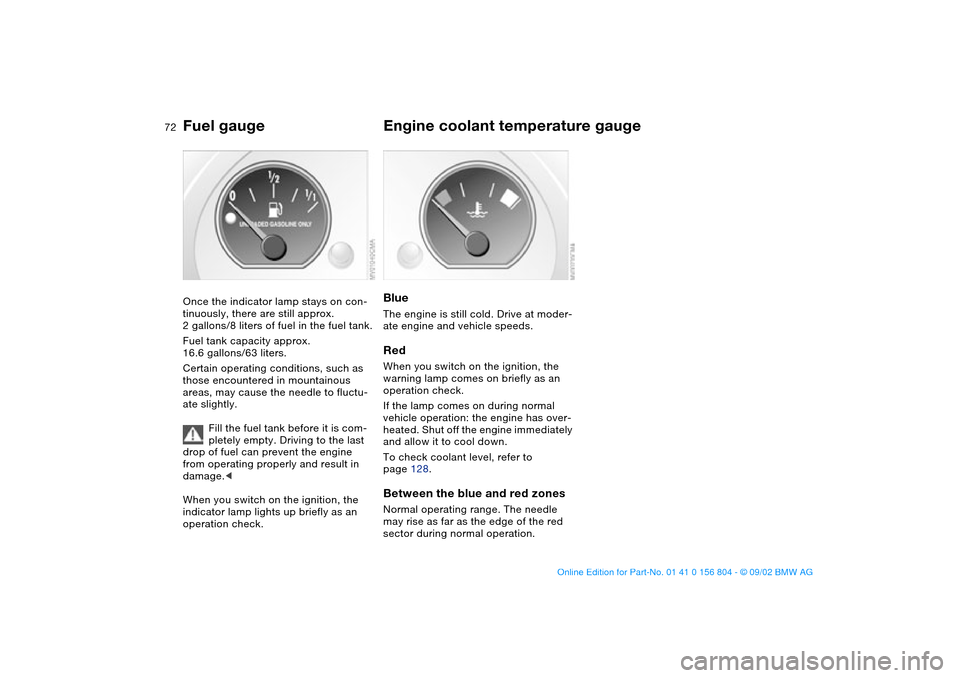
Fuel gaugeOnce the indicator lamp stays on con-
tinuously, there are still approx.
2 gallons/8 liters of fuel in the fuel tank.
Fuel tank capacity approx.
16.6 gallons/63 liters.
Certain operating conditions, such as
those encountered in mountainous
areas, may cause the needle to fluctu-
ate slightly.
Fill the fuel tank before it is com-
pletely empty. Driving to the last
drop of fuel can prevent the engine
from operating properly and result in
damage.<
When you switch on the ignition, the
indicator lamp lights up briefly as an
operation check.
Engine coolant temperature gaugeBlueThe engine is still cold. Drive at moder-
ate engine and vehicle speeds.RedWhen you switch on the ignition, the
warning lamp comes on briefly as an
operation check.
If the lamp comes on during normal
vehicle operation: the engine has over-
heated. Shut off the engine immediately
and allow it to cool down.
To check coolant level, refer to
page 128.Between the blue and red zonesNormal operating range. The needle
may rise as far as the edge of the red
sector during normal operation.
Page 110 of 166
110
Roof-mounted luggage rack*A special roof-rack system is available
as an optional extra for your BMW.
Please observe the precautions
included with the installation instruc-
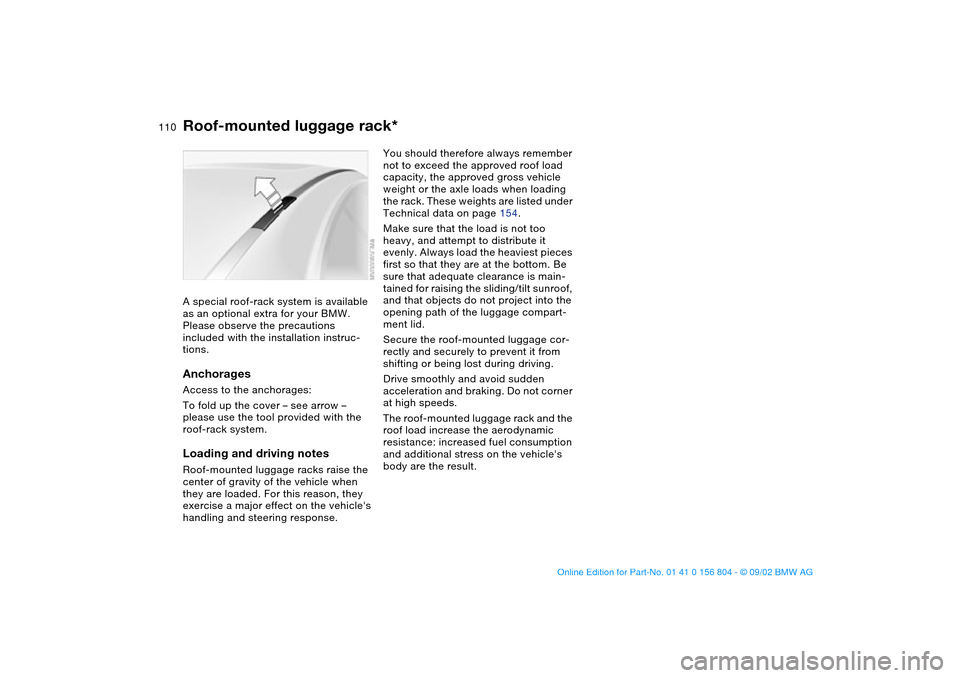
tions.AnchoragesAccess to the anchorages:
To fold up the cover – see arrow –
please use the tool provided with the
roof-rack system.Loading and driving notesRoof-mounted luggage racks raise the
center of gravity of the vehicle when
they are loaded. For this reason, they
exercise a major effect on the vehicle's
handling and steering response.
You should therefore always remember
not to exceed the approved roof load
capacity, the approved gross vehicle
weight or the axle loads when loading
the rack. These weights are listed under
Technical data on page 154.
Make sure that the load is not too
heavy, and attempt to distribute it
evenly. Always load the heaviest pieces
first so that they are at the bottom. Be
sure that adequate clearance is main-
tained for raising the sliding/tilt sunroof,
and that objects do not project into the
opening path of the luggage compart-
ment lid.
Secure the roof-mounted luggage cor-
rectly and securely to prevent it from
shifting or being lost during driving.
Drive smoothly and avoid sudden
acceleration and braking. Do not corner
at high speeds.
The roof-mounted luggage rack and the
roof load increase the aerodynamic
resistance: increased fuel consumption
and additional stress on the vehicle's
body are the result.
Page 126 of 166
126
Washer fluidsHeadlamp* and windshield
washer systemCapacity approx.
5.6 US quarts/5.3 liters
Fill with water and – if required – with a
washer antifreeze additive according to
manufacturer's recommendations.
We recommend that you mix the
washer fluid before adding it to
the reservoir.<
Antifreeze agents for the washer
fluid are highly flammable. For this
reason, keep them away from sources
of flame and store only in original con-
tainers. Store them inaccessible to chil-
dren. Comply with the instructions on
the containers.<
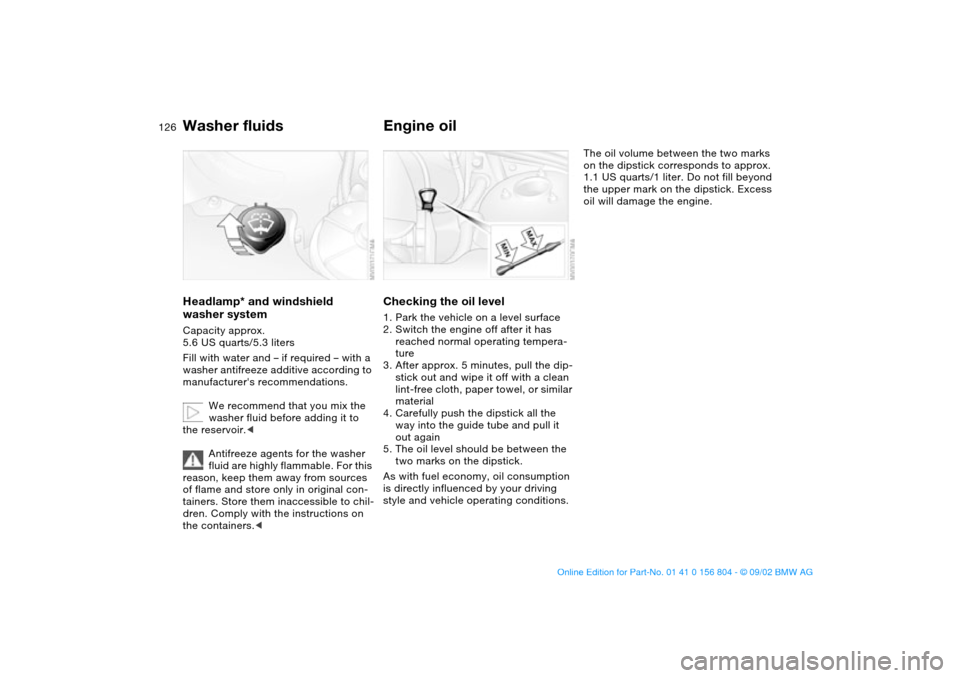
Engine oilChecking the oil level1. Park the vehicle on a level surface
2. Switch the engine off after it has
reached normal operating tempera-
ture
3. After approx. 5 minutes, pull the dip-
stick out and wipe it off with a clean
lint-free cloth, paper towel, or similar
material
4. Carefully push the dipstick all the
way into the guide tube and pull it
out again
5. The oil level should be between the
two marks on the dipstick.
As with fuel economy, oil consumption
is directly influenced by your driving
style and vehicle operating conditions.
The oil volume between the two marks
on the dipstick corresponds to approx.
1.1 US quarts/1 liter. Do not fill beyond
the upper mark on the dipstick. Excess
oil will damage the engine.
Page 132 of 166
132
engine misfiring for even a short period
of time can seriously damage emission
control system components, especially
the catalytic converter.
SERVICE ENGINE SOON warn-
ing lamp for Canadian models.
If the fuel filler cap is not on tight
enough, the OBD system can
detect leaking vapor and the indicator
will light up. If the fuel filler cap is then
tightened, the indicator will usually go
out after a short period of time.
Page 155 of 166
155
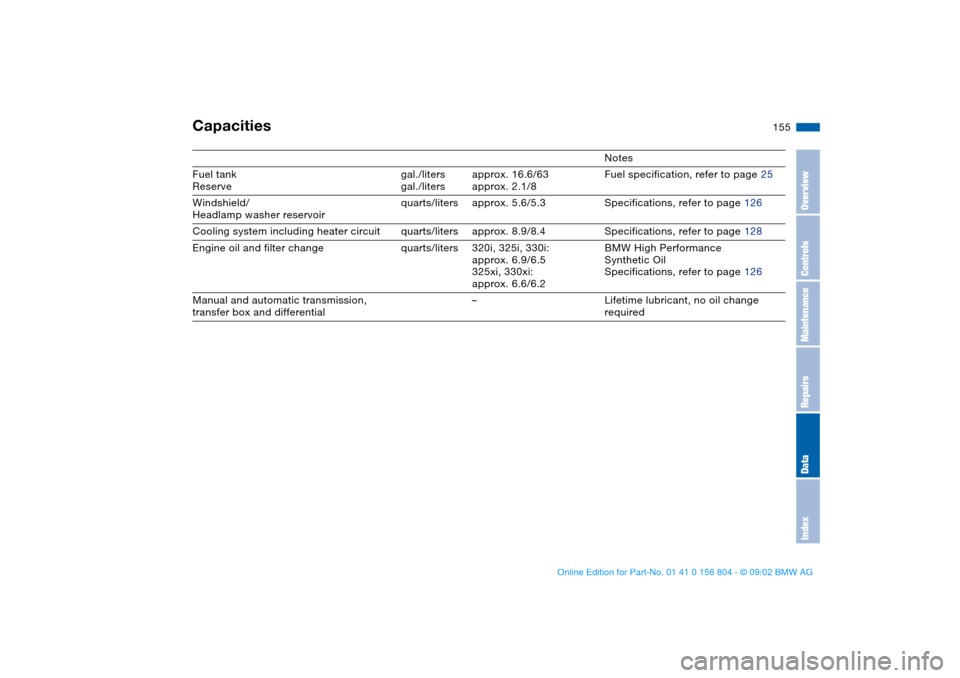
Capacities
Notes
Fuel tank
Reserve gal./liters
gal./litersapprox. 16.6/63
approx. 2.1/8Fuel specification, refer to page 25
Windshield/
Headlamp washer reservoirquarts/liters approx. 5.6/5.3 Specifications, refer to page 126
Cooling system including heater circuit quarts/liters approx. 8.9/8.4 Specifications, refer to page 128
Engine oil and filter change quarts/liters 320i, 325i, 330i:
approx. 6.9/6.5
325xi, 330xi:
approx. 6.6/6.2BMW High Performance
Synthetic Oil
Specifications, refer to page 126
Manual and automatic transmission,
transfer box and differential–Lifetime lubricant, no oil change
required
OverviewControlsMaintenanceRepairsDataIndex
Page 158 of 166
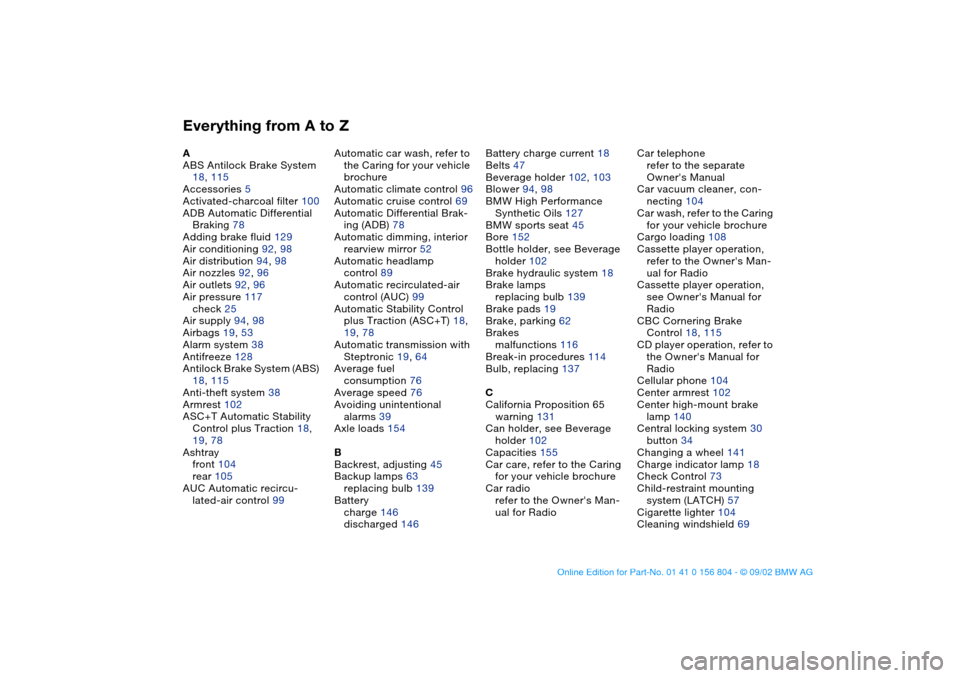
Everything from A to ZA
ABS Antilock Brake System
18, 115
Accessories 5
Activated-charcoal filter 100
ADB Automatic Differential
Braking 78
Adding brake fluid 129
Air conditioning 92, 98
Air distribution 94, 98
Air nozzles 92, 96
Air outlets 92, 96
Air pressure 117
check 25
Air supply 94, 98
Airbags 19, 53
Alarm system 38
Antifreeze 128
Antilock Brake System (ABS)
18, 115
Anti-theft system 38
Armrest 102
ASC+T Automatic Stability
Control plus Traction 18,
19, 78
Ashtray
front 104
rear 105
AUC Automatic recircu-
lated-air control 99Automatic car wash, refer to
the Caring for your vehicle
brochure
Automatic climate control 96
Automatic cruise control 69
Automatic Differential Brak-
ing (ADB) 78
Automatic dimming, interior
rearview mirror 52
Automatic headlamp
control 89
Automatic recirculated-air
control (AUC) 99
Automatic Stability Control
plus Traction (ASC+T) 18,
19, 78
Automatic transmission with
Steptronic 19, 64
Average fuel
consumption 76
Average speed 76
Avoiding unintentional
alarms 39
Axle loads 154
B
Backrest, adjusting 45
Backup lamps 63
replacing bulb 139
Battery
charge 146
discharged 146Battery charge current 18
Belts 47
Beverage holder 102, 103
Blower 94, 98
BMW High Performance
Synthetic Oils 127
BMW sports seat 45
Bore 152
Bottle holder, see Beverage
holder 102
Brake hydraulic system 18
Brake lamps
replacing bulb 139
Brake pads 19
Brake, parking 62
Brakes
malfunctions 116
Break-in procedures 114
Bulb, replacing 137
C
California Proposition 65
warning 131
Can holder, see Beverage
holder 102
Capacities 155
Car care, refer to the Caring
for your vehicle brochure
Car radio
refer to the Owner's Man-
ual for RadioCar telephone
refer to the separate
Owner's Manual
Car vacuum cleaner, con-
necting 104
Car wash, refer to the Caring
for your vehicle brochure
Cargo loading 108
Cassette player operation,
refer to the Owner's Man-
ual for Radio
Cassette player operation,
see Owner's Manual for
Radio
CBC Cornering Brake
Control 18, 115
CD player operation, refer to
the Owner's Manual for
Radio
Cellular phone 104
Center armrest 102
Center high-mount brake
lamp 140
Central locking system 30
button 34
Changing a wheel 141
Charge indicator lamp 18
Check Control 73
Child-restraint mounting
system (LATCH) 57
Cigarette lighter 104
Cleaning windshield 69
Page 159 of 166
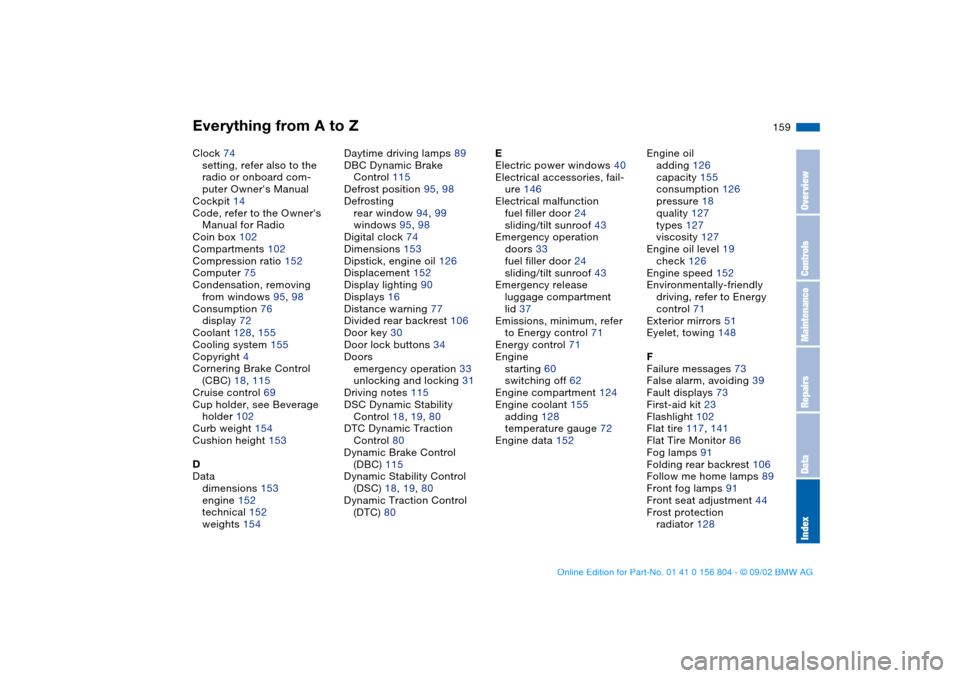
Everything from A to Z
159
Clock 74
setting, refer also to the
radio or onboard com-
puter Owner's Manual
Cockpit 14
Code, refer to the Owner's
Manual for Radio
Coin box 102
Compartments 102
Compression ratio 152
Computer 75
Condensation, removing
from windows 95, 98
Consumption 76
display 72
Coolant 128, 155
Cooling system 155
Copyright 4
Cornering Brake Control
(CBC) 18, 115
Cruise control 69
Cup holder, see Beverage
holder 102
Curb weight 154
Cushion height 153
D
Data
dimensions 153
engine 152
technical 152
weights 154Daytime driving lamps 89
DBC Dynamic Brake
Control 115
Defrost position 95, 98
Defrosting
rear window 94, 99
windows 95, 98
Digital clock 74
Dimensions 153
Dipstick, engine oil 126
Displacement 152
Display lighting 90
Displays 16
Distance warning 77
Divided rear backrest 106
Door key 30
Door lock buttons 34
Doors
emergency operation 33
unlocking and locking 31
Driving notes 115
DSC Dynamic Stability
Control 18, 19, 80
DTC Dynamic Traction
Control 80
Dynamic Brake Control
(DBC) 115
Dynamic Stability Control
(DSC) 18, 19, 80
Dynamic Traction Control
(DTC) 80E
Electric power windows 40
Electrical accessories, fail-
ure 146
Electrical malfunction
fuel filler door 24
sliding/tilt sunroof 43
Emergency operation
doors 33
fuel filler door 24
sliding/tilt sunroof 43
Emergency release
luggage compartment
lid 37
Emissions, minimum, refer
to Energy control 71
Energy control 71
Engine
starting 60
switching off 62
Engine compartment 124
Engine coolant 155
adding 128
temperature gauge 72
Engine data 152Engine oil
adding 126
capacity 155
consumption 126
pressure 18
quality 127
types 127
viscosity 127
Engine oil level 19
check 126
Engine speed 152
Environmentally-friendly
driving, refer to Energy
control 71
Exterior mirrors 51
Eyelet, towing 148
F
Failure messages 73
False alarm, avoiding 39
Fault displays 73
First-aid kit 23
Flashlight 102
Flat tire 117, 141
Flat Tire Monitor 86
Fog lamps 91
Folding rear backrest 106
Follow me home lamps 89
Front fog lamps 91
Front seat adjustment 44
Frost protection
radiator 128
OverviewControlsMaintenanceRepairsDataIndex