mirror BMW 325i TOURING 2003 E46 Owner's Manual
[x] Cancel search | Manufacturer: BMW, Model Year: 2003, Model line: 325i TOURING, Model: BMW 325i TOURING 2003 E46Pages: 166, PDF Size: 4.29 MB
Page 8 of 166
Contents
Notes
About this Owner's Manual4
Symbols used4
Your individual vehicle4
Status at time of printing5
For your own safety5
Symbol on vehicle parts6
Service and warranty6
Reporting safety defects6
Overview
Cockpit14
Instrument cluster16
Indicator and warning lamps18
Steering wheel with multifunction
buttons*22
Hazard warning triangle*23
First-aid kit*23
Refueling24
Fuel specifications25
Tire inflation pressure25
Controls and features
Opening and closing:
Keys30
Central locking system30
Opening and closing – via the
remote control31
Opening and closing – via the
door lock33
Opening and closing – from the
inside34
Tailgate34
Rear window35
Cargo area36
Alarm system*37
Electric power windows39
Sliding/tilt sunroof*40
To adjust:
Safe seating position43
Seats44
Manual seat adjustment44
Power seat adjustment*46
Lumbar support*46
Head restraints47
Safety belts47
Seat and mirror memory*48
Seat heating*49
Steering wheel50
Mirrors50
handbook.book Page 8 Saturday, July 27, 2002 1:36 PM
Page 37 of 166
37
Alarm system*The conceptThe vehicle alarm system responds:
>When a door, the hood, the tailgate
or the rear window is opened
>To movement inside the vehicle –
interior motion sensor
>To variations in the vehicle's tilt angle
such as those occurring during
attempts to steal the wheels or tow
the vehicle
>To interruption of battery voltage.
The system responds to unauthorized
vehicle entry and attempted theft by
simultaneously activating the following:
>Sounding an acoustic alarm for
30 seconds
>The hazard warning flashers are acti-
vated for approx. five minutes
>Flashing the high beams on and off in
rhythm with the hazard warning flash-
ers.To arm and disarm the alarm
systemWhen the vehicle is locked or unlocked
via the driver's door lock or with the
remote control, the alarm system is also
simultaneously armed or disarmed.You can have different acknowl-
edgment signals set to confirm
arming and disarming.<
You can also open the rear window
when the system is armed by pressing
the remote control button, refer to
page 32. The window is once again
secured when it is closed.
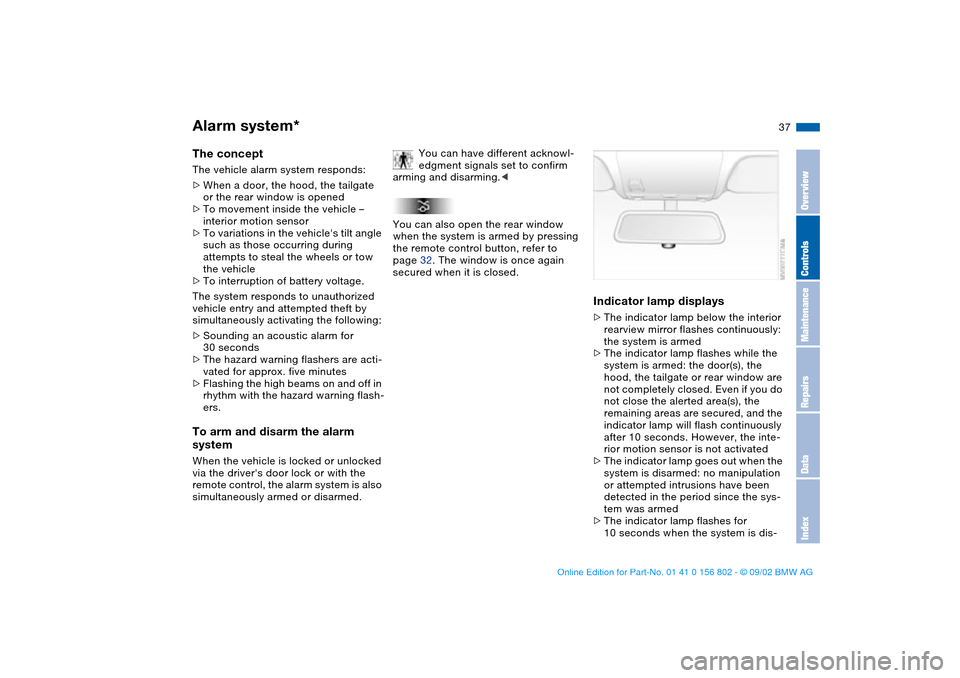
Indicator lamp displays>The indicator lamp below the interior
rearview mirror flashes continuously:
the system is armed
>The indicator lamp flashes while the
system is armed: the door(s), the
hood, the tailgate or rear window are
not completely closed. Even if you do
not close the alerted area(s), the
remaining areas are secured, and the
indicator lamp will flash continuously
after 10 seconds. However, the inte-
rior motion sensor is not activated
>The indicator lamp goes out when the
system is disarmed: no manipulation
or attempted intrusions have been
detected in the period since the sys-
tem was armed
>The indicator lamp flashes for
10 seconds when the system is dis-
OverviewControlsMaintenanceRepairsDataIndex
handbook.book Page 37 Saturday, July 27, 2002 1:36 PM
Page 48 of 166
48
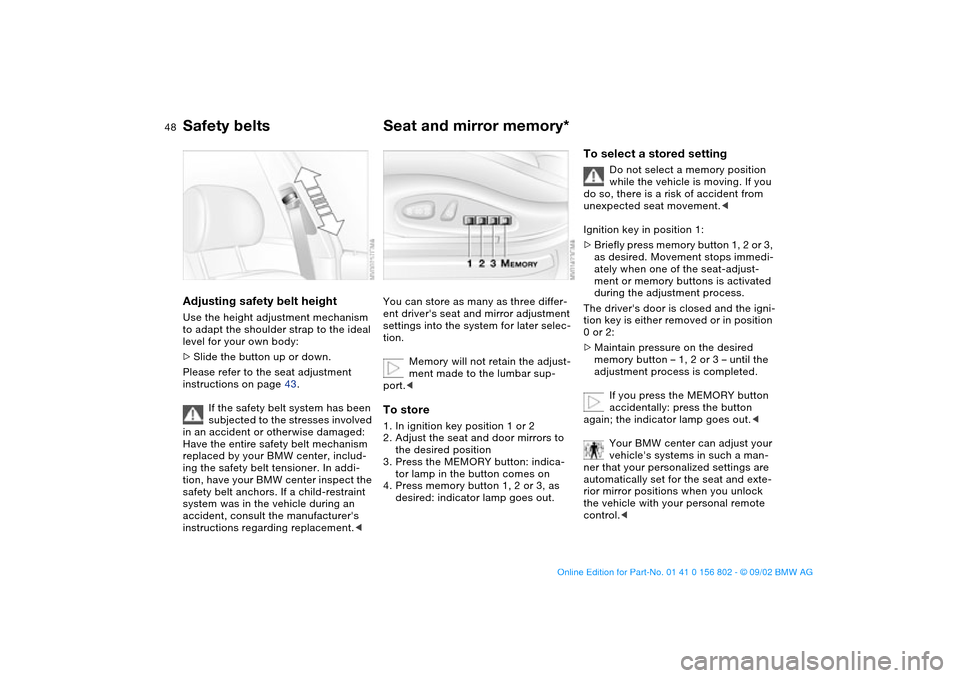
Adjusting safety belt heightUse the height adjustment mechanism
to adapt the shoulder strap to the ideal
level for your own body:
>Slide the button up or down.
Please refer to the seat adjustment
instructions on page 43.
If the safety belt system has been
subjected to the stresses involved
in an accident or otherwise damaged:
Have the entire safety belt mechanism
replaced by your BMW center, includ-
ing the safety belt tensioner. In addi-
tion, have your BMW center inspect the
safety belt anchors. If a child-restraint
system was in the vehicle during an
accident, consult the manufacturer's
instructions regarding replacement.<
Seat and mirror memory*You can store as many as three differ-
ent driver's seat and mirror adjustment
settings into the system for later selec-
tion.
Memory will not retain the adjust-
ment made to the lumbar sup-
port.
the desired position
3. Press the MEMORY button: indica-
tor lamp in the button comes on
4. Press memory button 1, 2 or 3, as
desired: indicator lamp goes out.
To select a stored setting
Do not select a memory position
while the vehicle is moving. If you
do so, there is a risk of accident from
unexpected seat movement.<
Ignition key in position 1:
>Briefly press memory button 1, 2 or 3,
as desired. Movement stops immedi-
ately when one of the seat-adjust-
ment or memory buttons is activated
during the adjustment process.
The driver's door is closed and the igni-
tion key is either removed or in position
0 or 2:
>Maintain pressure on the desired
memory button – 1, 2 or 3 – until the
adjustment process is completed.
If you press the MEMORY button
accidentally: press the button
again; the indicator lamp goes out.<
Your BMW center can adjust your
vehicle's systems in such a man-
ner that your personalized settings are
automatically set for the seat and exte-
rior mirror positions when you unlock
the vehicle with your personal remote
control.<
Safety belts
handbook.book Page 48 Saturday, July 27, 2002 1:36 PM
Page 49 of 166
49
Before activating the programmed
adjustment feature, ensure that
the footwell behind the driver's seat is
empty and unobstructed. If you fail to
do so, any persons, animals or objects
behind the seat could be injured or
damaged by a rearward movement of
the seat.<
Passenger-side exterior mirror tilt
functionAutomatic curb monitor*
1. Set the mirror selection switch 1 to
the driver's door mirror position
2. When shifting into Reverse or placing
the selector lever in position R, the
passenger-side mirror tilts down-
ward to help the driver monitor the
area directly adjacent to the vehicle
during parking – curbs, etc.
How far the passenger mirror tilts
can be set individually for each
ignition key.<
You can deactivate this automatic fea-
ture by setting the mirror selection
switch to the passenger side position.
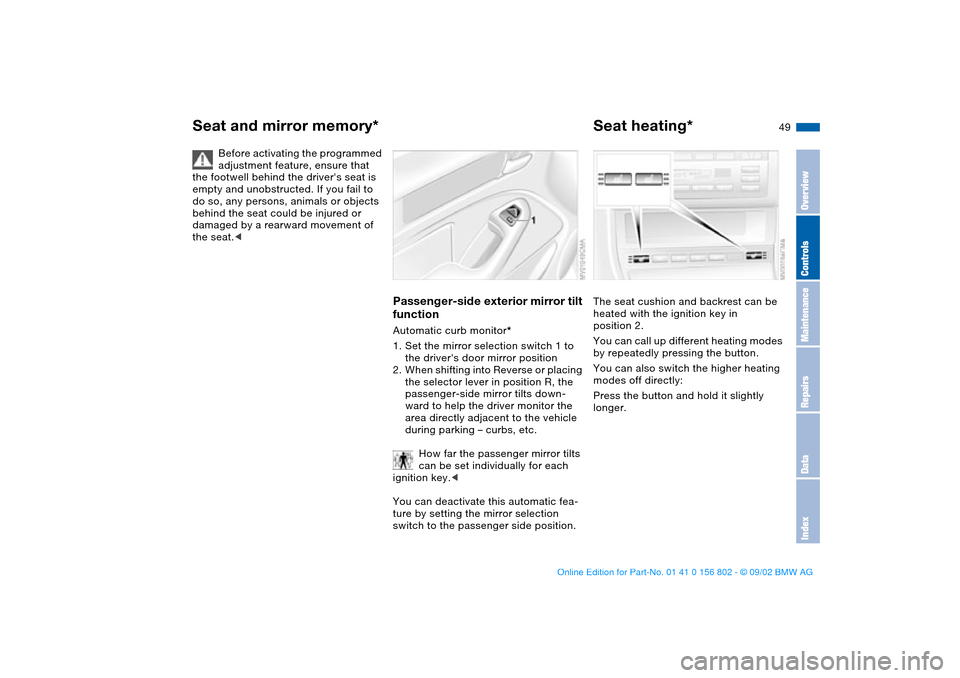
Seat heating*The seat cushion and backrest can be
heated with the ignition key in
position 2.
You can call up different heating modes
by repeatedly pressing the button.
You can also switch the higher heating
modes off directly:
Press the button and hold it slightly
longer.
Seat and mirror memory*
OverviewControlsMaintenanceRepairsDataIndex
handbook.book Page 49 Saturday, July 27, 2002 1:36 PM
Page 50 of 166
50
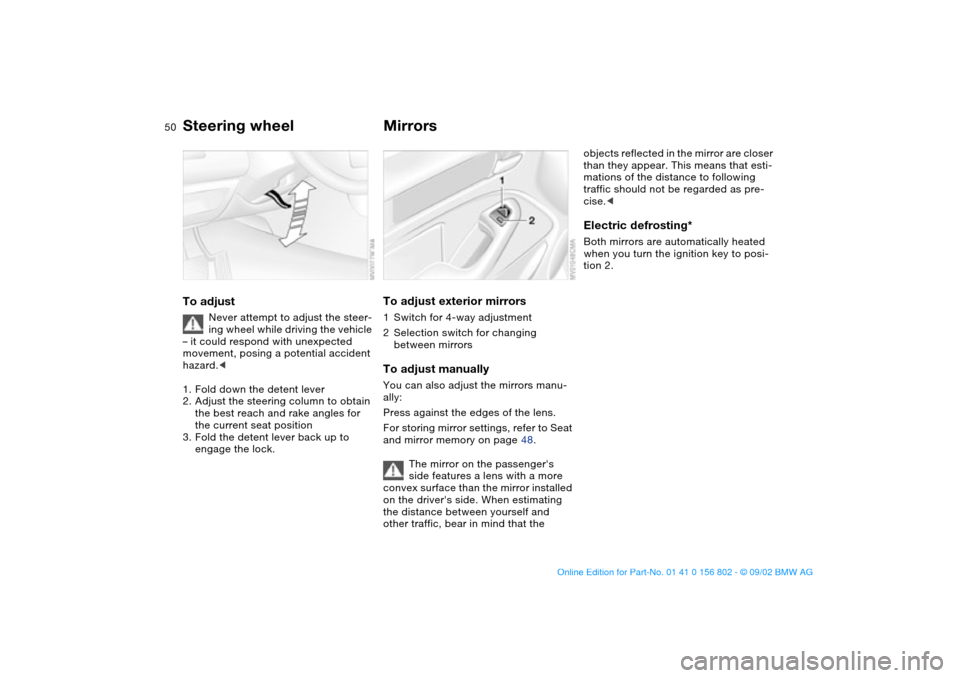
Steering wheelTo adjust
Never attempt to adjust the steer-
ing wheel while driving the vehicle
– it could respond with unexpected
movement, posing a potential accident
hazard.<
1. Fold down the detent lever
2. Adjust the steering column to obtain
the best reach and rake angles for
the current seat position
3. Fold the detent lever back up to
engage the lock.
MirrorsTo adjust exterior mirrors1Switch for 4-way adjustment
2Selection switch for changing
between mirrorsTo adjust manuallyYou can also adjust the mirrors manu-
ally:
Press against the edges of the lens.
For storing mirror settings, refer to Seat
and mirror memory on page 48.
The mirror on the passenger's
side features a lens with a more
convex surface than the mirror installed
on the driver's side. When estimating
the distance between yourself and
other traffic, bear in mind that the
objects reflected in the mirror are closer
than they appear. This means that esti-
mations of the distance to following
traffic should not be regarded as pre-
cise.
tion 2.
handbook.book Page 50 Saturday, July 27, 2002 1:36 PM
Page 51 of 166
51
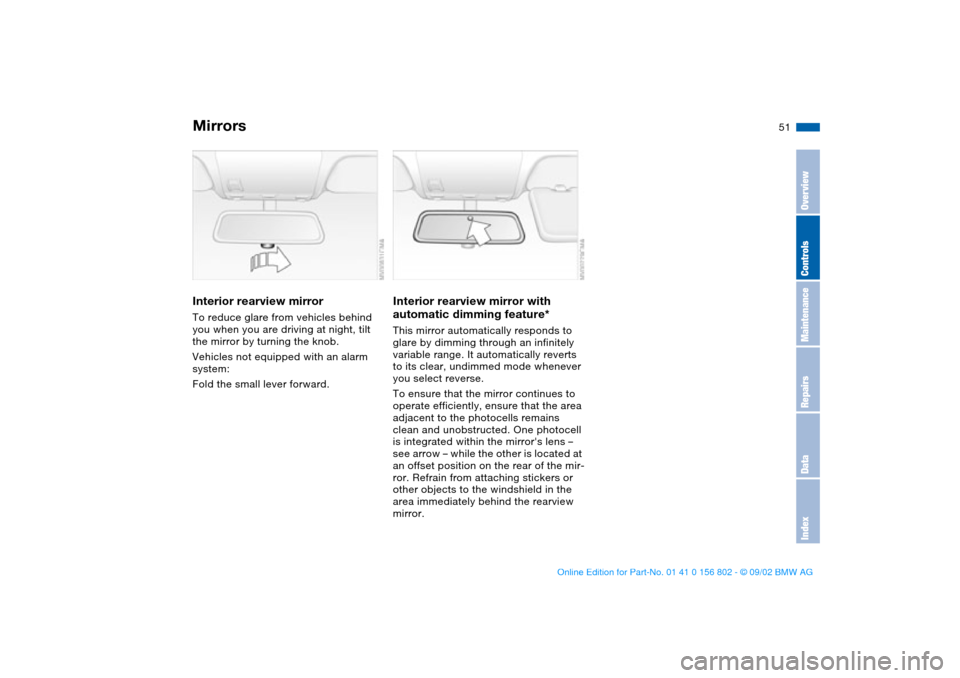
Interior rearview mirrorTo reduce glare from vehicles behind
you when you are driving at night, tilt
the mirror by turning the knob.
Vehicles not equipped with an alarm
system:
Fold the small lever forward.
Interior rearview mirror with
automatic dimming feature*This mirror automatically responds to
glare by dimming through an infinitely
variable range. It automatically reverts
to its clear, undimmed mode whenever
you select reverse.
To ensure that the mirror continues to
operate efficiently, ensure that the area
adjacent to the photocells remains
clean and unobstructed. One photocell
is integrated within the mirror's lens –
see arrow – while the other is located at
an offset position on the rear of the mir-
ror. Refrain from attaching stickers or
other objects to the windshield in the
area immediately behind the rearview
mirror.
Mirrors
OverviewControlsMaintenanceRepairsDataIndex
handbook.book Page 51 Saturday, July 27, 2002 1:36 PM
Page 58 of 166
58
Vehicle Memory, Key MemoryHow the system functionsNo doubt you have often reflected on
how great it would be if you could per-
manently configure your vehicle's vari-
ous features and adjustments to mirror
your own personal preferences. In engi-
neering your vehicle, BMW has
included a number of options for stor-
ing personal adjustment data. These
can be programmed at your BMW cen-
ter.
The available configuration data fall into
two categories, according to whether
their primary orientation is the vehicle –
Vehicle Memory – or the individual –
Key Memory. Provided that each per-
son has a separate remote-control key,
you can have your BMW center enter
basic adjustment data for up to four
individuals in the system.
The system relies on a bilateral data
exchange to identify the individual user
and executes the selected settings
whenever the remote control unit is
used to disengage the locks.
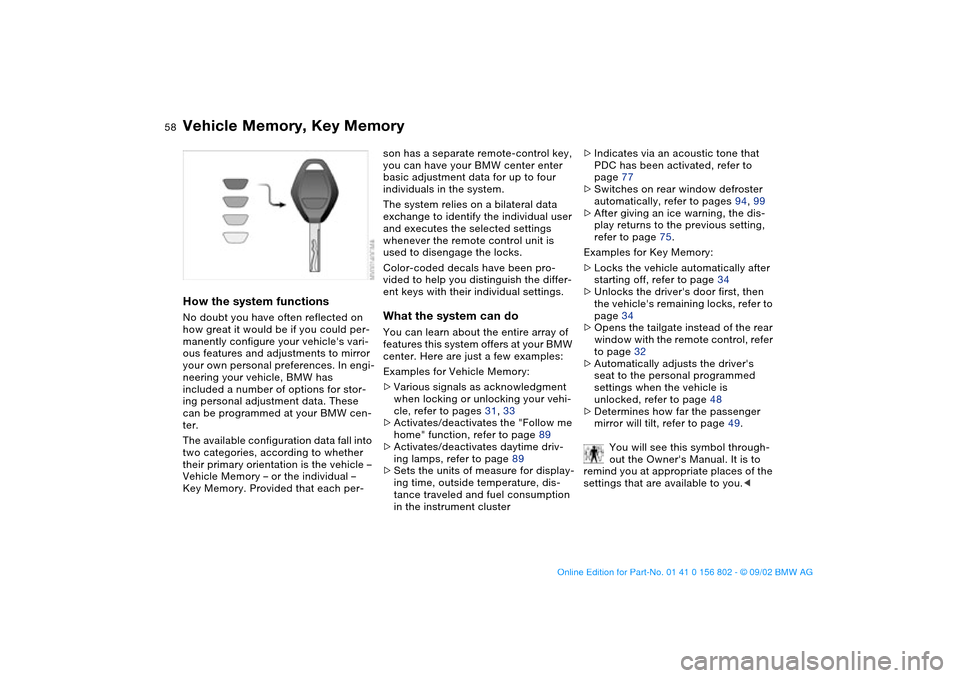
Color-coded decals have been pro-
vided to help you distinguish the differ-
ent keys with their individual settings.What the system can doYou can learn about the entire array of
features this system offers at your BMW
center. Here are just a few examples:
Examples for Vehicle Memory:
>Various signals as acknowledgment
when locking or unlocking your vehi-
cle, refer to pages 31, 33
>Activates/deactivates the "Follow me
home" function, refer to page 89
>Activates/deactivates daytime driv-
ing lamps, refer to page 89
>Sets the units of measure for display-
ing time, outside temperature, dis-
tance traveled and fuel consumption
in the instrument cluster>Indicates via an acoustic tone that
PDC has been activated, refer to
page 77
>Switches on rear window defroster
automatically, refer to pages 94, 99
>After giving an ice warning, the dis-
play returns to the previous setting,
refer to page 75.
Examples for Key Memory:
>Locks the vehicle automatically after
starting off, refer to page 34
>Unlocks the driver's door first, then
the vehicle's remaining locks, refer to
page 34
>Opens the tailgate instead of the rear
window with the remote control, refer
to page 32
>Automatically adjusts the driver's
seat to the personal programmed
settings when the vehicle is
unlocked, refer to page 48
>Determines how far the passenger
mirror will tilt, refer to page 49.
You will see this symbol through-
out the Owner's Manual. It is to
remind you at appropriate places of the
settings that are available to you.<
handbook.book Page 58 Saturday, July 27, 2002 1:36 PM
Page 158 of 166
Everything from A to ZA
ABS Antilock Brake System
18, 115
Accessories 4, 5
Activated-charcoal filter 100
ADB Automatic Differential
Brake 78
Adding brake fluid 129
Air conditioning 92
Air distribution 94, 98
Air nozzles 92, 96
Air outlets 92, 96
Air pressure 117
check 25
Air supply 94, 98
Airbags 18, 52
Alarm system 37
Antifreeze agent 128
Antilock Brake System (ABS)
18, 115
Anti-theft system 37
Armrest 102
ASC+T Automatic Stability
Control plus Traction 18,
19, 78
Ashtray
front 104
rear 104
AUC Automatic recircu-
lated-air control 99Automatic car wash, refer to
the Caring for your vehicle
brochure
Automatic climate control 96
Automatic cruise control 69
Automatic Differential Brake
(ADB) 78
Automatic dimming, interior
rearview mirror 51
Automatic headlamp
control 89
Automatic recirculated-air
control (AUC) 99
Automatic Stability Control
plus Traction (ASC+T) 18,
19, 78
Automatic transmission with
Steptronic 19, 63
Average fuel
consumption 76
Average speed 76
Avoiding unintentional
alarms 38
Axle loads 154
B
Backrest, adjusting 44, 45
Backup lamps 62
replacing bulb 139
Battery
charge 146
discharged 146Battery charge current 18
Belts 47
Beverage holder 103
Blower 94, 98
BMW High Performance
Synthetic Oils 127
BMW sports seat 45, 46
Bore 152
Bottle holder, see Beverage
holder 103
Brake hydraulic system 18
Brake lamps
replacing bulb 139
Brake pads 19
Brake, parking 61
Brakes, malfunctions 116
Break-in procedures 114
Bulb, replacing 137
C
California Proposition 65
warning 132
Can holder, see Beverage
holder 103
Capacities 155
Car care, refer to the Caring
for your vehicle brochure
Car radio
refer to the Owner's Man-
ual for RadioCar telephone
refer to the separate
Owner's Manual
Car vacuum cleaner, con-
necting 104
Car wash, refer to the Caring
for your vehicle brochure
Cargo area 36, 107
capacity 154
emergency operation 35
floor 36
floor panel 109
remote control 32
Cargo area cover 107
Cargo area lamps 34
Cargo loading 109
Cargo, securing 110
Cassette player operation,
refer to the Owner's Man-
ual for Radio
CBC Cornering Brake
Control 18, 115
CD player operation, refer to
the Owner's Manual for
Radio
Cellular phone 103
Center armrest 102
Center high-mount brake
lamp 140
Central locking system 30
button 34
Charge indicator lamp 18
handbook.book Page 158 Saturday, July 27, 2002 1:36 PM
Page 159 of 166
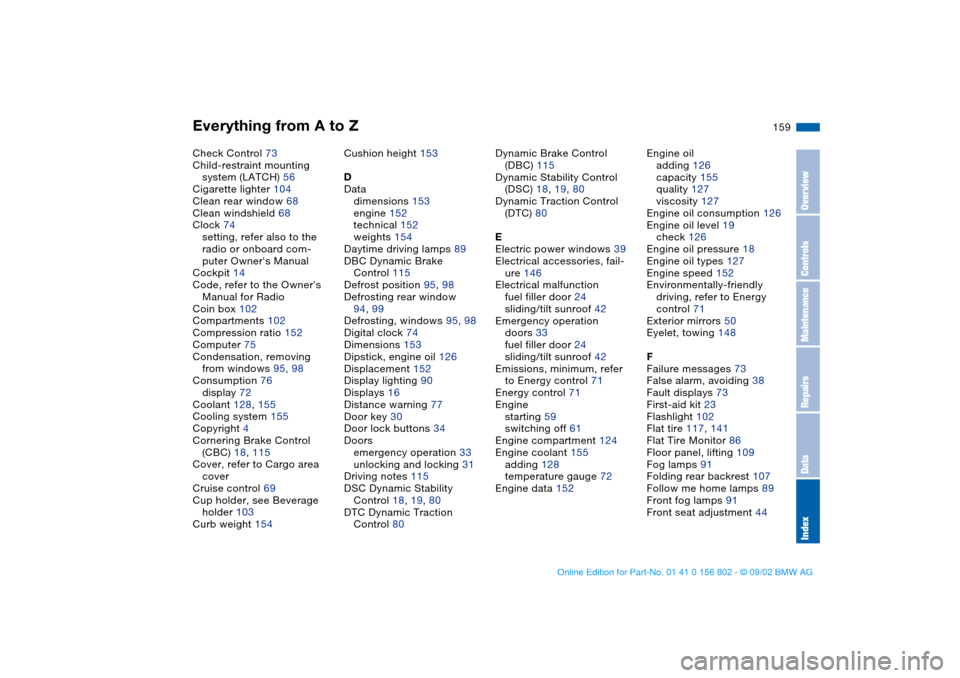
Everything from A to Z
159
Check Control 73
Child-restraint mounting
system (LATCH) 56
Cigarette lighter 104
Clean rear window 68
Clean windshield 68
Clock 74
setting, refer also to the
radio or onboard com-
puter Owner's Manual
Cockpit 14
Code, refer to the Owner's
Manual for Radio
Coin box 102
Compartments 102
Compression ratio 152
Computer 75
Condensation, removing
from windows 95, 98
Consumption 76
display 72
Coolant 128, 155
Cooling system 155
Copyright 4
Cornering Brake Control
(CBC) 18, 115
Cover, refer to Cargo area
cover
Cruise control 69
Cup holder, see Beverage
holder 103
Curb weight 154Cushion height 153
D
Data
dimensions 153
engine 152
technical 152
weights 154
Daytime driving lamps 89
DBC Dynamic Brake
Control 115
Defrost position 95, 98
Defrosting rear window
94, 99
Defrosting, windows 95, 98
Digital clock 74
Dimensions 153
Dipstick, engine oil 126
Displacement 152
Display lighting 90
Displays 16
Distance warning 77
Door key 30
Door lock buttons 34
Doors
emergency operation 33
unlocking and locking 31
Driving notes 115
DSC Dynamic Stability
Control 18, 19, 80
DTC Dynamic Traction
Control 80Dynamic Brake Control
(DBC) 115
Dynamic Stability Control
(DSC) 18, 19, 80
Dynamic Traction Control
(DTC) 80
E
Electric power windows 39
Electrical accessories, fail-
ure 146
Electrical malfunction
fuel filler door 24
sliding/tilt sunroof 42
Emergency operation
doors 33
fuel filler door 24
sliding/tilt sunroof 42
Emissions, minimum, refer
to Energy control 71
Energy control 71
Engine
starting 59
switching off 61
Engine compartment 124
Engine coolant 155
adding 128
temperature gauge 72
Engine data 152Engine oil
adding 126
capacity 155
quality 127
viscosity 127
Engine oil consumption 126
Engine oil level 19
check 126
Engine oil pressure 18
Engine oil types 127
Engine speed 152
Environmentally-friendly
driving, refer to Energy
control 71
Exterior mirrors 50
Eyelet, towing 148
F
Failure messages 73
False alarm, avoiding 38
Fault displays 73
First-aid kit 23
Flashlight 102
Flat tire 117, 141
Flat Tire Monitor 86
Floor panel, lifting 109
Fog lamps 91
Folding rear backrest 107
Follow me home lamps 89
Front fog lamps 91
Front seat adjustment 44
OverviewControlsMaintenanceRepairsDataIndex
handbook.book Page 159 Saturday, July 27, 2002 1:36 PM
Page 160 of 166
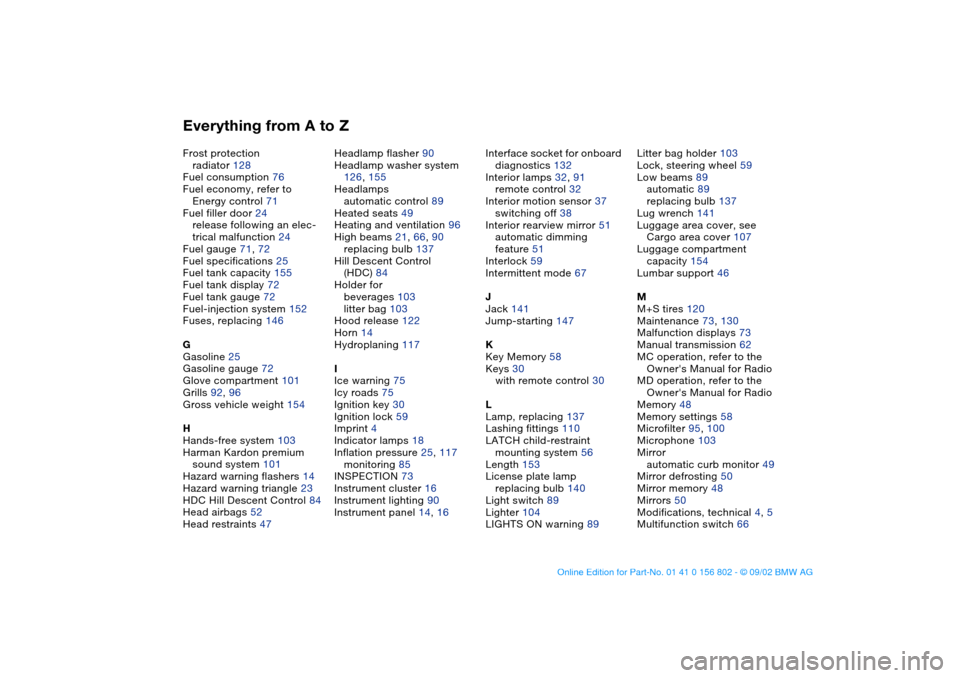
Everything from A to ZFrost protection
radiator 128
Fuel consumption 76
Fuel economy, refer to
Energy control 71
Fuel filler door 24
release following an elec-
trical malfunction 24
Fuel gauge 71, 72
Fuel specifications 25
Fuel tank capacity 155
Fuel tank display 72
Fuel tank gauge 72
Fuel-injection system 152
Fuses, replacing 146
G
Gasoline 25
Gasoline gauge 72
Glove compartment 101
Grills 92, 96
Gross vehicle weight 154
H
Hands-free system 103
Harman Kardon premium
sound system 101
Hazard warning flashers 14
Hazard warning triangle 23
HDC Hill Descent Control 84
Head airbags 52
Head restraints 47Headlamp flasher 90
Headlamp washer system
126, 155
Headlamps
automatic control 89
Heated seats 49
Heating and ventilation 96
High beams 21, 66, 90
replacing bulb 137
Hill Descent Control
(HDC) 84
Holder for
beverages 103
litter bag 103
Hood release 122
Horn 14
Hydroplaning 117
I
Ice warning 75
Icy roads 75
Ignition key 30
Ignition lock 59
Imprint 4
Indicator lamps 18
Inflation pressure 25, 117
monitoring 85
INSPECTION 73
Instrument cluster 16
Instrument lighting 90
Instrument panel 14, 16Interface socket for onboard
diagnostics 132
Interior lamps 32, 91
remote control 32
Interior motion sensor 37
switching off 38
Interior rearview mirror 51
automatic dimming
feature 51
Interlock 59
Intermittent mode 67
J
Jack 141
Jump-starting 147
K
Key Memory 58
Keys 30
with remote control 30
L
Lamp, replacing 137
Lashing fittings 110
LATCH child-restraint
mounting system 56
Length 153
License plate lamp
replacing bulb 140
Light switch 89
Lighter 104
LIGHTS ON warning 89Litter bag holder 103
Lock, steering wheel 59
Low beams 89
automatic 89
replacing bulb 137
Lug wrench 141
Luggage area cover, see
Cargo area cover 107
Luggage compartment
capacity 154
Lumbar support 46
M
M+S tires 120
Maintenance 73, 130
Malfunction displays 73
Manual transmission 62
MC operation, refer to the
Owner's Manual for Radio
MD operation, refer to the
Owner's Manual for Radio
Memory 48
Memory settings 58
Microfilter 95, 100
Microphone 103
Mirror
automatic curb monitor 49
Mirror defrosting 50
Mirror memory 48
Mirrors 50
Modifications, technical 4, 5
Multifunction switch 66
handbook.book Page 160 Saturday, July 27, 2002 1:36 PM