turn signal BMW 325I WAGON 2003 User Guide
[x] Cancel search | Manufacturer: BMW, Model Year: 2003, Model line: 325I WAGON, Model: BMW 325I WAGON 2003Pages: 166, PDF Size: 4.29 MB
Page 76 of 166
76
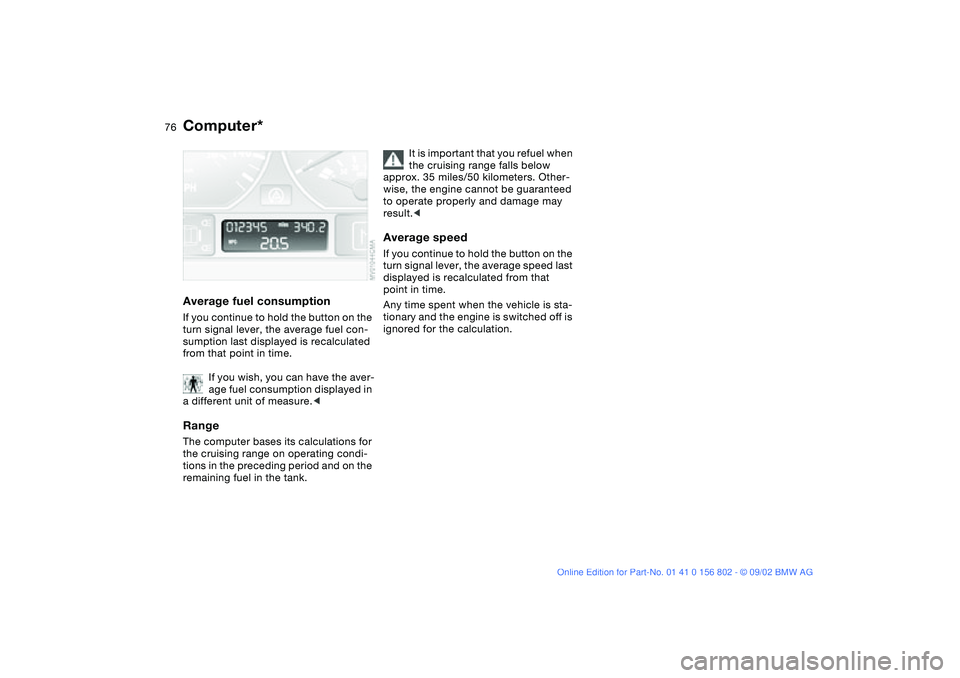
Average fuel consumptionIf you continue to hold the button on the
turn signal lever, the average fuel con-
sumption last displayed is recalculated
from that point in time.
If you wish, you can have the aver-
age fuel consumption displayed in
a different unit of measure.
tions in the preceding period and on the
remaining fuel in the tank.
It is important that you refuel when
the cruising range falls below
approx. 35 miles/50 kilometers. Other-
wise, the engine cannot be guaranteed
to operate properly and damage may
result.<
Average speedIf you continue to hold the button on the
turn signal lever, the average speed last
displayed is recalculated from that
point in time.
Any time spent when the vehicle is sta-
tionary and the engine is switched off is
ignored for the calculation.
Computer*
handbook.book Page 76 Saturday, July 27, 2002 1:36 PM
Page 85 of 166
85
Tire Pressure Monitor (TPM)*The conceptTPM monitors the tire pressures at all
four tires while the vehicle is moving.
The system provides an alert whenever
the inflation pressure drops significantly
below the specified pressure in one or
more tires.
This indicator lamp in the instru-
ment cluster informs you when
the tire pressure deviates from
the target values.
Initializing the systemInitializing is necessary to familiarize the
system with the correct inflation pres-
sures.
Repeat this process after tire replace-
ment, tire rotation or any changes in tire
inflation pressure.
1. Check the tire inflation pressures in
all the tires, comparing them with the
inflation pressure chart on page 25
and adjusting their pressure if neces-
sary.
2. Turn ignition key to position 2 – do
not start the engine
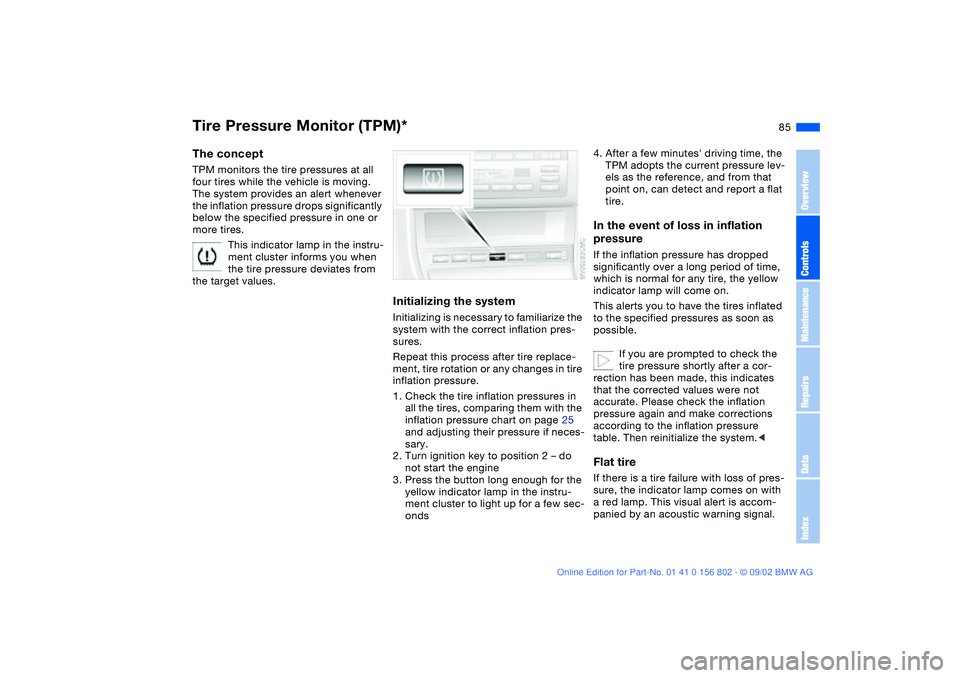
3. Press the button long enough for the
yellow indicator lamp in the instru-
ment cluster to light up for a few sec-
onds
4. After a few minutes' driving time, the
TPM adopts the current pressure lev-
els as the reference, and from that
point on, can detect and report a flat
tire.In the event of loss in inflation
pressureIf the inflation pressure has dropped
significantly over a long period of time,
which is normal for any tire, the yellow
indicator lamp will come on.
This alerts you to have the tires inflated
to the specified pressures as soon as
possible.
If you are prompted to check the
tire pressure shortly after a cor-
rection has been made, this indicates
that the corrected values were not
accurate. Please check the inflation
pressure again and make corrections
according to the inflation pressure
table. Then reinitialize the system.
a red lamp. This visual alert is accom-
panied by an acoustic warning signal.
OverviewControlsMaintenanceRepairsDataIndex
handbook.book Page 85 Saturday, July 27, 2002 1:36 PM
Page 89 of 166
89 Lamps
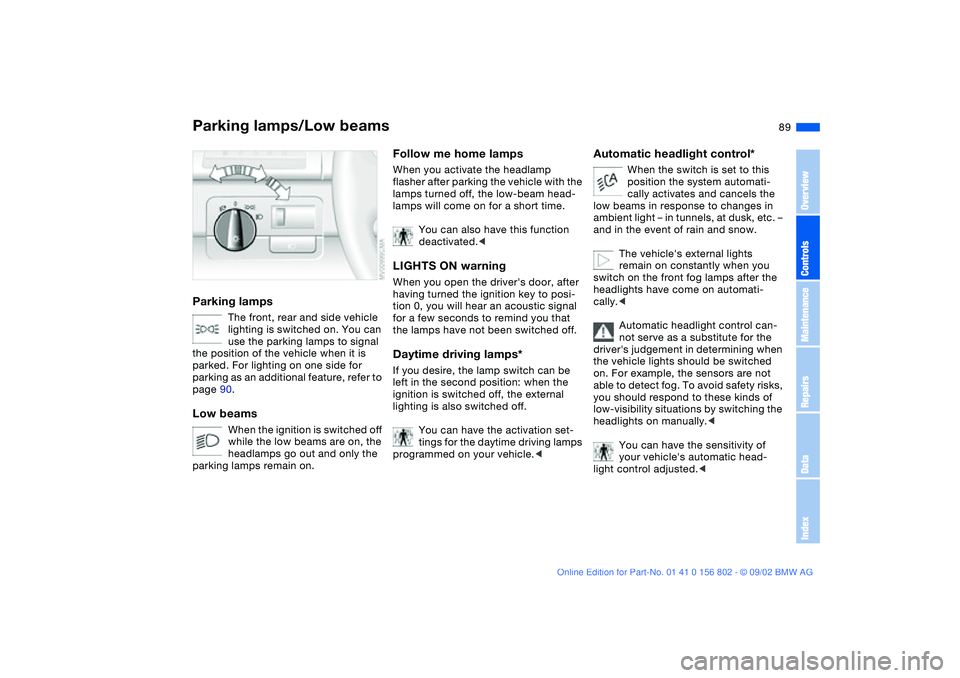
Parking lamps/Low beamsParking lamps
The front, rear and side vehicle
lighting is switched on. You can
use the parking lamps to signal
the position of the vehicle when it is
parked. For lighting on one side for
parking as an additional feature, refer to
page 90.
Low beams
When the ignition is switched off
while the low beams are on, the
headlamps go out and only the
parking lamps remain on.
Follow me home lampsWhen you activate the headlamp
flasher after parking the vehicle with the
lamps turned off, the low-beam head-
lamps will come on for a short time.
You can also have this function
deactivated.
tion 0, you will hear an acoustic signal
for a few seconds to remind you that
the lamps have not been switched off.Daytime driving lamps*If you desire, the lamp switch can be
left in the second position: when the
ignition is switched off, the external
lighting is also switched off.
You can have the activation set-
tings for the daytime driving lamps
programmed on your vehicle.<
Automatic headlight control*
When the switch is set to this
position the system automati-
cally activates and cancels the
low beams in response to changes in
ambient light – in tunnels, at dusk, etc. –
and in the event of rain and snow.
The vehicle's external lights
remain on constantly when you
switch on the front fog lamps after the
headlights have come on automati-
cally.<
Automatic headlight control can-
not serve as a substitute for the
driver's judgement in determining when
the vehicle lights should be switched
on. For example, the sensors are not
able to detect fog. To avoid safety risks,
you should respond to these kinds of
low-visibility situations by switching the
headlights on manually.<
You can have the sensitivity of
your vehicle's automatic head-
light control adjusted.<
OverviewControlsMaintenanceRepairsDataIndex
handbook.book Page 89 Saturday, July 27, 2002 1:36 PM
Page 90 of 166
90
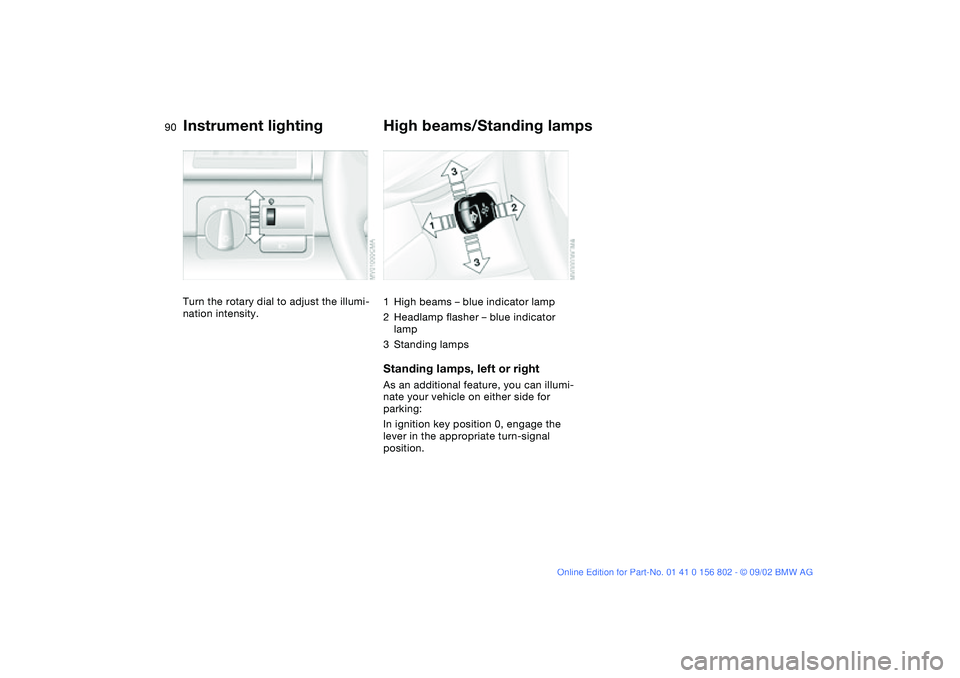
Instrument lightingTurn the rotary dial to adjust the illumi-
nation intensity.
High beams/Standing lamps1High beams – blue indicator lamp
2Headlamp flasher – blue indicator
lamp
3Standing lampsStanding lamps, left or rightAs an additional feature, you can illumi-
nate your vehicle on either side for
parking:
In ignition key position 0, engage the
lever in the appropriate turn-signal
position.
handbook.book Page 90 Saturday, July 27, 2002 1:36 PM
Page 138 of 166
138
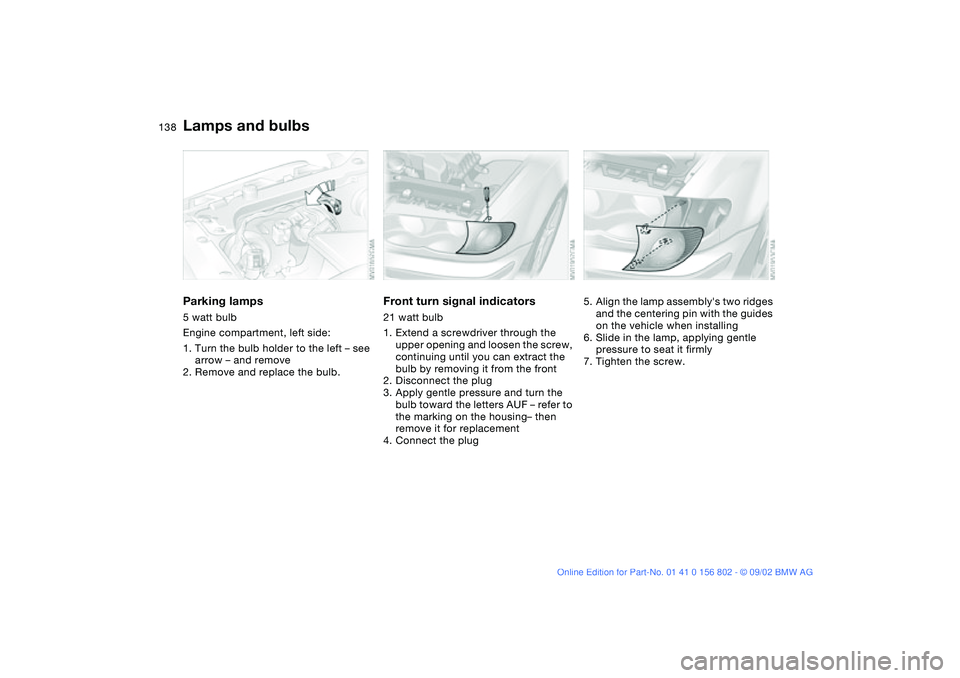
Parking lamps5 watt bulb
Engine compartment, left side:
1. Turn the bulb holder to the left – see
arrow – and remove
2. Remove and replace the bulb.
Front turn signal indicators21 watt bulb
1. Extend a screwdriver through the
upper opening and loosen the screw,
continuing until you can extract the
bulb by removing it from the front
2. Disconnect the plug
3. Apply gentle pressure and turn the
bulb toward the letters AUF – refer to
the marking on the housing– then
remove it for replacement
4. Connect the plug
5. Align the lamp assembly's two ridges
and the centering pin with the guides
on the vehicle when installing
6. Slide in the lamp, applying gentle
pressure to seat it firmly
7. Tighten the screw.
Lamps and bulbs
handbook.book Page 138 Saturday, July 27, 2002 1:36 PM
Page 139 of 166
139
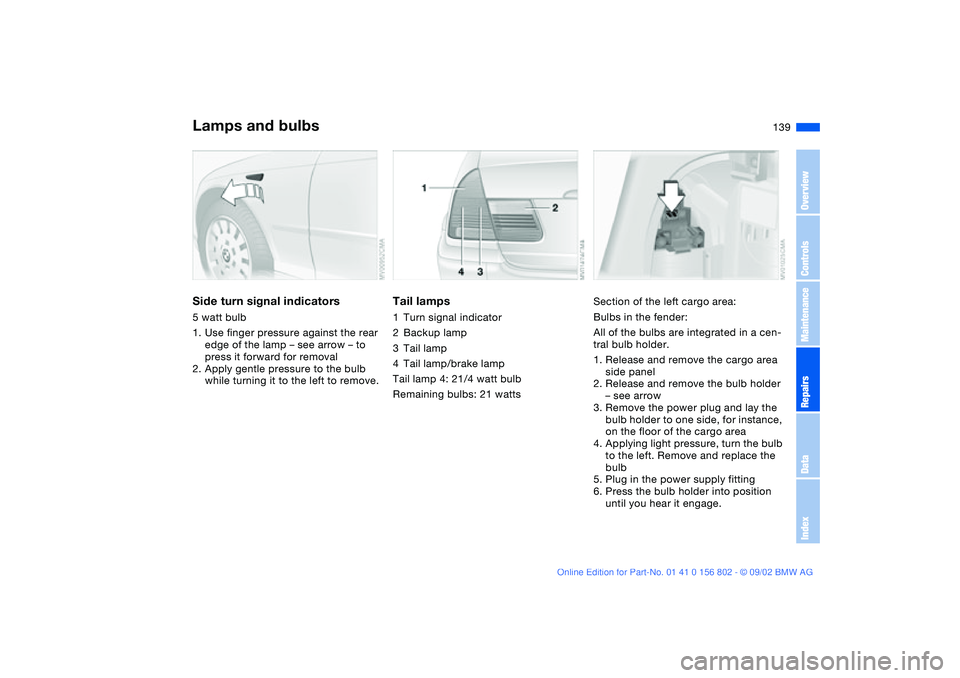
Side turn signal indicators5 watt bulb
1. Use finger pressure against the rear
edge of the lamp – see arrow – to
press it forward for removal
2. Apply gentle pressure to the bulb
while turning it to the left to remove.
Tail lamps1Turn signal indicator
2Backup lamp
3Tail lamp
4Tail lamp/brake lamp
Tail lamp 4: 21/4 watt bulb
Remaining bulbs: 21 watts
Section of the left cargo area:
Bulbs in the fender:
All of the bulbs are integrated in a cen-
tral bulb holder.
1. Release and remove the cargo area
side panel
2. Release and remove the bulb holder
– see arrow
3. Remove the power plug and lay the
bulb holder to one side, for instance,
on the floor of the cargo area
4. Applying light pressure, turn the bulb
to the left. Remove and replace the
bulb
5. Plug in the power supply fitting
6. Press the bulb holder into position
until you hear it engage.
Lamps and bulbs
OverviewControlsMaintenanceRepairsDataIndex
handbook.book Page 139 Saturday, July 27, 2002 1:36 PM
Page 162 of 166
Everything from A to ZSteering wheel with multi-
function buttons 22
Steering wheel, adjusting 50
Steptronic 63
Storage
refer to the Caring for your
vehicle brochure 137
Storage compartments 102
Stroke 152
Switching off the engine 61
Synthetic oils 127
T
Tachometer 16, 71
Tail lamp assembly
replacing bulb 139
Tail lamps
replacing bulb 139
Tailgate 34
emergency operation 35
Tailgate lamp
replacing bulb 141
Tank capacity 155
Technical data 152
Technical modifications 4, 5
Telephone hookup 103
Telephone, refer to the sep-
arate Owner's Manual
Temperature adjustment
94, 98Temperature display
engine coolant 72
outside temperature 75
Temperature layering 95, 99
Thigh support area, adjust-
ing 45
Third brake lamp 140
Tilt alarm sensor 32, 38
remote control 32
switching off 38
Time 74
Tire change 141
Tire inflation pressure
25, 117
Tire Pressure Monitor
(TPM) 85
Tire replacement 118
Tools 136
Torque 152
Towing eyelet 148
Towing the vehicle 148
TPM Tire Pressure
Monitor 85
Track 153
Transmission 62
Transporting children
safely 54
Tread depth, tires 117
Tread wear indicator 117
Trip odometer 71
Turn signal indicator 20, 66
replacing bulb 138Turning circle 153
U
Uniform Tire Quality
Grading 119
V
Vacuum cleaner, connect-
ing 104
Vehicle
break-in procedures 114
starting 59
switching off 61
Vehicle Memory 58
Vehicle storage
refer to the Caring for your
vehicle brochure
Vehicle weight 154
Ventilation 92, 96
draft-free 95, 99
Voice Control System, refer
to the separate Owner's
Manual
Voice recognition 22
W
Warning lamp Please fasten
safety belts 18
Warning lamps 18
Warning messages 73
Warranty and Service
Guide 130Warranty, refer to separate
booklet 6
Washer fluid
refilling 126, 155
Washer reservoir
filling 126, 155
Washer/wiper system 67
Water on roadways
deep water 115
Wear indicator for tires 117
Weights 154
Wheel, changing 141
Wheelbase 153
Wheels and tires 120
Width 153
Window condensation
removing 95, 98
Windows
convenience operation 31
defrosting 95
power 39
remote control 32
Windows, defrosting 98
Windshield washer reser-
voir, filling 126, 155
Windshield wipers 67
Winter tires 120
Wiper blades
replacing 136
Work in the engine compart-
ment 122
handbook.book Page 162 Saturday, July 27, 2002 1:36 PM