sunroof BMW 325IT WAGON 2003 Owners Manual
[x] Cancel search | Manufacturer: BMW, Model Year: 2003, Model line: 325IT WAGON, Model: BMW 325IT WAGON 2003Pages: 166, PDF Size: 4.29 MB
Page 8 of 166
Contents
Notes
About this Owner's Manual4
Symbols used4
Your individual vehicle4
Status at time of printing5
For your own safety5
Symbol on vehicle parts6
Service and warranty6
Reporting safety defects6
Overview
Cockpit14
Instrument cluster16
Indicator and warning lamps18
Steering wheel with multifunction
buttons*22
Hazard warning triangle*23
First-aid kit*23
Refueling24
Fuel specifications25
Tire inflation pressure25
Controls and features
Opening and closing:
Keys30
Central locking system30
Opening and closing – via the
remote control31
Opening and closing – via the
door lock33
Opening and closing – from the
inside34
Tailgate34
Rear window35
Cargo area36
Alarm system*37
Electric power windows39
Sliding/tilt sunroof*40
To adjust:
Safe seating position43
Seats44
Manual seat adjustment44
Power seat adjustment*46
Lumbar support*46
Head restraints47
Safety belts47
Seat and mirror memory*48
Seat heating*49
Steering wheel50
Mirrors50
handbook.book Page 8 Saturday, July 27, 2002 1:36 PM
Page 32 of 166
32
Convenience opening modePress and hold button: the power win-
dows and sliding/tilt sunroof are
opened.To lock and securePress button.To switch on the interior lampsAfter locking the vehicle, press button
again.To deactivate the tilt alarm* and
interior motion sensors*Press button a second time immedi-
ately after locking.
For additional information, refer to
page 38.
To open the rear windowPress button.
The rear window opens slightly. It can
now be tilted up.
Before and after a trip, be sure
that the rear window has not been
opened unintentionally.<
If you prefer, the tailgate will open
instead of the rear window.
triggered in the event of danger, if it is
armed.
To switch of the alarm:
Press button.External systemsThe remote control system's operation
may be affected by other units or
equipment operating in the immediate
vicinity of your vehicle.
If this should occur, you can still open
and close the vehicle using the master
key in the door lock.For US owners onlyThe transmitter and receiver units com-
ply with part 15 of the FCC/Federal
Communications Commission regula-
tions. Operation is governed by the fol-
lowing:
FCC ID:
>LX8EWS
>LX8FZVS
>LX8FZVE.
Compliance statement:
This device complies with part 15 of the
FCC Rules. Operation is subject to the
following two conditions:
>This device may not cause harmful
interference, and
>this device must accept any interfer-
ence received, including interference
that may cause undesired operation.
Any unauthorized modifications to
these devices could void the
user's authority to operate the equip-
ment.<
Opening and closing – via the remote control
handbook.book Page 32 Saturday, July 27, 2002 1:36 PM
Page 33 of 166
33
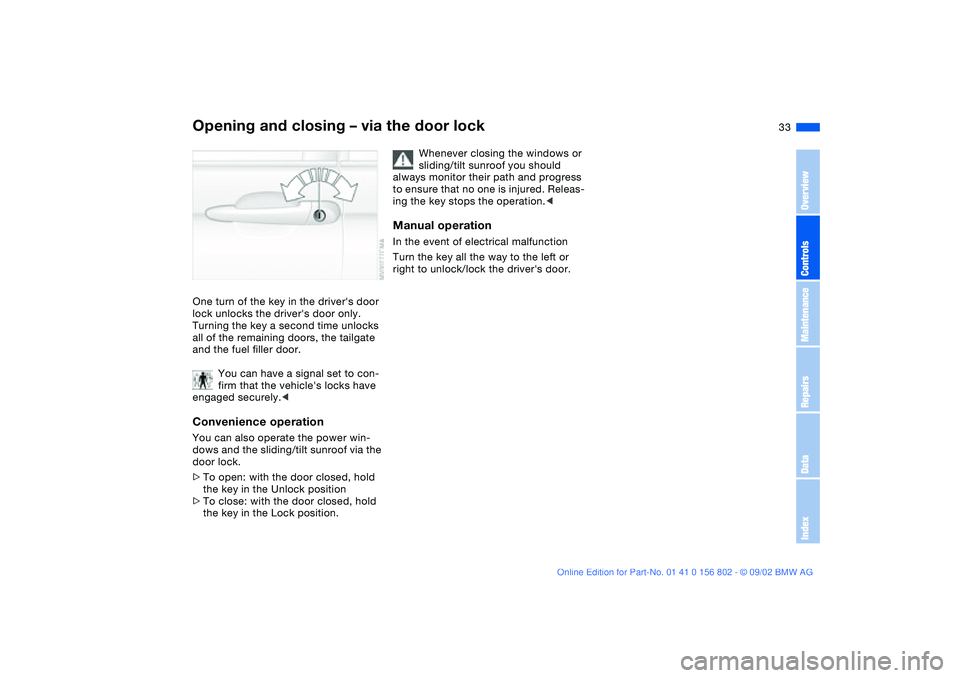
Opening and closing – via the door lockOne turn of the key in the driver's door
lock unlocks the driver's door only.
Turning the key a second time unlocks
all of the remaining doors, the tailgate
and the fuel filler door.
You can have a signal set to con-
firm that the vehicle's locks have
engaged securely.
door lock.
>To open: with the door closed, hold
the key in the Unlock position
>To close: with the door closed, hold
the key in the Lock position.
Whenever closing the windows or
sliding/tilt sunroof you should
always monitor their path and progress
to ensure that no one is injured. Releas-
ing the key stops the operation.<
Manual operationIn the event of electrical malfunction
Turn the key all the way to the left or
right to unlock/lock the driver's door.
OverviewControlsMaintenanceRepairsDataIndex
handbook.book Page 33 Saturday, July 27, 2002 1:36 PM
Page 36 of 166
36
Always drive with both the tailgate
and the rear window securely
closed, as exhaust gases might other-
wise be drawn into the interior of the
vehicle.
<
Should it be absolutely necessary to
operate the vehicle with the tailgate or
rear window open:
1. Close all windows. Shut the slid-
ing/tilt sunroof
2. To increase the quantity of air for the
air conditioner or automatic climate
control system, see page 92 or 96.
To open from the outsideSmall items can be loaded or unloaded
quickly if the rear window is opened
separately.
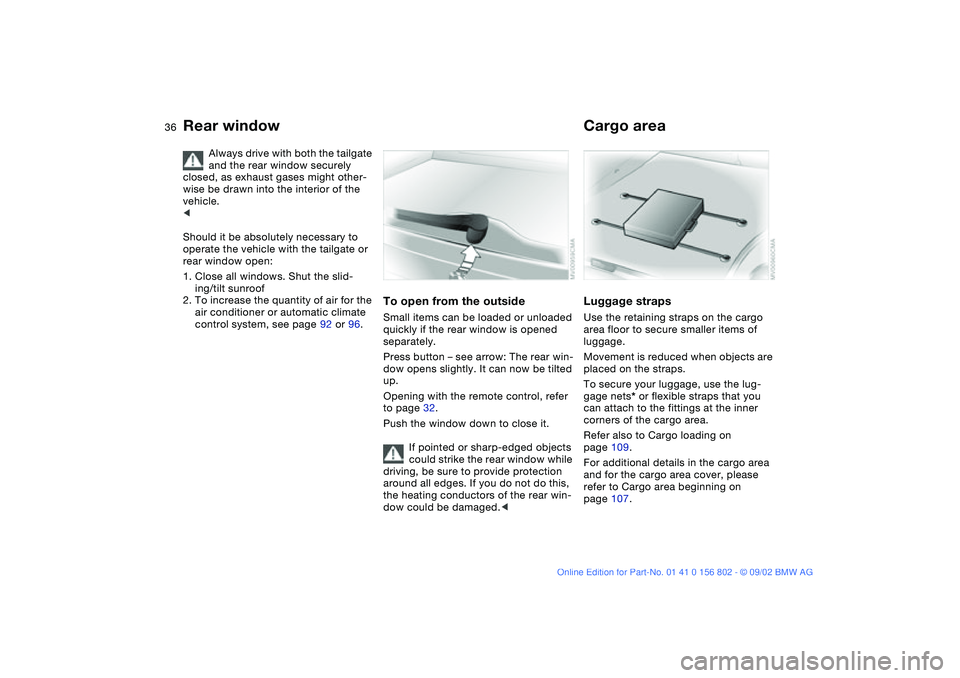
Press button – see arrow: The rear win-
dow opens slightly. It can now be tilted
up.
Opening with the remote control, refer
to page 32.
Push the window down to close it.
If pointed or sharp-edged objects
could strike the rear window while
driving, be sure to provide protection
around all edges. If you do not do this,
the heating conductors of the rear win-
dow could be damaged.<
Cargo areaLuggage strapsUse the retaining straps on the cargo
area floor to secure smaller items of
luggage.
Movement is reduced when objects are
placed on the straps.
To secure your luggage, use the lug-
gage nets* or flexible straps that you
can attach to the fittings at the inner
corners of the cargo area.
Refer also to Cargo loading on
page 109.
For additional details in the cargo area
and for the cargo area cover, please
refer to Cargo area beginning on
page 107.
Rear window
handbook.book Page 36 Saturday, July 27, 2002 1:36 PM
Page 38 of 166
38
armed: an attempted entry has been
detected in the period since the sys-
tem was armed.
Following triggering of an alarm, the
indicator lamp will flash continuously.Avoiding unintentional alarmsThe tilt alarm sensor and interior motion
sensor may be switched off at the same
time. You can do this to prevent a false
alarm from being triggered in garages
with elevator ramps, for instance, or
when the vehicle is transported by train:
Lock the vehicle twice to arm the sys-
tem. Press the button on the remote
control twice in succession or lock the
vehicle twice with the key.
The indicator lamp lights up briefly and
then flashes continuously. The tilt alarm
sensor and the interior motion sensor
are deactivated as long as the system is
armed.Interior motion sensorIn order for the interior motion sensor to
function properly, the windows and
sliding/tilt sunroof must be completely
closed.
Nevertheless, you should deactivate
the interior motion sensor, see Avoiding
unintentional alarms, if
>persons or animals are left in the
vehicle
>the windows or the sliding/tilt sunroof
are being left open.
The system deactivates the tilt-
alarm sensor and the interior
motion sensor if the convenience clos-
ing of windows and the sliding/tilt sun-
roof is interrupted in the first 10 sec-
onds and then restarted. The alarm
must then be disarmed and reactivated
before it will resume operation.<
Alarm system*
handbook.book Page 38 Saturday, July 27, 2002 1:36 PM
Page 40 of 166
40
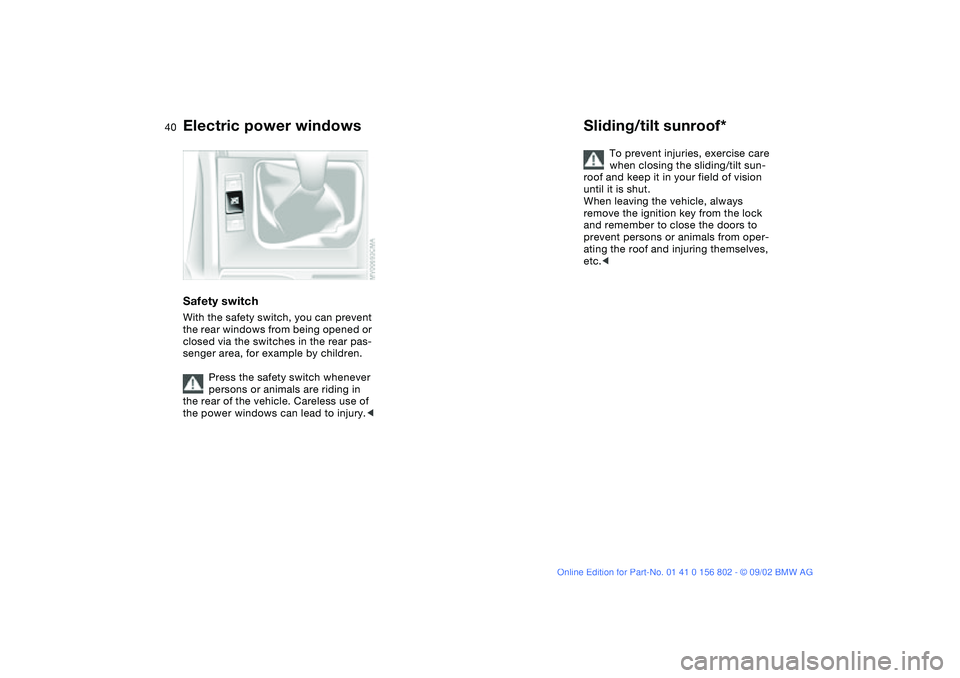
Safety switchWith the safety switch, you can prevent
the rear windows from being opened or
closed via the switches in the rear pas-
senger area, for example by children.
Press the safety switch whenever
persons or animals are riding in
the rear of the vehicle. Careless use of
the power windows can lead to injury.<
Sliding/tilt sunroof*
To prevent injuries, exercise care
when closing the sliding/tilt sun-
roof and keep it in your field of vision
until it is shut.
When leaving the vehicle, always
remove the ignition key from the lock
and remember to close the doors to
prevent persons or animals from oper-
ating the roof and injuring themselves,
etc.<
Electric power windows
handbook.book Page 40 Saturday, July 27, 2002 1:36 PM
Page 41 of 166
41
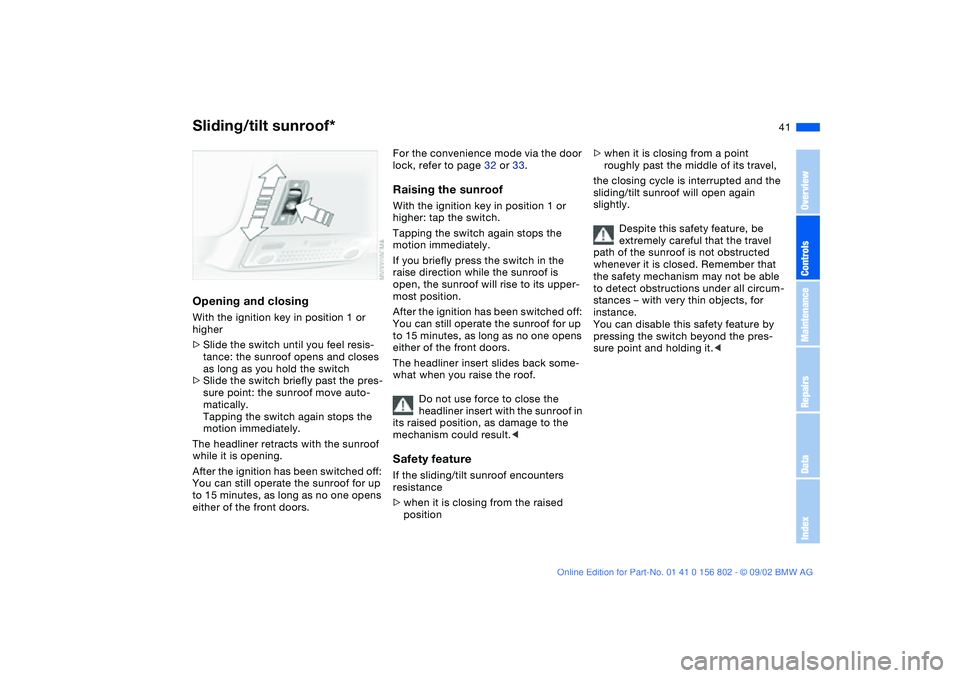
Opening and closingWith the ignition key in position 1 or
higher
>Slide the switch until you feel resis-
tance: the sunroof opens and closes
as long as you hold the switch
>Slide the switch briefly past the pres-
sure point: the sunroof move auto-
matically.
Tapping the switch again stops the
motion immediately.
The headliner retracts with the sunroof
while it is opening.
After the ignition has been switched off:
You can still operate the sunroof for up
to 15 minutes, as long as no one opens
either of the front doors.
For the convenience mode via the door
lock, refer to page 32 or 33.Raising the sunroofWith the ignition key in position 1 or
higher: tap the switch.
Tapping the switch again stops the
motion immediately.
If you briefly press the switch in the
raise direction while the sunroof is
open, the sunroof will rise to its upper-
most position.
After the ignition has been switched off:
You can still operate the sunroof for up
to 15 minutes, as long as no one opens
either of the front doors.
The headliner insert slides back some-
what when you raise the roof.
Do not use force to close the
headliner insert with the sunroof in
its raised position, as damage to the
mechanism could result.
>when it is closing from the raised
position
>when it is closing from a point
roughly past the middle of its travel,
the closing cycle is interrupted and the
sliding/tilt sunroof will open again
slightly.
Despite this safety feature, be
extremely careful that the travel
path of the sunroof is not obstructed
whenever it is closed. Remember that
the safety mechanism may not be able
to detect obstructions under all circum-
stances – with very thin objects, for
instance.
You can disable this safety feature by
pressing the switch beyond the pres-
sure point and holding it.<
Sliding/tilt sunroof*
OverviewControlsMaintenanceRepairsDataIndex
handbook.book Page 41 Saturday, July 27, 2002 1:36 PM
Page 42 of 166
42
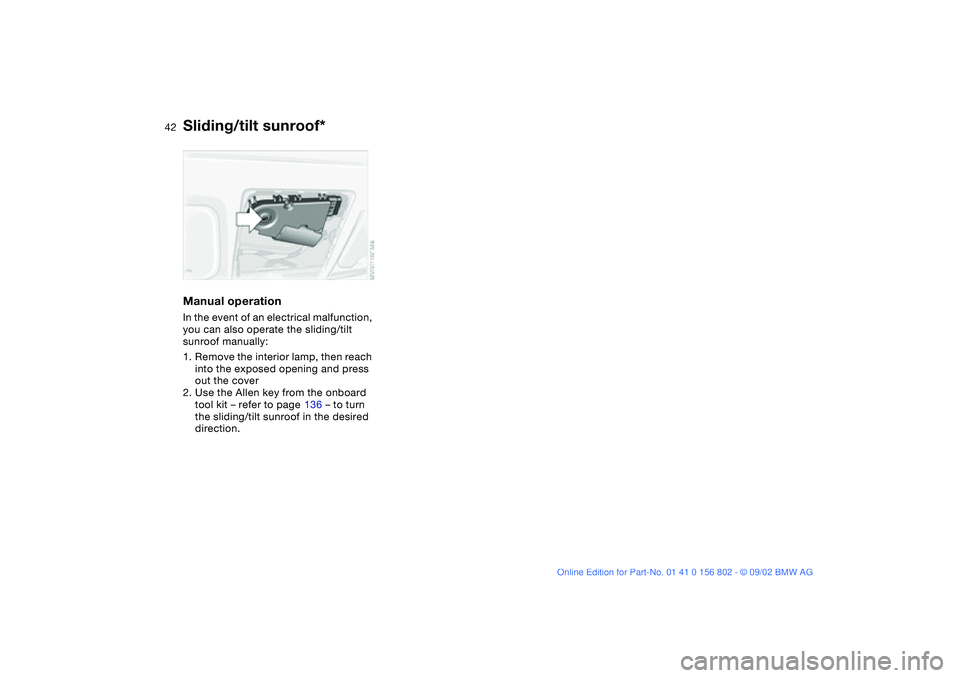
Manual operationIn the event of an electrical malfunction,
you can also operate the sliding/tilt
sunroof manually:
1. Remove the interior lamp, then reach
into the exposed opening and press
out the cover
2. Use the Allen key from the onboard
tool kit – refer to page 136 – to turn
the sliding/tilt sunroof in the desired
direction.Sliding/tilt sunroof*
handbook.book Page 42 Saturday, July 27, 2002 1:36 PM
Page 111 of 166
111
Roof-mounted luggage rack*A special roof-rack system is available
as an optional extra for your BMW.
Please observe the precautions
included with the installation instruc-
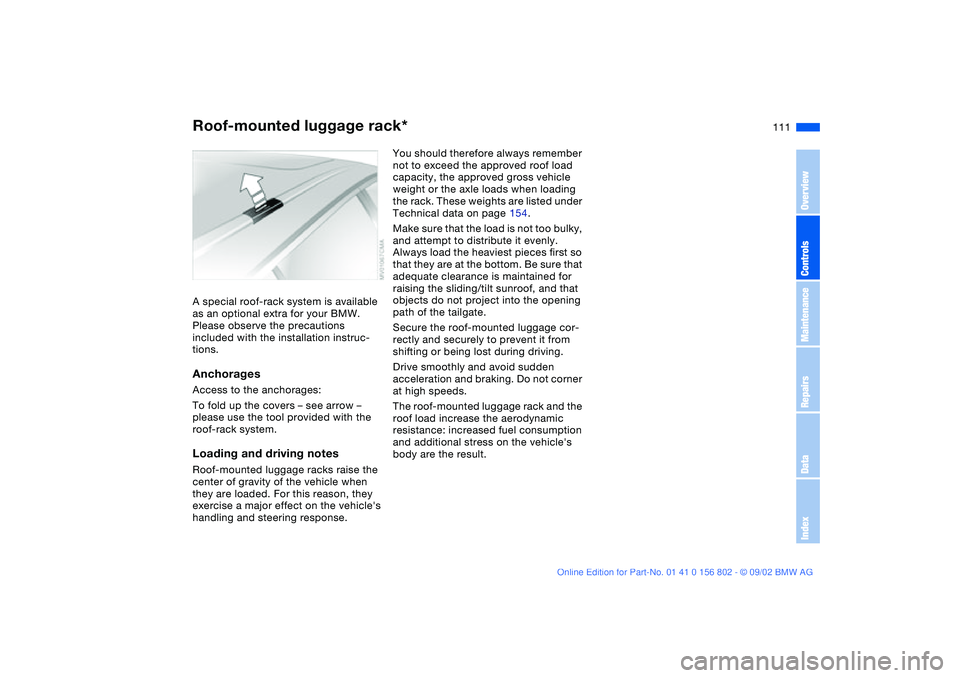
tions.AnchoragesAccess to the anchorages:
To fold up the covers – see arrow –
please use the tool provided with the
roof-rack system.Loading and driving notesRoof-mounted luggage racks raise the
center of gravity of the vehicle when
they are loaded. For this reason, they
exercise a major effect on the vehicle's
handling and steering response.
You should therefore always remember
not to exceed the approved roof load
capacity, the approved gross vehicle
weight or the axle loads when loading
the rack. These weights are listed under
Technical data on page 154.
Make sure that the load is not too bulky,
and attempt to distribute it evenly.
Always load the heaviest pieces first so
that they are at the bottom. Be sure that
adequate clearance is maintained for
raising the sliding/tilt sunroof, and that
objects do not project into the opening
path of the tailgate.
Secure the roof-mounted luggage cor-
rectly and securely to prevent it from
shifting or being lost during driving.
Drive smoothly and avoid sudden
acceleration and braking. Do not corner
at high speeds.
The roof-mounted luggage rack and the
roof load increase the aerodynamic
resistance: increased fuel consumption
and additional stress on the vehicle's
body are the result.
OverviewControlsMaintenanceRepairsDataIndex
handbook.book Page 111 Saturday, July 27, 2002 1:36 PM
Page 159 of 166
Everything from A to Z
159
Check Control 73
Child-restraint mounting
system (LATCH) 56
Cigarette lighter 104
Clean rear window 68
Clean windshield 68
Clock 74
setting, refer also to the
radio or onboard com-
puter Owner's Manual
Cockpit 14
Code, refer to the Owner's
Manual for Radio
Coin box 102
Compartments 102
Compression ratio 152
Computer 75
Condensation, removing
from windows 95, 98
Consumption 76
display 72
Coolant 128, 155
Cooling system 155
Copyright 4
Cornering Brake Control
(CBC) 18, 115
Cover, refer to Cargo area
cover
Cruise control 69
Cup holder, see Beverage
holder 103
Curb weight 154Cushion height 153
D
Data
dimensions 153
engine 152
technical 152
weights 154
Daytime driving lamps 89
DBC Dynamic Brake
Control 115
Defrost position 95, 98
Defrosting rear window
94, 99
Defrosting, windows 95, 98
Digital clock 74
Dimensions 153
Dipstick, engine oil 126
Displacement 152
Display lighting 90
Displays 16
Distance warning 77
Door key 30
Door lock buttons 34
Doors
emergency operation 33
unlocking and locking 31
Driving notes 115
DSC Dynamic Stability
Control 18, 19, 80
DTC Dynamic Traction
Control 80Dynamic Brake Control
(DBC) 115
Dynamic Stability Control
(DSC) 18, 19, 80
Dynamic Traction Control
(DTC) 80
E
Electric power windows 39
Electrical accessories, fail-
ure 146
Electrical malfunction
fuel filler door 24
sliding/tilt sunroof 42
Emergency operation
doors 33
fuel filler door 24
sliding/tilt sunroof 42
Emissions, minimum, refer
to Energy control 71
Energy control 71
Engine
starting 59
switching off 61
Engine compartment 124
Engine coolant 155
adding 128
temperature gauge 72
Engine data 152Engine oil
adding 126
capacity 155
quality 127
viscosity 127
Engine oil consumption 126
Engine oil level 19
check 126
Engine oil pressure 18
Engine oil types 127
Engine speed 152
Environmentally-friendly
driving, refer to Energy
control 71
Exterior mirrors 50
Eyelet, towing 148
F
Failure messages 73
False alarm, avoiding 38
Fault displays 73
First-aid kit 23
Flashlight 102
Flat tire 117, 141
Flat Tire Monitor 86
Floor panel, lifting 109
Fog lamps 91
Folding rear backrest 107
Follow me home lamps 89
Front fog lamps 91
Front seat adjustment 44
OverviewControlsMaintenanceRepairsDataIndex
handbook.book Page 159 Saturday, July 27, 2002 1:36 PM