sunroof BMW 325XI 2001 Owners Manual
[x] Cancel search | Manufacturer: BMW, Model Year: 2001, Model line: 325XI, Model: BMW 325XI 2001Pages: 211, PDF Size: 2.1 MB
Page 10 of 211

Contents
Overview
Controls and features
Cockpit16
Instrument cluster18
Indicator and warning lamps20
Multifunction steering wheel
(MFL)24
Sports steering wheel with
multifunction buttons25
Hazard warning flashers26
Warning triangle26
First-aid kit26
Refueling27
Fuel specifications28
Tire inflation pressure28
Locks and security systems:
Keys32
Electronic vehicle
immobilizer33
Central locking system34
Opening and closing Ð from the
outside34
Opening and closing Ð from the
inside38
Luggage compartment lid39
Luggage compartment41
Alarm system42
Electric power windows44
Sliding/tilt sunroof45
Adjustments:
Seats47
Seat and mirror memory50
Steering wheel51
Mirrors52
Car Memory, Key Memory53
Passenger safety systems:
Safety belts54
Airbags55
Transporting children safely59
Driving:
Steering/Ignition lock62
Starting the engine62
Switching off the engine63
Parking brake64
Manual transmission65
Automatic transmission with
Steptronic66
Turn signal indicator/Headlamp
flasher69
Wiper/Washer system69
Rear window defroster71
Cruise control72
Everything under control:
Odometer74
Tachometer74
Energy Control74
Fuel gauge75
Temperature gauge75
Service Interval Display75
Check Control76
Clock76
Computer77
Technology for safety and
convenience:
Park Distance Control (PDC)79
Automatic Stability Control plus
Traction (ASC+T)80
Dynamic Stability Control
(DSC)82
Tire Pressure Control (RDC)86
Contents
Page 12 of 211

Contents
Owner service procedures
Advanced technology
Technical data
Replacement procedures:
Onboard tool kit158
Windshield wiper blades158
Lamps and bulbs158
Changing a wheel165
Battery168
Fuses170
Microfilter/Activated-charcoal
filter171
In case of electrical
malfunction:
Fuel filler door172
Sliding/Tilt sunroof172
Assistance, giving and
receiving:
Jump-starting173
Towing the vehicle174Adaptive Transmission Control
(ATC)178
Airbags179
Automatic Stability Control plus
traction (ASC+T)/Dynamic
Stability Control (DSC)180
Radio reception181
Four-wheel drive182
Safety belt tensioner183
Interior rearview mirror with
automatic dimming
feature184
Rain sensor185
Tire Pressure Control (RDC)186
Self-diagnostics187
Xenon lamps188Engine data192
Dimensions193
Weights194
Capacities195
Electrical system196
V-belts196
Page 30 of 211
30n
Controls Locks and security systems:
Keys32
Electronic vehicle
immobilizer33
Central locking system34
Opening and closing Ð from the
outside36
Opening and closing Ð from the
inside38
Luggage compartment lid39
Luggage compartment41
Alarm system42
Electric power windows44
Sliding/tilt sunroof45
Adjustments:
Seats47
Seat and mirror memory50
Steering wheel51
Mirrors52
Car Memory, Key Memory53
Passenger safety systems:
Safety belts54
Airbags55
Transporting children safely59
Page 34 of 211
34n
Central locking system Opening and closing Ð from the outside The conceptThe central locking system is ready for
operation whenever the driver's door is
closed. The system engages and
releases the locks on the
>doors,
>luggage compartment lid and
>fuel filler door.
The central locking system can be
operated
>from outside via the door lock and
using the remote control
>from inside by pressing a button.
Activating it from inside does not lock
the fuel filler door (see page 38). When
the system is actuated from the
outside, the antitheft system is acti-
vated simultaneously. Both the door
locks and the safety lock buttons
remain locked. The alarm system is also
armed or disarmed.
If locked from the inside, the central
locking system unlocks automatically in
the event of an accident. In addition,
the hazard warning flashers and interior
lamps come on.
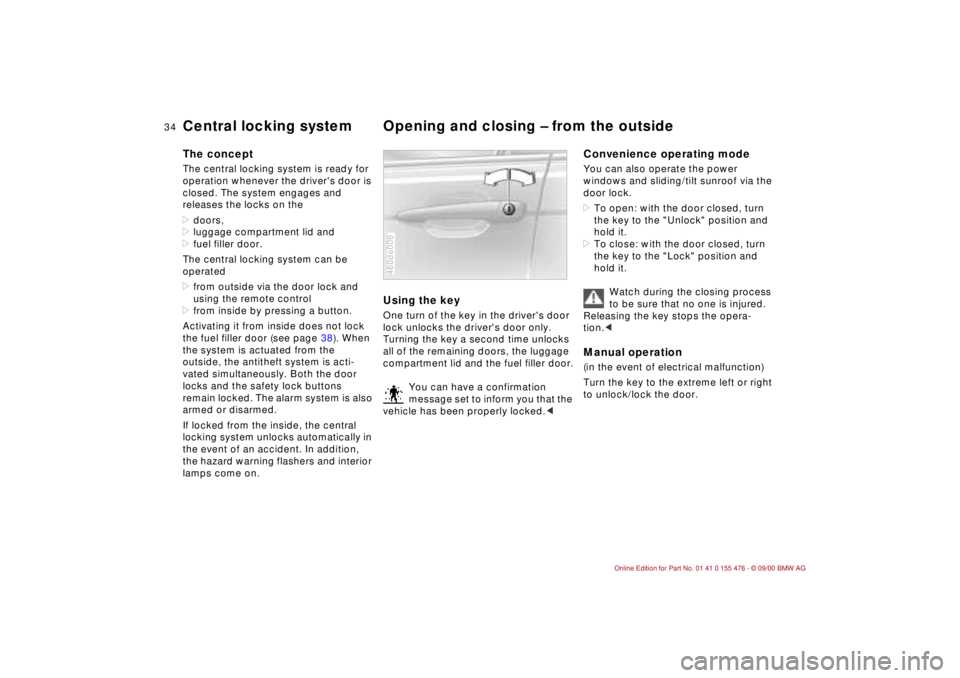
Using the keyOne turn of the key in the driver's door
lock unlocks the driver's door only.
Turning the key a second time unlocks
all of the remaining doors, the luggage
compartment lid and the fuel filler door.
You can have a confirmation
message set to inform you that the
vehicle has been properly locked.<460de006
Convenience operating modeYou can also operate the power
windows and sliding/tilt sunroof via the
door lock.
>To open: with the door closed, turn
the key to the "Unlock" position and
hold it.
>To close: with the door closed, turn
the key to the "Lock" position and
hold it.
Watch during the closing process
to be sure that no one is injured.
Releasing the key stops the opera-
tion.
to unlock/lock the door.
Page 36 of 211
36n
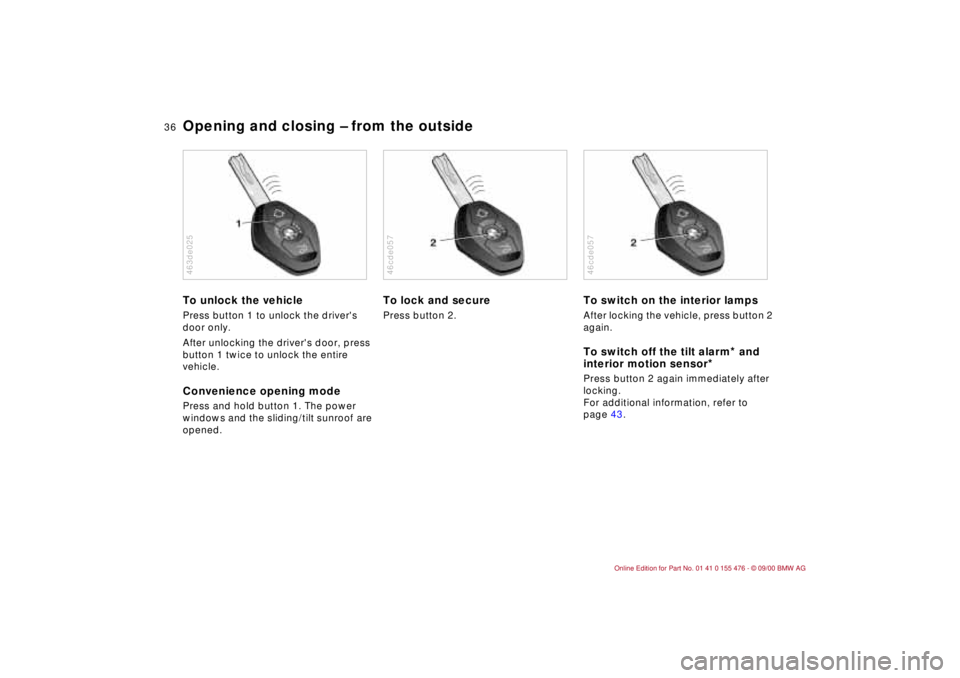
Opening and closing Ð from the outsideTo unlock the vehiclePress button 1 to unlock the driver's
door only.
After unlocking the driver's door, press
button 1 twice to unlock the entire
vehicle.Convenience opening modePress and hold button 1. The power
windows and the sliding/tilt sunroof are
opened.463de025
To lock and securePress button 2.46cde057
To switch on the interior lampsAfter locking the vehicle, press button 2
again.To switch off the tilt alarm
* and
interior motion sensor
*
Press button 2 again immediately after
locking.
For additional information, refer to
page 43.46cde057
Page 40 of 211
40n
Luggage compartment lidOpening from the inside
*
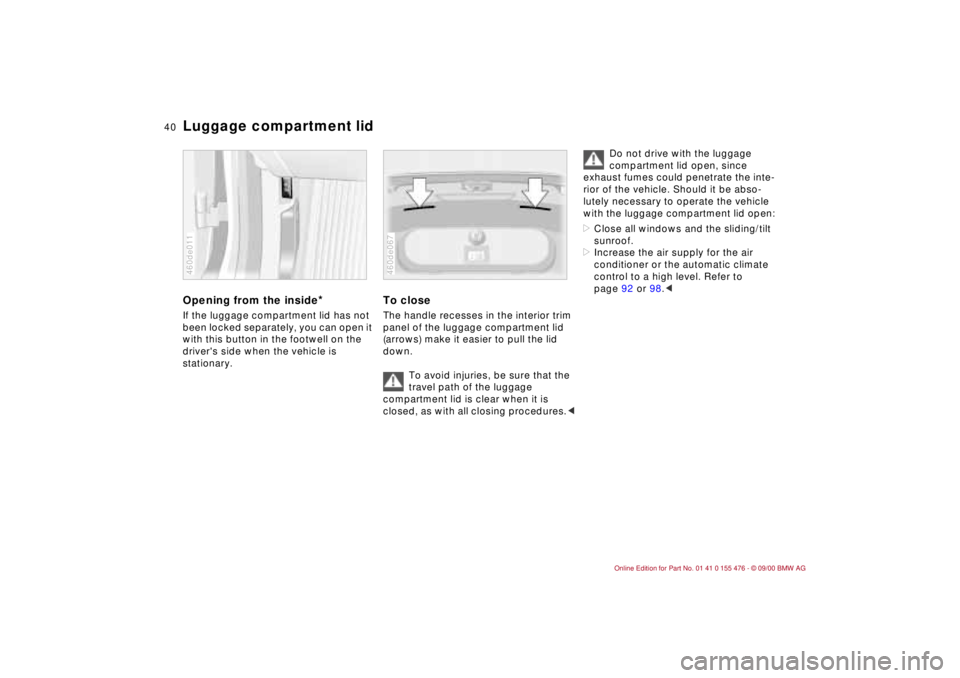
If the luggage compartment lid has not
been locked separately, you can open it
with this button in the footwell on the
driver's side when the vehicle is
stationary.460de011
To closeThe handle recesses in the interior trim
panel of the luggage compartment lid
(arrows) make it easier to pull the lid
down.
To avoid injuries, be sure that the
travel path of the luggage
compartment lid is clear when it is
closed, as with all closing procedures.<460de067
Do not drive with the luggage
compartment lid open, since
exhaust fumes could penetrate the inte-
rior of the vehicle. Should it be abso-
lutely necessary to operate the vehicle
with the luggage compartment lid open:
>Close all windows and the sliding/tilt
sunroof.
>Increase the air supply for the air
conditioner or the automatic climate
control to a high level. Refer to
page 92 or 98.<
Page 43 of 211
43n
IndexDataTechnologyRepairsCar careControlsOverview
Alarm system
*
>If the indicator lamp flashes for
10 seconds when the system is
disarmed: an attempted entry has
been detected in the period since the
system was armed.
Following triggering of an alarm, the
indicator lamp will flash continuously.Avoiding an unintentional alarmThe tilt alarm sensor and interior motion
sensor may be switched off at the same
time. You can do this to prevent a false
alarm from being triggered (in garages
with elevator ramps, for instance), or
when the vehicle is transported by
trailer or train:
Lock the vehicle twice (= arm the
system). Press button 2 on the remote
control twice in succession or lock the
vehicle twice with the key (refer to
page 36).
The indicator lamp lights up briefly and
then flashes continuously. The tilt alarm
sensor and the interior motion sensor
are deactivated as long as the system is
armed.
Activate the alarm to reactivate the tilt
alarm sensor and the interior motion
sensor.
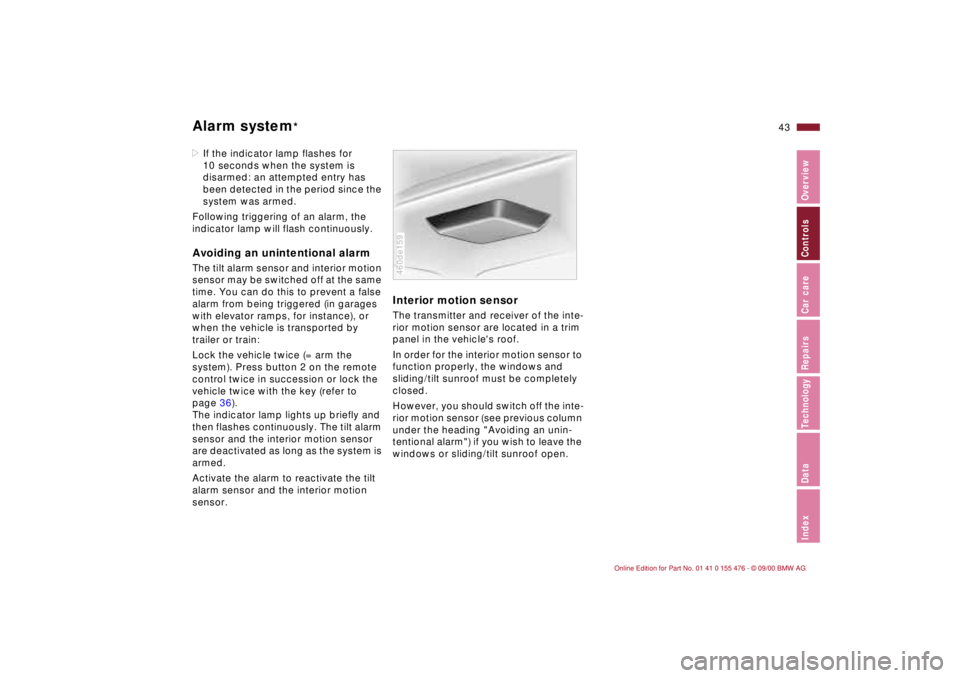
Interior motion sensorThe transmitter and receiver of the inte-
rior motion sensor are located in a trim
panel in the vehicle's roof.
In order for the interior motion sensor to
function properly, the windows and
sliding/tilt sunroof must be completely
closed.
However, you should switch off the inte-
rior motion sensor (see previous column
under the heading "Avoiding an unin-
tentional alarm") if you wish to leave the
windows or sliding/tilt sunroof open.460de159
Page 45 of 211
45n
IndexDataTechnologyRepairsCar careControlsOverview
Electric power windows Sliding/tilt sunroof
*
Safety switch This way, you can prevent the children,
for example, from using the switch in
the rear
* to open and close the rear
windows.
Press the safety switch whenever
children are riding in the rear of
the vehicle. Careless use of the power
windows can lead to injury.<
460de014
Exercise care when closing the
sliding/tilt sunroof and keep it in
your field of vision until it is completely
closed. Failure to do so can result in
injuries.
Remove the key from the ignition and
close the doors when you leave the
vehicle so that children cannot operate
the sunroof and possibly injure them-
selves.<
To avoid pressure or drafts in the
passenger compartment when the
sunroof is open or raised, keep the air
vents in the dashboard open and
increase the air supply if necessary.
Refer to page 92 or 101.
If the sunroof is completely open, air
disturbances may be caused in the
vehicle when you are driving at higher
speeds. Close the roof as far as is
necessary until this natural phenom-
enon ceases.
For the convenience operating mode
with the door lock or the remote
control, refer to page 34 or 36.
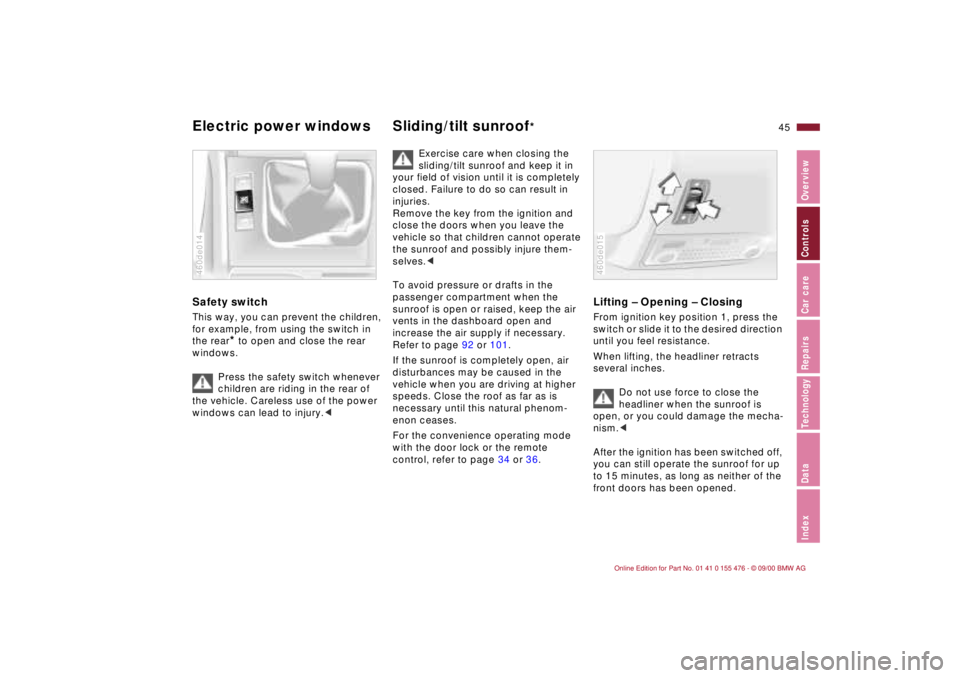
Lifting Ð Opening Ð ClosingFrom ignition key position 1, press the
switch or slide it to the desired direction
until you feel resistance.
When lifting, the headliner retracts
several inches.
Do not use force to close the
headliner when the sunroof is
open, or you could damage the mecha-
nism.<
After the ignition has been switched off,
you can still operate the sunroof for up
to 15 minutes, as long as neither of the
front doors has been opened.460de015
Page 46 of 211

46n
Sliding/tilt sunroof
*
Automatic opening and closing>Press the switch past the resistance
point briefly: the sunroof travels to
either the fully-closed or fully-open
position.
>With the sunroof open, press the
switch briefly toward "Lift:" the
sunroof automatically extends to its
fully raised position.
Pressing the switch again briefly stops
the motion immediately.
Safety featureIf the sliding/tilt sunroof encounters
resistance at a point roughly past the
middle of its travel when it is closing,
the closing cycle is interrupted and the
sunroof will open again slightly.
Despite this safety feature, always
be careful to ensure that the
closing path of the roof is not
obstructed. Otherwise, an object might
not touch the contact strip in some situ-
ations (very thin objects, for instance).
You can disable this safety feature by
pressing the switch beyond the resis-
tance point and holding it.<
Power loss or malfunctionIn the event of an electrical system
malfunction, the sliding/tilt sunroof can
be manually operated. Refer to
page 172.
Page 113 of 211
113n
IndexDataTechnologyRepairsCar careControlsOverview
Cargo loading Roof-mounted luggage rack
*
Always position and secure the
load correctly. If you do not, it can
endanger the passengers during brak-
ing or evasive maneuvers.
Do not exceed the permissible gross
vehicle weight and the permissible axle
loads (refer to page 194). If you do, the
operating safety of the vehicle is no
longer ensured and you are in violation
of the law.
Do not carry hard or heavy objects
unsecured in the passenger compart-
ment. If you do so, they may be
projected through the air during braking
and evasive maneuvers, thus
endangering vehicle occupants.<
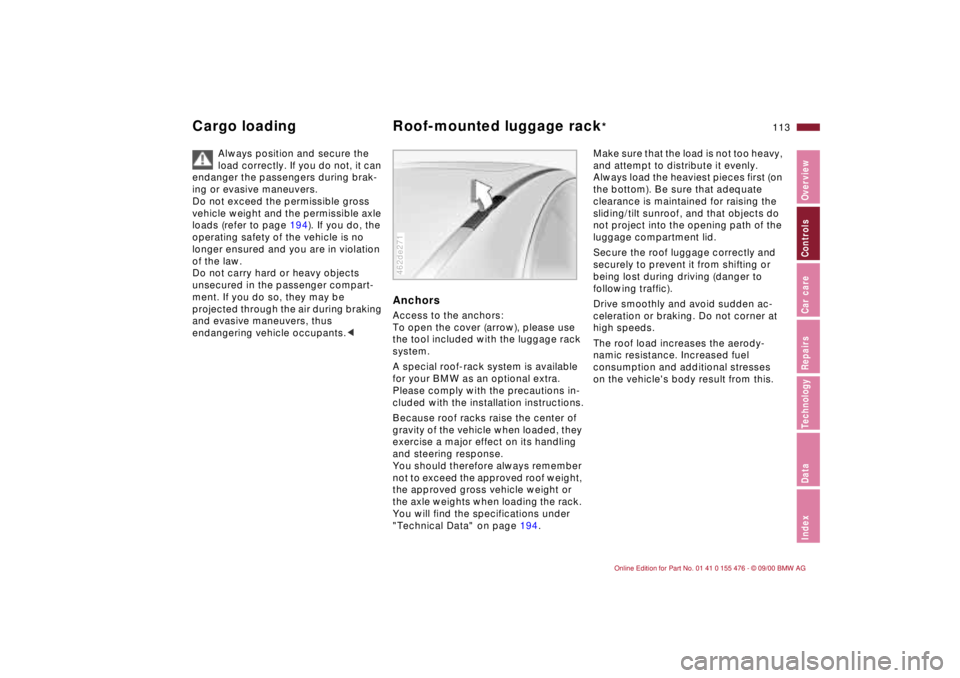
AnchorsAccess to the anchors:
To open the cover (arrow), please use
the tool included with the luggage rack
system.
A special roof-rack system is available
for your BMW as an optional extra.
Please comply with the precautions in-
cluded with the installation instructions.
Because roof racks raise the center of
gravity of the vehicle when loaded, they
exercise a major effect on its handling
and steering response.
You should therefore always remember
not to exceed the approved roof weight,
the approved gross vehicle weight or
the axle weights when loading the rack.
You will find the specifications under
"Technical Data" on page 194.462de271
Make sure that the load is not too heavy,
and attempt to distribute it evenly.
Always load the heaviest pieces first (on
the bottom). Be sure that adequate
clearance is maintained for raising the
sliding/tilt sunroof, and that objects do
not project into the opening path of the
luggage compartment lid.
Secure the roof luggage correctly and
securely to prevent it from shifting or
being lost during driving (danger to
following traffic).
Drive smoothly and avoid sudden ac-
celeration or braking. Do not corner at
high speeds.
The roof load increases the aerody-
namic resistance. Increased fuel
consumption and additional stresses
on the vehicle's body result from this.