ECU BMW 325XI SPORTS WAGON 2004 Owners Manual
[x] Cancel search | Manufacturer: BMW, Model Year: 2004, Model line: 325XI SPORTS WAGON, Model: BMW 325XI SPORTS WAGON 2004Pages: 178, PDF Size: 2.69 MB
Page 3 of 178
Congratulations, and thank you for choosing a BMW.
Thorough familiarity with your vehicle will provide you with enhanced control and
security when you drive it. Therefore we have one request:
Please take the time to read this Owner's Manual and familiarize yourself with the
information that we have compiled for you before starting off in your new BMW. The
manual contains important data and instructions intended to assist you in obtaining
maximum satisfaction from your BMW's unique array of advanced technical fea-
tures. It also contains information on vehicle maintenance designed to enhance
operating safety while simultaneously helping you to maintain your BMW's value
throughout an extended service life. For additional information refer to the supple-
mental manuals.
This Owner's Manual should be considered a permanent part of this vehicle. It
should stay with the vehicle when sold to provide the next owner with important
operating, safety and maintenance information.
We wish you an enjoyable driving experience.
BMW AG
Page 31 of 178
31
Opening and closing – via the remote controlThe conceptThe remote control also provides two
additional functions beyond the central
locking feature:
>To switch on interior lamps, refer to
page 32.
With this function you can also
search for the vehicle when parked in
an underground garage, for instance
>Opening the rear window, refer to
page 32.
The rear window will open slightly,
regardless of whether it was previ-
ously locked or unlocked.
Whenever you unlock or lock the vehi-
cle, you simultaneously deactivate/acti-
vate the anti-theft system, disarm/arm
the alarm system and switch the interior
lamps on/off.
You can have a signal set to con-
firm that the vehicle's locks have
engaged securely.
vehicle may be able to lock the
doors from the inside. For this reason,
always take the vehicle keys with you
so that the vehicle can be opened again
from the outside at any time.<
If it is no longer possible to lock
the vehicle via the remote control,
the battery is discharged. Use this key
while driving for an extended period in
order to recharge the battery. To pre-
vent unauthorized use of the remote
control, surrender only the spare key
when leaving the vehicle for valet park-
ing, for example.
In the event of a system malfunction,
please contact your BMW center. You
can also obtain replacement keys
there.<
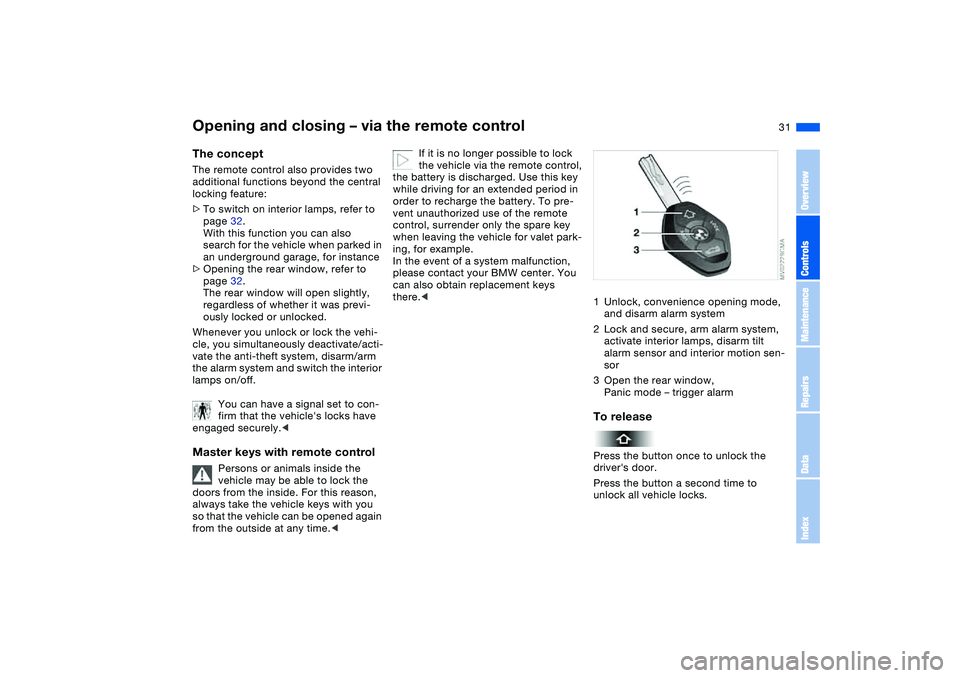
1Unlock, convenience opening mode,
and disarm alarm system
2Lock and secure, arm alarm system,
activate interior lamps, disarm tilt
alarm sensor and interior motion sen-
sor
3Open the rear window,
Panic mode – trigger alarmTo releasePress the button once to unlock the
driver's door.
Press the button a second time to
unlock all vehicle locks.
OverviewControlsMaintenanceRepairsDataIndex
Page 32 of 178
32
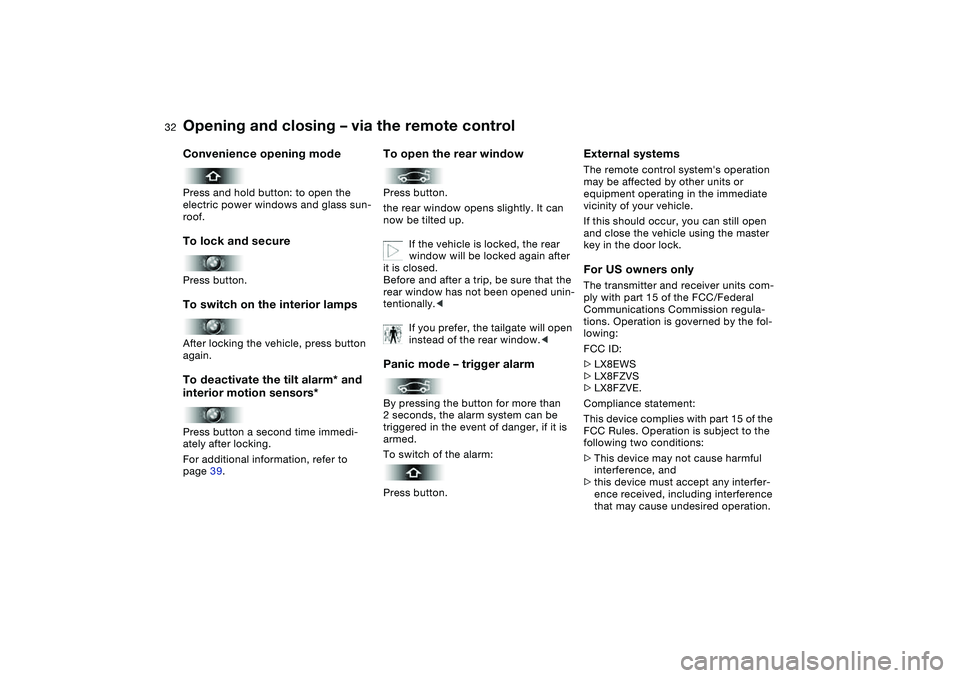
Convenience opening modePress and hold button: to open the
electric power windows and glass sun-
roof.To lock and securePress button.To switch on the interior lampsAfter locking the vehicle, press button
again.To deactivate the tilt alarm* and
interior motion sensors*Press button a second time immedi-
ately after locking.
For additional information, refer to
page 39.
To open the rear windowPress button.
the rear window opens slightly. It can
now be tilted up.
If the vehicle is locked, the rear
window will be locked again after
it is closed.
Before and after a trip, be sure that the
rear window has not been opened unin-
tentionally.<
If you prefer, the tailgate will open
instead of the rear window.
triggered in the event of danger, if it is
armed.
To switch of the alarm:
Press button.
External systemsThe remote control system's operation
may be affected by other units or
equipment operating in the immediate
vicinity of your vehicle.
If this should occur, you can still open
and close the vehicle using the master
key in the door lock.For US owners onlyThe transmitter and receiver units com-
ply with part 15 of the FCC/Federal
Communications Commission regula-
tions. Operation is governed by the fol-
lowing:
FCC ID:
>LX8EWS
>LX8FZVS
>LX8FZVE.
Compliance statement:
This device complies with part 15 of the
FCC Rules. Operation is subject to the
following two conditions:
>This device may not cause harmful
interference, and
>this device must accept any interfer-
ence received, including interference
that may cause undesired operation.
Opening and closing – via the remote control
Page 34 of 178
34
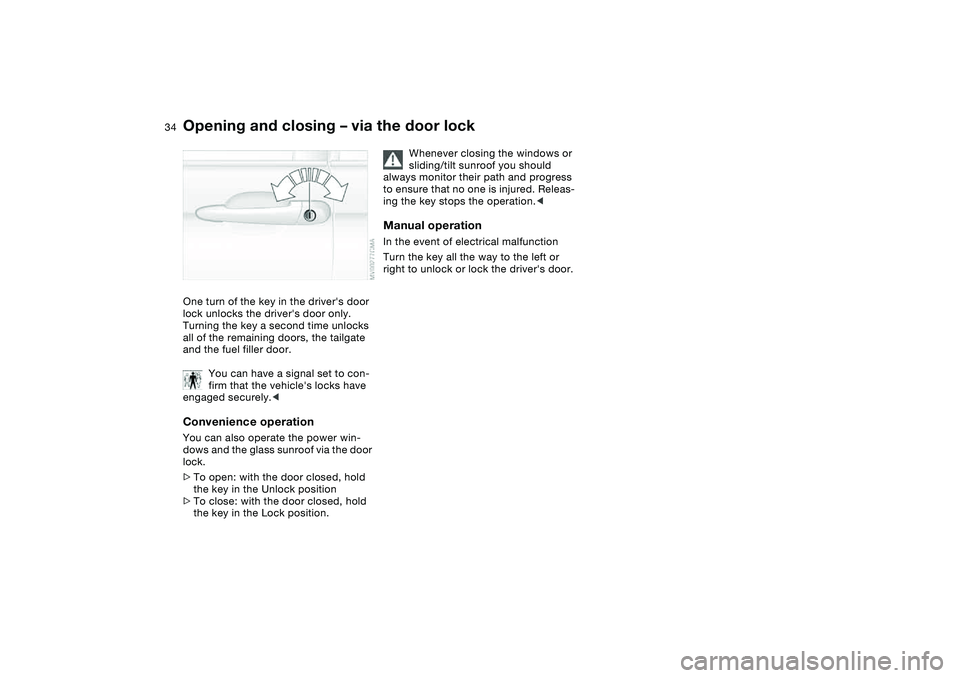
Opening and closing – via the door lockOne turn of the key in the driver's door
lock unlocks the driver's door only.
Turning the key a second time unlocks
all of the remaining doors, the tailgate
and the fuel filler door.
You can have a signal set to con-
firm that the vehicle's locks have
engaged securely.
lock.
>To open: with the door closed, hold
the key in the Unlock position
>To close: with the door closed, hold
the key in the Lock position.
Whenever closing the windows or
sliding/tilt sunroof you should
always monitor their path and progress
to ensure that no one is injured. Releas-
ing the key stops the operation.<
Manual operationIn the event of electrical malfunction
Turn the key all the way to the left or
right to unlock or lock the driver's door.
Page 37 of 178
37
Always drive with both the tailgate
and the rear window securely
closed, as exhaust gases might other-
wise be drawn into the interior of the
vehicle.<
Should it be absolutely necessary to
operate the vehicle with the tailgate or
the rear window open:
1. Close all windows and the glass sun-
roof
2. Greatly increase the quantity of air
coming from the air conditioning or
automatic climate control system,
refer to page 96 or 100.
To open from the outsideSmall items can be loaded or unloaded
quickly if the rear window is opened
separately.
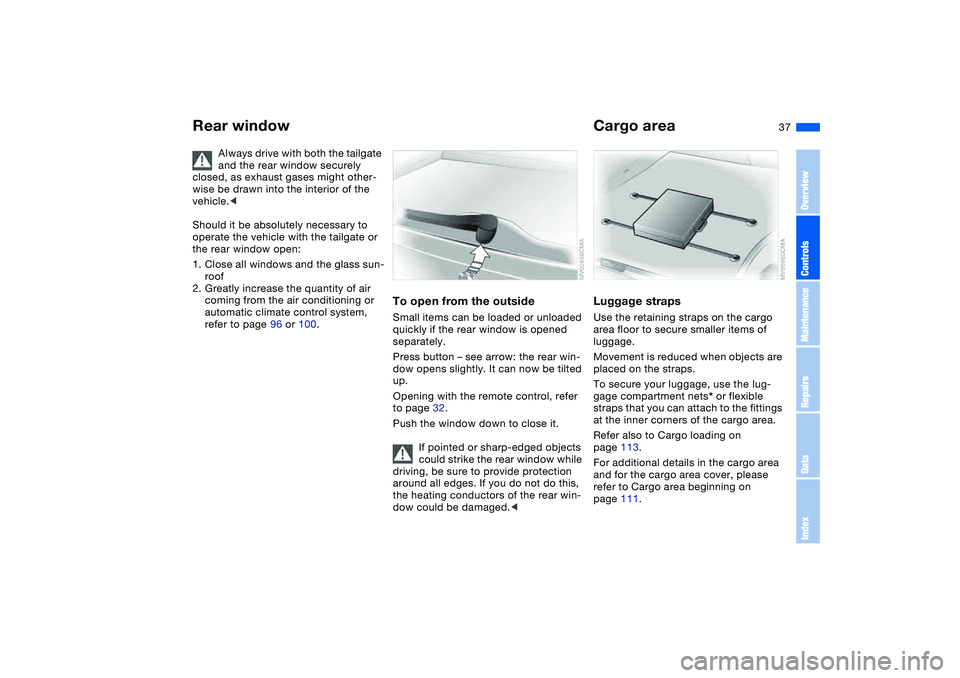
Press button – see arrow: the rear win-
dow opens slightly. It can now be tilted
up.
Opening with the remote control, refer
to page 32.
Push the window down to close it.
If pointed or sharp-edged objects
could strike the rear window while
driving, be sure to provide protection
around all edges. If you do not do this,
the heating conductors of the rear win-
dow could be damaged.<
Cargo areaLuggage strapsUse the retaining straps on the cargo
area floor to secure smaller items of
luggage.
Movement is reduced when objects are
placed on the straps.
To secure your luggage, use the lug-
gage compartment nets* or flexible
straps that you can attach to the fittings
at the inner corners of the cargo area.
Refer also to Cargo loading on
page 113.
For additional details in the cargo area
and for the cargo area cover, please
refer to Cargo area beginning on
page 111.
Rear window
OverviewControlsMaintenanceRepairsDataIndex
Page 38 of 178
38
Alarm system*The conceptThe vehicle alarm system responds:
>When a door, the hood, the tailgate
or the rear window is opened
>To movement inside the vehicle –
interior motion sensor
>To variations in the vehicle's tilt angle
such as those occurring during
attempts to steal the wheels or tow
the vehicle
>To interruption of battery voltage.
The system responds to unauthorized
vehicle entry and attempted theft by
simultaneously activating the following:
>Sounding an acoustic alarm for
30 seconds
>The hazard warning flashers are acti-
vated for approx. five minutes
>Flashing the high beams on and off in
rhythm with the hazard warning flash-
ers.To arm and disarm the alarm
systemWhen the vehicle is locked or unlocked
via the driver's door lock or with the
remote control, the alarm system is also
simultaneously armed or disarmed.You can have different acknowl-
edgment signals set to confirm
arming and disarming.<
You can also open the rear window
when the system is armed by pressing
the remote control button, refer to
page 32. The window is once again
secured when it is closed.
Extended pressure on the button sets
off the alarm – Panic mode, refer to
page 32.
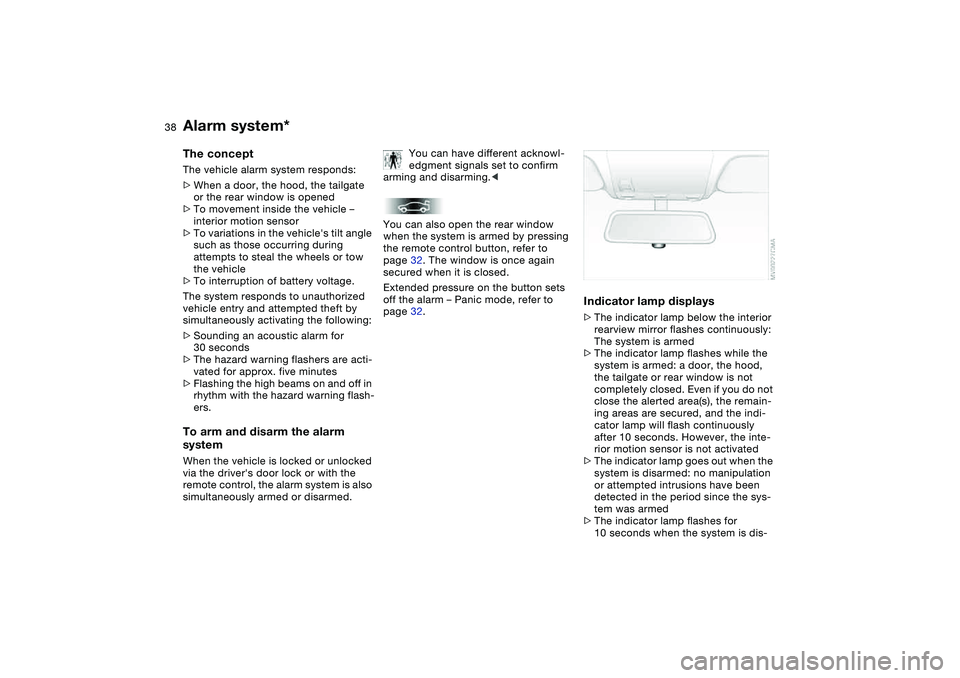
Indicator lamp displays>The indicator lamp below the interior
rearview mirror flashes continuously:
The system is armed
>The indicator lamp flashes while the
system is armed: a door, the hood,
the tailgate or rear window is not
completely closed. Even if you do not
close the alerted area(s), the remain-
ing areas are secured, and the indi-
cator lamp will flash continuously
after 10 seconds. However, the inte-
rior motion sensor is not activated
>The indicator lamp goes out when the
system is disarmed: no manipulation
or attempted intrusions have been
detected in the period since the sys-
tem was armed
>The indicator lamp flashes for
10 seconds when the system is dis-
Page 57 of 178
57
Transporting children safelyCommercially available child-restraint
systems are designed to be secured
with a lap belt or with the lap belt por-
tion of a combination lap/shoulder belt.
Improperly or inadequately installed
restraint systems can increase the risk
of injury to children. Always read and
follow the instructions that come with
the system.Correct location for installingIn your BMW, all seats equipped with a
three-point safety belt – except for the
driver's seat – are suitable for installing
universal child-restraint systems of all
age classes and which have been
approved for the age group in question.
Child-restraint system with
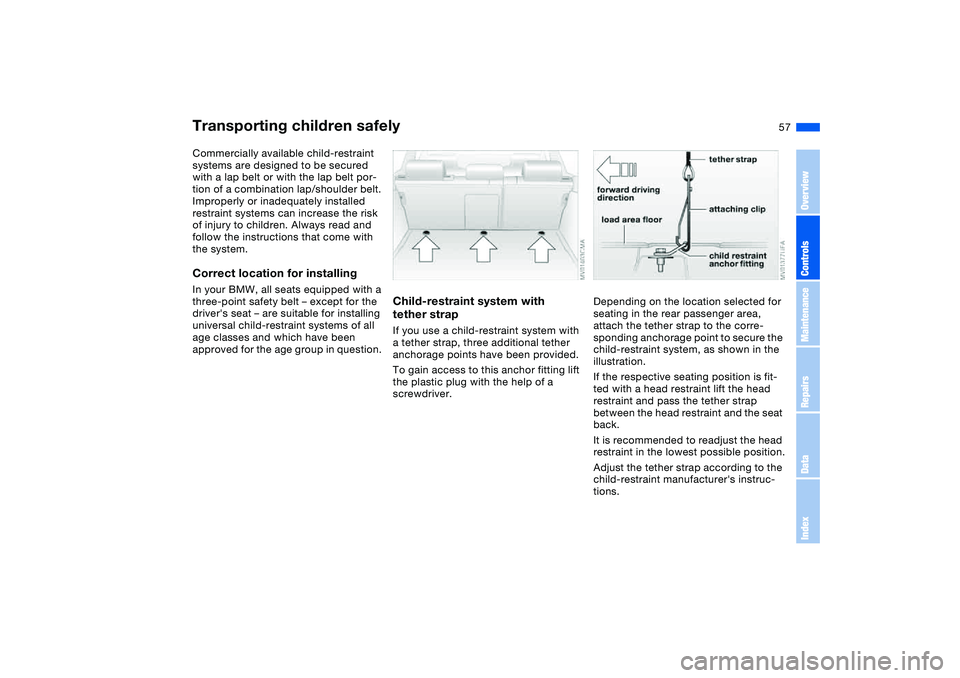
tether strapIf you use a child-restraint system with
a tether strap, three additional tether
anchorage points have been provided.
To gain access to this anchor fitting lift
the plastic plug with the help of a
screwdriver.
Depending on the location selected for
seating in the rear passenger area,
attach the tether strap to the corre-
sponding anchorage point to secure the
child-restraint system, as shown in the
illustration.
If the respective seating position is fit-
ted with a head restraint lift the head
restraint and pass the tether strap
between the head restraint and the seat
back.
It is recommended to readjust the head
restraint in the lowest possible position.
Adjust the tether strap according to the
child-restraint manufacturer's instruc-
tions.
OverviewControlsMaintenanceRepairsDataIndex
Page 58 of 178
58
Before installing any child-
restraint device or child seat,
please read the following:
Never install a rearward-facing child-
restraint system in the front passenger
seat of this vehicle.
Your vehicle is equipped with an airbag
supplemental restraint system for the
front passenger. Because the backrest
on any rearward-facing child-restraint
system – of the kind designed for
infants under 1 year and 20 lbs/9 kg –
would be within the airbag's deploy-
ment range, you should never mount
such a device in the front passenger
seat, since the impact of the airbag
against the child-restraint's backrest
could lead to serious or fatal injuries.
If it is necessary for a child – not an
infant – to ride in the front seat, certain
precautions should be taken. First,
move the passenger seat as far away
from the instrument panel as possible.
This important precaution is intended to
maximize the distance between the air-
bag and the child. Older children
should be tightly secured with a safety
belt after they have outgrown a booster
seat that is appropriate for their age,
height, and weight. Younger children
should be secured in an appropriate
forward-facing child-restraint system
that has first been properly secured
with a safety belt.
Never install a rearward-facing child-
restraint system in the front passenger
seat.
We strongly urge you to carefully read
and comply with the instructions for
installation and use provided by the
child-restraint's manufacturer whenever
you use such a device. Do not attempt
to modify child-restraint systems. If you
do this, the protection provided by
these systems could be impaired.
Be sure that all occupants – of all ages –
remain properly and securely restrained
at all times.<
All rear seating positions in your vehicle
meet the recommendations of
SAEJ1819, an industry-recommended
practice for securing child-restraint sys-
tems in motor vehicles.
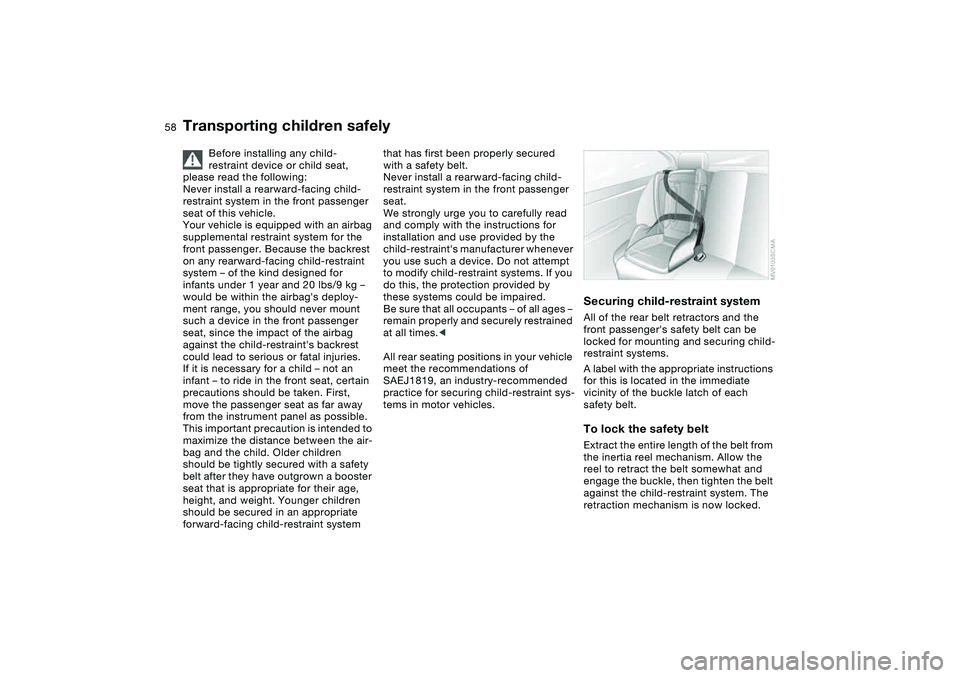
Securing child-restraint systemAll of the rear belt retractors and the
front passenger's safety belt can be
locked for mounting and securing child-
restraint systems.
A label with the appropriate instructions
for this is located in the immediate
vicinity of the buckle latch of each
safety belt.To lock the safety beltExtract the entire length of the belt from
the inertia reel mechanism. Allow the
reel to retract the belt somewhat and
engage the buckle, then tighten the belt
against the child-restraint system. The
retraction mechanism is now locked.
Transporting children safely
Page 61 of 178
61
Vehicle Memory, Key MemoryHow the system functionsNo doubt you have often reflected on
how great it would be if you could per-
manently configure your vehicle's vari-
ous features and adjustments to mirror
your own personal preferences. In engi-
neering your vehicle, BMW has
included a number of options for stor-
ing personal adjustment data. These
can be programmed at your BMW cen-
ter.
The available configuration data fall into
two categories, according to whether
their primary orientation is the vehicle –
Vehicle Memory – or the individual –
Key Memory. Provided that each per-
son has a separate remote-control key,
you can have your BMW center enter
basic adjustment data for up to four
individuals in the system.
The system relies on a bilateral data
exchange to identify the individual user
and executes the selected settings
whenever the remote control unit is
used to disengage the locks.
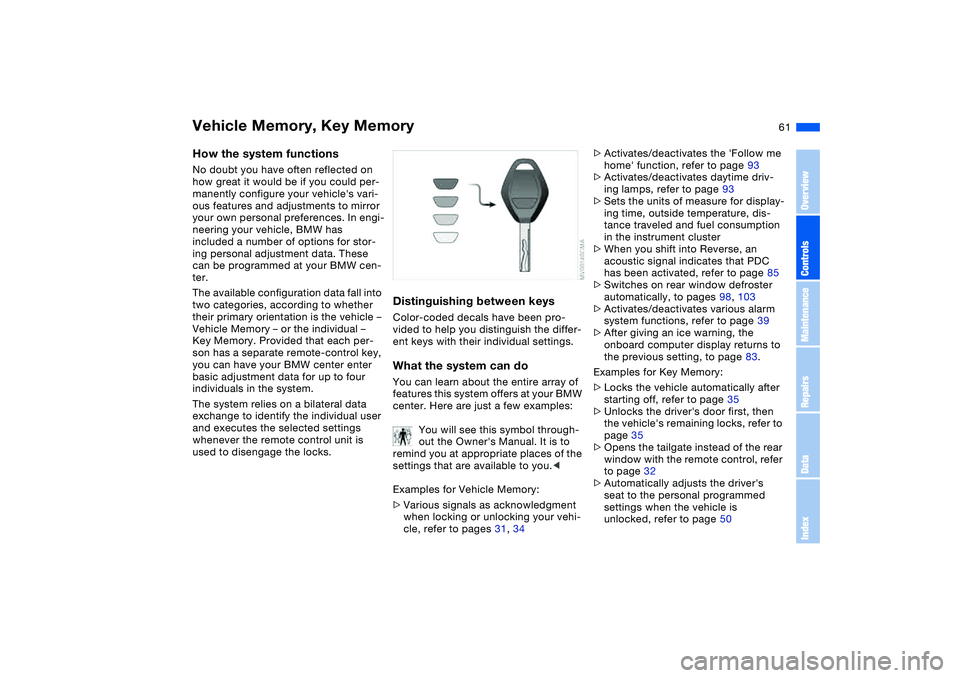
Distinguishing between keysColor-coded decals have been pro-
vided to help you distinguish the differ-
ent keys with their individual settings.What the system can doYou can learn about the entire array of
features this system offers at your BMW
center. Here are just a few examples:
You will see this symbol through-
out the Owner's Manual. It is to
remind you at appropriate places of the
settings that are available to you.<
Examples for Vehicle Memory:
>Various signals as acknowledgment
when locking or unlocking your vehi-
cle, refer to pages 31, 34
>Activates/deactivates the 'Follow me
home' function, refer to page 93
>Activates/deactivates daytime driv-
ing lamps, refer to page 93
>Sets the units of measure for display-
ing time, outside temperature, dis-
tance traveled and fuel consumption
in the instrument cluster
>When you shift into Reverse, an
acoustic signal indicates that PDC
has been activated, refer to page 85
>Switches on rear window defroster
automatically, to pages 98, 103
>Activates/deactivates various alarm
system functions, refer to page 39
>After giving an ice warning, the
onboard computer display returns to
the previous setting, to page 83.
Examples for Key Memory:
>Locks the vehicle automatically after
starting off, refer to page 35
>Unlocks the driver's door first, then
the vehicle's remaining locks, refer to
page 35
>Opens the tailgate instead of the rear
window with the remote control, refer
to page 32
>Automatically adjusts the driver's
seat to the personal programmed
settings when the vehicle is
unlocked, refer to page 50
OverviewControlsMaintenanceRepairsDataIndex
Page 65 of 178
65
Switching off the engine
You should never remove the igni-
tion key when the vehicle is in
motion, as the steering lock could
engage.
When you leave the vehicle, always
remove the ignition key and engage the
steering lock.
Always engage the parking brake when
parking on downhill roads. Engaging a
gear may not sufficiently secure the
vehicle against rolling.<
Manual transmissionTurn the ignition key to position 1 or 0.Automatic transmissionMove the selector lever into position P,
and turn the ignition key to position 1 or
0.SMG gearboxIf you turn the ignition key to position 1
or 0 with the selector lever in position
R, or in sequential mode, a gear auto-
matically remains engaged.
If you turn the ignition key to position 1
or 0 with the selector lever in neutral
position N, a warning tone and the
flashing gear indicator in the display
remind you that no gear is engaged to
secure the vehicle against rolling.
The warning stops after approx.
9 seconds.
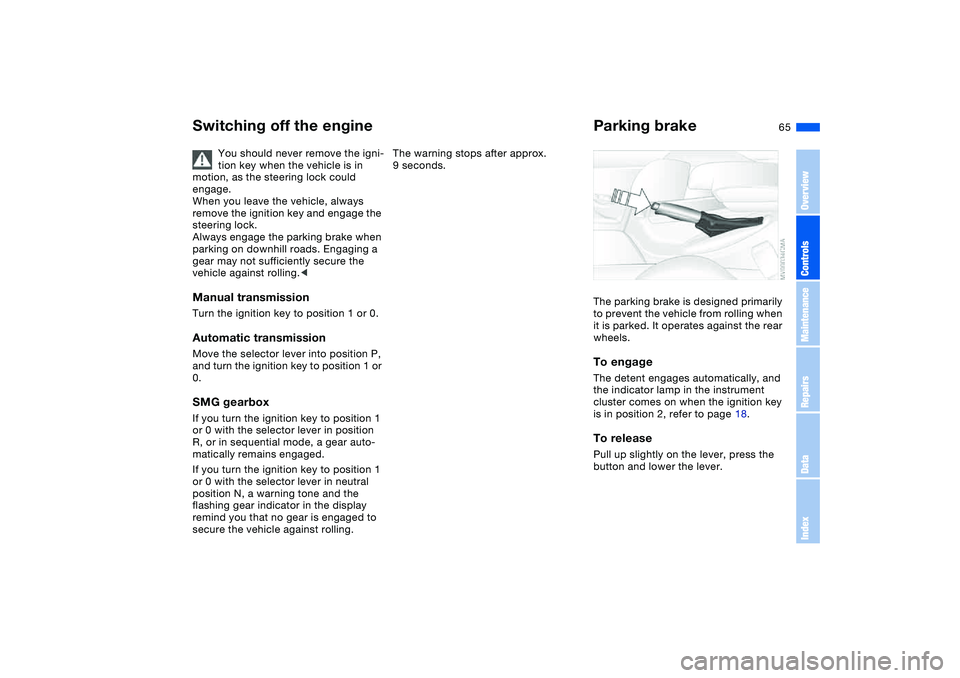
Parking brakeThe parking brake is designed primarily
to prevent the vehicle from rolling when
it is parked. It operates against the rear
wheels.To engageThe detent engages automatically, and
the indicator lamp in the instrument
cluster comes on when the ignition key
is in position 2, refer to page 18.To releasePull up slightly on the lever, press the
button and lower the lever.
OverviewControlsMaintenanceRepairsDataIndex