check oil BMW 328I 2013 Owners Manual
[x] Cancel search | Manufacturer: BMW, Model Year: 2013, Model line: 328I, Model: BMW 328I 2013Pages: 242, PDF Size: 5.38 MB
Page 76 of 242
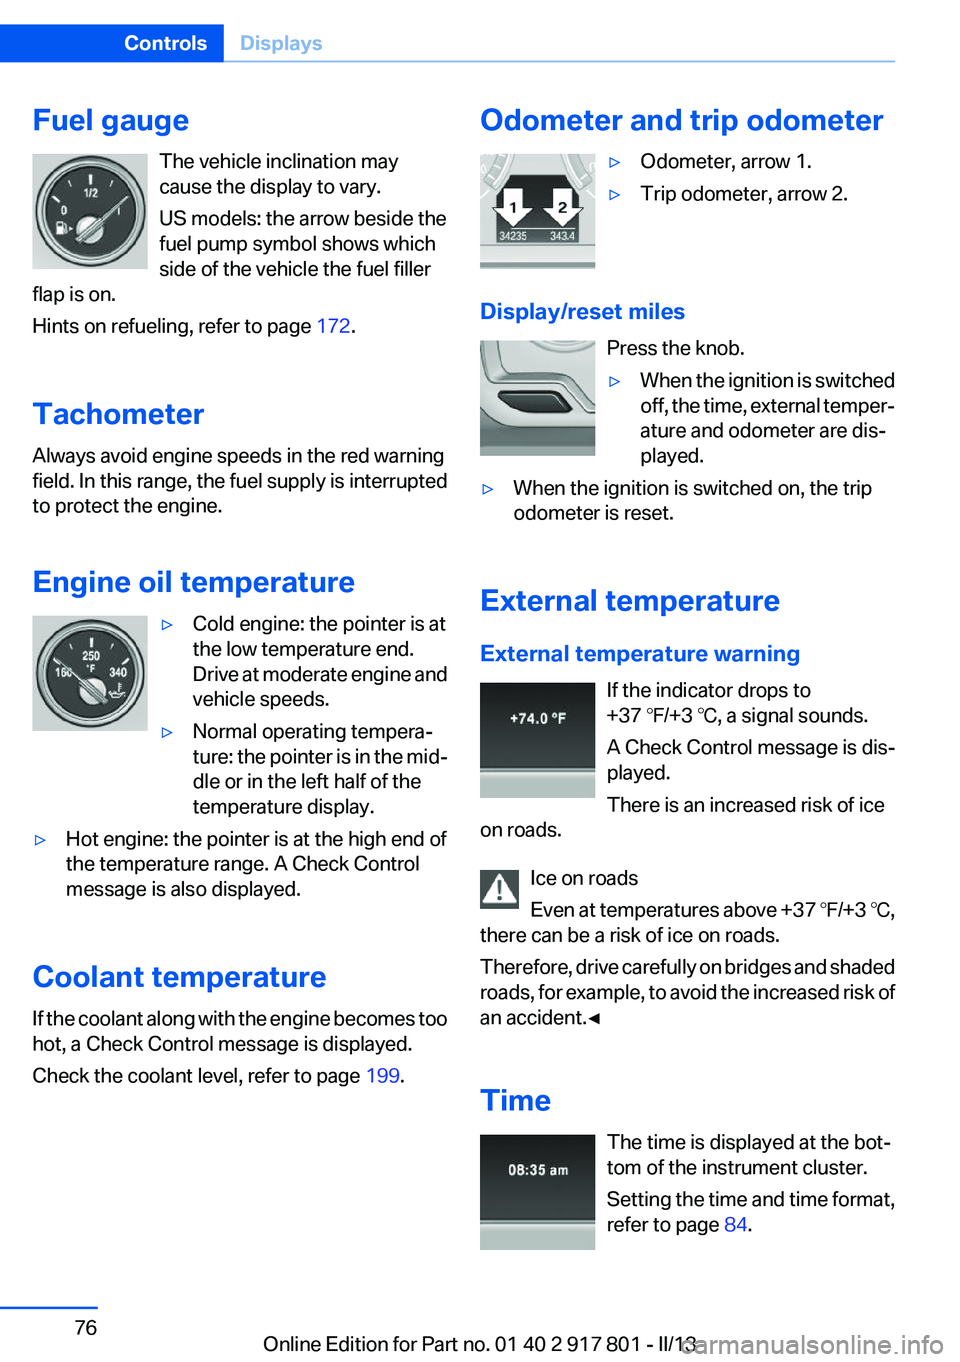
Fuel gaugeThe vehicle inclination may
cause the display to vary.
US models: the arrow beside the
fuel pump symbol shows which
side of the vehicle the fuel filler
flap is on.
Hints on refueling, refer to page 172.
Tachometer
Always avoid engine speeds in the red warning
field. In this range, the fuel supply is interrupted
to protect the engine.
Engine oil temperature▷Cold engine: the pointer is at
the low temperature end.
Drive at moderate engine and
vehicle speeds.▷Normal operating tempera‐
ture: the pointer is in the mid‐
dle or in the left half of the
temperature display.▷Hot engine: the pointer is at the high end of
the temperature range. A Check Control
message is also displayed.
Coolant temperature
If the coolant along with the engine becomes too
hot, a Check Control message is displayed.
Check the coolant level, refer to page 199.
Odometer and trip odometer▷Odometer, arrow 1.▷Trip odometer, arrow 2.
Display/reset miles
Press the knob.
▷When the ignition is switched
off, the time, external temper‐
ature and odometer are dis‐
played.▷When the ignition is switched on, the trip
odometer is reset.
External temperature
External temperature warning If the indicator drops to
+37 ℉/+3 ℃, a signal sounds.
A Check Control message is dis‐
played.
There is an increased risk of ice
on roads.
Ice on roads
Even at temperatures above +37 ℉/+3 ℃,
there can be a risk of ice on roads.
Therefore, drive carefully on bridges and shaded
roads, for example, to avoid the increased risk of
an accident.◀
Time The time is displayed at the bot‐
tom of the instrument cluster.
Setting the time and time format,
refer to page 84.
Seite 76ControlsDisplays76
Online Edition for Part no. 01 40 2 917 801 - II/13
Page 196 of 242
Engine oilVehicle equipment
All standard, country-specific and optional
equipment that is offered in the model series is
described in this chapter. Therefore, equipment
is also described that is not available in a vehicle,
e. g., because of the selected optional equip‐
ment or country variant. This also applies for
safety-related functions and systems.
General information
Engine oil consumption depends on driving
style and driving conditions, e.g., if your driving
style is very sporty engine oil consumption will
be considerably greater.
Therefore, regularly check the engine oil level
after refueling.
Checking the oil level
electronically
Status display
The concept
The oil level is monitored electronically during
driving and shown on the Control Display.
If the oil level reaches the minimum level, a
check control message is displayed.
Requirements
Depending on the previous displays, the status
display appears when the engine is running or
after the vehicle has been driven for at least 30
minutes.
Displaying the oil level1."Vehicle Info"2."Vehicle status"3. "Engine oil level"
Oil level display messages
Different messages appear on the display de‐
pending on the oil level. Pay attention to these
messages.
If oil level is too low, immediately add 1 US
quart/liter of oil.
Take care not to add too much engine oil.
Too much engine oil
Have the vehicle checked immediately;
otherwise, surplus oil can lead to engine dam‐
age.◀
Detailed measurement
The concept
In the detailed measurement the oil level is
checked and displayed via a scale.
During the measurement, the idle speed is in‐
creased somewhat.
General information
A detailed measurement is only possible with
certain engines.
Requirements
▷Manual transmission: shift lever in neutral
position, clutch and accelerator pedals not
depressed.▷Automatic transmission: selector lever in
transmission position N or P and accelerator
not depressed.▷Vehicle is on a level road and the engine is
running at operating temperature.Seite 196MobilityEngine oil196
Online Edition for Part no. 01 40 2 917 801 - II/13
Page 197 of 242
Performing a detailed measurement
In order to perform a detailed measurement of
the engine oil level:1."Vehicle Info"2."Vehicle status"3. "Measure engine oil level"4."Start measurement"
The oil level is checked and displayed via a scale.
Duration: approx. 1 minute.
Adding engine oil
Filler neck
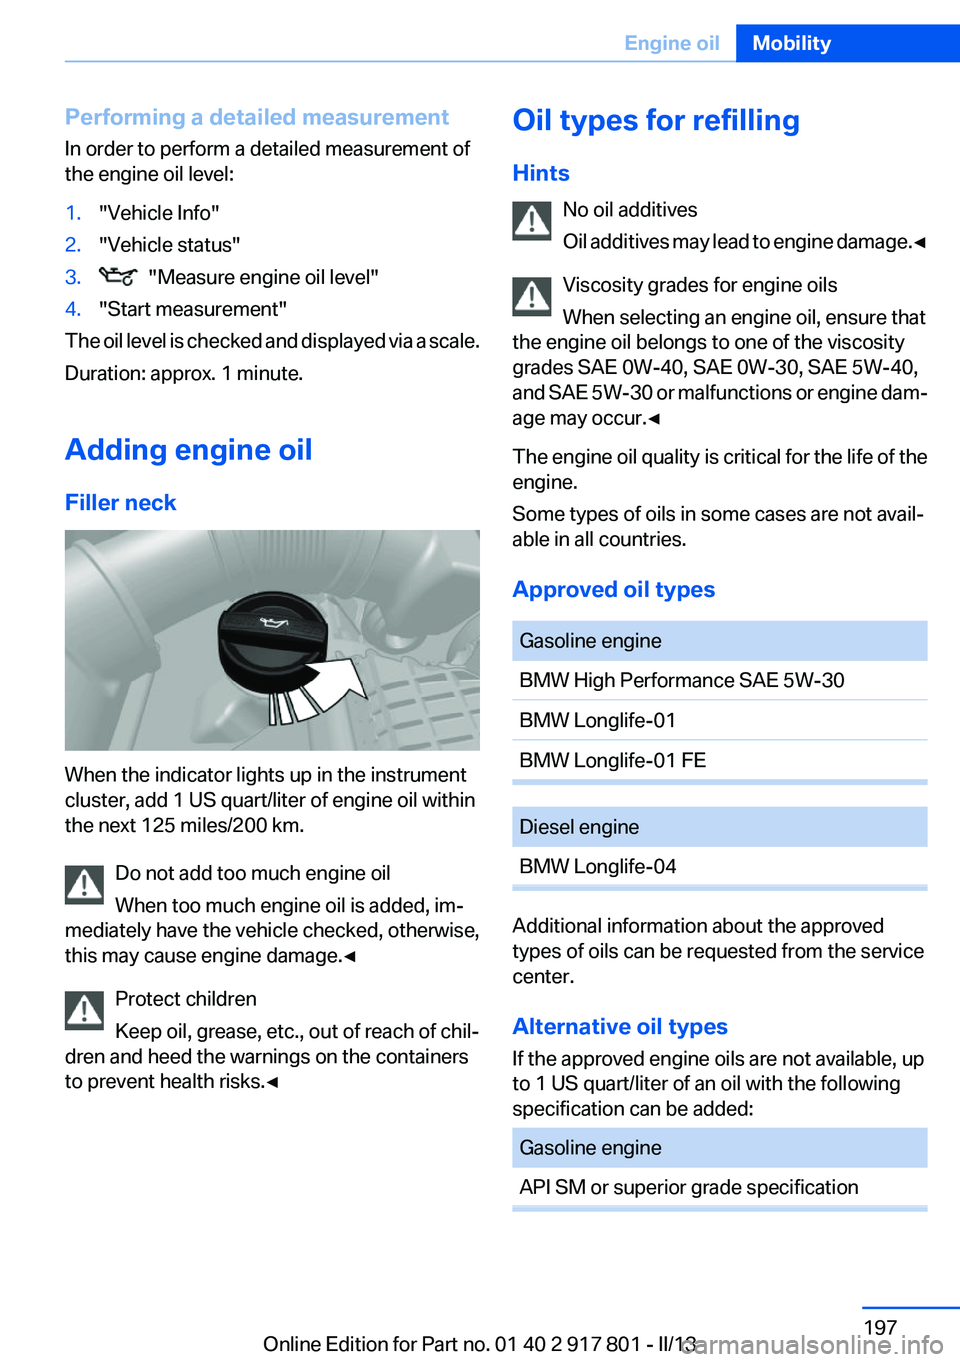
When the indicator lights up in the instrument
cluster, add 1 US quart/liter of engine oil within
the next 125 miles/200 km.
Do not add too much engine oil
When too much engine oil is added, im‐
mediately have the vehicle checked, otherwise,
this may cause engine damage.◀
Protect children
Keep oil, grease, etc., out of reach of chil‐
dren and heed the warnings on the containers
to prevent health risks.◀
Oil types for refilling
Hints No oil additives
Oil additives may lead to engine damage. ◀
Viscosity grades for engine oils
When selecting an engine oil, ensure that
the engine oil belongs to one of the viscosity
grades SAE 0W-40, SAE 0W-30, SAE 5W-40,
and SAE 5W-30 or malfunctions or engine dam‐
age may occur.◀
The engine oil quality is critical for the life of the
engine.
Some types of oils in some cases are not avail‐
able in all countries.
Approved oil typesGasoline engineBMW High Performance SAE 5W-30BMW Longlife-01BMW Longlife-01 FEDiesel engineBMW Longlife-04
Additional information about the approved
types of oils can be requested from the service
center.
Alternative oil types
If the approved engine oils are not available, up
to 1 US quart/liter of an oil with the following
specification can be added:
Gasoline engineAPI SM or superior grade specificationSeite 197Engine oilMobility197
Online Edition for Part no. 01 40 2 917 801 - II/13
Page 199 of 242
CoolantVehicle equipment
All standard, country-specific and optional
equipment that is offered in the model series is
described in this chapter. Therefore, equipment
is also described that is not available in a vehicle,
e. g., because of the selected optional equip‐
ment or country variant. This also applies for
safety-related functions and systems.
General information Danger of burns from hot engine
Do not open the cooling system while the
engine is hot; otherwise, escaping coolant may
cause burns.◀
Suitable additives
Only use suitable additives; otherwise, en‐
gine damage may occur. The additives are
harmful to your health.◀
Coolant consists of water and additives.
Not all commercially available additives are suit‐
able for your vehicle. Ask your service center for
suitable additives.
Coolant level
Checking
Marks are provided on the side of the coolant
reservoir.SymbolMeaningMaximumMinimum1.Let the engine cool.2.The coolant level is correct when it is be‐
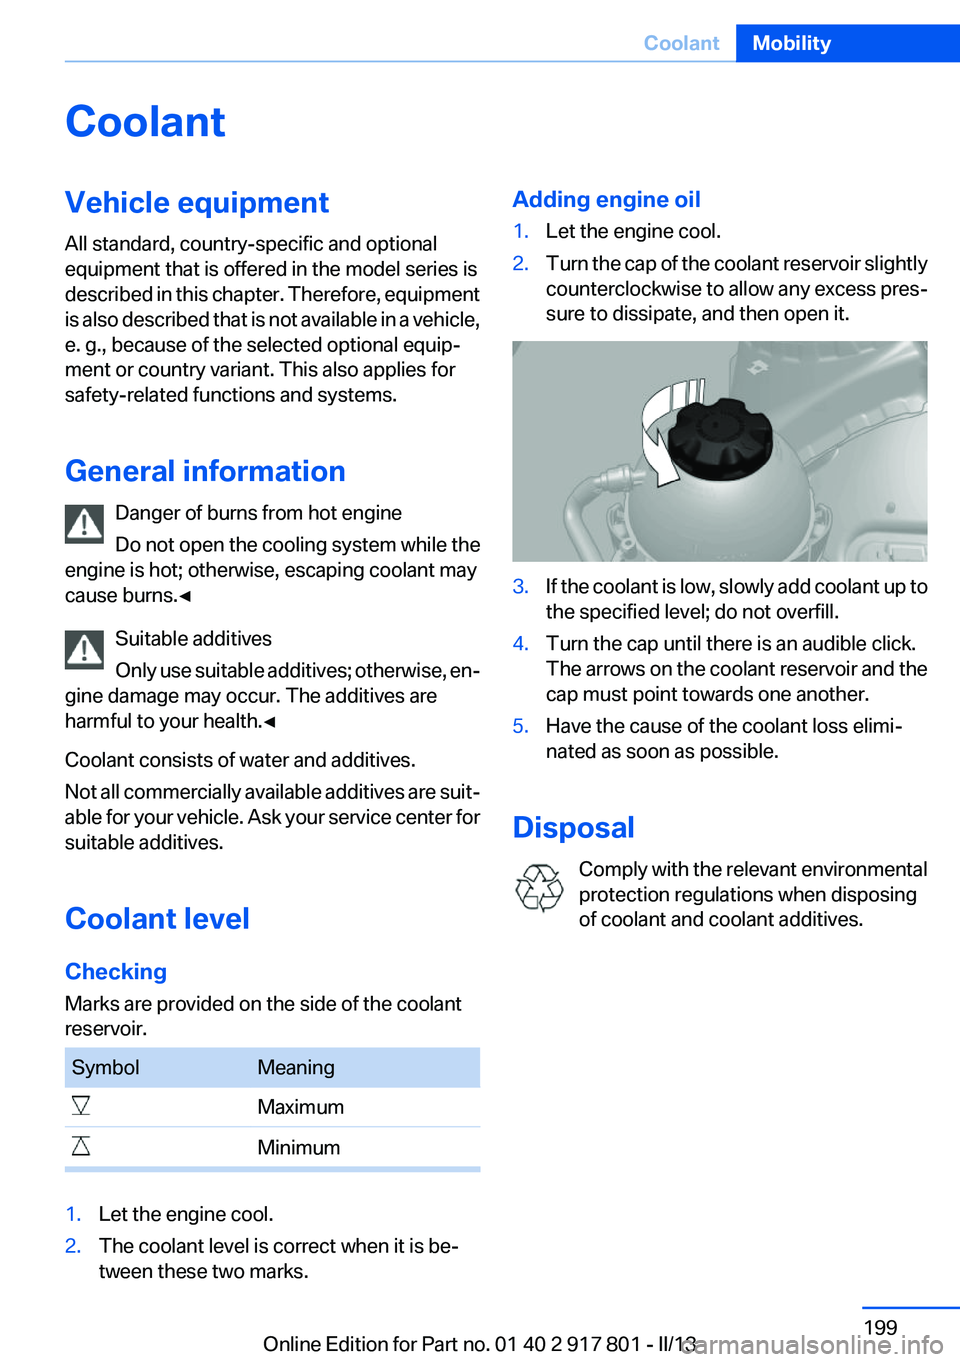
tween these two marks.Adding engine oil1.Let the engine cool.2.Turn the cap of the coolant reservoir slightly
counterclockwise to allow any excess pres‐
sure to dissipate, and then open it.3.If the coolant is low, slowly add coolant up to
the specified level; do not overfill.4.Turn the cap until there is an audible click.
The arrows on the coolant reservoir and the
cap must point towards one another.5.Have the cause of the coolant loss elimi‐
nated as soon as possible.
Disposal
Comply with the relevant environmental
protection regulations when disposing
of coolant and coolant additives.
Seite 199CoolantMobility199
Online Edition for Part no. 01 40 2 917 801 - II/13
Page 200 of 242
MaintenanceVehicle equipment
All standard, country-specific and optional
equipment that is offered in the model series is
described in this chapter. Therefore, equipment
is also described that is not available in a vehicle,
e. g., because of the selected optional equip‐
ment or country variant. This also applies for
safety-related functions and systems.
BMW Maintenance System
The maintenance system directs you to re‐
quired maintenance measures and thereby sup‐
ports you in maintaining road safety and the op‐
erational reliability of the vehicle.
Condition Based Service CBS
Sensors and special algorithms take into ac‐
count the driving conditions of your vehicle.
Based on this, Condition Based Service deter‐
mines the maintenance requirements.
The system makes it possible to adapt the
amount of maintenance you need to your user
profile.
Detailed information on service requirements,
refer to page 77, can be displayed on the Control
Display.
Service data in the remote control
Information on the required maintenance is con‐
tinuously stored in the remote control. Your
service center will read out this data and suggest
the right array of service procedures for your ve‐
hicle.
Therefore, hand your service specialist the re‐
mote control that you used most recently.Storage periods
Storage periods during which the vehicle bat‐
tery was disconnected are not taken into ac‐
count.
If this occurs, have a service center update the
time-dependent maintenance procedures,
such as checking brake fluid and, if necessary,
changing the engine oil and the microfilter/acti‐
vated-charcoal filter.
Service history
Perform maintenance work at the service center
and have them recorded in the vehicle data. The
entries are like a service booklet of the docu‐
mentation of regular maintenance.
Displaying entered maintenance work on the
Control Display, refer to page 78.
Service and Warranty
Information Booklet for US
models and Warranty and
Service Guide Booklet for
Canadian models
Please consult your Service and Warranty Infor‐
mation Booklet for US models and Warranty and
Service Guide Booklet for Canadian models for
additional information on service requirements.
Maintenance and repair should be performed by
your service center. Make sure to have regular
maintenance procedures recorded in the vehi‐
cle's Service and Warranty Information Booklet
for US models, and in the Warranty and Service
Guide Booklet for Canadian models. These en‐
tries are proof of regular maintenance.Seite 200MobilityMaintenance200
Online Edition for Part no. 01 40 2 917 801 - II/13
Page 220 of 242
Automatic transmission:1.Release the parking brake, refer to page 63.2.Drive into the car wash.3.Depress the brake pedal as needed.4.Engage transmission position N.5.Switch the engine off. In this way, the igni‐
tion remains switched on, and a Check-Con‐
trol message is displayed.
Transmission position P with the igni‐
tion off
When the ignition is switched off, position P
is engaged automatically. When in an auto‐
matic car wash, for example, ensure that the
ignition is not switched off accidentally.◀
The vehicle cannot be locked from the outside
when in transmission position N.
A signal is sounded when an attempt is made to
lock the vehicle.
Transmission position
Transmission position P is engaged automati‐
cally:
▷When the ignition is switched off.▷After approx. 15 minutes.
Headlamps
▷Do not rub dry and do not use abrasive or
caustic cleansers.▷Soak areas that have been soiled e.g. due to
insects, with shampoo and wash off with
water.▷Thaw ice with deicing spray; do not use an
ice scraper.
After washing the vehicle
After washing the vehicle, apply the brakes
briefly to dry them; otherwise, braking action can
be reduced and corrosion of the brake discs can
occur.
Completely remove all residues on the windows,
to minimize loss of visibility due to smearing and
to reduce wiper noises and wiper blade wear.
Vehicle care
Car care products
BMW recommends using cleaning and care
products from BMW, since these have been
tested and approved.
Car care and cleaning products
Follow the instructions on the container.
When cleaning the interior, open the doors or
windows.
Only use products intended for cleaning vehi‐
cles.
Cleansers can contain substances that are dan‐
gerous and harmful to your health.◀
Vehicle paint
Regular care contributes to driving safety and
value retention. Environmental influences in
areas with elevated air pollution or natural con‐
taminants, such as tree resin or pollen can affect
the vehicle's paintwork. Tailor the frequency
and extent of your car care to these influences.
Aggressive substances such as spilled fuel, oil,
grease or bird droppings must be removed im‐
mediately to prevent the finish from being al‐
tered or discolored.
Leather care
Remove dust from the leather often, using a
cloth or vacuum cleaner.
Otherwise, particles of dust and road grime
chafe in pores and folds, and lead to increased
wear and premature degradation of the leather
surface.
To guard against discoloration, such as from
clothing, provide leather care roughly every two
months.Seite 220MobilityCare220
Online Edition for Part no. 01 40 2 917 801 - II/13
Page 235 of 242
Exterior mirror, automatic dim‐ming feature 53
Exterior mirrors 52
External start 214
External temperature dis‐ play 76
External temperature warn‐ ing 76
Eyes for securing cargo 162
F
Failure message, refer to Check Control 73
False alarm, refer to Uninten‐ tional alarm 41
Fan, refer to Air flow 138, 141
Fault displays, refer to Check Control 73
Filler neck for engine oil 197
Fine wood, care 221
First aid kit 214
Fitting for towing, refer to Tow fitting 217
Flat tire, changing wheels 210
Flat Tire Monitor FTM 98
Flat tire, Tire Pressure Monitor TPM 95
Flat tire, warning lamp 96, 99
Flooding 159
Floor carpet, care 221
Floor mats, care 221
Fogged up windows 138
Fold down the rear seat back‐ rest, see Though-loading
system 150
Fold-out position, windshield wipers 66
Foot brake 159
Front airbags 92
Front fog lamps 90
Front fog lamps, front, bulb re‐ placement 207
Front lamps 203
Front passenger airbags, au‐ tomatic deactivation 94 Front passenger airbags, indi‐
cator lamp 94
FTM Flat Tire Monitor 98
Fuel cap 172
Fuel consumption, current 77
Fuel consumption, refer to Average fuel consump‐
tion 82
Fuel filler flap 172
Fuel gauge 76
Fuel quality 174
Fuel, tank capacity 230
Fuse 211
G
Garage door opener, refer to Integrated universal remote
control 144
Gasoline 174
Gasoline quality 174
Gear change, automatic trans‐ mission 68
Gear shift indicator 79
General driving notes 158
Glass sunroof, powered 43
Glove compartment 152
Gross vehicle weight, ap‐ proved 227
H
Handbrake, refer to parking brake 63
Hand-held transmitter, alter‐ nating code 145
Hazard warning flashers 213
Head airbags 92
Headlamp control, auto‐ matic 88
Headlamp courtesy delay fea‐ ture 88
Headlamp flasher 64
Headlamp glass 203
Headlamps 203
Headlamps, care 220 Headlamp washer system 64
Headliner 15
Head restraints 45
Head restraints, front 49
Head restraints, rear 50
Head-up Display 131
Head-up Display, care 222
Heavy cargo, stowing 162
Height, vehicle 226
High-beam Assistant 89
High beams 64
High beams/low beams, refer to High-beam Assistant 89
Hills 160
Hill start assistant, refer to Drive-off assistant 114
Hints 6
Holder for beverages 154
Homepage 6
Hood 195
Horn 12
Hotel function, trunk lid 37
Hot exhaust system 159
HUD Head-up Display 131
Hydroplaning 159
I
Ice warning, refer to External temperature warning 76
Icy roads, refer to External temperature warning 76
Identification marks, tires 189
Identification number, refer to Important features in the en‐
gine compartment 194
iDrive 16
Ignition key, refer to Remote control 30
Ignition off 59
Ignition on 59
Indication of a flat tire 96, 99
Individual air distribu‐ tion 138, 141
Individual settings, refer to Personal Profile 31 Seite 235Everything from A to ZReference235
Online Edition for Part no. 01 40 2 917 801 - II/13
Page 237 of 242
Master key, refer to Remotecontrol 30
Maximum cooling 140
Maximum speed, display 79
Maximum speed, winter tires 192
Measure, units of 85
Medical kit 214
Memory, seat, mirror 51
Menu, EfficientDynamics 167
Menu in instrument cluster 81
Menus, operating, iDrive 16
Menus, refer to iDrive operat‐ ing concept 18
Messages, refer to Check Control 73
Microfilter 139, 142
Minimum tread, tires 190
Mirror 52
Mirror memory 51
Mobile communication devi‐ ces in the vehicle 159
Modifications, technical, refer to Safety 7
Moisture in headlamp 203
Monitor, refer to Control Dis‐ play 16
Mounting of child restraint fix‐ ing systems 55
Multifunction steering wheel, buttons 12
N
Navigation, see user's manual for Navigation, Entertain‐
ment and Communication
Neck restraints, front, refer to Head restraints 49
Neck restraints, rear, refer to Head restraints 50
New wheels and tires 191
No Passing Information 79
Nylon rope for tow-starting/ towing 217 O
OBD Onboard Diagnos‐ tics 201
Obstacle marking, backup camera 127
Octane rating, refer to Gaso‐ line quality 174
Odometer 76
Office, see user's manual for Navigation, Entertainment
and Communication
Oil 196
Oil, adding 197
Oil additives 197
Oil change 198
Oil change interval, service re‐ quirements 77
Oil filler neck 197
Oil types, alternative 197
Oil types, approved 197
Old batteries, disposal 211
Onboard Diagnostics OBD 201
Onboard monitor, refer to Control Display 16
Onboard vehicle tool kit 202
Opening/closing from in‐ side 36
Opening/closing via door lock 36
Opening/closing with remote control 34
Opening the trunk lid with no- touch activation 39
Operating concept, iDrive 16
Optional equipment, standard equipment 6
Outside air, refer to Automatic recirculated-air control 141
Overheating of engine, refer to Coolant temperature 76
Overtaking prohibitions 79 P
Paint, vehicle 220
Parallel parking assistant 132
Park Distance Control PDC 123
Parked-car ventilation 142
Parked vehicle, condensa‐ tion 160
Parking aid, refer to PDC 123
Parking assistant 132
Parking brake 63
Parking lamps 87
Particulate filter 159
Passenger side mirror, tilting downward 53
Pathway lines, backup cam‐ era 127
PDC Park Distance Con‐ trol 123
Personal Profile 31
Pinch protection system, glass sunroof 44
Pinch protection system, win‐ dows 42
Plastic, care 221
Power failure 211
Power sunroof, glass 43
Power windows 41
Pressure, tire air pres‐ sure 178
Pressure warning FTM, tires 98
Profile, refer to Personal Pro‐ file 31
Programmable memory but‐ tons, iDrive 21
Protective function, glass sun‐ roof 44
Protective function, win‐ dows 42
Push-and-turn switch, refer to Controller 16, 17 Seite 237Everything from A to ZReference237
Online Edition for Part no. 01 40 2 917 801 - II/13