change wheel BMW 328I CONVERTIBLE 2012 Owners Manual
[x] Cancel search | Manufacturer: BMW, Model Year: 2012, Model line: 328I CONVERTIBLE, Model: BMW 328I CONVERTIBLE 2012Pages: 314, PDF Size: 7.72 MB
Page 4 of 314
Contents
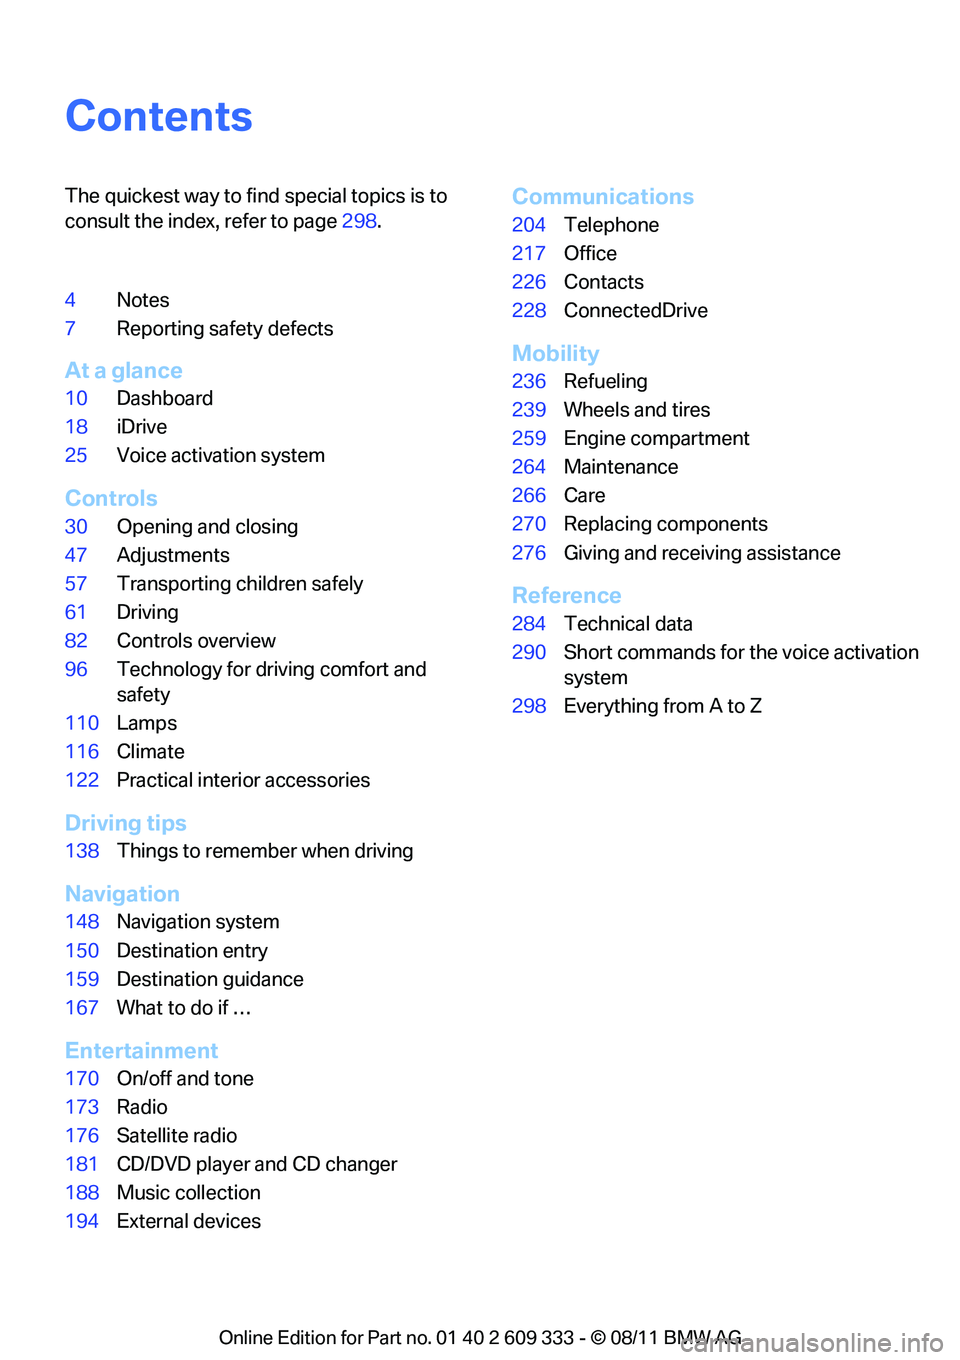
The quickest way to find special topics is to
consult the index, refer to page298.
4 Notes
7 Reporting safety defects
At a glance
10Dashboard
18 iDrive
25 Voice activation system
Controls
30Opening and closing
47 Adjustments
57 Transporting children safely
61 Driving
82 Controls overview
96 Technology for driving comfort and
safety
110 Lamps
116 Climate
122 Practical interior accessories
Driving tips
138Things to remember when driving
Navigation
148Navigation system
150 Destination entry
159 Destination guidance
167 What to do if …
Entertainment
170On/off and tone
173 Radio
176 Satellite radio
181 CD/DVD player and CD changer
188 Music collection
194 External devices
Communications
204Telephone
217 Office
226 Contacts
228 ConnectedDrive
Mobility
236Refueling
239 Wheels and tires
259 Engine compartment
264 Maintenance
266 Care
270 Replacing components
276 Giving and receiving assistance
Reference
284Technical data
290 Short commands for the voice activation
system
298 Everything from A to Z
Online Edition for Part no. 01 40 2 609 333 - \251 08/11 BMW AG
Page 27 of 314
26
At a glanceVoice activation system
Having the possible commands read
aloud
To have the available commands read aloud:
For example, if the "Settings" menu is dis-
played, the commands relating to settings are
read aloud.
Performing functions using short
commands
Functions from the main menu can be per-
formed directly by means of short commands,
essentially regardless of which menu item is
selected, e.g. { Vehicle status}.
List of short command of the voice activation
system, refer to page 290.
Help dialog for voice activation system
Accessing help:
Other commands for the help dialog:
>{Help with examples }: information about
the current control options and the most
important commands relating to them are
read aloud.
> {Help with voice activation }: information
about the principle operation of the voice
activation system is read aloud.
Example: playing back a CD
1. If necessary, switch on entertainment audio
output.
2. Press the button on the steering wheel.
4. Press the button on the steering wheel.
Setting the voice dialog
You can set whether the system uses the stan-
dard dialog or a short version.
In the short version of the voice dialog, the
responses from the system are given in abbre-
viated form.
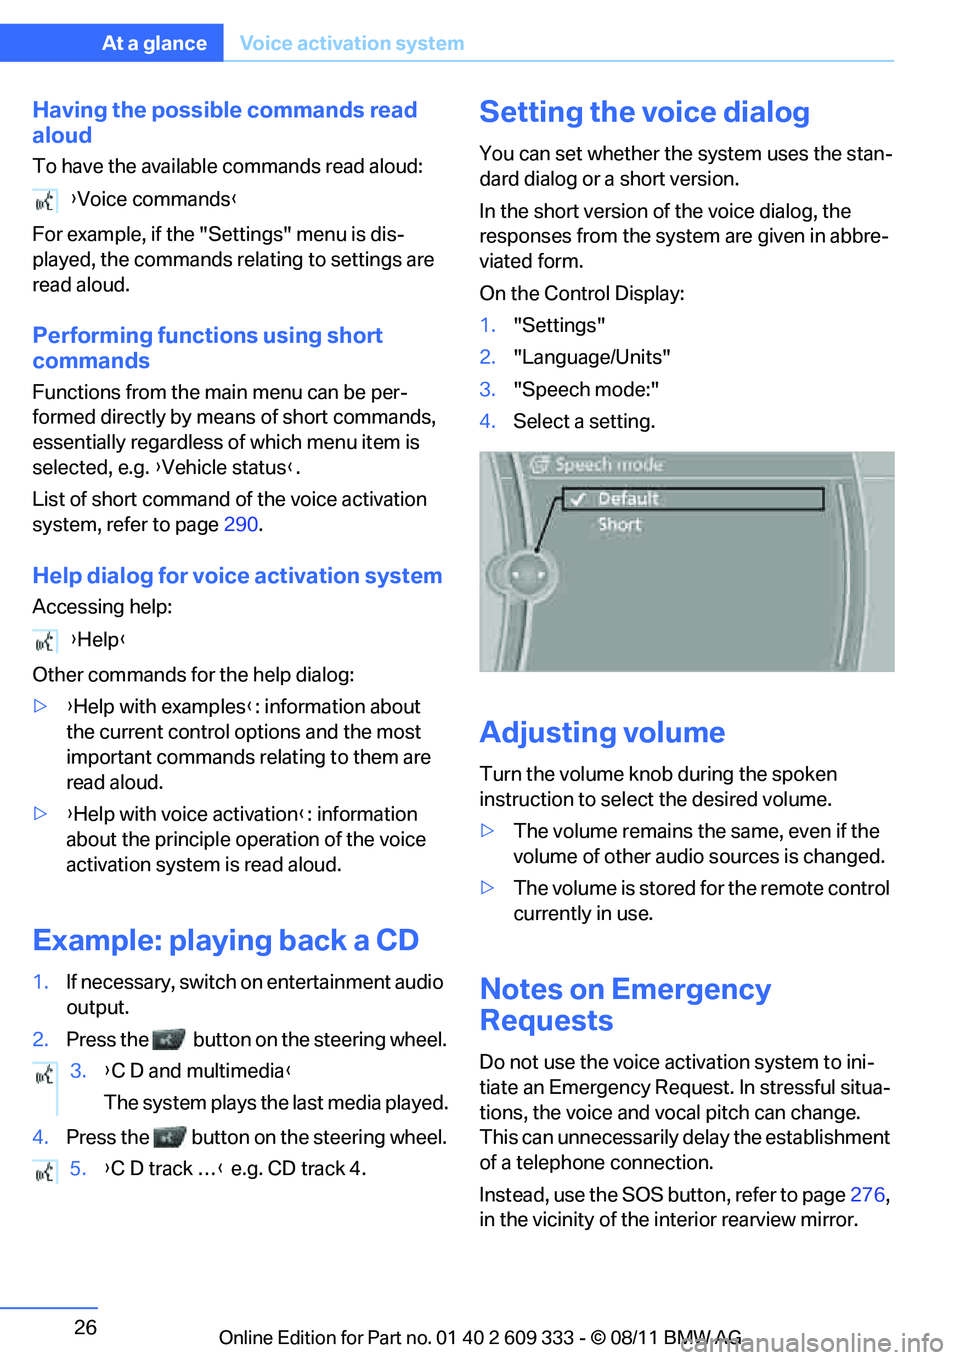
On the Control Display:
1. "Settings"
2. "Language/Units"
3. "Speech mode:"
4. Select a setting.
Adjusting volume
Turn the volume knob during the spoken
instruction to select the desired volume.
>The volume remains the same, even if the
volume of other audio sources is changed.
> The volume is stored for the remote control
currently in use.
Notes on Emergency
Requests
Do not use the voice activation system to ini-
tiate an Emergency Request. In stressful situa-
tions, the voice and vo cal pitch can change.
This can unnecessarily delay the establishment
of a telephone connection.
Instead, use the SOS button, refer to page276,
in the vicinity of the interior rearview mirror.
{
Voice commands }
{ Help }
3. {C D and multimedia }
The system plays the last media played.
5. {C D track … } e.g. CD track 4.
Online Edition for Part no. 01 40 2 609 333 - \251 08/11 BMW AG
Page 38 of 314
37
Opening and closing
Controls
Alarm system
The concept
The vehicle alarm system responds:
>
When a door, the hood or the trunk lid is
opened
> To movements inside the vehicle: Interior
motion sensor, refer to page 38
> When the car's inclination changes, for
instance if an attempt is made to jack it up
and steal the wheels or to raise it prior to
towing away
> When there has been an interruption of
power supply from the battery
The alarm system signals unauthorized entry
attempts for a short time by means of:
> An acoustic alarm
> Switching on the hazard warning flashers
> Flashing the high beams
Arming and disarming
General information
When you lock or unlock the vehicle, either with
the remote control or at the door lock, the alarm
system is armed or disarmed at the same time.
Door lock with armed alarm system
In some national-market versions, unlocking via
the door lock tr iggers the alarm.
To switch off this alarm, unlock the vehicle with
the remote control or sw itch on the ignition.
Trunk lid with the alarm system armed
The trunk lid can be opened via the remote con-
trol even when the alarm system is armed.
Press the button on th e remote control for
approx. 1 second.
The trunk lid is locked and monitored again as
soon as it is closed.
Panic mode
You can trigger the alarm system if you find
yourself in a dangerous situation:
Press the button for at least three seconds.
To switch off the alarm: press any button.
Switching off an alarm
> Unlock the car with the remote control, refer
to page 32.
> Insert the remote contro l all the way into the
ignition lock.
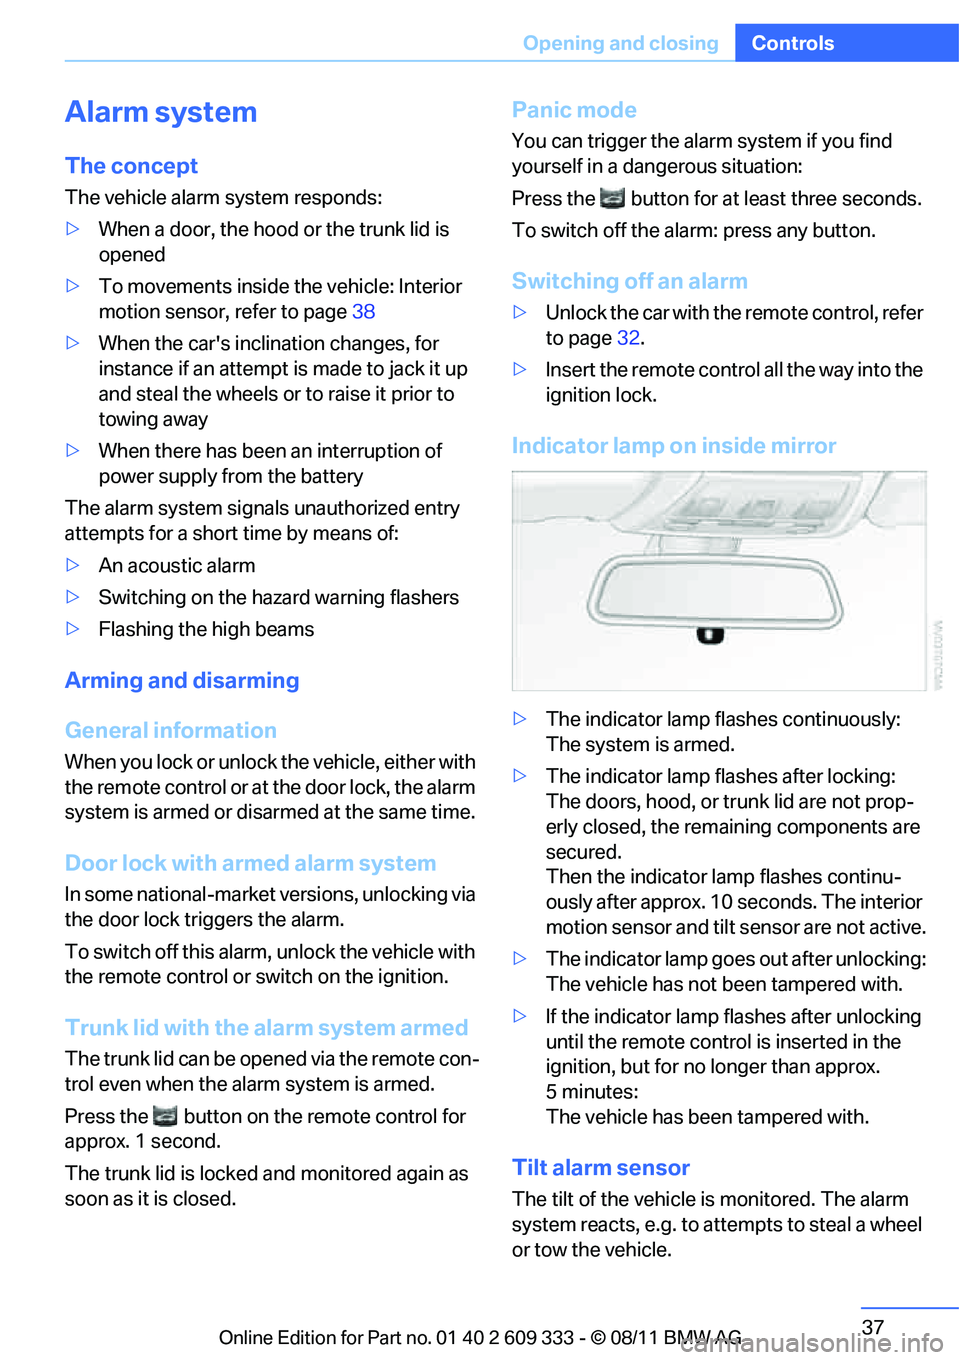
Indicator lamp on inside mirror
> The indicator lamp fl ashes continuously:
The system is armed.
> The indicator lamp flashes after locking:
The doors, hood, or trunk lid are not prop-
erly closed, the remaining components are
secured.
Then the indicator lamp flashes continu-
ously after approx. 10 seconds. The interior
motion sensor and tilt sensor are not active.
> The indicator lamp goes out after unlocking:
The vehicle has not been tampered with.
> If the indicator lamp flashes after unlocking
until the remote contro l is inserted in the
ignition, but for no longer than approx.
5minutes:
The vehicle has been tampered with.
Tilt alarm sensor
The tilt of the vehicle is monitored. The alarm
system reacts, e.g. to attempts to steal a wheel
or tow the vehicle.
Online Edition for Part no. 01 40 2 609 333 - \251 08/11 BMW AG
Page 66 of 314
65
Driving
Controls
R Reverse
Select this only when th
e vehicle is stationary.
N Neutral
You can select this in a car wash, for example.
The vehicle can roll.
D Drive, automatic position
Position for normal vehicle operation. All for-
ward gears are selected automatically.
Under normal operating conditions, fuel con-
sumption is lowest when you are driving in posi-
tion D.
Kickdown
Kickdown enables you to achieve maximum
performance.
Press the accelerator pedal beyond the full-
throttle resistance point.
Sport program and manual mode M/S
Move selector lever from position D toward the
left into the M/S shifting slot; the Sport program
is activated. This positi on is recommended for a
performance-oriented driving style.
DS is displayed in the instrument cluster.
To deactivate the spor t program or manual
mode M/S, move the sele ctor lever to the right
into position D.
Shifting gears via the selector lever
Move selector lever from position D toward the
left into the M/S shifting slot: When you press the selector lever forwards or
backwards, the manual
mode is activated and
Steptronic changes gear.
The engaged gear, e.g. M1 is displayed in the
instrument cluster.
Upshifts and downshifts are executed only
when they will result in a plausible combination
of engine and vehicle speed; thus, for example,
a downshift that would cause the engine to
overrev will not be executed by the system.
The gear selected is br iefly displayed in the
instrument cluster, follo wed again by the gear
actually in use.
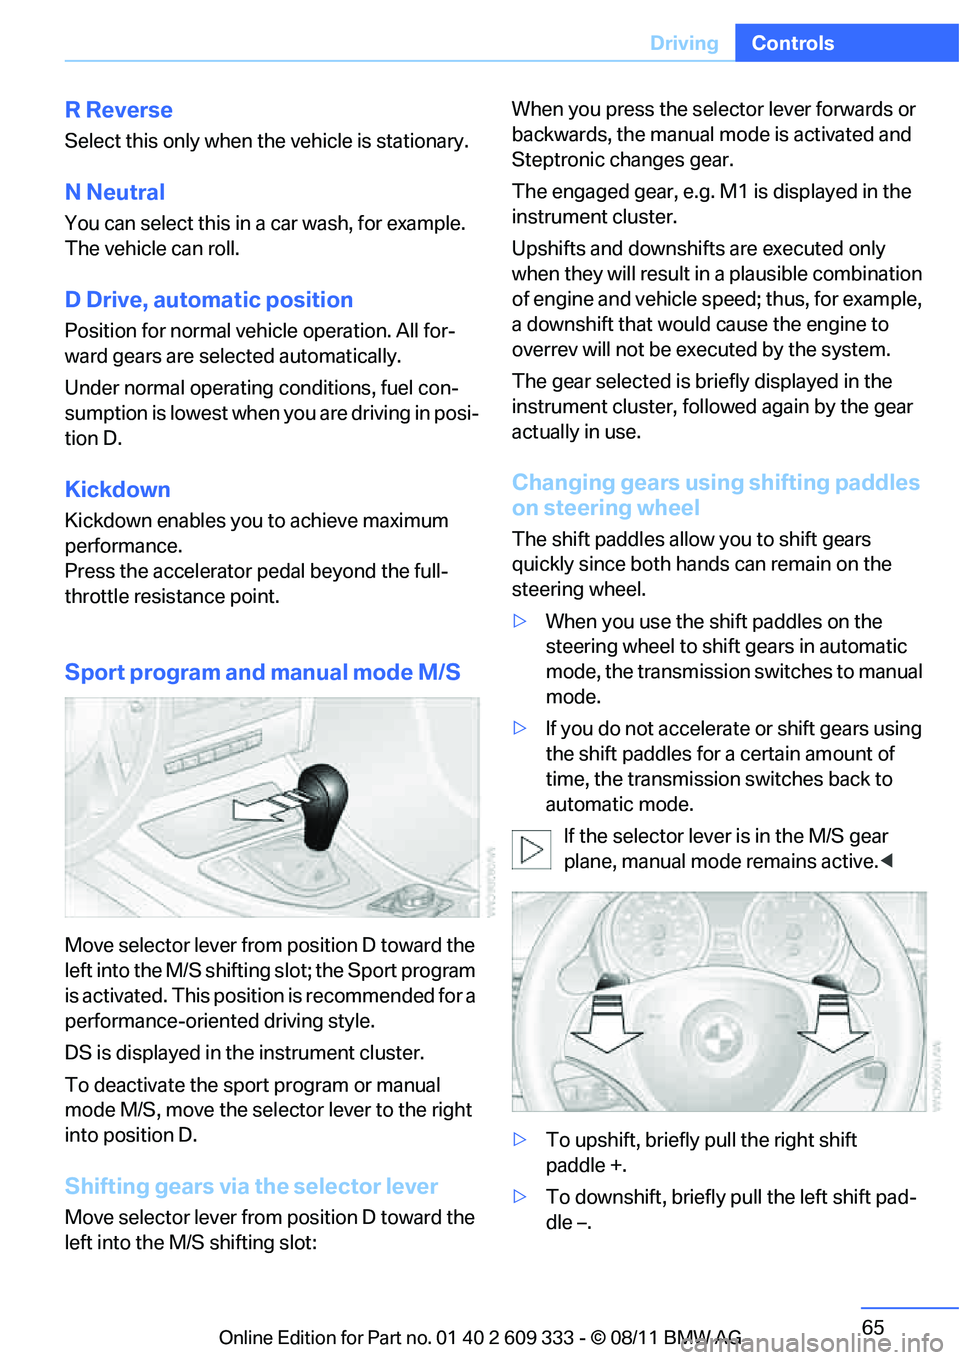
Changing gears using shifting paddles
on steering wheel
The shift paddles allow you to shift gears
quickly since both hand s can remain on the
steering wheel.
> When you use the shift paddles on the
steering wheel to shift gears in automatic
mode, the transmission switches to manual
mode.
> If you do not accelerate or shift gears using
the shift paddles for a certain amount of
time, the transmission switches back to
automatic mode.
If the selector lever is in the M/S gear
plane, manual mode remains active. <
> To upshift, briefly pull the right shift
paddle +.
> To downshift, briefly pull the left shift pad-
dle –.
Online Edition for Part no. 01 40 2 609 333 - \251 08/11 BMW AG
Page 69 of 314
68
ControlsDriving
D Drive mode
In Drive mode, all forward gears are shifted
automatically.
Kickdown
For sudden acceleration maneuvers such as
passing, depress the accelerator past the resis-
tance point. This prov ides maximum accelera-
tion.
Sport program and
manual mode M/S
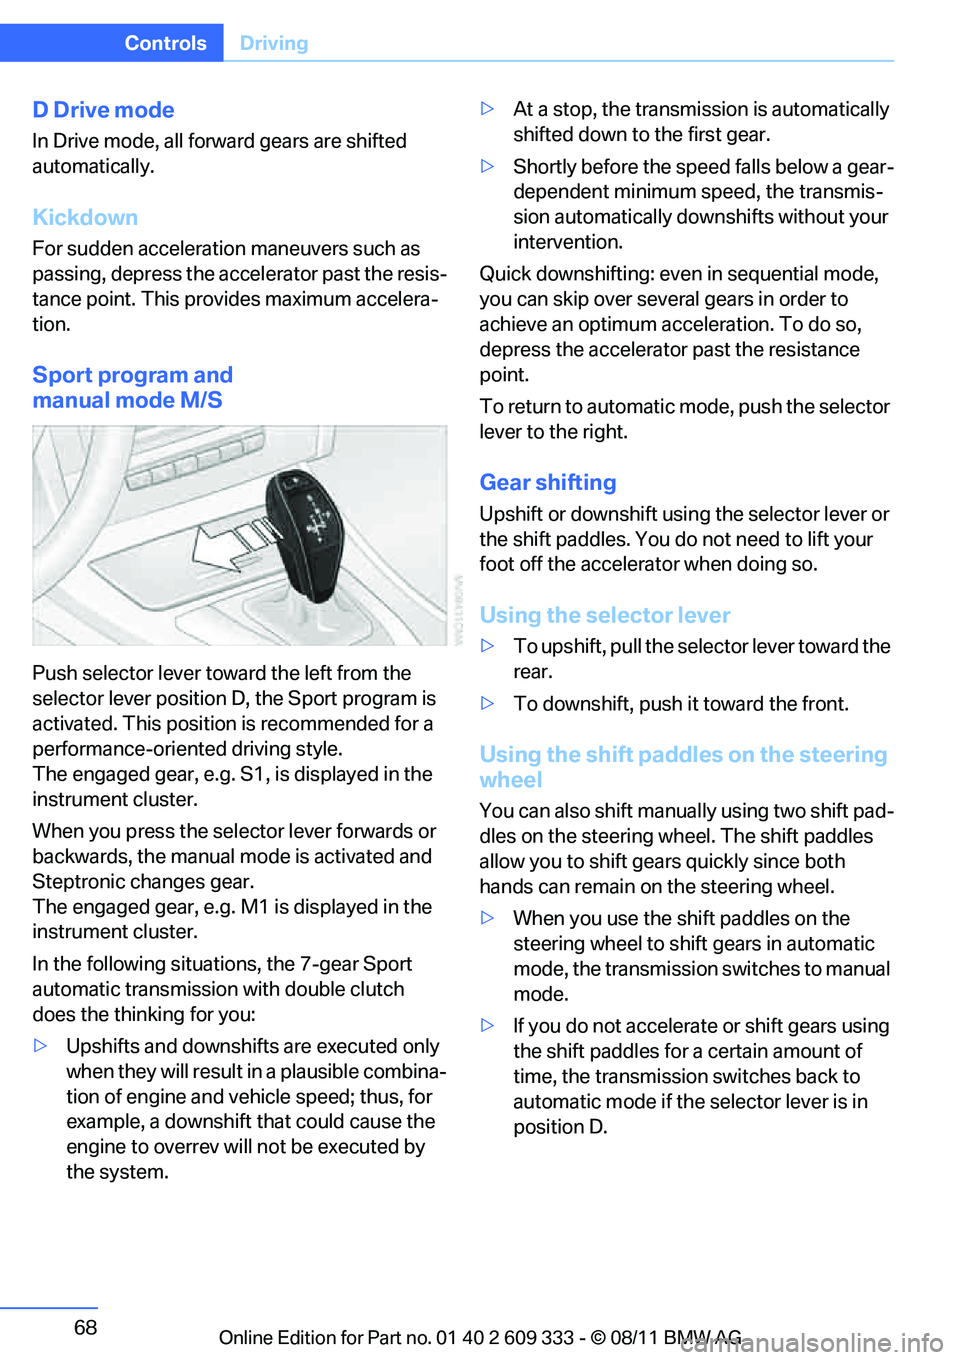
Push selector lever towa rd the left from the
selector lever position D, the Sport program is
activated. This position is recommended for a
performance-oriented driving style.
The engaged gear, e.g. S1, is displayed in the
instrument cluster.
When you press the selector lever forwards or
backwards, the manual mode is activated and
Steptronic changes gear.
The engaged gear, e.g. M1 is displayed in the
instrument cluster.
In the following situat ions, the 7-gear Sport
automatic transmission with double clutch
does the thinking for you:
> Upshifts and downshifts are executed only
when they will result in a plausible combina-
tion of engine and vehicle speed; thus, for
example, a downshift that could cause the
engine to overrev will not be executed by
the system. >
At a stop, the transmission is automatically
shifted down to the first gear.
> Shortly before the spee d falls below a gear-
dependent minimum speed, the transmis-
sion automatically down shifts without your
intervention.
Quick downshifting: even in sequential mode,
you can skip over several gears in order to
achieve an optimum acceleration. To do so,
depress the accelerator past the resistance
point.
To return to automatic mode, push the selector
lever to the right.
Gear shifting
Upshift or downshift usin g the selector lever or
the shift paddles. You do not need to lift your
foot off the accelerator when doing so.
Using the selector lever
> To upshift, pull the sele ctor lever toward the
rear.
> To downshift, push it toward the front.
Using the shift paddl es on the steering
wheel
You can also shift manua lly using two shift pad-
dles on the steering wheel. The shift paddles
allow you to shift gear s quickly since both
hands can remain on the steering wheel.
> When you use the shift paddles on the
steering wheel to shift gears in automatic
mode, the transmission switches to manual
mode.
> If you do not accelerate or shift gears using
the shift paddles for a certain amount of
time, the transmission switches back to
automatic mode if the selector lever is in
position D.
Online Edition for Part no. 01 40 2 609 333 - \251 08/11 BMW AG
Page 70 of 314
69
Driving
Controls
>
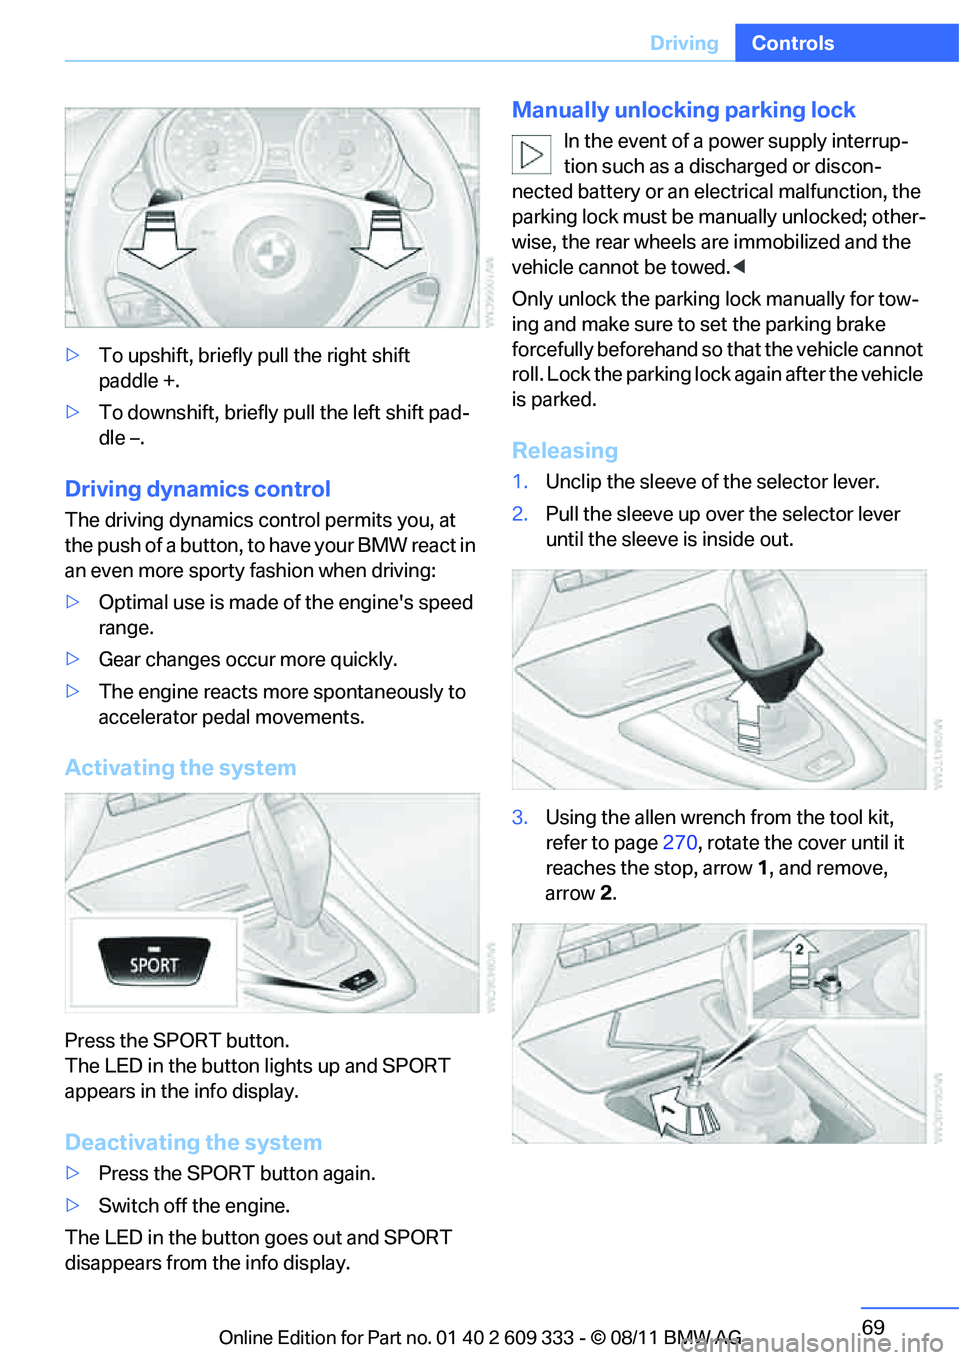
To upshift, briefly pull the right shift
paddle +.
> To downshift, briefly pull the left shift pad-
dle –.
Driving dynamics control
The driving dynamics control permits you, at
the push of a button, to have your BMW react in
an even more sporty fashion when driving:
> Optimal use is made of the engine's speed
range.
> Gear changes occur more quickly.
> The engine reacts more spontaneously to
accelerator pedal movements.
Activating the system
Press the SPORT button.
The LED in the button lights up and SPORT
appears in the info display.
Deactivating the system
>Press the SPORT button again.
> Switch off the engine.
The LED in the button goes out and SPORT
disappears from the info display.
Manually unlocking parking lock
In the event of a power supply interrup-
tion such as a discharged or discon-
nected battery or an elec trical malfunction, the
parking lock must be ma nually unlocked; other-
wise, the rear wheels are immobilized and the
vehicle cannot be towed. <
Only unlock the parking lock manually for tow-
ing and make sure to set the parking brake
forcefully beforehand so that the vehicle cannot
roll. Lock the parking lock again after the vehicle
is parked.
Releasing
1. Unclip the sleeve of the selector lever.
2. Pull the sleeve up over the selector lever
until the sleeve is inside out.
3. Using the allen wrench from the tool kit,
refer to page 270, rotate the cover until it
reaches the stop, arrow 1, and remove,
arrow 2.
Online Edition for Part no. 01 40 2 609 333 - \251 08/11 BMW AG
Page 100 of 314
99
Technology for driving comfort and safety
Controls
xDrive
xDrive is your BMW's fo
ur-wheel-drive system.
The combined efforts of xDrive and DSC help to
further optimize traction and driving dynamics.
The xDrive four-wheel-drive system distributes
driving power variably to the front and rear axles
depending on the driving situation and road
conditions.
Hill Descent Control HDC
HDC is a downhill driving assistant that controls
your speed on steep downhill gradients and
makes it even easier to control your BMW's
handling under these conditions. The vehicle
then moves slightly fast er than double walking
speed without the driver needing to intervene.
HDC can be activated as long as you are driving
under approx. 20 mph or 35 km/h. When driving
downhill at a speed of under approx. 20 mph or
35 km/h, the vehicle's speed is automatically
reduced to slightly more than double walking
speed and maintained.
Increasing or de creasing speed
By accelerating or braking you can change this
speed within a range from approx. 3 to 15 mph,
approx. 5 to 25 km/h.
You can specify a target speed within the same
range by using the lever of the cruise control.
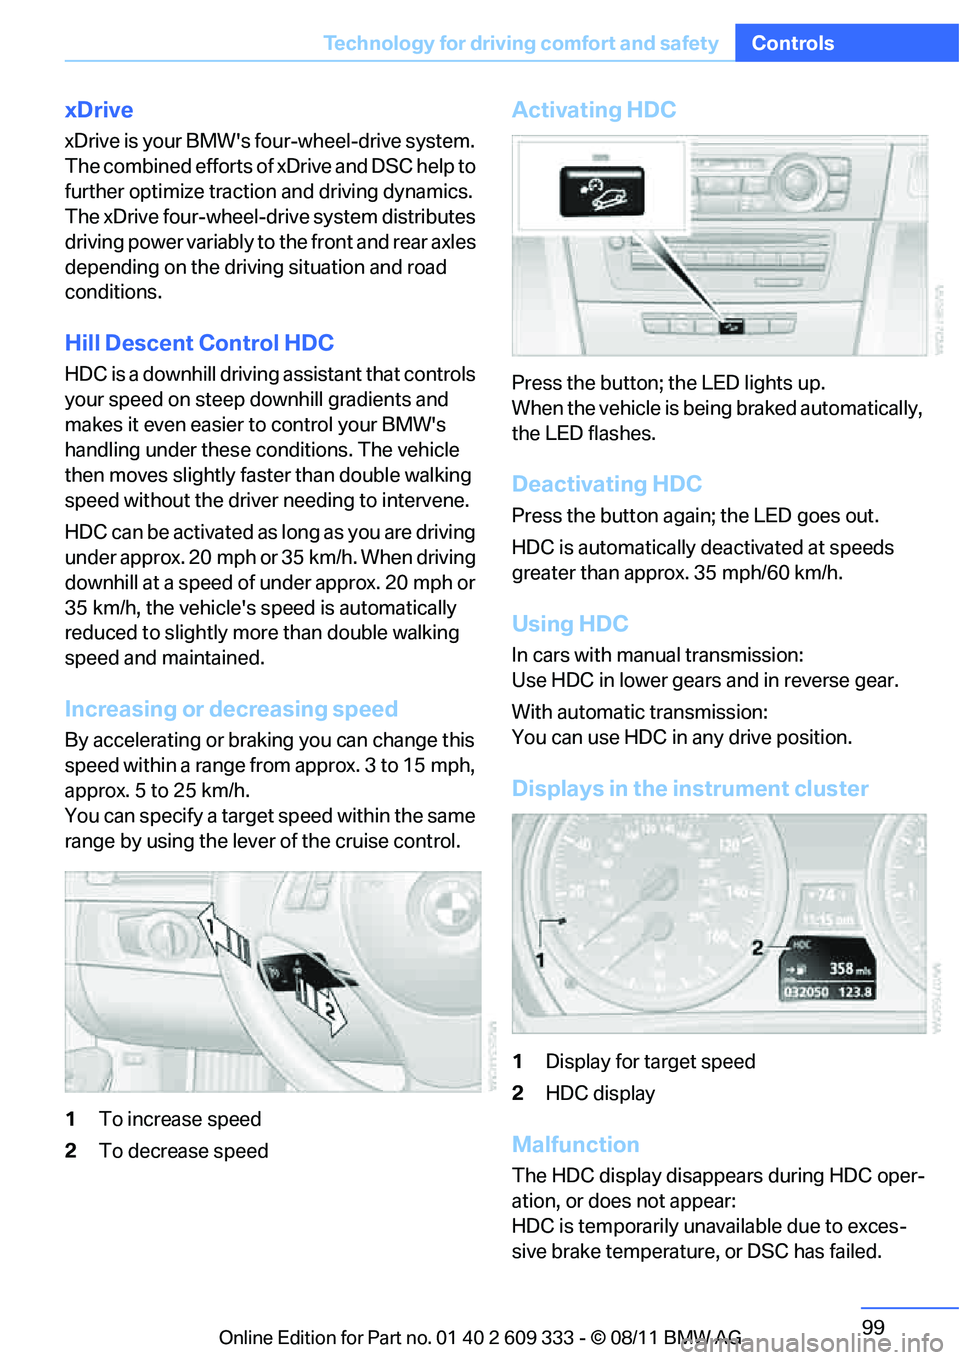
1 To increase speed
2 To decrease speed
Activating HDC
Press the button; the LED lights up.
When the vehicle is being braked automatically,
the LED flashes.
Deactivating HDC
Press the button again; the LED goes out.
HDC is automatically de activated at speeds
greater than approx. 35 mph/60 km/h.
Using HDC
In cars with manual transmission:
Use HDC in lower gears and in reverse gear.
With automatic transmission:
You can use HDC in any drive position.
Displays in the instrument cluster
1 Display for target speed
2 HDC display
Malfunction
The HDC display disappears during HDC oper-
ation, or does not appear:
HDC is temporarily unav ailable due to exces-
sive brake temperature, or DSC has failed.
Online Edition for Part no. 01 40 2 609 333 - \251 08/11 BMW AG
Page 101 of 314
100
ControlsTechnology for driving comfort and safety
Drive-off assistant
The drive-off assistant enables you to drive off
smoothly on uphill gradients. It is not necessary
to use the parking brake for this.
1.Hold the car in place by depressing the
brake.
2. Release the brake and drive off without
delay.
The drive-off assistant holds the car in
place for approx. 2 seconds after the
brake is released. Drive off without delay after
releasing the brake. Ot herwise, the drive-off
assistant will no longer hold the car in place
after approx. 2 seconds and the car will start to
roll backwards. <
Flat Tire Monitor FTM
The concept
The system does not measure the actual infla-
tion pressure in the tires.
The system detects a pressure loss in a tire by
comparing the rotational speeds of the individ-
ual wheels while moving.
In the event of a pressure loss, the diameter and
therefore the rotational speed of the corre-
sponding wheel change. This is detected and
reported as a flat tire.
Functional requirement
The system must have be en initialized while the
tire inflation pressure was correct; otherwise,
reliable signaling of a flat tire is not ensured.
Each time a tire inflation pressure has been cor-
rected or a wheel or tire has been changed,
reinitialize the system.
System limitations
Sudden serious tire damage caused by
external influences cannot be indicated in
advance.<
A natural, steady pressure loss in all four tires is
not detected. Therefore, check the tire inflation
pressure regularly.
In the following situatio ns, the system could be
delayed or malfunction:
> System has not been initialized
> Driving on snowy or slippery road surface
> Performance-oriented style of driving: slip
in the drive wheels, hi gh lateral acceleration
> Snow chains are attached
Status display
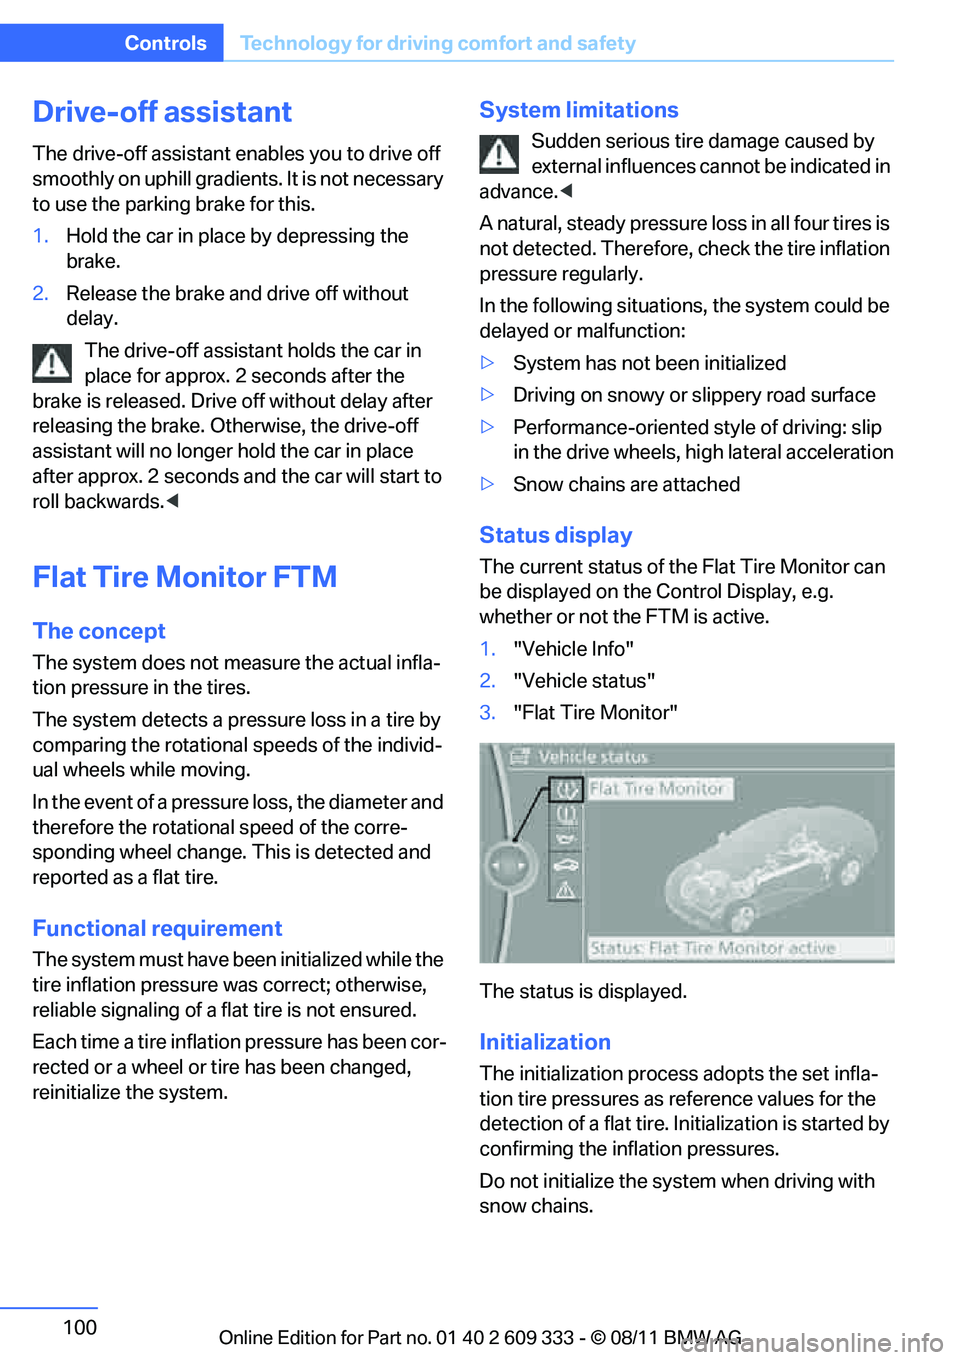
The current status of the Flat Tire Monitor can
be displayed on the Control Display, e.g.
whether or not the FTM is active.
1."Vehicle Info"
2. "Vehicle status"
3. "Flat Tire Monitor"
The status is displayed.
Initialization
The initialization process adopts the set infla-
tion tire pressures as reference values for the
detection of a flat tire. Initialization is started by
confirming the inflation pressures.
Do not initialize the syst em when driving with
snow chains.
Online Edition for Part no. 01 40 2 609 333 - \251 08/11 BMW AG
Page 103 of 314
102
ControlsTechnology for driving comfort and safety
Tire Pressure Monitor TPM
The concept
Check the inflation pressure in the four installed
tires. The system notifies you if there is a signif-
icant loss of pressure in one or more tires.
Functional requirement
The system must have been reset while the
inflation pressure was correct; otherwise, reli-
able signaling of a flat tire is not ensured.
Always use wheels with TPM electronics to
ensure that the system will operate properly.
Each time a tire inflation pressure has been cor-
rected or a wheel or tire has been changed,
reset the system.
System limitations
Sudden serious tire damage caused by
external influences cannot be indicated in
advance. <
The system does not function correctly if it has
not been reset. For example, a flat tire may be
indicated even though th e tire inflation pres-
sures are correct.
The system is inactive an d cannot indicate a flat
tire:
> When a wheel without TPM electronics is
installed.
> Interference with TPM by other systems or
devices with the same transmission fre-
quency.
Status display
The current status of the Tire Pressure Monitor
TPM can be displayed on the Control Display,
e.g., whether or not the TPM is active.
1. "Vehicle Info"
2. "Vehicle status" 3.
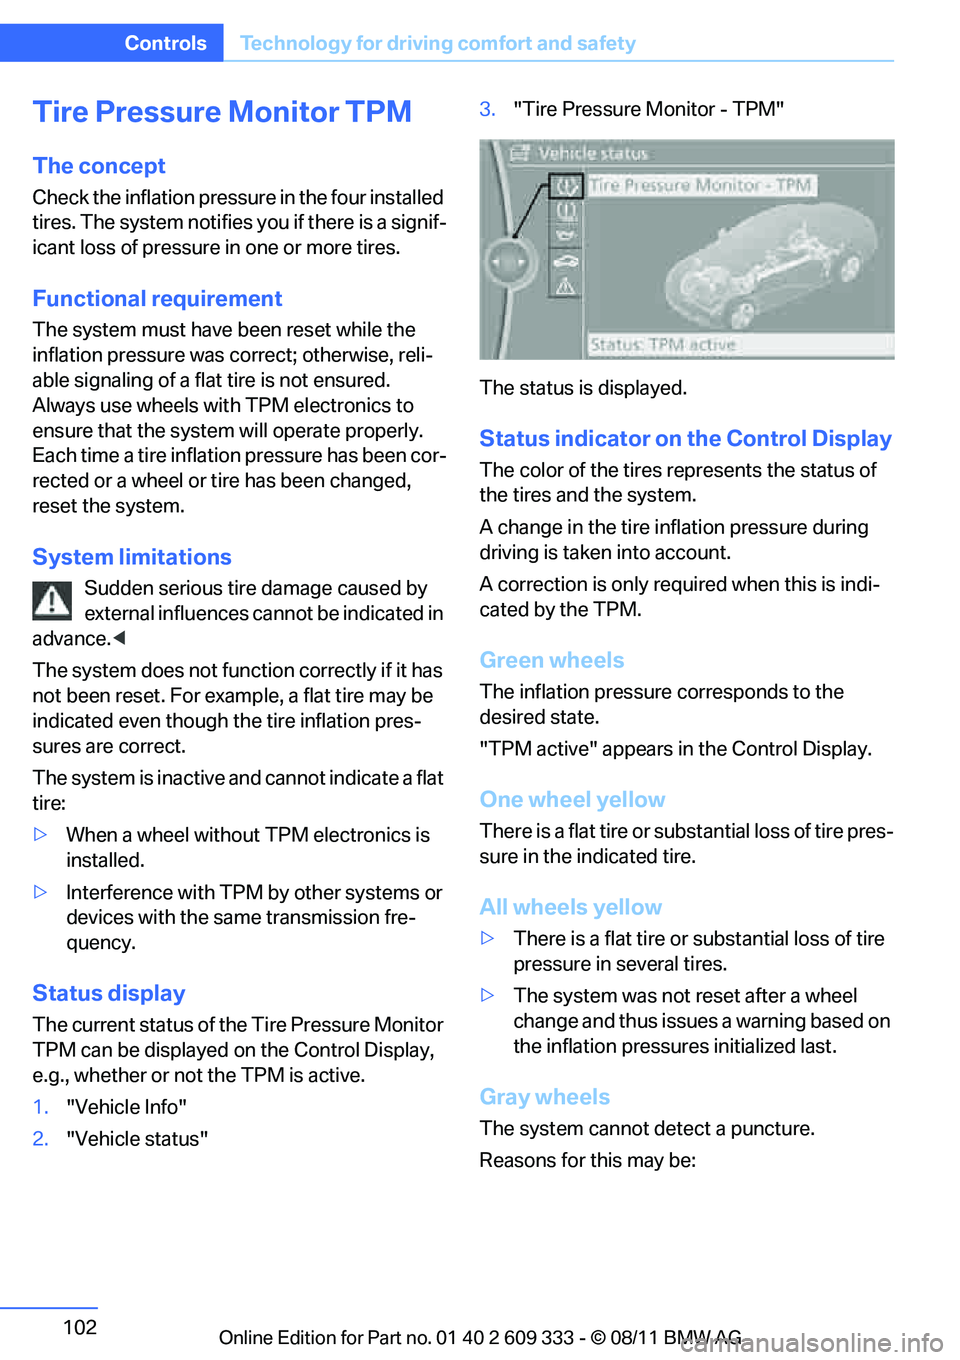
"Tire Pressure Monitor - TPM"
The status is displayed.
Status indicator on the Control Display
The color of the tires represents the status of
the tires and the system.
A change in the tire in flation pressure during
driving is taken into account.
A correction is only requ ired when this is indi-
cated by the TPM.
Green wheels
The inflation pressure corresponds to the
desired state.
"TPM active" appears in the Control Display.
One wheel yellow
There is a flat tire or substantial loss of tire pres-
sure in the indicated tire.
All wheels yellow
> There is a flat tire or substantial loss of tire
pressure in several tires.
> The system was not reset after a wheel
change and thus issues a warning based on
the inflation pressure s initialized last.
Gray wheels
The system cannot de tect a puncture.
Reasons for this may be:
Online Edition for Part no. 01 40 2 609 333 - \251 08/11 BMW AG
Page 104 of 314
103
Technology for driving comfort and safety
Controls
>
TPM is being reset.
> Interference from systems or devices that
use the same radio frequency.
> Malfunction.
Resetting the system
Each time a tire inflation pressure has been cor-
rected or a wheel or tire has been changed,
reset the system.
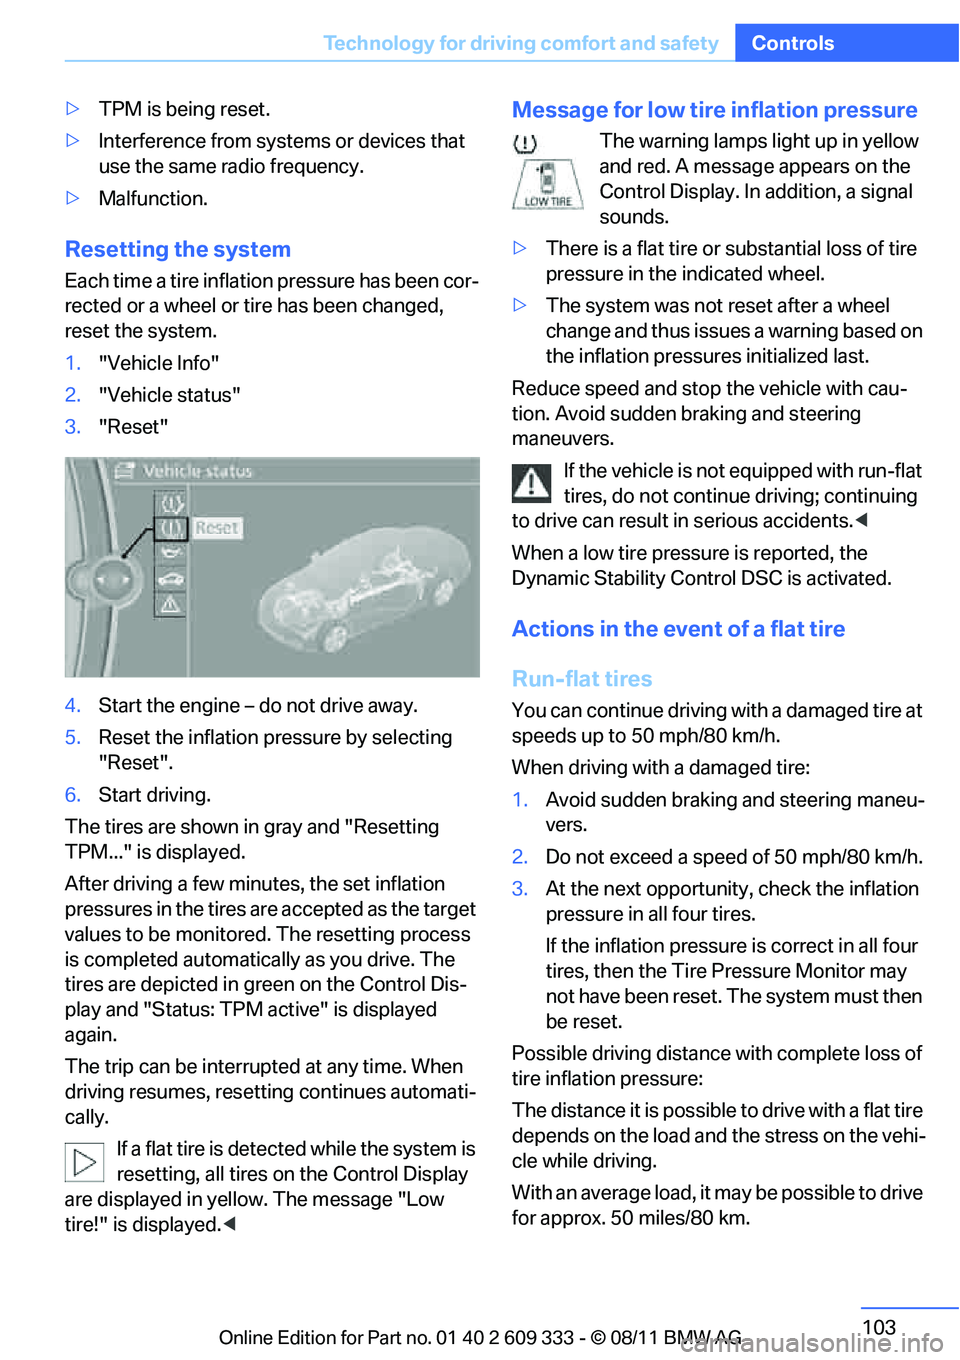
1."Vehicle Info"
2. "Vehicle status"
3. "Reset"
4. Start the engine – do not drive away.
5. Reset the inflation pr essure by selecting
"Reset".
6. Start driving.
The tires are shown in gray and "Resetting
TPM..." is displayed.
After driving a few minu tes, the set inflation
pressures in the tires are accepted as the target
values to be monitored. The resetting process
is completed automatically as you drive. The
tires are depicted in green on the Control Dis-
play and "Status: TPM active" is displayed
again.
The trip can be interrupted at any time. When
driving resumes, resetting continues automati-
cally.
If a flat tire is detected while the system is
resetting, all tires on the Control Display
are displayed in yellow. The message "Low
tire!" is displayed. <
Message for low tire inflation pressure
The warning lamps light up in yellow
and red. A message appears on the
Control Display. In addition, a signal
sounds.
> There is a flat tire or substantial loss of tire
pressure in the indicated wheel.
> The system was not reset after a wheel
change and thus issues a warning based on
the inflation pressure s initialized last.
Reduce speed and stop the vehicle with cau-
tion. Avoid sudden braking and steering
maneuvers. If the vehicle is not equipped with run-flat
tires, do not continue driving; continuing
to drive can result in serious accidents.<
When a low tire pressure is reported, the
Dynamic Stability Control DSC is activated.
Actions in the event of a flat tire
Run-flat tires
You can continue driving with a damaged tire at
speeds up to 50 mph/80 km/h.
When driving with a damaged tire:
1. Avoid sudden braking and steering maneu-
vers.
2. Do not exceed a speed of 50 mph/80 km/h.
3. At the next opportunity, check the inflation
pressure in all four tires.
If the inflation pressure is correct in all four
tires, then the Tire Pressure Monitor may
not have been reset. The system must then
be reset.
Possible driving distance with complete loss of
tire inflation pressure:
The distance it is possible to drive with a flat tire
depends on the load and the stress on the vehi-
cle while driving.
With an average load, it may be possible to drive
for approx. 50 miles/80 km.
Online Edition for Part no. 01 40 2 609 333 - \251 08/11 BMW AG