BMW 330CI CONVERTABLE 2006 Owners Manual
Manufacturer: BMW, Model Year: 2006, Model line: 330CI CONVERTABLE, Model: BMW 330CI CONVERTABLE 2006Pages: 190, PDF Size: 2.79 MB
Page 111 of 190
111
3. Hold the original control device
approx. 2 to 8 in / 5 to 20 cm away
from memory buttons 1.
The required distance between
the control device and the mem-
ory buttons 1 may vary, depending on
the system of the original control device
in question.<
4. Simultaneously press the command
button of the original control device
and the desired memory button 1 on
the integrated universal remote con-
trol. Indicator lamp 2 starts to flash
slowly. When indicator lamp 2
flashes rapidly, release both but-
tons. If the indicator lamp 2 does not
flash rapidly after approx.
15 seconds, select a different dis-
tance between the two devices
5. To program other original control
devices, repeat steps 3 and 4.
The corresponding memory button 1 is
now programmed with the signal of the
original control device.
The system can be operated from igni-
tion key position 2.
If the system cannot be operated
after repeated attempts at pro-
gramming, check whether the original
control device is equipped with an
alternating-code system. You can either
check the operating instructions of the
original control device for this informa-
tion, or you can press and hold down
the programmed memory button 1 of
the integrated universal remote control.
If indicator lamp 2 of the integrated uni-
versal remote control flashes rapidly for
a brief period and then remains on for
approx. 2 seconds, the original control
device is equipped with an alternating-
code system. In this case, you have to
program the memory buttons 1 as
described below for an alternating-
code control device.<
Programming an alternating-code
control deviceYou will need to follow the operating
instructions of the system in question in
order to program the integrated univer-
sal remote control. Read through the
operating instructions for information
on synchronization. Comply with the
following additional instructions when
you program an alternating-code con-
trol device:
You will find programming easier if
you have the assistance of
another person.<
1. Park the vehicle within range of the
radio remote controlled device
2. Program the integrated universal
remote control as described above in
the section on fixed-code program-
ming
3. Locate the button on the receiver of
the target device, for example on the
drive
4. Press the button on the receiver of
the target device. Once you have
completed step 4, you have approx.
30 seconds to complete step 5
5. Press the programmed memory
button 1 of the integrated universal
remote control three times.
The corresponding memory button 1 is
now programmed with the signal of the
original control device.
Please contact your BMW center
if you have any questions.<
Integrated universal remote control*
OverviewControlsMaintenanceRepairsDataIndex
Page 112 of 190
112
Deleting memory buttonsPress and hold down both outer
buttons 1 of the integrated universal
remote control for approx. 20 seconds
until the indicator lamp 2 flashes: All
threee memory buttons are cleared.
It is not possible to delete individual
memory buttons 1.
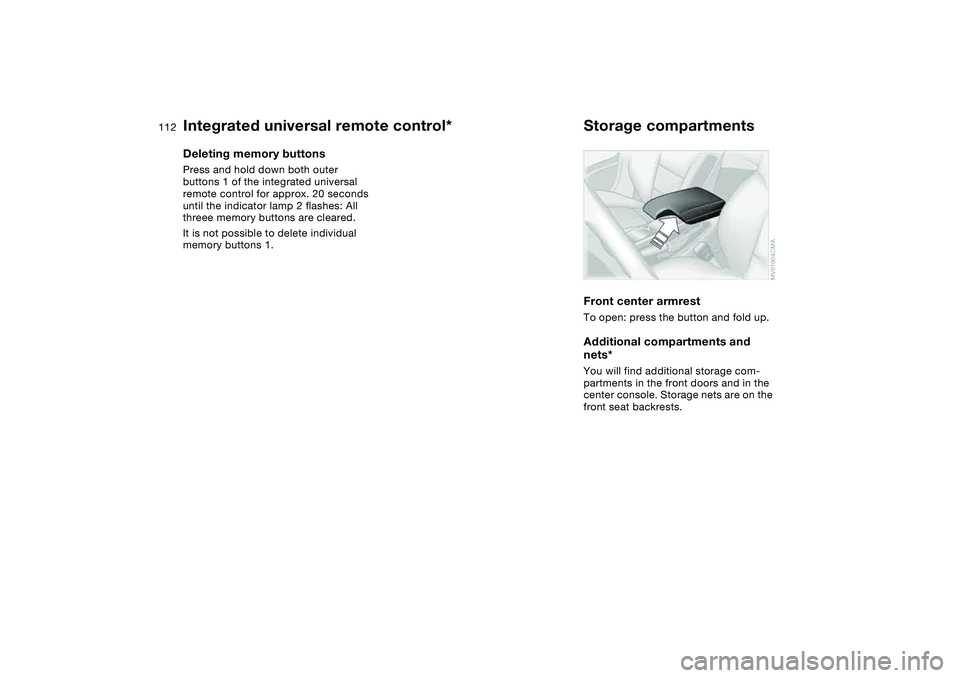
Storage compartmentsFront center armrestTo open: press the button and fold up.Additional compartments and
nets*You will find additional storage com-
partments in the front doors and in the
center console. Storage nets are on the
front seat backrests.
Integrated universal remote control*
Page 113 of 190
113
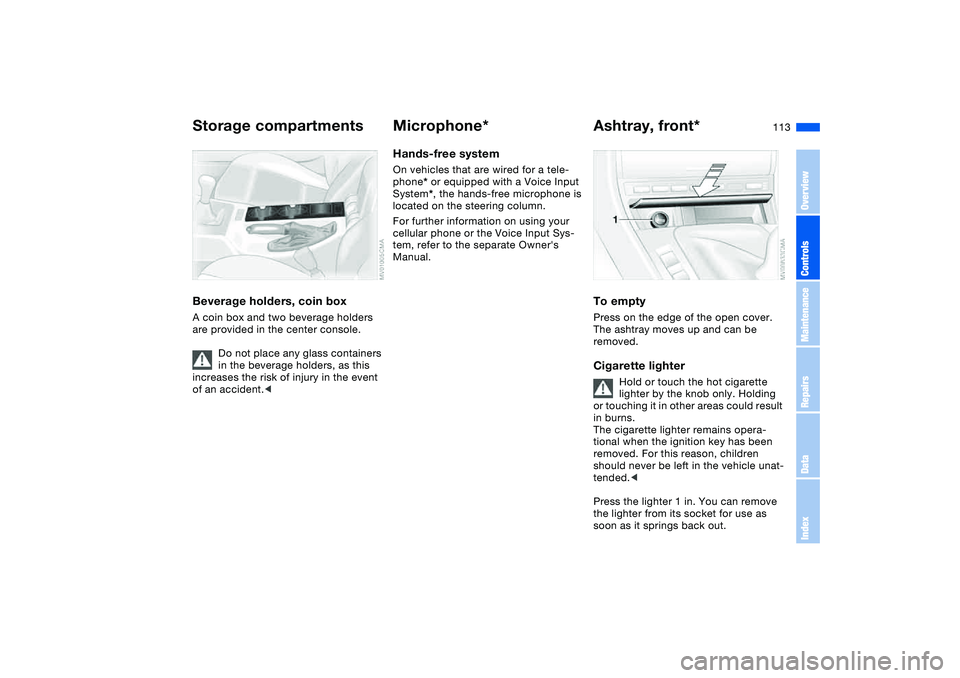
Beverage holders, coin boxA coin box and two beverage holders
are provided in the center console.
Do not place any glass containers
in the beverage holders, as this
increases the risk of injury in the event
of an accident.<
Microphone*Hands-free systemOn vehicles that are wired for a tele-
phone* or equipped with a Voice Input
System*, the hands-free microphone is
located on the steering column.
For further information on using your
cellular phone or the Voice Input Sys-
tem, refer to the separate Owner's
Manual.
Ashtray, front*To emptyPress on the edge of the open cover.
The ashtray moves up and can be
removed.Cigarette lighter
Hold or touch the hot cigarette
lighter by the knob only. Holding
or touching it in other areas could result
in burns.
The cigarette lighter remains opera-
tional when the ignition key has been
removed. For this reason, children
should never be left in the vehicle unat-
tended.<
Press the lighter 1 in. You can remove
the lighter from its socket for use as
soon as it springs back out.
Storage compartments
OverviewControlsMaintenanceRepairsDataIndex
Page 114 of 190
114
Power socketThe cigarette lighter socket can be
used as a power socket for a flashlight,
car vacuum cleaner, etc., up to a rating
of approx. 200 watts at 12 volts. Do not
damage the socket by inserting plugs of
the wrong shape or size. In vehicles
with a non-smoker's equipment pack-
age, the socket is covered by a remov-
able cap.
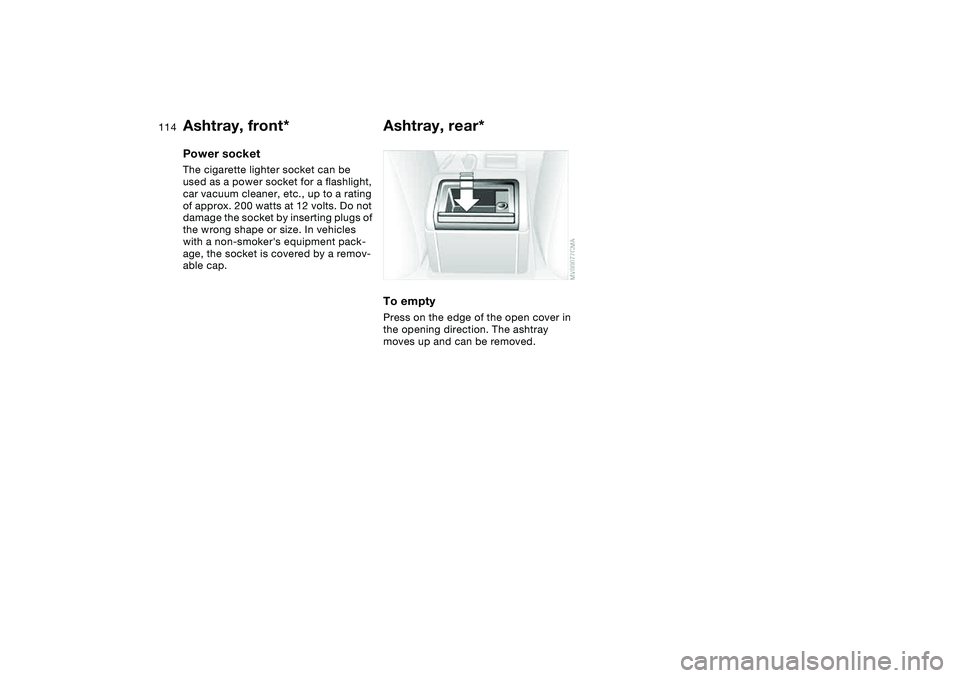
Ashtray, rear*To emptyPress on the edge of the open cover in
the opening direction. The ashtray
moves up and can be removed.
Ashtray, front*
Page 115 of 190
115 Loading and transporting
Ski bag*The ski bag allows the safe and clean
transport of up to 3 pairs of standard
skis or up to two snowboards.
The length of the ski bag and the addi-
tional space provided in the luggage
compartment make it possible to carry
skis up to 6 ft 10 in / 2.10 m long.
Because of the tapered shape of the
bag, only two pairs of skis longer than
6 ft 10 in / 2.10 m can be carried.
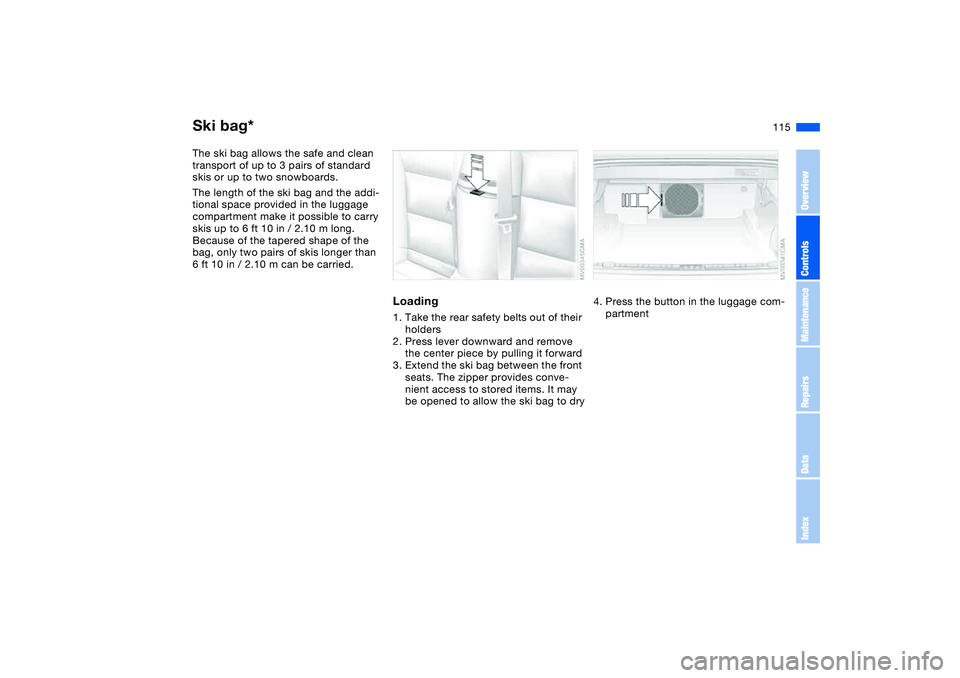
Loading1. Take the rear safety belts out of their
holders
2. Press lever downward and remove
the center piece by pulling it forward
3. Extend the ski bag between the front
seats. The zipper provides conve-
nient access to stored items. It may
be opened to allow the ski bag to dry
4. Press the button in the luggage com-
partment
OverviewControlsMaintenanceRepairsDataIndex
Page 116 of 190
116
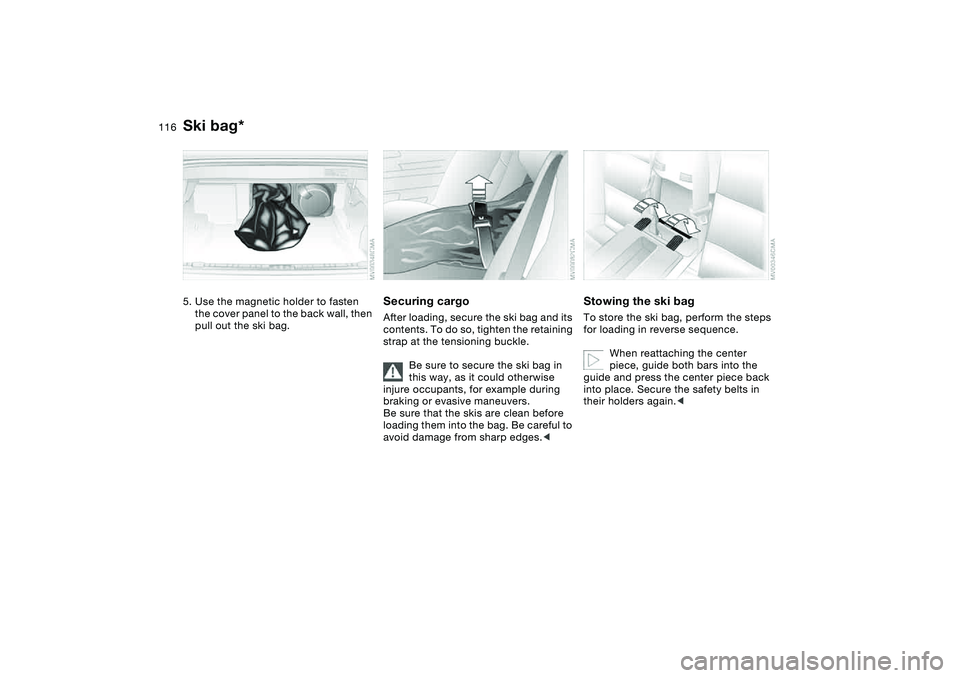
5. Use the magnetic holder to fasten
the cover panel to the back wall, then
pull out the ski bag.
Securing cargoAfter loading, secure the ski bag and its
contents. To do so, tighten the retaining
strap at the tensioning buckle.
Be sure to secure the ski bag in
this way, as it could otherwise
injure occupants, for example during
braking or evasive maneuvers.
Be sure that the skis are clean before
loading them into the bag. Be careful to
avoid damage from sharp edges.<
Stowing the ski bagTo store the ski bag, perform the steps
for loading in reverse sequence.
When reattaching the center
piece, guide both bars into the
guide and press the center piece back
into place. Secure the safety belts in
their holders again.<
Ski bag*
Page 117 of 190
117
Cargo loading
Avoid overloading the vehicle so
that the permitted load on the tires
is not exceeded. Overloading can lead
to overheating and internal tire damage.
The ultimate result can assume the
form of a sudden air loss.<
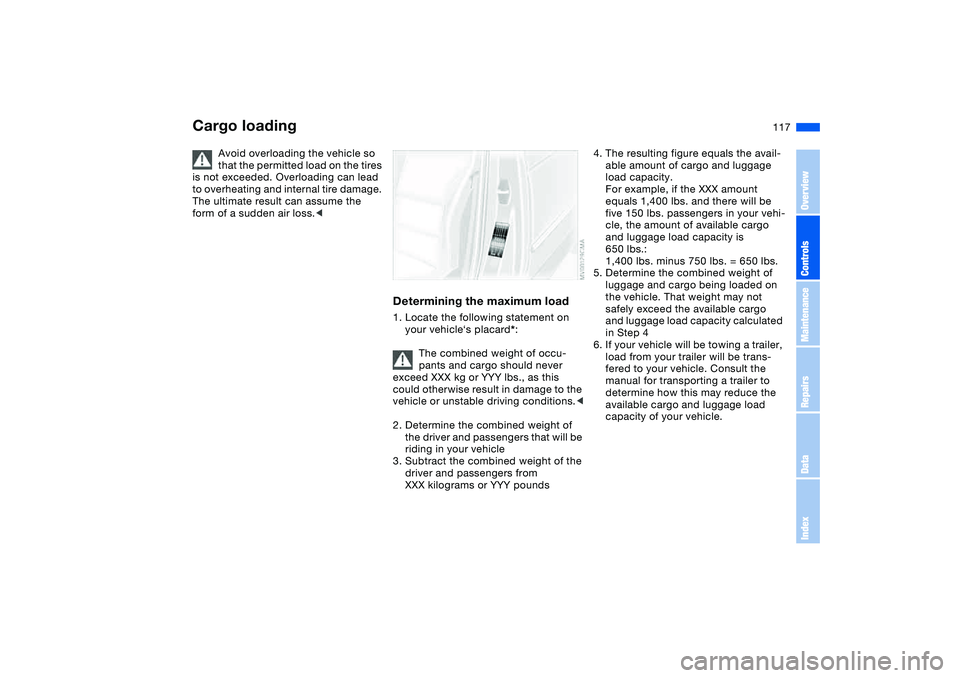
Determining the maximum load1. Locate the following statement on
your vehicle‘s placard*:
The combined weight of occu-
pants and cargo should never
exceed XXX kg or YYY lbs., as this
could otherwise result in damage to the
vehicle or unstable driving conditions.<
2. Determine the combined weight of
the driver and passengers that will be
riding in your vehicle
3. Subtract the combined weight of the
driver and passengers from
XXX kilograms or YYY pounds
4. The resulting figure equals the avail-
able amount of cargo and luggage
load capacity.
For example, if the XXX amount
equals 1,400 lbs. and there will be
five 150 lbs. passengers in your vehi-
cle, the amount of available cargo
and luggage load capacity is
650 lbs.:
1,400 lbs. minus 750 lbs. = 650 lbs.
5. Determine the combined weight of
luggage and cargo being loaded on
the vehicle. That weight may not
safely exceed the available cargo
and luggage load capacity calculated
in Step 4
6. If your vehicle will be towing a trailer,
load from your trailer will be trans-
fered to your vehicle. Consult the
manual for transporting a trailer to
determine how this may reduce the
available cargo and luggage load
capacity of your vehicle.
OverviewControlsMaintenanceRepairsDataIndex
Page 118 of 190
118
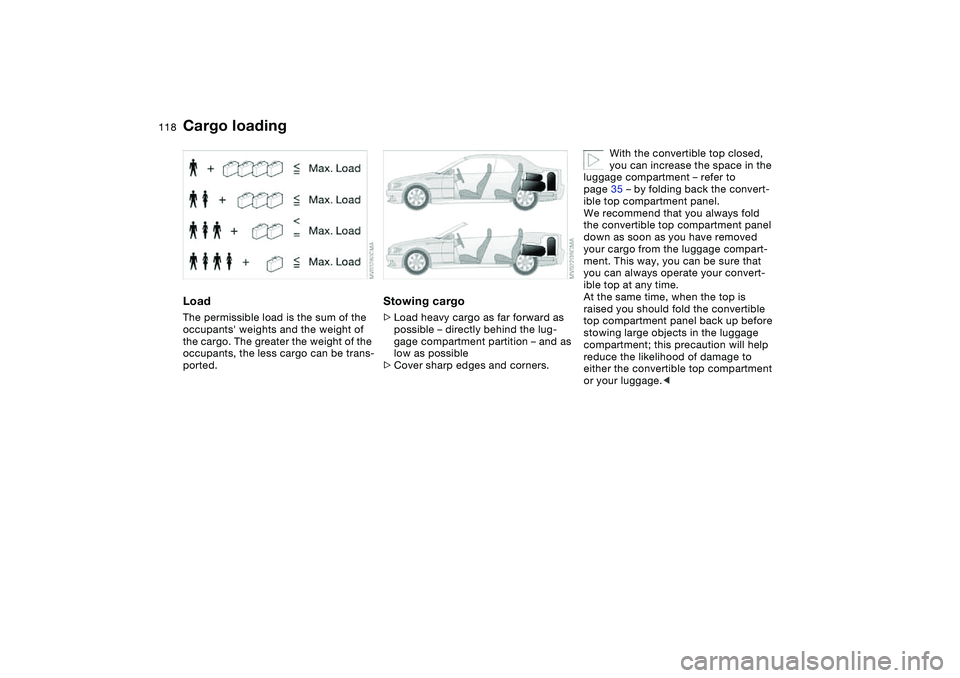
LoadThe permissible load is the sum of the
occupants' weights and the weight of
the cargo. The greater the weight of the
occupants, the less cargo can be trans-
ported.
Stowing cargo>Load heavy cargo as far forward as
possible – directly behind the lug-
gage compartment partition – and as
low as possible
>Cover sharp edges and corners.
With the convertible top closed,
you can increase the space in the
luggage compartment – refer to
page 35 – by folding back the convert-
ible top compartment panel.
We recommend that you always fold
the convertible top compartment panel
down as soon as you have removed
your cargo from the luggage compart-
ment. This way, you can be sure that
you can always operate your convert-
ible top at any time.
At the same time, when the top is
raised you should fold the convertible
top compartment panel back up before
stowing large objects in the luggage
compartment; this precaution will help
reduce the likelihood of damage to
either the convertible top compartment
or your luggage.<
Cargo loading
Page 119 of 190
119
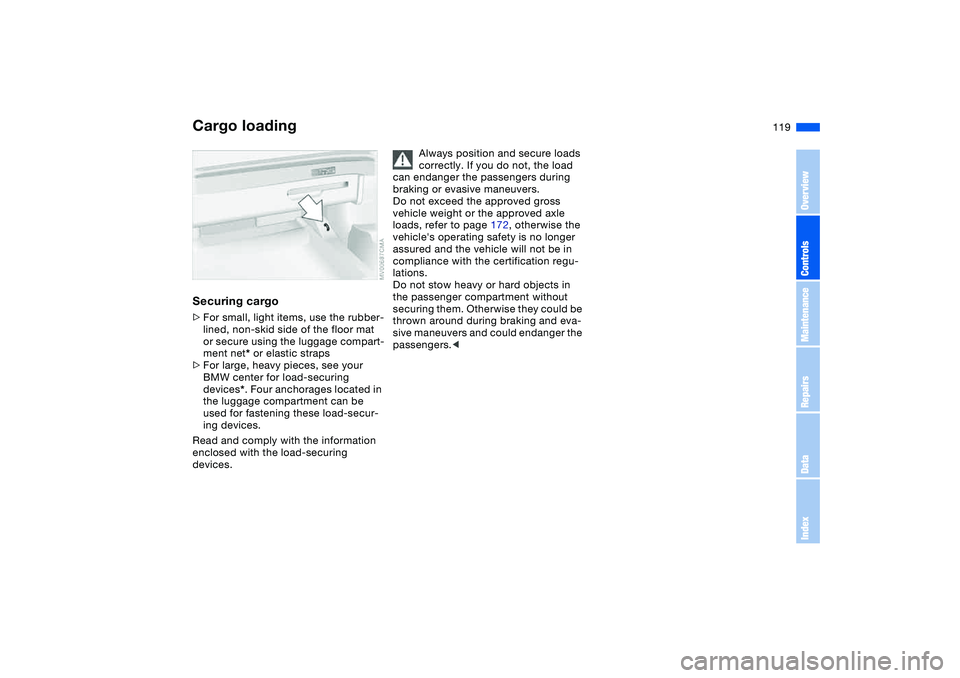
Securing cargo>For small, light items, use the rubber-
lined, non-skid side of the floor mat
or secure using the luggage compart-
ment net* or elastic straps
>For large, heavy pieces, see your
BMW center for load-securing
devices*. Four anchorages located in
the luggage compartment can be
used for fastening these load-secur-
ing devices.
Read and comply with the information
enclosed with the load-securing
devices.
Always position and secure loads
correctly. If you do not, the load
can endanger the passengers during
braking or evasive maneuvers.
Do not exceed the approved gross
vehicle weight or the approved axle
loads, refer to page 172, otherwise the
vehicle's operating safety is no longer
assured and the vehicle will not be in
compliance with the certification regu-
lations.
Do not stow heavy or hard objects in
the passenger compartment without
securing them. Otherwise they could be
thrown around during braking and eva-
sive maneuvers and could endanger the
passengers.<
Cargo loading
OverviewControlsMaintenanceRepairsDataIndex
Page 120 of 190
120
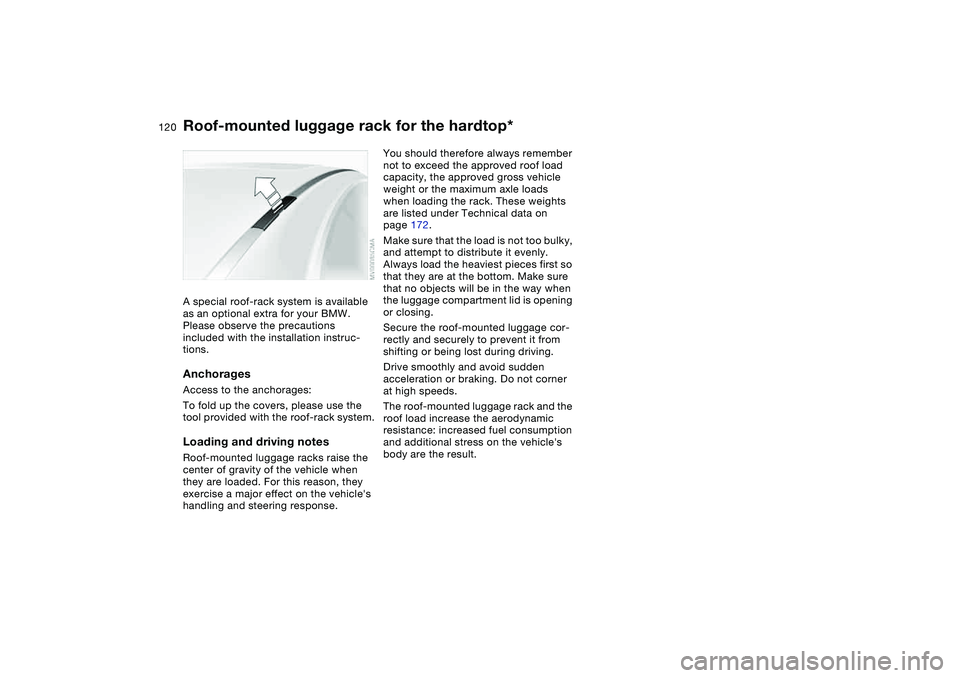
Roof-mounted luggage rack for the hardtop*A special roof-rack system is available
as an optional extra for your BMW.
Please observe the precautions
included with the installation instruc-
tions.AnchoragesAccess to the anchorages:
To fold up the covers, please use the
tool provided with the roof-rack system.Loading and driving notesRoof-mounted luggage racks raise the
center of gravity of the vehicle when
they are loaded. For this reason, they
exercise a major effect on the vehicle's
handling and steering response.
You should therefore always remember
not to exceed the approved roof load
capacity, the approved gross vehicle
weight or the maximum axle loads
when loading the rack. These weights
are listed under Technical data on
page 172.
Make sure that the load is not too bulky,
and attempt to distribute it evenly.
Always load the heaviest pieces first so
that they are at the bottom. Make sure
that no objects will be in the way when
the luggage compartment lid is opening
or closing.
Secure the roof-mounted luggage cor-
rectly and securely to prevent it from
shifting or being lost during driving.
Drive smoothly and avoid sudden
acceleration or braking. Do not corner
at high speeds.
The roof-mounted luggage rack and the
roof load increase the aerodynamic
resistance: increased fuel consumption
and additional stress on the vehicle's
body are the result.