fuel BMW 330Ci COUPE 2002 E46 Owner's Manual
[x] Cancel search | Manufacturer: BMW, Model Year: 2002, Model line: 330Ci COUPE, Model: BMW 330Ci COUPE 2002 E46Pages: 147, PDF Size: 2.2 MB
Page 4 of 147
Contents
© 2001 Bayerische Motoren Werke
Aktiengesellschaft
Munich, Germany
Reprinting, including excerpts, only with the
written consent of BMW AG, Munich.
Order No. 01 40 0 156 144
deutsch VIII/01
Printed in Germany
Printed on environmentally friendly paper
(bleached without chlorine, suitable for recycling).
Overview
Controls and features
Cockpit14
Instrument cluster15
Indicator and warning lamps17
Multifunction steering wheel
(MFL)21
Hazard warning triangle22
Refueling22
Fuel specifications23
Tire inflation pressures24
Opening and closing:
Keys28
Central locking system28
Opening and closing Ð via the
remote control29
Opening and closing Ð via the
door lock31
Opening and closing Ð from the
inside32
Luggage compartment lid33
Luggage compartment35
Alarm system36
Electric power windows37
Sliding/tilt sunroof38
Adjustments:
Correct sitting posture40
Seats40
Manual seat adjustment41
Power seat adjustment42
Lumbar support42
Head restraints43
Entering the rear43
Safety belts44
Seat and mirror memory45
Seat heating46
Steering wheel46
Mirrors47
Passenger safety systems:
Airbags48
Transporting children safely51
Vehicle Memory, Key
Memory53
Driving:
Ignition lock54
Starting the engine54
Switching off the engine55
Parking brake56
Manual transmission56
Automatic transmission with
Steptronic57
Indicator/Headlamp flasher59
Washer/Wiper system/Rain
sensor60
Cruise control62
Everything under control:
Odometer64
Tachometer64
Energy control64
Fuel gauge65
Temperature gauge65
Service Interval Display65
Check Control66
Computer66
Technology for safety and
driving convenience:
Park Distance Control (PDC)69
Automatic Stability Control plus
Traction (ASC+T)70
Dynamic Stability Control
(DSC)71
Tire Pressure Monitor (RDC)73
Flat Tire Monitor75
Contents
Page 10 of 147
10n
For your own safety
Use unleaded gasoline only. Fuels
containing up to and including
10 % ethanol or other oxygenates with
up to 2.8 % oxygen by weight (i.e.
15 % MTBE or 3% methanol plus an
equivalent amount of co-solvent) will
not void the applicable warranties
respecting defects in materials or work-
manship. Field experience has indi-
cated significant differences in fuel
quality (volatility, composition, addi-
tives, for example) among gasolines
offered for sale in the United States and
Canada. The use of poor-quality fuels
may result in driveability, starting and
stalling problems especially under
certain environmental conditions, such
as high ambient temperature and high
altitude.
Should you encounter driveability prob-
lems which you suspect could be
related to the fuel you are using, we
recommend that you respond by
switching to a recognized high-quality
brand.
Failure to comply with these recom-
mendations may result in unscheduled
maintenance.
Obey all applicable safety rules when
you are handling gasoline.
<
Important safety information!
For your own safety, use genuine parts
and accessories approved by BMW.
When you purchase accessories tested
and approved by BMW and Original
BMW Parts, you simultaneously acquire
the assurance that they have been
thoroughly tested by BMW to ensure
optimum performance when installed
on your vehicle.
BMW warrants these parts to be free
from defects in material and workman-
ship.
BMW will not accept any liability for
damage resulting from installation of
parts and accessories not approved by
BMW.
BMW cannot test every product made
by other manufacturers to ascertain
whether it can be used on a BMW
safely and without risk to either the
vehicle, its operation, or its occupants.
Original BMW Parts, BMW Accessories
and other products approved by BMW,
together with professional advice on
using these items, are available from all
BMW centers.
Installation and operation of non-BMW
approved accessories such as alarms,
radios, amplifiers, radar detectors,
wheels, suspension components, brake
dust shields, telephones (including
operation of any portable cellular phone
from within the vehicle without using an
externally mounted antenna) or trans-
ceiver equipment (such as CB, walkie-
talkie, ham radio or similar) may cause
extensive damage to the vehicle,
compromise its safety, interfere with
the vehicle's electrical system or affect
the validity of the BMW Limited
Warranty. Contact your BMW center for
additional information.
Do not use key or remote to lock doors
or luggage compartment with anyone
inside the vehicle. For more details
refer to page 31.
<
Maintenance, replacement, or
repair of the emission control
devices and systems may be performed
by any automotive repair establishment
or individual using any certified auto-
motive part.
<
Symbol on vehicle parts
Indicates that you should consult
the relevant section of this
Owner's Manual for information on a
particular part or assembly.
Page 15 of 147
15n
OverviewControlsMaintenanceRepairsDataIndex
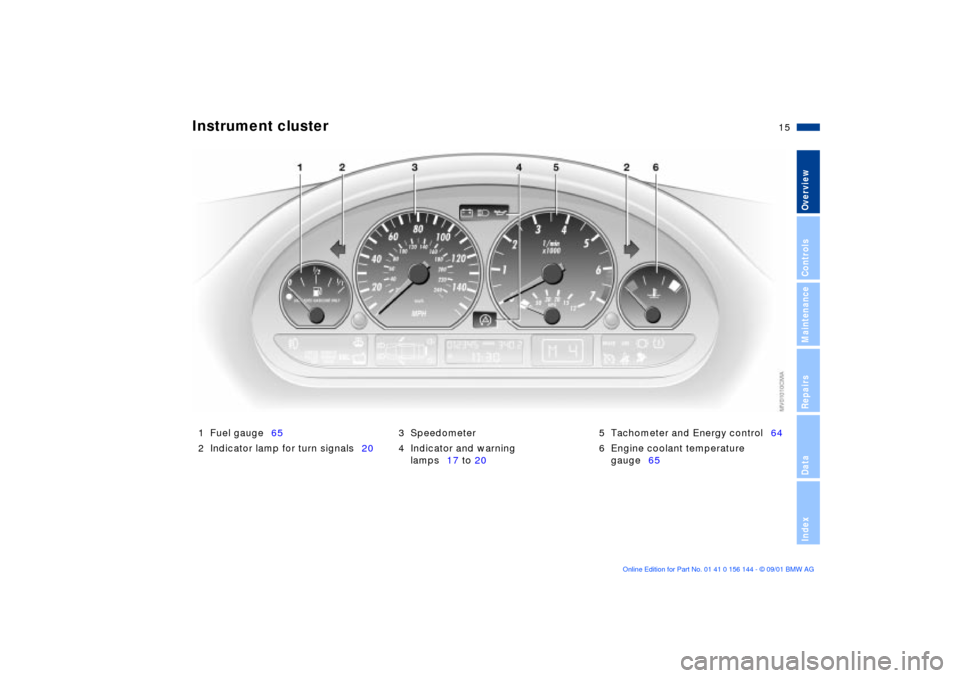
1 Fuel gauge65
2 Indicator lamp for turn signals203 Speedometer
4 Indicator and warning
lamps17 to 205 Tachometer and Energy control64
6 Engine coolant temperature
gauge65
Instrument cluster
Page 19 of 147
19n
OverviewControlsMaintenanceRepairsDataIndex
Indicator and warning lamps
Yellow: check as soon as possible
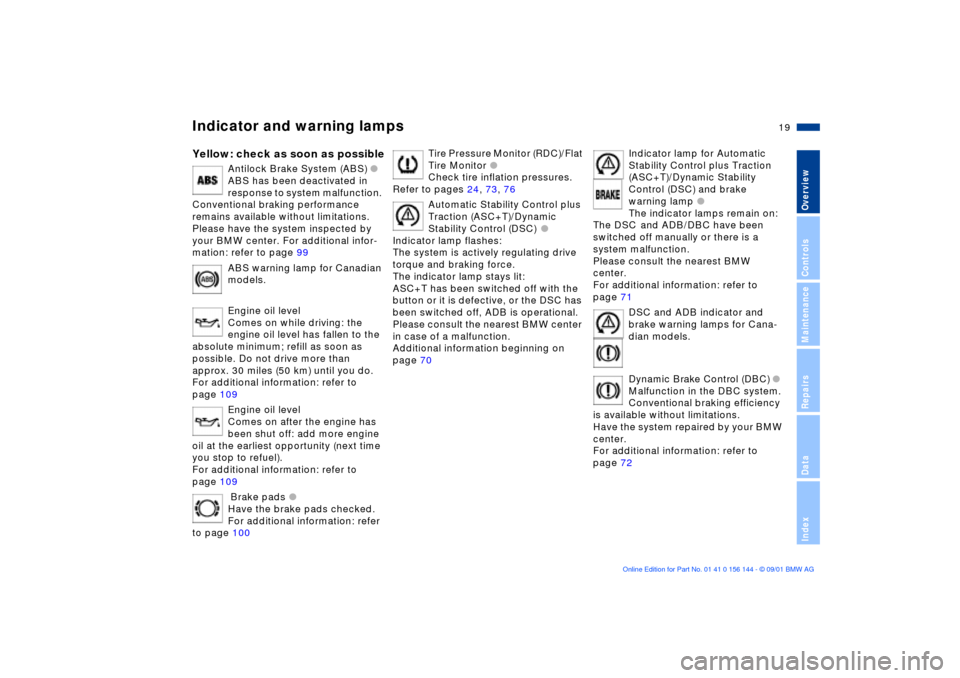
Antilock Brake System (ABS)
l
ABS has been deactivated in
response to system malfunction.
Conventional braking performance
remains available without limitations.
Please have the system inspected by
your BMW center. For additional infor-
mation: refer to page 99
ABS warning lamp for Canadian
models.
Engine oil level
Comes on while driving: the
engine oil level has fallen to the
absolute minimum; refill as soon as
possible. Do not drive more than
approx. 30 miles (50 km) until you do.
For additional information: refer to
page 109
Engine oil level
Comes on after the engine has
been shut off: add more engine
oil at the earliest opportunity (next time
you stop to refuel).
For additional information: refer to
page 109
Brake pads
l
Have the brake pads checked.
For additional information: refer
to page 100
Tire Pressure Monitor (RDC)/Flat
Tire Monitor
l
Check tire inflation pressures.
Refer to pages 24, 73, 76
Automatic Stability Control plus
Traction (ASC+T)/Dynamic
Stability Control (DSC)
l
Indicator lamp flashes:
The system is actively regulating drive
torque and braking force.
The indicator lamp stays lit:
ASC+T has been switched off with the
button or it is defective, or the DSC has
been switched off, ADB is operational.
Please consult the nearest BMW center
in case of a malfunction.
Additional information beginning on
page 70
Indicator lamp for Automatic
Stability Control plus Traction
(ASC+T)/Dynamic Stability
Control (DSC) and brake
warning lamp
l
The indicator lamps remain on:
The DSC
and ADB/DBC have been
switched off manually or there is a
system malfunction.
Please consult the nearest BMW
center.
For additional information: refer to
page 71
DSC and ADB indicator and
brake warning lamps for Cana-
dian models.
Dynamic Brake Control (DBC)
l
Malfunction in the DBC system.
Conventional braking efficiency
is available without limitations.
Have the system repaired by your BMW
center.
For additional information: refer to
page 72
Page 22 of 147
22n
Hazard warning triangle
*
Refueling
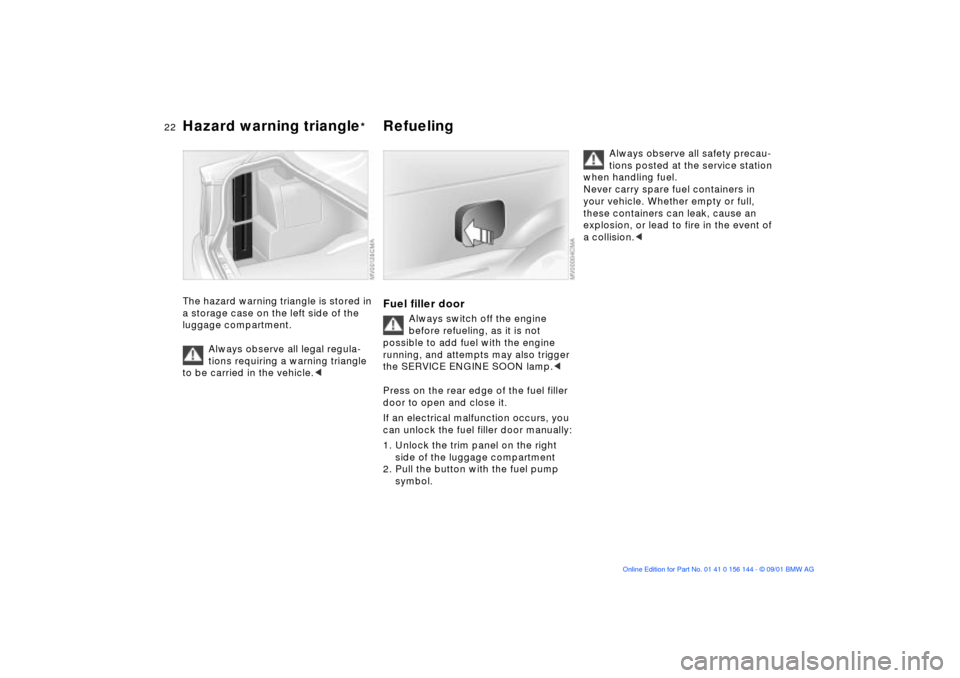
The hazard warning triangle is stored in
a storage case on the left side of the
luggage compartment.
Always observe all legal regula-
tions requiring a warning triangle
to be carried in the vehicle.
<
Fuel filler door
Always switch off the engine
before refueling, as it is not
possible to add fuel with the engine
running, and attempts may also trigger
the SERVICE ENGINE SOON lamp.
<
Press on the rear edge of the fuel filler
door to open and close it.
If an electrical malfunction occurs, you
can unlock the fuel filler door manually:
1. Unlock the trim panel on the right
side of the luggage compartment
2. Pull the button with the fuel pump
symbol.
Always observe all safety precau-
tions posted at the service station
when handling fuel.
Never carry spare fuel containers in
your vehicle. Whether empty or full,
these containers can leak, cause an
explosion, or lead to fire in the event of
a collision.<
Page 23 of 147
23n
OverviewControlsMaintenanceRepairsDataIndex
Refueling Fuel specificationsSimple and environmentally
friendly
Open the filler cap carefully to
prevent fuel from spraying out.
Fuel spray may cause injury.<
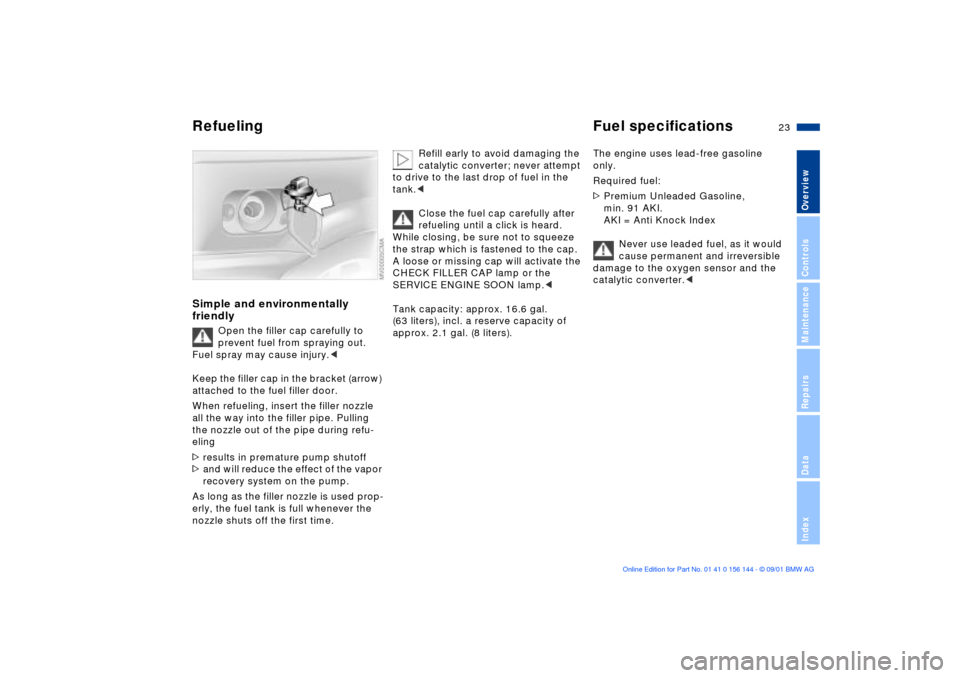
Keep the filler cap in the bracket (arrow)
attached to the fuel filler door.
When refueling, insert the filler nozzle
all the way into the filler pipe. Pulling
the nozzle out of the pipe during refu-
eling
>results in premature pump shutoff
>and will reduce the effect of the vapor
recovery system on the pump.
As long as the filler nozzle is used prop-
erly, the fuel tank is full whenever the
nozzle shuts off the first time.
Refill early to avoid damaging the
catalytic converter; never attempt
to drive to the last drop of fuel in the
tank.<
Close the fuel cap carefully after
refueling until a click is heard.
While closing, be sure not to squeeze
the strap which is fastened to the cap.
A loose or missing cap will activate the
CHECK FILLER CAP lamp or the
SERVICE ENGINE SOON lamp.<
Tank capacity: approx. 16.6 gal.
(63 liters), incl. a reserve capacity of
approx. 2.1 gal. (8 liters).
The engine uses lead-free gasoline
only.
Required fuel:
>Premium Unleaded Gasoline,
min. 91 AKI.
AKI = Anti Knock Index
Never use leaded fuel, as it would
cause permanent and irreversible
damage to the oxygen sensor and the
catalytic converter.<
Page 28 of 147
28n
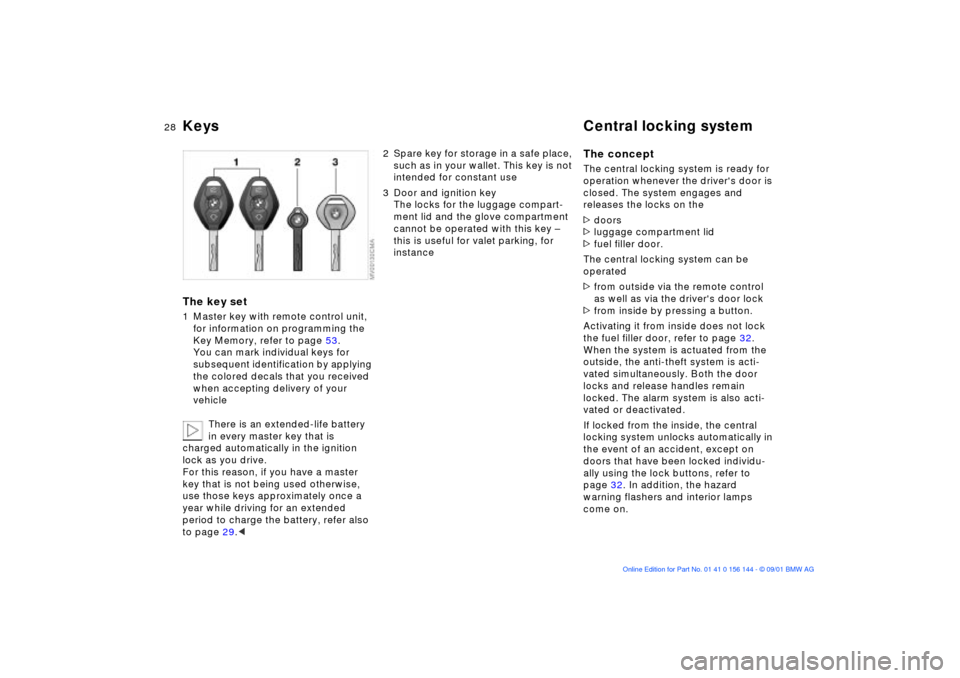
Keys Central locking systemThe key set1 Master key with remote control unit,
for information on programming the
Key Memory, refer to page 53.
You can mark individual keys for
subsequent identification by applying
the colored decals that you received
when accepting delivery of your
vehicle
There is an extended-life battery
in every master key that is
charged automatically in the ignition
lock as you drive.
For this reason, if you have a master
key that is not being used otherwise,
use those keys approximately once a
year while driving for an extended
period to charge the battery, refer also
to page 29.<
2 Spare key for storage in a safe place,
such as in your wallet. This key is not
intended for constant use
3 Door and ignition key
The locks for the luggage compart-
ment lid and the glove compartment
cannot be operated with this key Ð
this is useful for valet parking, for
instance
The conceptThe central locking system is ready for
operation whenever the driver's door is
closed. The system engages and
releases the locks on the
>doors
>luggage compartment lid
>fuel filler door.
The central locking system can be
operated
>from outside via the remote control
as well as via the driver's door lock
>from inside by pressing a button.
Activating it from inside does not lock
the fuel filler door, refer to page 32.
When the system is actuated from the
outside, the anti-theft system is acti-
vated simultaneously. Both the door
locks and release handles remain
locked. The alarm system is also acti-
vated or deactivated.
If locked from the inside, the central
locking system unlocks automatically in
the event of an accident, except on
doors that have been locked individu-
ally using the lock buttons, refer to
page 32. In addition, the hazard
warning flashers and interior lamps
come on.
Page 31 of 147
31n
OverviewControlsMaintenanceRepairsDataIndex
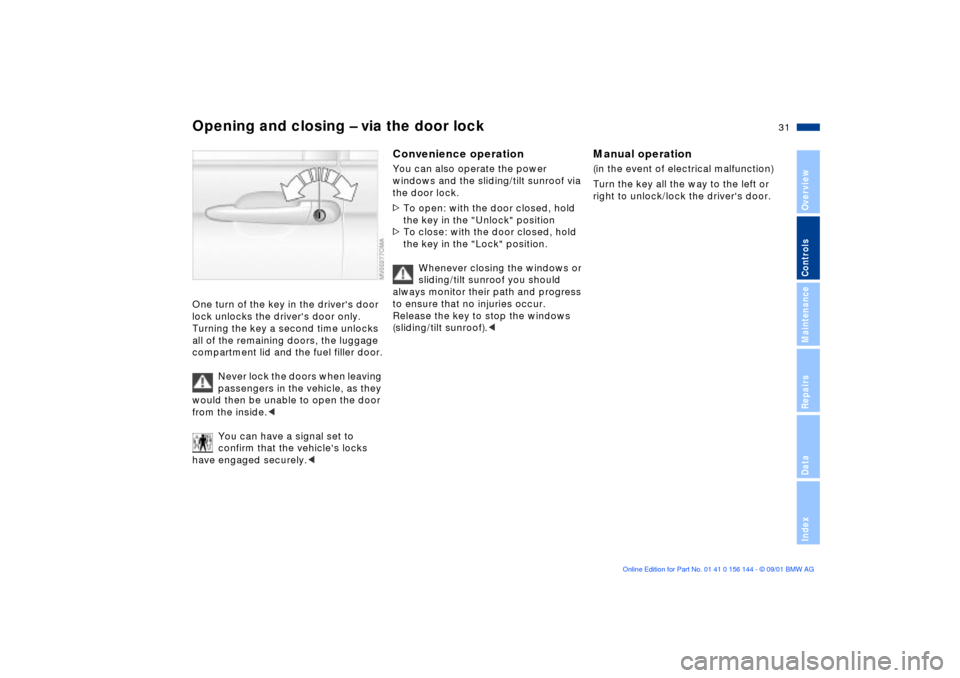
Opening and closing Ð via the door lockOne turn of the key in the driver's door
lock unlocks the driver's door only.
Turning the key a second time unlocks
all of the remaining doors, the luggage
compartment lid and the fuel filler door.
Never lock the doors when leaving
passengers in the vehicle, as they
would then be unable to open the door
from the inside.<
You can have a signal set to
confirm that the vehicle's locks
have engaged securely.<
Convenience operationYou can also operate the power
windows and the sliding/tilt sunroof via
the door lock.
>To open: with the door closed, hold
the key in the "Unlock" position
>To close: with the door closed, hold
the key in the "Lock" position.
Whenever closing the windows or
sliding/tilt sunroof you should
always monitor their path and progress
to ensure that no injuries occur.
Release the key to stop the windows
(sliding/tilt sunroof).<
Manual operation (in the event of electrical malfunction)
Turn the key all the way to the left or
right to unlock/lock the driver's door.
Page 32 of 147
32n
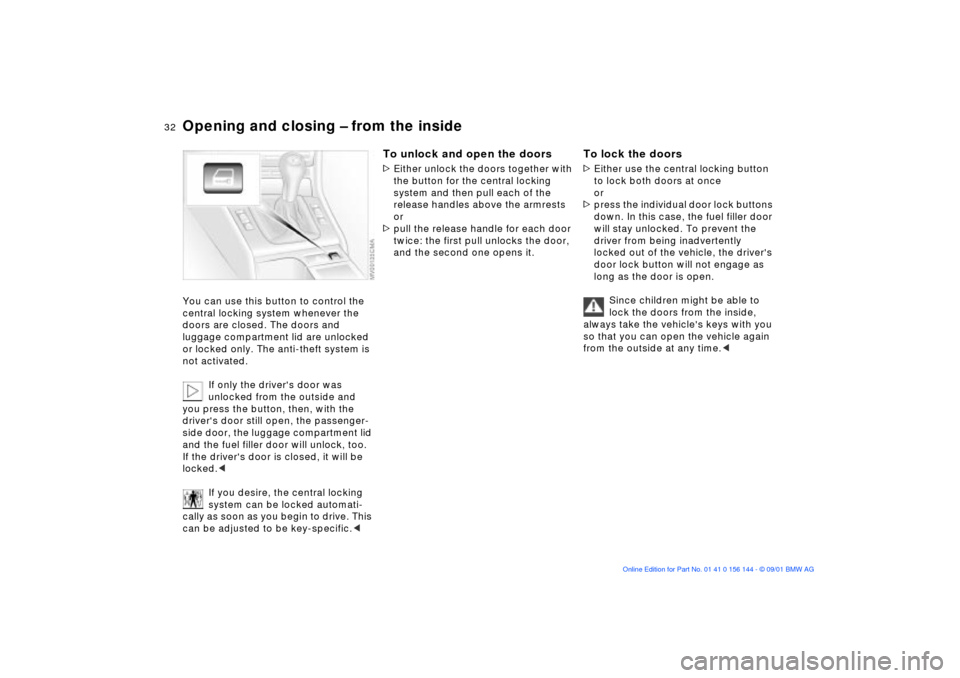
Opening and closing Ð from the insideYou can use this button to control the
central locking system whenever the
doors are closed. The doors and
luggage compartment lid are unlocked
or locked only. The anti-theft system is
not activated.
If only the driver's door was
unlocked from the outside and
you press the button, then, with the
driver's door still open, the passenger-
side door, the luggage compartment lid
and the fuel filler door will unlock, too.
If the driver's door is closed, it will be
locked.<
If you desire, the central locking
system can be locked automati-
cally as soon as you begin to drive. This
can be adjusted to be key-specific.<
To unlock and open the doors>Either unlock the doors together with
the button for the central locking
system and then pull each of the
release handles above the armrests
or
>pull the release handle for each door
twice: the first pull unlocks the door,
and the second one opens it.
To lock the doors>Either use the central locking button
to lock both doors at once
or
>press the individual door lock buttons
down. In this case, the fuel filler door
will stay unlocked. To prevent the
driver from being inadvertently
locked out of the vehicle, the driver's
door lock button will not engage as
long as the door is open.
Since children might be able to
lock the doors from the inside,
always take the vehicle's keys with you
so that you can open the vehicle again
from the outside at any time.<
Page 64 of 147
64n
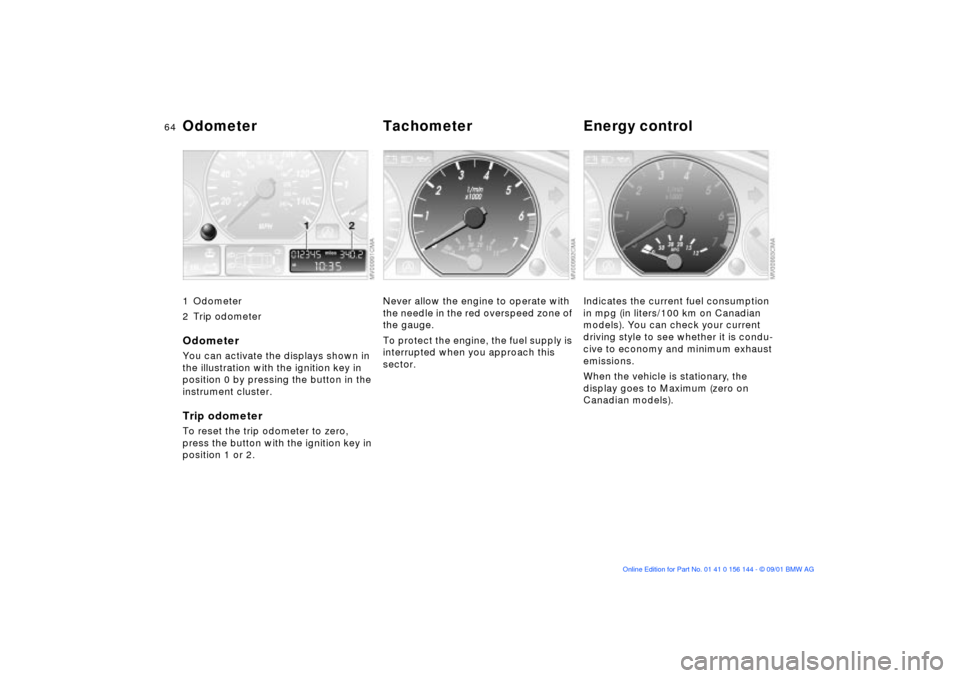
Odometer Tachometer Energy control 1 Odometer
2 Trip odometerOdometer You can activate the displays shown in
the illustration with the ignition key in
position 0 by pressing the button in the
instrument cluster.Trip odometerTo reset the trip odometer to zero,
press the button with the ignition key in
position 1 or 2.
Never allow the engine to operate with
the needle in the red overspeed zone of
the gauge.
To protect the engine, the fuel supply is
interrupted when you approach this
sector.
Indicates the current fuel consumption
in mpg (in liters/100 km on Canadian
models). You can check your current
driving style to see whether it is condu-
cive to economy and minimum exhaust
emissions.
When the vehicle is stationary, the
display goes to Maximum (zero on
Canadian models).