roof BMW 330Ci COUPE 2002 E46 Owner's Manual
[x] Cancel search | Manufacturer: BMW, Model Year: 2002, Model line: 330Ci COUPE, Model: BMW 330Ci COUPE 2002 E46Pages: 147, PDF Size: 2.2 MB
Page 4 of 147

Contents
© 2001 Bayerische Motoren Werke
Aktiengesellschaft
Munich, Germany
Reprinting, including excerpts, only with the
written consent of BMW AG, Munich.
Order No. 01 40 0 156 144
deutsch VIII/01
Printed in Germany
Printed on environmentally friendly paper
(bleached without chlorine, suitable for recycling).
Overview
Controls and features
Cockpit14
Instrument cluster15
Indicator and warning lamps17
Multifunction steering wheel
(MFL)21
Hazard warning triangle22
Refueling22
Fuel specifications23
Tire inflation pressures24
Opening and closing:
Keys28
Central locking system28
Opening and closing Ð via the
remote control29
Opening and closing Ð via the
door lock31
Opening and closing Ð from the
inside32
Luggage compartment lid33
Luggage compartment35
Alarm system36
Electric power windows37
Sliding/tilt sunroof38
Adjustments:
Correct sitting posture40
Seats40
Manual seat adjustment41
Power seat adjustment42
Lumbar support42
Head restraints43
Entering the rear43
Safety belts44
Seat and mirror memory45
Seat heating46
Steering wheel46
Mirrors47
Passenger safety systems:
Airbags48
Transporting children safely51
Vehicle Memory, Key
Memory53
Driving:
Ignition lock54
Starting the engine54
Switching off the engine55
Parking brake56
Manual transmission56
Automatic transmission with
Steptronic57
Indicator/Headlamp flasher59
Washer/Wiper system/Rain
sensor60
Cruise control62
Everything under control:
Odometer64
Tachometer64
Energy control64
Fuel gauge65
Temperature gauge65
Service Interval Display65
Check Control66
Computer66
Technology for safety and
driving convenience:
Park Distance Control (PDC)69
Automatic Stability Control plus
Traction (ASC+T)70
Dynamic Stability Control
(DSC)71
Tire Pressure Monitor (RDC)73
Flat Tire Monitor75
Contents
Page 5 of 147

5n
OverviewControlsMaintenaceRepairsDataIndex
Controls and features
Operation, maintenance
Lamps:
Parking lamps/Low beams77
Instrument lighting78
High beams/Standing lamps78
Fog lamps78
Interior lamps79
Controlling the climate for
pleasant driving:
Air conditioning80
Automatic climate control83
Roller sun blind86
Interior conveniences:
Premium sound system86
Glove compartment87
Storage compartments87
Cellular phone89
Ashtray, front89
Ashtray, rear90
Clothes hooks90
Loading and transporting:
Through-loading system91
Ski bag92
Cargo loading93
Roof-mounted luggage rack94
Special operating instructions:
Break-in procedures98
Driving notes99
Antilock Brake System (ABS)99
Brake system100
Wheels and tires:
Tire inflation pressure101
Tire condition101
Tire replacement102
Wheel and tire
combinations104
Winter tires105
In the engine compartment:
Hood106
Engine compartment
essentials107
Washer fluids108
Engine oil109
Coolant111
Brake fluid112
Maintenance:
The BMW Maintenance
System113
Laws and regulations:
Technical modifications114
California Proposition
65 Warning114
OBD interface socket115
Page 30 of 147
30n
Opening and closing Ð via the remote controlConvenience opening modePress and hold button to open the elec-
tric power windows and sliding/tilt
sunroof.To lock and securePress button.
Never use the remote control to
lock the doors when leaving
passengers in the vehicle, as they
would then be unable to open the door
from the inside.
and interior motion sensor
*
Press button a second time immedi-
ately after locking.
For additional information, refer to
page 37.
To open the luggage
compartment lidPress button.
The luggage compartment lid will open
slightly, regardless of whether it was
previously locked or unlocked.
Before and after a trip, be sure
that the luggage compartment lid
has not been opened unintentionally.
danger by holding down the button for
between two and five seconds.
Press the button to cancel the alarm.External systemsExternal systems or devices may cause
local interference in the functions of the
remote control.
Should this occur, you can still open
and close the vehicle using the master
key in either the door or luggage
compartment locks.
For US owners onlyThe transmitter and receiver units
comply with part 15 of the FCC (Federal
Communication Commission) regula-
tions. Operation is governed by the
following:
FCC ID: LX8EWS
LX8FZVS
LX8FZVE
Compliance statement:
This device complies with part 15 of the
FCC Rules. Operation is subject to the
following two conditions:
>This device may not cause harmful
interference, and
>this device must accept any interfer-
ence received, including interference
that may cause undesired operation.
Any unauthorized modifications to
these devices could void the
user's authority to operate the equip-
ment.<
Page 31 of 147
31n
OverviewControlsMaintenanceRepairsDataIndex
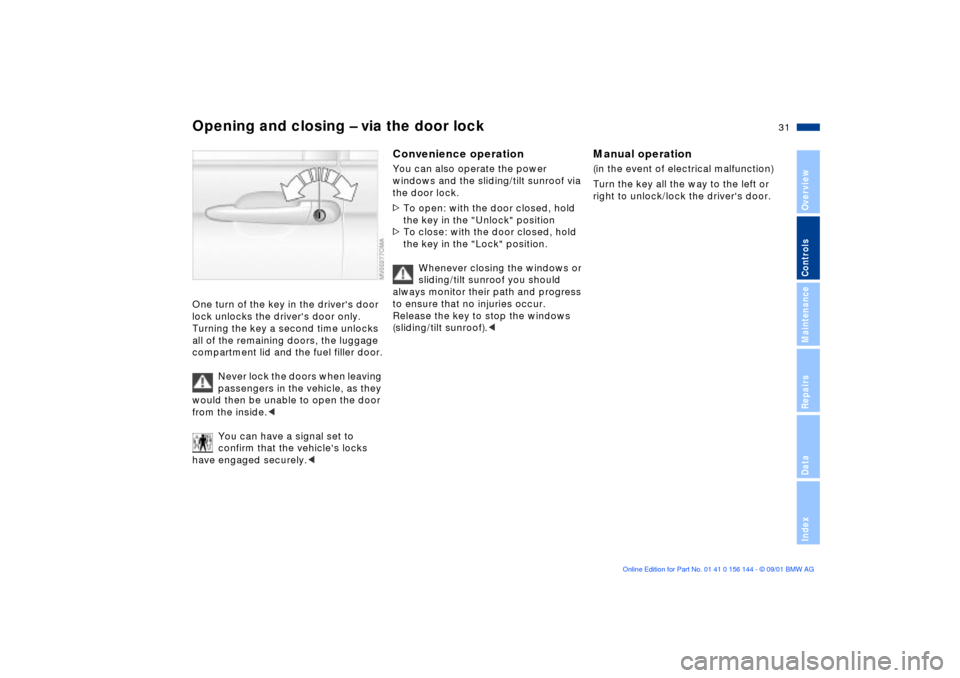
Opening and closing Ð via the door lockOne turn of the key in the driver's door
lock unlocks the driver's door only.
Turning the key a second time unlocks
all of the remaining doors, the luggage
compartment lid and the fuel filler door.
Never lock the doors when leaving
passengers in the vehicle, as they
would then be unable to open the door
from the inside.<
You can have a signal set to
confirm that the vehicle's locks
have engaged securely.<
Convenience operationYou can also operate the power
windows and the sliding/tilt sunroof via
the door lock.
>To open: with the door closed, hold
the key in the "Unlock" position
>To close: with the door closed, hold
the key in the "Lock" position.
Whenever closing the windows or
sliding/tilt sunroof you should
always monitor their path and progress
to ensure that no injuries occur.
Release the key to stop the windows
(sliding/tilt sunroof).<
Manual operation (in the event of electrical malfunction)
Turn the key all the way to the left or
right to unlock/lock the driver's door.
Page 34 of 147
34n
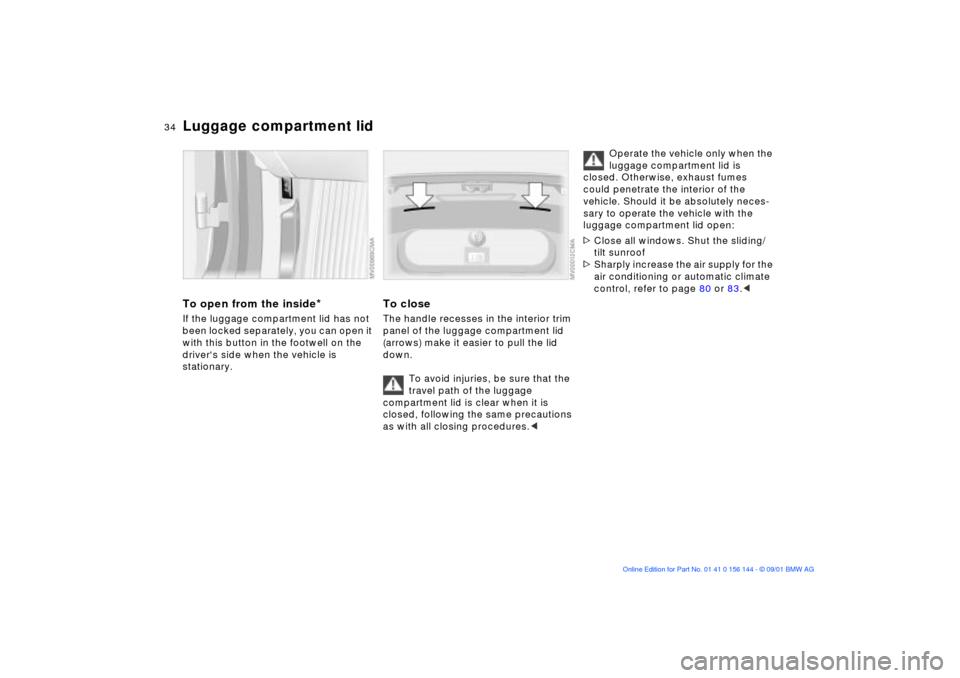
Luggage compartment lidTo open from the inside
*
If the luggage compartment lid has not
been locked separately, you can open it
with this button in the footwell on the
driver's side when the vehicle is
stationary.
To closeThe handle recesses in the interior trim
panel of the luggage compartment lid
(arrows) make it easier to pull the lid
down.
To avoid injuries, be sure that the
travel path of the luggage
compartment lid is clear when it is
closed, following the same precautions
as with all closing procedures.<
Operate the vehicle only when the
luggage compartment lid is
closed. Otherwise, exhaust fumes
could penetrate the interior of the
vehicle. Should it be absolutely neces-
sary to operate the vehicle with the
luggage compartment lid open:
>Close all windows. Shut the sliding/
tilt sunroof
>Sharply increase the air supply for the
air conditioning or automatic climate
control, refer to page 80 or 83.<
Page 37 of 147
37n
OverviewControlsMaintenanceRepairsDataIndex
Alarm system
*
Electric power windows
>The indicator lamp goes out when the
system is disarmed: no manipulation
or attempted intrusions have been
detected in the period since the
system was armed
>The indicator lamp flashes for
10 seconds when the system is
disarmed: an attempted entry has
been detected in the period since the
system was armed.
Following triggering of an alarm, the
indicator lamp will flash continuously.Avoiding unintentional alarmsThe tilt alarm sensor and interior motion
sensor may be switched off at the same
time. You can do this to prevent a false
alarm from being triggered in garages
with elevator ramps, for instance, or
when the vehicle is transported by train:
Lock the vehicle twice (= arm the
system). Press the button on the
remote control twice in succession or
lock the vehicle twice with the key.
The indicator lamp lights up briefly and
then flashes continuously. The tilt alarm
sensor and interior motion sensor are
deactivated for as long as the system
remains armed.
Interior motion sensorIn order for the interior motion sensor to
function properly, the windows and the
sliding/tilt sunroof must be completely
closed.
Nevertheless, you should deactivate
the interior motion sensor (refer to
previous column) if
>children or animals are left in the
vehicle
>the windows or the sliding/tilt sunroof
are being left open.
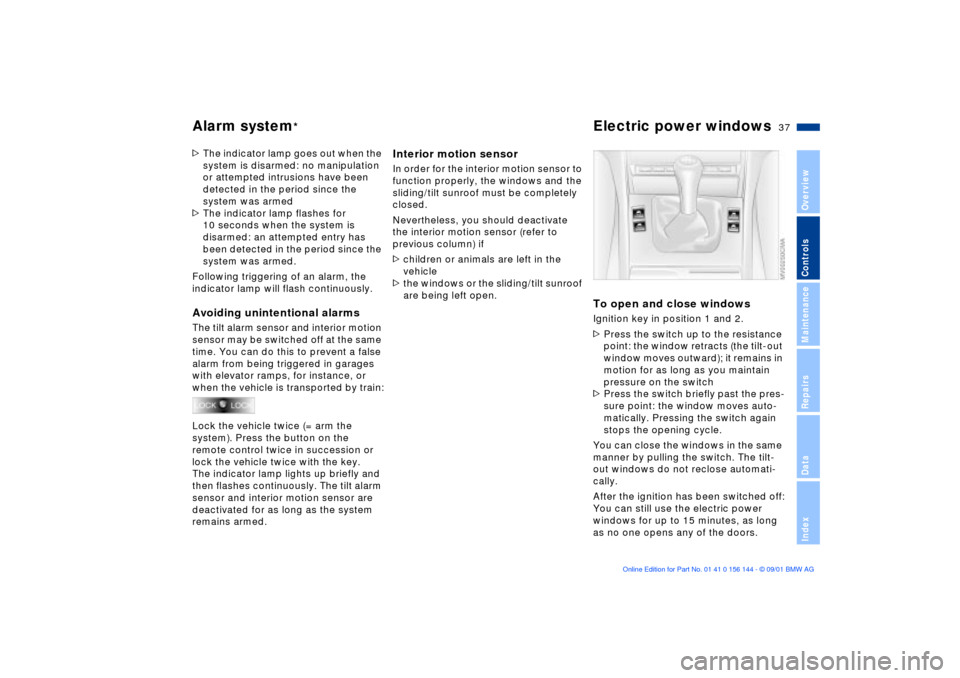
To open and close windowsIgnition key in position 1 and 2.
>Press the switch up to the resistance
point: the window retracts (the tilt-out
window moves outward); it remains in
motion for as long as you maintain
pressure on the switch
>Press the switch briefly past the pres-
sure point: the window moves auto-
matically. Pressing the switch again
stops the opening cycle.
You can close the windows in the same
manner by pulling the switch. The tilt-
out windows do not reclose automati-
cally.
After the ignition has been switched off:
You can still use the electric power
windows for up to 15 minutes, as long
as no one opens any of the doors.
Page 38 of 147
38n
Electric power windows Sliding/tilt sunroof
*
When leaving the vehicle, always
remove the ignition key from the
lock and remember to close the doors
to prevent children from operating the
power windows and injuring them-
selves, etc.<
For the convenience mode via the
remote control or the door lock, refer to
page 30 or 31.
Safety feature A contact strip is located on the inside
upper frame of each of the front
windows. If pressure is exerted against
this contact strip while a window is
being raised, the system will respond
by stopping the window and then
retracting it a small distance.
Despite this safety feature, be
extremely careful to ensure that
the closing path of the window is not
obstructed. Some types of objects
might fail to trigger the contact strip in
some situations (very thin objects, for
instance).
You can override this safety feature by
pressing the switch beyond the resis-
tance point and holding it.<
To prevent injuries, exercise care
when closing the sliding/tilt
sunroof and keep it in your field of
vision until it is shut.
When leaving the vehicle, always
remove the ignition key from the lock
and remember to close the doors to
prevent children from operating the
sliding/tilt sunroof and injuring them-
selves, etc.<
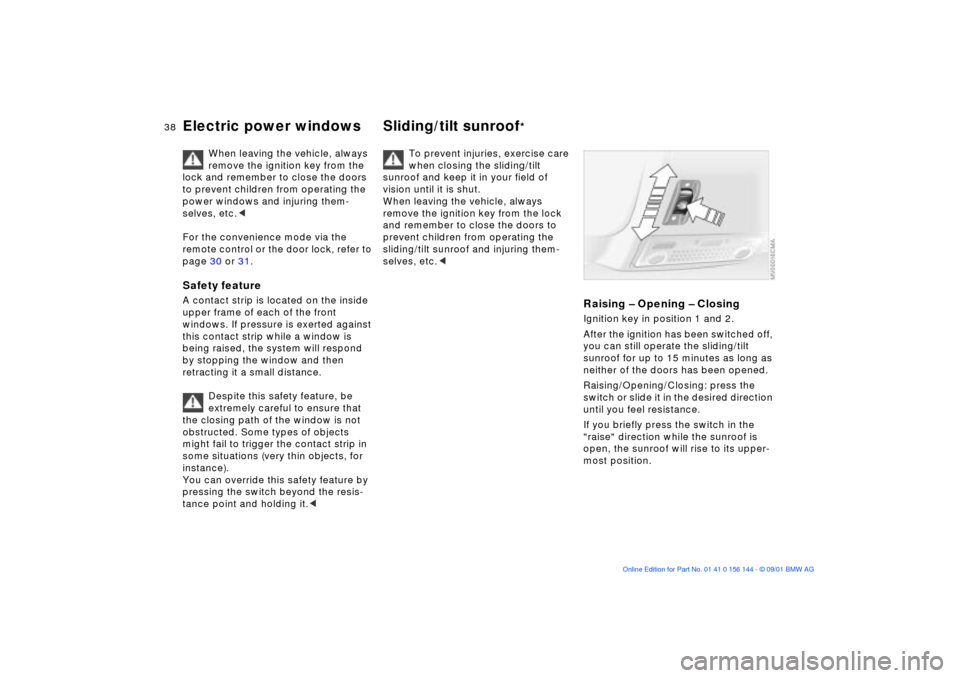
Raising Ð Opening Ð ClosingIgnition key in position 1 and 2.
After the ignition has been switched off,
you can still operate the sliding/tilt
sunroof for up to 15 minutes as long as
neither of the doors has been opened.
Raising/Opening/Closing: press the
switch or slide it in the desired direction
until you feel resistance.
If you briefly press the switch in the
"raise" direction while the sunroof is
open, the sunroof will rise to its upper-
most position.
Page 39 of 147
39n
OverviewControlsMaintenanceRepairsDataIndex
Sliding/tilt sunroof
*
The headliner insert slides back some-
what when you raise the sunroof. When
the sunroof is opened the headliner
retracts with it.
Do not use force to close the
headliner insert with the sunroof in
its raised position, as damage to the
mechanism could result.<
To use the convenience mode via the
remote control or the door lock, refer to
page 30 or 31.Automatic opening and closingPress the switch briefly past the resis-
tance point: the sunroof travels to either
the fully-closed or fully-open position.
Pressing the switch again stops the
motion immediately.
Safety featureIf the sliding/tilt sunroof encounters
resistance
>when it is closing from the raised
position
>when it is closing from a point
roughly past the middle of its travel
the closing cycle is interrupted and the
sliding/tilt sunroof will open again
slightly.
Despite this safety feature, be
extremely careful that the travel
path of the sunroof is not obstructed
whenever it is closed. Remember that
the safety mechanism may not be able
to detect obstructions under all circum-
stances (with very thin objects, for
instance).
You can disable this safety feature by
pressing the switch beyond the pres-
sure point and holding it.<
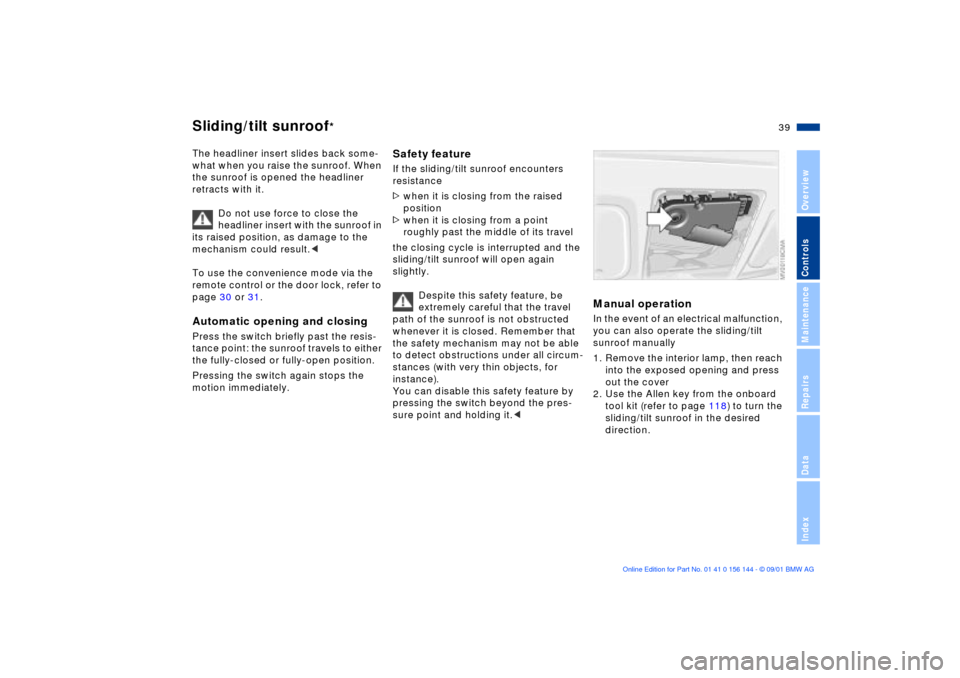
Manual operationIn the event of an electrical malfunction,
you can also operate the sliding/tilt
sunroof manually
1. Remove the interior lamp, then reach
into the exposed opening and press
out the cover
2. Use the Allen key from the onboard
tool kit (refer to page 118) to turn the
sliding/tilt sunroof in the desired
direction.
Page 49 of 147

49n
OverviewControlsMaintenanceRepairsDataIndex
Airbags
The airbags do not deploy in
response to minor collisions, rear
impacts and certain kinds of vehicle
rollover.<
For your safety, comply with the
following instructions for the
airbags. If you do not, the airbags may
not be able to provide their maximum
protection. All passengers in the vehicle
should be aware of and comply with
these directions:
The airbags are supplemental restraint
devices designed to provide extra
protection; they are not a substitute for
safety belts. Wear your safety belt at all
times. The airbags will not be triggered
in the event of a minor accident, a
vehicle rollover, or collisions from the
rear. In these instances, the safety belt
provides optimal protection.
Airbags are located under cover panels
in the steering wheel, in the instrument
panel, in the side trim panels in the
front and rear
*, in the roof panels, and
in the sides of the inside roof lining.
Adjust your seat to a position that
provides maximum distance between
you and the steering wheel, the instru-
ment panel and the door while still
allowing comfortable and safe access
to all vehicle controls.
To avoid sustaining hand and arm inju-
ries, always grasp the steering wheel
on the rim with the hands at the 9 and
3 o'clock positions. Do not place your
hands on the center pad.
Never allow any objects to obstruct the
area between the airbag and an occu-
pant.
Do not use the cover panel above the
passenger-side airbag as a storage
area.
Do not apply adhesive materials to the
cover panels of the airbags, cover them
or modify them in any other way.
Do not install a rear-facing child-
restraint system in the front passenger
seat of this vehicle.
Children under 13 years of age and less
than 5 ft (150 cm) tall should ride only in
the rear seat. Infants or small children
should never be held on the lap of a
passenger.
If your vehicle is equipped with side
airbags in the rear passenger area
*, be
sure that child restraints are mounted
correctly, with the greatest-possible
distance between the airbags in the
side trim panels. Do not allow children
to lean out of the child's seat in the
direction of the side trim panels. If they
do so, serious injuries can occur if the
airbag is triggered.
restrained (infants and small children in
appropriate child-restraint systems;
larger children and adults using the
safety belts). Never let an occupant's
head rest near or on a side airbag: in
the event of deployment the airbag
could cause a serious or fatal injury.
Please note that the word Airbag
embossed on the door trim panel indi-
cates the airbag's location.
Accident research shows that the
safest place for children in an automo-
bile is in the rear seat. However, a child
sitting in the rear seat and not properly
restrained may place his or her head on
or near the airbag, if one is installed.
For example, a child Ñ even though
belted Ñ may fall asleep with his or her
head against the side airbag. It may be
difficult for a driver to ensure that chil-
dren in the rear seat will remain prop-
erly positioned at all times and do not
place their heads on or near the side
airbag.
Therefore, we recommend that the
rear-seat side airbags, if installed, be
deactivated if children will be riding in
the rear seat.
The rear-seat side airbags may already
have been deactivated, either at the
Page 94 of 147
94n
Cargo loading Roof-mounted luggage rack
*
Always position and secure the
load correctly. If you do not, it can
endanger the passengers during
braking or evasive maneuvers.
Do not exceed the approved gross
weight or the approved maximum axle
loads, refer to page 134, otherwise the
vehicle's operating safety is no longer
assured and you are in violation of the
law.
Do not stow heavy or hard objects in
the passenger compartment without
securing them. Otherwise they would
be thrown around during braking and
evasive maneuvers and endanger the
passengers.<
A special roof-rack system is available
as an optional extra for your BMW.
Please observe the precautions
included with the installation instruc-
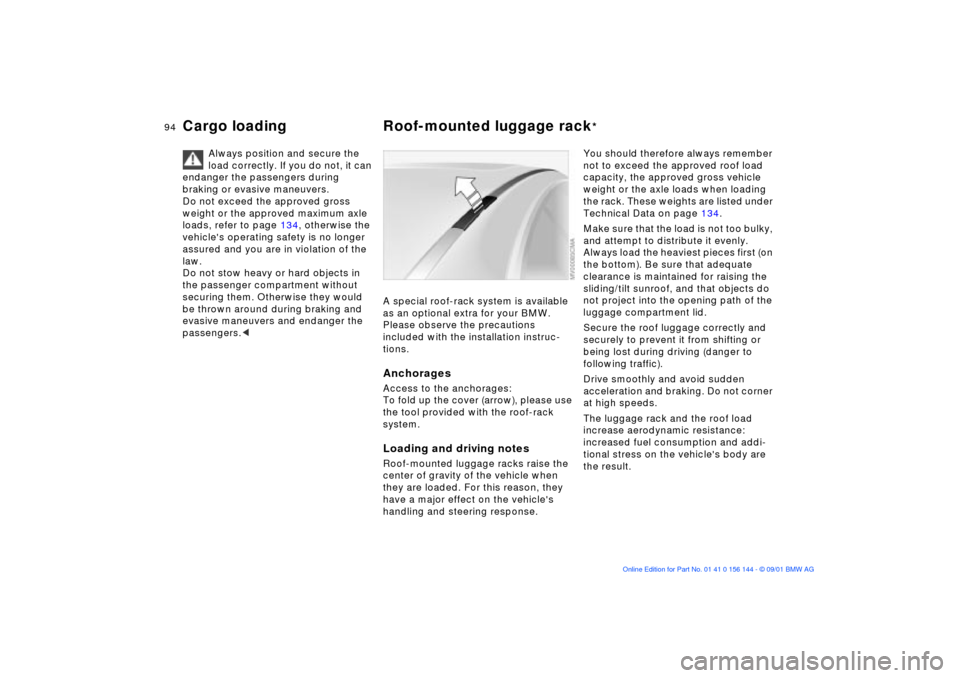
tions.AnchoragesAccess to the anchorages:
To fold up the cover (arrow), please use
the tool provided with the roof-rack
system.Loading and driving notesRoof-mounted luggage racks raise the
center of gravity of the vehicle when
they are loaded. For this reason, they
have a major effect on the vehicle's
handling and steering response.
You should therefore always remember
not to exceed the approved roof load
capacity, the approved gross vehicle
weight or the axle loads when loading
the rack. These weights are listed under
Technical Data on page 134.
Make sure that the load is not too bulky,
and attempt to distribute it evenly.
Always load the heaviest pieces first (on
the bottom). Be sure that adequate
clearance is maintained for raising the
sliding/tilt sunroof, and that objects do
not project into the opening path of the
luggage compartment lid.
Secure the roof luggage correctly and
securely to prevent it from shifting or
being lost during driving (danger to
following traffic).
Drive smoothly and avoid sudden
acceleration and braking. Do not corner
at high speeds.
The luggage rack and the roof load
increase aerodynamic resistance:
increased fuel consumption and addi-
tional stress on the vehicle's body are
the result.