Page BMW 330i SEDAN 2001 E46 Owner's Guide
[x] Cancel search | Manufacturer: BMW, Model Year: 2001, Model line: 330i SEDAN, Model: BMW 330i SEDAN 2001 E46Pages: 211, PDF Size: 2.1 MB
Page 45 of 211
45n
IndexDataTechnologyRepairsCar careControlsOverview
Electric power windows Sliding/tilt sunroof
*
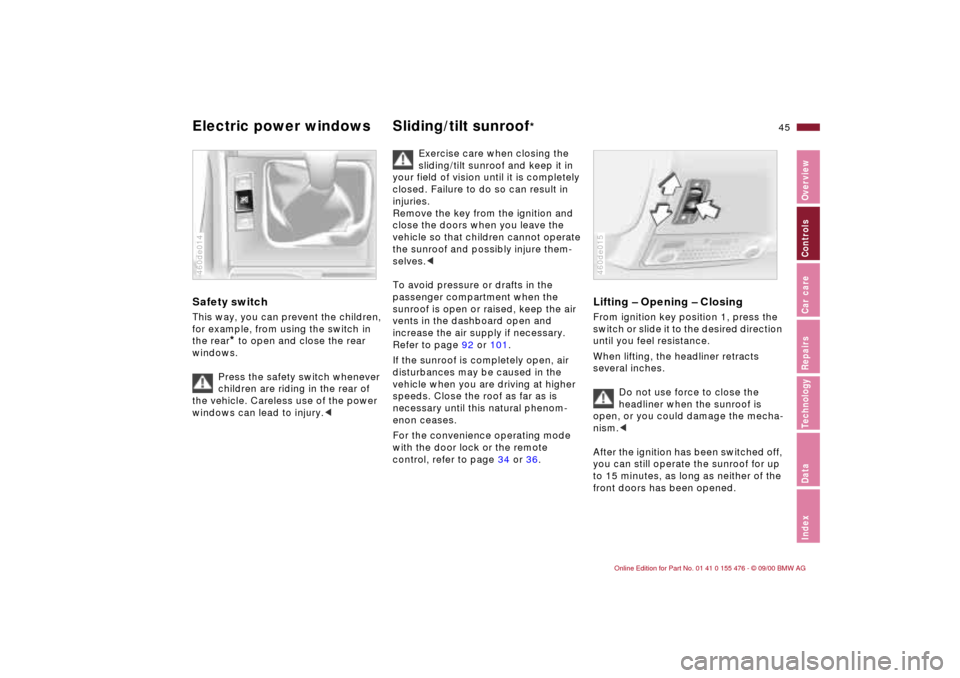
Safety switch This way, you can prevent the children,
for example, from using the switch in
the rear
* to open and close the rear
windows.
Press the safety switch whenever
children are riding in the rear of
the vehicle. Careless use of the power
windows can lead to injury.<
460de014
Exercise care when closing the
sliding/tilt sunroof and keep it in
your field of vision until it is completely
closed. Failure to do so can result in
injuries.
Remove the key from the ignition and
close the doors when you leave the
vehicle so that children cannot operate
the sunroof and possibly injure them-
selves.<
To avoid pressure or drafts in the
passenger compartment when the
sunroof is open or raised, keep the air
vents in the dashboard open and
increase the air supply if necessary.
Refer to page 92 or 101.
If the sunroof is completely open, air
disturbances may be caused in the
vehicle when you are driving at higher
speeds. Close the roof as far as is
necessary until this natural phenom-
enon ceases.
For the convenience operating mode
with the door lock or the remote
control, refer to page 34 or 36.
Lifting Ð Opening Ð ClosingFrom ignition key position 1, press the
switch or slide it to the desired direction
until you feel resistance.
When lifting, the headliner retracts
several inches.
Do not use force to close the
headliner when the sunroof is
open, or you could damage the mecha-
nism.<
After the ignition has been switched off,
you can still operate the sunroof for up
to 15 minutes, as long as neither of the
front doors has been opened.460de015
Page 46 of 211
46n
Sliding/tilt sunroof
*
Automatic opening and closing>Press the switch past the resistance
point briefly: the sunroof travels to
either the fully-closed or fully-open
position.
>With the sunroof open, press the
switch briefly toward "Lift:" the
sunroof automatically extends to its
fully raised position.
Pressing the switch again briefly stops
the motion immediately.
Safety featureIf the sliding/tilt sunroof encounters
resistance at a point roughly past the
middle of its travel when it is closing,
the closing cycle is interrupted and the
sunroof will open again slightly.
Despite this safety feature, always
be careful to ensure that the
closing path of the roof is not
obstructed. Otherwise, an object might
not touch the contact strip in some situ-
ations (very thin objects, for instance).
You can disable this safety feature by
pressing the switch beyond the resis-
tance point and holding it.<
Power loss or malfunctionIn the event of an electrical system
malfunction, the sliding/tilt sunroof can
be manually operated. Refer to
page 172.
Page 47 of 211
47n
IndexDataTechnologyRepairsCar careControlsOverview
For your personal safety when adjusting
the seat position, please follow the
instructions below carefully:
Never try to adjust your seat while
operating the vehicle. The seat
could respond with an unexpected
movement, and the ensuing loss of
vehicle control could lead to an acci-
dent.
Be sure that the safety belt remains
firmly against your body at all times. In
the event of a frontal impact, a loose lap
belt could slide over the hips, leading to
abdominal injury. In addition, the safety
belt's restraint effectiveness is reduced
if the belt is worn loosely.
Never ride with the backrest reclined to
an extreme angle (especially important
for the front passenger to remember).
If you do so, there is a risk that you will
slide under the safety belt in an acci-
dent, thus reducing the protection
provided by the safety belt.<
Correct sitting postureTo reduce strain on the spinal column,
sit all the way back in the seat and rest
your back fully against the backrest.
The ideal sitting posture is achieved
with your head extending from your
spine in a straight line. For long-
distance driving, you may wish to
increase the backrest angle slightly to
reduce muscular tension. You should
be able to grasp the steering wheel at
its highest point with your arms slightly
bent.
After a seat adjustment, adjust the
height of the safety belt also. Refer to
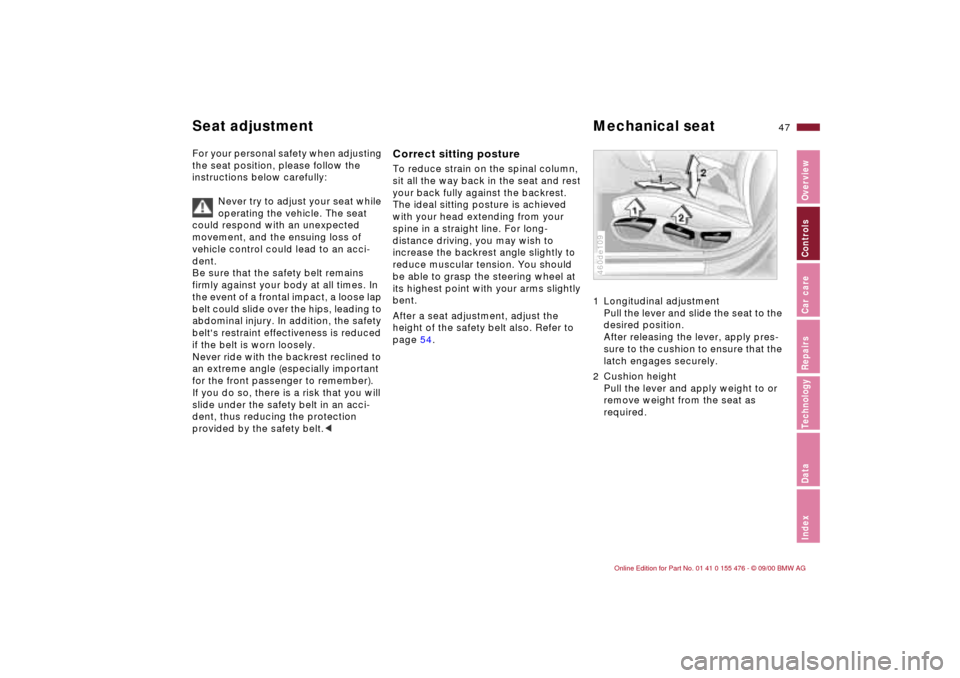
page 54.1 Longitudinal adjustment
Pull the lever and slide the seat to the
desired position.
After releasing the lever, apply pres-
sure to the cushion to ensure that the
latch engages securely.
2 Cushion height
Pull the lever and apply weight to or
remove weight from the seat as
required.
460de109
Seat adjustment Mechanical seat
Page 49 of 211
49n
IndexDataTechnologyRepairsCar careControlsOverview
BMW sports seat
*
Lumbar support
* Power seat
*
With this seat, you can also adjust the
tilt angle and the thigh support:
1 To adjust the tilt angle upward:
Pull the lever as often as necessary to
reach the desired angle.
2 To adjust the tilt angle downward:
Push the lever as often as necessary
to reach the desired angle.
3 Thigh support area:
Pull the lever and adjust the position
of the cushion for thigh support as
desired.460de122
You can adjust the backrest's contour
for additional support in the curvature
of your spine's lumbar region.
The upper hips and spinal column
receive supplementary support to help
you maintain a relaxed, upright posture.
>Press the front/rear of switch:
Increase/decrease curvature.
>Press the upper/lower end of the
switch:
Increase the upper/lower curvature.460de103
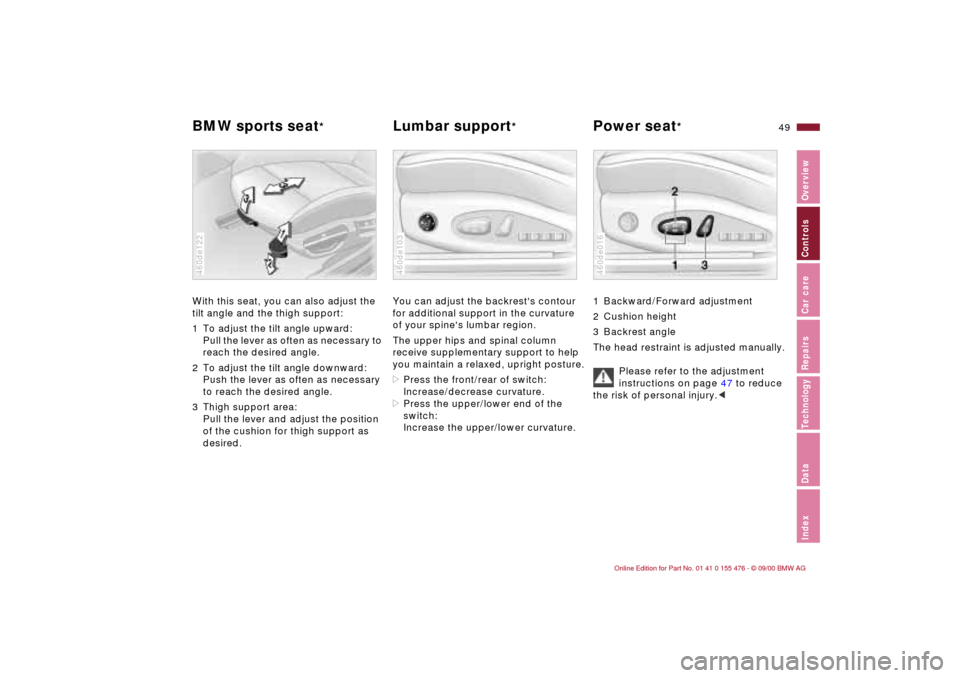
1 Backward/Forward adjustment
2 Cushion height
3 Backrest angle
The head restraint is adjusted manually.
Please refer to the adjustment
instructions on page 47 to reduce
the risk of personal injury.<460de016
Page 50 of 211
50n
Power seat
*
Seat and mirror memory
*
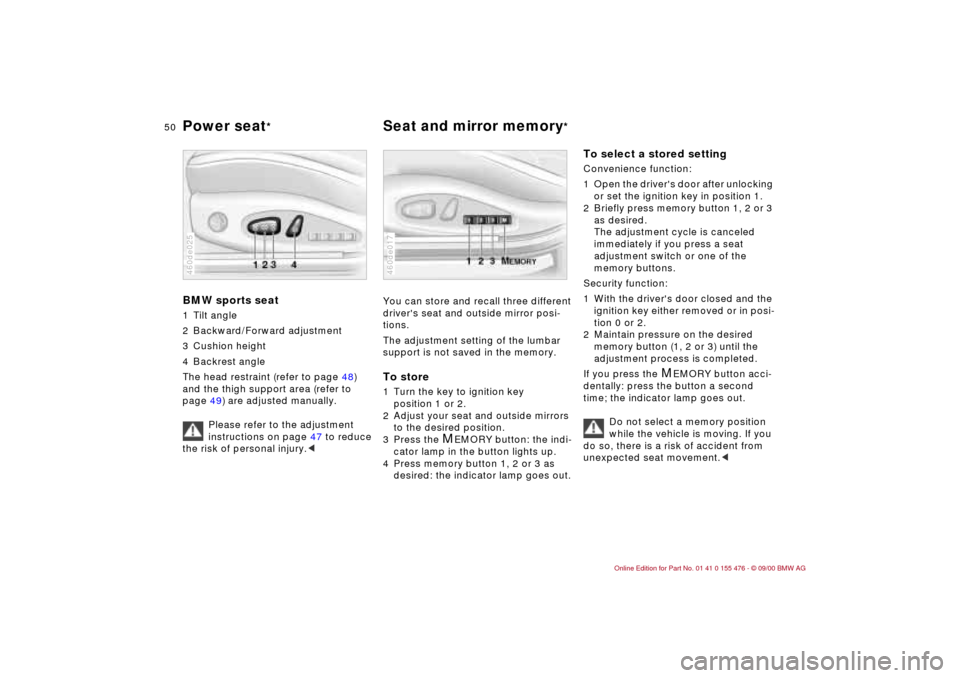
BMW sports seat1 Tilt angle
2 Backward/Forward adjustment
3 Cushion height
4 Backrest angle
The head restraint (refer to page 48)
and the thigh support area (refer to
page 49) are adjusted manually.
Please refer to the adjustment
instructions on page 47 to reduce
the risk of personal injury.<460de025
You can store and recall three different
driver's seat and outside mirror posi-
tions.
The adjustment setting of the lumbar
support is not saved in the memory.To store1 Turn the key to ignition key
position 1 or 2.
2 Adjust your seat and outside mirrors
to the desired position.
3 Press the
M
EMORY button: the indi-
cator lamp in the button lights up.
4 Press memory button 1, 2 or 3 as
desired: the indicator lamp goes out.
460de017
To select a stored setting Convenience function:
1 Open the driver's door after unlocking
or set the ignition key in position 1.
2 Briefly press memory button 1, 2 or 3
as desired.
The adjustment cycle is canceled
immediately if you press a seat
adjustment switch or one of the
memory buttons.
Security function:
1 With the driver's door closed and the
ignition key either removed or in posi-
tion 0 or 2.
2 Maintain pressure on the desired
memory button (1, 2 or 3) until the
adjustment process is completed.
If you press the
M
EMORY button acci-
dentally: press the button a second
time; the indicator lamp goes out.
Do not select a memory position
while the vehicle is moving. If you
do so, there is a risk of accident from
unexpected seat movement.<
Page 53 of 211
53n
IndexDataTechnologyRepairsCar careControlsOverview
Mirrors Car Memory, Key Memory Interior rearview mirror with
automatic dimming feature
*
By responding to the effects of ambient
light and the glare from following traffic,
this mirror automatically dims through
an infinitely variable range.
The mirror switches to its clear,
undimmed mode whenever the trans-
mission is placed in reverse gear
(selector lever in "Reverse").
To ensure that the mirror continues to
operate properly, keep the two photo-
cells clean and unobstructed. One
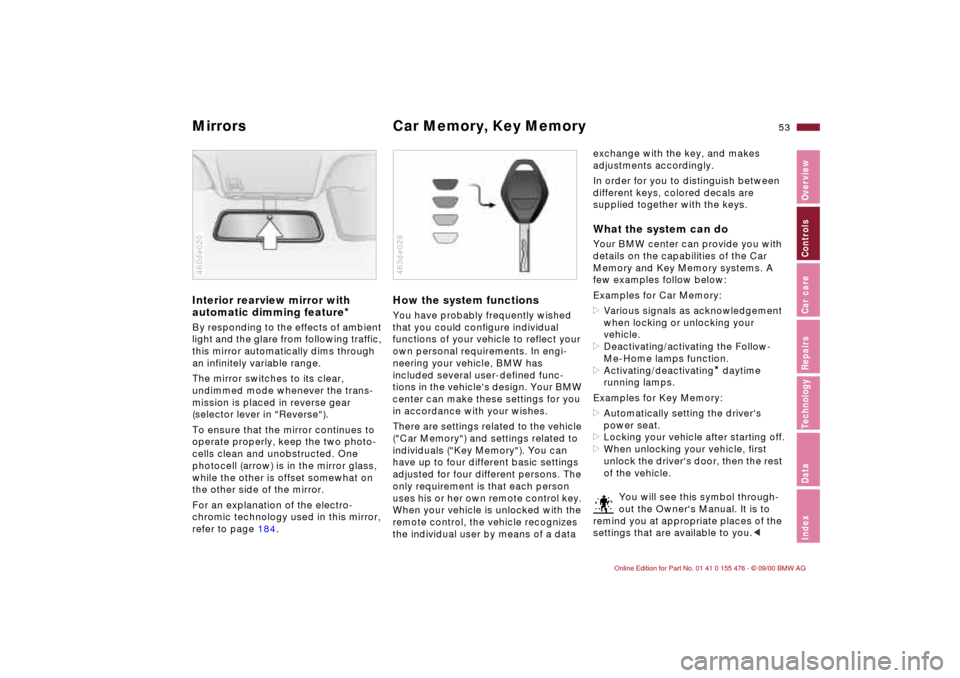
photocell (arrow) is in the mirror glass,
while the other is offset somewhat on
the other side of the mirror.
For an explanation of the electro-
chromic technology used in this mirror,
refer to page 184.460de020
How the system functionsYou have probably frequently wished
that you could configure individual
functions of your vehicle to reflect your
own personal requirements. In engi-
neering your vehicle, BMW has
included several user-defined func-
tions in the vehicle's design. Your BMW
center can make these settings for you
in accordance with your wishes.
There are settings related to the vehicle
("Car Memory") and settings related to
individuals ("Key Memory"). You can
have up to four different basic settings
adjusted for four different persons. The
only requirement is that each person
uses his or her own remote control key.
When your vehicle is unlocked with the
remote control, the vehicle recognizes
the individual user by means of a data 463de029
exchange with the key, and makes
adjustments accordingly.
In order for you to distinguish between
different keys, colored decals are
supplied together with the keys.What the system can doYour BMW center can provide you with
details on the capabilities of the Car
Memory and Key Memory systems. A
few examples follow below:
Examples for Car Memory:
>Various signals as acknowledgement
when locking or unlocking your
vehicle.
>Deactivating/activating the Follow-
Me-Home lamps function.
>Activating/deactivating
* daytime
running lamps.
Examples for Key Memory:
>Automatically setting the driver's
power seat.
>Locking your vehicle after starting off.
>When unlocking your vehicle, first
unlock the driver's door, then the rest
of the vehicle.
You will see this symbol through-
out the Owner's Manual. It is to
remind you at appropriate places of the
settings that are available to you.<
Page 54 of 211
54n
Drive with your safety belt onFasten your safety belt at the beginning
of every trip.
To fasten:
Make sure you hear the catch engage in
the belt buckle.
To release:
Press the red button in the buckle. Hold
the belt and guide it back into its reel.The two rear safety belt buckles which
are integrated in the rear seat are for
passengers sitting on the left and right.
The belt buckle with the word "CENTER"
is intended exclusively for passengers
sitting in the middle.
For care instructions, refer to page 149.
460us074
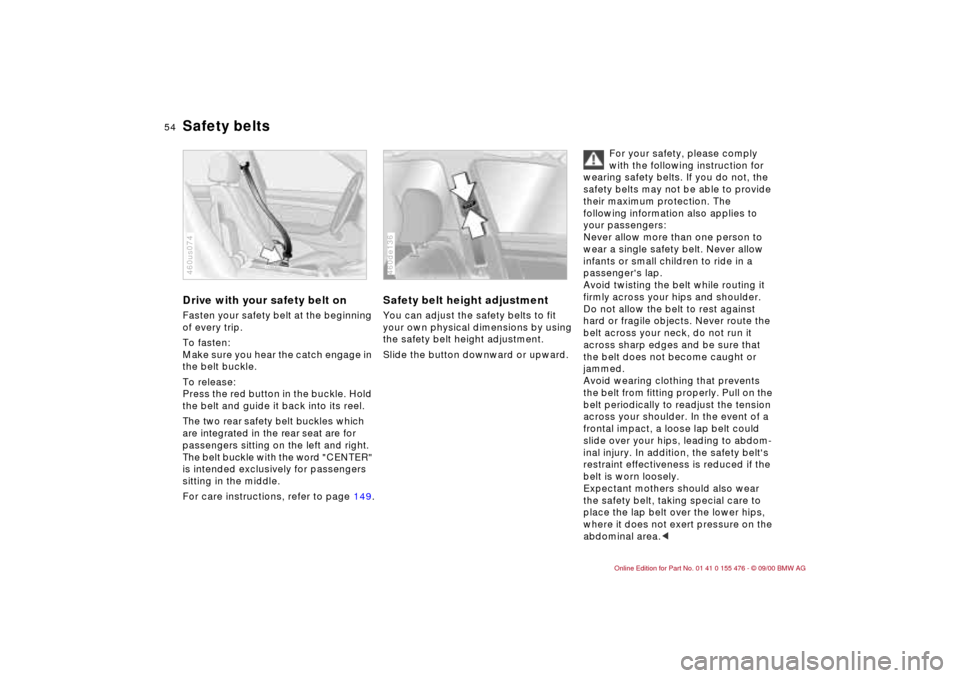
Safety belt height adjustmentYou can adjust the safety belts to fit
your own physical dimensions by using
the safety belt height adjustment.
Slide the button downward or upward.460de136
For your safety, please comply
with the following instruction for
wearing safety belts. If you do not, the
safety belts may not be able to provide
their maximum protection. The
following information also applies to
your passengers:
Never allow more than one person to
wear a single safety belt. Never allow
infants or small children to ride in a
passenger's lap.
Avoid twisting the belt while routing it
firmly across your hips and shoulder.
Do not allow the belt to rest against
hard or fragile objects. Never route the
belt across your neck, do not run it
across sharp edges and be sure that
the belt does not become caught or
jammed.
Avoid wearing clothing that prevents
the belt from fitting properly. Pull on the
belt periodically to readjust the tension
across your shoulder. In the event of a
frontal impact, a loose lap belt could
slide over your hips, leading to abdom-
inal injury. In addition, the safety belt's
restraint effectiveness is reduced if the
belt is worn loosely.
Expectant mothers should also wear
the safety belt, taking special care to
place the lap belt over the lower hips,
where it does not exert pressure on the
abdominal area.<
Safety belts
Page 55 of 211
55n
IndexDataTechnologyRepairsCar careControlsOverview
Safety belts Airbags For child restraint system installation,
refer to page 61.
If the safety belt system has been
subjected to the stresses involved
in an accident or otherwise damaged:
have the entire safety belt mechanism
replaced by your BMW center,
including the safety belt tensioner. In
addition, have your BMW center
inspect the safety belt anchors. If a
child restraint system was in the vehicle
during an accident, consult the manu-
facturer's instructions regarding
replacement.<
Vehicles with through-loading
system: please comply with the
instructions for the center safety belt on
page 109.
Child restraint systems
*
Never install a rear-facing child
restraint device on the front
passenger seat. If you do so, the child
could be injured when the airbag is trig-
gered.
Children should always ride in the rear
and the restraint systems should be
secured with the outer belts.
The centre seat belt should only be
used when it is necessary to secure
three child restraint systems.
Do not modify the child restraint system
in any way. If you do so, it will not
provide your child with maximum
protection.<
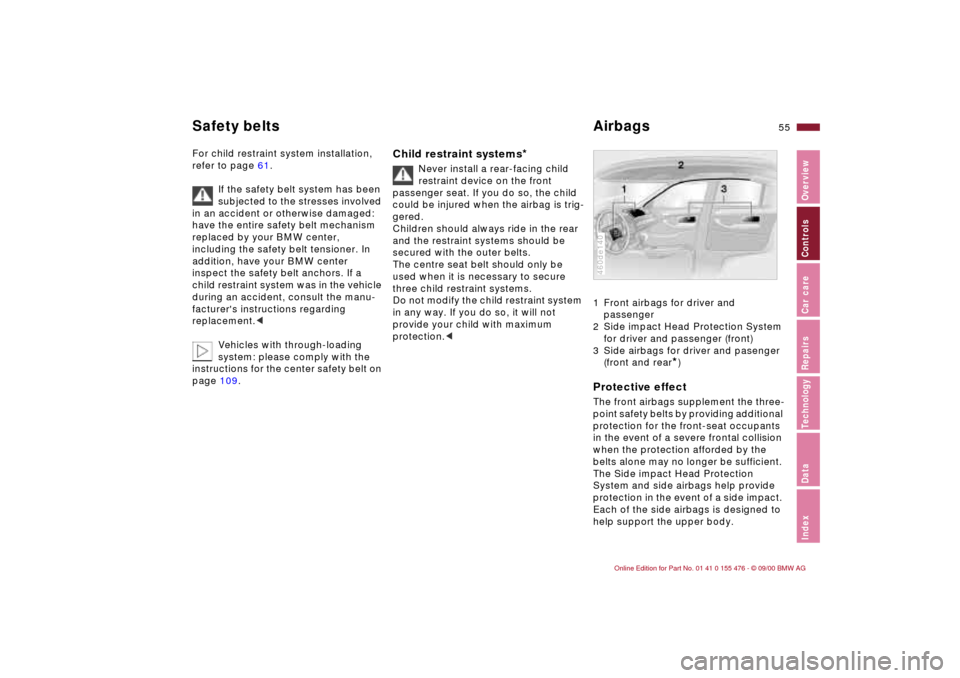
1 Front airbags for driver and
passenger
2 Side impact Head Protection System
for driver and passenger (front)
3 Side airbags for driver and pasenger
(front and rear
*)
Protective effectThe front airbags supplement the three-
point safety belts by providing additional
protection for the front-seat occupants
in the event of a severe frontal collision
when the protection afforded by the
belts alone may no longer be sufficient.
The Side impact Head Protection
System and side airbags help provide
protection in the event of a side impact.
Each of the side airbags is designed to
help support the upper body.460de140
Page 57 of 211
57n
IndexDataTechnologyRepairsCar careControlsOverview
AirbagsDo not place your hands on the center
pad.
Never allow any objects to obstruct the
area between the airbag and an occu-
pant.
Do not use the cover panel above the
passenger-side airbag as a storage
area.
Do not apply adhesive materials to the
cover panels of the airbags, cover them
or modify them in any other way.
Do not install a rear-facing child
restraint system in the front passenger
seat of this vehicle.
Children under 13 years of age and
children less than 5 feet (150 cm) tall
should ride only in the rear seat.
Infants or small children should never
be held on the lap of a passenger.
If your vehicle is equipped with side
airbags in the rear passenger area, be
sure that child restraints are mounted
correctly and provided with the
greatest-possible distance between the
airbags in the side trim panels. Do not
allow children to lean out of the child's
seat in the direction of the side trim
panels. If they do so, serious injuries
can occur if the airbag is triggered.
(infants and small children in appro-
priate child restraint systems; larger
children and adults using the safety
belts). Never let an occupant's head
rest near or on a side airbag because
the inflating airbag could cause a
serious or fatal injury. Please note that
the word "Airbag" imprinted on the door
trim panel indicates the airbag's loca-
tion.
Accident research shows that the
safest place for children in an automo-
bile is in the rear seat. However, a child
sitting in the rear seat and not properly
restrained may place his or her head on
or near the airbag, if so equipped. For
example, a child Ñ even though belted
Ñ may fall asleep with his or her head
against the side airbag. It may be diffi-
cult for a driver to ensure that children
in the rear seat will remain properly
positioned at all times and not place
their heads on or near the side airbag.
Therefore, we recommend that the rear
seat side airbags, if so equipped, be
deactivated if children will travel in the
rear seat.
The rear seat side airbags may
already have been deactivated, either
at the time of manufacture or by a
BMW center. Labels in the rear door
opening should indicate the status of
your rear seat side airbags. If you are
uncertain of their status, or wish to have
the airbags activated or deactivated,
please contact your BMW center.<
Even when all these guidelines are
observed, there is still a small residual
risk of injuries to the face, hands and
arms occurring from airbag deployment
in isolated instances. The ignition and
inflation noise may induce a mild
temporary hearing loss in sensitive indi-
viduals.
For additional information concerning
the airbag system, refer to pages 152
and 179.
Page 59 of 211
59n
IndexDataTechnologyRepairsCar careControlsOverview
Transporting children safely LATCH attachment of the child
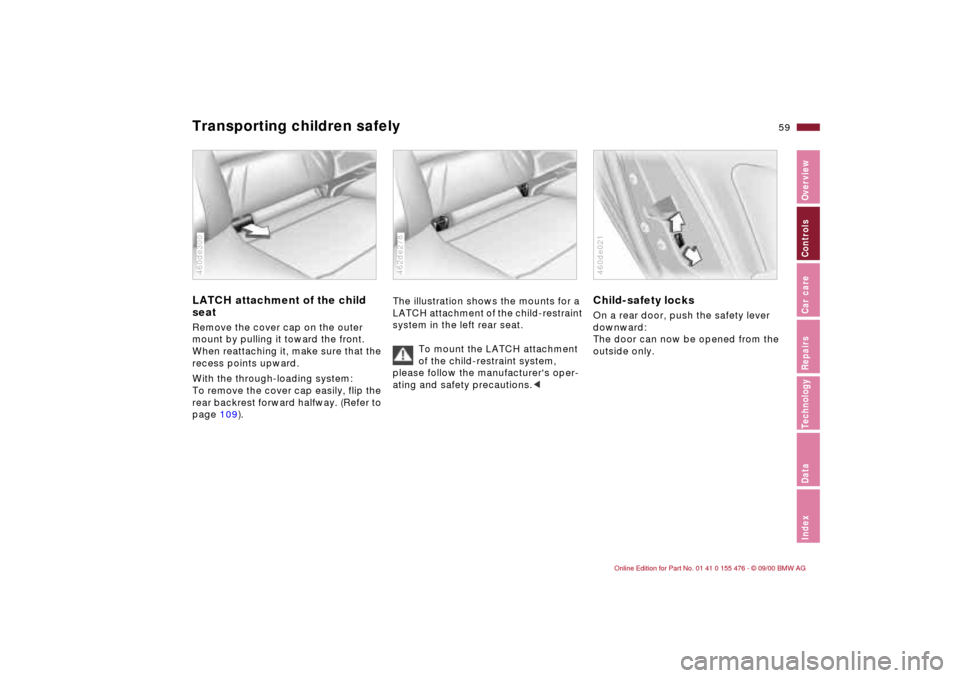
seatRemove the cover cap on the outer
mount by pulling it toward the front.
When reattaching it, make sure that the
recess points upward.
With the through-loading system:
To remove the cover cap easily, flip the
rear backrest forward halfway. (Refer to
page 109).460de300
The illustration shows the mounts for a
LATCH attachment of the child-restraint
system in the left rear seat.
To mount the LATCH attachment
of the child-restraint system,
please follow the manufacturer's oper-
ating and safety precautions.<462de278
Child-safety locksOn a rear door, push the safety lever
downward:
The door can now be opened from the
outside only.460de021