Wiper BMW 4 SERIES CONVERTIBLE 2015 F33 Owner's Manual
[x] Cancel search | Manufacturer: BMW, Model Year: 2015, Model line: 4 SERIES CONVERTIBLE, Model: BMW 4 SERIES CONVERTIBLE 2015 F33Pages: 247, PDF Size: 5.22 MB
Page 19 of 247

Front fog lights 94Parking lights 91Low beams 91Automatic headlight con‐
trol 92
Daytime running lights 92
Adaptive Light Control 92
High-beam Assistant 93Instrument lighting 946Steering column stalk, leftTurn signal 68High beams, head‐
light flasher 68High-beam Assistant 93Roadside parking lights 92On-board computer 857Steering wheel buttons, leftStore speed 130, 124Resume speed 130, 124Cruise control on/off, inter‐
rupt 130Active Cruise Control on/off, in‐
terrupting 124Reduce distance 124Increase distance 124Cruise control rocker switch 130, 1248Instrument cluster 769Steering wheel buttons, rightEntertainment sourceVolumeVoice activation 27Telephone, see user's manual for
Navigation, Entertainment and
CommunicationThumbwheel for selection lists 8510Steering column stalk, rightWiper 69Rain sensor 70Clean the windshields and head‐
lights 7011Start/stop the engine and switch
the ignition on/off 65Auto Start/Stop function 6612Horn, total area13Steering wheel heating 6014Adjust steering wheel 6015Unlock hood 200Seite 15CockpitAt a glance15
Online Edition for Part no. 01 40 2 960 547 - II/15
Page 73 of 247

High beams, headlight flasher▷High beams, arrow 1.▷Headlight flasher, arrow 2.
Washer/wiper systemSwitching the wipers on/off and brief
wipe
Hints Do not activate wipers if frozen to wind‐
shield
Do not switch on the wipers if they are frozen
to the windshield; otherwise, the wiper blades
and the wiper motor may be damaged.◀
Do not activate wipers on dry windshield
Do not use the wipers if the windshield is
dry, as this may damage the wiper blades or
cause them to become worn more quickly.◀
Do not activate wipers with wipers folded
away
Do not switch on the wipers if they are folded
away, otherwise the hood or the wipers may be
damaged.◀
Switching on
Push wiper lever up.
The lever automatically returns to its initial po‐
sition when released.
▷Normal wiper speed: push up once.
The wipers switch to intermittent operation
when the vehicle is stationary.▷Fast wiper speed: press up twice or press
once beyond the resistance point.
Wipers change to normal speed when ve‐
hicle comes to standstill.
Switch off and brief wipe
Push wiper lever down.
The lever automatically returns to its initial po‐
sition when released.
▷Single wipe: press down once.▷To switch off normal wipe: press down
once.▷To switch off fast wipe: press down twice.Seite 69DrivingControls69
Online Edition for Part no. 01 40 2 960 547 - II/15
Page 74 of 247

Interval mode or rain sensor
The concept The rain sensor automatically controls the time
between wipes depending on the intensity of the rainfall. The sensor is located on the wind‐
shield, directly behind the interior rearview mir‐
ror.
Activating/deactivating
Press button on the wiper lever.
Wiping is started. If the vehicle is equipped
with a rain sensor: LED in wiper lever lights up.
When wipers are frozen to windshield, wiper
operation is deactivated.
Deactivate the rain sensor in car washes
Deactivate the rain sensor when passing
through an automatic car wash; otherwise, un‐
intentional wiping can cause damages.◀
Setting the frequency or sensitivity of
the rain sensor
Turn the thumbwheel.
Clean the windshield, headlights
Pull the wiper lever towards you.
The system sprays washer fluid on the wind‐
shield and activates the wipers briefly.
In addition, the headlights are cleaned at regu‐
lar intervals when the vehicle's lights are acti‐
vated.
Do not use the washer system at freezing
temperatures
Do not use the washers if fluid could freeze
onto the windshield which might impede your
viewing field. Therefore use antifreeze fluid.
Avoid using the washer when the reservoir is
empty; operation might damage pump.◀
Windshield washer nozzles The windshield washer nozzles are automati‐
cally heated while the ignition is switched on.
Fold-out position of the wipers Fold wipers back when you want to change the
blades or with pending low temperatures.
1.Switch the ignition on and off again.2.With icy conditions make sure that blades
are not frozen to the windshield.3.Press the wiper lever up beyond the point
of resistance and hold it for approx. 3 sec‐
onds, until the wiper remains in a nearly
vertical position.
After the wipers are folded back down, the
wiper system must be reactivated.
Seite 70ControlsDriving70
Online Edition for Part no. 01 40 2 960 547 - II/15
Page 75 of 247

Folding wipers back down
Before switching the ignition on, fold the
wipers back down to the windshield; other‐
wise, the wipers may become damaged when
they are activated.◀1.Switch on the ignition.2.Push wiper lever down. Wipers move to
their resting position and are ready again
for operation.
Washer fluid
Hints Antifreeze for washer fluid
Antifreeze is flammable and can cause
injury if it is used incorrectly.
Therefore, keep it away from possible sources of ignition.
Only keep it in the closed original container and inaccessible to children.
Follow the notes and instructions on the con‐
tainer.
United States: The washer fluid mixture ratio is
regulated by the U.S. EPA and many individual
states; do not exceed the allowable washer
fluid dilution ratios limits that apply. Follow the
usage instructions on the washer fluid con‐
tainer. Use BMW’s Windshield Washer Con‐
centrate or the equivalent.◀
Adding washer fluid
Only add washer fluid when the engine is
cool, and then close the cover completely to
avoid contact between the washer fluid and
hot engine parts.
Otherwise, there is a danger of fire and a risk to
personal safety if the fluid is spilled.◀
Washer fluid reservoir
All washer nozzles are supplied from one res‐
ervoir.
Fill with a mixture of windshield washer con‐
centrate and tap water and – if required – with a
washer antifreeze, according to the manufac‐
turer's recommendations.
Mix the washer fluid before adding to find the
right mixture.
Do not add windshield washer concentrate and
antifreeze undiluted and do not fill with pure
water; this could damage the wiper system.
Do not mix window washer concentrates of dif‐
ferent manufacturers because they can clog
the windshield washer nozzles.
Recommended minimum fill quantity:
0.2 US gal/1 liter.
Steptronic transmission
Selector lever positions
D Drive
Selector lever position for normal vehicle oper‐
ation. All gears for forward travel are activated
automatically.
R is Reverse
Select only when the vehicle is stationary.
N Neutral: The vehicle may roll. Use in automatic car
washes, e.g.
Seite 71DrivingControls71
Online Edition for Part no. 01 40 2 960 547 - II/15
Page 204 of 247

Hood
Hints Working in the engine compartment
Never attempt to perform any service or
repair operations on your vehicle without the
necessary professional technical training.
If you are unfamiliar with the statutory guide‐
lines, have any work on the vehicle performed
only by a service center.
If work is not carried out properly, there is a
danger of subsequent damage and related
safety hazards.◀
Never reach into the engine compart‐
ment
Never reach into spaces or gaps in the engine
compartment; otherwise, there is a risk of in‐
jury, e.g., from rotating or hot parts.◀
Fold down wiper arm
Before opening the hood, ensure that the
wiper arms are against the windshield, or this
may result in damage.◀
Opening the hood1.Pull lever, arrow 1.
Hood is unlocked2.After the lever is released, pull the lever
again, arrow 2.
Hood can be opened.Indicator/warning lights
When the hood is unlocked, a Check Control
message is displayed.
Closing the hood Hood open when driving
If you see any signs that the hood is not
completely closed while driving, pull over im‐
mediately and close it securely.◀
Danger of jamming
Make sure that the closing path of the
hood is clear; otherwise, injuries may result.◀
Let the hood drop from a height of approx. 16
in/40 cm and push down on it to lock it fully.
The hood must audibly engage on both sides.
Seite 200MobilityEngine compartment200
Online Edition for Part no. 01 40 2 960 547 - II/15
Page 211 of 247

Replacing componentsVehicle features and optionsThis chapter describes all standard, country-
specific and optional features offered with the
series. It also describes features that are not
necessarily available in your car, e. g., due to
the selected options or country versions. This
also applies to safety-related functions and
systems. The respectively applicable country
provisions must be observed when using the
respective features and systems.
Onboard vehicle tool kit
The onboard vehicle tool kit is located under
the cargo floor panel.
Wiper blade replacement Note Do not fold down the wipers without
wiper blades
Do not fold down the wipers if wiper blades
have not been installed; this may damage the
windshield.◀
Replacing the wiper blades
1.To change the wiper blades, fold up, refer
to page 70, the wiper arms.2.Fold up and hold the wiper arm firmly.3.Squeeze the retainer spring, arrow 1, and
fold up the wiper blade, arrow 2.4.Remove the wiper blade forward from the
catch.5.Insert the new wiper blade in reverse order
of removal until it locks in place.6.Fold down the wipers.
Folding down wipers before opening the hood
Before opening the hood, ensure that the
wiper arms with the wiper blades are against
the windshield to prevent damage.◀
Lamp and bulb replacement
Hints
Lights and bulbs Lights and bulbs make an essential contribu‐
tion to vehicle safety.
The manufacturer of the vehicle recommends
that you entrust corresponding procedures to
the service center if you are unfamiliar those or
if they have not been described here.
You can obtain a selection of replacement
bulbs at the service center.
Seite 207Replacing componentsMobility207
Online Edition for Part no. 01 40 2 960 547 - II/15
Page 225 of 247
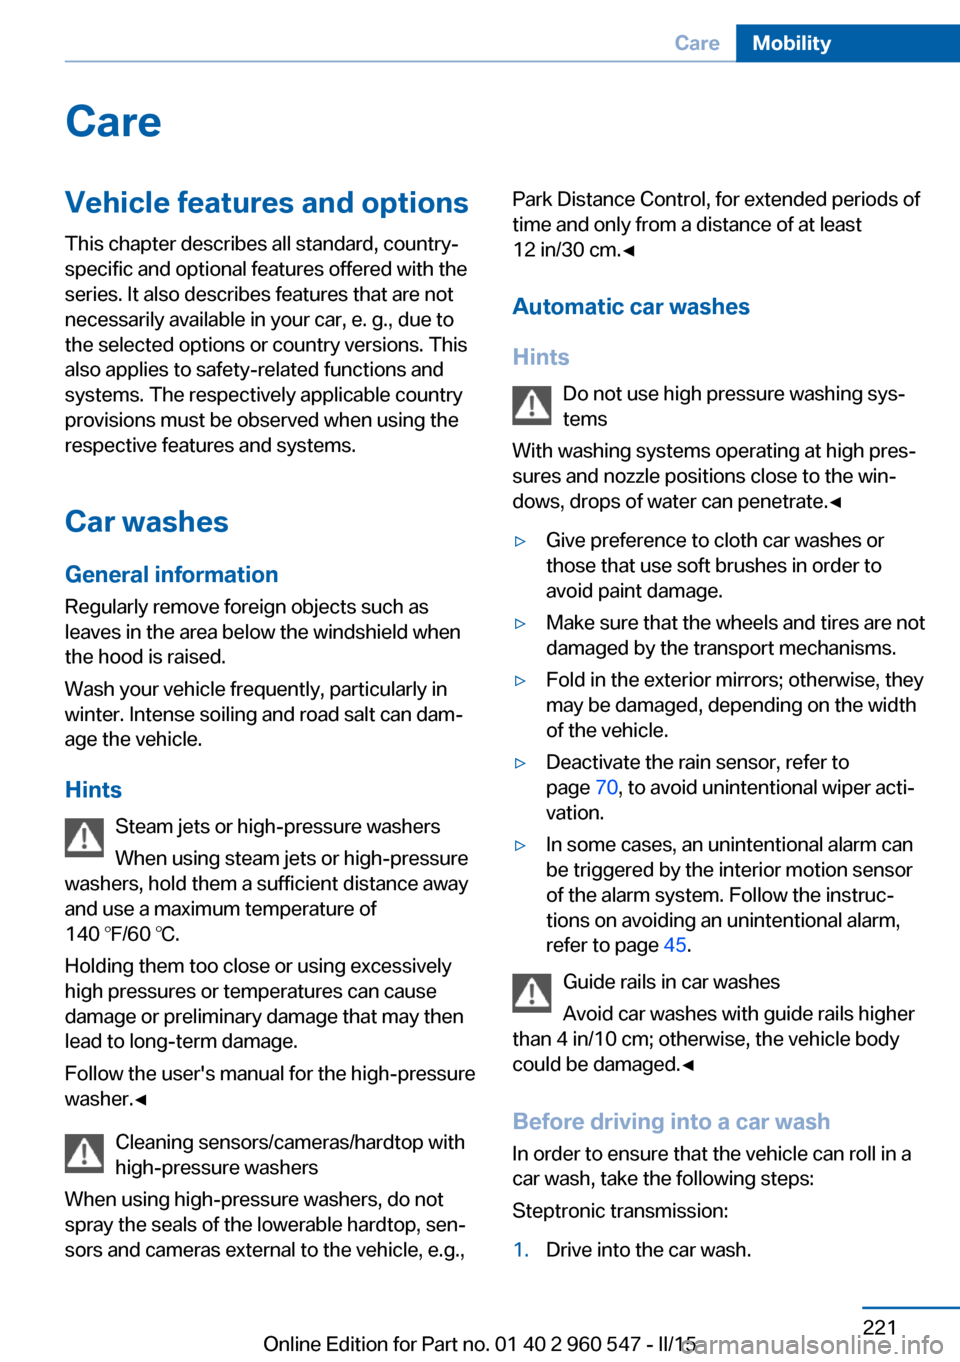
CareVehicle features and optionsThis chapter describes all standard, country-
specific and optional features offered with the
series. It also describes features that are not
necessarily available in your car, e. g., due to
the selected options or country versions. This
also applies to safety-related functions and
systems. The respectively applicable country
provisions must be observed when using the
respective features and systems.
Car washes General information
Regularly remove foreign objects such as
leaves in the area below the windshield when
the hood is raised.
Wash your vehicle frequently, particularly in
winter. Intense soiling and road salt can dam‐
age the vehicle.
Hints Steam jets or high-pressure washers
When using steam jets or high-pressure
washers, hold them a sufficient distance away
and use a maximum temperature of
140 ℉/60 ℃.
Holding them too close or using excessively
high pressures or temperatures can cause
damage or preliminary damage that may then lead to long-term damage.
Follow the user's manual for the high-pressure
washer.◀
Cleaning sensors/cameras/hardtop with
high-pressure washers
When using high-pressure washers, do not
spray the seals of the lowerable hardtop, sen‐
sors and cameras external to the vehicle, e.g.,Park Distance Control, for extended periods of
time and only from a distance of at least
12 in/30 cm.◀
Automatic car washes
Hints Do not use high pressure washing sys‐
tems
With washing systems operating at high pres‐
sures and nozzle positions close to the win‐
dows, drops of water can penetrate.◀▷Give preference to cloth car washes or
those that use soft brushes in order to
avoid paint damage.▷Make sure that the wheels and tires are not
damaged by the transport mechanisms.▷Fold in the exterior mirrors; otherwise, they
may be damaged, depending on the width
of the vehicle.▷Deactivate the rain sensor, refer to
page 70, to avoid unintentional wiper acti‐
vation.▷In some cases, an unintentional alarm can
be triggered by the interior motion sensor
of the alarm system. Follow the instruc‐
tions on avoiding an unintentional alarm,
refer to page 45.
Guide rails in car washes
Avoid car washes with guide rails higher
than 4 in/10 cm; otherwise, the vehicle body
could be damaged.◀
Before driving into a car wash In order to ensure that the vehicle can roll in a
car wash, take the following steps:
Steptronic transmission:
1.Drive into the car wash.Seite 221CareMobility221
Online Edition for Part no. 01 40 2 960 547 - II/15
Page 226 of 247

2.Engage selector lever position N.3.Switch the engine off.
In this way, the ignition remains switched
on, and a Check-Control message is dis‐
played.
Do not turn off the ignition in the car
wash
Do not turn off the ignition in the car wash;
otherwise, selector lever position P is en‐
gaged and damages can result.◀
The vehicle cannot be locked from the outside
when in selector lever position N. A signal
sounds when an attempt is made to lock the
vehicle.
To start the engine with Steptronic transmis‐
sion:
1.Depress the brake pedal.2.Press the Start/Stop button.
Pressing the Start/Stop button without step‐
ping on the brake turns the ignition off.
Selector lever positionSelector lever position P is engaged automati‐
cally:
▷When the ignition is switched off.▷After approx. 15 minutes.
Headlights
▷Do not rub dry and do not use abrasive or
acidic cleansers.▷Soak areas that have been dirtied e. g.,
from insects, with shampoo and wash off
with water.▷Thaw ice with de-icing spray; do not use an
ice scraper.
Lowerable hardtop
When the wet hardtop is opened, water drop‐
lets can run into the trunk. Remove any objects
in the trunk beforehand to prevent water spot‐
ting or soiling.
After washing the vehicle
After washing the vehicle, apply the brakes
briefly to dry them; otherwise, braking action
can be reduced and corrosion of the brake
discs can occur.
Completely remove all residues on the win‐
dows, to minimize loss of visibility due to
smearing and to reduce wiper noises and
wiper blade wear.
Vehicle care
Car care products BMW recommends using care and cleaning
products from BMW, since these have been
tested and approved.
Car care and cleaning products
Follow the instructions on the container.
When cleaning the interior, open the doors or
windows.
Only use products intended for cleaning vehi‐
cles.
Cleansers can contain substances that are
dangerous and harmful to your health.◀
Vehicle paint
Regular care contributes to driving safety and
value retention. Environmental influences in
areas with elevated air pollution or natural con‐
taminants, such as tree resin or pollen can af‐
fect the vehicle's paintwork. Tailor the fre‐
quency and extent of your car care to these
influences.
Aggressive substances such as spilled fuel, oil,
grease or bird droppings, must be removed im‐
mediately to prevent the finish from being al‐
tered or discolored.
Leather care
Remove dust from the leather often, using a
cloth or vacuum cleaner.Seite 222MobilityCare222
Online Edition for Part no. 01 40 2 960 547 - II/15
Page 237 of 247
Bonus range, ECO PRO 175
Bottle holder, refer to Cu‐ pholders 165
Brake assistant 119
Brake discs, break-in 168
Brake force display 118
Brake lights, adaptive 118
Brake lights, brake force dis‐ play 118
Brake pads, break-in 168
Braking, hints 169
Breakdown assistance 216
Break-in 168
Brightness of Control Dis‐ play 89
Bulb replacement 207
Bulb replacement, front 208
Bulb replacement, LED head‐ lights 209
Bulb replacement, rear 210
Bulb replacement, xenon headlights 208
Bulbs and lights 207
Button, RES 127
Button, Start/Stop 64
Bypassing, refer to Jump- starting 217
C
California Proposition 65 Warning 7
Camera lenses, care 224
Camera, rearview cam‐ era 135
Camera, Side View 138
Camera, Top View 139
Can holder, refer to Cuphold‐ ers 165
Car battery 213
Car care products 222
Care, displays 224
Care, vehicle 222
Cargo 171
Cargo area, enlarging 161
Cargo area partition 49 Cargo area, storage compart‐
ments 165
Cargo, securing 172
Cargo straps, securing cargo 172
Car key, refer to Remote con‐ trol 34
Carpet, care 224
Car wash 221
Catalytic converter, refer to Hot exhaust system 168
CBS Condition Based Serv‐ ice 205
CD/Multimedia, see user's manual for Navigation, En‐
tertainment and Communi‐
cation
Center armrest 164
Center console 16
Central locking system 40
Central screen, refer to Con‐ trol Display 18
Changes, technical, refer to Safety 7
Changing parts 207
Changing wheels 213
Changing wheels/tires 192
Chassis number, see vehicle identification number 9
Check Control 77
Checking the engine oil level electronically 201
Checking the oil level elec‐ tronically 201
Children, seating position 61
Children, transporting safely 61
Child restraint fixing sys‐ tem 61
Child restraint fixing system LATCH 63
Child restraint fixing systems, mounting 61
Child seat, mounting 61
Child seats 61
Chrome parts, care 223 Cigarette lighter 157
Cleaning displays 224
Climate control 145, 148
Clock 81
Closing/opening via door lock 39
Closing/opening with remote control 37
Coasting 177
Coasting with engine decou‐ pled, coasting 177
Coasting with idling en‐ gine 177
Cockpit 14
Combination reel, refer to Turn signals 68
Combination switch, refer to Wiper system 69
Comfort Access 41
COMFORT program, Dy‐ namic Driving Control 122
Compartments in the doors 164
Compass 155
Compressor 194
Computer, refer to On-board computer 85
Condensation on win‐ dows 150
Condensation under the vehi‐ cle 170
Condition Based Service CBS 205
Configuring driving pro‐ gram 123
Confirmation signal 43
ConnectedDrive, see user's manual for Navigation, En‐
tertainment and Communi‐
cation
ConnectedDrive Services
Connecting electrical devi‐ ces 157
Continued driving with a flat tire 102 , 105
Control Display 18 Seite 233Everything from A to ZReference233
Online Edition for Part no. 01 40 2 960 547 - II/15
Page 239 of 247
Engine compartment 199
Engine compartment, work‐ ing in 200
Engine coolant 204
Engine idling when driving, coasting 177
Engine oil 201
Engine oil, adding 202
Engine oil additives 202
Engine oil change 203
Engine oil filler neck 202
Engine oil temperature 80
Engine oil types, alterna‐ tive 203
Engine oil types, ap‐ proved 203
Engine start during malfunc‐ tion 35
Engine start, jump-start‐ ing 217
Engine start, refer to Starting the engine 65
Engine stop 65
Engine temperature 80
Entering a car wash 221
Equipment, interior 153
Error displays, see Check Control 77
ESP Electronic Stability Pro‐ gram, refer to DSC 119
Exchanging wheels/tires 192
Exhaust system 168
Exterior mirror, automatic dimming feature 59
Exterior mirrors 58
External start 217
External temperature dis‐ play 81
External temperature warn‐ ing 81
Eyes for securing cargo 172
F
Failure message, see Check Control 77 False alarm, refer to Uninten‐
tional alarm 45
Fan, refer to Air flow 146, 150
Filler neck for engine oil 202
Fine wood, care 223
First aid kit 217
Fitting for towing, see Tow fit‐ ting 219
Flat tire, changing wheels 213
Flat Tire Monitor FTM 104
Flat tire, Tire Pressure Moni‐ tor TPM 100
Flat tire, warning lamp 101, 104
Flooding 169
Floor carpet, care 224
Floor mats, care 224
Fogged up windows 146
Fold down the rear seat back‐ rest, see Though-loading
system 161
Fold-out position, wiper 70
Foot brake 169
Front airbags 96
Front-end collision warning with braking function 109
Front-end collision warning with City Braking func‐
tion 107
Front fog lights 94
Front fog lights, front, bulb re‐ placement 210
Front lights 208
front-seat passenger airbags, automatic deactivation 98
Front-seat passenger airbags, indicator lamp 98
FTM Flat Tire Monitor 104
Fuel 184
Fuel consumption, current 82
Fuel consumption, refer to Average fuel consump‐
tion 86
Fuel filler flap 182 Fuel gauge 80
Fuel lid 182
Fuel quality 184
Fuel recommendation 184
Fuel, tank capacity 230
Fuse 214
G
Garage door opener, refer to Universal Integrated Remote
Control 153
Gasoline 184
Gear change, Steptronic transmission 72
Gear shift indicator 83
General driving notes 168
Glare shield 157
Glove compartment 163
Gross vehicle weight, ap‐ proved 229
H
Handbrake, refer to parking brake 67
Hand-held transmitter, alter‐ nating code 154
Hardtop 46
Hardtop, rollover protection system 99
Hardtop, trunk partition 49
Hazard warning flashers 216
Headlight control, auto‐ matic 92
Headlight courtesy delay fea‐ ture 92
Headlight flasher 69
Headlight glass 208
Headlights 208
Headlights, care 222
Headlight washer system 69
Head restraints 52
Head restraints, front 56
Head-up Display 89
Head-up Display, care 224 Seite 235Everything from A to ZReference235
Online Edition for Part no. 01 40 2 960 547 - II/15