key BMW 435I XDRIVE COUPE 2016 Owners Manual
[x] Cancel search | Manufacturer: BMW, Model Year: 2016, Model line: 435I XDRIVE COUPE, Model: BMW 435I XDRIVE COUPE 2016Pages: 247, PDF Size: 5.26 MB
Page 28 of 247
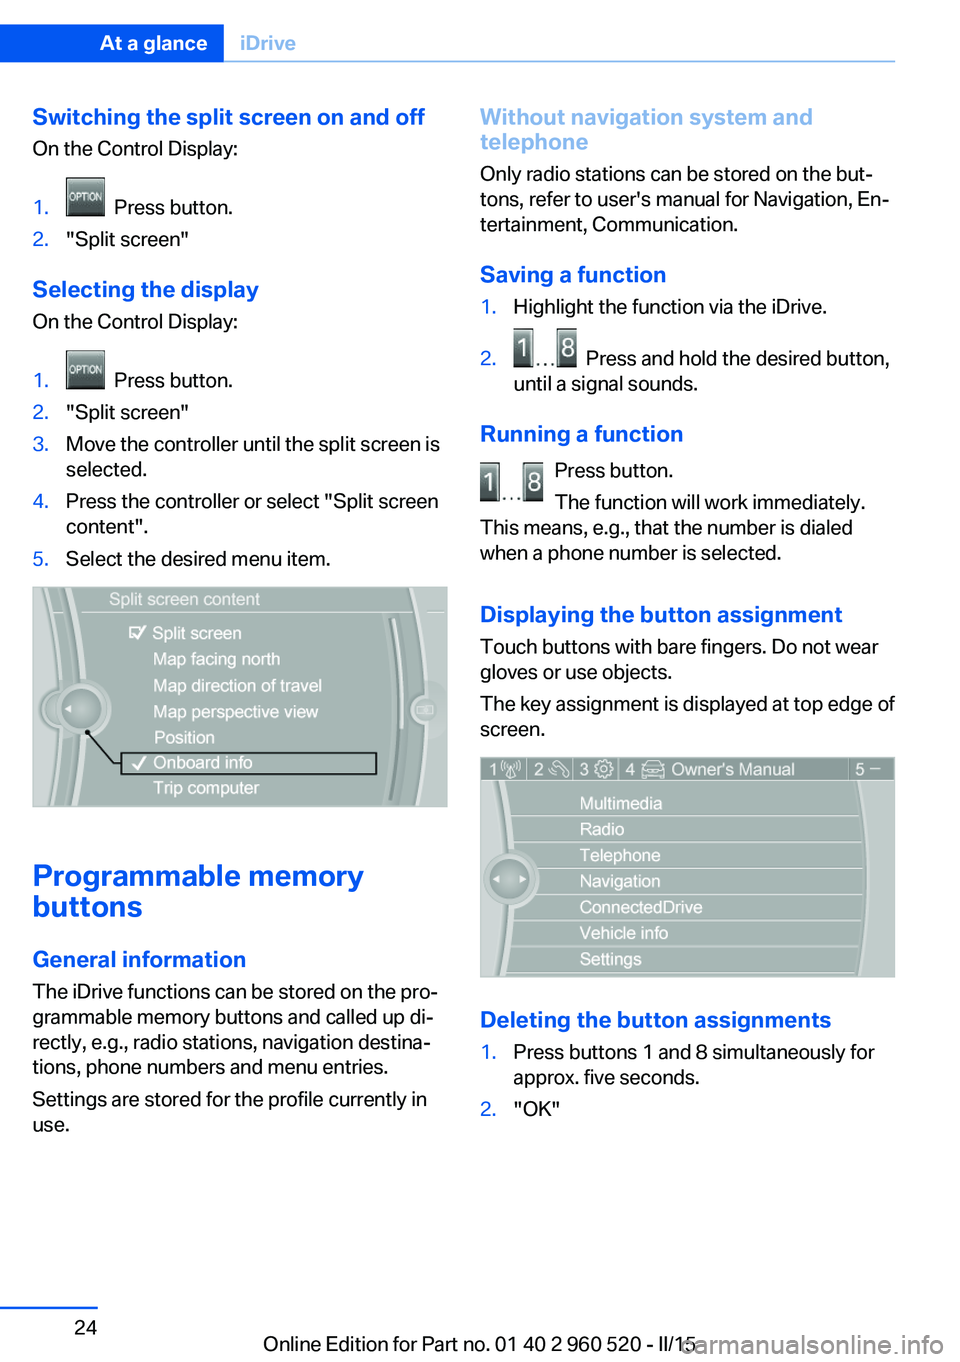
Switching the split screen on and offOn the Control Display:1. Press button.2."Split screen"
Selecting the display
On the Control Display:
1. Press button.2."Split screen"3.Move the controller until the split screen is
selected.4.Press the controller or select "Split screen
content".5.Select the desired menu item.
Programmable memory
buttons
General information
The iDrive functions can be stored on the pro‐
grammable memory buttons and called up di‐
rectly, e.g., radio stations, navigation destina‐
tions, phone numbers and menu entries.
Settings are stored for the profile currently in
use.
Without navigation system and
telephone
Only radio stations can be stored on the but‐
tons, refer to user's manual for Navigation, En‐
tertainment, Communication.
Saving a function1.Highlight the function via the iDrive.2. Press and hold the desired button,
until a signal sounds.
Running a function
Press button.
The function will work immediately.
This means, e.g., that the number is dialed
when a phone number is selected.
Displaying the button assignment Touch buttons with bare fingers. Do not wear
gloves or use objects.
The key assignment is displayed at top edge of
screen.
Deleting the button assignments
1.Press buttons 1 and 8 simultaneously for
approx. five seconds.2."OK"Seite 24At a glanceiDrive24
Online Edition for Part no. 01 40 2 960 520 - II/15
Page 38 of 247
Opening and closingVehicle features and options
This chapter describes all standard, country-
specific and optional features offered with the
series. It also describes features that are not
necessarily available in your car, e. g., due to
the selected options or country versions. This
also applies to safety-related functions and
systems. The respectively applicable country
provisions must be observed when using the
respective features and systems.
Remote control/key General information
The vehicle is supplied with two remote con‐
trols with integrated key.
Every remote control holds a replaceable bat‐
tery.
You may set the key functions depending on
the optional features and country-specific ver‐
sion. For Settings, refer to page 43.
The vehicle stores personal settings for every
remote control. Personal Profile, refer to
page 35.
The remote controls hold information on re‐
quired maintenance. Service data in the re‐
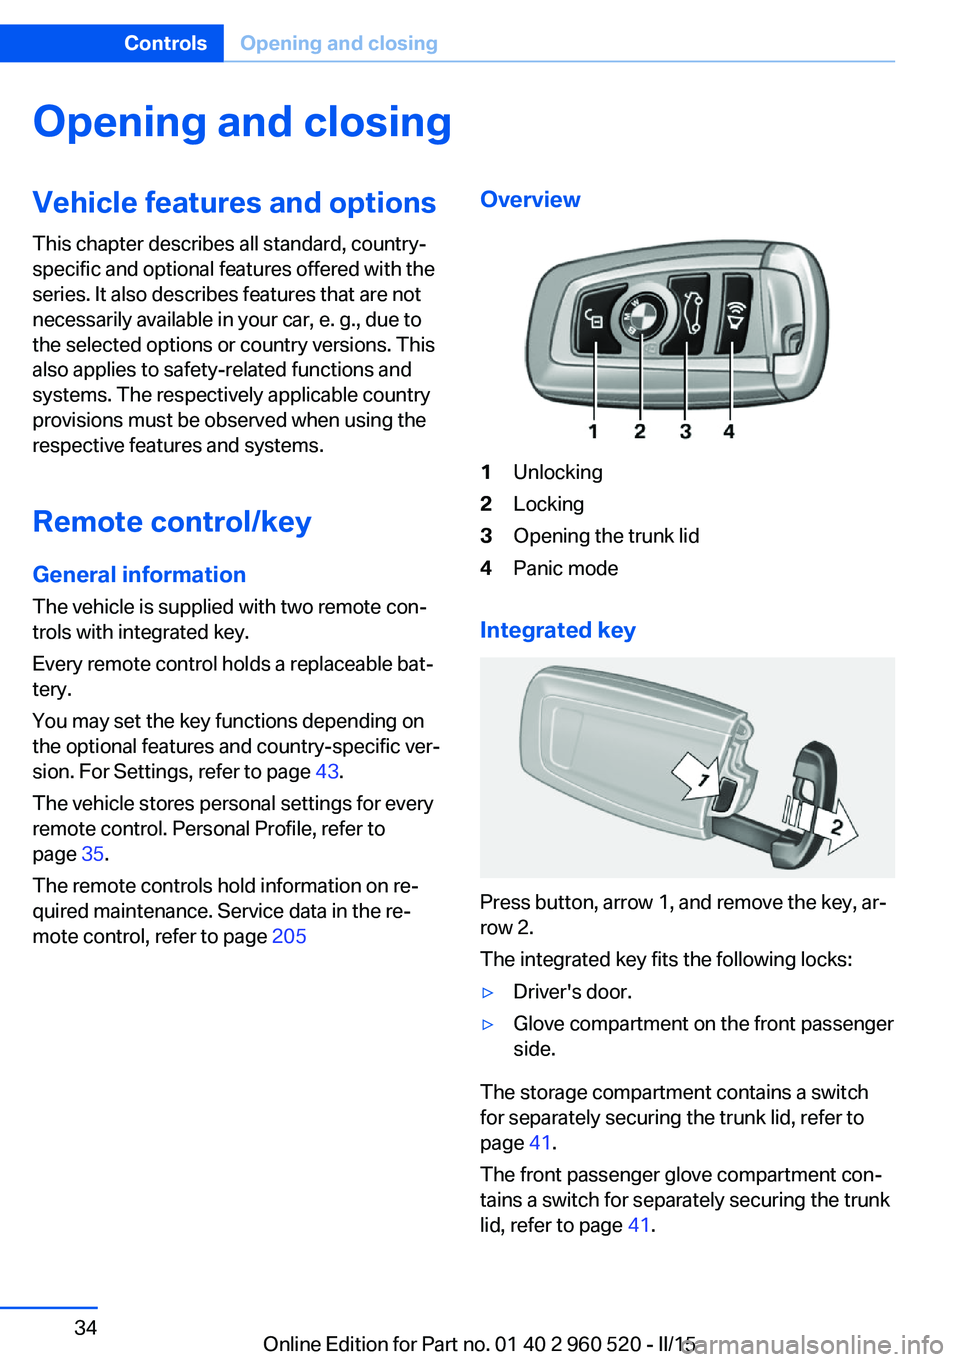
mote control, refer to page 205Overview1Unlocking2Locking3Opening the trunk lid4Panic mode
Integrated key
Press button, arrow 1, and remove the key, ar‐
row 2.
The integrated key fits the following locks:
▷Driver's door.▷Glove compartment on the front passenger
side.
The storage compartment contains a switch
for separately securing the trunk lid, refer to
page 41.
The front passenger glove compartment con‐
tains a switch for separately securing the trunk
lid, refer to page 41.
Seite 34ControlsOpening and closing34
Online Edition for Part no. 01 40 2 960 520 - II/15
Page 39 of 247
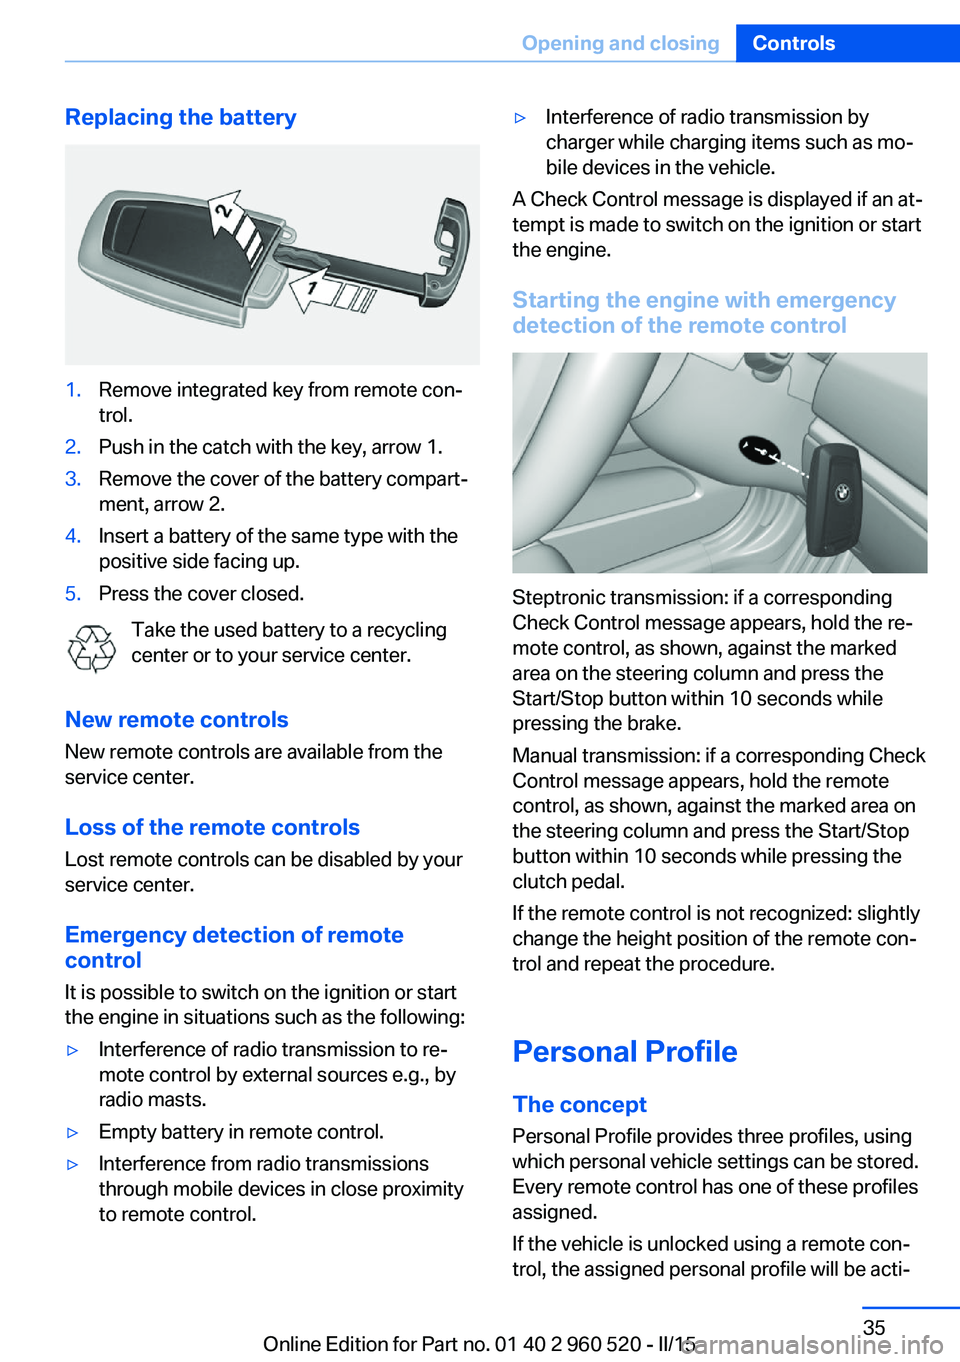
Replacing the battery1.Remove integrated key from remote con‐
trol.2.Push in the catch with the key, arrow 1.3.Remove the cover of the battery compart‐
ment, arrow 2.4.Insert a battery of the same type with the
positive side facing up.5.Press the cover closed.
Take the used battery to a recycling
center or to your service center.
New remote controls New remote controls are available from the
service center.
Loss of the remote controls Lost remote controls can be disabled by your
service center.
Emergency detection of remote
control
It is possible to switch on the ignition or start
the engine in situations such as the following:
▷Interference of radio transmission to re‐
mote control by external sources e.g., by
radio masts.▷Empty battery in remote control.▷Interference from radio transmissions
through mobile devices in close proximity
to remote control.▷Interference of radio transmission by
charger while charging items such as mo‐
bile devices in the vehicle.
A Check Control message is displayed if an at‐
tempt is made to switch on the ignition or start
the engine.
Starting the engine with emergency
detection of the remote control
Steptronic transmission: if a corresponding
Check Control message appears, hold the re‐
mote control, as shown, against the marked
area on the steering column and press the
Start/Stop button within 10 seconds while
pressing the brake.
Manual transmission: if a corresponding Check
Control message appears, hold the remote
control, as shown, against the marked area on
the steering column and press the Start/Stop
button within 10 seconds while pressing the
clutch pedal.
If the remote control is not recognized: slightly
change the height position of the remote con‐
trol and repeat the procedure.
Personal Profile
The concept Personal Profile provides three profiles, using
which personal vehicle settings can be stored.
Every remote control has one of these profiles
assigned.
If the vehicle is unlocked using a remote con‐
trol, the assigned personal profile will be acti‐
Seite 35Opening and closingControls35
Online Edition for Part no. 01 40 2 960 520 - II/15
Page 43 of 247
Commission regulations. Operation is gov‐
erned by the following:
FCC ID:▷LX8766S.▷LX8766E.▷LX8CAS.▷LX8CAS2.▷MYTCAS4.
Compliance statement:
This device complies with part 15 of the FCC
Rules. Operation is subject to the following
two conditions:
▷This device may not cause harmful inter‐
ference, and▷this device must accept any interference
received, including interference that may
cause undesired operation.
Any unauthorized modifications or changes to
these devices could void the user's authority to
operate this equipment.
Without remote control
From the outside Locking from the outside
Do not lock the vehicle from the outside
with people inside the car, as the vehicle can‐
not be unlocked from inside without special
knowledge.◀
Remove the key before pulling the door
handle
Before pulling the outside door handle, remove
the key to avoid damaging the paintwork and
the key.◀
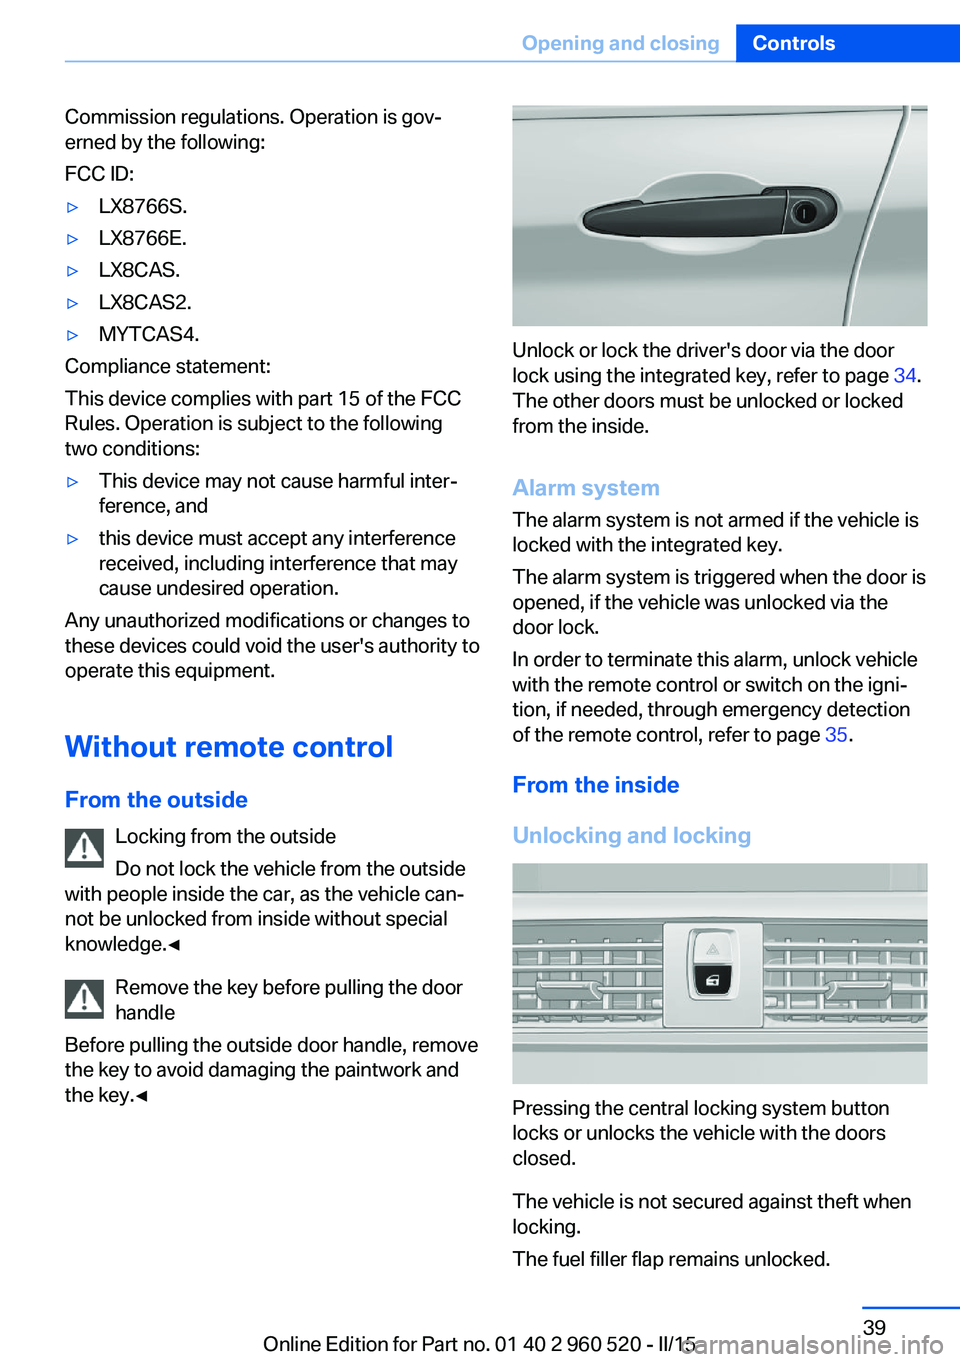
Unlock or lock the driver's door via the door
lock using the integrated key, refer to page 34.
The other doors must be unlocked or locked
from the inside.
Alarm system
The alarm system is not armed if the vehicle is
locked with the integrated key.
The alarm system is triggered when the door is
opened, if the vehicle was unlocked via the door lock.
In order to terminate this alarm, unlock vehicle
with the remote control or switch on the igni‐
tion, if needed, through emergency detection
of the remote control, refer to page 35.
From the inside
Unlocking and locking
Pressing the central locking system button
locks or unlocks the vehicle with the doors
closed.
The vehicle is not secured against theft when
locking.
The fuel filler flap remains unlocked.
Seite 39Opening and closingControls39
Online Edition for Part no. 01 40 2 960 520 - II/15
Page 45 of 247
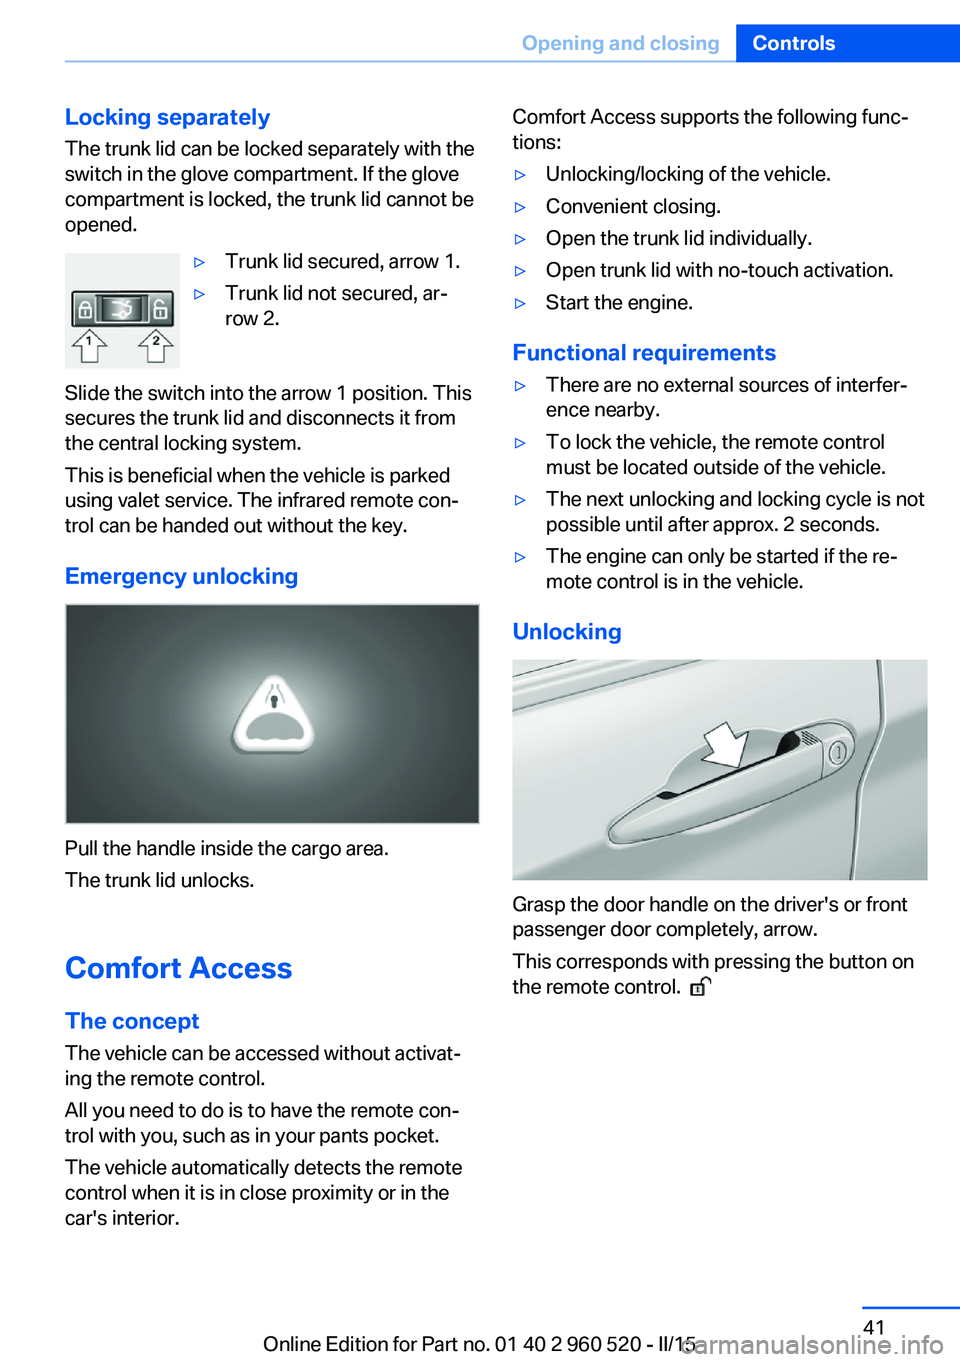
Locking separatelyThe trunk lid can be locked separately with theswitch in the glove compartment. If the glove
compartment is locked, the trunk lid cannot be
opened.▷Trunk lid secured, arrow 1.▷Trunk lid not secured, ar‐
row 2.
Slide the switch into the arrow 1 position. This
secures the trunk lid and disconnects it from
the central locking system.
This is beneficial when the vehicle is parked
using valet service. The infrared remote con‐
trol can be handed out without the key.
Emergency unlocking
Pull the handle inside the cargo area.
The trunk lid unlocks.
Comfort Access
The concept The vehicle can be accessed without activat‐
ing the remote control.
All you need to do is to have the remote con‐ trol with you, such as in your pants pocket.
The vehicle automatically detects the remote
control when it is in close proximity or in the
car's interior.
Comfort Access supports the following func‐
tions:▷Unlocking/locking of the vehicle.▷Convenient closing.▷Open the trunk lid individually.▷Open trunk lid with no-touch activation.▷Start the engine.
Functional requirements
▷There are no external sources of interfer‐
ence nearby.▷To lock the vehicle, the remote control
must be located outside of the vehicle.▷The next unlocking and locking cycle is not
possible until after approx. 2 seconds.▷The engine can only be started if the re‐
mote control is in the vehicle.
Unlocking
Grasp the door handle on the driver's or front
passenger door completely, arrow.
This corresponds with pressing the button on
the remote control.
Seite 41Opening and closingControls41
Online Edition for Part no. 01 40 2 960 520 - II/15
Page 47 of 247
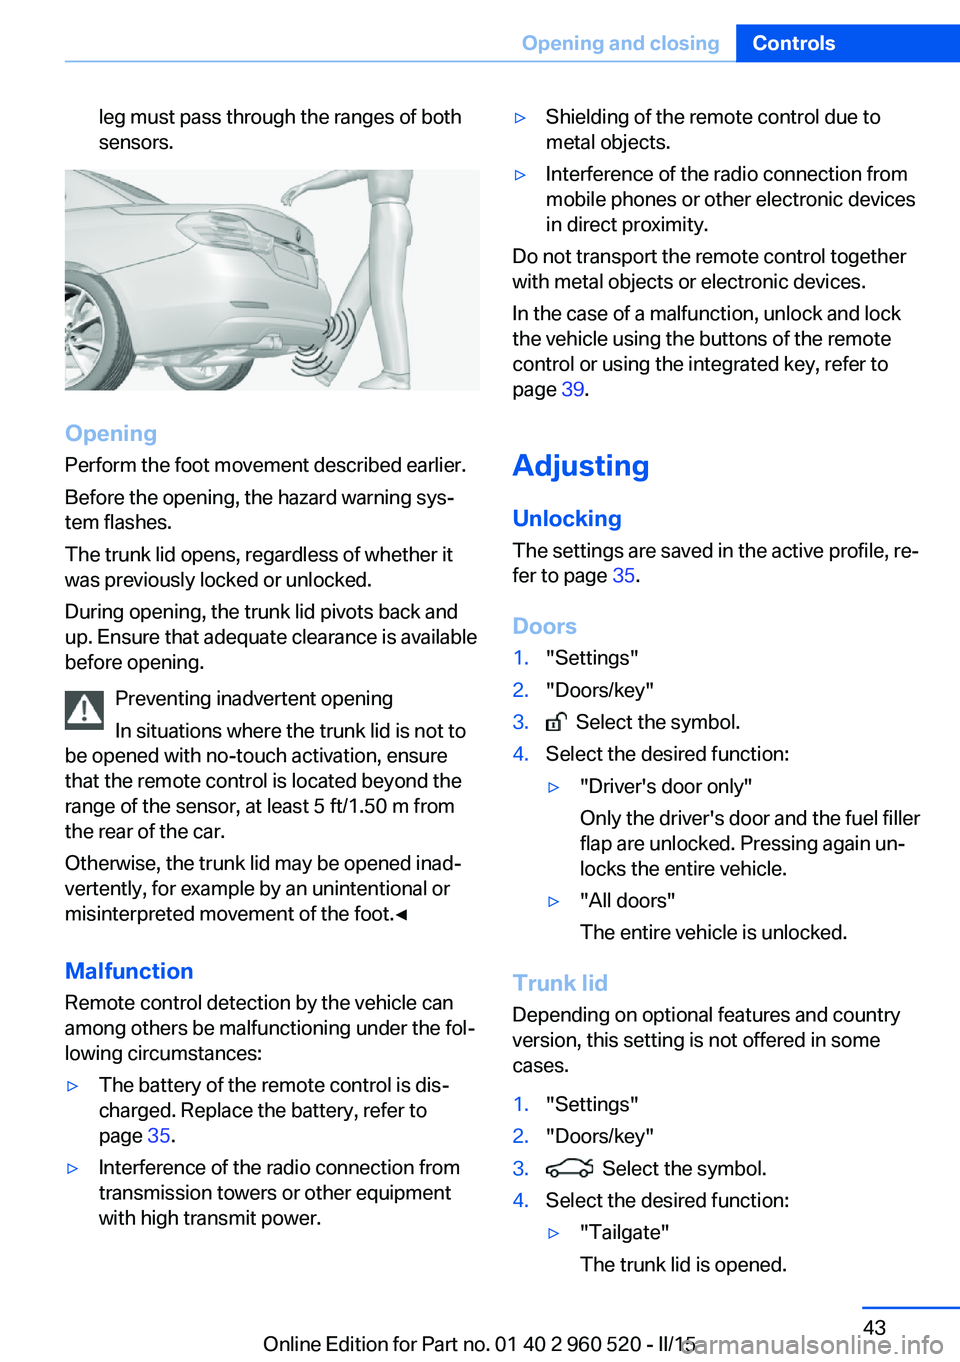
leg must pass through the ranges of both
sensors.
Opening
Perform the foot movement described earlier.
Before the opening, the hazard warning sys‐
tem flashes.
The trunk lid opens, regardless of whether it
was previously locked or unlocked.
During opening, the trunk lid pivots back and
up. Ensure that adequate clearance is available
before opening.
Preventing inadvertent opening
In situations where the trunk lid is not to
be opened with no-touch activation, ensure
that the remote control is located beyond the
range of the sensor, at least 5 ft/1.50 m from
the rear of the car.
Otherwise, the trunk lid may be opened inad‐
vertently, for example by an unintentional or
misinterpreted movement of the foot.◀
Malfunction
Remote control detection by the vehicle can
among others be malfunctioning under the fol‐
lowing circumstances:
▷The battery of the remote control is dis‐
charged. Replace the battery, refer to
page 35.▷Interference of the radio connection from
transmission towers or other equipment
with high transmit power.▷Shielding of the remote control due to
metal objects.▷Interference of the radio connection from
mobile phones or other electronic devices
in direct proximity.
Do not transport the remote control together
with metal objects or electronic devices.
In the case of a malfunction, unlock and lock
the vehicle using the buttons of the remote
control or using the integrated key, refer to
page 39.
Adjusting
Unlocking The settings are saved in the active profile, re‐
fer to page 35.
Doors
1."Settings"2."Doors/key"3. Select the symbol.4.Select the desired function:▷"Driver's door only"
Only the driver's door and the fuel filler
flap are unlocked. Pressing again un‐
locks the entire vehicle.▷"All doors"
The entire vehicle is unlocked.
Trunk lid
Depending on optional features and country
version, this setting is not offered in some
cases.
1."Settings"2."Doors/key"3. Select the symbol.4.Select the desired function:▷"Tailgate"
The trunk lid is opened.Seite 43Opening and closingControls43
Online Edition for Part no. 01 40 2 960 520 - II/15
Page 48 of 247
▷"Tailgate + door(s)"
The trunk lid is opened and the doors
are unlocked.
Confirmation signals from the vehicle
The settings are saved in the active profile, re‐
fer to page 35.
1."Settings"2."Doors/key"3.Deactivate or activate the desired confir‐
mation signals.▷"Acoustic sig. lock/unlock"▷"Flash when lock/unlock"
Automatic locking
The settings are saved in the active profile, re‐fer to page 35.
1."Settings"2."Doors/key"3.Select the desired function:▷"Lock if no door is opened"
The vehicle locks automatically after a
short period of time if no door is
opened.▷"Lock after start driving"
The vehicle locks automatically after
you drive off.
Retrieving the seat and mirror settings
The driver's seat and exterior mirror positions
used last are stored for the remote control cur‐
rently in use.
When the vehicle is unlocked, these positions
are automatically retrieved if this function was
activated.
Pinch hazard when moving back the seat
If this function is used, first make sure
that the footwell behind the driver's seat is
empty. Otherwise, people might get injured or
objects damaged when the seat is moved
back.◀
The adjustment procedure is interrupted:▷When a seat position switch is pressed.▷When a button of the seat and mirror mem‐
ory is pressed.
Activating the setting
1."Settings"2."Doors/key"3."Last seat position autom."
Alarm system
The conceptWhen the vehicle is locked, the vehicle alarm
system responds to:
▷Opening a door, the hood or the trunk lid.▷Movements in the interior.▷Changes in the vehicle tilt, e. g., during at‐
tempts at stealing a wheel or when towing
the car.▷Disconnected battery voltage.
The alarm system briefly signals tampering:
▷By sounding an acoustic alarm.▷By switching on the hazard warning sys‐
tem.▷By flashing the daytime running lights.
Arming and disarming the alarm
system
When you unlock or lock the vehicle, either
with the remote control or via the Comfort Ac‐
cess, the alarm system is disarmed or armed at
the same time.
Door lock and armed alarm systemThe alarm system is triggered when the door is
opened, when the vehicle is unlocked via the
door lock.
Seite 44ControlsOpening and closing44
Online Edition for Part no. 01 40 2 960 520 - II/15
Page 58 of 247
Safety belt reminder for driver's and
passenger's seat
The indicator lamp lights up and a sig‐
nal sounds. Make sure that the safety
belts are positioned correctly. The
safety belt reminder is active at speeds above
approx. 6 mph/10 km/h. It can also be activated
if objects are placed on the front passenger
seat.
Damage to safety belts Wear and tear after accidents or when dam‐
aged otherwise:
Have the safety belts, including the safety belt
tensioners, replaced and have the belt anchors
checked.
Check and replace safety belts
This should only be done by your service
center; otherwise, this safety feature might not
work properly.◀
Belt carrier
The concept The belt carrier makes it easier to put on the
safety belt.
General information
After the door is closed and the vehicle key has
been detected in the car's interior, the belt car‐
rier extends automatically and keeps the safety
belt ready to put on, arrow. After the belt is put
on, it goes back into the idle position.
If the safety belt has not yet been applied, the
belt carrier goes back under the following cir‐
cumstances:▷Waiting time approx. five minutes.▷Opening the respective door.▷After a short trip.▷Locking the vehicle.
If the respective door is closed, the belt carrier
is re-activated when the vehicle key has been
detected in the interior.
Pinch protection system Free range of movement of the belt car‐
rier
Even with pinch protection, make sure that the
range of motion of the belt carrier remains free.
Otherwise, an interruption is not guaranteed
under certain circumstances.◀
If the belt carrier encounters resistance when
extending or retracting, the belt carrier moves
back somewhat in the respective opposite. Af‐
ter two attempts, the belt carrier stops in this
position.
To reactivate the belt carrier, open and close
the door.
Headrests
Correctly adjusted head restraint A correctly adjusted head restraint reduces the
risk of injury to cervical vertebrae in the event
of an accident.
Adjusting the head restraint
Adjust the head restraints of all occupied
seats properly; otherwise, there is an increased
risk of injury in an accident.◀
Height Adjust the head restraint so that its center is
approximately at ear level.
Seite 54ControlsAdjusting54
Online Edition for Part no. 01 40 2 960 520 - II/15
Page 164 of 247
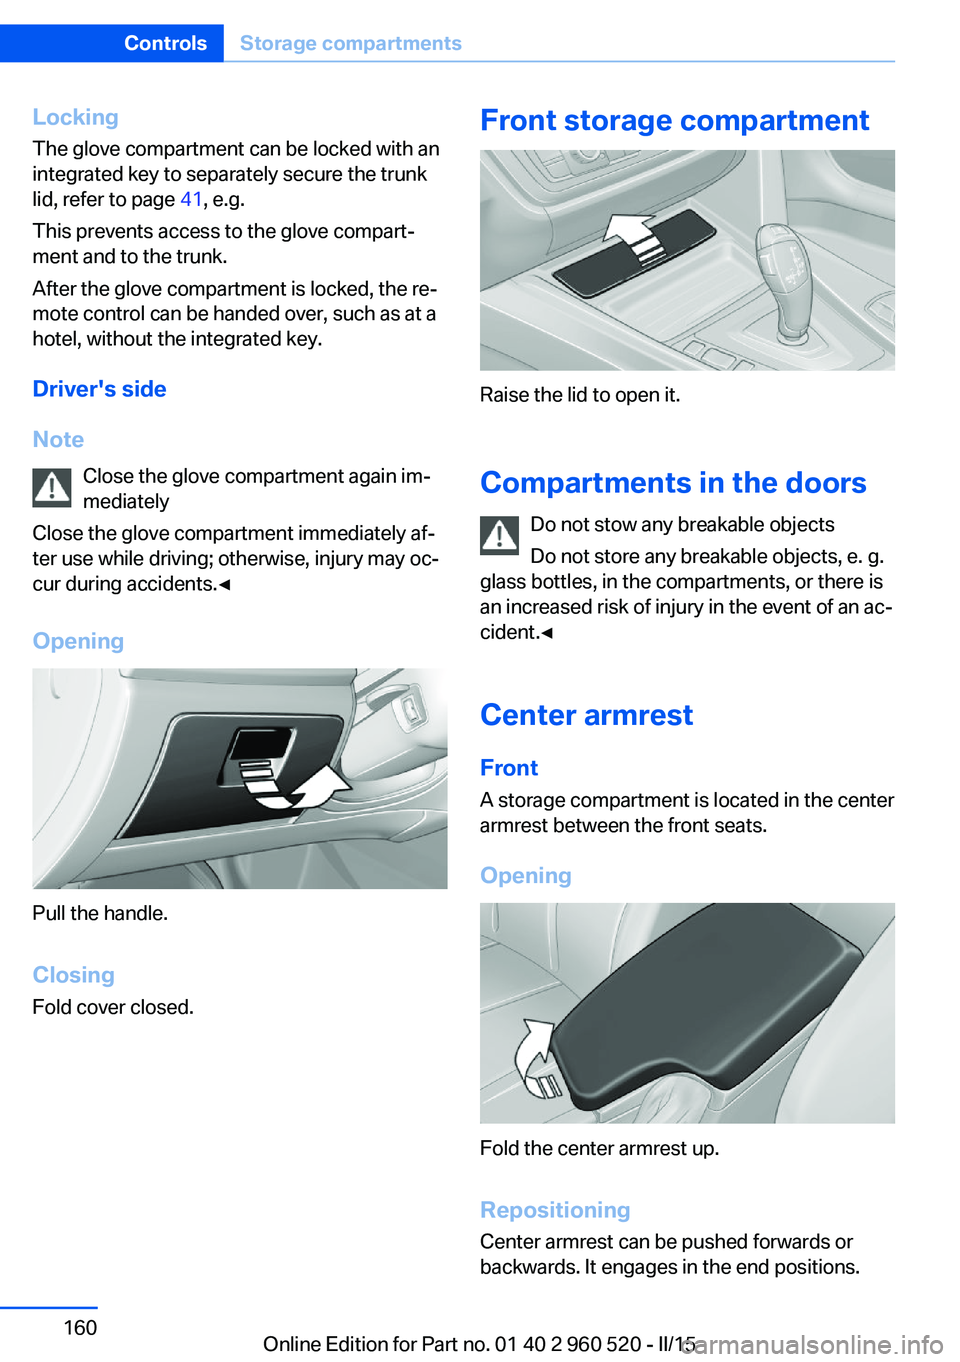
LockingThe glove compartment can be locked with an
integrated key to separately secure the trunk
lid, refer to page 41, e.g.
This prevents access to the glove compart‐ ment and to the trunk.
After the glove compartment is locked, the re‐
mote control can be handed over, such as at a
hotel, without the integrated key.
Driver's side
Note Close the glove compartment again im‐
mediately
Close the glove compartment immediately af‐
ter use while driving; otherwise, injury may oc‐
cur during accidents.◀
Opening
Pull the handle.
ClosingFold cover closed.
Front storage compartment
Raise the lid to open it.
Compartments in the doors Do not stow any breakable objects
Do not store any breakable objects, e. g.
glass bottles, in the compartments, or there is
an increased risk of injury in the event of an ac‐
cident.◀
Center armrest
Front A storage compartment is located in the center
armrest between the front seats.
Opening
Fold the center armrest up.
Repositioning
Center armrest can be pushed forwards or
backwards. It engages in the end positions.
Seite 160ControlsStorage compartments160
Online Edition for Part no. 01 40 2 960 520 - II/15
Page 237 of 247
Bottle holder, refer to Cu‐pholders 161
Brake assistant 118
Brake discs, break-in 166
Brake force display 117
Brake lights, adaptive 117
Brake lights, brake force dis‐ play 117
Brake pads, break-in 166
Braking, hints 167
Breakdown assistance 216
Break-in 166
Brightness of Control Dis‐ play 89
Bulb replacement 207
Bulb replacement, front 208
Bulb replacement, LED head‐ lights 209
Bulb replacement, rear 210
Bulb replacement, xenon headlights 208
Bulbs and lights 207
Button, RES 126
Button, Start/Stop 63
Bypassing, refer to Jump- starting 217
C
California Proposition 65 Warning 7
Camera lenses, care 225
Camera, rearview cam‐ era 134
Camera, Side View 137
Camera, Top View 138
Can holder, refer to Cuphold‐ ers 161
Car battery 213
Car care products 223
Care, displays 225
Care, vehicle 223
Cargo 169
Cargo area, enlarging 157
Cargo area, storage compart‐ ments 162 Cargo, securing 170
Cargo straps, securing cargo 170
Car key, refer to Remote con‐ trol 34
Carpet, care 225
Car wash 222
Catalytic converter, refer to Hot exhaust system 167
CBS Condition Based Serv‐ ice 205
CD/Multimedia, see user's manual for Navigation, En‐
tertainment and Communi‐
cation
Center armrest 160
Center console 16
Central locking system 39
Central screen, refer to Con‐ trol Display 18
Changes, technical, refer to Safety 7
Changing parts 207
Changing wheels 213
Changing wheels/tires 192
Chassis number, see vehicle identification number 9
Check Control 77
Checking the engine oil level electronically 201
Checking the oil level elec‐ tronically 201
Children, seating position 59
Children, transporting safely 59
Child restraint fixing sys‐ tem 59
Child restraint fixing system LATCH 61
Child restraint fixing systems, mounting 59
Child seat, mounting 59
Child seats 59
Chrome parts, care 224
Cigarette lighter 155
Cleaning displays 225 Climate control 144, 146
Clock 81
Closing/opening via door lock 39
Closing/opening with remote control 37
Clothes hooks 161
Coasting 176
Coasting with engine decou‐ pled, coasting 176
Coasting with idling en‐ gine 176
Cockpit 14
Combination reel, refer to Turn signals 67
Combination switch, refer to Wiper system 68
Comfort Access 41
COMFORT program, Dy‐ namic Driving Control 121
Compartments in the doors 160
Compass 153
Compressor 194
Computer, refer to On-board computer 85
Condensation on win‐ dows 149
Condensation under the vehi‐ cle 168
Condition Based Service CBS 205
Configuring driving pro‐ gram 122
Confirmation signal 44
ConnectedDrive, see user's manual for Navigation, En‐
tertainment and Communi‐
cation
ConnectedDrive Services
Connecting electrical devi‐ ces 155
Continued driving with a flat tire 101 , 104
Control Display 18
Control Display, settings 88 Seite 233Everything from A to ZReference233
Online Edition for Part no. 01 40 2 960 520 - II/15