sensor BMW 5 SERIES GRAN TURISMO 2014 F07 Owner's Guide
[x] Cancel search | Manufacturer: BMW, Model Year: 2014, Model line: 5 SERIES GRAN TURISMO, Model: BMW 5 SERIES GRAN TURISMO 2014 F07Pages: 259, PDF Size: 5.68 MB
Page 162 of 259
track line is continuously adjusted for the
steering wheel movement.
"Parking aid lines"
Turning circle and pathway lines are displayed.
System limits
Top View cannot be used in the following sit‐
uations:
▷With a door open.▷With the tailgate open.▷With an exterior mirror folded in.▷In poor light.
A Check Control message is displayed in some
of these situations.
Parking assistant The concept
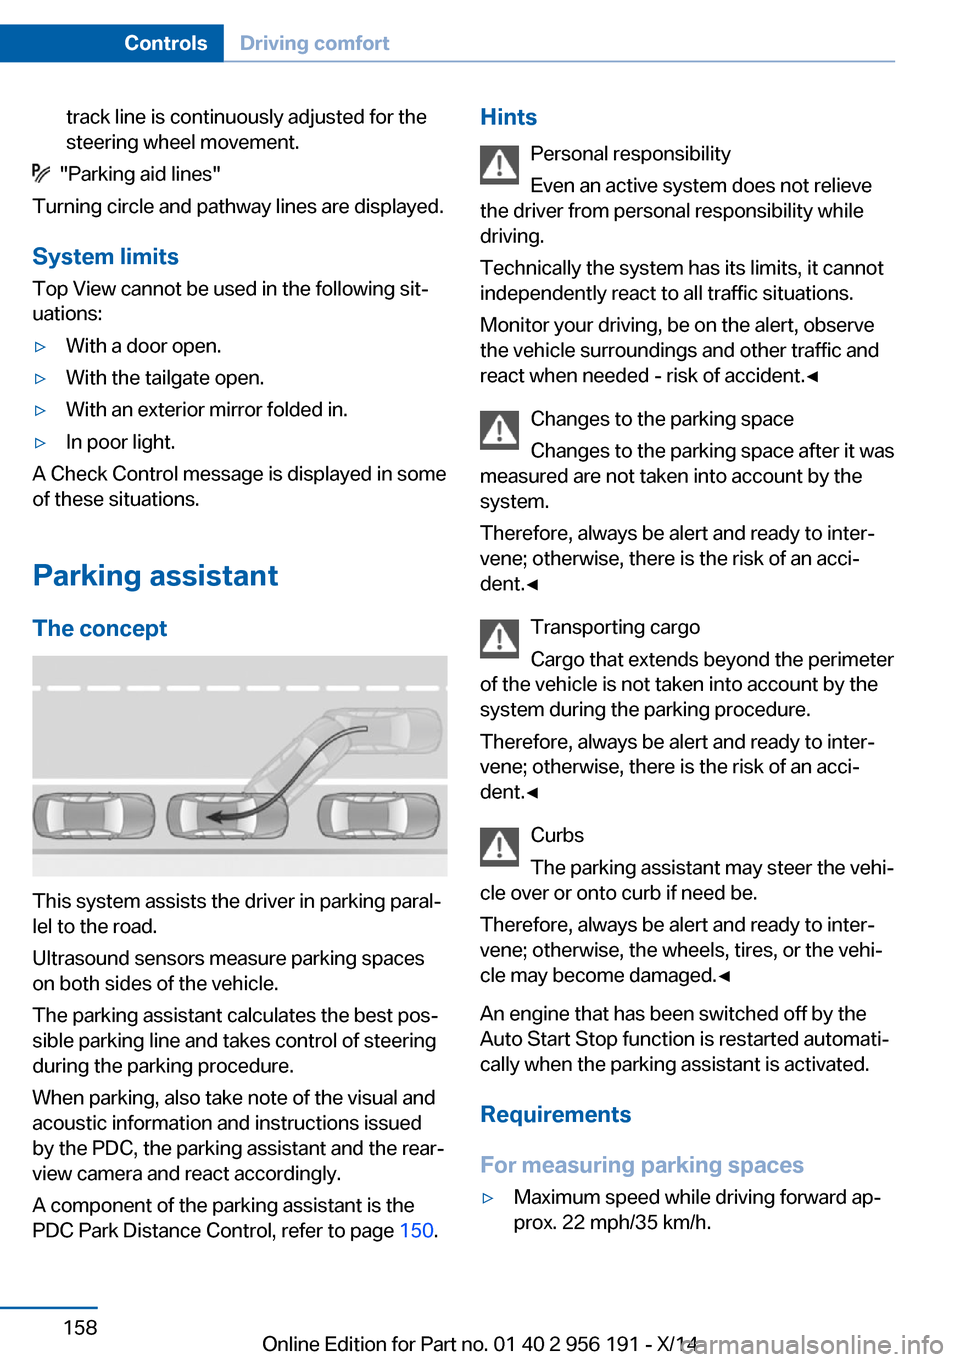
This system assists the driver in parking paral‐
lel to the road.
Ultrasound sensors measure parking spaces
on both sides of the vehicle.
The parking assistant calculates the best pos‐
sible parking line and takes control of steering
during the parking procedure.
When parking, also take note of the visual and
acoustic information and instructions issued
by the PDC, the parking assistant and the rear‐
view camera and react accordingly.
A component of the parking assistant is the
PDC Park Distance Control, refer to page 150.
Hints
Personal responsibility
Even an active system does not relieve
the driver from personal responsibility while
driving.
Technically the system has its limits, it cannot
independently react to all traffic situations.
Monitor your driving, be on the alert, observe
the vehicle surroundings and other traffic and
react when needed - risk of accident.◀
Changes to the parking space
Changes to the parking space after it was
measured are not taken into account by the system.
Therefore, always be alert and ready to inter‐
vene; otherwise, there is the risk of an acci‐
dent.◀
Transporting cargo
Cargo that extends beyond the perimeter
of the vehicle is not taken into account by the
system during the parking procedure.
Therefore, always be alert and ready to inter‐
vene; otherwise, there is the risk of an acci‐
dent.◀
Curbs
The parking assistant may steer the vehi‐
cle over or onto curb if need be.
Therefore, always be alert and ready to inter‐
vene; otherwise, the wheels, tires, or the vehi‐
cle may become damaged.◀
An engine that has been switched off by the
Auto Start Stop function is restarted automati‐
cally when the parking assistant is activated.
Requirements
For measuring parking spaces▷Maximum speed while driving forward ap‐
prox. 22 mph/35 km/h.Seite 158ControlsDriving comfort158
Online Edition for Part no. 01 40 2 956 191 - X/14
Page 163 of 259
▷Maximum distance to row of parked vehi‐
cles: 5 ft/1.5 m.
Suitable parking space
▷Gap between two objects with a minimum
length of approx. 5 ft/1.5 m.▷Min. length of gap between two objects:
your vehicle's length plus approx.
4 ft/1.2 m.▷Minimum depth: approx. 5 ft/1.5 m.
Regarding the parking procedure
▷Doors and trunk lid closed.▷Parking brake released.▷When parking in parking spaces on the
driver's side, the corresponding turn signal
must be set where applicable.
At a glance
Button in the vehicle
Parking assistant
Ultrasound sensors
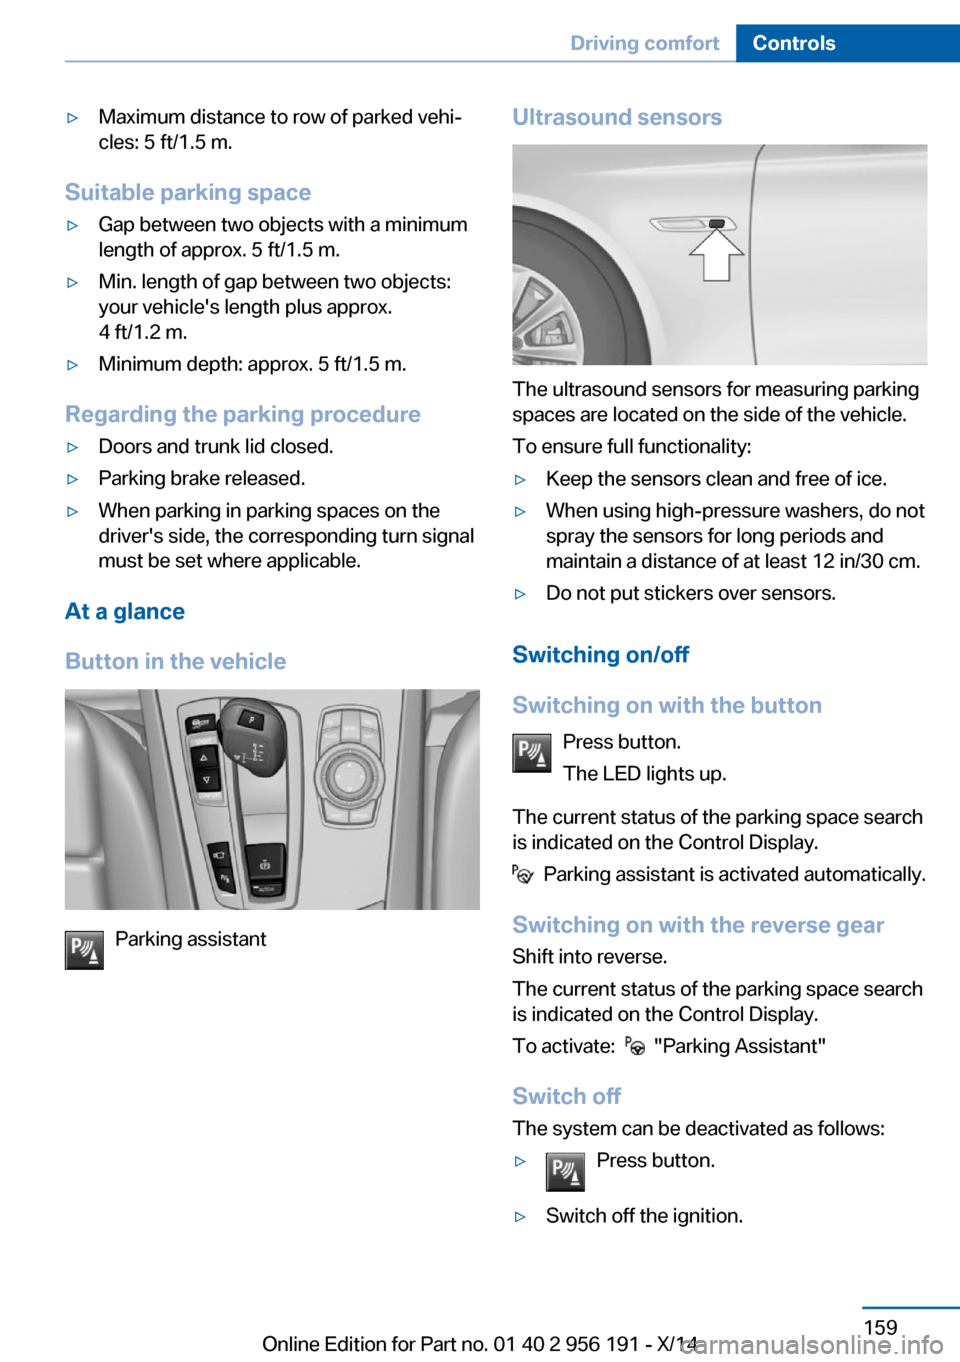
The ultrasound sensors for measuring parking
spaces are located on the side of the vehicle.
To ensure full functionality:
▷Keep the sensors clean and free of ice.▷When using high-pressure washers, do not
spray the sensors for long periods and
maintain a distance of at least 12 in/30 cm.▷Do not put stickers over sensors.
Switching on/off
Switching on with the button Press button.
The LED lights up.
The current status of the parking space search
is indicated on the Control Display.
Parking assistant is activated automatically.
Switching on with the reverse gear
Shift into reverse.
The current status of the parking space search
is indicated on the Control Display.
To activate:
"Parking Assistant"
Switch off
The system can be deactivated as follows:
▷Press button.▷Switch off the ignition.Seite 159Driving comfortControls159
Online Edition for Part no. 01 40 2 956 191 - X/14
Page 165 of 259
▷Possible on snow-covered or slippery road
surfaces.▷When there are obstacles that are hard to
overcome, such as curbs.▷When there are obstacles that suddenly
arise.▷If the Park Distance Control PDC displays
clearances that are too small.▷If a maximum number of parking attempts
or the time taken for parking is exceeded.▷If a turn signal has been actuated contrary
to the desired side for parking.▷When switching to another function on the
Control Display.
A Check Control message is displayed.
Resume An interrupted parking procedure can be con‐
tinued if needed.
Follow the instructions on the Control Display
to do this.
System limits
No parking assistance
The parking assistant does not offer assis‐
tance in the following situations:
▷In tight curves.
Functional limitations
The system may not be fully functional in the
following situations:
▷On bumpy road surfaces such as gravel
roads.▷On slippery ground.▷On steep uphill or downhill grades.▷With accumulations of leaves/snow in the
parking space.
Limits of ultrasonic measurement
Ultrasonic measuring might not function under
the following circumstances:
▷For small children and animals.▷For persons with certain clothing, e.g.
coats.▷With external interference of the ultra‐
sound, e.g. from passing vehicles or loud
machines.▷When sensors are dirty, iced over, dam‐
aged or out of position.▷Under certain weather conditions such as
high relative humidity, rain, snowfall, ex‐
treme heat or strong wind.▷With tow bars and trailer couplings of other
vehicles.▷With thin or wedge-shaped objects.▷With moving objects.▷With elevated, protruding objects such as
ledges or cargo.▷With objects with corners and sharp edges.▷With objects with a fine surface structure
such as fences.▷For objects with porous surfaces.
Low objects already displayed, e.g., curbs, can
move into the blind area of the sensors before
or after a continuous tone sounds.
The parking assistant may identify parking
spaces that are not suitable for parking.
Malfunction
A Check Control message is displayed.
The parking assistant failed. Have the system
checked.
Seite 161Driving comfortControls161
Online Edition for Part no. 01 40 2 956 191 - X/14
Page 167 of 259
HintsSufficient ventilation
When remaining in the vehicle for an ex‐
tended period of time, ensure sufficient exter‐
nal ventilation. Do not continuously use recir‐
culated-air mode; otherwise the air quality in
the interior continuously worsens.◀
Climate control functions in detail
Manual air distribution Press button repeatedly to select a
program:▷Upper body region.▷Upper body region and footwell.▷Footwell.▷Windows and footwell.▷Windows, upper body region, and footwell.▷Windows: driver's side only.▷Windows and upper body region.
If the windows are fogged over, press the
AUTO button on the driver's side to utilize the
condensation sensor.
Temperature Turn the ring to set the desired
temperature.
The automatic climate control achieves this
temperature as quickly as possible, if needed
by using the maximum cooling or heating li‐
dacity, and then keeps it constant.
Do not rapidly switch between different tem‐
perature settings. Otherwise, the automatic cli‐
mate control will not have sufficient time to ad‐
just the set temperature.
AUTO program
Press button.
Air flow, air distribution and tempera‐
ture are controlled automatically.
Depending on the selected temperature,
AUTO intensity program and outside influen‐
ces, the air is directed to the windshield, side
windows, upper body, and into the footwell.
The cooling function, refer to page 164, is
switched on automatically with the AUTO pro‐
gram.
At the same time, a condensation sensor con‐
trols the program so as to prevent window
condensation as much as possible.
Intensity of the AUTO program
With the AUTO program activated, the auto‐
matic intensity control can be changed.
Press the left or right side of the but‐
ton: decrease or increase the inten‐
sity.
The selected intensity is shown on the display
of the automatic climate control.
Air flow, manual
To manually adjust air flow turn off AUTO pro‐
gram first.
Press the left or right side of the but‐
ton: decrease or increase air flow.
The selected air flow is shown on the display of
the automatic climate control.
The air flow of the automatic climate control
may be reduced automatically to save battery
power.
Defrosts windows and removes
condensation
Press button.Seite 163Climate controlControls163
Online Edition for Part no. 01 40 2 956 191 - X/14
Page 168 of 259
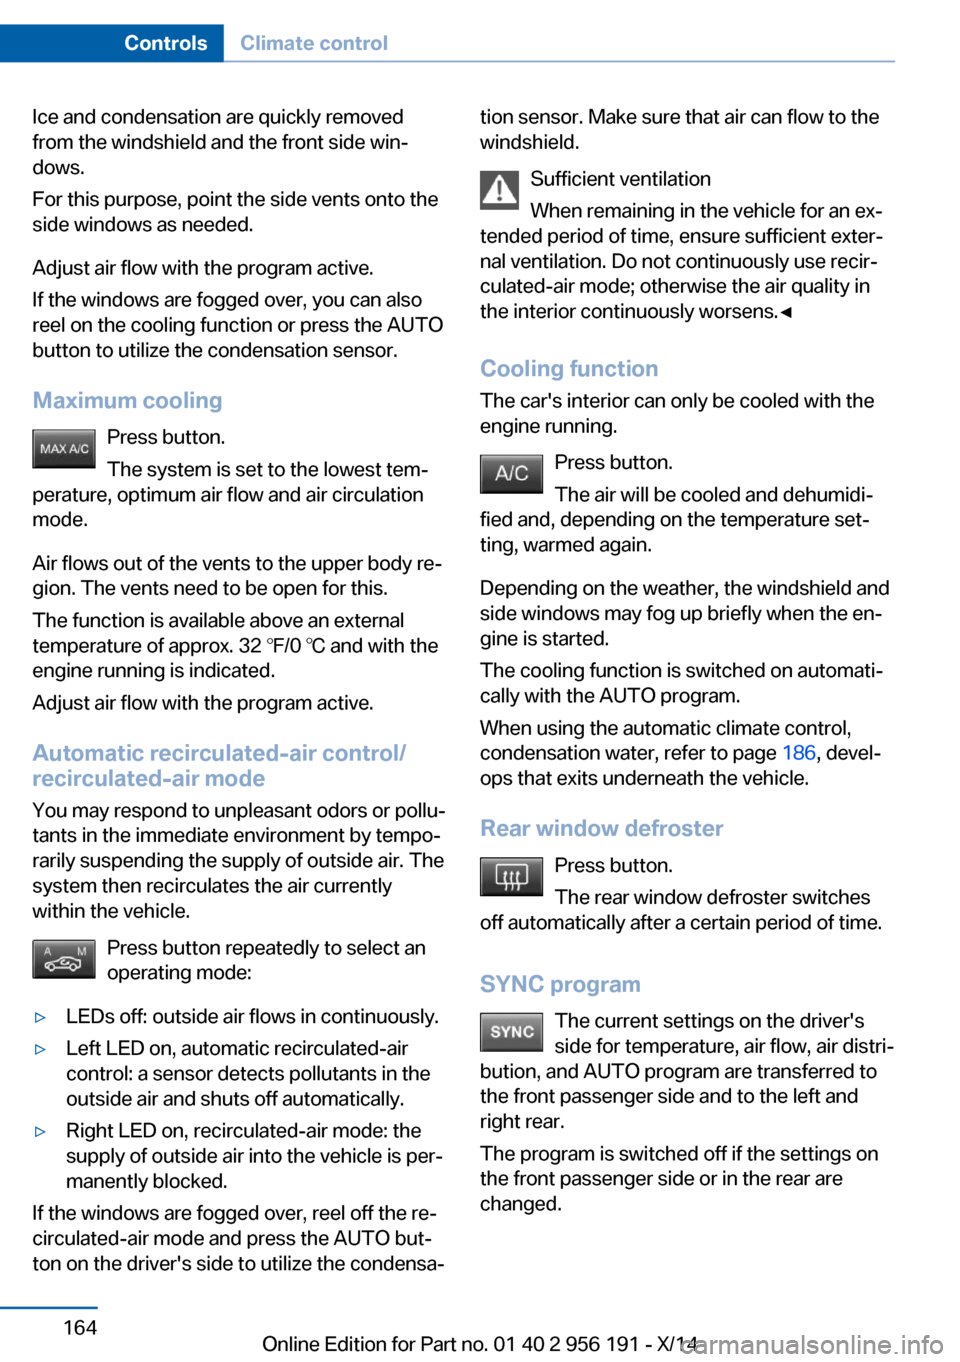
Ice and condensation are quickly removed
from the windshield and the front side win‐
dows.
For this purpose, point the side vents onto the
side windows as needed.
Adjust air flow with the program active.
If the windows are fogged over, you can also
reel on the cooling function or press the AUTO
button to utilize the condensation sensor.
Maximum cooling Press button.
The system is set to the lowest tem‐
perature, optimum air flow and air circulation
mode.
Air flows out of the vents to the upper body re‐
gion. The vents need to be open for this.
The function is available above an external
temperature of approx. 32 ℉/0 ℃ and with the
engine running is indicated.
Adjust air flow with the program active.
Automatic recirculated-air control/
recirculated-air mode
You may respond to unpleasant odors or pollu‐
tants in the immediate environment by tempo‐
rarily suspending the supply of outside air. The
system then recirculates the air currently
within the vehicle.
Press button repeatedly to select an
operating mode:▷LEDs off: outside air flows in continuously.▷Left LED on, automatic recirculated-air
control: a sensor detects pollutants in the
outside air and shuts off automatically.▷Right LED on, recirculated-air mode: the
supply of outside air into the vehicle is per‐
manently blocked.
If the windows are fogged over, reel off the re‐
circulated-air mode and press the AUTO but‐
ton on the driver's side to utilize the condensa‐
tion sensor. Make sure that air can flow to the
windshield.
Sufficient ventilation
When remaining in the vehicle for an ex‐
tended period of time, ensure sufficient exter‐
nal ventilation. Do not continuously use recir‐
culated-air mode; otherwise the air quality in
the interior continuously worsens.◀
Cooling function
The car's interior can only be cooled with the
engine running.
Press button.
The air will be cooled and dehumidi‐
fied and, depending on the temperature set‐
ting, warmed again.
Depending on the weather, the windshield and
side windows may fog up briefly when the en‐
gine is started.
The cooling function is switched on automati‐
cally with the AUTO program.
When using the automatic climate control,
condensation water, refer to page 186, devel‐
ops that exits underneath the vehicle.
Rear window defroster Press button.
The rear window defroster switches
off automatically after a certain period of time.
SYNC program The current settings on the driver'sside for temperature, air flow, air distri‐
bution, and AUTO program are transferred to the front passenger side and to the left andright rear.
The program is switched off if the settings on
the front passenger side or in the rear are
changed.Seite 164ControlsClimate control164
Online Edition for Part no. 01 40 2 956 191 - X/14
Page 223 of 259
MaintenanceVehicle features and options
This chapter describes all standard, country-
specific and optional features offered with the
series. It also describes features that are not
necessarily available in your car, e. g., due to
the selected options or country versions. This
also applies to safety-related functions and
systems.
BMW maintenance system
The maintenance system indicates required
maintenance measures, and thereby provides
support in maintaining road safety and the op‐
erational reliability of the vehicle.
Condition Based Service
CBS
Sensors and special algorithms take into ac‐
count the driving conditions of your vehicle.
Based on this, Condition Based Service recog‐
nizes the maintenance requirements.
The system makes it possible to adapt the
amount of maintenance corresponding to your
user profile.
Details on the service requirements, refer to
page 93, can be displayed on the Control Dis‐
play.
Service data in the remote control Information on the required maintenance is
continuously stored in the remote control.
Your service center will read out this data and
suggest the right array of service procedures
for your vehicle.
Therefore, hand your service specialist the re‐
mote control with which the vehicle was driven
most recently.Storage periods
Storage periods during which the vehicle bat‐
tery was disconnected are not taken into ac‐
count.
If this occurs, have a service center update the
time-dependent maintenance procedures,
such as checking brake fluid and, if needed,
changing the engine oil and the microfilter/
activated-charcoal filter.
Service and Warranty
Information Booklet for US
models and Warranty and
Service Guide Booklet for
Canadian models
Please consult your Service and Warranty In‐
formation Booklet for US models and Warranty
and Service Guide Booklet for Canadian mod‐ els for additional information on service re‐
quirements.
Maintenance and repair should be performed
by your service center. Make sure to have reg‐
ular maintenance procedures recorded in the
vehicle's Service and Warranty Information
Booklet for US models, and in the Warranty
and Service Guide Booklet for Canadian mod‐
els. These entries are proof of regular mainte‐
nance.
Socket for OBD Onboard
Diagnosis
Note Socket for Onboard Diagnosis
The socket for onboard diagnostics may
only be used by the service center or a work‐
shop that operates in accordance with the
specifications of the vehicle manufacturer withSeite 219MaintenanceMobility219
Online Edition for Part no. 01 40 2 956 191 - X/14
Page 237 of 259
CareVehicle features and optionsThis chapter describes all standard, country-
specific and optional features offered with the
series. It also describes features that are not
necessarily available in your car, e. g., due to
the selected options or country versions. This
also applies to safety-related functions and
systems.
Car washes
General information
Regularly remove foreign objects such as
leaves in the area below the windshield when
the hood is raised.
Wash your vehicle frequently, particularly in
winter. Intense soiling and road salt can dam‐
age the vehicle.
Hints Steam jets or high-pressure washers
When using steam jets or high-pressure
washers, hold them a sufficient distance away
and use a maximum temperature of
140 ℉/60 ℃.
If the vehicle has a glass sunroof, ensure that a
distance of at least 31.5 inches/80 cm is main‐
tained. Holding them too close or using exces‐
sively high pressures or temperatures can
cause damage or preliminary damage that may
then lead to long-term damage.
Follow the user's manual for the high-pressure
washer.◀
Cleaning sensors/cameras with high-
pressure washers
When using high-pressure washers, do not
spray the exterior sensors and cameras, e.g.,
Park Distance Control, for extended periods oftime and only from a distance of at least
12 in/30 cm.◀
Automatic car washes
Hints Do not use high pressure washing sys‐
tems
With washing systems operating at high pres‐
sures and nozzle positions close to the win‐
dows, drops of water can penetrate.◀
Note the following:▷Give preference to cloth car washes or
those that use soft brushes in order to
avoid paint damage.▷Make sure that the wheels and tires are not
damaged by the transport mechanisms.▷Fold in the exterior mirrors; otherwise, they
may be damaged, depending on the width
of the vehicle.▷Deactivate the rain sensor, refer to
page 79, to avoid unintentional wiper acti‐
vation.▷In some cases, an unintentional alarm can
be triggered by the interior motion sensor
of the alarm system. Follow the instruc‐
tions on avoiding an unintentional alarm,
refer to page 48.
Guide rails in car washes
Avoid car washes with guide rails higher
than 4 in/10 cm; otherwise, the vehicle body
could be damaged.◀
Before driving into a car wash In order to ensure that the vehicle can roll in a
car wash, take the following steps:
1.Drive into the car wash.2.Engage selector lever position N.Seite 233CareMobility233
Online Edition for Part no. 01 40 2 956 191 - X/14
Page 240 of 259
Chemical cleaning
Do not clean chemically; this can destroy
the webbing.◀
Use only a mild soapy solution, with the safety
belts clipped into their buckles.
Do not allow the reels to retract the safety
belts until they are dry.
Carpets and floor mats No objects in the area around the pedals
Keep floor mats, carpets, and any other
objects out of the pedal area; otherwise, the
function of the pedals could be impeded while
driving and create the risk of an accident.
Do not place additional floor mats over existing
mats or other objects.
Only use floor mats that have been approved
for the vehicle and can be properly attached to
floor.
Ensure that the floor mats are securely fas‐
tened again after they were removed for clean‐
ing, e.g.◀
Floor mats can be removed from the car's inte‐
rior for cleaning.
If the floor carpets are very dirty, clean with a
microfiber cloth and water or a textile cleaner.
To prevent matting of the carpet, rub back and
forth in the direction of travel only.
Sensors/cameras
To clean sensors and cameras, use a cloth
moistened with a small amount of glass
cleaner.
Displays/monitors Cleaning displays and screens
Do not use any chemical or household
cleaning agents; otherwise, surfaces can be af‐
fected.◀Keeping out moisture
Keep all fluids and moisture away from
the unit; otherwise, electrical components can
be damaged.◀
Avoid pressure
Avoid pressing too hard when cleaning
and do not use abrasive materials; otherwise,
damage can result.◀
Clean with a clean, antistatic microfiber cloth.
Long-term
When the vehicle is shut down for longer than three months, special measures must be
taken. Additional information is available from
the service center.Seite 236MobilityCare236
Online Edition for Part no. 01 40 2 956 191 - X/14
Page 252 of 259
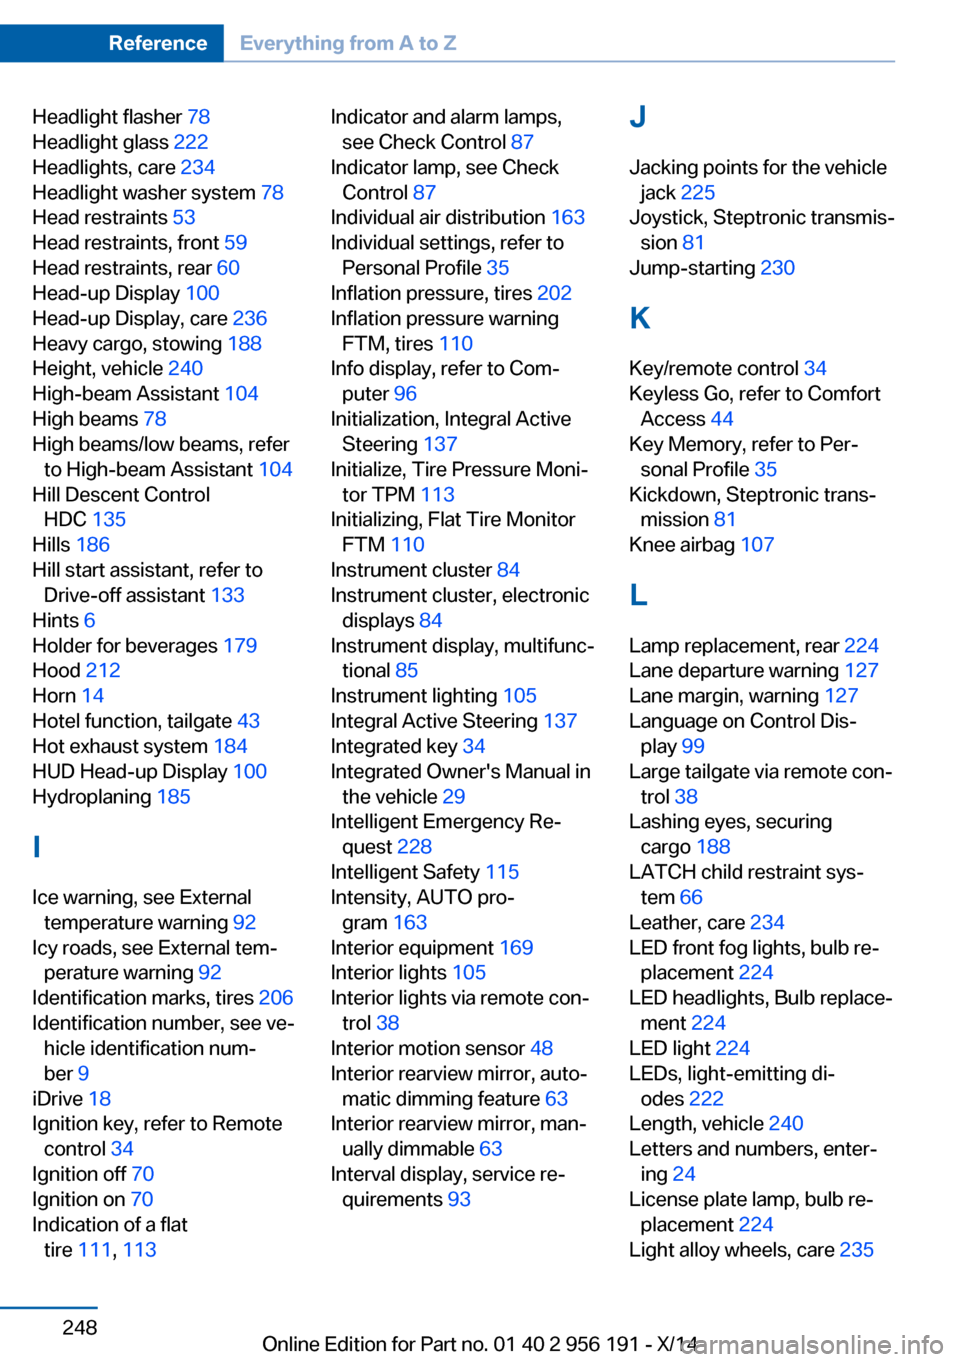
Headlight flasher 78
Headlight glass 222
Headlights, care 234
Headlight washer system 78
Head restraints 53
Head restraints, front 59
Head restraints, rear 60
Head-up Display 100
Head-up Display, care 236
Heavy cargo, stowing 188
Height, vehicle 240
High-beam Assistant 104
High beams 78
High beams/low beams, refer to High-beam Assistant 104
Hill Descent Control HDC 135
Hills 186
Hill start assistant, refer to Drive-off assistant 133
Hints 6
Holder for beverages 179
Hood 212
Horn 14
Hotel function, tailgate 43
Hot exhaust system 184
HUD Head-up Display 100
Hydroplaning 185
I Ice warning, see External temperature warning 92
Icy roads, see External tem‐ perature warning 92
Identification marks, tires 206
Identification number, see ve‐ hicle identification num‐
ber 9
iDrive 18
Ignition key, refer to Remote control 34
Ignition off 70
Ignition on 70
Indication of a flat tire 111 , 113 Indicator and alarm lamps,
see Check Control 87
Indicator lamp, see Check Control 87
Individual air distribution 163
Individual settings, refer to Personal Profile 35
Inflation pressure, tires 202
Inflation pressure warning FTM, tires 110
Info display, refer to Com‐ puter 96
Initialization, Integral Active Steering 137
Initialize, Tire Pressure Moni‐ tor TPM 113
Initializing, Flat Tire Monitor FTM 110
Instrument cluster 84
Instrument cluster, electronic displays 84
Instrument display, multifunc‐ tional 85
Instrument lighting 105
Integral Active Steering 137
Integrated key 34
Integrated Owner's Manual in the vehicle 29
Intelligent Emergency Re‐ quest 228
Intelligent Safety 115
Intensity, AUTO pro‐ gram 163
Interior equipment 169
Interior lights 105
Interior lights via remote con‐ trol 38
Interior motion sensor 48
Interior rearview mirror, auto‐ matic dimming feature 63
Interior rearview mirror, man‐ ually dimmable 63
Interval display, service re‐ quirements 93 J
Jacking points for the vehicle jack 225
Joystick, Steptronic transmis‐ sion 81
Jump-starting 230
K
Key/remote control 34
Keyless Go, refer to Comfort Access 44
Key Memory, refer to Per‐ sonal Profile 35
Kickdown, Steptronic trans‐ mission 81
Knee airbag 107
L Lamp replacement, rear 224
Lane departure warning 127
Lane margin, warning 127
Language on Control Dis‐ play 99
Large tailgate via remote con‐ trol 38
Lashing eyes, securing cargo 188
LATCH child restraint sys‐ tem 66
Leather, care 234
LED front fog lights, bulb re‐ placement 224
LED headlights, Bulb replace‐ ment 224
LED light 224
LEDs, light-emitting di‐ odes 222
Length, vehicle 240
Letters and numbers, enter‐ ing 24
License plate lamp, bulb re‐ placement 224
Light alloy wheels, care 235 Seite 248ReferenceEverything from A to Z248
Online Edition for Part no. 01 40 2 956 191 - X/14
Page 254 of 259
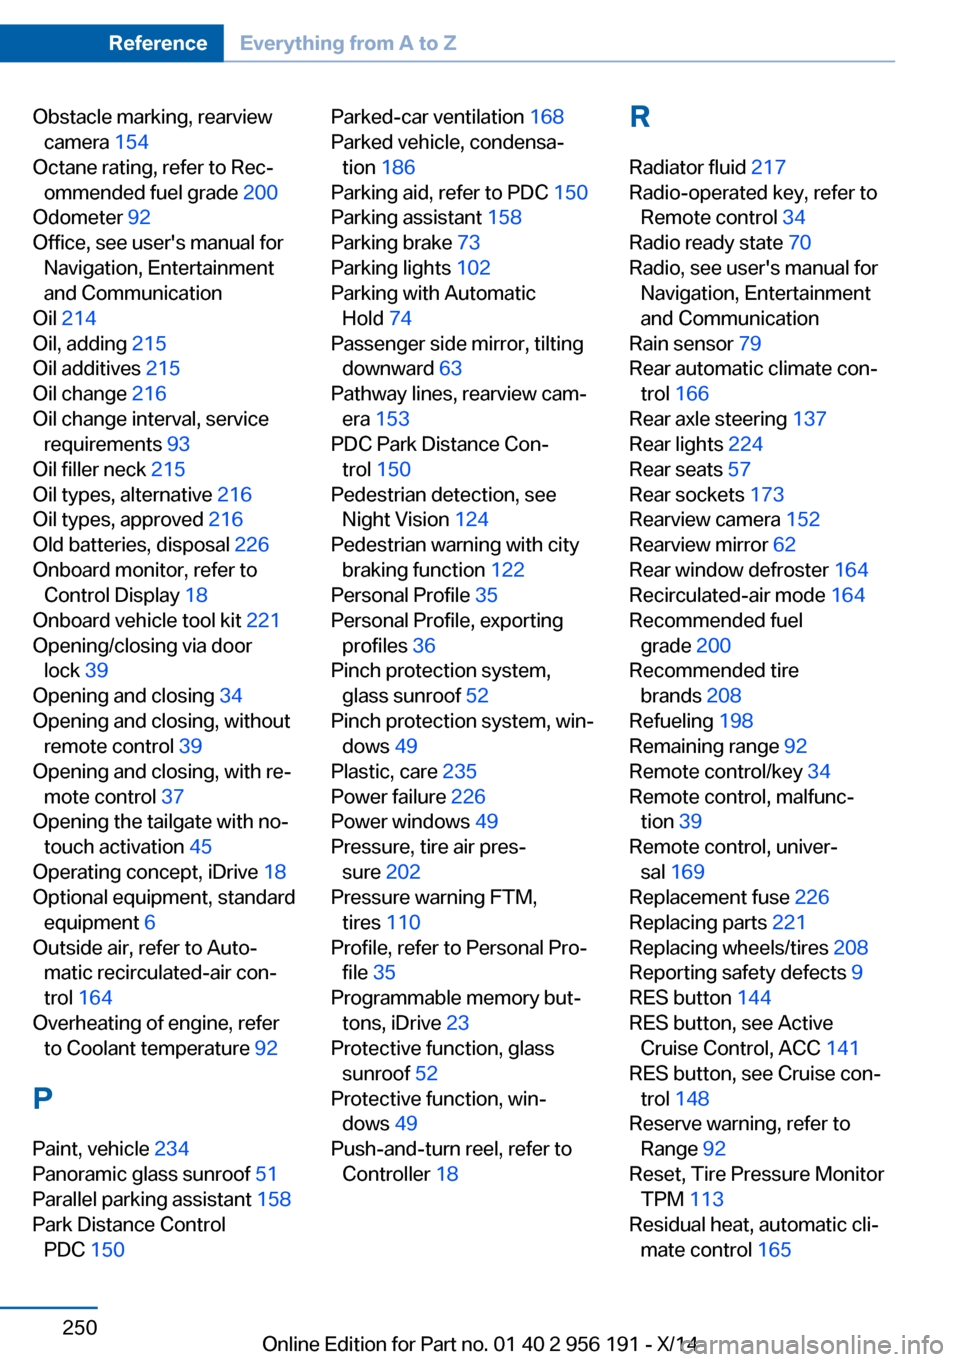
Obstacle marking, rearviewcamera 154
Octane rating, refer to Rec‐ ommended fuel grade 200
Odometer 92
Office, see user's manual for Navigation, Entertainment
and Communication
Oil 214
Oil, adding 215
Oil additives 215
Oil change 216
Oil change interval, service requirements 93
Oil filler neck 215
Oil types, alternative 216
Oil types, approved 216
Old batteries, disposal 226
Onboard monitor, refer to Control Display 18
Onboard vehicle tool kit 221
Opening/closing via door lock 39
Opening and closing 34
Opening and closing, without remote control 39
Opening and closing, with re‐ mote control 37
Opening the tailgate with no- touch activation 45
Operating concept, iDrive 18
Optional equipment, standard equipment 6
Outside air, refer to Auto‐ matic recirculated-air con‐
trol 164
Overheating of engine, refer to Coolant temperature 92
P Paint, vehicle 234
Panoramic glass sunroof 51
Parallel parking assistant 158
Park Distance Control PDC 150 Parked-car ventilation 168
Parked vehicle, condensa‐ tion 186
Parking aid, refer to PDC 150
Parking assistant 158
Parking brake 73
Parking lights 102
Parking with Automatic Hold 74
Passenger side mirror, tilting downward 63
Pathway lines, rearview cam‐ era 153
PDC Park Distance Con‐ trol 150
Pedestrian detection, see Night Vision 124
Pedestrian warning with city braking function 122
Personal Profile 35
Personal Profile, exporting profiles 36
Pinch protection system, glass sunroof 52
Pinch protection system, win‐ dows 49
Plastic, care 235
Power failure 226
Power windows 49
Pressure, tire air pres‐ sure 202
Pressure warning FTM, tires 110
Profile, refer to Personal Pro‐ file 35
Programmable memory but‐ tons, iDrive 23
Protective function, glass sunroof 52
Protective function, win‐ dows 49
Push-and-turn reel, refer to Controller 18 R
Radiator fluid 217
Radio-operated key, refer to Remote control 34
Radio ready state 70
Radio, see user's manual for Navigation, Entertainment
and Communication
Rain sensor 79
Rear automatic climate con‐ trol 166
Rear axle steering 137
Rear lights 224
Rear seats 57
Rear sockets 173
Rearview camera 152
Rearview mirror 62
Rear window defroster 164
Recirculated-air mode 164
Recommended fuel grade 200
Recommended tire brands 208
Refueling 198
Remaining range 92
Remote control/key 34
Remote control, malfunc‐ tion 39
Remote control, univer‐ sal 169
Replacement fuse 226
Replacing parts 221
Replacing wheels/tires 208
Reporting safety defects 9
RES button 144
RES button, see Active Cruise Control, ACC 141
RES button, see Cruise con‐ trol 148
Reserve warning, refer to Range 92
Reset, Tire Pressure Monitor TPM 113
Residual heat, automatic cli‐ mate control 165 Seite 250ReferenceEverything from A to Z250
Online Edition for Part no. 01 40 2 956 191 - X/14