reset BMW 5 SERIES SEDAN 2016 F70 User Guide
[x] Cancel search | Manufacturer: BMW, Model Year: 2016, Model line: 5 SERIES SEDAN, Model: BMW 5 SERIES SEDAN 2016 F70Pages: 277, PDF Size: 5.63 MB
Page 118 of 277
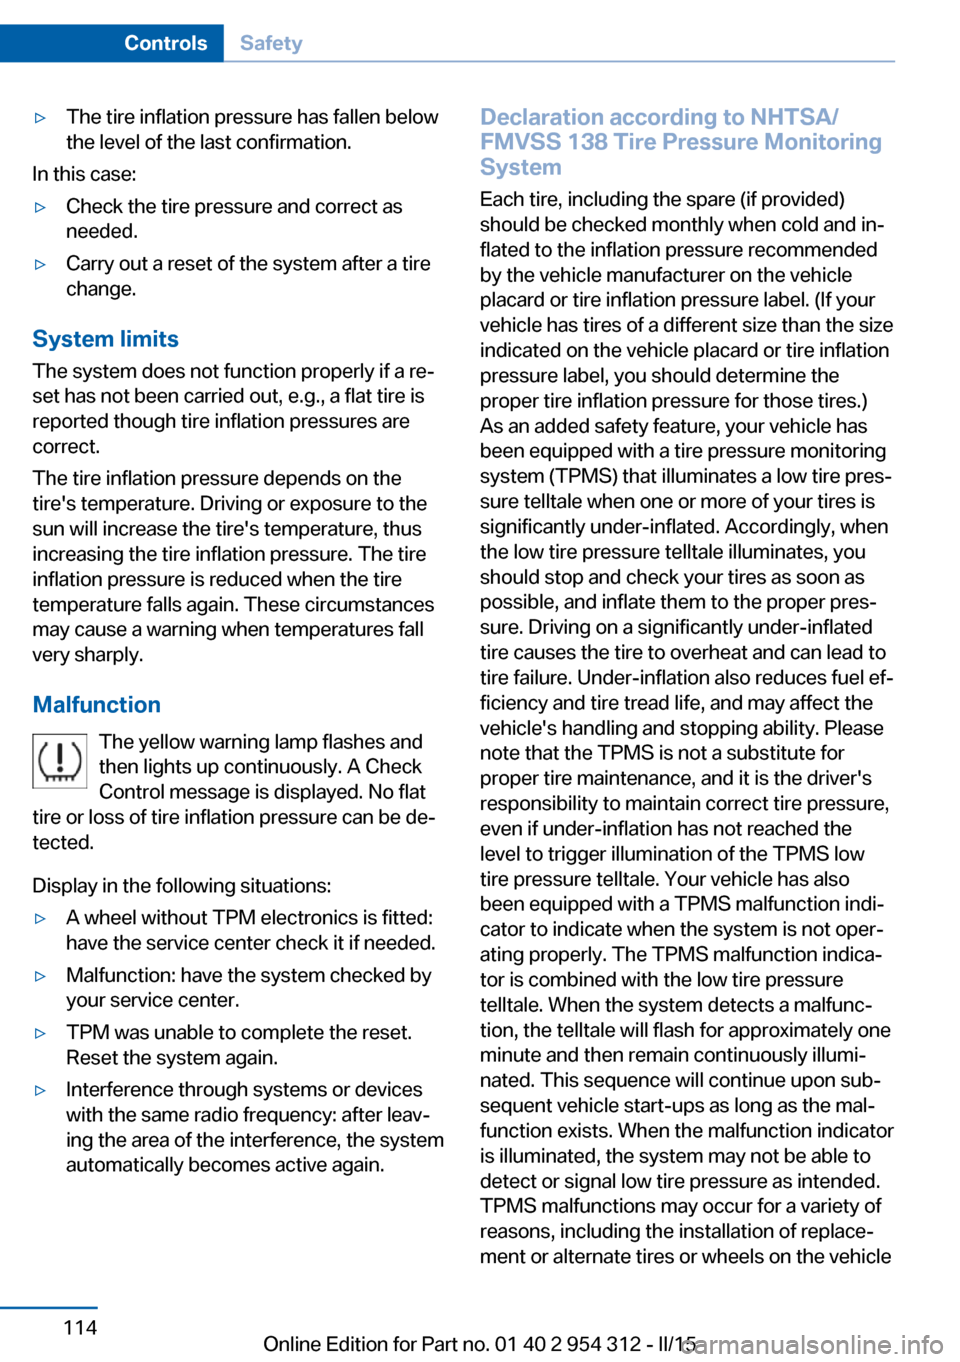
▷The tire inflation pressure has fallen below
the level of the last confirmation.
In this case:
▷Check the tire pressure and correct as
needed.▷Carry out a reset of the system after a tire
change.
System limits
The system does not function properly if a re‐
set has not been carried out, e.g., a flat tire is
reported though tire inflation pressures are
correct.
The tire inflation pressure depends on the
tire's temperature. Driving or exposure to the
sun will increase the tire's temperature, thus
increasing the tire inflation pressure. The tire
inflation pressure is reduced when the tire
temperature falls again. These circumstances
may cause a warning when temperatures fall
very sharply.
Malfunction The yellow warning lamp flashes and
then lights up continuously. A Check
Control message is displayed. No flat
tire or loss of tire inflation pressure can be de‐
tected.
Display in the following situations:
▷A wheel without TPM electronics is fitted:
have the service center check it if needed.▷Malfunction: have the system checked by
your service center.▷TPM was unable to complete the reset.
Reset the system again.▷Interference through systems or devices
with the same radio frequency: after leav‐
ing the area of the interference, the system
automatically becomes active again.Declaration according to NHTSA/
FMVSS 138 Tire Pressure Monitoring
System
Each tire, including the spare (if provided)
should be checked monthly when cold and in‐
flated to the inflation pressure recommended
by the vehicle manufacturer on the vehicle
placard or tire inflation pressure label. (If your
vehicle has tires of a different size than the size
indicated on the vehicle placard or tire inflation
pressure label, you should determine the
proper tire inflation pressure for those tires.)
As an added safety feature, your vehicle has
been equipped with a tire pressure monitoring
system (TPMS) that illuminates a low tire pres‐
sure telltale when one or more of your tires is
significantly under-inflated. Accordingly, when
the low tire pressure telltale illuminates, you
should stop and check your tires as soon as
possible, and inflate them to the proper pres‐
sure. Driving on a significantly under-inflated
tire causes the tire to overheat and can lead to
tire failure. Under-inflation also reduces fuel ef‐
ficiency and tire tread life, and may affect the
vehicle's handling and stopping ability. Please
note that the TPMS is not a substitute for
proper tire maintenance, and it is the driver's
responsibility to maintain correct tire pressure,
even if under-inflation has not reached the
level to trigger illumination of the TPMS low
tire pressure telltale. Your vehicle has also
been equipped with a TPMS malfunction indi‐
cator to indicate when the system is not oper‐
ating properly. The TPMS malfunction indica‐
tor is combined with the low tire pressure
telltale. When the system detects a malfunc‐
tion, the telltale will flash for approximately one
minute and then remain continuously illumi‐
nated. This sequence will continue upon sub‐
sequent vehicle start-ups as long as the mal‐
function exists. When the malfunction indicator
is illuminated, the system may not be able to
detect or signal low tire pressure as intended.
TPMS malfunctions may occur for a variety of
reasons, including the installation of replace‐
ment or alternate tires or wheels on the vehicleSeite 114ControlsSafety114
Online Edition for Part no. 01 40 2 954 312 - II/15
Page 119 of 277
that prevent the TPMS from functioning prop‐
erly. Always check the TPMS malfunction tell‐
tale after replacing one or more tires or wheels
on your vehicle to ensure that the replacement
or alternate tires and wheels allow the TPMS
to continue to function properly.
FTM Flat Tire Monitor The conceptThe system detects tire inflation pressure losson the basis of rotation speed differences be‐
tween the individual wheels while driving.
In the event of a tire inflation pressure loss, the
diameter and therefore the rotational speed of
the corresponding wheel changes. This will be
detected and reported as a flat tire.
The system does not measure the actual infla‐
tion pressure in the tires.
Functional requirements
The system must have been initialized when
the tire inflation pressure was correct; other‐
wise, reliable flagging of a flat tire is not as‐
sured. Initialize the system after each correc‐ tion of the tire inflation pressure and after
every tire or wheel change.
Status display
The current status of the Flat Tire Monitor can
be displayed on the Control Display, e.g.,
whether or not the FTM is active.
On the Control Display:1."Vehicle info"2."Vehicle status"3. "Flat Tire Monitor (FTM)"
The status is displayed.
Initialization
When initializing the once set inflation tire
pressures serve as reference values in order to
detect a flat tire. Initialization is started by con‐
firming the tire inflation pressures.
Do not initialize the system when driving with
snow chains.
On the Control Display:1."Vehicle info"2."Vehicle status"3. "Perform reset"4.Start the engine - do not drive off.5.Start the initialization with "Perform reset".6.Drive away.
The initialization is completed while driving,
which can be interrupted at any time.
The initialization automatically continues when
driving resumes.
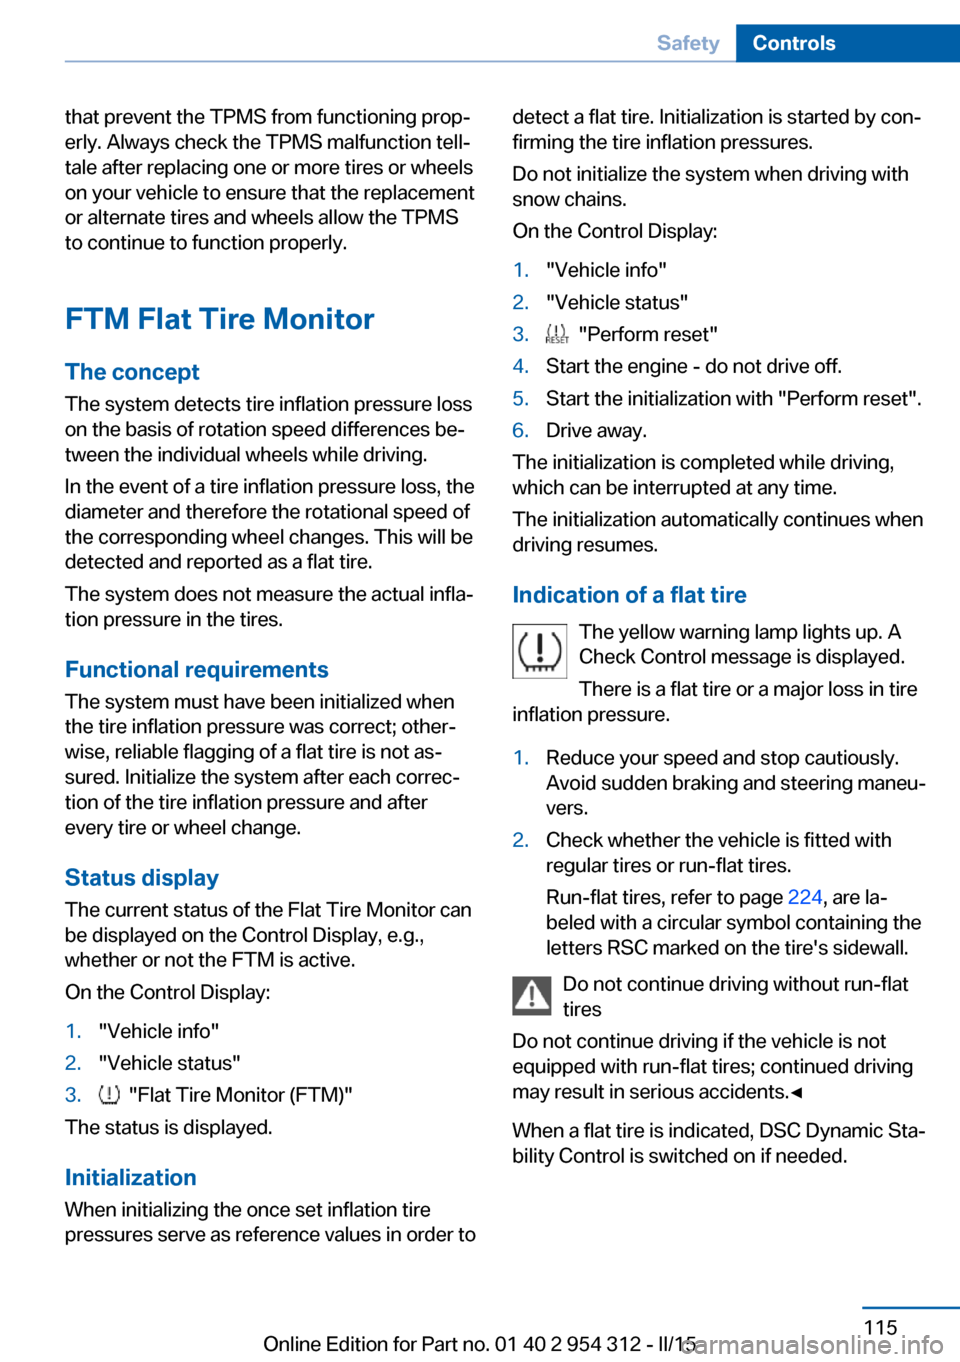
Indication of a flat tire The yellow warning lamp lights up. A
Check Control message is displayed.
There is a flat tire or a major loss in tire
inflation pressure.
1.Reduce your speed and stop cautiously.
Avoid sudden braking and steering maneu‐
vers.2.Check whether the vehicle is fitted with
regular tires or run-flat tires.
Run-flat tires, refer to page 224, are la‐
beled with a circular symbol containing the
letters RSC marked on the tire's sidewall.
Do not continue driving without run-flat
tires
Do not continue driving if the vehicle is not
equipped with run-flat tires; continued driving
may result in serious accidents.◀
When a flat tire is indicated, DSC Dynamic Sta‐
bility Control is switched on if needed.
Seite 115SafetyControls115
Online Edition for Part no. 01 40 2 954 312 - II/15
Page 154 of 277
Cruise controlThe concept The system maintains a preset speed via the
buttons on the steering wheel. The system
brakes on downhill gradients if engine braking
is insufficient.
General information
Depending on the driving settings, the features
of the cruise control can change in certain
areas.
Hints Unfavorable conditions
Do not use the system if unfavorable
conditions make it impossible to drive at a con‐
stant speed, e.g.:▷On winding roads.▷In heavy traffic.▷On slippery roads, in fog, snow or rain, or
on a loose road surface.
Otherwise, you could lose control of the vehi‐
cle and cause an accident.◀
Controls
Overview
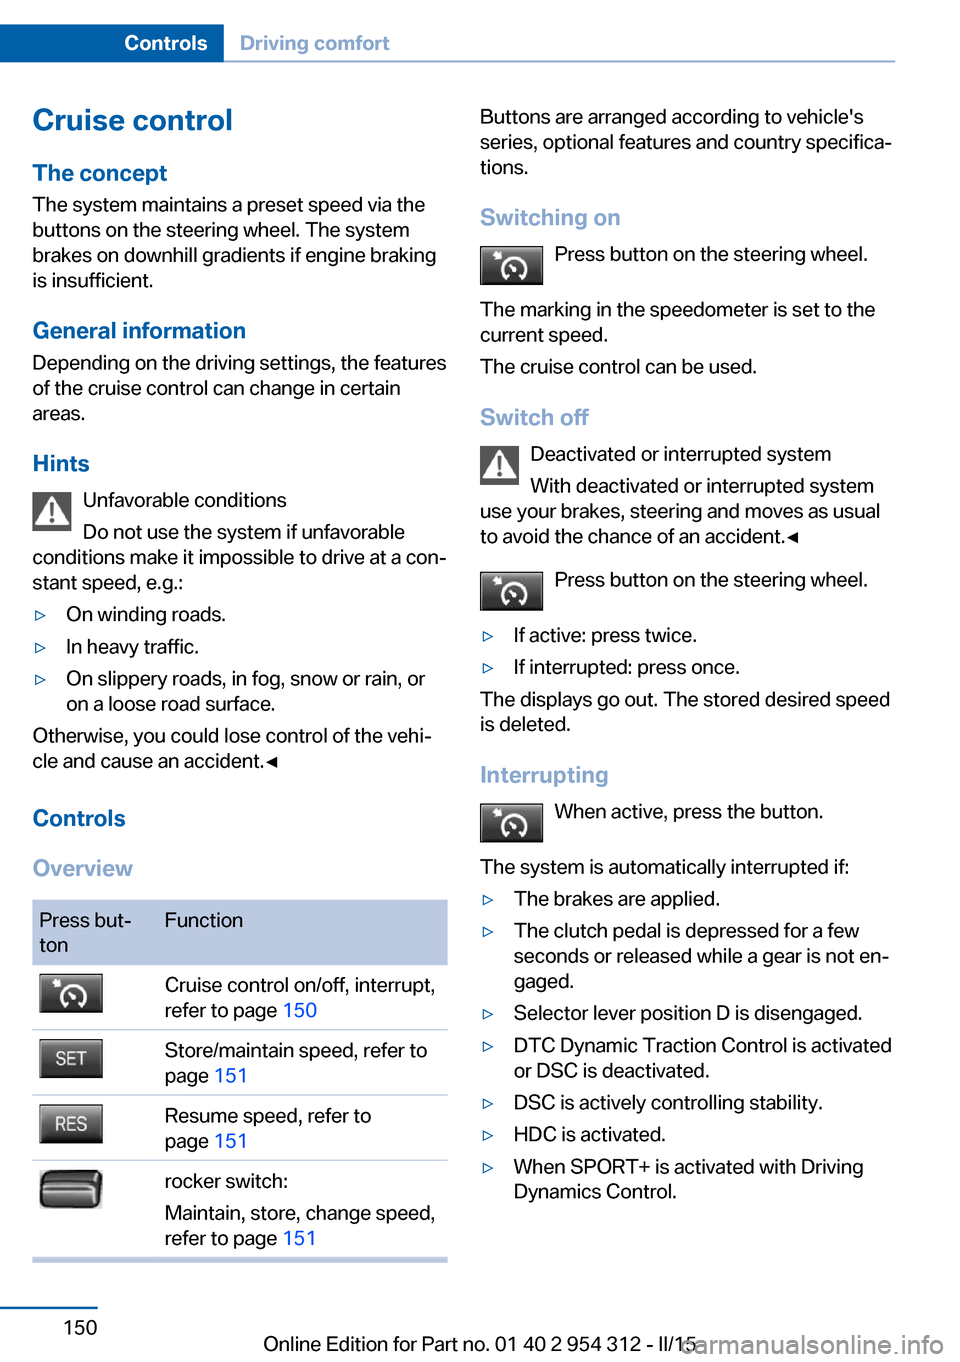
Press but‐
tonFunctionCruise control on/off, interrupt,
refer to page 150Store/maintain speed, refer to
page 151Resume speed, refer to
page 151rocker switch:
Maintain, store, change speed,
refer to page 151Buttons are arranged according to vehicle's
series, optional features and country specifica‐
tions.
Switching on Press button on the steering wheel.
The marking in the speedometer is set to the
current speed.
The cruise control can be used.
Switch off Deactivated or interrupted system
With deactivated or interrupted system
use your brakes, steering and moves as usual
to avoid the chance of an accident.◀
Press button on the steering wheel.▷If active: press twice.▷If interrupted: press once.
The displays go out. The stored desired speed
is deleted.
Interrupting When active, press the button.
The system is automatically interrupted if:
▷The brakes are applied.▷The clutch pedal is depressed for a few
seconds or released while a gear is not en‐
gaged.▷Selector lever position D is disengaged.▷DTC Dynamic Traction Control is activated
or DSC is deactivated.▷DSC is actively controlling stability.▷HDC is activated.▷When SPORT+ is activated with Driving
Dynamics Control.Seite 150ControlsDriving comfort150
Online Edition for Part no. 01 40 2 954 312 - II/15
Page 175 of 277
Parked-car ventilation
The concept The parked-car ventilation ventilates the vehi‐
cle interior and lowers its temperature, if
needed.
Operation can be performed via iDrive.
Functional requirements
Parked-car ventilation▷Using the preset reel-on time or when op‐
erated directly: any external temperature.
Open the vents to allow air to flow out.
Switching on/off directly
On the Control Display:
1."Settings"2."Climate"3."Activate comf. ventilation"
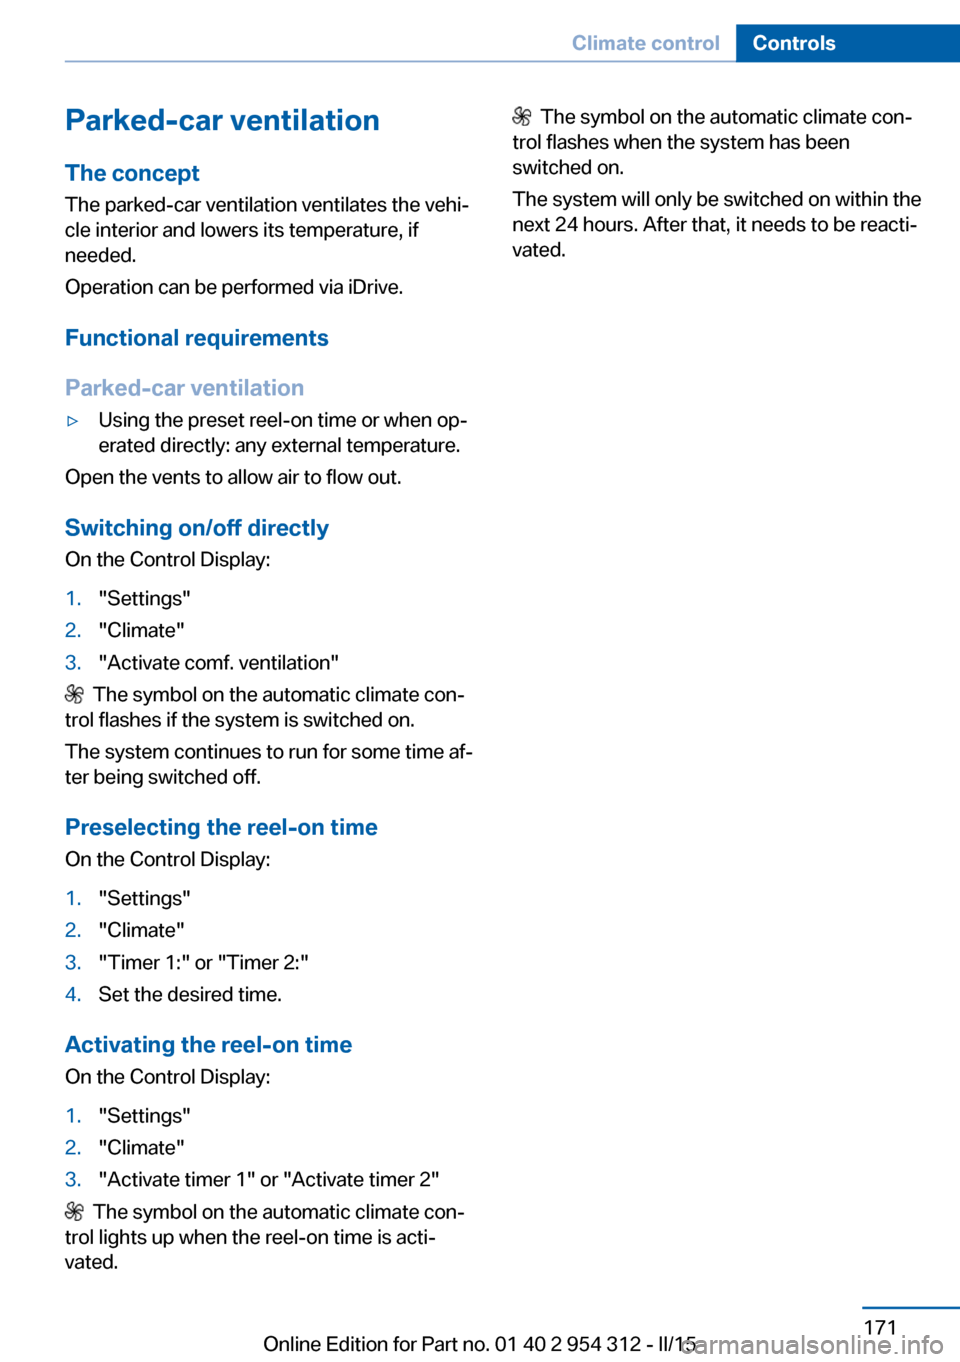
The symbol on the automatic climate con‐
trol flashes if the system is switched on.
The system continues to run for some time af‐
ter being switched off.
Preselecting the reel-on time On the Control Display:
1."Settings"2."Climate"3."Timer 1:" or "Timer 2:"4.Set the desired time.
Activating the reel-on time
On the Control Display:
1."Settings"2."Climate"3."Activate timer 1" or "Activate timer 2"
The symbol on the automatic climate con‐
trol lights up when the reel-on time is acti‐
vated.
The symbol on the automatic climate con‐
trol flashes when the system has been
switched on.
The system will only be switched on within the
next 24 hours. After that, it needs to be reacti‐
vated.Seite 171Climate controlControls171
Online Edition for Part no. 01 40 2 954 312 - II/15
Page 202 of 277
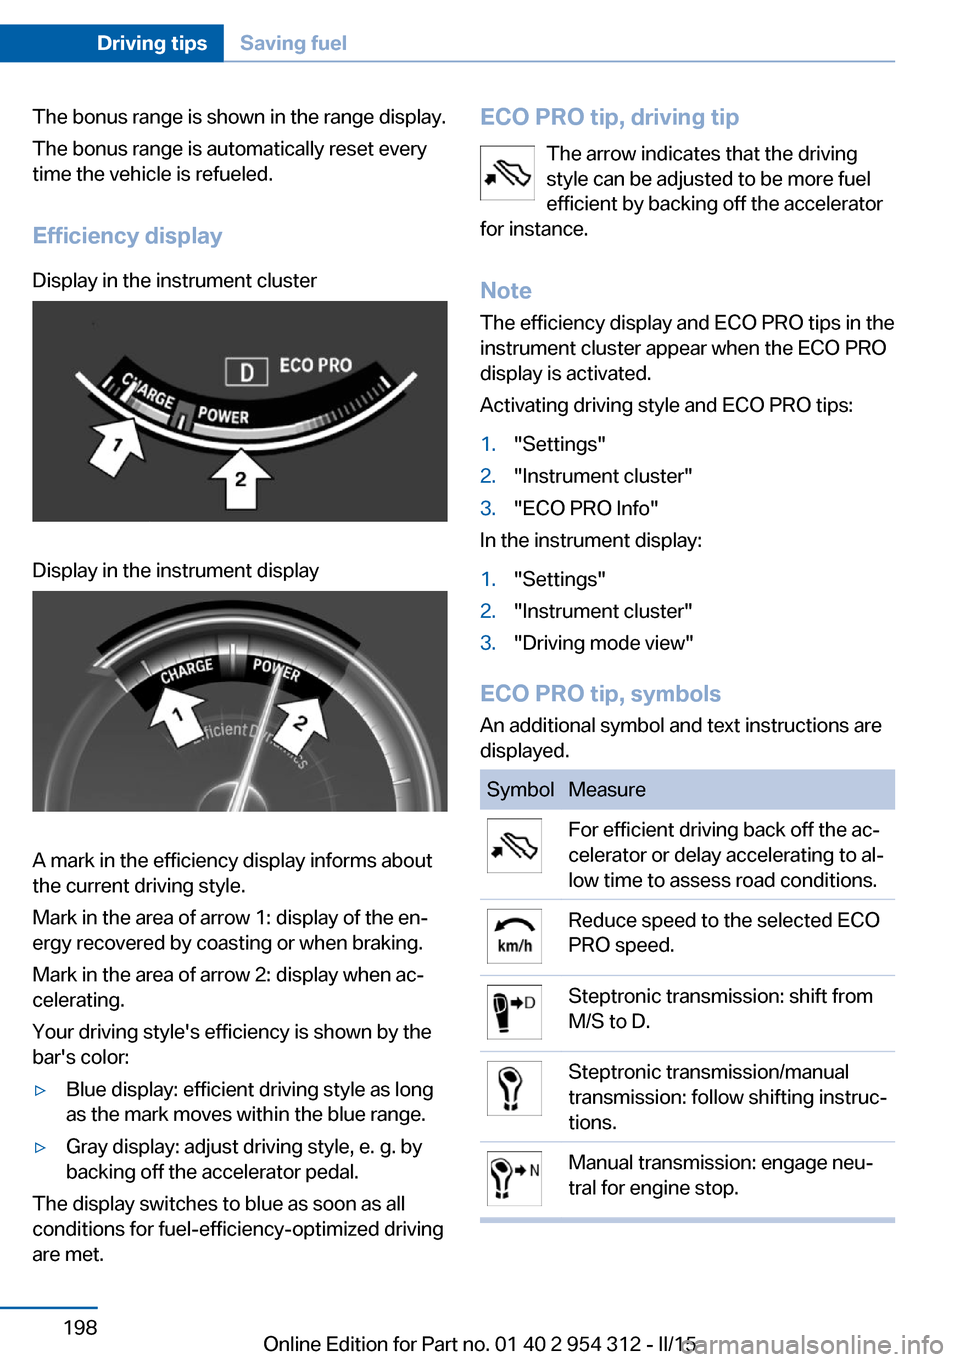
The bonus range is shown in the range display.
The bonus range is automatically reset every
time the vehicle is refueled.
Efficiency displayDisplay in the instrument clusterDisplay in the instrument display
A mark in the efficiency display informs about
the current driving style.
Mark in the area of arrow 1: display of the en‐
ergy recovered by coasting or when braking.
Mark in the area of arrow 2: display when ac‐
celerating.
Your driving style's efficiency is shown by the
bar's color:
▷Blue display: efficient driving style as long
as the mark moves within the blue range.▷Gray display: adjust driving style, e. g. by
backing off the accelerator pedal.
The display switches to blue as soon as all
conditions for fuel-efficiency-optimized driving
are met.
ECO PRO tip, driving tip
The arrow indicates that the driving
style can be adjusted to be more fuel
efficient by backing off the accelerator
for instance.
Note The efficiency display and ECO PRO tips in the
instrument cluster appear when the ECO PRO
display is activated.
Activating driving style and ECO PRO tips:1."Settings"2."Instrument cluster"3."ECO PRO Info"
In the instrument display:
1."Settings"2."Instrument cluster"3."Driving mode view"
ECO PRO tip, symbols
An additional symbol and text instructions are
displayed.
SymbolMeasureFor efficient driving back off the ac‐
celerator or delay accelerating to al‐
low time to assess road conditions.Reduce speed to the selected ECO
PRO speed.Steptronic transmission: shift from
M/S to D.Steptronic transmission/manual
transmission: follow shifting instruc‐
tions.Manual transmission: engage neu‐
tral for engine stop.Seite 198Driving tipsSaving fuel198
Online Edition for Part no. 01 40 2 954 312 - II/15
Page 203 of 277
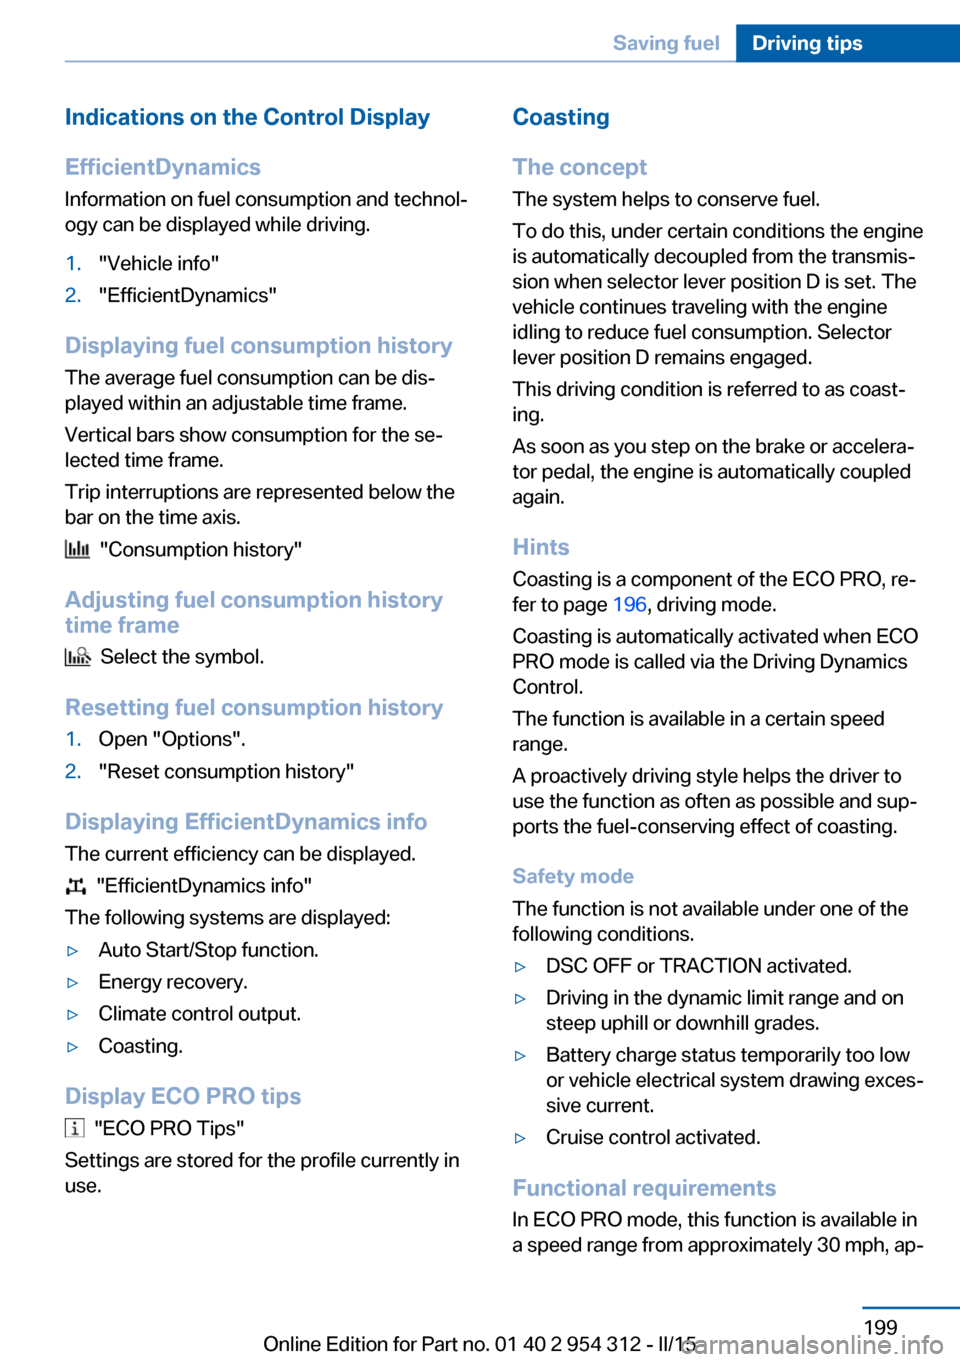
Indications on the Control DisplayEfficientDynamics Information on fuel consumption and technol‐
ogy can be displayed while driving.1."Vehicle info"2."EfficientDynamics"
Displaying fuel consumption history
The average fuel consumption can be dis‐
played within an adjustable time frame.
Vertical bars show consumption for the se‐
lected time frame.
Trip interruptions are represented below the
bar on the time axis.
"Consumption history"
Adjusting fuel consumption history time frame
Select the symbol.
Resetting fuel consumption history
1.Open "Options".2."Reset consumption history"
Displaying EfficientDynamics info
The current efficiency can be displayed.
"EfficientDynamics info"
The following systems are displayed:
▷Auto Start/Stop function.▷Energy recovery.▷Climate control output.▷Coasting.
Display ECO PRO tips
"ECO PRO Tips"
Settings are stored for the profile currently in
use.
Coasting
The concept The system helps to conserve fuel.
To do this, under certain conditions the engine
is automatically decoupled from the transmis‐
sion when selector lever position D is set. The
vehicle continues traveling with the engine idling to reduce fuel consumption. Selector
lever position D remains engaged.
This driving condition is referred to as coast‐
ing.
As soon as you step on the brake or accelera‐
tor pedal, the engine is automatically coupled
again.
Hints
Coasting is a component of the ECO PRO, re‐
fer to page 196, driving mode.
Coasting is automatically activated when ECO
PRO mode is called via the Driving Dynamics
Control.
The function is available in a certain speed
range.
A proactively driving style helps the driver to
use the function as often as possible and sup‐
ports the fuel-conserving effect of coasting.
Safety mode
The function is not available under one of the
following conditions.▷DSC OFF or TRACTION activated.▷Driving in the dynamic limit range and on
steep uphill or downhill grades.▷Battery charge status temporarily too low
or vehicle electrical system drawing exces‐
sive current.▷Cruise control activated.
Functional requirements
In ECO PRO mode, this function is available in
a speed range from approximately 30 mph, ap‐
Seite 199Saving fuelDriving tips199
Online Edition for Part no. 01 40 2 954 312 - II/15
Page 215 of 277
Wheels and tiresVehicle features and options
This chapter describes all standard, country-
specific and optional features offered with the
series. It also describes features that are not
necessarily available in your car, e. g., due to
the selected options or country versions. This
also applies to safety-related functions and
systems. The respectively applicable country
provisions must be observed when using the
respective features and systems.
Tire inflation pressure Safety information
The tire characteristics and tire inflation pres‐
sure influence the following:▷The service life of the tires.▷Road safety.▷Driving comfort.
Checking the tire inflation pressure
Check the tire inflation pressure regularly
Regularly check the tire inflation pres‐
sure, and correct it as needed: at least twice a
month and before a long trip. If you fail to ob‐
serve this precaution, you may be driving on
tires with incorrect tire pressures, a condition
that may not only compromise your vehicle's
driving stability, but also lead to tire damage
and the risk of an accident.◀
Tires have a natural, consistent loss of tire in‐
flation pressure.
Tires heat up while driving, and the tire infla‐
tion pressure increases along with the tire's
temperature. The tire inflation pressure speci‐
fications relate to cold tires or tires with the
ambient temperature.
Only check the tire inflation pressure when the
tires are cold. This means after driving no more
than 1.25 miles/2 km or when the vehicle has
been parked for at least 2 hours.
The displays of inflation devices may under-
read by up to 1.45 psi/0.1 bar.
For Flat Tire Monitor: after correcting the tire
inflation pressure, reinitialize the Flat Tire
Monitor.
For Tire Pressure Monitor: after correcting the
tire inflation pressure, reset the Tire Pressure
Monitor.
Tire inflation pressure specifications
The tire inflation pressure table, refer to
page 212, contains all tire inflation pressure
specifications for the specified tire sizes at the
ambient temperature. Tire inflation pressure
specifications apply to approved tire sizes and
recommended tire brands. This information
can be obtained from your service center.
To identify the correct tire inflation pressure,
please note the following:▷Tire sizes of your vehicle.▷Maximum permitted driving speed.
Tire inflation pressures up to
100 mph/160 km/h
For speeds of up to 100 mph/160 km/h and for
optimum driving comfort, note the pressure
values in the tire inflation pressure table, refer
to page 212, and adjust as necessary.
Seite 211Wheels and tiresMobility211
Online Edition for Part no. 01 40 2 954 312 - II/15
Page 273 of 277
Remote control, univer‐sal 172
Replacement fuse 244
Replacing parts 238
Replacing wheels/tires 223
Reporting safety defects 9
RES button 146
RES button, see Active Cruise Control, ACC 143
RES button, see Cruise con‐ trol 150
Reserve warning, refer to Range 93
Reset, Tire Pressure Monitor TPM 112
Residual heat, automatic cli‐ mate control 168
Retaining straps, securing cargo 193
Retreaded tires 223
Reversing lamp, bulb replace‐ ment 242
Roadside parking lights 104
Roller sunblinds 49
Roll stabilization, refer to Adaptive Drive 138
Roll stabilization, refer to Dy‐ namic Drive 138
RON recommended fuel grade 206
Roofliner 17
Roof load capacity 259
Roof-mounted luggage rack 193
Rope for tow-starting/ towing 249
RSC Run Flat System Com‐ ponent, refer to Run-flat
tires 224
Rubber components, care 253
Run-flat tires 224
S Safe braking 190 Safety 7
Safety belt reminder for driv‐ er's seat and front passen‐
ger seat 58
Safety belts 57
Safety belts, care 254
Safety Package, refer to Ac‐ tive Protection 132
Safety switch, windows 49
Safety systems, airbags 108
Saving fuel 195
Screen, refer to Control Dis‐ play 18
Screwdriver, see Onboard ve‐ hicle tool kit 238
Screw thread, refer to Screw thread for tow fitting, screw
thread for tow fitting 250
Sealant 224
Seat belts, refer to Safety belts 57
Seat heating, front 56
Seat heating, rear 56
Seating position for chil‐ dren 65
Seat, mirror, and steering wheel memory 61
Seats 53
Seat ventilation, front 57
Selection list in instrument cluster 96
Selector lever, Steptronic transmission 80
Sensors, care 254
Service and warranty 8
Service requirements, Condi‐ tion Based Service
CBS 236
Service requirements, dis‐ play 94
Services, ConnectedDrive
SET button, see Active Cruise Control, ACC 143
SET button, see Cruise con‐ trol 150 Settings, locking/unlock‐
ing 46
Settings on Control Dis‐ play 99
Settings, storing for seat, mir‐ rors, steering wheel 61
Shift paddles on the steering wheel 81
Shift point indicator 87
Shoulder support 56
Side airbags 108
Side View 157
Signaling, horn 14
Signals when unlocking 46
Sitting safely 53
Size 258
Ski bag 179
Slide/tilt glass roof 50
Smallest turning radius 258
Smoker's package 174
Snow chains 228
Socket 176
Socket, OBD Onboard Diag‐ nostics 237
Soot particulate filter 189
SOS button 245
Spare fuse 244
Speaker lighting 107
Specified engine oil types 233
Speed, average 98
Speed limit detection, on- board computer 98
Speed limiter, display 95
Speed Limit Information 95
Speed warning 99
Split screen 23
SPORT+ - program, Dynamic Driving Control 140
Sport displays, torque dis‐ play, performance dis‐
play 99
SPORT program, driving dy‐ namics 140
Sport program, transmis‐ sion 81 Seite 269Everything from A to ZReference269
Online Edition for Part no. 01 40 2 954 312 - II/15