sensor BMW 5 SERIES SEDAN 2016 F70 Owner's Manual
[x] Cancel search | Manufacturer: BMW, Model Year: 2016, Model line: 5 SERIES SEDAN, Model: BMW 5 SERIES SEDAN 2016 F70Pages: 277, PDF Size: 5.63 MB
Page 19 of 277
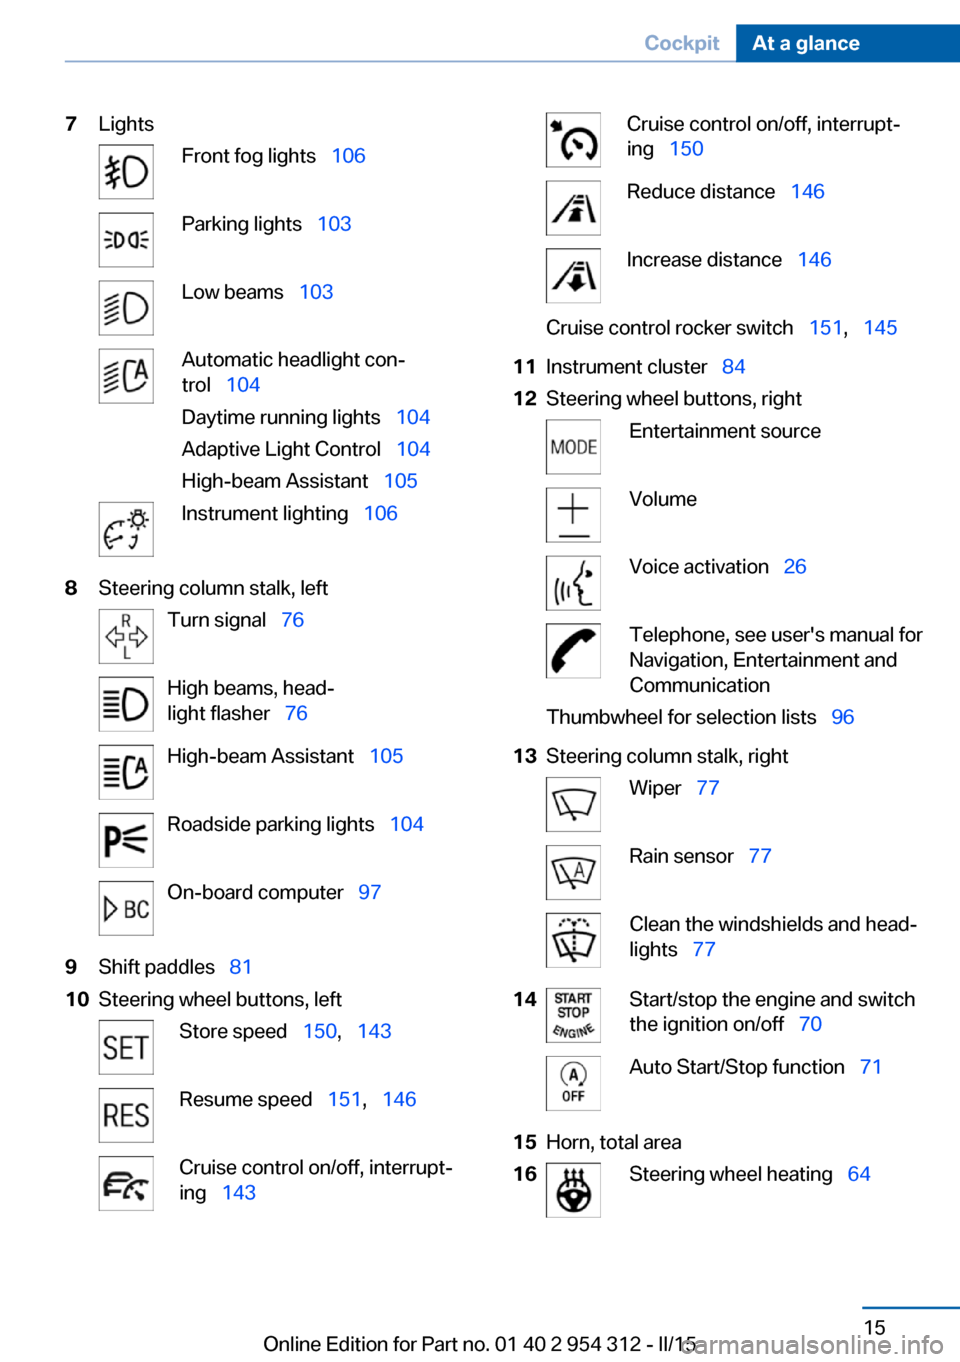
7LightsFront fog lights 106Parking lights 103Low beams 103Automatic headlight con‐
trol 104
Daytime running lights 104
Adaptive Light Control 104
High-beam Assistant 105Instrument lighting 1068Steering column stalk, leftTurn signal 76High beams, head‐
light flasher 76High-beam Assistant 105Roadside parking lights 104On-board computer 979Shift paddles 8110Steering wheel buttons, leftStore speed 150, 143Resume speed 151, 146Cruise control on/off, interrupt‐
ing 143Cruise control on/off, interrupt‐
ing 150Reduce distance 146Increase distance 146Cruise control rocker switch 151, 14511Instrument cluster 8412Steering wheel buttons, rightEntertainment sourceVolumeVoice activation 26Telephone, see user's manual for
Navigation, Entertainment and
CommunicationThumbwheel for selection lists 9613Steering column stalk, rightWiper 77Rain sensor 77Clean the windshields and head‐
lights 7714Start/stop the engine and switch
the ignition on/off 70Auto Start/Stop function 7115Horn, total area16Steering wheel heating 64Seite 15CockpitAt a glance15
Online Edition for Part no. 01 40 2 954 312 - II/15
Page 42 of 277
The windows and the glass sunroof are
opened, as long as the button on the remote
control is pressed.
Locking Locking from the outside
Do not lock the vehicle from the outside
with people inside the car, as the vehicle can‐
not be unlocked from inside without special knowledge.◀
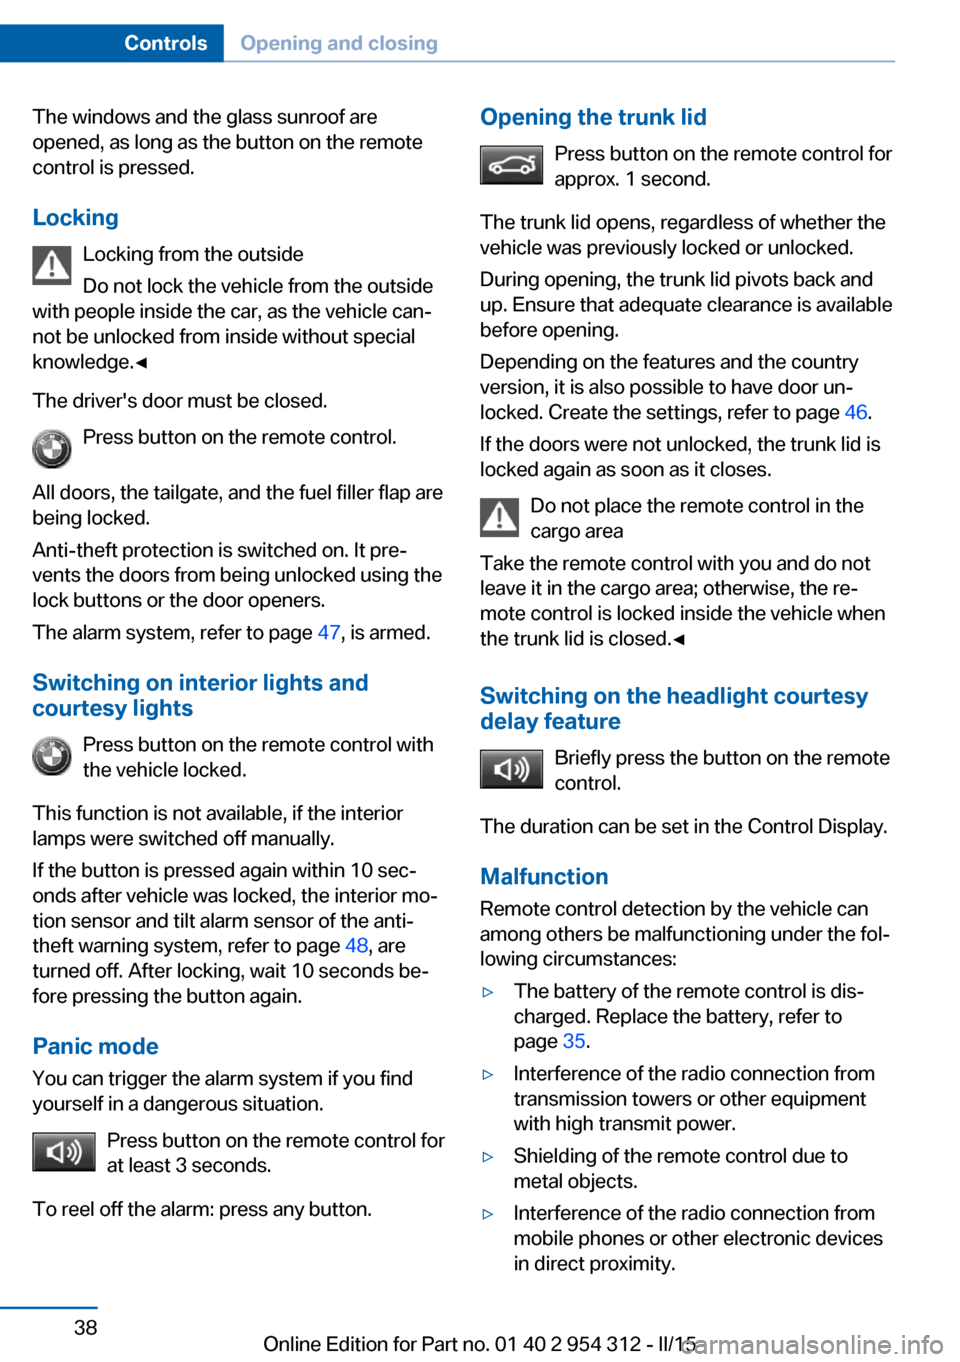
The driver's door must be closed. Press button on the remote control.
All doors, the tailgate, and the fuel filler flap are
being locked.
Anti-theft protection is switched on. It pre‐
vents the doors from being unlocked using the
lock buttons or the door openers.
The alarm system, refer to page 47, is armed.
Switching on interior lights and
courtesy lights
Press button on the remote control with
the vehicle locked.
This function is not available, if the interior
lamps were switched off manually.
If the button is pressed again within 10 sec‐
onds after vehicle was locked, the interior mo‐
tion sensor and tilt alarm sensor of the anti-
theft warning system, refer to page 48, are
turned off. After locking, wait 10 seconds be‐
fore pressing the button again.
Panic mode
You can trigger the alarm system if you find
yourself in a dangerous situation.
Press button on the remote control for
at least 3 seconds.
To reel off the alarm: press any button.Opening the trunk lid Press button on the remote control for
approx. 1 second.
The trunk lid opens, regardless of whether the
vehicle was previously locked or unlocked.
During opening, the trunk lid pivots back and
up. Ensure that adequate clearance is available
before opening.
Depending on the features and the country
version, it is also possible to have door un‐
locked. Create the settings, refer to page 46.
If the doors were not unlocked, the trunk lid is
locked again as soon as it closes.
Do not place the remote control in the
cargo area
Take the remote control with you and do not
leave it in the cargo area; otherwise, the re‐
mote control is locked inside the vehicle when
the trunk lid is closed.◀
Switching on the headlight courtesy
delay feature
Briefly press the button on the remote
control.
The duration can be set in the Control Display.
Malfunction
Remote control detection by the vehicle can
among others be malfunctioning under the fol‐
lowing circumstances:▷The battery of the remote control is dis‐
charged. Replace the battery, refer to
page 35.▷Interference of the radio connection from
transmission towers or other equipment
with high transmit power.▷Shielding of the remote control due to
metal objects.▷Interference of the radio connection from
mobile phones or other electronic devices
in direct proximity.Seite 38ControlsOpening and closing38
Online Edition for Part no. 01 40 2 954 312 - II/15
Page 48 of 277
Locking
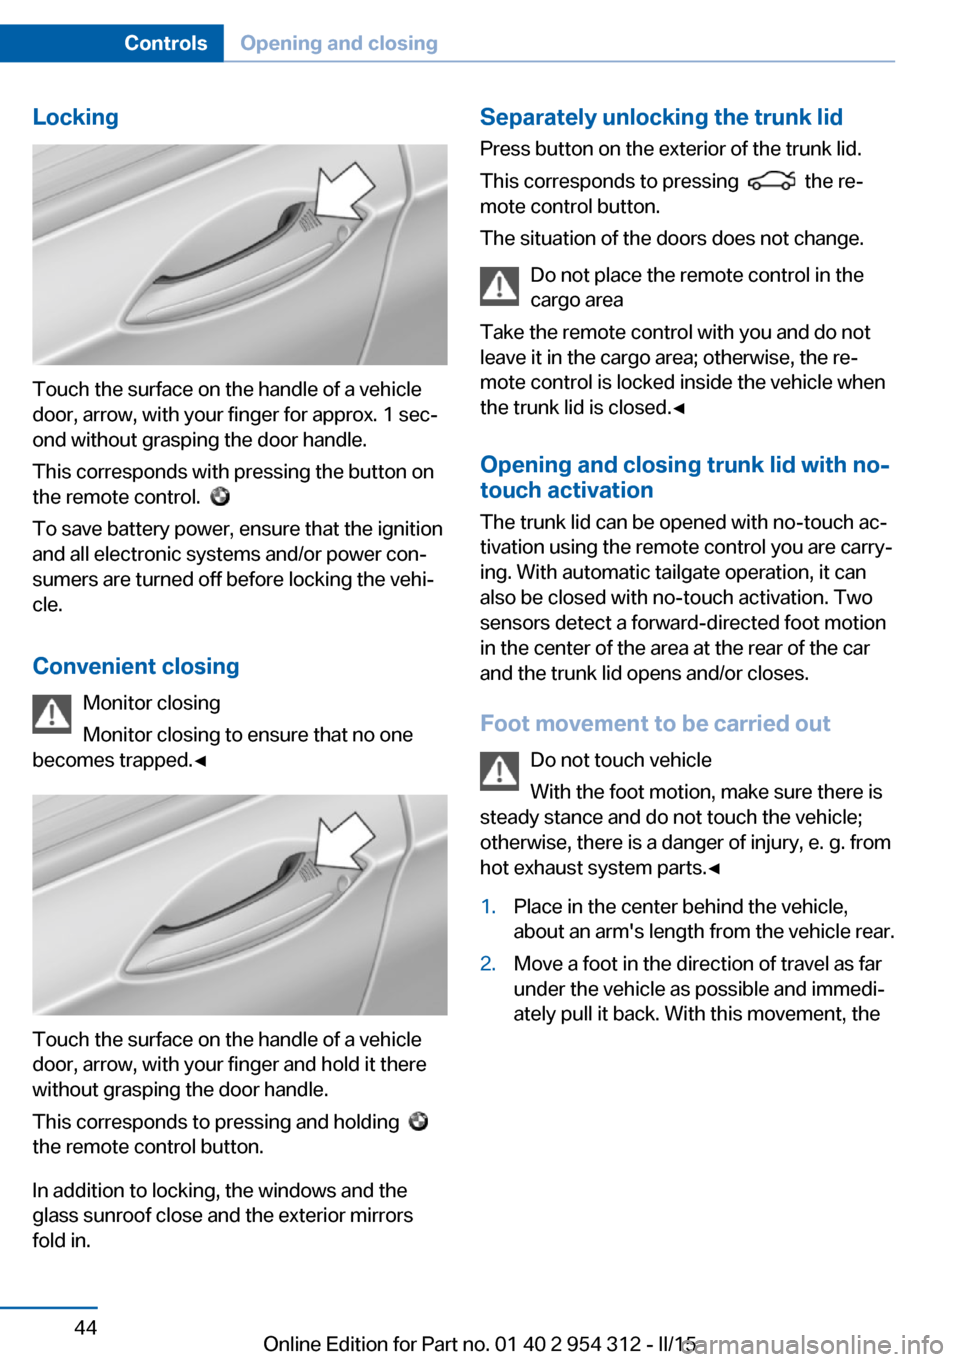
Touch the surface on the handle of a vehicle
door, arrow, with your finger for approx. 1 sec‐
ond without grasping the door handle.
This corresponds with pressing the button on
the remote control.
To save battery power, ensure that the ignition
and all electronic systems and/or power con‐
sumers are turned off before locking the vehi‐
cle.
Convenient closing Monitor closing
Monitor closing to ensure that no one
becomes trapped.◀
Touch the surface on the handle of a vehicle
door, arrow, with your finger and hold it there
without grasping the door handle.
This corresponds to pressing and holding
the remote control button.
In addition to locking, the windows and the
glass sunroof close and the exterior mirrors
fold in.
Separately unlocking the trunk lid
Press button on the exterior of the trunk lid.
This corresponds to pressing
the re‐
mote control button.
The situation of the doors does not change.
Do not place the remote control in the
cargo area
Take the remote control with you and do not
leave it in the cargo area; otherwise, the re‐
mote control is locked inside the vehicle when
the trunk lid is closed.◀
Opening and closing trunk lid with no-
touch activation
The trunk lid can be opened with no-touch ac‐
tivation using the remote control you are carry‐
ing. With automatic tailgate operation, it can also be closed with no-touch activation. Two
sensors detect a forward-directed foot motion
in the center of the area at the rear of the car
and the trunk lid opens and/or closes.
Foot movement to be carried out Do not touch vehicle
With the foot motion, make sure there is
steady stance and do not touch the vehicle;
otherwise, there is a danger of injury, e. g. from
hot exhaust system parts.◀
1.Place in the center behind the vehicle,
about an arm's length from the vehicle rear.2.Move a foot in the direction of travel as far
under the vehicle as possible and immedi‐
ately pull it back. With this movement, theSeite 44ControlsOpening and closing44
Online Edition for Part no. 01 40 2 954 312 - II/15
Page 49 of 277
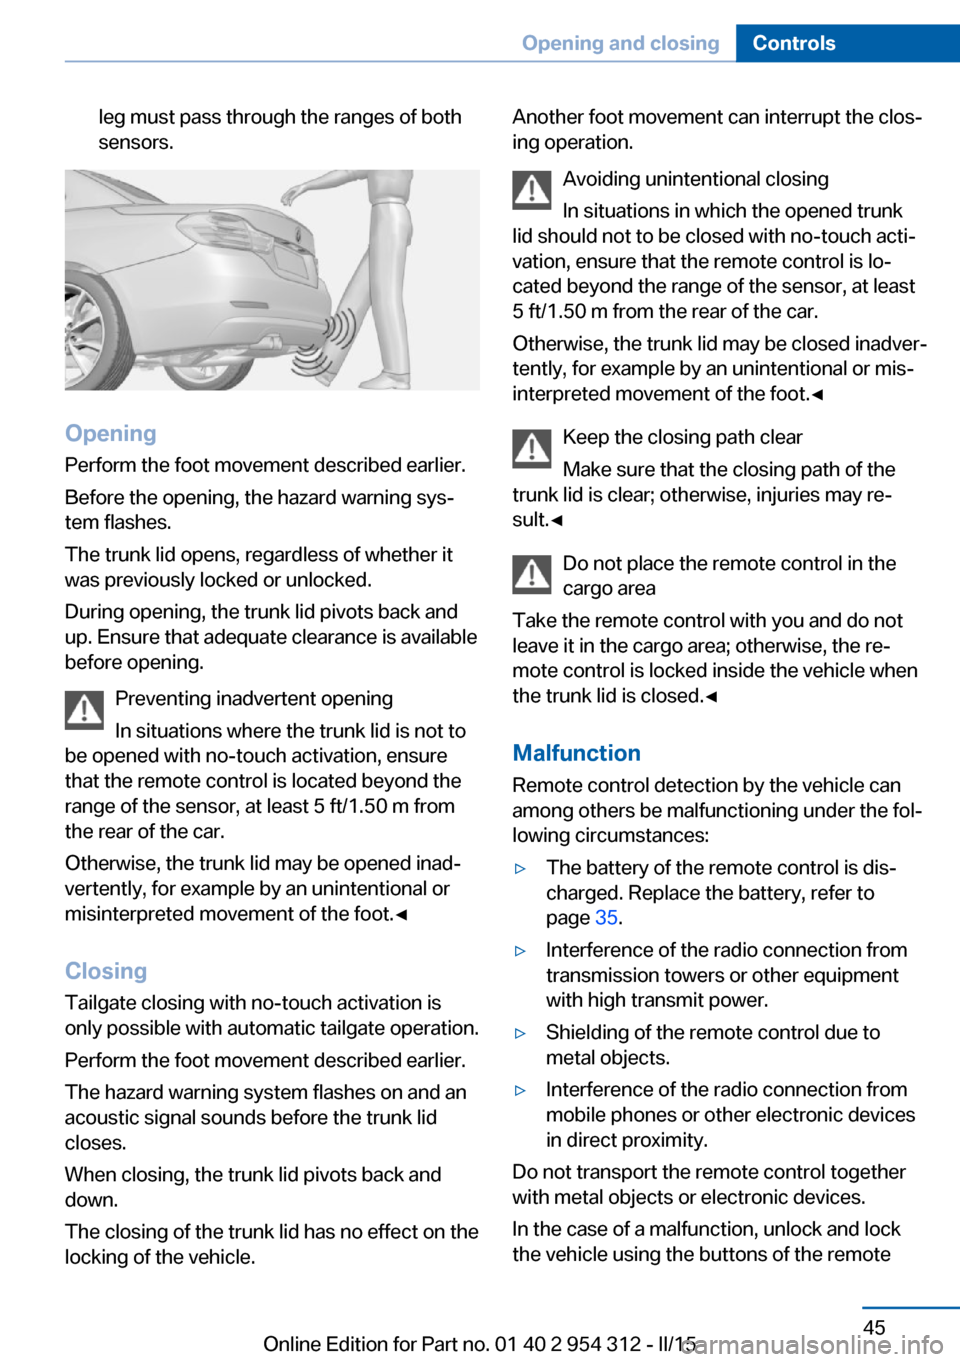
leg must pass through the ranges of both
sensors.
Opening
Perform the foot movement described earlier.
Before the opening, the hazard warning sys‐
tem flashes.
The trunk lid opens, regardless of whether it
was previously locked or unlocked.
During opening, the trunk lid pivots back and
up. Ensure that adequate clearance is available
before opening.
Preventing inadvertent opening
In situations where the trunk lid is not to
be opened with no-touch activation, ensure
that the remote control is located beyond the
range of the sensor, at least 5 ft/1.50 m from
the rear of the car.
Otherwise, the trunk lid may be opened inad‐
vertently, for example by an unintentional or
misinterpreted movement of the foot.◀
ClosingTailgate closing with no-touch activation is
only possible with automatic tailgate operation.
Perform the foot movement described earlier.
The hazard warning system flashes on and an
acoustic signal sounds before the trunk lid
closes.
When closing, the trunk lid pivots back and
down.
The closing of the trunk lid has no effect on the
locking of the vehicle.
Another foot movement can interrupt the clos‐
ing operation.
Avoiding unintentional closing
In situations in which the opened trunk
lid should not to be closed with no-touch acti‐
vation, ensure that the remote control is lo‐
cated beyond the range of the sensor, at least
5 ft/1.50 m from the rear of the car.
Otherwise, the trunk lid may be closed inadver‐
tently, for example by an unintentional or mis‐
interpreted movement of the foot.◀
Keep the closing path clear
Make sure that the closing path of the
trunk lid is clear; otherwise, injuries may re‐
sult.◀
Do not place the remote control in the
cargo area
Take the remote control with you and do not
leave it in the cargo area; otherwise, the re‐
mote control is locked inside the vehicle when
the trunk lid is closed.◀
Malfunction
Remote control detection by the vehicle can
among others be malfunctioning under the fol‐
lowing circumstances:▷The battery of the remote control is dis‐
charged. Replace the battery, refer to
page 35.▷Interference of the radio connection from
transmission towers or other equipment
with high transmit power.▷Shielding of the remote control due to
metal objects.▷Interference of the radio connection from
mobile phones or other electronic devices
in direct proximity.
Do not transport the remote control together
with metal objects or electronic devices.
In the case of a malfunction, unlock and lock
the vehicle using the buttons of the remote
Seite 45Opening and closingControls45
Online Edition for Part no. 01 40 2 954 312 - II/15
Page 51 of 277
Activating the setting1."Settings"2."Doors/key"3."Last seat position autom."
Alarm systemThe conceptWhen the vehicle is locked, the vehicle alarm
system responds to:
▷Opening a door, the hood or the trunk lid.▷Movements in the interior.▷Changes in the vehicle tilt, e. g., during at‐
tempts at stealing a wheel or when towing
the car.▷Disconnected battery voltage.
The alarm system briefly signals tampering:
▷By sounding an acoustic alarm.▷By switching on the hazard warning sys‐
tem.▷By flashing the daytime running lights.
Arming and disarming the alarm
system
When you unlock or lock the vehicle, either
with the remote control, Comfort Access or at
the door lock the alarm system is disarmed or
armed at the same time.
Door lock and armed alarm systemUnlocking via the door lock will trigger the
alarm on some country-specific versions.
Trunk lid and armed alarm system The trunk lid can be opened even when the
alarm system is armed.
After the trunk lid is closed, it is locked and
monitored again when the doors are locked.
The hazard warning system flashes once.
Panic mode
You can trigger the alarm system if you find
yourself in a dangerous situation.
Press button on the remote control for
at least 3 seconds.
To switch off the alarm: press any button.
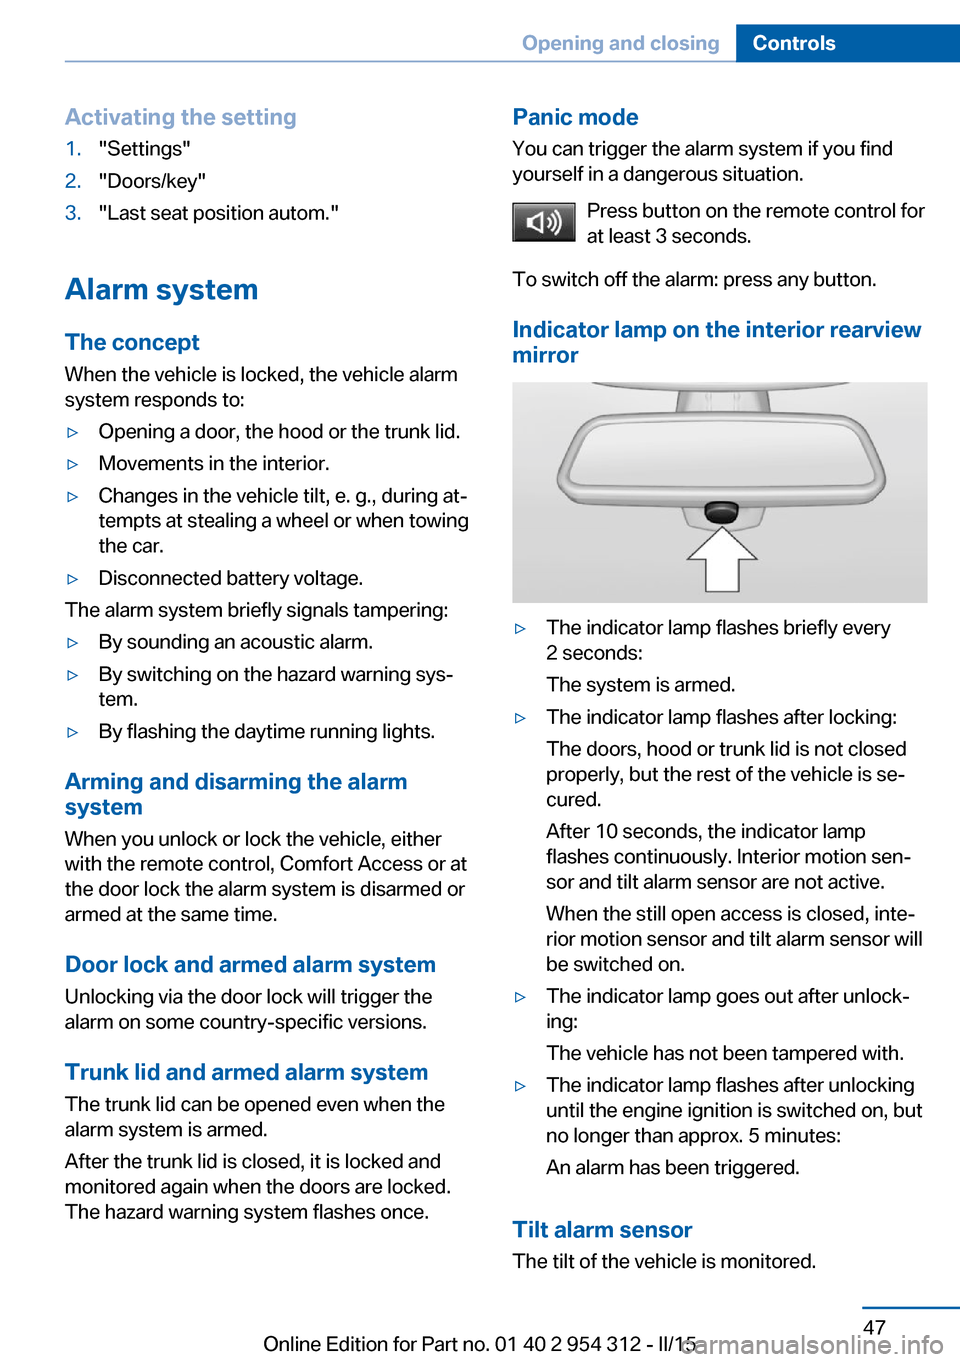
Indicator lamp on the interior rearview
mirror▷The indicator lamp flashes briefly every
2 seconds:
The system is armed.▷The indicator lamp flashes after locking:
The doors, hood or trunk lid is not closed
properly, but the rest of the vehicle is se‐
cured.
After 10 seconds, the indicator lamp
flashes continuously. Interior motion sen‐
sor and tilt alarm sensor are not active.
When the still open access is closed, inte‐
rior motion sensor and tilt alarm sensor will
be switched on.▷The indicator lamp goes out after unlock‐
ing:
The vehicle has not been tampered with.▷The indicator lamp flashes after unlocking
until the engine ignition is switched on, but
no longer than approx. 5 minutes:
An alarm has been triggered.
Tilt alarm sensor The tilt of the vehicle is monitored.
Seite 47Opening and closingControls47
Online Edition for Part no. 01 40 2 954 312 - II/15
Page 52 of 277
The alarm system responds in situations such
as attempts to steal a wheel or when the car is
towed.
Interior motion sensor The windows and glass sunroof must be
closed for the system to function properly.
Avoiding unintentional alarms The tilt alarm sensor and interior motion sen‐
sor can be switched off together, such as in
the following situations:▷In automatic car washes.▷In duplex garages.▷During transport on trains carrying vehi‐
cles, at sea or on a trailer.▷With animals in the vehicle.
Switching off the tilt alarm sensor and
interior motion sensor
Press the remote control button again
within 10 seconds as soon as the vehicle
is locked.
The indicator lamp lights up for approx. 2 sec‐
onds and then continues to flash.
The tilt alarm sensor and interior motion sen‐
sor are turned off, until the vehicle is locked again.
Switching off the alarm
▷Unlock vehicle with the remote control or
switch on the ignition, if needed through
emergency detection of remote control, re‐
fer to page 35.▷With Comfort Access: if you are carrying
the remote control on your person, grasp
the driver side or front passenger side door
handle completely.Power windows
Hint Take the remote control with you
Take the remote control with you when
leaving the vehicle so that children, e.g., can‐
not operate the power windows and injure
themselves.◀
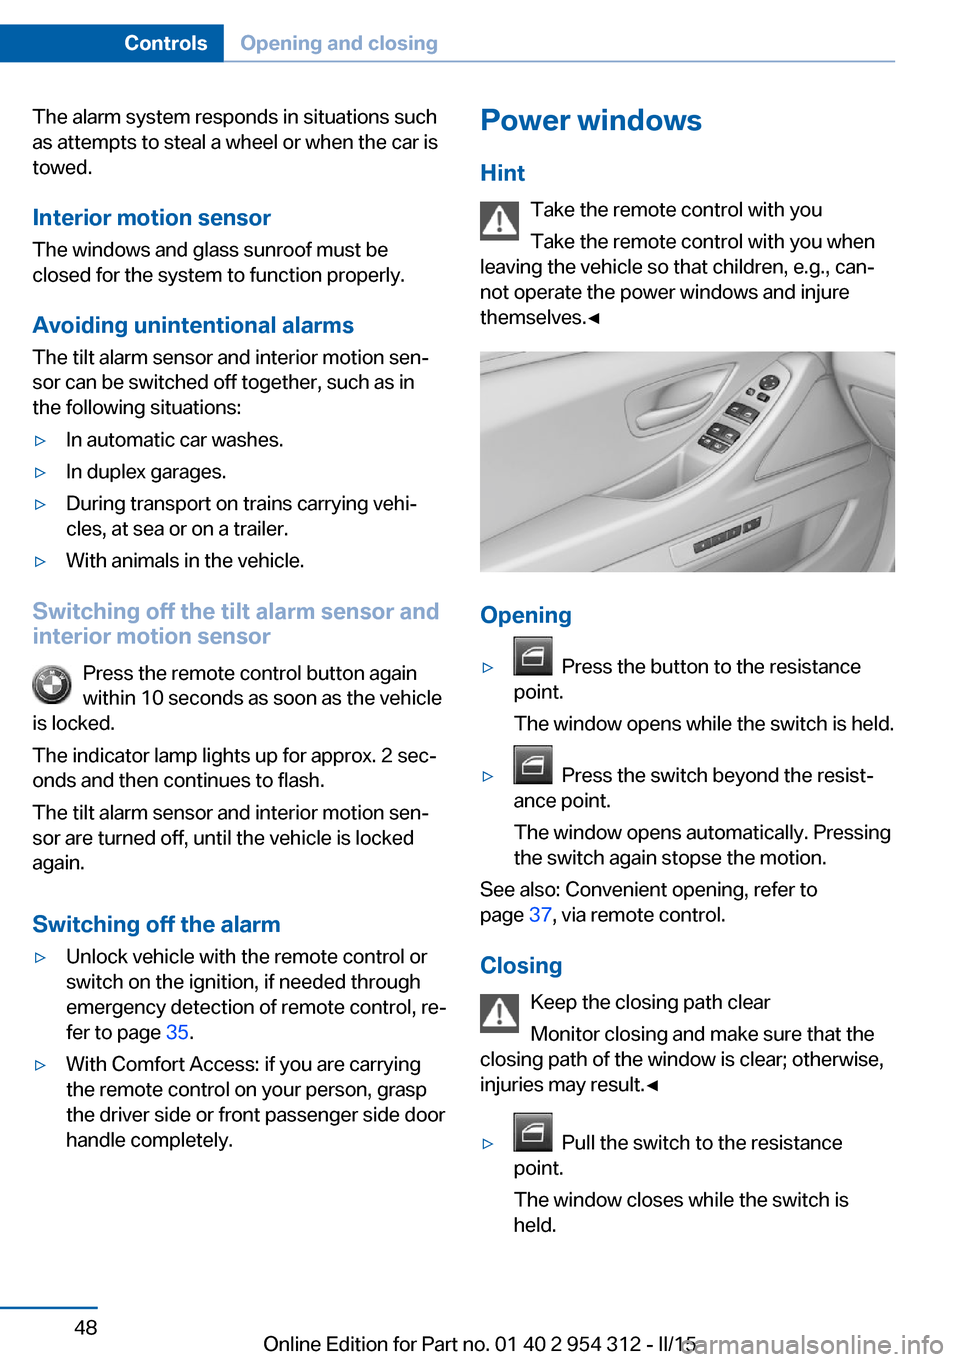
Opening
▷ Press the button to the resistance
point.
The window opens while the switch is held.▷ Press the switch beyond the resist‐
ance point.
The window opens automatically. Pressing
the switch again stopse the motion.
See also: Convenient opening, refer to
page 37, via remote control.
Closing Keep the closing path clear
Monitor closing and make sure that the
closing path of the window is clear; otherwise,
injuries may result.◀
▷ Pull the switch to the resistance
point.
The window closes while the switch is
held.
Seite 48ControlsOpening and closing48
Online Edition for Part no. 01 40 2 954 312 - II/15
Page 81 of 277
Washer/wiper systemSwitching the wipers on/off and brief
wipe
Hints Do not activate wipers if frozen to wind‐
shield
Do not switch on the wipers if they are frozen
to the windshield; otherwise, the wiper blades
and the wiper motor may be damaged.◀
Do not activate wipers on dry windshield
Do not use the wipers if the windshield is
dry, as this may damage the wiper blades or
cause them to become worn more quickly.◀
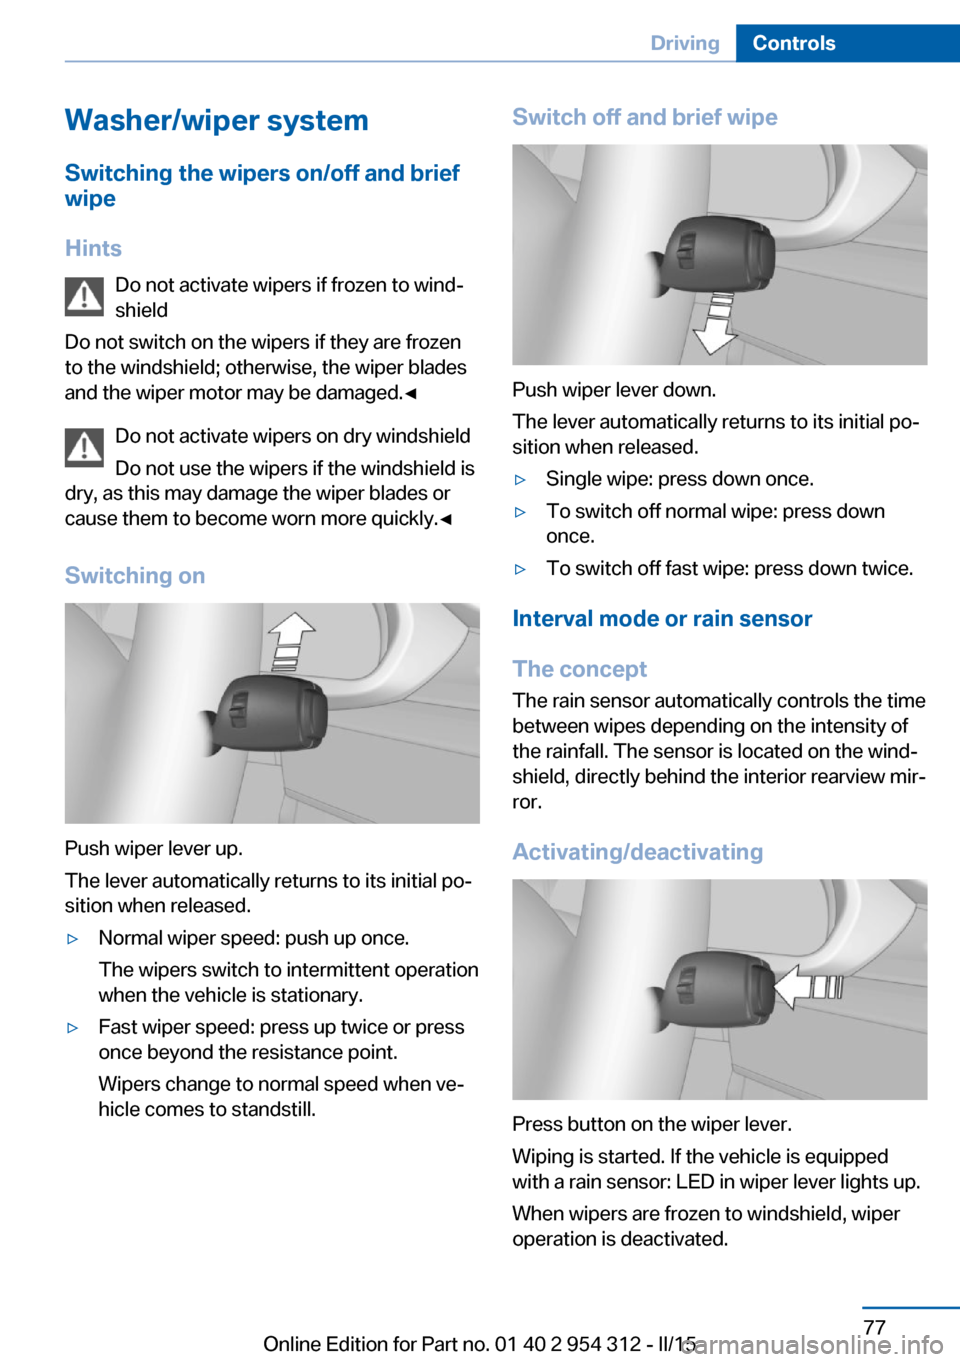
Switching on
Push wiper lever up.
The lever automatically returns to its initial po‐
sition when released.
▷Normal wiper speed: push up once.
The wipers switch to intermittent operation
when the vehicle is stationary.▷Fast wiper speed: press up twice or press
once beyond the resistance point.
Wipers change to normal speed when ve‐
hicle comes to standstill.Switch off and brief wipe
Push wiper lever down.
The lever automatically returns to its initial po‐
sition when released.
▷Single wipe: press down once.▷To switch off normal wipe: press down
once.▷To switch off fast wipe: press down twice.
Interval mode or rain sensor
The concept The rain sensor automatically controls the time
between wipes depending on the intensity of the rainfall. The sensor is located on the wind‐
shield, directly behind the interior rearview mir‐
ror.
Activating/deactivating
Press button on the wiper lever.
Wiping is started. If the vehicle is equipped
with a rain sensor: LED in wiper lever lights up.
When wipers are frozen to windshield, wiper
operation is deactivated.
Seite 77DrivingControls77
Online Edition for Part no. 01 40 2 954 312 - II/15
Page 82 of 277
During trip interruption with the rain sensor
switched on: if the trip is resumed within ap‐
prox. 15 minutes, the rain sensor is automati‐
cally activated again.
Deactivate the rain sensor in car washes
Deactivate the rain sensor when passing
through an automatic car wash; otherwise, un‐
intentional wiping can cause damages.◀
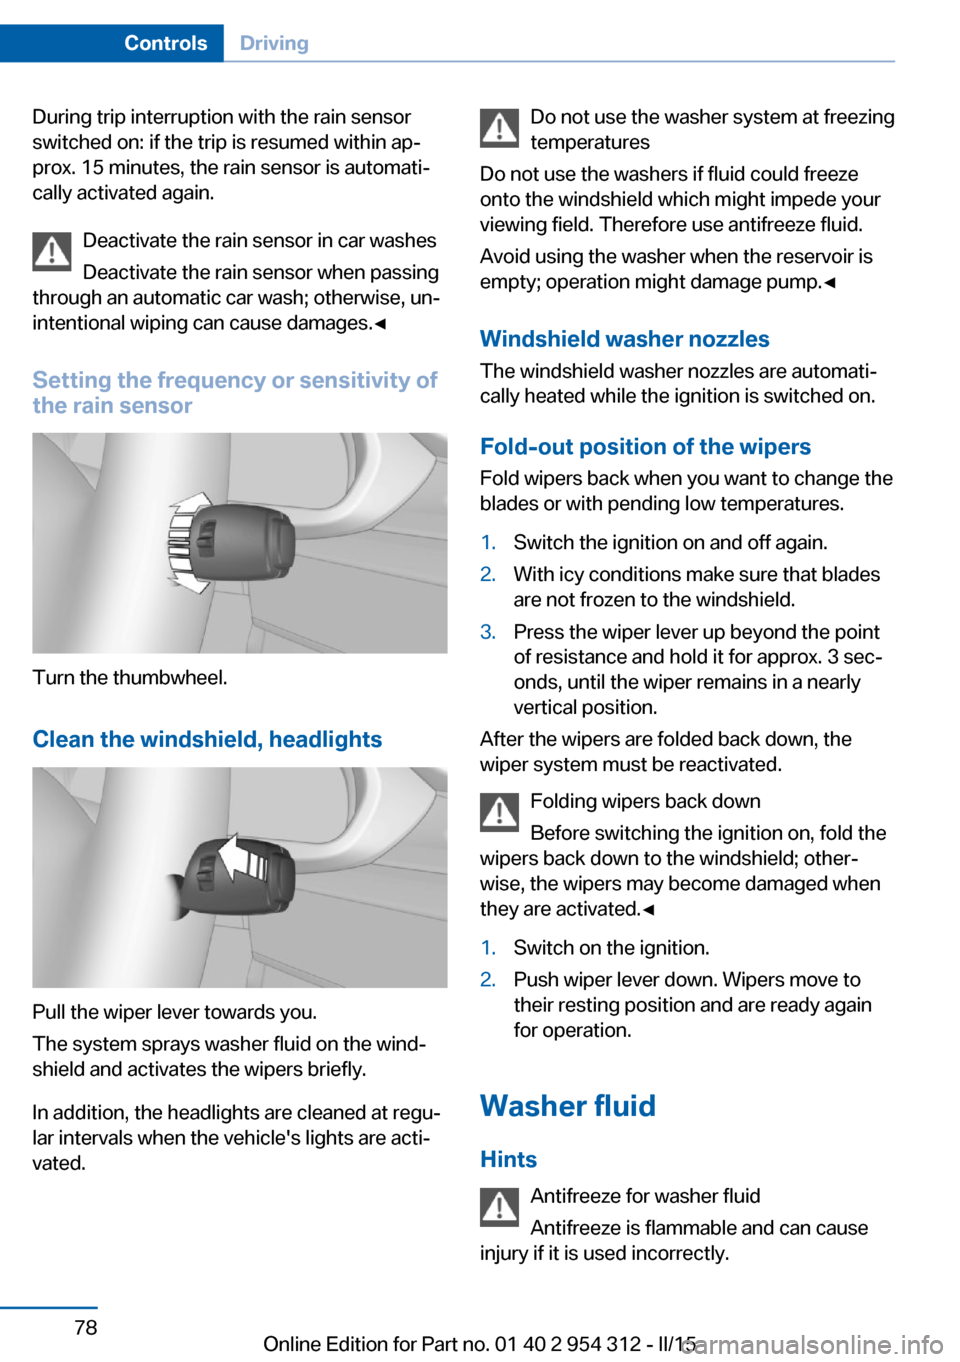
Setting the frequency or sensitivity of
the rain sensor
Turn the thumbwheel.
Clean the windshield, headlights
Pull the wiper lever towards you.
The system sprays washer fluid on the wind‐
shield and activates the wipers briefly.
In addition, the headlights are cleaned at regu‐
lar intervals when the vehicle's lights are acti‐
vated.
Do not use the washer system at freezing
temperatures
Do not use the washers if fluid could freeze
onto the windshield which might impede your
viewing field. Therefore use antifreeze fluid.
Avoid using the washer when the reservoir is
empty; operation might damage pump.◀
Windshield washer nozzles The windshield washer nozzles are automati‐
cally heated while the ignition is switched on.
Fold-out position of the wipers Fold wipers back when you want to change the
blades or with pending low temperatures.1.Switch the ignition on and off again.2.With icy conditions make sure that blades
are not frozen to the windshield.3.Press the wiper lever up beyond the point
of resistance and hold it for approx. 3 sec‐
onds, until the wiper remains in a nearly
vertical position.
After the wipers are folded back down, the
wiper system must be reactivated.
Folding wipers back down
Before switching the ignition on, fold the
wipers back down to the windshield; other‐
wise, the wipers may become damaged when
they are activated.◀
1.Switch on the ignition.2.Push wiper lever down. Wipers move to
their resting position and are ready again
for operation.
Washer fluid
Hints Antifreeze for washer fluid
Antifreeze is flammable and can cause
injury if it is used incorrectly.
Seite 78ControlsDriving78
Online Edition for Part no. 01 40 2 954 312 - II/15
Page 99 of 277
On the Control Display:1."Vehicle info"2."Vehicle status"3.Open "Options".4."Last Service Request"
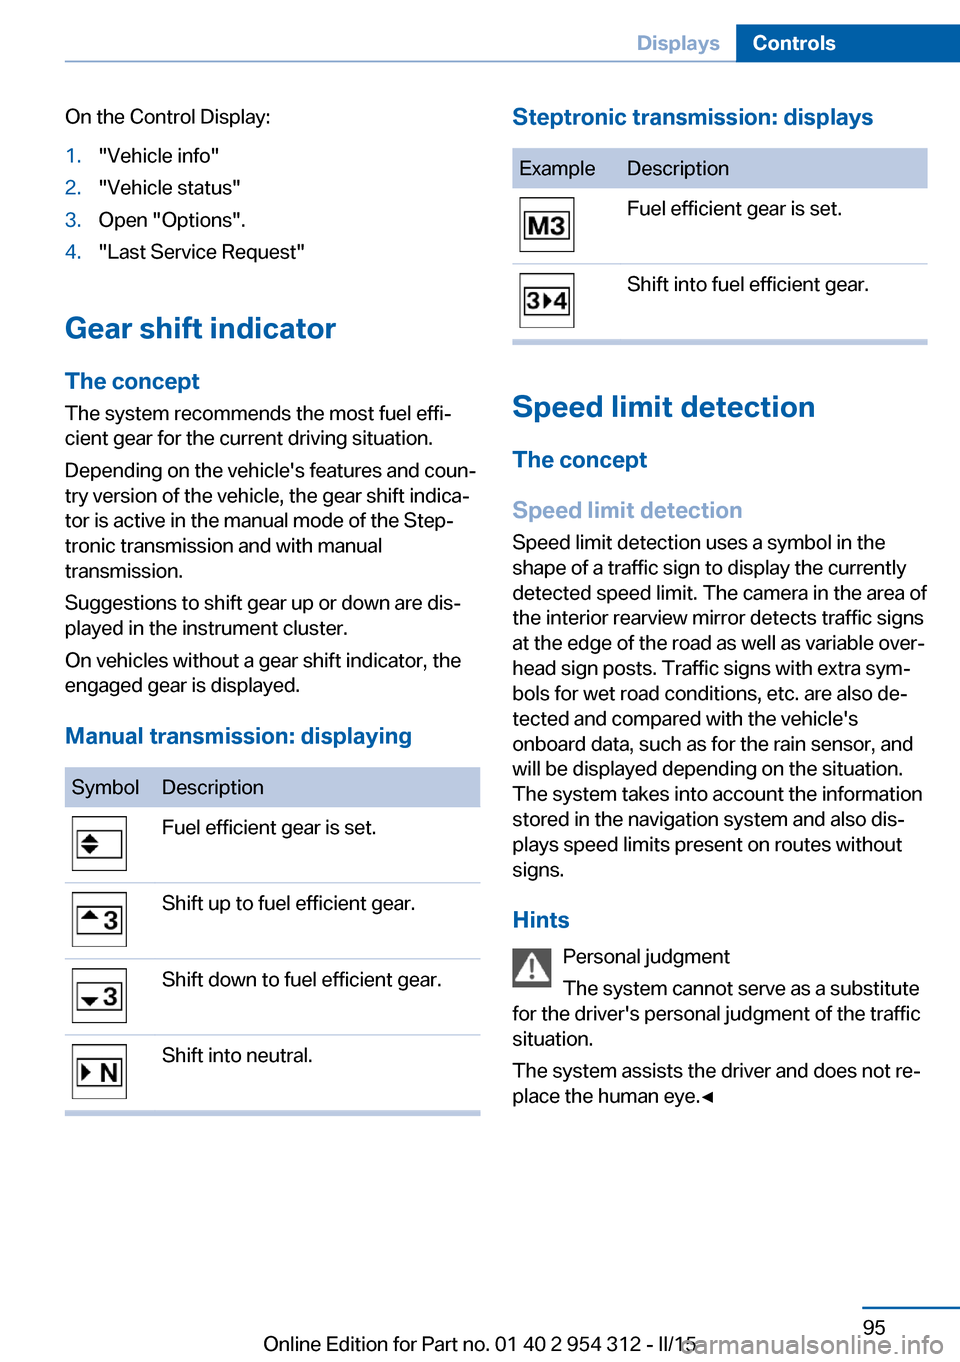
Gear shift indicatorThe conceptThe system recommends the most fuel effi‐
cient gear for the current driving situation.
Depending on the vehicle's features and coun‐
try version of the vehicle, the gear shift indica‐
tor is active in the manual mode of the Step‐
tronic transmission and with manual
transmission.
Suggestions to shift gear up or down are dis‐
played in the instrument cluster.
On vehicles without a gear shift indicator, the
engaged gear is displayed.
Manual transmission: displaying
SymbolDescriptionFuel efficient gear is set.Shift up to fuel efficient gear.Shift down to fuel efficient gear.Shift into neutral.Steptronic transmission: displaysExampleDescriptionFuel efficient gear is set.Shift into fuel efficient gear.
Speed limit detection
The concept
Speed limit detection
Speed limit detection uses a symbol in the
shape of a traffic sign to display the currently
detected speed limit. The camera in the area of
the interior rearview mirror detects traffic signs
at the edge of the road as well as variable over‐
head sign posts. Traffic signs with extra sym‐
bols for wet road conditions, etc. are also de‐
tected and compared with the vehicle's
onboard data, such as for the rain sensor, and
will be displayed depending on the situation.
The system takes into account the information
stored in the navigation system and also dis‐
plays speed limits present on routes without
signs.
Hints Personal judgment
The system cannot serve as a substitute
for the driver's personal judgment of the traffic
situation.
The system assists the driver and does not re‐
place the human eye.◀
Seite 95DisplaysControls95
Online Edition for Part no. 01 40 2 954 312 - II/15
Page 108 of 277
Headlight courtesy delay featureThe low beams stay lit for a short while after
the radio-ready state is switched off if the
lights are turned off and the headlight flasher is
switched on.
Setting the duration
On the Control Display:1."Settings"2."Lighting"3."Pathway lighting:"4.Set length of time.
Settings are stored for the profile currently in
use.
Automatic headlight control
Position of switch
: the low beams are acti‐
vated and off automatically, e.g., in tunnels, in
twilight or if there is precipitation. The indicator
lamp in the instrument cluster lights up.
When emerging from a tunnel during the day,
the low beams are not switched off immedi‐
ately but instead only after approx. 2 minutes.
A blue sky with the sun low on the horizon can
cause the lights to be switched on.
The low beams always stay on when the fog
lights are activated.
Personal responsibility
The automatic headlight control cannot
serve as a substitute for your personal judg‐
ment in determining when to turn the lights on
in response to ambient lighting conditions.
E. g. the sensors are unable to detect fog or
hazy weather. To avoid safety risks under
these conditions, you should always switch on
the lights manually.◀
Daytime running lights With the ignition switched on, the daytime run‐
ning lights light up in position
, or
. After the ignition is switched off, the park‐
ing lights light up in position
.
Activating/deactivating
In some countries, daytime running lights are
mandatory, so it may not be possible to deacti‐
vate the daytime running lights.
On the Control Display:1."Settings"2."Lighting"3."Daytime running lamps"
Settings are stored for the profile currently in
use.
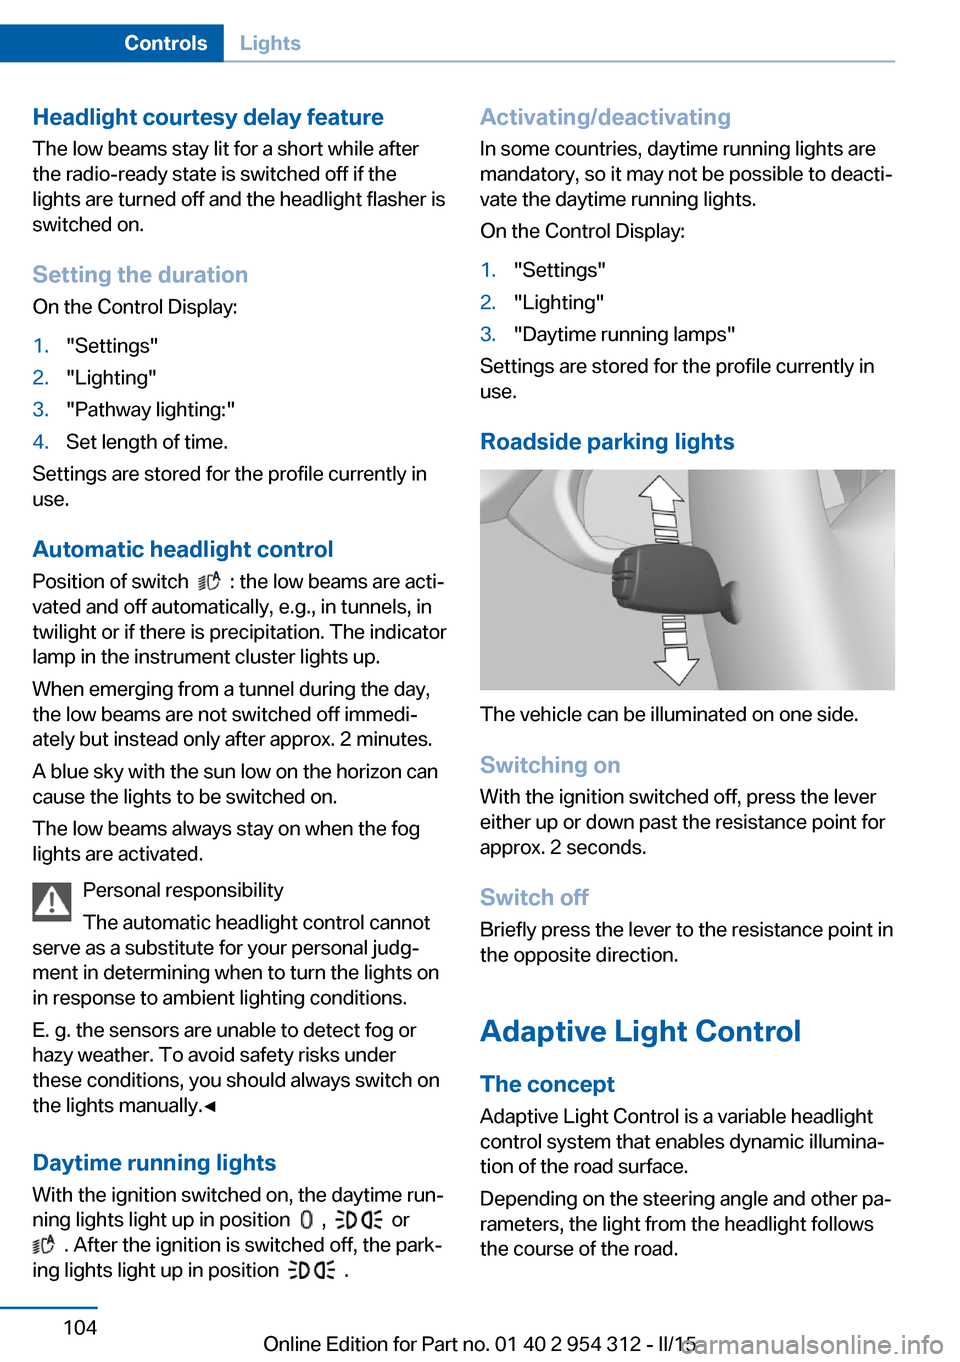
Roadside parking lights
The vehicle can be illuminated on one side.
Switching on With the ignition switched off, press the lever
either up or down past the resistance point for
approx. 2 seconds.
Switch off Briefly press the lever to the resistance point in
the opposite direction.
Adaptive Light Control The concept
Adaptive Light Control is a variable headlight
control system that enables dynamic illumina‐
tion of the road surface.
Depending on the steering angle and other pa‐ rameters, the light from the headlight follows
the course of the road.
Seite 104ControlsLights104
Online Edition for Part no. 01 40 2 954 312 - II/15