seat memory BMW 528I XDRIVE SEDAN 2013 Owners Manual
[x] Cancel search | Manufacturer: BMW, Model Year: 2013, Model line: 528I XDRIVE SEDAN, Model: BMW 528I XDRIVE SEDAN 2013Pages: 273, PDF Size: 6.63 MB
Page 16 of 273
CockpitVehicle equipment
All standard, country-specific and optional
equipment that is offered in the model series is
described in this chapter. Therefore, equip‐ment is also described that is not available in a
vehicle, e. g., because of the selected optional
equipment or country variant. This also applies
for safety-related functions and systems.
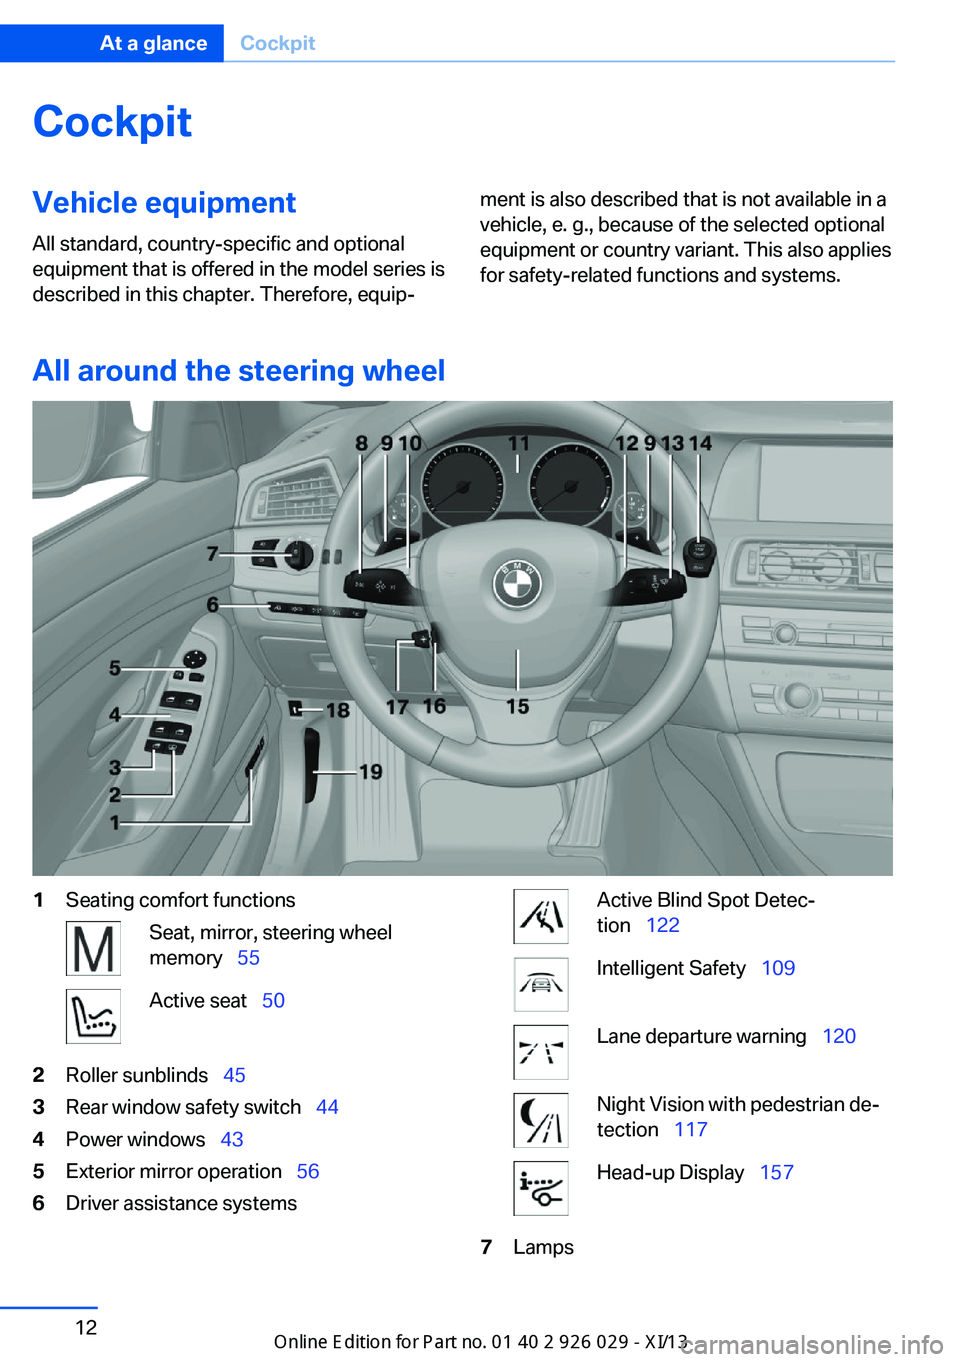
All around the steering wheel
1Seating comfort functionsSeat, mirror, steering wheel
memory 55Active seat 502Roller sunblinds 453Rear window safety switch 444Power windows 435Exterior mirror operation 566Driver assistance systemsActive Blind Spot Detec‐
tion 122Intelligent Safety 109Lane departure warning 120Night Vision with pedestrian de‐
tection 117Head-up Display 1577LampsSeite 12At a glanceCockpit12
Online Edition for Part no. 01 40 2 911 177 - VI/13
Page 37 of 273
▷Exterior mirror position.▷CD/Multimedia: audio source listened to
last.▷Unlocking/locking of the vehicle: settings.▷Driving Dynamics Control: sport program.▷Driver's seat position: automatic retrieval
after unlocking.▷Programmable memory buttons: assign‐
ment.▷Head-up Display: selection, brightness,
position and rotation of the display.▷Headlamp courtesy delay feature: time set‐
ting.▷Tone: tone settings.▷Automatic climate control: settings.▷Steering wheel position.▷Navigation: map views, route criteria, voice
output on/off.▷Night Vision with pedestrian detection.▷Intelligent Safety: individual settings.▷Park Distance Control PDC: adjusting the
signal tone volume.▷Radio: stored stations, station listened to
last, special settings.▷Rearview camera: selection of functions
and type of display.▷Side View: selection of the display type.▷Language on the Control Display.▷Lane departure warning: last setting, on/
off.▷Active Blind Spot Detection: last setting,
on/off.▷Daytime running lights: current setting.▷Triple turn signal activation.▷Locking the vehicle: after a brief period or
after starting to drive.Central locking system
The concept The central locking system becomes active
when the driver's door is closed.
The system simultaneously engages and re‐
leases the locks on the following:▷Doors.▷Trunk lid.▷Fuel filler flap.
Operating from the outside
▷Via the remote control.▷Via the driver's door lock.▷Via the door handles.▷Via the button in the trunk lid.
The following takes place simultaneously
when locking/unlocking the vehicle via the re‐
mote control:
▷Depending on how the vehicle is equipped,
the theft protection is activated/deacti‐
vated. Theft protection prevents the doors
from being unlocked using the lock but‐
tons or the door opener.▷The welcome lamps, interior lamps and
courtesy lamps are switched on and off.▷The alarm system, refer to page 42, is
armed or disarmed.
Operating from the inside
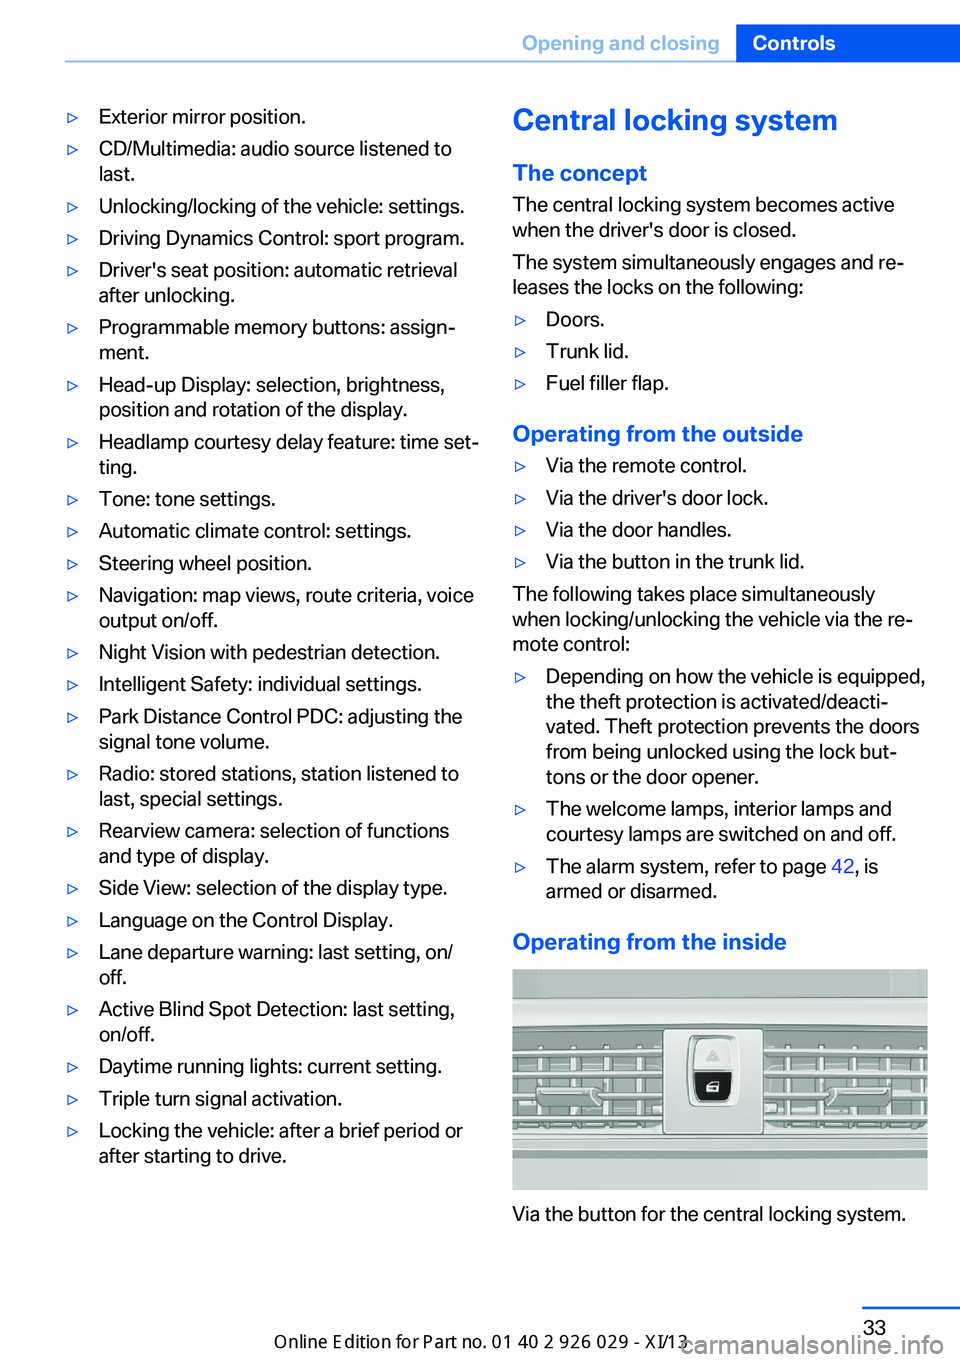
Via the button for the central locking system.
Seite 33Opening and closingControls33
Online Edition for Part no. 01 40 2 911 177 - VI/13
Page 46 of 273
▷When a seat position switch is pressed.▷When a button of the seat, mirror, and
steering wheel memory is pressed briefly.
Activating the setting
1."Settings"2."Doors/key"3."Last seat position autom."
Alarm system
The conceptThe vehicle alarm system responds to:
▷Opening of a door, the hood or the trunk
lid.▷Movements in the vehicle.▷Changes in the vehicle tilt, e.g., during at‐
tempts to steal a wheel or when towing the
car.▷Interruptions in battery voltage.
The alarm system briefly indicates tampering:
▷By sounding an acoustic alarm.▷By switching on the hazard warning sys‐
tem.▷By flashing the high beams.
Arming and disarming the alarm
system
General information
When you lock or unlock the vehicle, either
with the remote control, Comfort Access or at
the door lock the alarm system is armed or dis‐
armed at the same time.
Door lock and armed alarm systemUnlocking via the door lock will trigger the
alarm on some country-specific versions.
In order to terminate this alarm, unlock vehicle
with the remote control or switch on the igni‐
tion, if necessary, by emergency detection of
the remote control.
Trunk lid and armed alarm system The trunk lid can be opened even when the
alarm system is armed.
Press the button on the remote con‐
trol for approx. 1 second.
With Comfort Access the trunk lid opens with
no-touch activation, refer to page 40.
After the trunk lid is closed, it is locked and
monitored again if the doors are locked. The
hazard warning system flashes once.
In some vehicle equipment variants, the trunk
lid can only be opened using the remote con‐
trol if the vehicle was unlocked first.
Panic mode You can trigger the alarm system if you find
yourself in a dangerous situation.
Press the button on the remote con‐
trol for at least 3 seconds.
To switch off the alarm: press any button.
Switching off the alarm▷Unlock the vehicle using the remote con‐
trol.▷With Comfort Access: If you are carrying
the remote control with you, pull on the
driver side or front passenger side door
handle.Seite 42ControlsOpening and closing42
Online Edition for Part no. 01 40 2 911 177 - VI/13
Page 59 of 273
Adjusting the height▷To raise: pull.▷To lower: press the button, arrow 1, and
push the head restraint down.
Folding forward
Press the button, arrow 1, and fold the head
restraint forward.
RemovingOnly remove the head restraint if no one will be
sitting in the seat in question.
1.Pull the head restraint upward as far as
possible.2.Press the button, arrow 1, and pull the
head restraint out completely.
Before transporting passengers
Reinstall the head restraint before trans‐
porting anyone in the seat; otherwise, the pro‐
tective function of the head restraint is unavail‐
able.◀
Seat, mirror, and steering
wheel memory
General information
Front
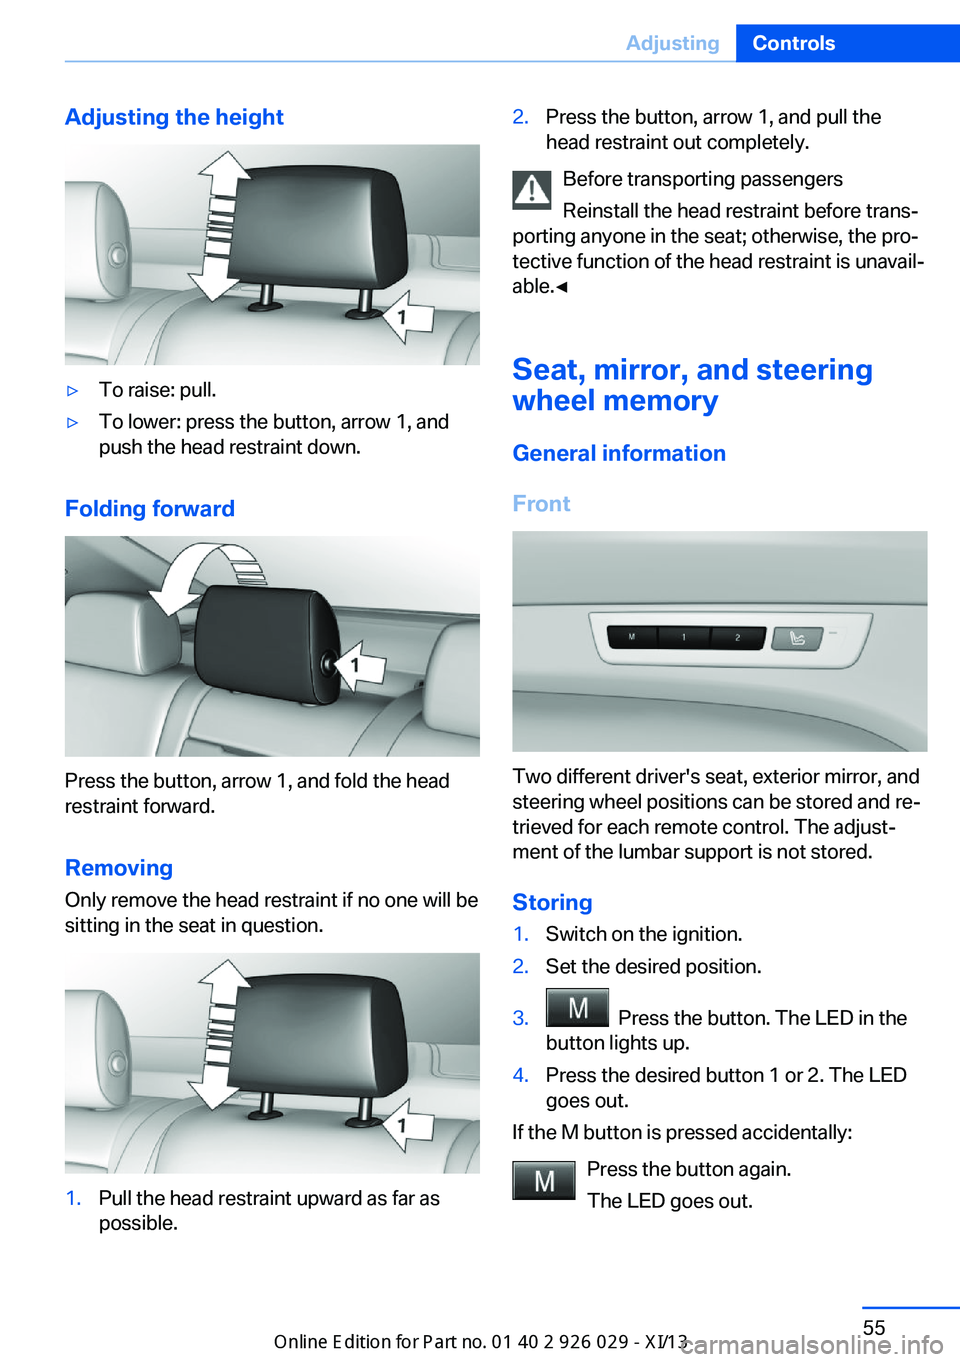
Two different driver's seat, exterior mirror, and
steering wheel positions can be stored and re‐
trieved for each remote control. The adjust‐
ment of the lumbar support is not stored.
Storing
1.Switch on the ignition.2.Set the desired position.3. Press the button. The LED in the
button lights up.4.Press the desired button 1 or 2. The LED
goes out.
If the M button is pressed accidentally:
Press the button again.
The LED goes out.
Seite 55AdjustingControls55
Online Edition for Part no. 01 40 2 911 177 - VI/13
Page 60 of 273
Calling up settingsDo not retrieve the memory while driving
Do not retrieve the memory setting while
driving, as an unexpected movement of the
seat or steering wheel could result in an acci‐
dent.◀
Comfort function1.Open the driver's door.2.Switch off the ignition.3.Briefly press the desired button 1 or 2.
The corresponding seat position is performed
automatically.
The procedure stops when a switch for adjust‐
ing the seat or one of the buttons is pressed.
Safety mode
1.Close the driver's door or switch on the ig‐
nition.2.Press and hold the desired button 1 or 2
until the adjustment procedure is com‐
pleted.
Calling up of a seat position
deactivated
After a brief period, the calling up of stored
seat positions is deactivated to save battery
power.
To reactivate calling up of a seat position:
▷Open or close the door or trunk lid.▷Press a button on the remote control.▷Press the Start/Stop button.Mirrors
Exterior mirrors
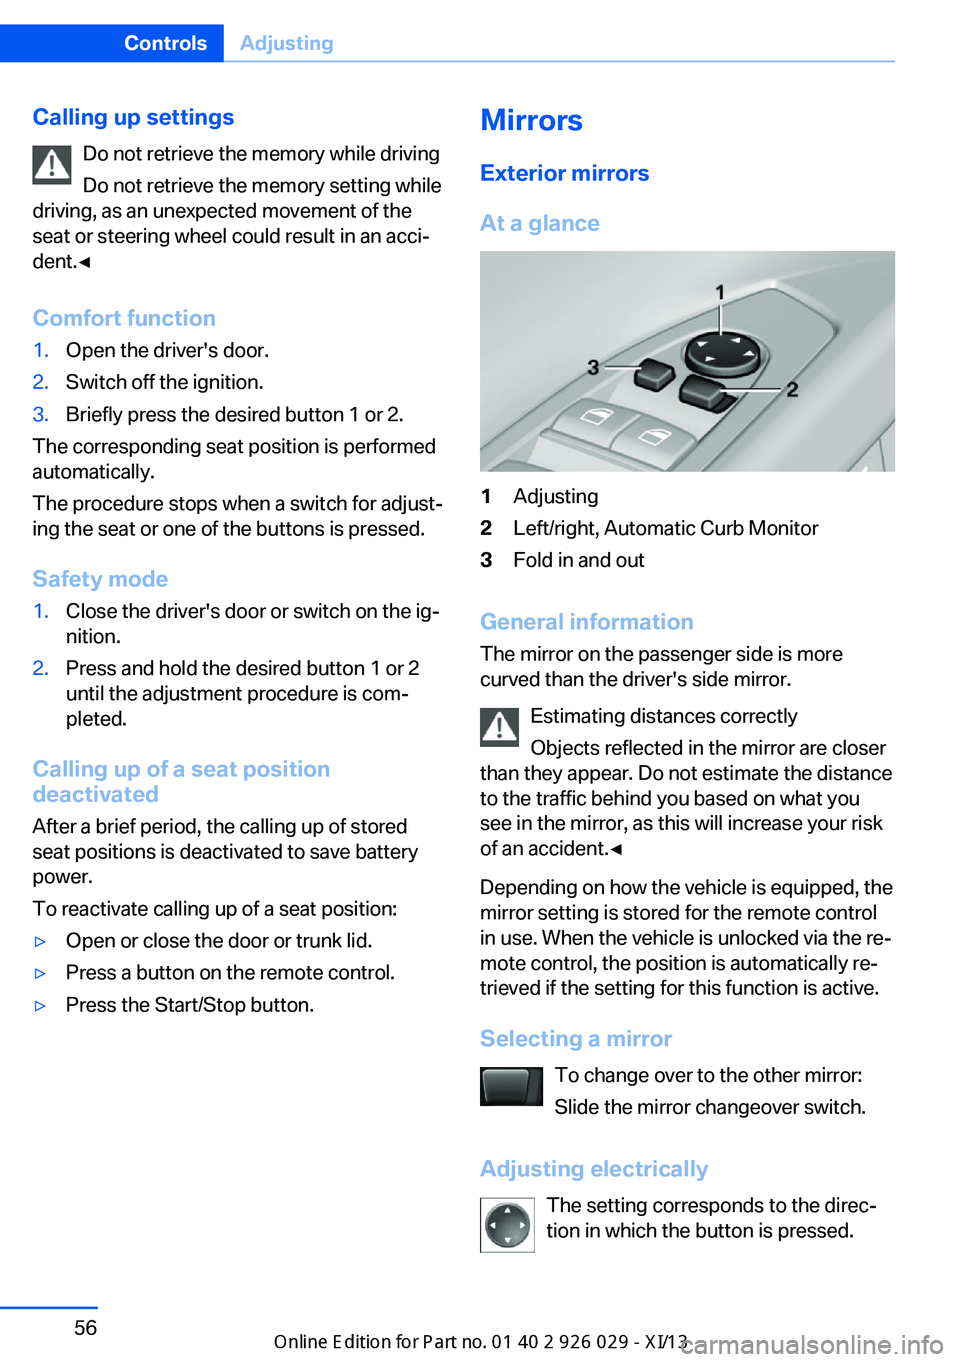
At a glance1Adjusting2Left/right, Automatic Curb Monitor3Fold in and out
General information
The mirror on the passenger side is more
curved than the driver's side mirror.
Estimating distances correctly
Objects reflected in the mirror are closer
than they appear. Do not estimate the distance
to the traffic behind you based on what you
see in the mirror, as this will increase your risk
of an accident.◀
Depending on how the vehicle is equipped, the
mirror setting is stored for the remote control
in use. When the vehicle is unlocked via the re‐
mote control, the position is automatically re‐
trieved if the setting for this function is active.
Selecting a mirror To change over to the other mirror:Slide the mirror changeover switch.
Adjusting electrically The setting corresponds to the direc‐
tion in which the button is pressed.
Seite 56ControlsAdjusting56
Online Edition for Part no. 01 40 2 911 177 - VI/13
Page 61 of 273
Saving positions
Seat, mirror, and steering wheel memory, refer
to page 55.
Adjusting manually If an electrical malfunction occurs, for example,
press the edges of the mirror glass.
Automatic Curb Monitor When the reverse gear is engaged, the mirror
glass tilts downward slightly on the front pas‐
senger side. This improves your view of the
curb and other low-lying obstacles when park‐
ing, for example.
Activating1. Slide the mirror changeover switch
to the driver's side mirror position.2.Engage transmission position R.
Deactivating
Slide the mirror changeover switch to the pas‐
senger's side mirror position.
Fold in and out Press the button.
Possible up to approx. 15 mph/20 km/h.
For example, this is advantageous
▷In car washes.▷In narrow streets.▷For folding back mirrors that were folded
away manually.
Mirrors that were folded in are folded out auto‐
matically at a speed of approx.
25 mph/40 km/h.
Fold in the mirror in a car wash
Before washing the car in an automatic
car wash, fold in the exterior mirrors by hand or
with the button; otherwise, the mirrors could
be damaged, depending on the width of the
vehicle.◀
Automatic heating
Both exterior mirrors are automatically heated
whenever the engine is running.
Automatic dimming feature Both exterior mirrors are automatically dim‐
med. Photocells are used for control in the In‐
terior rear view mirror, refer to page 57.
Interior rearview mirror
Reducing the blinding effect
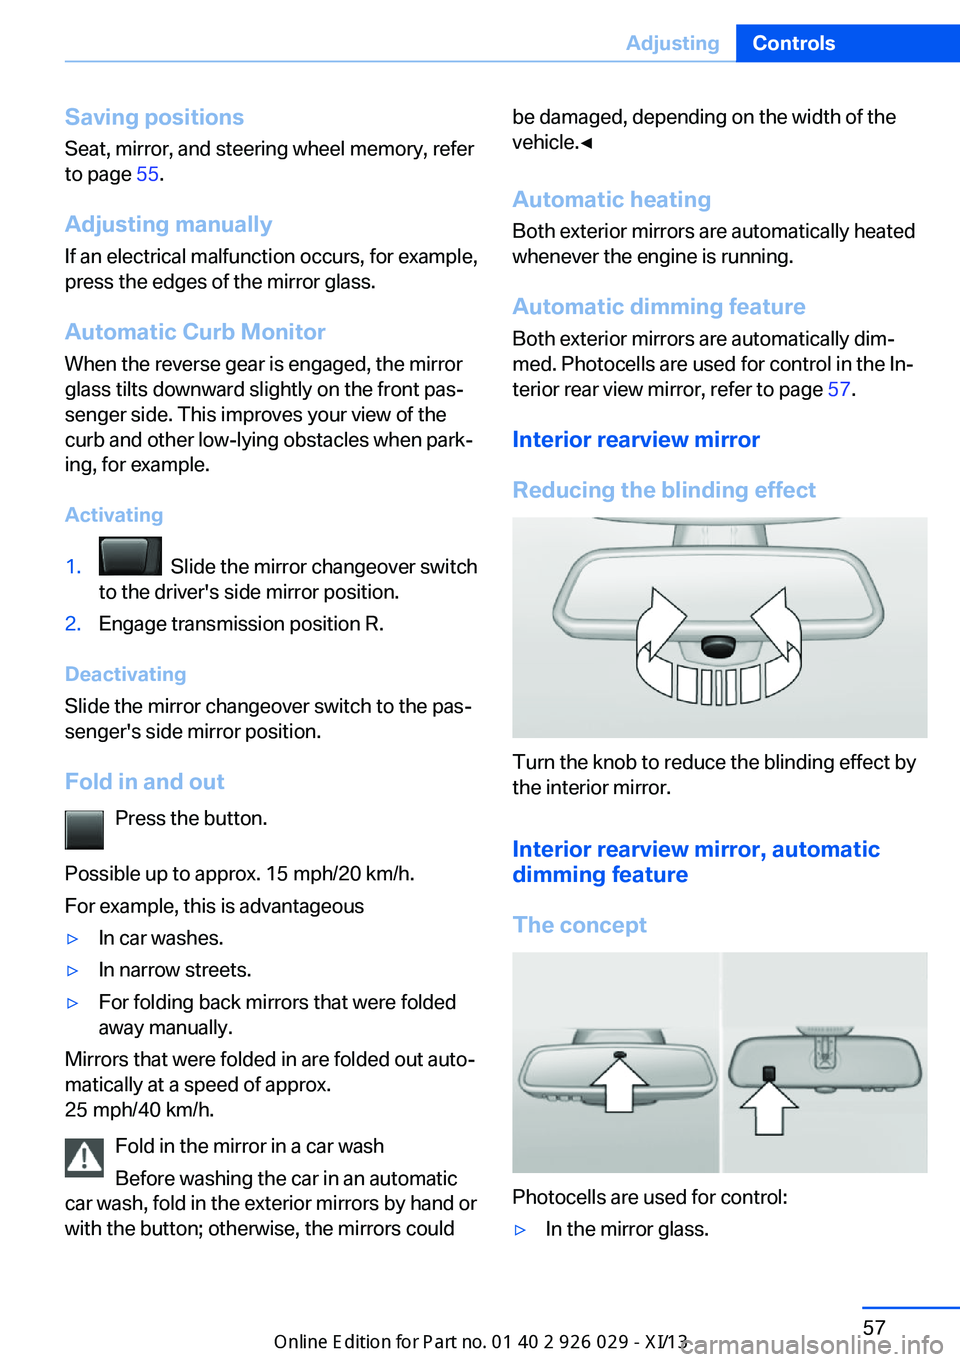
Turn the knob to reduce the blinding effect by
the interior mirror.
Interior rearview mirror, automaticdimming feature
The concept
Photocells are used for control:
▷In the mirror glass.Seite 57AdjustingControls57
Online Edition for Part no. 01 40 2 911 177 - VI/13
Page 62 of 273
▷On the back of the mirror.
Functional requirementFor proper operation:
▷Keep the photocells clean.▷Do not cover the area between the inside
rearview mirror and the windshield.
Steering wheel
General information Do not adjust while driving
Do not adjust the steering wheel while
driving; otherwise, an unexpected movement
could result in an accident.◀
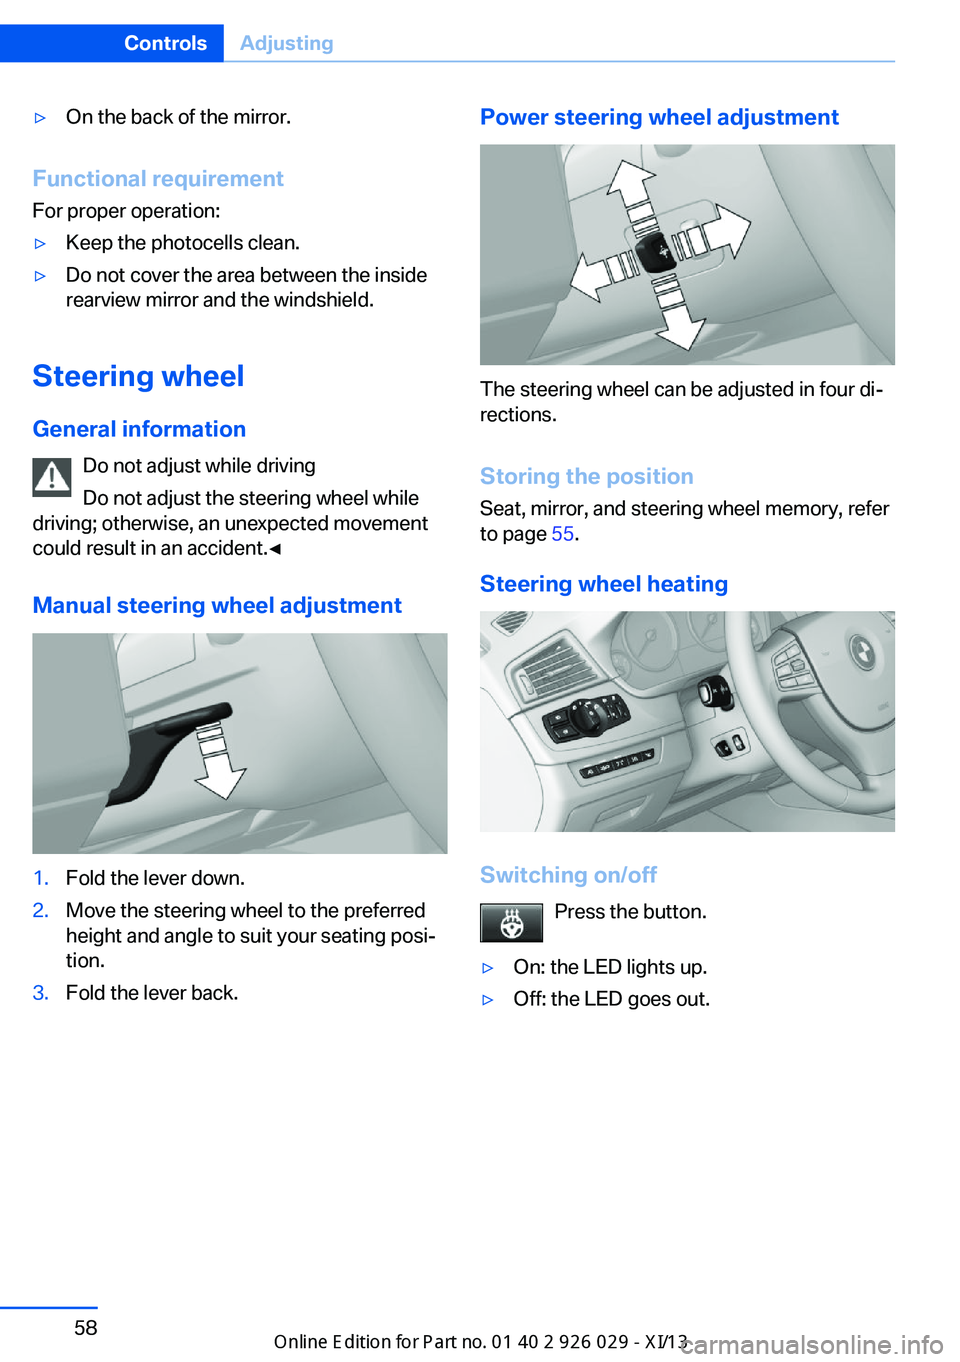
Manual steering wheel adjustment
1.Fold the lever down.2.Move the steering wheel to the preferred
height and angle to suit your seating posi‐
tion.3.Fold the lever back.Power steering wheel adjustment
The steering wheel can be adjusted in four di‐
rections.
Storing the position Seat, mirror, and steering wheel memory, refer
to page 55.
Steering wheel heating
Switching on/off Press the button.
▷On: the LED lights up.▷Off: the LED goes out.Seite 58ControlsAdjusting58
Online Edition for Part no. 01 40 2 911 177 - VI/13
Page 242 of 273
Changing wheels
Hints
The vehicle equipment does not include a
spare tire.
When using run-flat tires or tire sealants, a tire
does not need to be changed immediately in
the event of pressure loss due to a flat tire.
The tools for changing wheels are available as
accessories from your service center.
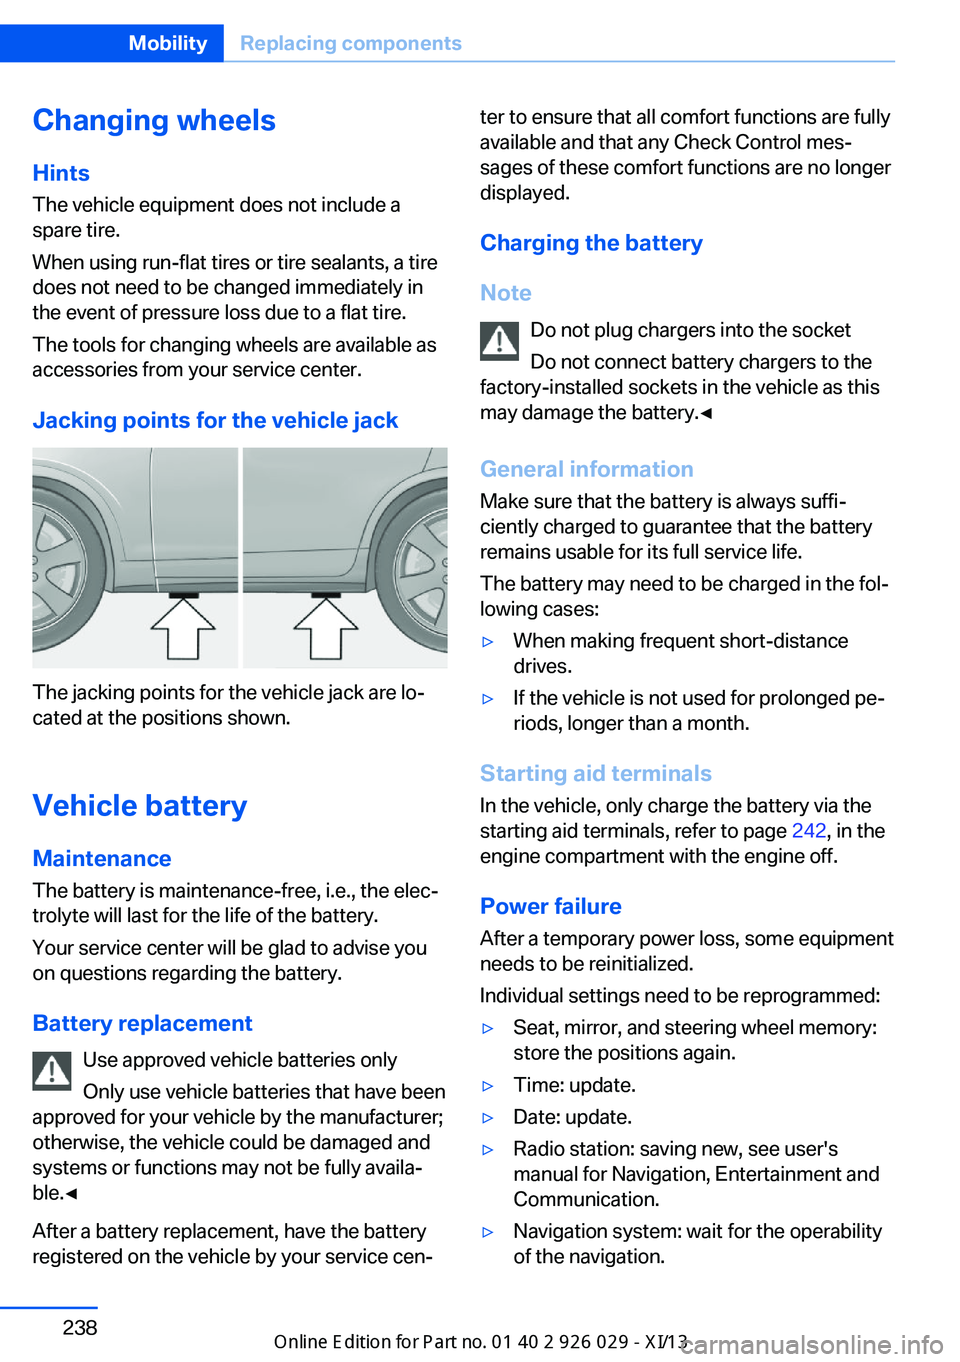
Jacking points for the vehicle jack
The jacking points for the vehicle jack are lo‐
cated at the positions shown.
Vehicle battery Maintenance
The battery is maintenance-free, i.e., the elec‐
trolyte will last for the life of the battery.
Your service center will be glad to advise you
on questions regarding the battery.
Battery replacement Use approved vehicle batteries only
Only use vehicle batteries that have been
approved for your vehicle by the manufacturer;
otherwise, the vehicle could be damaged and
systems or functions may not be fully availa‐
ble.◀
After a battery replacement, have the battery
registered on the vehicle by your service cen‐
ter to ensure that all comfort functions are fully
available and that any Check Control mes‐
sages of these comfort functions are no longer
displayed.
Charging the battery
Note Do not plug chargers into the socketDo not connect battery chargers to the
factory-installed sockets in the vehicle as this
may damage the battery.◀
General information Make sure that the battery is always suffi‐
ciently charged to guarantee that the battery
remains usable for its full service life.
The battery may need to be charged in the fol‐
lowing cases:▷When making frequent short-distance
drives.▷If the vehicle is not used for prolonged pe‐
riods, longer than a month.
Starting aid terminals
In the vehicle, only charge the battery via the
starting aid terminals, refer to page 242, in the
engine compartment with the engine off.
Power failure After a temporary power loss, some equipment
needs to be reinitialized.
Individual settings need to be reprogrammed:
▷Seat, mirror, and steering wheel memory:
store the positions again.▷Time: update.▷Date: update.▷Radio station: saving new, see user's
manual for Navigation, Entertainment and
Communication.▷Navigation system: wait for the operability
of the navigation.Seite 238MobilityReplacing components238
Online Edition for Part no. 01 40 2 911 177 - VI/13
Page 267 of 273
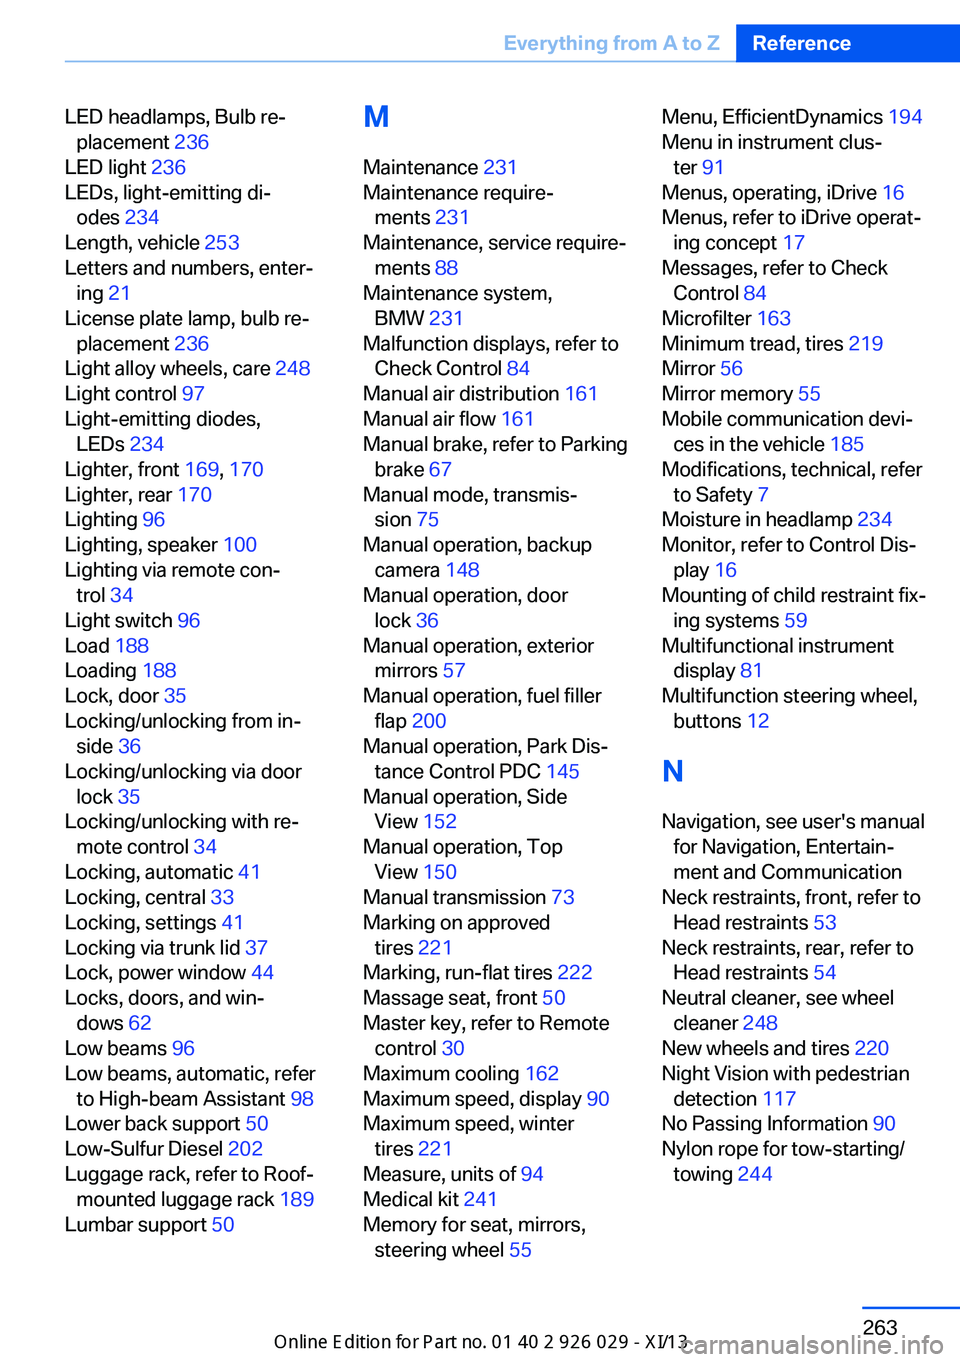
LED headlamps, Bulb re‐placement 236
LED light 236
LEDs, light-emitting di‐ odes 234
Length, vehicle 253
Letters and numbers, enter‐ ing 21
License plate lamp, bulb re‐ placement 236
Light alloy wheels, care 248
Light control 97
Light-emitting diodes, LEDs 234
Lighter, front 169, 170
Lighter, rear 170
Lighting 96
Lighting, speaker 100
Lighting via remote con‐ trol 34
Light switch 96
Load 188
Loading 188
Lock, door 35
Locking/unlocking from in‐ side 36
Locking/unlocking via door lock 35
Locking/unlocking with re‐ mote control 34
Locking, automatic 41
Locking, central 33
Locking, settings 41
Locking via trunk lid 37
Lock, power window 44
Locks, doors, and win‐ dows 62
Low beams 96
Low beams, automatic, refer to High-beam Assistant 98
Lower back support 50
Low-Sulfur Diesel 202
Luggage rack, refer to Roof- mounted luggage rack 189
Lumbar support 50 M
Maintenance 231
Maintenance require‐ ments 231
Maintenance, service require‐ ments 88
Maintenance system, BMW 231
Malfunction displays, refer to Check Control 84
Manual air distribution 161
Manual air flow 161
Manual brake, refer to Parking brake 67
Manual mode, transmis‐ sion 75
Manual operation, backup camera 148
Manual operation, door lock 36
Manual operation, exterior mirrors 57
Manual operation, fuel filler flap 200
Manual operation, Park Dis‐ tance Control PDC 145
Manual operation, Side View 152
Manual operation, Top View 150
Manual transmission 73
Marking on approved tires 221
Marking, run-flat tires 222
Massage seat, front 50
Master key, refer to Remote control 30
Maximum cooling 162
Maximum speed, display 90
Maximum speed, winter tires 221
Measure, units of 94
Medical kit 241
Memory for seat, mirrors, steering wheel 55 Menu, EfficientDynamics 194
Menu in instrument clus‐ ter 91
Menus, operating, iDrive 16
Menus, refer to iDrive operat‐ ing concept 17
Messages, refer to Check Control 84
Microfilter 163
Minimum tread, tires 219
Mirror 56
Mirror memory 55
Mobile communication devi‐ ces in the vehicle 185
Modifications, technical, refer to Safety 7
Moisture in headlamp 234
Monitor, refer to Control Dis‐ play 16
Mounting of child restraint fix‐ ing systems 59
Multifunctional instrument display 81
Multifunction steering wheel, buttons 12
N Navigation, see user's manual for Navigation, Entertain‐
ment and Communication
Neck restraints, front, refer to Head restraints 53
Neck restraints, rear, refer to Head restraints 54
Neutral cleaner, see wheel cleaner 248
New wheels and tires 220
Night Vision with pedestrian detection 117
No Passing Information 90
Nylon rope for tow-starting/ towing 244 Seite 263Everything from A to ZReference263
Online Edition for Part no. 01 40 2 911 177 - VI/13
Page 269 of 273
Reset, Tire Pressure MonitorTPM 105
Residual heat, automatic cli‐ mate control 162
Retaining straps, securing cargo 189
Retreaded tires 221
Reversing lamp, bulb replace‐ ment 237
Roadside parking lamps 97
Roller sunblinds 45
Roll stabilization, refer to Adaptive Drive 129
Roll stabilization, see Dy‐ namic Drive 129
RON gasoline quality 202
Roof load capacity 253
Roof-mounted luggage rack 189
Rope for tow-starting/ towing 244
RSC Run Flat System Com‐ ponent, refer to Run-flat
tires 222
Rubber components, care 248
Run-flat tires 222
S Safe braking 186
Safety 7
Safety belt reminder for driv‐ er's seat and front passen‐
ger seat 53
Safety belts 52
Safety belts, care 248
Safety Package, refer to Ac‐ tive Protection 123
Safety switch, windows 44
Safety systems, airbags 101
Saving fuel 191
Screen, refer to Control Dis‐ play 16
Screwdriver 233 Screw thread for tow fit‐
ting 245
Seat belts, refer to Safety belts 52
Seat heating, front 51
Seat heating, rear 51
Seating position for chil‐ dren 59
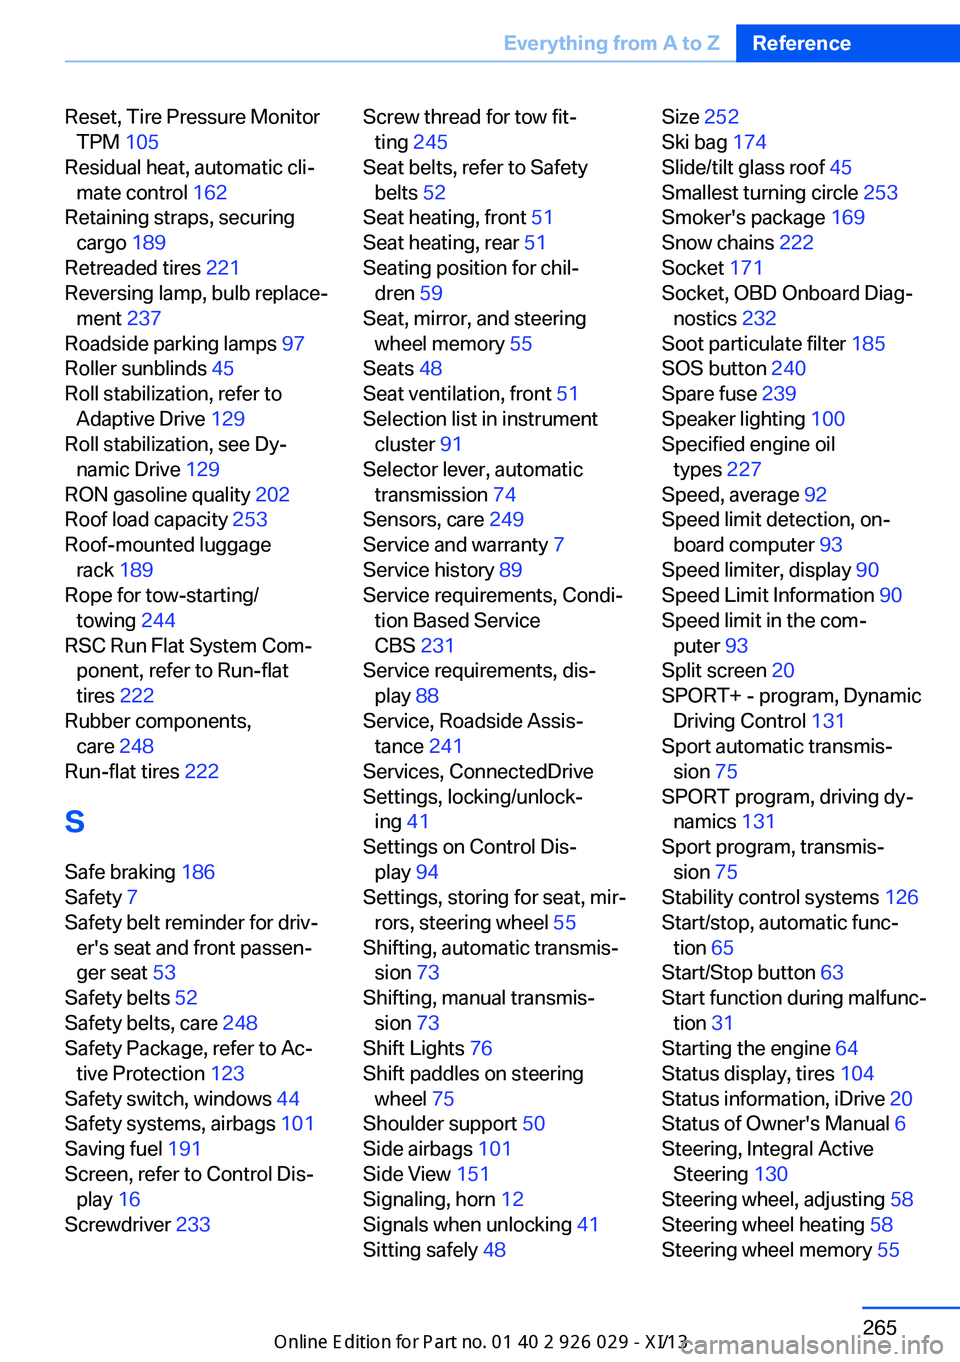
Seat, mirror, and steering wheel memory 55
Seats 48
Seat ventilation, front 51
Selection list in instrument cluster 91
Selector lever, automatic transmission 74
Sensors, care 249
Service and warranty 7
Service history 89
Service requirements, Condi‐ tion Based Service
CBS 231
Service requirements, dis‐ play 88
Service, Roadside Assis‐ tance 241
Services, ConnectedDrive
Settings, locking/unlock‐ ing 41
Settings on Control Dis‐ play 94
Settings, storing for seat, mir‐ rors, steering wheel 55
Shifting, automatic transmis‐ sion 73
Shifting, manual transmis‐ sion 73
Shift Lights 76
Shift paddles on steering wheel 75
Shoulder support 50
Side airbags 101
Side View 151
Signaling, horn 12
Signals when unlocking 41
Sitting safely 48 Size 252
Ski bag 174
Slide/tilt glass roof 45
Smallest turning circle 253
Smoker's package 169
Snow chains 222
Socket 171
Socket, OBD Onboard Diag‐ nostics 232
Soot particulate filter 185
SOS button 240
Spare fuse 239
Speaker lighting 100
Specified engine oil types 227
Speed, average 92
Speed limit detection, on‐ board computer 93
Speed limiter, display 90
Speed Limit Information 90
Speed limit in the com‐ puter 93
Split screen 20
SPORT+ - program, Dynamic Driving Control 131
Sport automatic transmis‐ sion 75
SPORT program, driving dy‐ namics 131
Sport program, transmis‐ sion 75
Stability control systems 126
Start/stop, automatic func‐ tion 65
Start/Stop button 63
Start function during malfunc‐ tion 31
Starting the engine 64
Status display, tires 104
Status information, iDrive 20
Status of Owner's Manual 6
Steering, Integral Active Steering 130
Steering wheel, adjusting 58
Steering wheel heating 58
Steering wheel memory 55 Seite 265Everything from A to ZReference265
Online Edition for Part no. 01 40 2 911 177 - VI/13