door lock BMW 540i 2000 E39 Workshop Manual
[x] Cancel search | Manufacturer: BMW, Model Year: 2000, Model line: 540i, Model: BMW 540i 2000 E39Pages: 1002
Page 17 of 1002
Downloaded from www.Manualslib.com manuals search engine
General
ADVICE FOR THE BEGINNER
The tips that follow are general advice to help the do-it-your-
self BMW owner
periorm repairs and maintenance taslts
more easily and more professionally.
Planning ahead
Know what the whole job requires before starting. Read the
procedure thoroughly, from beginning to end, in
orderto know
just what to expect and what parts will have to be replaced.
Workshop practices
Keeping things organized, neat, and clean is essential to do-
ing a good job. When working under the hood, iender covers
will protectthe finish from scratches and otherdamage. Make
sure the car finish is clean so that dirt under the cover does
not scratch the iinish.
Any repair job will be less troublesome if the parts are clean
For cleaning old parts, there are many solvents and parts
cleaners commercially available.
For cleaning parts prior to assembly, commercially available
aerosol cans of parts cleaner or brake cleaner are handy to
use, and the cleaner will evaporate completely.
WARNING-
Most solvents used for cleaning parts are highly flammable
as well as toxic, especially in aerosol form. Use with extreme
care. Do not smoke. Do not use these products indoors or
near any source of heat, sparks or flame.
Non reusable fasteners
Many fasteners used on the cars covered by this manual
must be replaced with new ones once they are removed.
These include but are not limited to: bolts, nuts (self-locking,
nylock, etc.), roll pins, clips and washers. Genuine BMW
parts should be the only replacement parts used for this pur-
pose.
Some bolts are designed to stretch during assembly and are
permanently altered, rendering them unreliable once re-
moved. These are known as torque-to-yield fasteners. Al-
ways replace fasteners where instructed to do so. Failure to
replace these fasteners could cause personal injury
orvehi-
cle damage. See an authorized BMW dealer for applications
and ordering information.
Page 63 of 1002
Downloaded from www.Manualslib.com manuals search engine
Maintenance
BODY AND INTERIOR MAINTENANCE
Body and hinges, lubricating
Door locksand loclccylinderscan be lubricated with an oil that
contains graphite.
Body and doorhinges, hood latch and doorcheclc rods should
be lubricated with
SAE 30 or SAE 40 engine oil. Lubricate
seat runners with multipurposegrease. Do not apply any oil to
rubber parts.
If door weather-strips are sticking, lubricate
them with silicone spray or talcum powder. The hood release
cable should be lubricated as well.
The use of winter
lock deicer sprays should be lkept to an
absolute minimum, as the alcohol in the deicer will wash the
grease out of the lock assemblies and may cause locks to
corrode internally or to become difficult to operate.
Exterior washing
The longer dirt is left on the paint, the greater the risk of dam-
aging theglossy finish,
eitherby scratching or by thechemical
effect dirt particles may have on the painted surface.
Do not wash the car in direct sunlight. If the engine hood is
warm, allow it to cool. Beads of water not only leave spots
when dried rapidly by the sun or heat from theengine, but also
can act as small magnifying glasses and burn spots into the
finish. Wash the car with a mixture of lukewarm water and a
car wash product. Rinse using plenty of clear water. Wipe the
body dry with a sofl cloth towel or chamois to prevent
water-spotting.
Interior care
Dirt spots can usually be removed with lultewarm soapy water
or a dry foam cleaner. Use spot remover for grease and oil
spots. Do not pour the liquid directly on the carpet or fabric,
but dampen a clean cloth and rub carefully, starting at the
edge of the spot and working inward. Do not use gasoline,
naphtha, or other flammable substances.
Leather upholstery and trim
Leather upholstery and trim should be periodically cleaned
using a slightly damp cotton or wool cloth. The idea is to get
rid of the dirt in the creases and pores that can cause brittle-
ness and premature aging. On heavily soiled areas, use a
mild detergent (such as
wooliteQ) or other specially formulat-
ed leather cleaners. Dry the trim and upholstery completely
Page 373 of 1002
Downloaded from www.Manualslib.com manuals search engine
Battery, Starter, ~lternatorl
WARNING-
Always wear protective goggles and clothing when perform-
ing a load test.
Table
d. Battery load test - minimum voltage
Ambient temperature Voltage*
27
" C (80" F) 9.6 V
-I 8' C (0"
F) 8.5 V
* Measure
after applying a 200 amp load for 15 seconds.
Closed-circuit current measurement
If the vehicle battery is discharged for an unknown reason,
perform a closed-circuit current measurement as the first test.
For diagnostic purposes, it is important to not disconnect the
battery. Disconnecting the battery may reset a faulty control
unit, preventing proper diagnosis.
The following test is generally completed overnight using a
multimeterwith a closed circuitcurrent measurement adaptor
with a recording function
- Check that battery voltage is 12 volts or higher. If lower,
recharge battery.
- Switch off electrical consumers (interior lights, telephone,
aftermarket equipment, or others).
- Open luggage compartment and remove battery trim panel.
Use screwdriver to lock latch on trunk lid or hatch, simulating
closed luggage compartment. Close other doors.
- Open driver's door, then close it, simulating driver entering
vehicle.
- Switch ignition to RUN position for at least five seconds, then
turn ignition to OFF position. This simulates driving vehicle.
- Open and close driver's door, simulating driver leaving
vehicle.
- Lock car and arm alarm.
- Wait at least 16 minutes for consumer cut-off.
Page 795 of 1002
Downloaded from www.Manualslib.com manuals search engine
400 Body-General
........................ General ........................... .40 0.2 Roof paddin~ 400-7
Body Assembly ................... .40 0.2
Body dimensions (in inches)
............ .40 0.2
Bodyshell
........................... 400-3
Exterior and aerodynamics
............. .40 0.3
Sport Wagon ...................... .40 0.4
Tailgate
............................ .40 0.5
Tailgate lock system
.................. .40 0.5
Rear wiper system ................... .40 0.6
Antenna and sound system ............ .40 0.6
Safety and Security Features ....... .40 0.7
Safety cage
......................... .40 0.7
Door locks and door handles
........... .40 0.7
.
........................... Seat belts 400-7
Airbags ............................ 400-8
Battery safety terminal (BST)
........... 400-9
Security
............................ 400-9
Interior Features ................... 400-9
............................. Seats 400-10
Instruments and controls .............. 400-10
Central body electronics
.............. 400-1 1
Heating and Air
Conditioning (IHKA)
............... 400-12
Page 801 of 1002
Downloaded from www.Manualslib.com manuals search engine
Body-General
SAFETY AND SECURITY FEATURES
A number of new or improved safety and security features are
incorporated in
E39 cars.
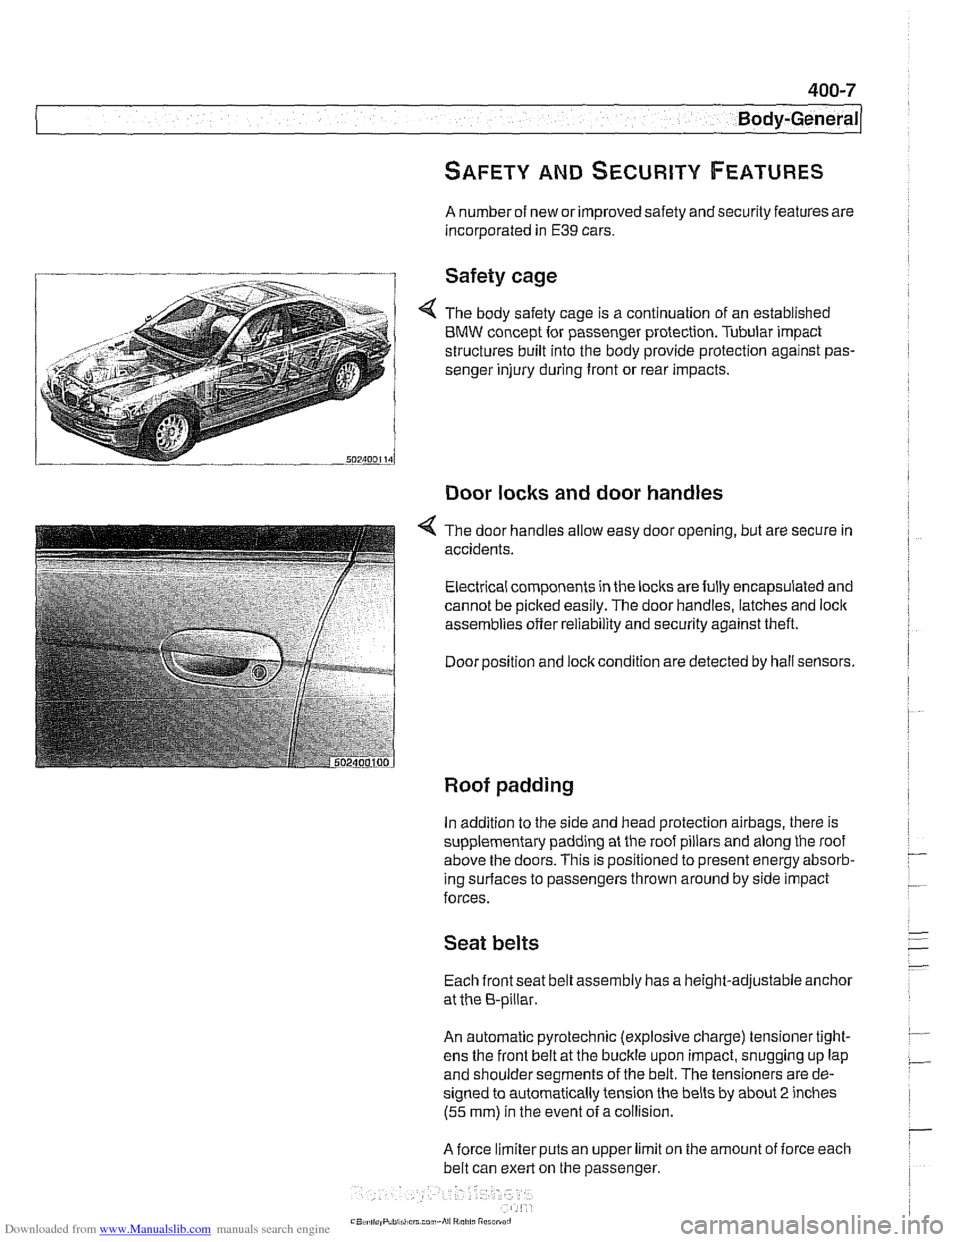
Safety cage
4 The body safety cage is a continuation of an established
BMW concept for passenger protection. Tubular impact
structures built into the body provide protection against pas-
senger injury during front or rear impacts.
Door locks and door handles
4 The door handles allow easy door opening, but are secure in
accidents.
Electrical components in the locks are fully encapsulated and
cannot be picked easily. The door handles, latches and
loclc
assemblies offer reliability and security against theft.
Door position and
loclc condition are detected by hall sensors.
Roof padding
In addition to the side and head protection airbags, there is
supplementary padding at the roof pillars and along the roof
above the doors. This is positioned to present energy absorb-
ing
surlaces to passengers thrown around by side impact
forces.
Seat belts
Each front seat belt assembly has a height-adjustable anchor
at the 8-pillar.
An automatic pyrotechnic (explosive charge) tensioner tight-
ens the front belt at the buckle upon impact, snugging up lap
and shoulder segments of the belt. The tensioners are de-
signed to automatically tension the belts by about
2 inches
(55 mm) in the event ofa collision.
A force limiter puts an upper limit on the amount of iorce each
belt can exert on the passenger.
Page 802 of 1002
Downloaded from www.Manualslib.com manuals search engine
400-8
Body-General
Airbags
Front airbags, s~de a~rbags, pyrotechnic seat belt tensioners
and the Battery Safety Terminal (BST) are integrated into the
Supplemental Restraint System (SRS) and its variants.
NOTE-
The BMW SRS system is called Multiple Restra~nt System
(MRS). Over the years,
E39 cars were equipped with MRS,
MRS
11, MRS 111. Each version offers varied features and im-
provements over the previous system.
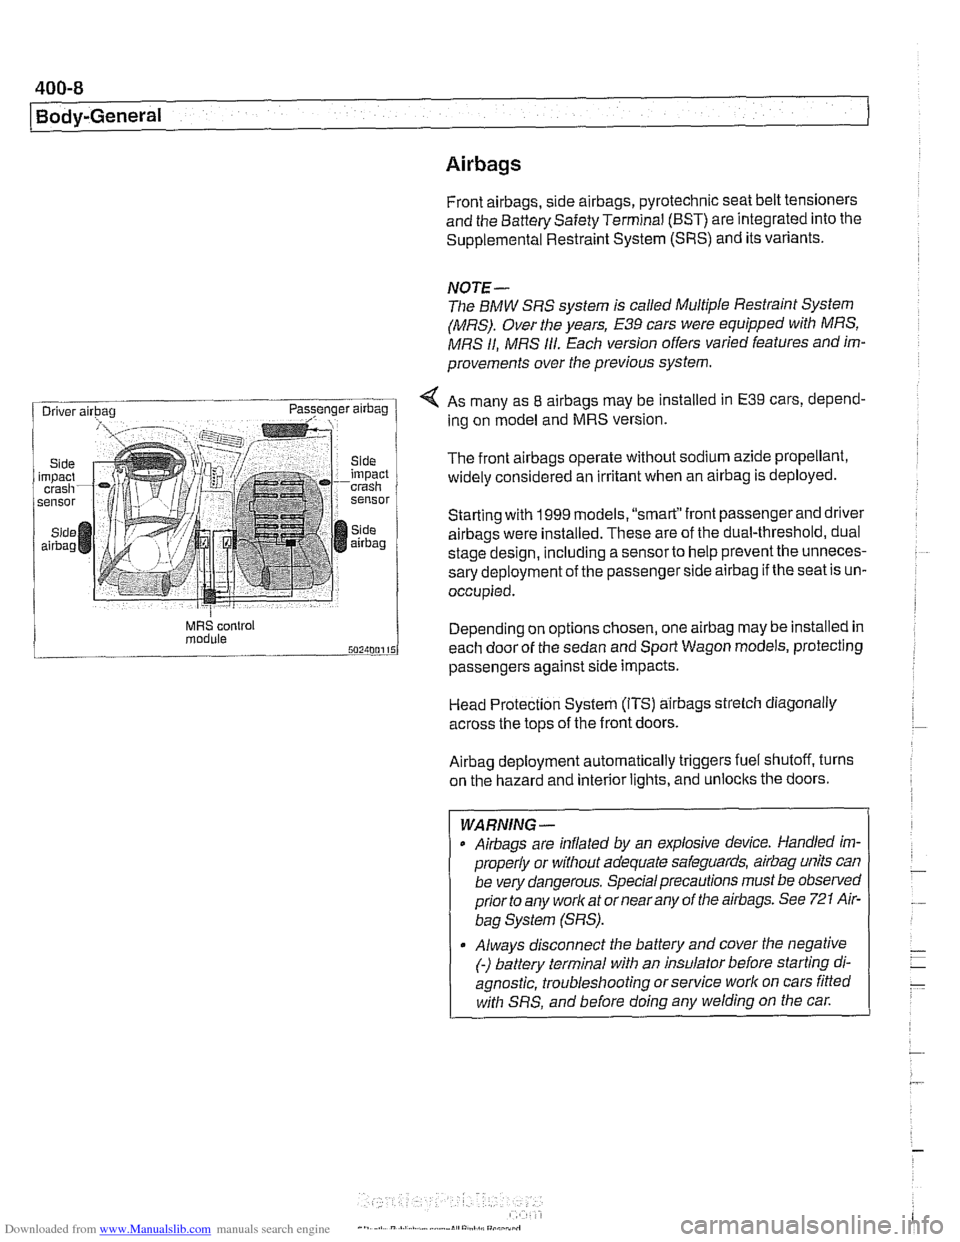
< As many as 8 airbags may be installed in E39 cars, depend-
ing on model and MRS version.
The front
airbags operate without sodium azide propellant,
widely considered an irritant when an
airbag is deployed.
Starting with
1999 models. "smart"front passenger and driver
airbags were installed. These are of the dual-threshold, dual
stage design, including a
sensorto help prevent the unneces-
sary deployment of the passenger side
airbag if the seat is un-
occupied.
MRS control Depend~ng on options chosen, one airbag may be installed in module each door of the sedan and Sport Wagon models, protecting
passengers against
s~de impacts.
Head Protection System (ITS)
airbags strelch diagonally
across the tops of the front doors.
Airbag deployment automatically triggers fuel shutoff, turns
on the hazard and interior lights, and unlocks the doors.
- -
WARNING -
Airbags are inflated by an explosive device. Handled im-
properly or without adequate safeguards,
airbag units can
be very dangerous. Special precautions must be observed
prior to any worlc at or near any of the airbags. See
721 Air-
bag System (SRS).
Always disconnect the battery and cover the negative
(-) battery terminal with an insulator before starting di-
agnostic, troubleshooting or service work on cars fitted
with SRS, and before doing any welding on the
car.
Page 803 of 1002
Downloaded from www.Manualslib.com manuals search engine
400-9
Body-General
Battery safety terminal
(BST)
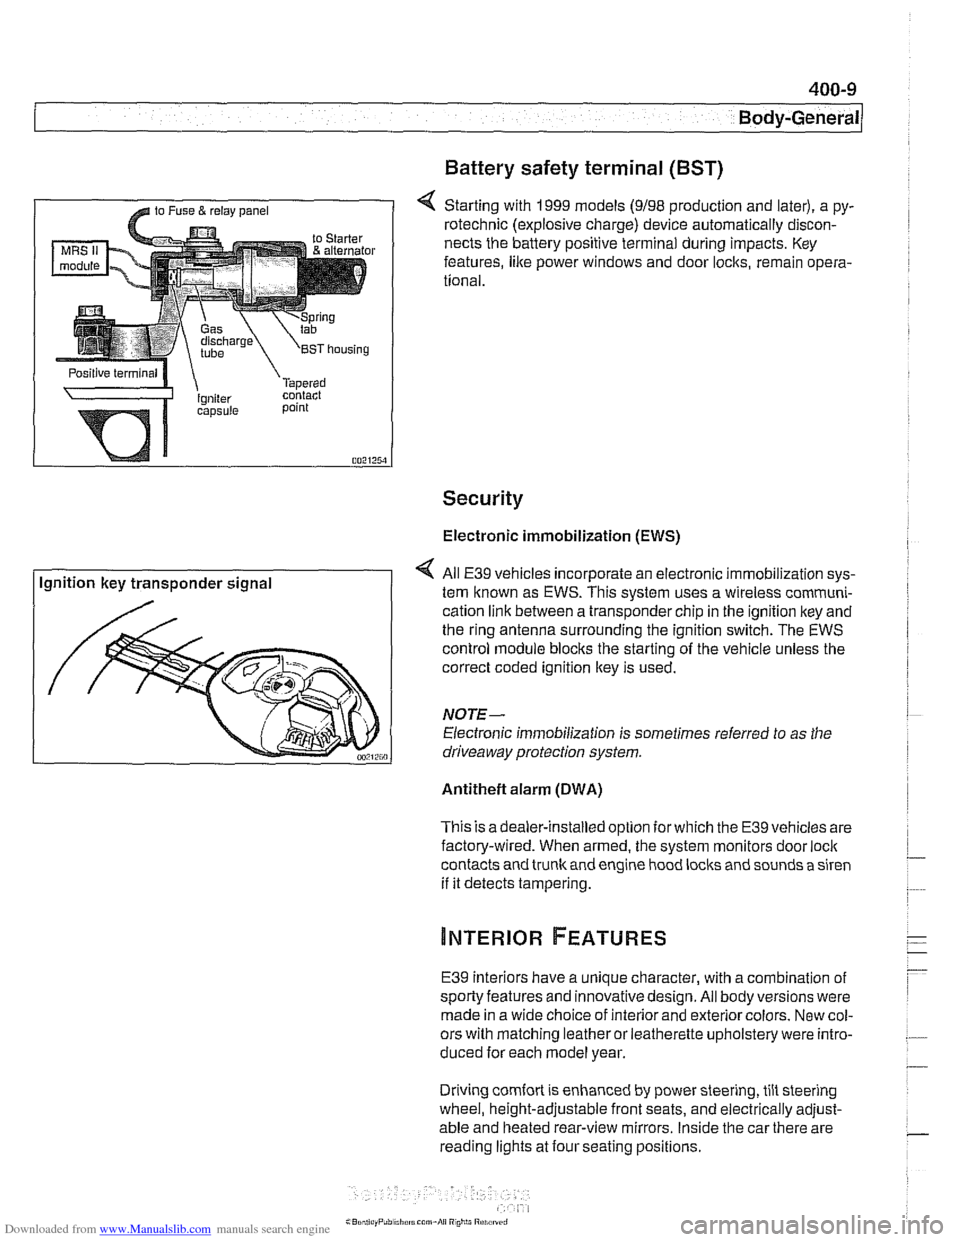
4 Starting with 1999 models (9198 production and later), a py-
rotechnic (explosive charge) device automatically discon-
nects the battery positive terminal during impacts. Key
features,
like power windows and door locks, remain opera-
tional.
Security
Electronic immobilization (EWS)
Ignition key transponder signal All
E39 vehicles incorporate an electronic immobilization sys-
tem known as EWS. This svstem uses a wireless comrnuni-
cation link between a transponder chip in the ignition key and
the ring antenna surrounding the ignition switch. The EWS
control module blocks the starting of the vehicle unless the
correct coded ignition key is used.
NOTE-
Electronic immobilization is sometimes referred to as the
driveaway protection system.
Antitheft alarm (DWA)
This is adealer-installed option for which the E39 vehicles are
factory-wired. When armed, the system monitors door
loci(
contacts and trunk and engine hood locks and sounds a siren
if it detects tampering.
E39 interiors have a unique character, with a combination
of
sporty features and innovativedesign. All body versions were
made in a wide choice of interior and exterior colors. New col-
ors with matching leather or leatherette upholstery were intro-
duced for each model year.
Driving
comfort is enhanced by power steering, tilt steering
wheel, height-adjustable front seats, and electrically adjust-
able and heated rear-view mirrors. Inside the car there are
reading lights at four seating positions.
Page 805 of 1002
Downloaded from www.Manualslib.com manuals search engine
Instrument cluster
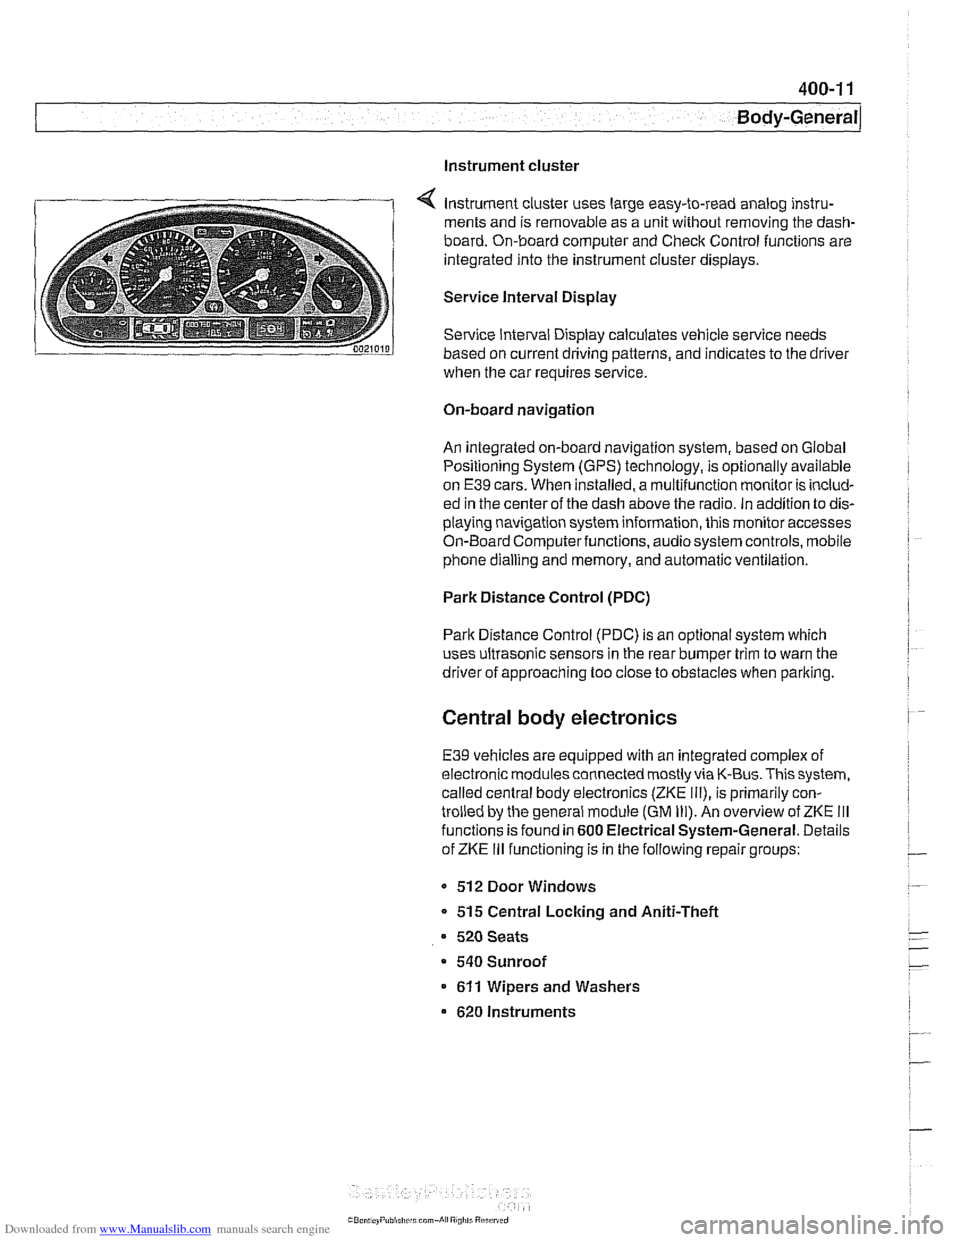
Instrument cluster uses large easy-to-read analog instru-
ments and is removable as a unit without removing the dash-
board. On-board computer and Check Control functions are
integrated into the instrument cluster displays.
Service Interval Display
Service Interval Display calculates vehicle service needs
based on current driving patterns, and indicates to the driver
when the car requires
service
On-board navigation
An integrated on-board navigation system, based on Global
Positioning System (GPS) technology, is optionally available
on
E39 cars. When installed, a multifunction monitor is includ-
ed in the center of the dash above the radio. in addition to dis-
playing navigation system information, this monitor accesses
On-Board Computerfunctions, audiosystem controls, mobile
phone dialling and memory, and automatic ventilation.
Park Distance Control (PDC)
Park Distance Control (PDC) is an optional system which
uses ultrasonic sensors in the rear bumper trim to warn the
driver of approaching too close to obstacles when parlting.
Central body electronics
E39 vehicles are equipped with an integrated complex of
electronic modules connected mostly via K-Bus. This system,
called central body electronics (ZKE
Ill), is primarily con-
trolled by the general module (GM
Ill). An overview of ZKE Ill
functions is found in 600 Electrical System-General. Details
of ZKE
Ill functioning is in the following repair groups:
- 512 Door Windows
* 515 Central Locking and Aniti-Theft
520 Seats
a 540 Sunroof
611 Wipers and Washers
620 Instruments
Page 820 of 1002
Downloaded from www.Manualslib.com manuals search engine
Doors
This repair group covers front and rear door repair informa-
tion. It includes removal and installation of front and rear
doors and trim panels.
For information on
airbag removal and installation, see 721
airbag.
For information on the power door windows and door glass
replacement, see
512 Door Windows.
For information on the power door
loclting system, see 515
Central Locking and Anti-Theft.
WARNING-
E39 cars are fitted with side-impact airbags in the front doors
and optional side impact
airbags in the rear doors. When
servicing doors, always disconnect the negative
(-) battery
terminal. See
721 Airbag System (SRS) for cautions and
procedures
relatinq to the airbaq system.
Front or rear door, removing and installing
- Disconnect negative (-) battery cable.
Prior to disconnecting the battery, read the battery discon-
nection cautionsgiven in
001 General Cautions and warn-
ings.
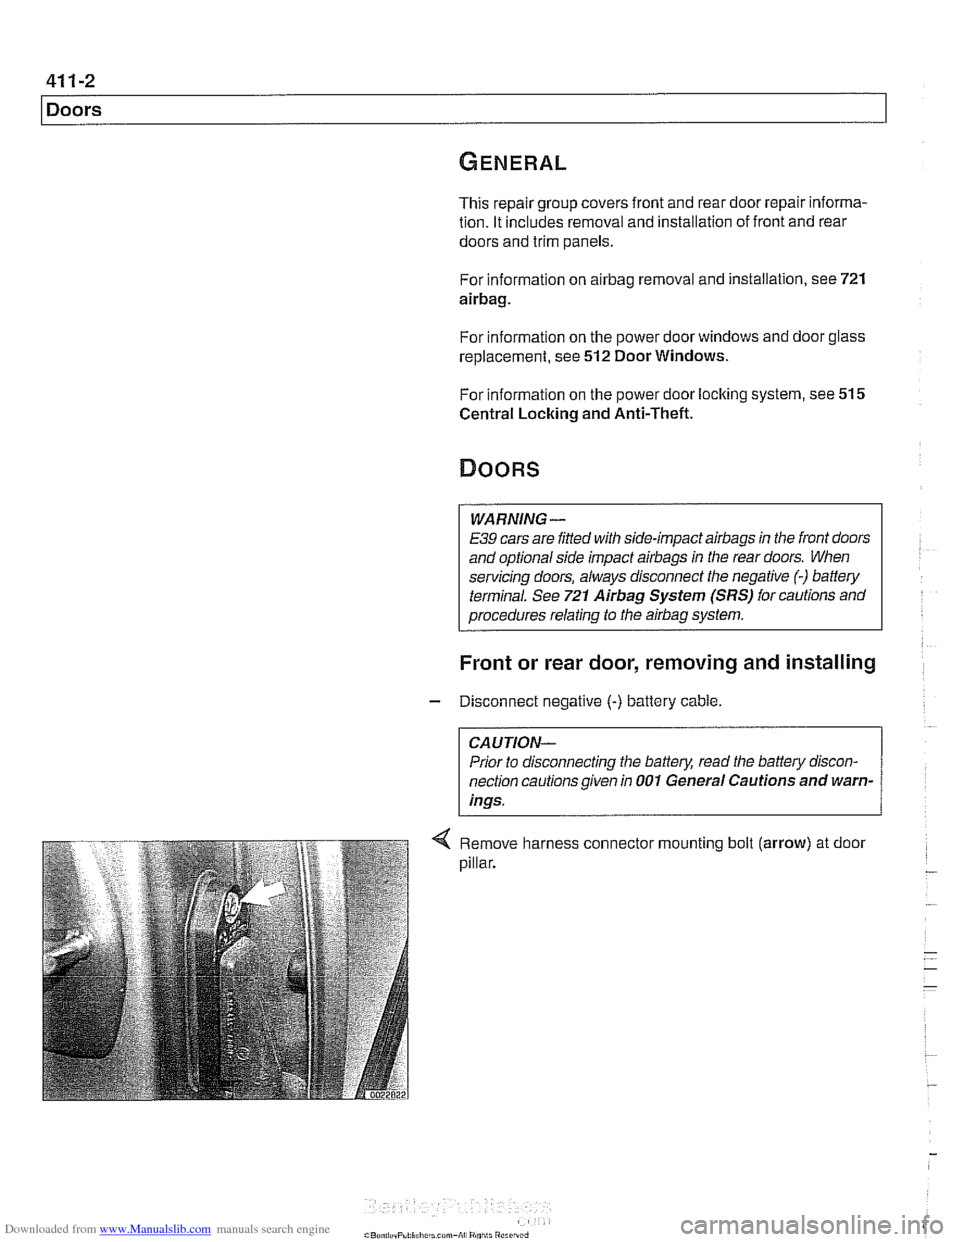
Remove harness connector mounting bolt (arrow) at door
pillar.
Page 821 of 1002
Downloaded from www.Manualslib.com manuals search engine
411-3
Doors
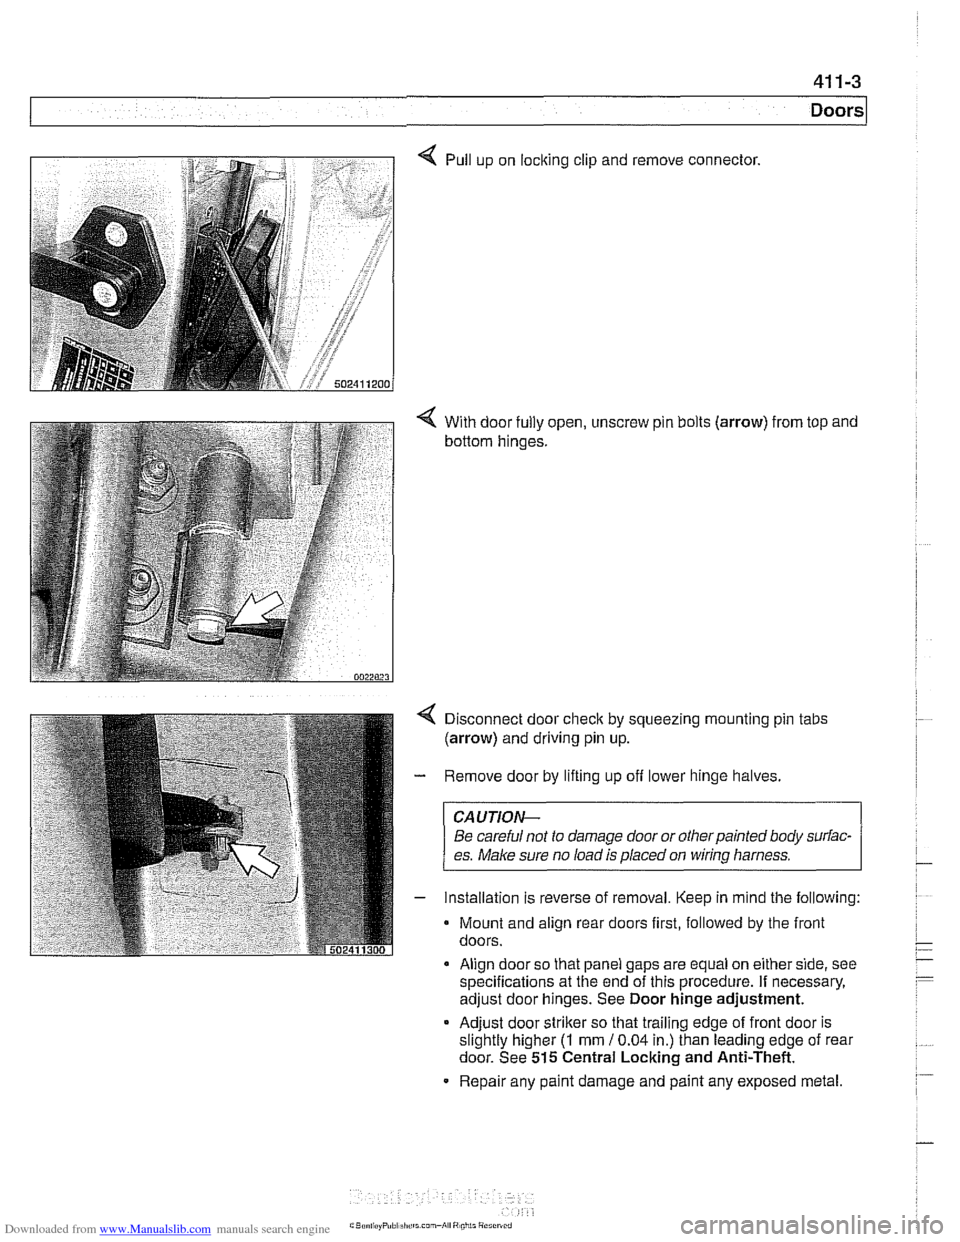
4 Pull up on locking clip and remove connector.
4 With door fully open, unscrew pin bolts (arrow) from top and
bottom hinges.
Disconnect door
check by squeezing mounting pin tabs
(arrow) and driving pin up.
Remove door by lifting up off lower hinge halves.
CAUJION-
Be careful not to damage door or otherpainted body surfac-
es.
Make sure no load is placed on wirinq harness.
Installation is reverse of removal. Keep in mind the following:
Mount and align rear doors first, followed by the front
doors.
Align door so that panel gaps are equal on either side, see
specifications at the end of this procedure. If necessary,
adjust door hinges. See Door hinge adjustment.
* Adjust door striker so that trailing edge of front door is
slightly higher
(I mm 10.04 in.) than leading edge of rear
door. See
515 Central Locking and Anti-Theft.
Repair any paint damage and paint any exposed metal.