jack BMW 550I 2011 F10 Owner's Manual
[x] Cancel search | Manufacturer: BMW, Model Year: 2011, Model line: 550I, Model: BMW 550I 2011 F10Pages: 304, PDF Size: 10.18 MB
Page 37 of 304
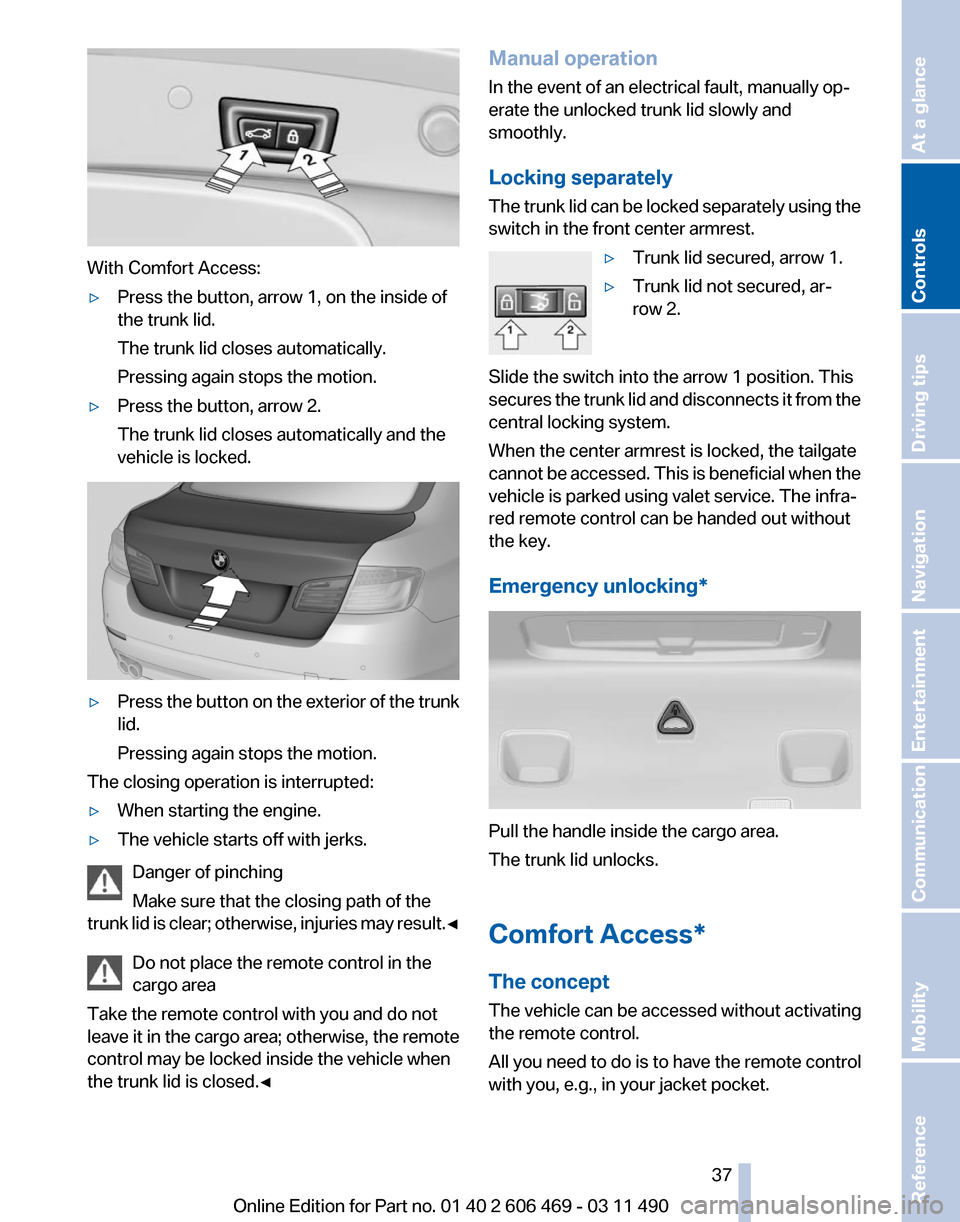
With Comfort Access:
▷
Press the button, arrow 1, on the inside of
the trunk lid.
The trunk lid closes automatically.
Pressing again stops the motion.
▷ Press the button, arrow 2.
The trunk lid closes automatically and the
vehicle is locked. ▷
Press the button on the exterior of the trunk
lid.
Pressing again stops the motion.
The closing operation is interrupted:
▷ When starting the engine.
▷ The vehicle starts off with jerks.
Danger of pinching
Make sure that the closing path of the
trunk
lid is clear; otherwise, injuries may result.◀ Do not place the remote control in the
cargo area
Take the remote control with you and do not
leave it in the cargo area; otherwise, the remote
control may be locked inside the vehicle when
the trunk lid is closed.◀ Manual operation
In the event of an electrical fault, manually op‐
erate the unlocked trunk lid slowly and
smoothly.
Locking separately
The
trunk lid can be locked separately using the
switch in the front center armrest.
▷Trunk lid secured, arrow 1.
▷ Trunk lid not secured, ar‐
row 2.
Slide the switch into the arrow 1 position. This
secures
the trunk lid and disconnects it from the
central locking system.
When the center armrest is locked, the tailgate
cannot be accessed. This is beneficial when the
vehicle is parked using valet service. The infra‐
red remote control can be handed out without
the key.
Emergency unlocking* Pull the handle inside the cargo area.
The trunk lid unlocks.
Comfort Access*
The concept
The vehicle can be accessed without activating
the remote control.
All you need to do is to have the remote control
with you, e.g., in your jacket pocket. Seite 37
37Online Edition for Part no. 01 40 2 606 469 - 03 11 490
Reference Mobility Communication Entertainment Navigation Driving tips
Controls At a glance
Page 86 of 304
▷
Keep the dashboard and window on the
front
passenger side clear, i.e., do not cover
with adhesive labels or coverings, and do not
attach holders such as for navigation instru‐
ments and mobile phones.
▷ Make sure that the front passenger is sitting
correctly, i.e., keeps his or her feet and legs
in the footwell; otherwise, leg injuries can
occur if the front airbag is triggered.
▷ Do not place slip covers, seat cushions or
other objects on the front passenger seat
that are not approved specifically for seats
with integrated side airbags.
▷ Do not hang pieces of clothing, such as jack‐
ets, over the backrests.
▷ Make sure that occupants keep their heads
away from the side airbag and do not rest
against the head airbag; otherwise, injuries
can occur if the airbags are triggered.
▷ Do not remove the airbag restraint system.
▷ Do not remove the steering wheel.
▷ Do not apply adhesive materials to the air‐
bag cover panels, cover them or modify
them in any way.
▷ Never modify either the individual compo‐
nents
or the wiring in the airbag system. This
also applies to steering wheel covers, the
dashboard, the seats, the roof pillars and the
sides of the headliner.◀
Even when all instructions are followed closely,
injury from contact with the airbags cannot be
ruled out in certain situations.
The ignition and inflation noise may lead to
short-term
and, in most cases, temporary hear‐
ing impairment in sensitive individuals.
In the case of a malfunction, deactivation
and after triggering of the airbags
Do not touch the individual components imme‐
diately after the system has been triggered; oth‐
erwise, there is the danger of burns.
Only have the airbags checked, repaired or dis‐
mantled and the airbag generator scrapped by
your service center or a workshop that has the
necessary authorization for handling explosives. Non-professional attempts to service the sys‐
tem
could lead to failure in an emergency or un‐
desired triggering of the airbag, either of which
could result in injury.◀
Warnings and information on the airbags are
also found on the sun visors.
Functional readiness of the airbag
system
When the ignition is switch on, the warn‐
ing lamp in the instrument cluster lights
up briefly and thereby indicates the op‐
erational readiness of the entire airbag system
and the belt tensioner.
Airbag system malfunctioning
▷ In radio ready state, the warning lamp does
not come on.
▷ The warning lamp lights up continuously.
When there is a malfunction, have the air‐
bag system checked immediately
When there is a malfunction, have the airbag
system checked immediately; otherwise, there
is
a risk that the system does not function as ex‐
pected in the event of an accident despite cor‐
responding severity of the accident.◀
Automatic deactivation of the front
passenger airbags
The system determines whether the front pas‐
senger seat is occupied by measuring the re‐
sistance of the human body.
The front, knee, and side airbag on the front
passenger side are activated or deactivated ac‐
cordingly.
Leave feet in the footwell
Make sure that the front passenger keeps
his or her feet in the footwell; otherwise, the front
passenger airbags may not function properly.◀ Seite 86
86 Online Edition for Part no. 01 40 2 606 469 - 03 11 490
Safety
Page 193 of 304
Connecting
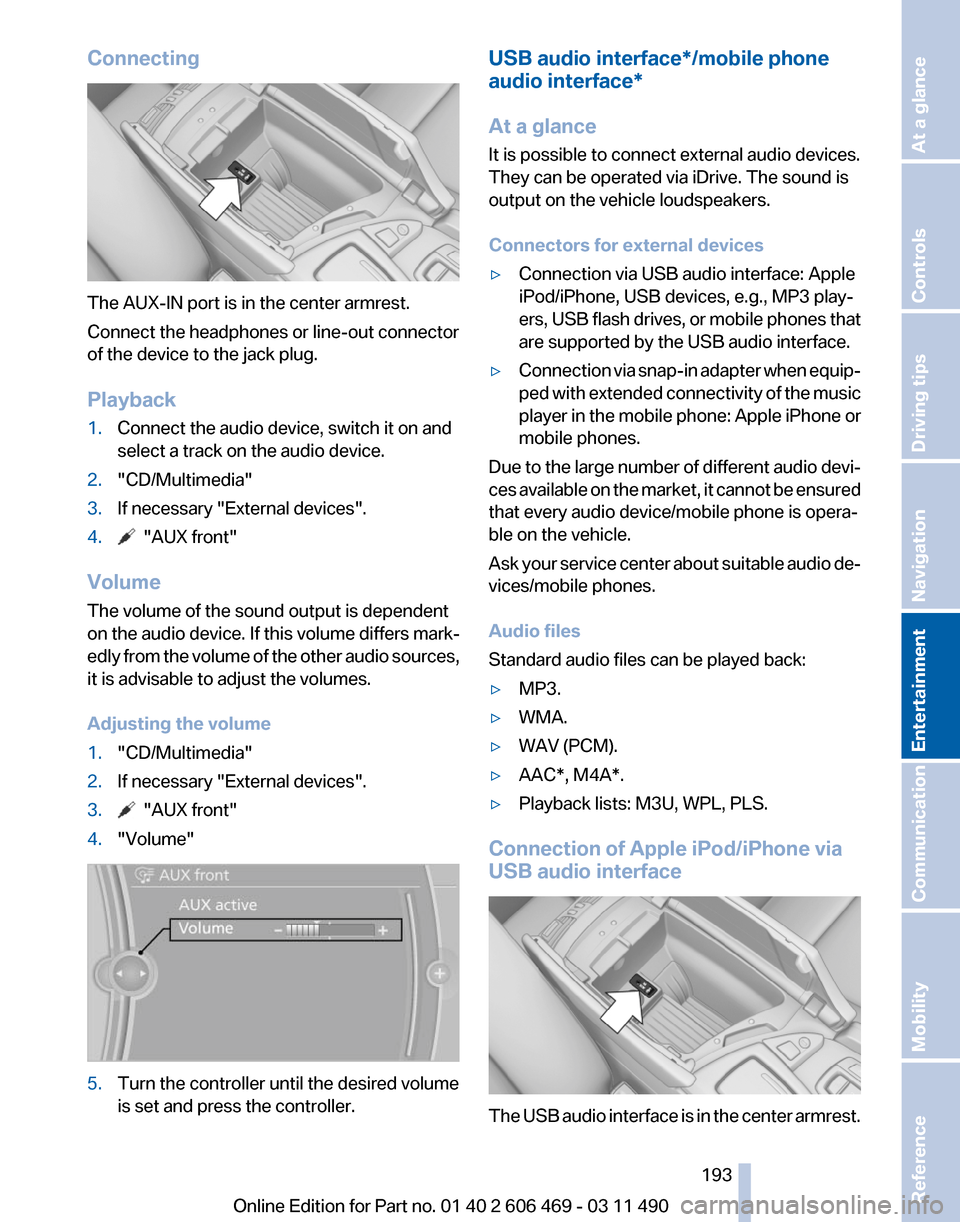
The AUX-IN port is in the center armrest.
Connect the headphones or line-out connector
of the device to the jack plug.
Playback
1.
Connect the audio device, switch it on and
select a track on the audio device.
2. "CD/Multimedia"
3. If necessary "External devices".
4. "AUX front"
Volume
The volume of the sound output is dependent
on the audio device. If this volume differs mark‐
edly
from the volume of the other audio sources,
it is advisable to adjust the volumes.
Adjusting the volume
1. "CD/Multimedia"
2. If necessary "External devices".
3. "AUX front"
4. "Volume" 5.
Turn the controller until the desired volume
is set and press the controller. USB audio interface*/mobile phone
audio interface
*
At a glance
It is possible to connect external audio devices.
They can be operated via iDrive. The sound is
output on the vehicle loudspeakers.
Connectors for external devices
▷ Connection via USB audio interface: Apple
iPod/iPhone, USB devices, e.g., MP3 play‐
ers,
USB flash drives, or mobile phones that
are supported by the USB audio interface.
▷ Connection via snap-in adapter when equip‐
ped
with extended connectivity of the music
player in the mobile phone: Apple iPhone or
mobile phones.
Due to the large number of different audio devi‐
ces
available on the market, it cannot be ensured
that every audio device/mobile phone is opera‐
ble on the vehicle.
Ask your service center about suitable audio de‐
vices/mobile phones.
Audio files
Standard audio files can be played back:
▷ MP3.
▷ WMA.
▷ WAV (PCM).
▷ AAC*, M4A*.
▷ Playback lists: M3U, WPL, PLS.
Connection of Apple iPod/iPhone via
USB audio interface The USB audio interface is in the center armrest.
Seite 193
193Online Edition for Part no. 01 40 2 606 469 - 03 11 490
Reference Mobility Communication
Entertainment Navigation Driving tips Controls At a glance
Page 205 of 304
Headphones, vehicle
loudspeakers
Connecting the headphones
Normal headphones
Connect via the jack 1/8"/3.5 mm, refer to
page
201, on the rear CD/DVD player.
Infrared headphones
Connection via the infrared interface on the
lower edge of the screen.
Fitting infrared headphones and information on
which headphones are supported can be ob‐
tained from your service center.
When using infrared headphones, ensure that
the connection between the headphones and
the infrared interface is not disrupted:
▷ Do not place an obstacle between the inter‐
face and headphones.
▷ Do not cover the interface.
▷ Do not scratch the interface.
Fold up display screens for interference-free re‐
ception.
Unfavorable light conditions such as bright am‐
bient light can impair reception.
Sound output on the headphones or
vehicle loudspeakers
Operation is only possible in the rear.
1. Open "Options".
2. "Headphones" or "Loudspeakers"
With the following setting, sound output in the
rear is not possible via the vehicle speakers:
"Driver control".
External devices
General information
External audio and video devices and digital
cameras
can be connected to cinch sockets, re‐
fer to page 201, on the CD/DVD player. Opera‐
tion takes place on the external device. Due to the large number of different audio and
video devices available on the market, it cannot
be ensured that every audio and video device
will be displayed correctly on the screen.
Connecting an external device
1.
Fold down the cover in front of the cinch
sockets on the CD/DVD player.
2. Connect the external device to the RCA
sockets.
▷Video: yellow socket.
▷ Audio: white and red socket.
Starting playback
1. "CD/Multimedia"
2. "External devices"
3. Select the or symbol.
Volume
The volume of the sound output is dependent
on the audio device. If this volume differs mark‐
edly
from the volume of the other audio sources,
it is advisable to adjust the volumes.
Adjusting the volume
The volume can only be adjusted if no external
video device is connected.
1. "CD/Multimedia"
2. "External devices"
3. Select the or symbol.
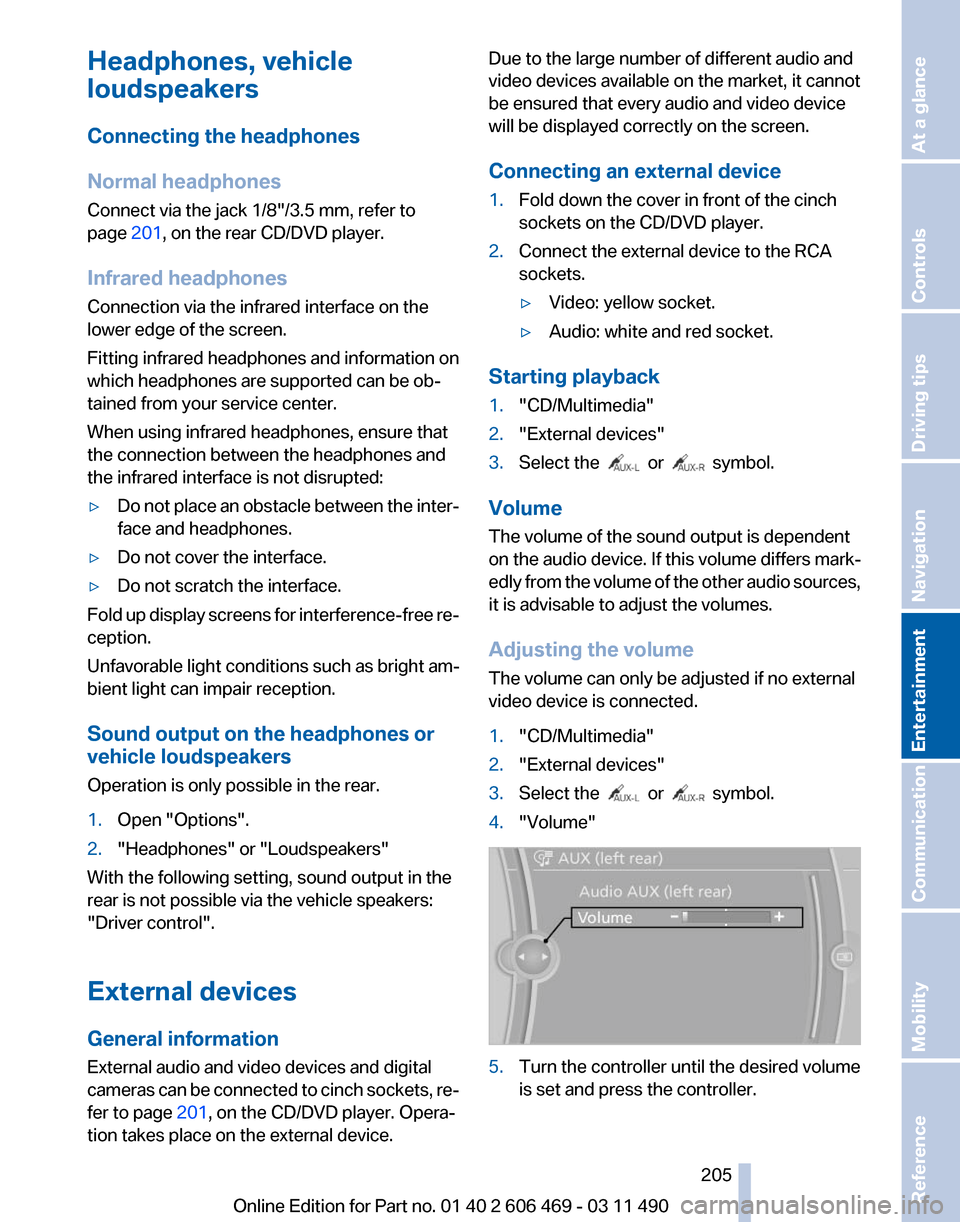
4. "Volume" 5.
Turn the controller until the desired volume
is set and press the controller.
Seite 205
205Online Edition for Part no. 01 40 2 606 469 - 03 11 490
Reference Mobility Communication
Entertainment Navigation Driving tips Controls At a glance
Page 267 of 304
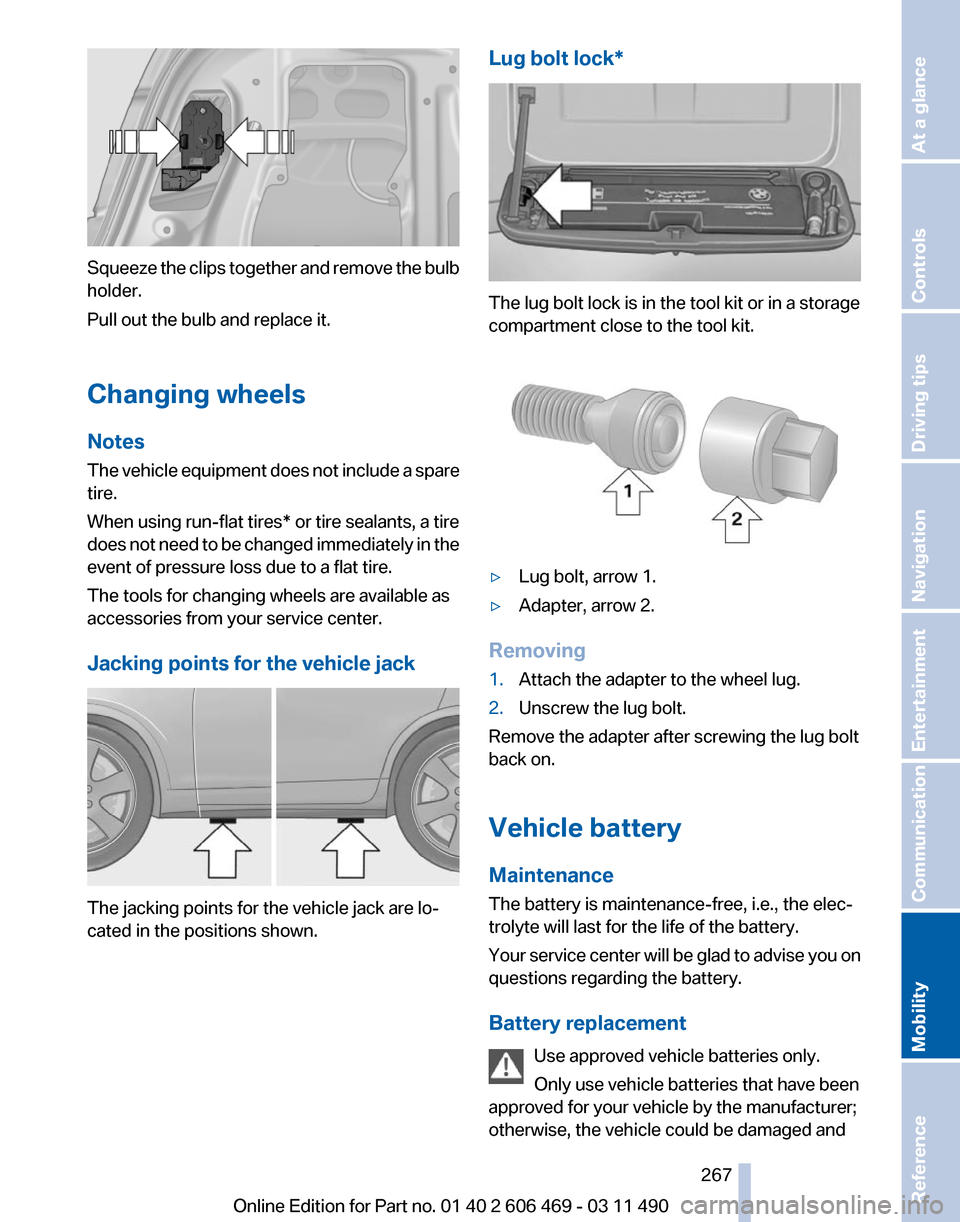
Squeeze the clips together and remove the bulb
holder.
Pull out the bulb and replace it.
Changing wheels
Notes
The
vehicle equipment does not include a spare
tire.
When using run-flat tires* or tire sealants, a tire
does not need to be changed immediately in the
event of pressure loss due to a flat tire.
The tools for changing wheels are available as
accessories from your service center.
Jacking points for the vehicle jack The jacking points for the vehicle jack are lo‐
cated in the positions shown. Lug bolt lock* The lug bolt lock is in the tool kit or in a storage
compartment close to the tool kit.
▷
Lug bolt, arrow 1.
▷ Adapter, arrow 2.
Removing
1. Attach the adapter to the wheel lug.
2. Unscrew the lug bolt.
Remove the adapter after screwing the lug bolt
back on.
Vehicle battery
Maintenance
The battery is maintenance-free, i.e., the elec‐
trolyte will last for the life of the battery.
Your
service center will be glad to advise you on
questions regarding the battery.
Battery replacement
Use approved vehicle batteries only.
Only use vehicle batteries that have been
approved for your vehicle by the manufacturer;
otherwise, the vehicle could be damaged and Seite 267
267Online Edition for Part no. 01 40 2 606 469 - 03 11 490
Reference
Mobility Communication Entertainment Navigation Driving tips Controls At a glance
Page 298 of 304
Information on the navigation
data 168
Initialization, Integral Active Steering 98
Initializing,
Tire Pressure Mon‐
itor TPM 89
Instrument cluster 0
Instrument cluster, electronic displays 69
Instrument cluster, over‐ view 67
Instrument cluster with en‐ hanced features 0
Instrument lighting 83
Integral Active Steering 98
Integrated key 28
Integrated universal remote control 132
Intensity, AUTO program 127
Interactive map 158
Interior equipment 132
Interior lamps 83
Interior lamps via remote con‐ trol 32
Interior motion sensor 40
Interior rearview mirror 52
Interior rearview mirror, auto‐ matic dimming feature 53
Intermediate destinations 160
Internet page 6
Intersection, entering for navi‐ gation 155
Interval display, service re‐ quirements 74
iPod/iPhone 193
J
Jacking points for the vehicle jack 267
Jack, refer to Vehicle jack 267
Joystick, automatic transmis‐ sion 65
K
Key/remote control 28 Keyless Go, refer to Comfort
Access 37
Key
Memory, refer to Personal
Profile 29
Kickdown, automatic trans‐ mission 65
Knee airbag 85
L
Lamp replacement 262
Lamp replacement, front 263
Lamp replacement, rear 265
Lamps 80
Lamps and bulbs 262
Lane departure warning 91
Lane margin, warning 91
Language on Control Dis‐ play 79
Lashing eyes, securing cargo 149
LATCH child restraint fixing system 55
Leather, care 275
LEDs, light-emitting di‐ odes 263
Length, vehicle 281
Letters and numbers, enter‐ ing 21
License plate lamp, bulb re‐ placement 266
Light-alloy wheels, care 275
Light control 81
Light-emitting diodes, LEDs 263
Lighter, front 134
Lighter, rear 135
Lighting 80
Lighting via remote control 32
Light switch 80
Load 149
Loading 148
Lock, door 34
Locking/unlocking from in‐ side 35
Locking/unlocking via door lock 34 Locking/unlocking with re‐
mote control 32
Locking, automatic 35
Locking, central 31
Locking via trunk lid 36
Lock, power window 41
Locks, doors, and win‐ dows 57
Low beams 80
Low
beams, automatic, refer to
High-beam Assistant 82
Lower back support 46
Lug bolt lock 267
Luggage rack, refer to Roof- mounted luggage rack 150
Lumbar support 46
M
Maintenance 260
Maintenance require‐ ments 260
Maintenance, service require‐ ments 74
Maintenance System, BMW 260
Malfunction displays, refer to Check Control 70
Manual air distribution 126
Manual air volume 127
Manual brake, refer to Parking brake 60
Manual mode, transmis‐ sion 66
Manual operation, backup camera 114
Manual operation, door lock 34
Manual operation, exterior mir‐ rors 52
Manual operation, fuel filler flap 240
Manual operation, Park Dis‐ tance Control PDC 112
Manual operation, Side View 118
Manual operation, Top View 116
Seite 298
298 Online Edition for Part no. 01 40 2 606 469 - 03 11 490
Everything from A to Z
Page 302 of 304
Traffic bulletins, naviga‐
tion 165
Traffic
situation/gray card 166
Transmission, automatic 65
Transmission, manual 64
Transporting children safely 54
Tread, tires 250
Treble, tone 172
Trip computer 77
Triple turn signal activa‐ tion 62
Trip odometer 73
Truck for tow-starting/tow‐ ing 272
Trunk lid 35
Trunk lid, automatic 36
Trunk lid, emergency unlock‐ ing 37
Trunk lid, hotel function 37
Trunk lid via remote con‐ trol 33
Turning circle 281
Turning circle lines, backup camera 114
Turn signals, operation 62
Turn signals, rear, bulb re‐ placement 266
U
Unintentional alarm 40
Units of measure 79
Universal remote control 132
Unlock button, automatic transmission 65
Unlocking/locking from in‐ side 35
Unlocking/locking via door lock 34
Unlocking/locking with remote control 32
Updates made after the edito‐ rial deadline 6
Updating software 199
Upholstery care 275
USB audio interface 193
USB interface 138 V
Variable steering, Integral Ac‐
tive Steering 98
Vehicle battery 267
Vehicle
battery, replacing 267
Vehicle, breaking in 146
Vehicle care 275
Vehicle identification number, refer to Identification number
in the engine compart‐
ment 255
Vehicle jack 267
Vehicle paint 275
Vehicle storage 276
Vehicle wash 274
Ventilation 129
Ventilation, refer to Parked-car ventilation 131
Version of the navigation data 168
Video playback 183
Video playback, iPhone 195
Video playback, snap-in adapter 195
Voice activation, mobile phone 217
Voice activation, short com‐ mands 285
Voice activation system 22
Volume, setting 172
W
Warning messages, refer to Check Control 70
Warning triangle 270
Washer fluid 64
Washer fluid reservoir, ca‐ pacity 284
Washer nozzles, wind‐ shield 64
Washer system 62
Washing, vehicle 274
Water on roads 147
Weather Band 176
Weights 283
Welcome lamps 80 Wheel base, vehicle 281
Wheel change 267
Wheels, changing 251
Wheels, everything on wheels
and tires 242
Wheels,
Tire Pressure Monitor
TPM 88
Width, vehicle 280
Window defroster, rear 128
Windows, powered 40
Windshield, climate con‐ trol 147
Windshield washer fluid 64
Windshield washer noz‐ zles 64
Windshield washer system 62
Windshield wiper 62
Windshield wipers, fold-out position 64
Winter storage, care 276
Winter tires, suitable tires 252
Winter tires, tread 250
Wiper blades, replacing 262
Wiper fluid 64
Wiper system 62
Wood, care 276
Word match concept, naviga‐ tion 21
Wrench 262
X
xDrive 96
Xenon headlamps, bulb re‐ placement 264
Y
Your individual vehicle 6
Seite 302
302 Online Edition for Part no. 01 40 2 606 469 - 03 11 490
Everything from A to Z