ECO mode BMW 6 SERIES GRAN COUPE 2014 F06 User Guide
[x] Cancel search | Manufacturer: BMW, Model Year: 2014, Model line: 6 SERIES GRAN COUPE, Model: BMW 6 SERIES GRAN COUPE 2014 F06Pages: 253, PDF Size: 5.47 MB
Page 92 of 253
Gear shift indicatorThe conceptThe system recommends the most fuel effi‐
cient gear for the current driving situation.
Depending on the vehicle's features and coun‐
try version of the vehicle, the gear shift indica‐
tor is active in the manual mode of the Step‐
tronic transmission.
Suggestions to shift gear up or down are dis‐
played in the instrument cluster.
On vehicles without a gear shift indicator, the
engaged gear is displayed.
DisplaysExampleDescriptionFuel efficient gear is set.Shift into fuel efficient gear.
Speed limit detection
The concept
Speed limit detection
Speed limit detection uses a symbol in the
shape of a traffic sign to display the currently
detected speed limit. The camera in the area of
the interior rearview mirror detects traffic signs
at the edge of the road as well as variable over‐
head sign posts. Traffic signs with extra sym‐
bols for wet road conditions, etc. are also de‐
tected and compared with the vehicle's
onboard data, such as for the rain sensor, and
will be displayed depending on the situation.
The system takes into account the information
stored in the navigation system and also dis‐
plays speed limits present on routes without
signs.
Hints
Personal judgment
The system cannot serve as a substitute
for the driver's personal judgment of the traffic
situation.
The system assists the driver and does not re‐
place the human eye.◀
At a glance
Camera
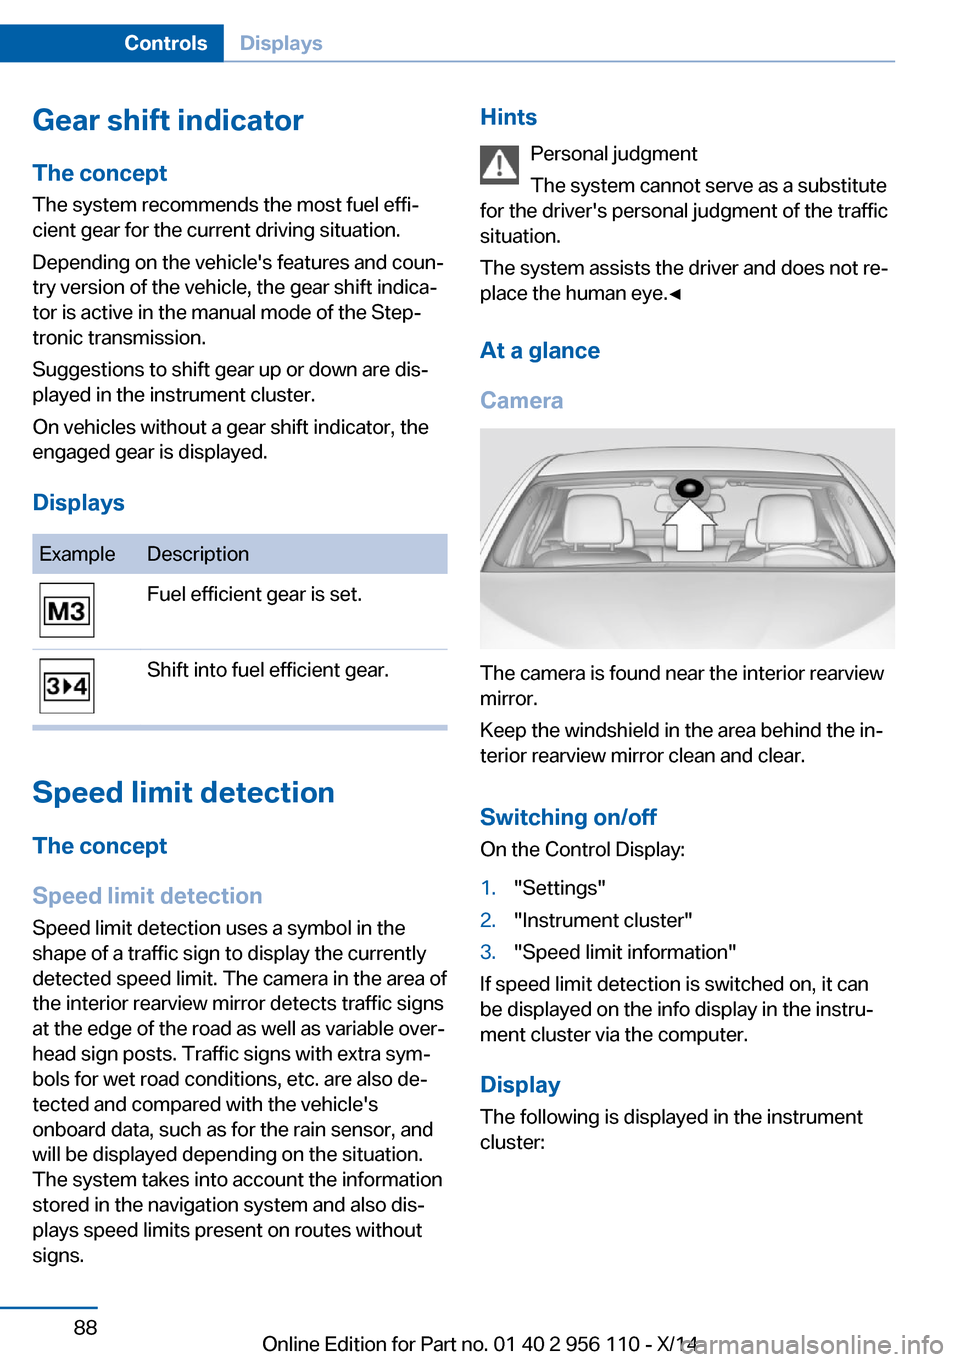
The camera is found near the interior rearview
mirror.
Keep the windshield in the area behind the in‐
terior rearview mirror clean and clear.
Switching on/offOn the Control Display:
1."Settings"2."Instrument cluster"3."Speed limit information"
If speed limit detection is switched on, it can
be displayed on the info display in the instru‐
ment cluster via the computer.
Display The following is displayed in the instrument
cluster:
Seite 88ControlsDisplays88
Online Edition for Part no. 01 40 2 956 110 - X/14
Page 137 of 253
At a glance
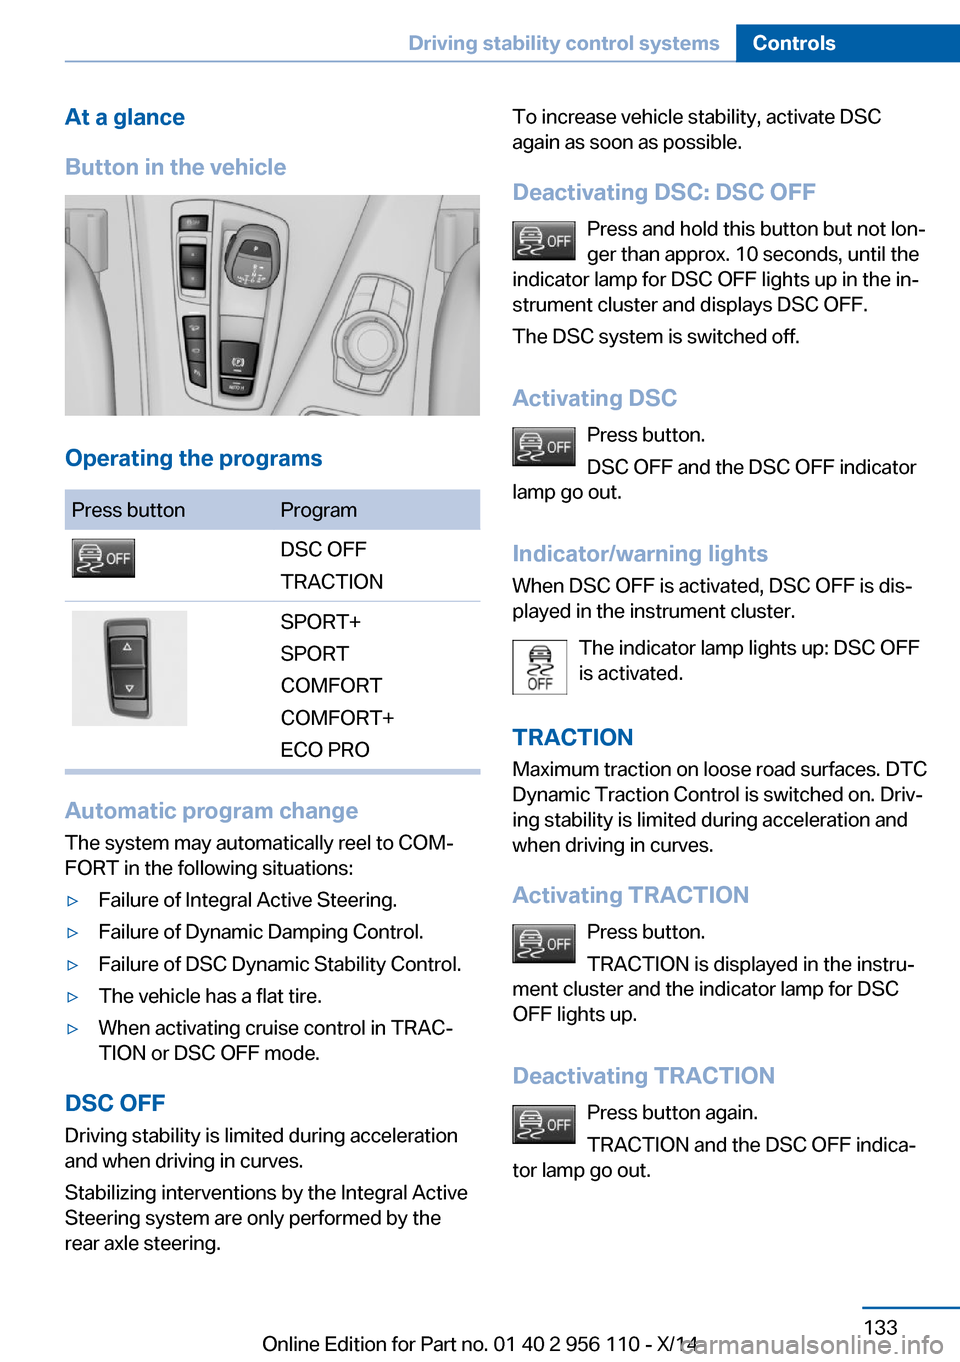
Button in the vehicle
Operating the programs
Press buttonProgramDSC OFF
TRACTIONSPORT+
SPORT
COMFORT
COMFORT+
ECO PRO
Automatic program change
The system may automatically reel to COM‐
FORT in the following situations:
▷Failure of Integral Active Steering.▷Failure of Dynamic Damping Control.▷Failure of DSC Dynamic Stability Control.▷The vehicle has a flat tire.▷When activating cruise control in TRAC‐
TION or DSC OFF mode.
DSC OFF
Driving stability is limited during acceleration
and when driving in curves.
Stabilizing interventions by the Integral Active
Steering system are only performed by the
rear axle steering.
To increase vehicle stability, activate DSC
again as soon as possible.
Deactivating DSC: DSC OFF Press and hold this button but not lon‐
ger than approx. 10 seconds, until the
indicator lamp for DSC OFF lights up in the in‐
strument cluster and displays DSC OFF.
The DSC system is switched off.
Activating DSC Press button.
DSC OFF and the DSC OFF indicator
lamp go out.
Indicator/warning lights
When DSC OFF is activated, DSC OFF is dis‐
played in the instrument cluster.
The indicator lamp lights up: DSC OFF
is activated.
TRACTION
Maximum traction on loose road surfaces. DTC Dynamic Traction Control is switched on. Driv‐
ing stability is limited during acceleration and
when driving in curves.
Activating TRACTION Press button.
TRACTION is displayed in the instru‐
ment cluster and the indicator lamp for DSC
OFF lights up.
Deactivating TRACTION Press button again.
TRACTION and the DSC OFF indica‐
tor lamp go out.Seite 133Driving stability control systemsControls133
Online Edition for Part no. 01 40 2 956 110 - X/14
Page 139 of 253
ECO PROECO PRO, refer to page 184, provides consis‐
tent tuning to minimize fuel consumption for
maximum range with maximum driving stabili‐
zation.
Comfort functions and the engine controller
are adjusted.
The program can be configured to individual
specifications.
Activating ECO PRO Press button repeatedly until ECO
PRO is displayed in the instrument
cluster.
Configuring ECO PRO1.Activate ECO PRO.2."Configure ECO PRO"
Make the desired settings.
Configure driving mode
Settings can be made for the following driving
modes in Driving mode:
▷SPORT mode, refer to page 134.▷ECO PRO mode, refer to page 185.
Displays in the instrument cluster
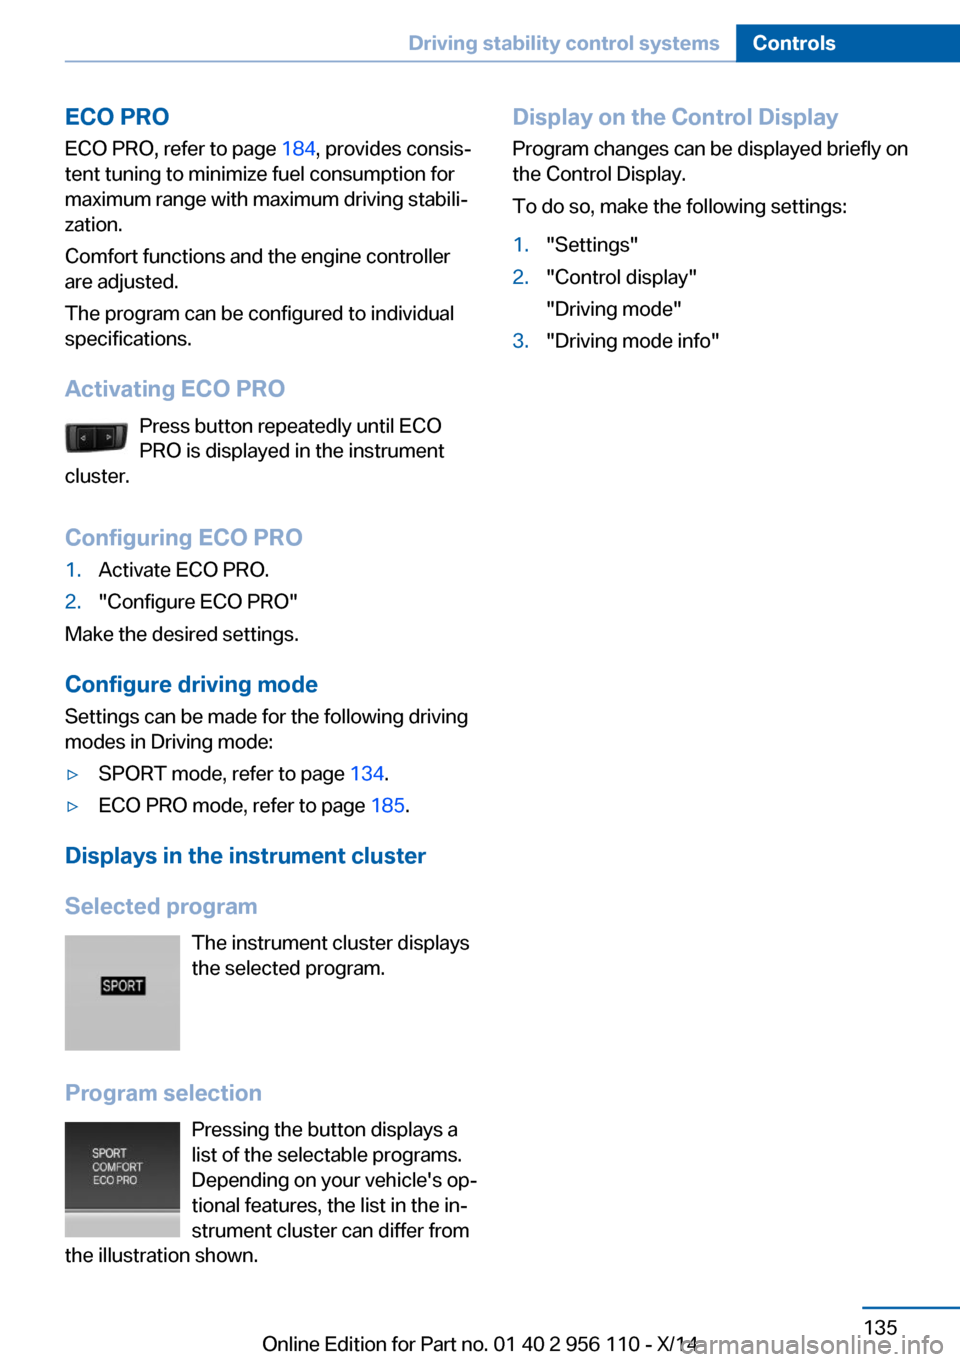
Selected program The instrument cluster displays
the selected program.
Program selection Pressing the button displays a
list of the selectable programs.
Depending on your vehicle's op‐
tional features, the list in the in‐
strument cluster can differ from
the illustration shown.
Display on the Control Display
Program changes can be displayed briefly on
the Control Display.
To do so, make the following settings:1."Settings"2."Control display"
"Driving mode"3."Driving mode info"Seite 135Driving stability control systemsControls135
Online Edition for Part no. 01 40 2 956 110 - X/14
Page 183 of 253
Do not remove the heat shields installed and
never apply undercoating to them. Make sure
that flammable materials, e. g. hay, leaves,
grass, etc. do not come in contact with the hot
exhaust system while driving, while in idle po‐
sition mode, or when parked. Such contact
could lead to a fire, resulting in an increased
risk of serious personal injury as well as prop‐
erty damage.
Do not touch hot exhaust pipes; otherwise,
there is a danger of getting burned.◀
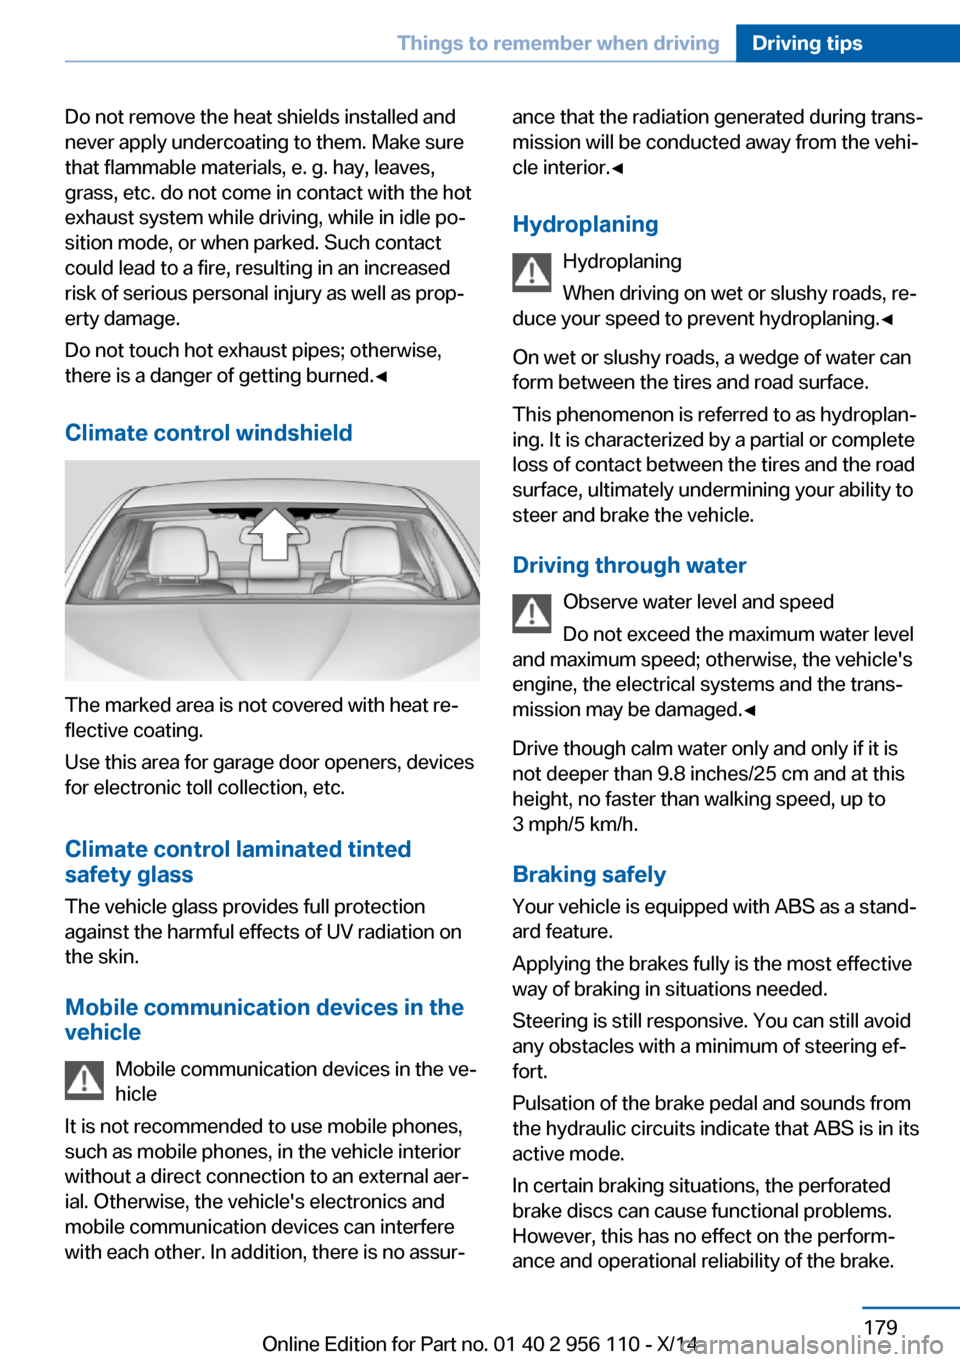
Climate control windshield
The marked area is not covered with heat re‐
flective coating.
Use this area for garage door openers, devices
for electronic toll collection, etc.
Climate control laminated tinted
safety glass
The vehicle glass provides full protection
against the harmful effects of UV radiation on
the skin.
Mobile communication devices in thevehicle
Mobile communication devices in the ve‐
hicle
It is not recommended to use mobile phones,
such as mobile phones, in the vehicle interior
without a direct connection to an external aer‐
ial. Otherwise, the vehicle's electronics and
mobile communication devices can interfere
with each other. In addition, there is no assur‐
ance that the radiation generated during trans‐
mission will be conducted away from the vehi‐
cle interior.◀
Hydroplaning Hydroplaning
When driving on wet or slushy roads, re‐
duce your speed to prevent hydroplaning.◀
On wet or slushy roads, a wedge of water can
form between the tires and road surface.
This phenomenon is referred to as hydroplan‐
ing. It is characterized by a partial or complete
loss of contact between the tires and the road
surface, ultimately undermining your ability to
steer and brake the vehicle.
Driving through water Observe water level and speed
Do not exceed the maximum water level
and maximum speed; otherwise, the vehicle's
engine, the electrical systems and the trans‐
mission may be damaged.◀
Drive though calm water only and only if it is
not deeper than 9.8 inches/25 cm and at this
height, no faster than walking speed, up to 3 mph/5 km/h.
Braking safely
Your vehicle is equipped with ABS as a stand‐
ard feature.
Applying the brakes fully is the most effective
way of braking in situations needed.
Steering is still responsive. You can still avoid
any obstacles with a minimum of steering ef‐
fort.
Pulsation of the brake pedal and sounds from
the hydraulic circuits indicate that ABS is in its
active mode.
In certain braking situations, the perforated
brake discs can cause functional problems.
However, this has no effect on the perform‐
ance and operational reliability of the brake.Seite 179Things to remember when drivingDriving tips179
Online Edition for Part no. 01 40 2 956 110 - X/14
Page 189 of 253
Activate ECO PROPress button repeatedly until ECO
PRO is displayed in the instrument
cluster.
Configuring ECO PRO
Via the Driving Dynamics Control1.Activate ECO PRO.2."Configure ECO PRO"3.Configure the program.
Via the iDrive
1."Settings"2."Driving mode"3."Configure ECO PRO"
Configure the program.
ECO PRO Tip
▷"Tip at:":
Adjust the ECO PRO speed.▷"ECO PRO speed warning":
The output is reduced once the set ECO
PRO speed is reached.
Coasting
Fuel-efficiency can be optimized by disengag‐
ing the engine and Coasting, refer to
page 187, with the engine idling.
This function is only available in ECO PRO
mode.
ECO PRO climate control
"ECO PRO climate control"
Climate control is set to be fuel-efficient.
By making a slight change to the set tempera‐
ture, or slowly adjusting the rate of heating or
cooling of the car's interior, fuel consumption
can be economized.
The mirror heating is made available when out‐
side temperatures are very cold.
ECO PRO potential
Shows potential savings with the current set‐
tings in percentages.
Display in the instrument cluster
Display in the instrument display When ECO PRO mode is activated, the display
switches to a special configuration.
Some of the displays may differ from the dis‐
play in the instrument cluster.
ECO PRO bonus range An adjusted driving style helps
you extend your driving range.
This may be displayed as the
bonus range in the instrument
cluster.
The bonus range is shown in the range display.
The bonus range is automatically reset every
time the vehicle is refueled.
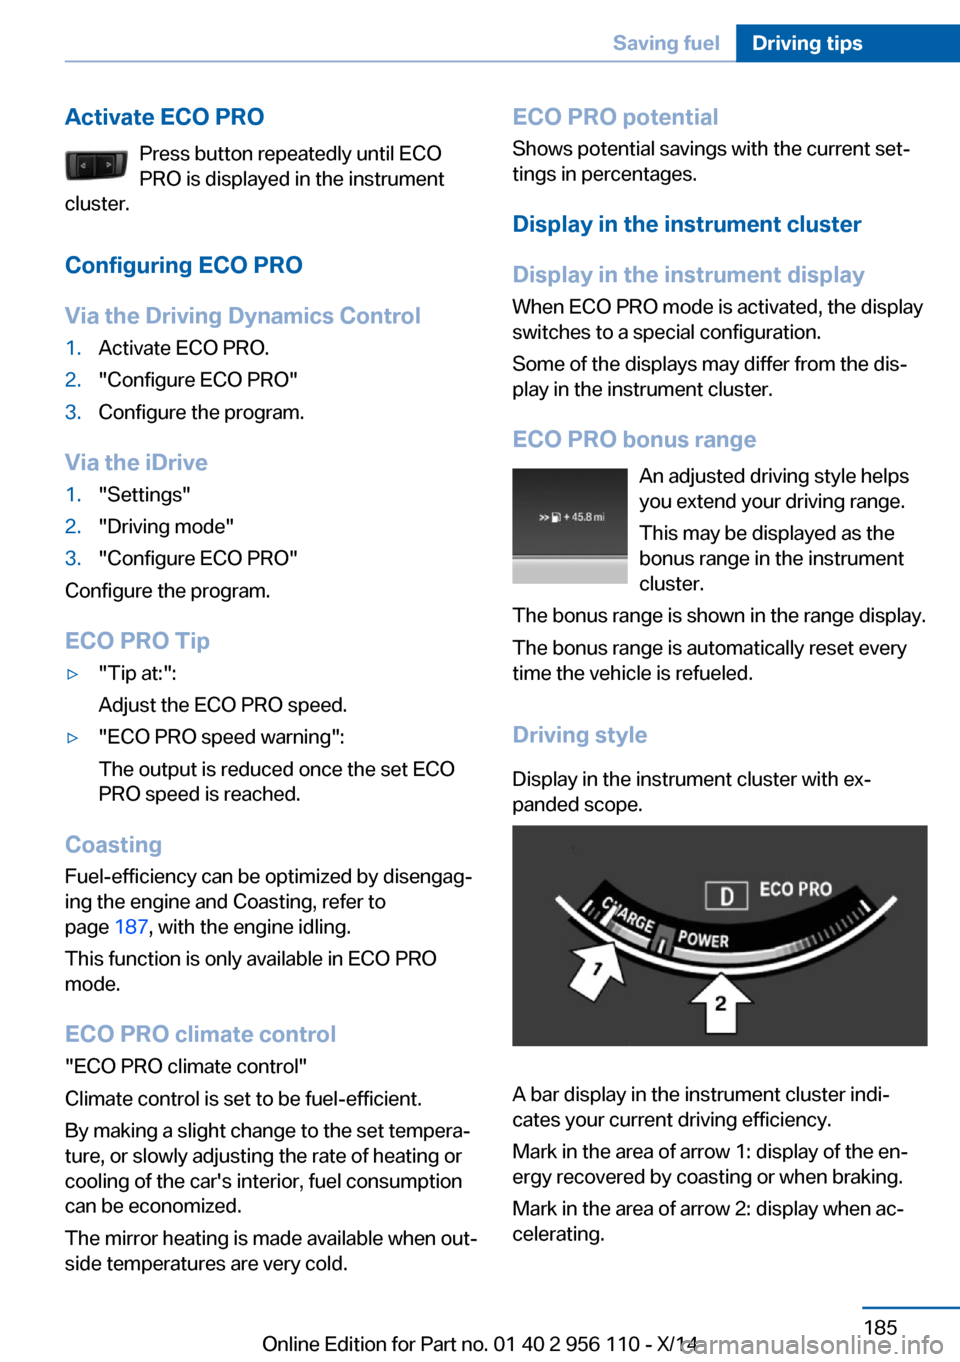
Driving styleDisplay in the instrument cluster with ex‐
panded scope.
A bar display in the instrument cluster indi‐
cates your current driving efficiency.
Mark in the area of arrow 1: display of the en‐
ergy recovered by coasting or when braking.
Mark in the area of arrow 2: display when ac‐
celerating.
Seite 185Saving fuelDriving tips185
Online Edition for Part no. 01 40 2 956 110 - X/14
Page 190 of 253
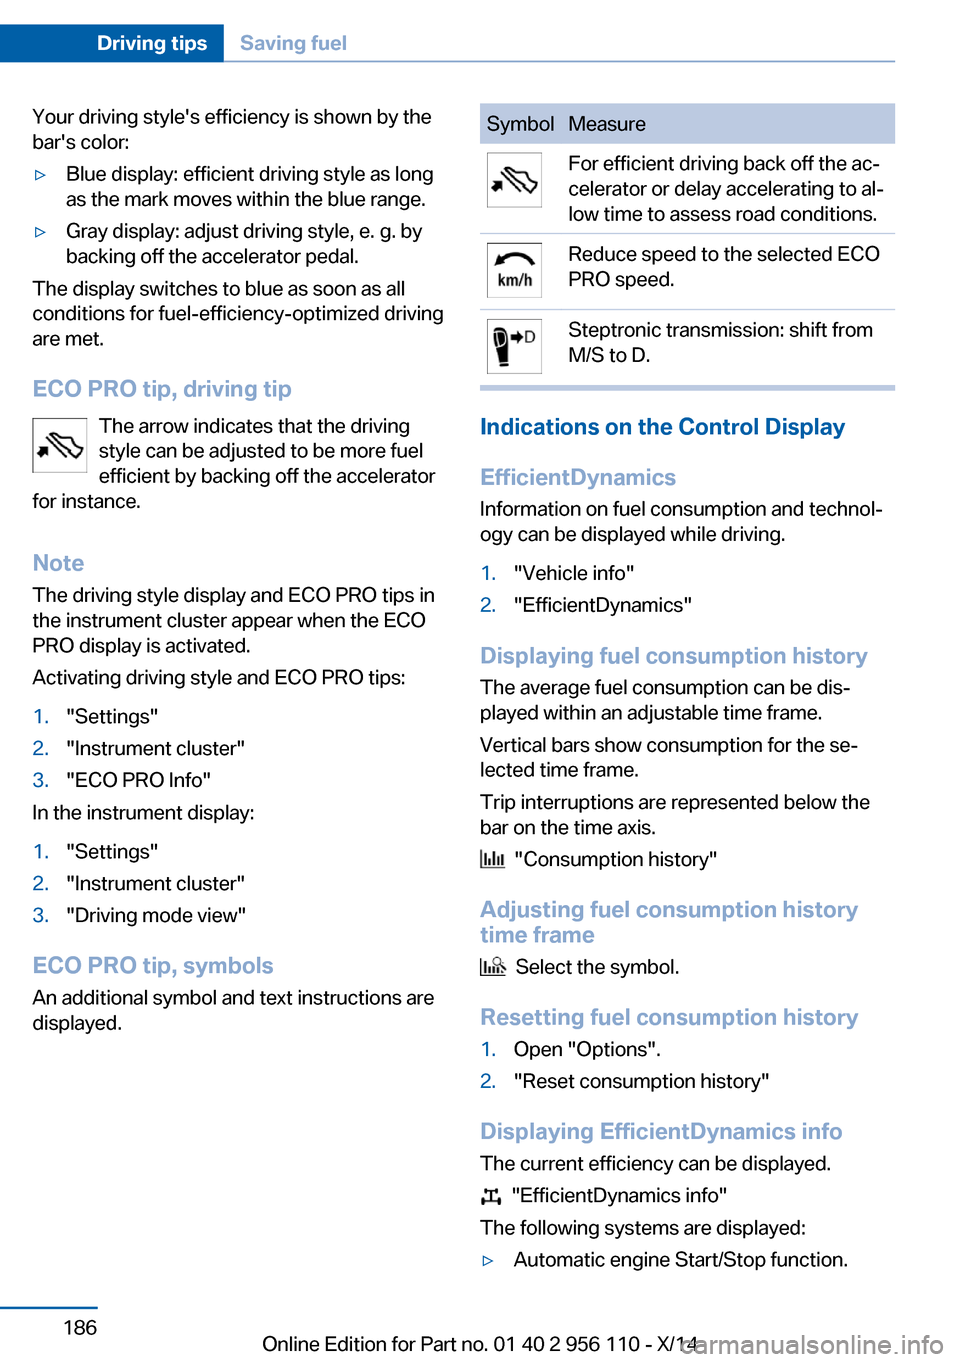
Your driving style's efficiency is shown by the
bar's color:▷Blue display: efficient driving style as long
as the mark moves within the blue range.▷Gray display: adjust driving style, e. g. by
backing off the accelerator pedal.
The display switches to blue as soon as all
conditions for fuel-efficiency-optimized driving
are met.
ECO PRO tip, driving tip The arrow indicates that the driving
style can be adjusted to be more fuel
efficient by backing off the accelerator
for instance.
Note The driving style display and ECO PRO tips in
the instrument cluster appear when the ECO
PRO display is activated.
Activating driving style and ECO PRO tips:
1."Settings"2."Instrument cluster"3."ECO PRO Info"
In the instrument display:
1."Settings"2."Instrument cluster"3."Driving mode view"
ECO PRO tip, symbols
An additional symbol and text instructions are
displayed.
SymbolMeasureFor efficient driving back off the ac‐
celerator or delay accelerating to al‐
low time to assess road conditions.Reduce speed to the selected ECO
PRO speed.Steptronic transmission: shift from
M/S to D.
Indications on the Control Display
EfficientDynamics Information on fuel consumption and technol‐
ogy can be displayed while driving.
1."Vehicle info"2."EfficientDynamics"
Displaying fuel consumption history
The average fuel consumption can be dis‐
played within an adjustable time frame.
Vertical bars show consumption for the se‐
lected time frame.
Trip interruptions are represented below the
bar on the time axis.
"Consumption history"
Adjusting fuel consumption history time frame
Select the symbol.
Resetting fuel consumption history
1.Open "Options".2."Reset consumption history"
Displaying EfficientDynamics info
The current efficiency can be displayed.
"EfficientDynamics info"
The following systems are displayed:
▷Automatic engine Start/Stop function.Seite 186Driving tipsSaving fuel186
Online Edition for Part no. 01 40 2 956 110 - X/14
Page 191 of 253
▷Energy recovery.▷Climate control output.▷Coasting.
Display ECO PRO tips
"ECO PRO Tips"
Settings are stored for the profile currently in
use.
Coasting
The concept
The system helps to conserve fuel.
To do this, under certain conditions the engine
is automatically decoupled from the transmis‐
sion when selector lever position D is set. The
vehicle continues traveling with the engine
idling to reduce fuel consumption. Selector
lever position D remains engaged.
This driving condition is referred to as coast‐
ing.
As soon as you step on the brake or accelera‐
tor pedal, the engine is automatically coupled
again.
Hints
Coasting is a component of the ECO PRO, re‐
fer to page 184, driving mode.
Coasting is automatically activated when ECO
PRO mode is called via the Driving Dynamics
Control.
The function is available in a certain speed
range.
A proactively driving style helps the driver to
use the function as often as possible and sup‐
ports the fuel-conserving effect of coasting.
Safety mode
The function is not available under one of the
following conditions.
▷DSC OFF or TRACTION activated.▷Driving in the dynamic limit range and on
steep uphill or downhill grades.▷Battery charge status temporarily too low
or vehicle electrical system drawing exces‐
sive current.▷Cruise control activated.
Functional requirements
In ECO PRO mode, this function is available in
a speed range from approximately 30 mph, ap‐
prox. 50 km/h to 100 mph, approx. 160 km/h, if
the following conditions are met:
▷Accelerator pedal and brake pedal are not
operated.▷The selector lever is in selector lever posi‐
tion D.▷Engine and transmission are at operating
temperature.
Display
Indications on the Control Display
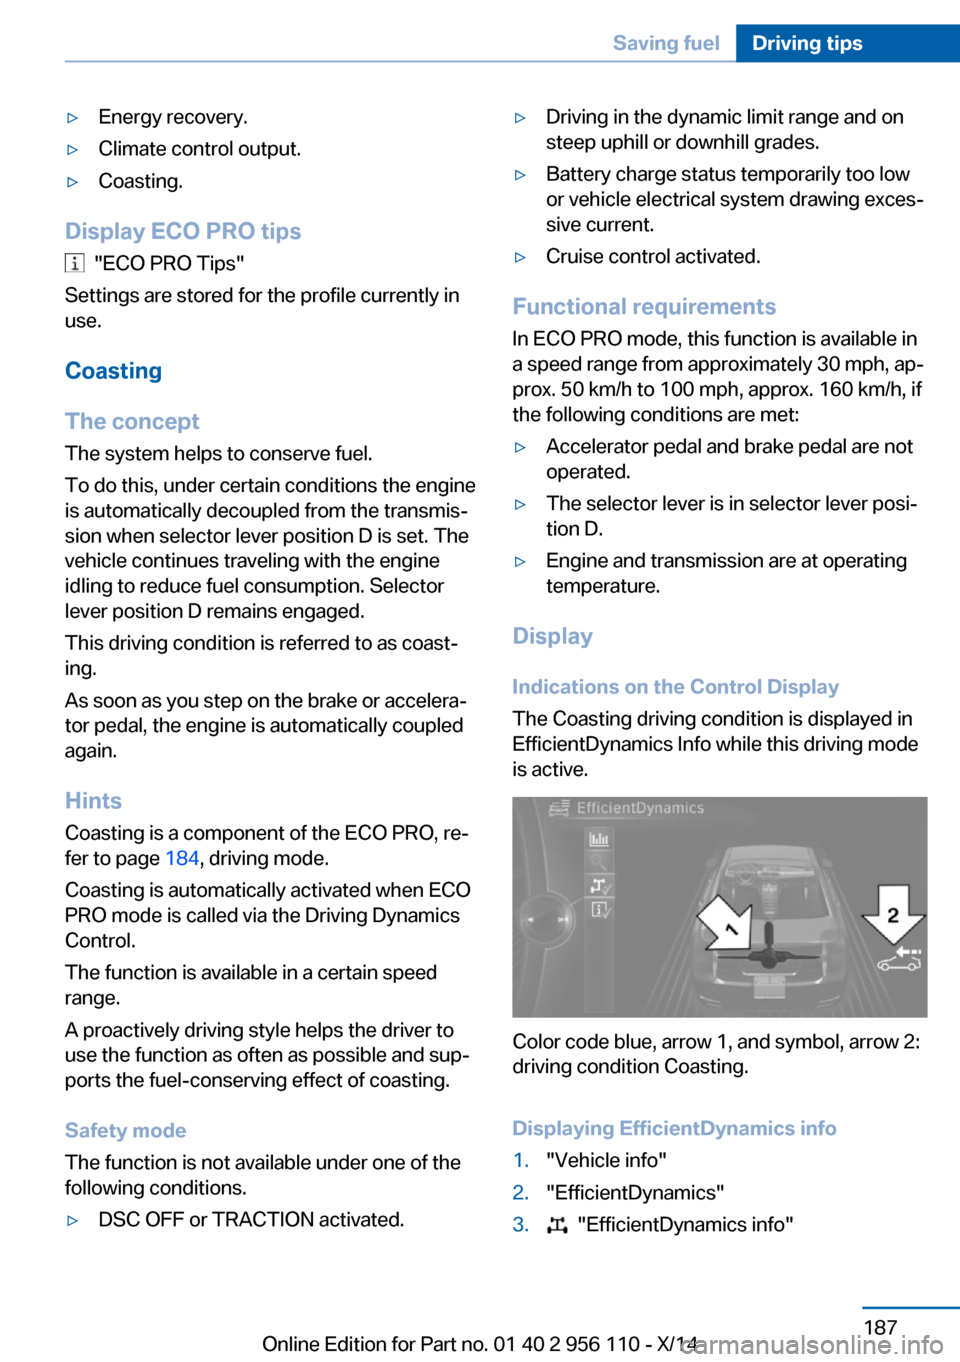
The Coasting driving condition is displayed in
EfficientDynamics Info while this driving mode
is active.
Color code blue, arrow 1, and symbol, arrow 2:
driving condition Coasting.
Displaying EfficientDynamics info
1."Vehicle info"2."EfficientDynamics"3. "EfficientDynamics info"Seite 187Saving fuelDriving tips187
Online Edition for Part no. 01 40 2 956 110 - X/14
Page 219 of 253
MaintenanceVehicle features and options
This chapter describes all standard, country-
specific and optional features offered with the
series. It also describes features that are not
necessarily available in your car, e. g., due to
the selected options or country versions. This
also applies to safety-related functions and
systems.
BMW maintenance system
The maintenance system indicates required
maintenance measures, and thereby provides
support in maintaining road safety and the op‐
erational reliability of the vehicle.
Condition Based Service
CBS
Sensors and special algorithms take into ac‐
count the driving conditions of your vehicle.
Based on this, Condition Based Service recog‐
nizes the maintenance requirements.
The system makes it possible to adapt the
amount of maintenance corresponding to your
user profile.
Details on the service requirements, refer to
page 87, can be displayed on the Control Dis‐
play.
Service data in the remote control Information on the required maintenance is
continuously stored in the remote control.
Your service center will read out this data and
suggest the right array of service procedures
for your vehicle.
Therefore, hand your service specialist the re‐
mote control with which the vehicle was driven
most recently.Storage periods
Storage periods during which the vehicle bat‐
tery was disconnected are not taken into ac‐
count.
If this occurs, have a service center update the
time-dependent maintenance procedures,
such as checking brake fluid and, if needed,
changing the engine oil and the microfilter/
activated-charcoal filter.
Service and Warranty
Information Booklet for US
models and Warranty and
Service Guide Booklet for
Canadian models
Please consult your Service and Warranty In‐
formation Booklet for US models and Warranty
and Service Guide Booklet for Canadian mod‐ els for additional information on service re‐
quirements.
Maintenance and repair should be performed
by your service center. Make sure to have reg‐
ular maintenance procedures recorded in the
vehicle's Service and Warranty Information
Booklet for US models, and in the Warranty
and Service Guide Booklet for Canadian mod‐
els. These entries are proof of regular mainte‐
nance.
Socket for OBD Onboard
Diagnosis
Note Socket for Onboard Diagnosis
The socket for onboard diagnostics may
only be used by the service center or a work‐
shop that operates in accordance with the
specifications of the vehicle manufacturer withSeite 215MaintenanceMobility215
Online Edition for Part no. 01 40 2 956 110 - X/14
Page 244 of 253
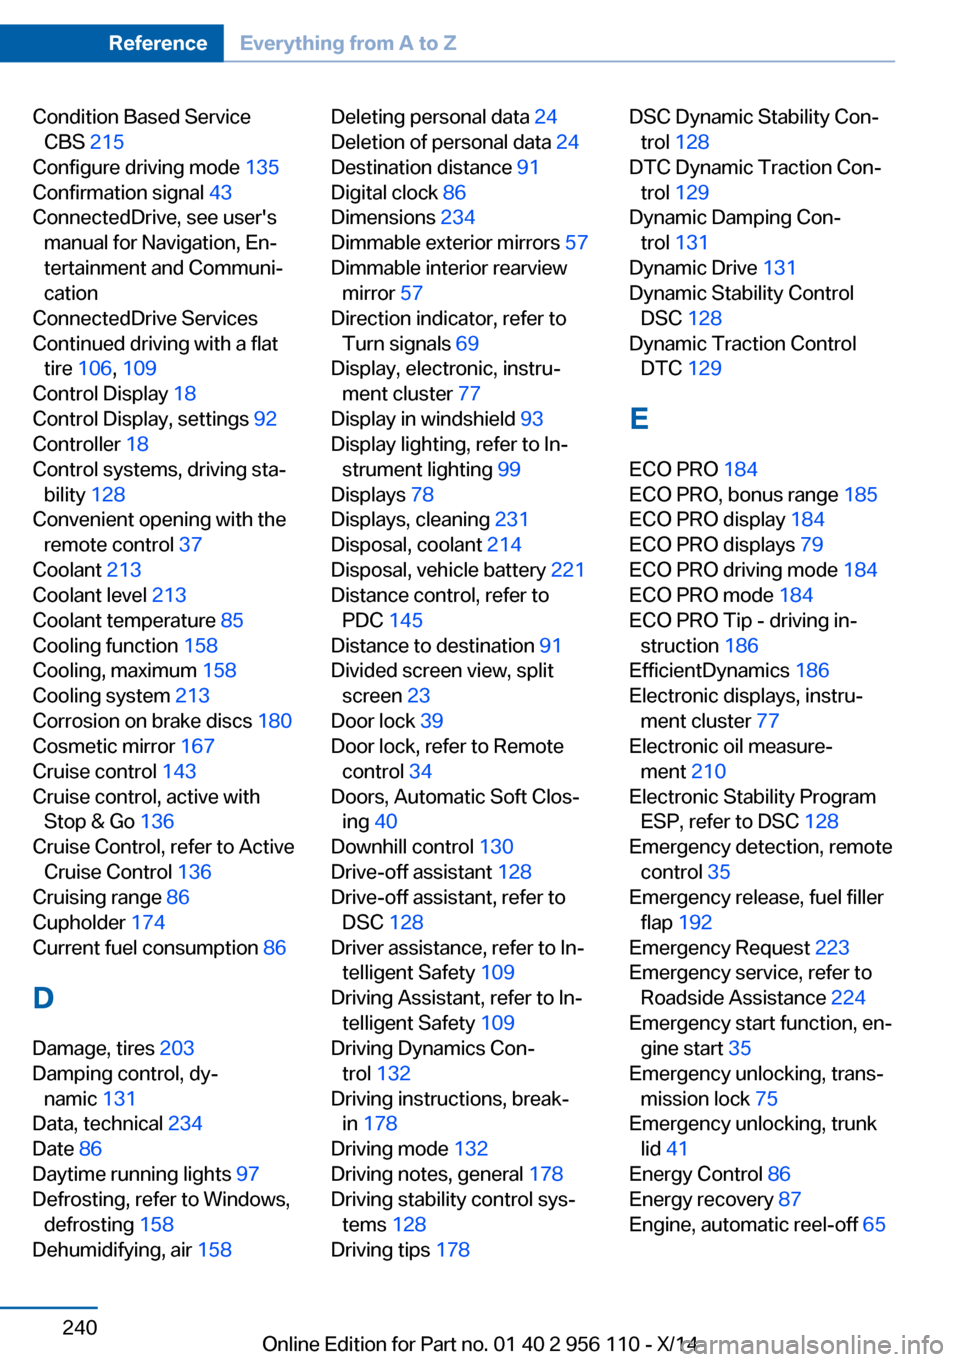
Condition Based ServiceCBS 215
Configure driving mode 135
Confirmation signal 43
ConnectedDrive, see user's manual for Navigation, En‐
tertainment and Communi‐
cation
ConnectedDrive Services
Continued driving with a flat tire 106 , 109
Control Display 18
Control Display, settings 92
Controller 18
Control systems, driving sta‐ bility 128
Convenient opening with the remote control 37
Coolant 213
Coolant level 213
Coolant temperature 85
Cooling function 158
Cooling, maximum 158
Cooling system 213
Corrosion on brake discs 180
Cosmetic mirror 167
Cruise control 143
Cruise control, active with Stop & Go 136
Cruise Control, refer to Active Cruise Control 136
Cruising range 86
Cupholder 174
Current fuel consumption 86
D
Damage, tires 203
Damping control, dy‐ namic 131
Data, technical 234
Date 86
Daytime running lights 97
Defrosting, refer to Windows, defrosting 158
Dehumidifying, air 158 Deleting personal data 24
Deletion of personal data 24
Destination distance 91
Digital clock 86
Dimensions 234
Dimmable exterior mirrors 57
Dimmable interior rearview mirror 57
Direction indicator, refer to Turn signals 69
Display, electronic, instru‐ ment cluster 77
Display in windshield 93
Display lighting, refer to In‐ strument lighting 99
Displays 78
Displays, cleaning 231
Disposal, coolant 214
Disposal, vehicle battery 221
Distance control, refer to PDC 145
Distance to destination 91
Divided screen view, split screen 23
Door lock 39
Door lock, refer to Remote control 34
Doors, Automatic Soft Clos‐ ing 40
Downhill control 130
Drive-off assistant 128
Drive-off assistant, refer to DSC 128
Driver assistance, refer to In‐ telligent Safety 109
Driving Assistant, refer to In‐ telligent Safety 109
Driving Dynamics Con‐ trol 132
Driving instructions, break- in 178
Driving mode 132
Driving notes, general 178
Driving stability control sys‐ tems 128
Driving tips 178 DSC Dynamic Stability Con‐
trol 128
DTC Dynamic Traction Con‐ trol 129
Dynamic Damping Con‐ trol 131
Dynamic Drive 131
Dynamic Stability Control DSC 128
Dynamic Traction Control DTC 129
E
ECO PRO 184
ECO PRO, bonus range 185
ECO PRO display 184
ECO PRO displays 79
ECO PRO driving mode 184
ECO PRO mode 184
ECO PRO Tip - driving in‐ struction 186
EfficientDynamics 186
Electronic displays, instru‐ ment cluster 77
Electronic oil measure‐ ment 210
Electronic Stability Program ESP, refer to DSC 128
Emergency detection, remote control 35
Emergency release, fuel filler flap 192
Emergency Request 223
Emergency service, refer to Roadside Assistance 224
Emergency start function, en‐ gine start 35
Emergency unlocking, trans‐ mission lock 75
Emergency unlocking, trunk lid 41
Energy Control 86
Energy recovery 87
Engine, automatic reel-off 65 Seite 240ReferenceEverything from A to Z240
Online Edition for Part no. 01 40 2 956 110 - X/14
Page 248 of 253
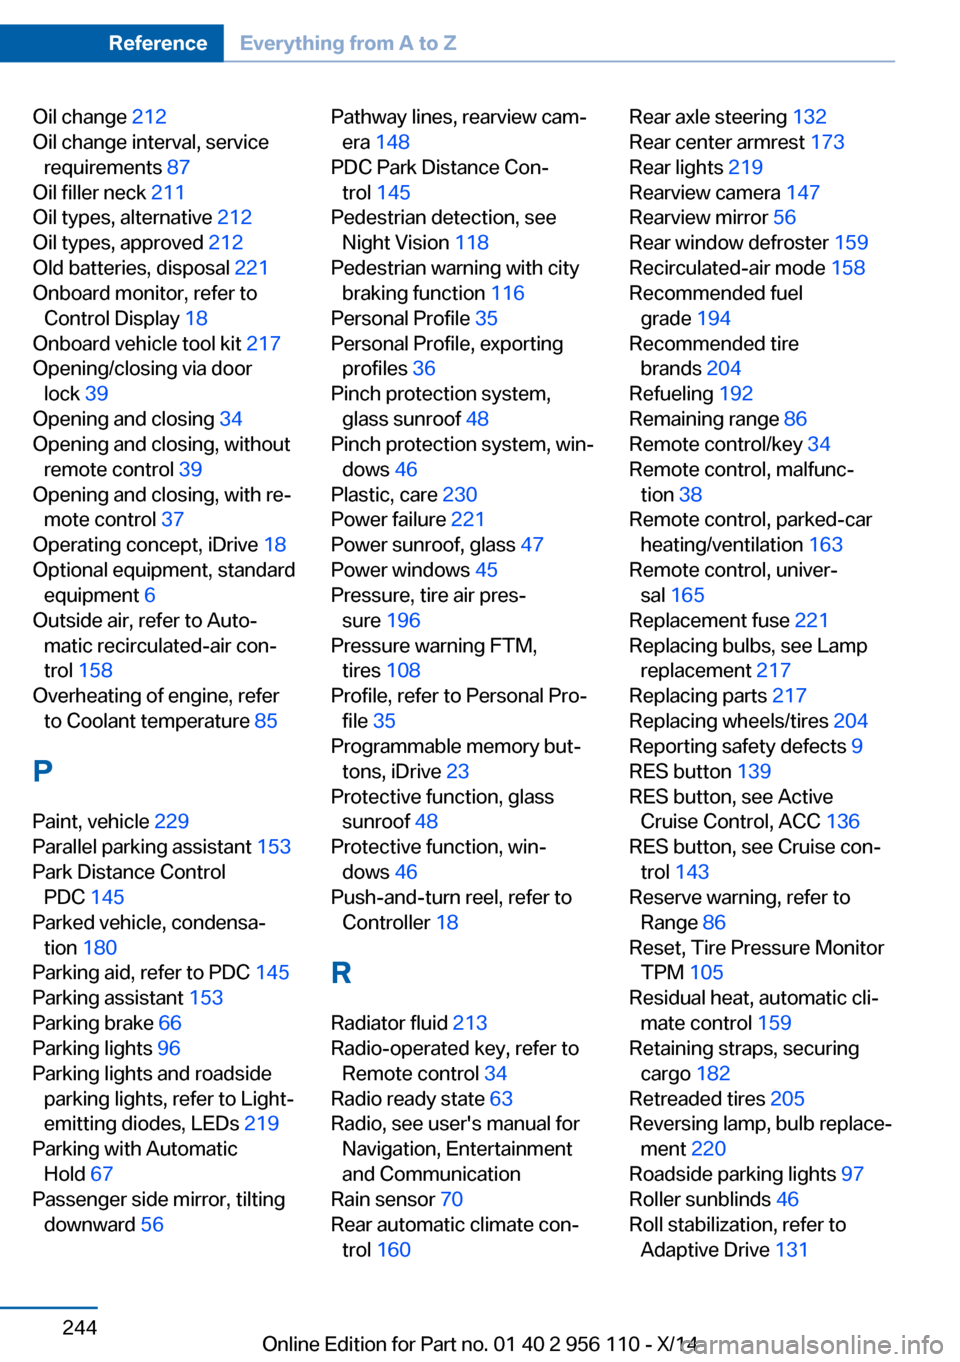
Oil change 212
Oil change interval, service requirements 87
Oil filler neck 211
Oil types, alternative 212
Oil types, approved 212
Old batteries, disposal 221
Onboard monitor, refer to Control Display 18
Onboard vehicle tool kit 217
Opening/closing via door lock 39
Opening and closing 34
Opening and closing, without remote control 39
Opening and closing, with re‐ mote control 37
Operating concept, iDrive 18
Optional equipment, standard equipment 6
Outside air, refer to Auto‐ matic recirculated-air con‐
trol 158
Overheating of engine, refer to Coolant temperature 85
P Paint, vehicle 229
Parallel parking assistant 153
Park Distance Control PDC 145
Parked vehicle, condensa‐ tion 180
Parking aid, refer to PDC 145
Parking assistant 153
Parking brake 66
Parking lights 96
Parking lights and roadside parking lights, refer to Light-
emitting diodes, LEDs 219
Parking with Automatic Hold 67
Passenger side mirror, tilting downward 56 Pathway lines, rearview cam‐
era 148
PDC Park Distance Con‐ trol 145
Pedestrian detection, see Night Vision 118
Pedestrian warning with city braking function 116
Personal Profile 35
Personal Profile, exporting profiles 36
Pinch protection system, glass sunroof 48
Pinch protection system, win‐ dows 46
Plastic, care 230
Power failure 221
Power sunroof, glass 47
Power windows 45
Pressure, tire air pres‐ sure 196
Pressure warning FTM, tires 108
Profile, refer to Personal Pro‐ file 35
Programmable memory but‐ tons, iDrive 23
Protective function, glass sunroof 48
Protective function, win‐ dows 46
Push-and-turn reel, refer to Controller 18
R Radiator fluid 213
Radio-operated key, refer to Remote control 34
Radio ready state 63
Radio, see user's manual for Navigation, Entertainment
and Communication
Rain sensor 70
Rear automatic climate con‐ trol 160 Rear axle steering 132
Rear center armrest 173
Rear lights 219
Rearview camera 147
Rearview mirror 56
Rear window defroster 159
Recirculated-air mode 158
Recommended fuel grade 194
Recommended tire brands 204
Refueling 192
Remaining range 86
Remote control/key 34
Remote control, malfunc‐ tion 38
Remote control, parked-car heating/ventilation 163
Remote control, univer‐ sal 165
Replacement fuse 221
Replacing bulbs, see Lamp replacement 217
Replacing parts 217
Replacing wheels/tires 204
Reporting safety defects 9
RES button 139
RES button, see Active Cruise Control, ACC 136
RES button, see Cruise con‐ trol 143
Reserve warning, refer to Range 86
Reset, Tire Pressure Monitor TPM 105
Residual heat, automatic cli‐ mate control 159
Retaining straps, securing cargo 182
Retreaded tires 205
Reversing lamp, bulb replace‐ ment 220
Roadside parking lights 97
Roller sunblinds 46
Roll stabilization, refer to Adaptive Drive 131 Seite 244ReferenceEverything from A to Z244
Online Edition for Part no. 01 40 2 956 110 - X/14