Armrest BMW 6 SERIES GRAN COUPE 2016 F06 Owner's Manual
[x] Cancel search | Manufacturer: BMW, Model Year: 2016, Model line: 6 SERIES GRAN COUPE, Model: BMW 6 SERIES GRAN COUPE 2016 F06Pages: 255, PDF Size: 6.01 MB
Page 38 of 255
Opening and closingVehicle features and options
This chapter describes all standard, country-
specific and optional features offered with the
series. It also describes features that are not
necessarily available in your car, e. g., due to
the selected options or country versions. This
also applies to safety-related functions and
systems. The respectively applicable country
provisions must be observed when using the
respective features and systems.
Remote control/key General information
The vehicle is supplied with two remote con‐
trols with integrated key.
Every remote control holds a replaceable bat‐
tery.
You may set the key functions depending on
the optional features and country-specific ver‐
sion. For Settings, refer to page 43.
The vehicle stores personal settings for every
remote control. Personal Profile, refer to
page 35.
The remote controls hold information on re‐
quired maintenance. Service data in the re‐
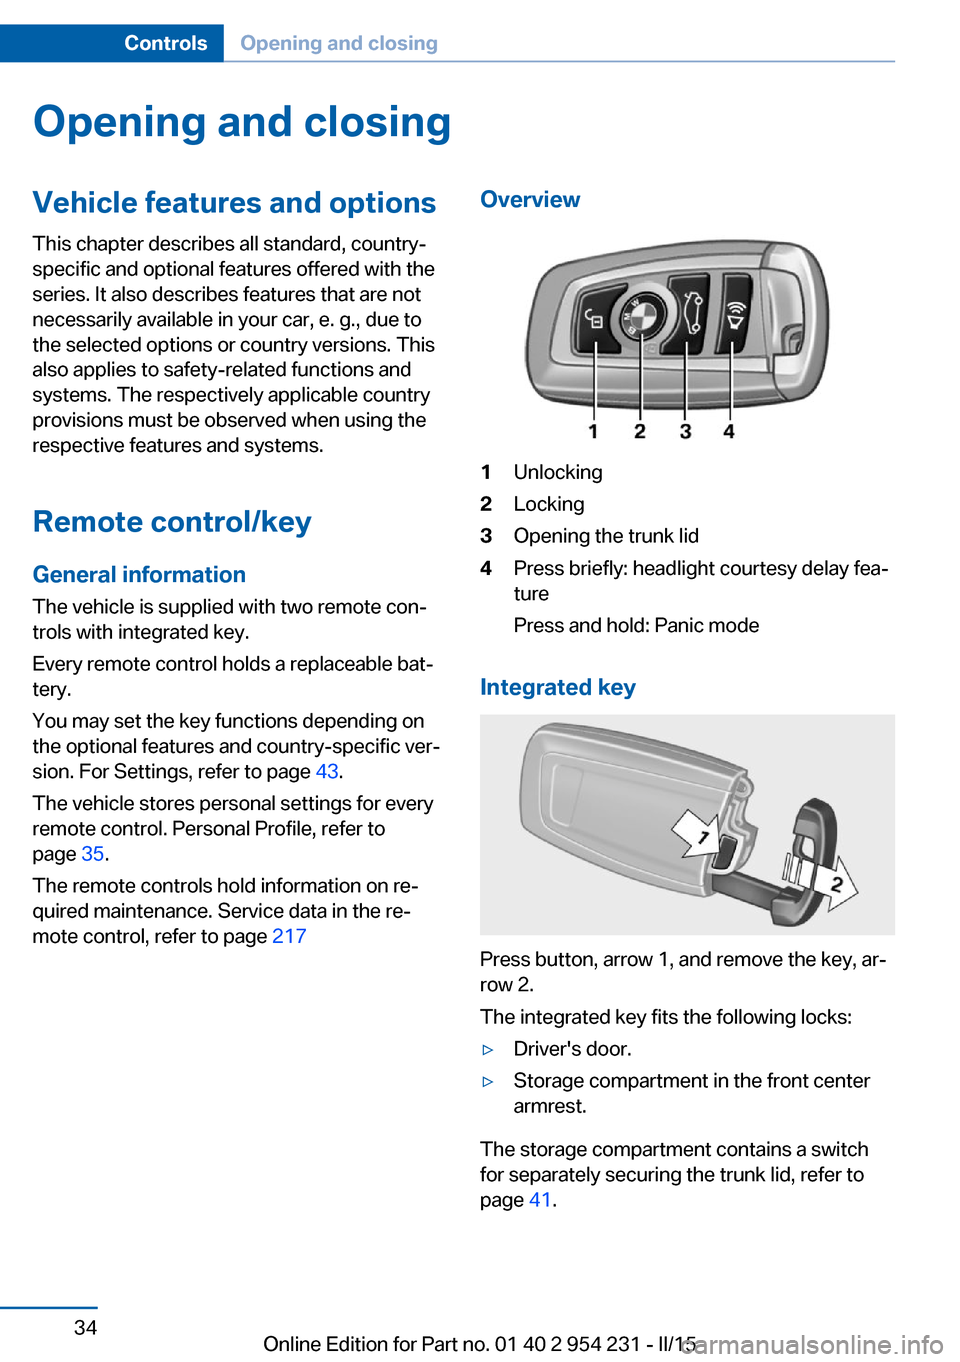
mote control, refer to page 217Overview1Unlocking2Locking3Opening the trunk lid4Press briefly: headlight courtesy delay fea‐
ture
Press and hold: Panic mode
Integrated key
Press button, arrow 1, and remove the key, ar‐
row 2.
The integrated key fits the following locks:
▷Driver's door.▷Storage compartment in the front center
armrest.
The storage compartment contains a switch
for separately securing the trunk lid, refer to
page 41.
Seite 34ControlsOpening and closing34
Online Edition for Part no. 01 40 2 954 231 - II/15
Page 44 of 255
From the inside
Unlocking and locking
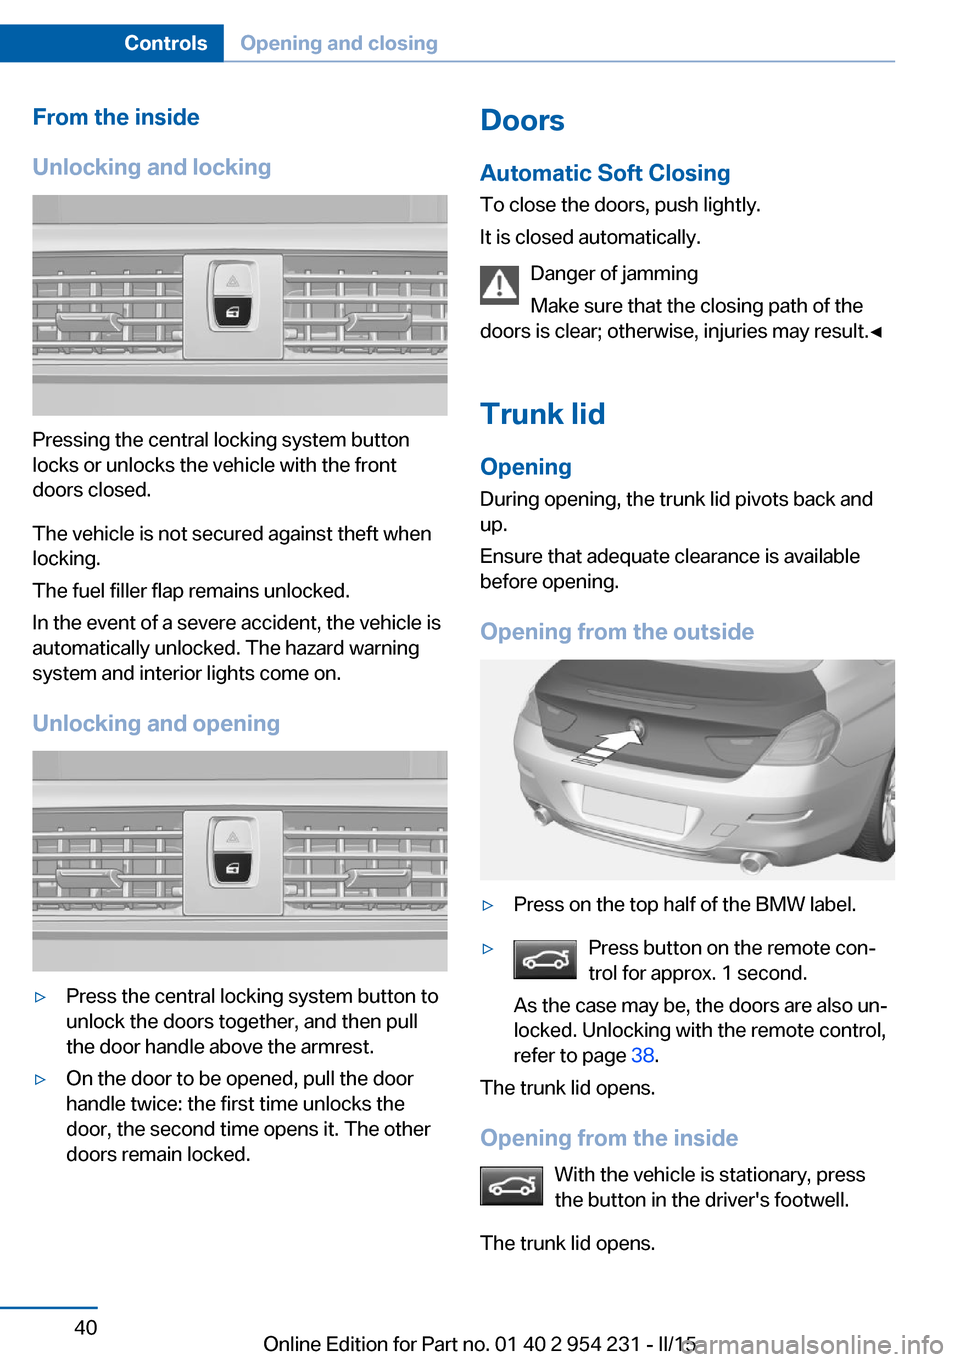
Pressing the central locking system button
locks or unlocks the vehicle with the front
doors closed.
The vehicle is not secured against theft when
locking.
The fuel filler flap remains unlocked.
In the event of a severe accident, the vehicle is
automatically unlocked. The hazard warning
system and interior lights come on.
Unlocking and opening
▷Press the central locking system button to
unlock the doors together, and then pull
the door handle above the armrest.▷On the door to be opened, pull the door
handle twice: the first time unlocks the
door, the second time opens it. The other
doors remain locked.Doors
Automatic Soft Closing
To close the doors, push lightly.
It is closed automatically.
Danger of jamming
Make sure that the closing path of the
doors is clear; otherwise, injuries may result.◀
Trunk lidOpening
During opening, the trunk lid pivots back and
up.
Ensure that adequate clearance is available
before opening.
Opening from the outside▷Press on the top half of the BMW label.▷Press button on the remote con‐
trol for approx. 1 second.
As the case may be, the doors are also un‐
locked. Unlocking with the remote control,
refer to page 38.
The trunk lid opens.
Opening from the inside With the vehicle is stationary, press
the button in the driver's footwell.
The trunk lid opens.
Seite 40ControlsOpening and closing40
Online Edition for Part no. 01 40 2 954 231 - II/15
Page 45 of 255
Locking and closing
Hints Keep the closing path clear
Make sure that the closing path of the
trunk lid is clear; otherwise, injuries may re‐
sult.◀
Do not place the remote control in the
cargo area
Take the remote control with you and do not
leave it in the cargo area; otherwise, the re‐
mote control is locked inside the vehicle when
the trunk lid is closed.◀
Locking
Press the button on the inside of the trunk lid
to lock the vehicle prior to closing.
The driver's door must be closed for this pur‐
pose.
Closing
Recessed grips in the interior trim of the trunk
lid make it easier to pull down the lid.
Locking separately
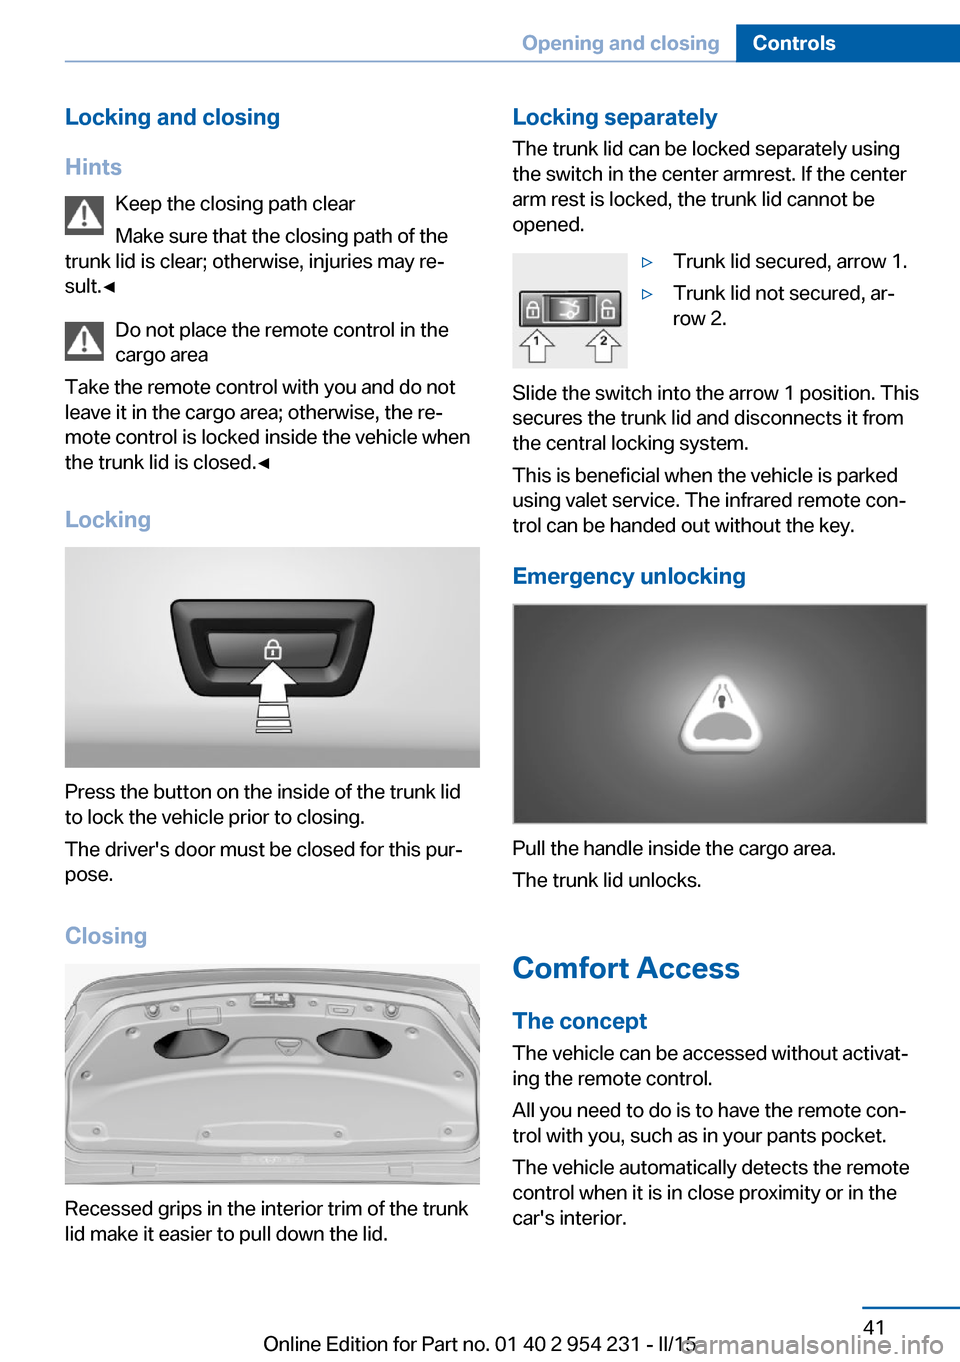
The trunk lid can be locked separately using
the switch in the center armrest. If the center
arm rest is locked, the trunk lid cannot be
opened.▷Trunk lid secured, arrow 1.▷Trunk lid not secured, ar‐
row 2.
Slide the switch into the arrow 1 position. This
secures the trunk lid and disconnects it from
the central locking system.
This is beneficial when the vehicle is parked
using valet service. The infrared remote con‐
trol can be handed out without the key.
Emergency unlocking
Pull the handle inside the cargo area.
The trunk lid unlocks.
Comfort Access
The concept The vehicle can be accessed without activat‐
ing the remote control.
All you need to do is to have the remote con‐ trol with you, such as in your pants pocket.
The vehicle automatically detects the remote
control when it is in close proximity or in the
car's interior.
Seite 41Opening and closingControls41
Online Edition for Part no. 01 40 2 954 231 - II/15
Page 173 of 255
Center armrest
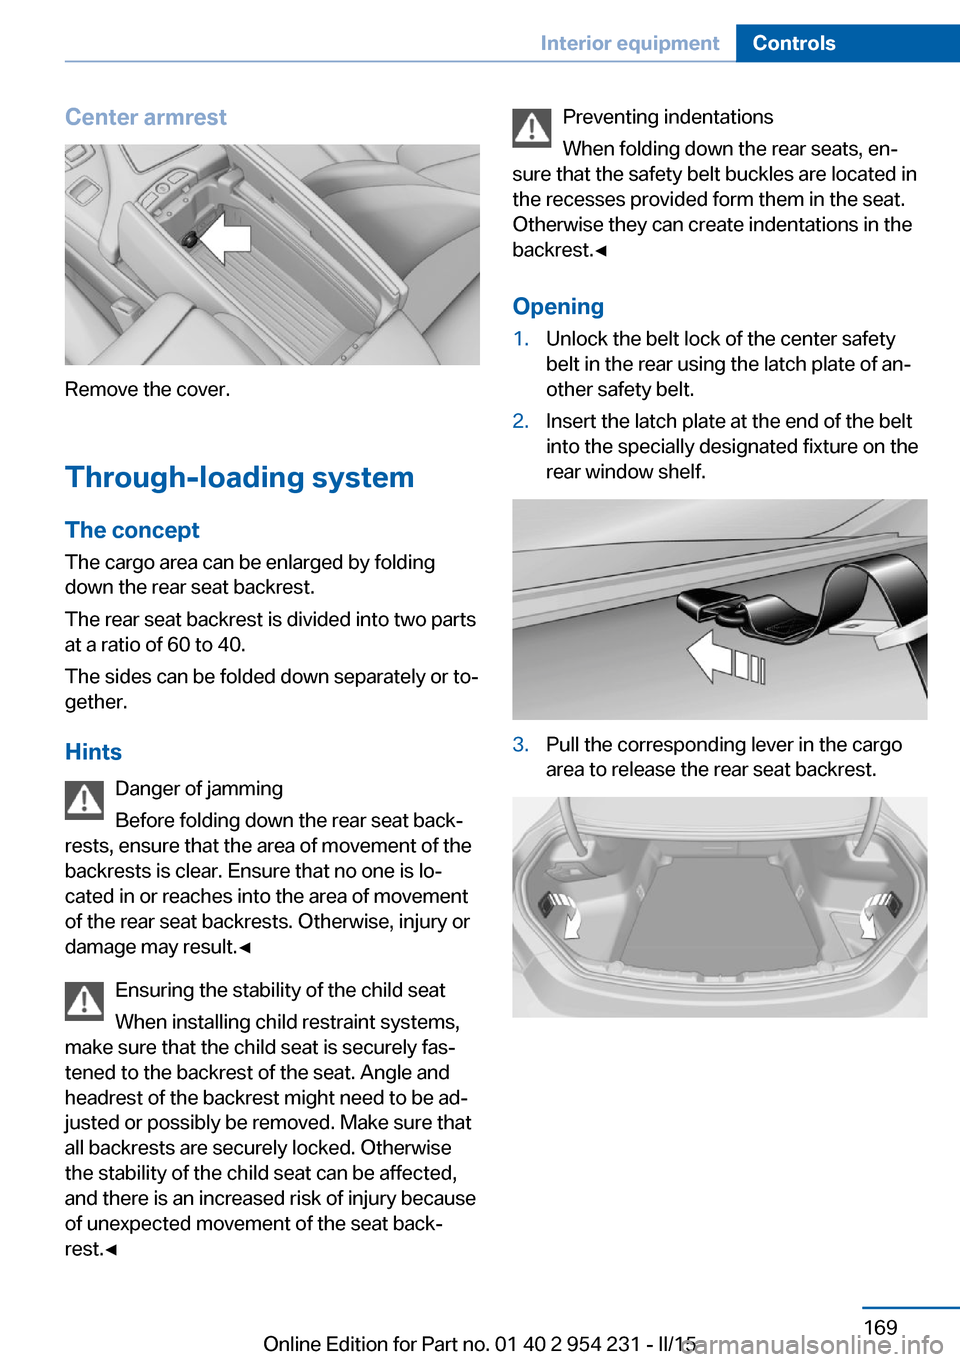
Remove the cover.
Through-loading system The concept The cargo area can be enlarged by folding
down the rear seat backrest.
The rear seat backrest is divided into two parts
at a ratio of 60 to 40.
The sides can be folded down separately or to‐
gether.
Hints Danger of jamming
Before folding down the rear seat back‐
rests, ensure that the area of movement of the backrests is clear. Ensure that no one is lo‐
cated in or reaches into the area of movement
of the rear seat backrests. Otherwise, injury or
damage may result.◀
Ensuring the stability of the child seat
When installing child restraint systems,
make sure that the child seat is securely fas‐
tened to the backrest of the seat. Angle and
headrest of the backrest might need to be ad‐
justed or possibly be removed. Make sure that
all backrests are securely locked. Otherwise
the stability of the child seat can be affected,
and there is an increased risk of injury because
of unexpected movement of the seat back‐ rest.◀
Preventing indentations
When folding down the rear seats, en‐
sure that the safety belt buckles are located in
the recesses provided form them in the seat.
Otherwise they can create indentations in the
backrest.◀
Opening1.Unlock the belt lock of the center safety
belt in the rear using the latch plate of an‐
other safety belt.2.Insert the latch plate at the end of the belt
into the specially designated fixture on the
rear window shelf.3.Pull the corresponding lever in the cargo
area to release the rear seat backrest.Seite 169Interior equipmentControls169
Online Edition for Part no. 01 40 2 954 231 - II/15
Page 174 of 255
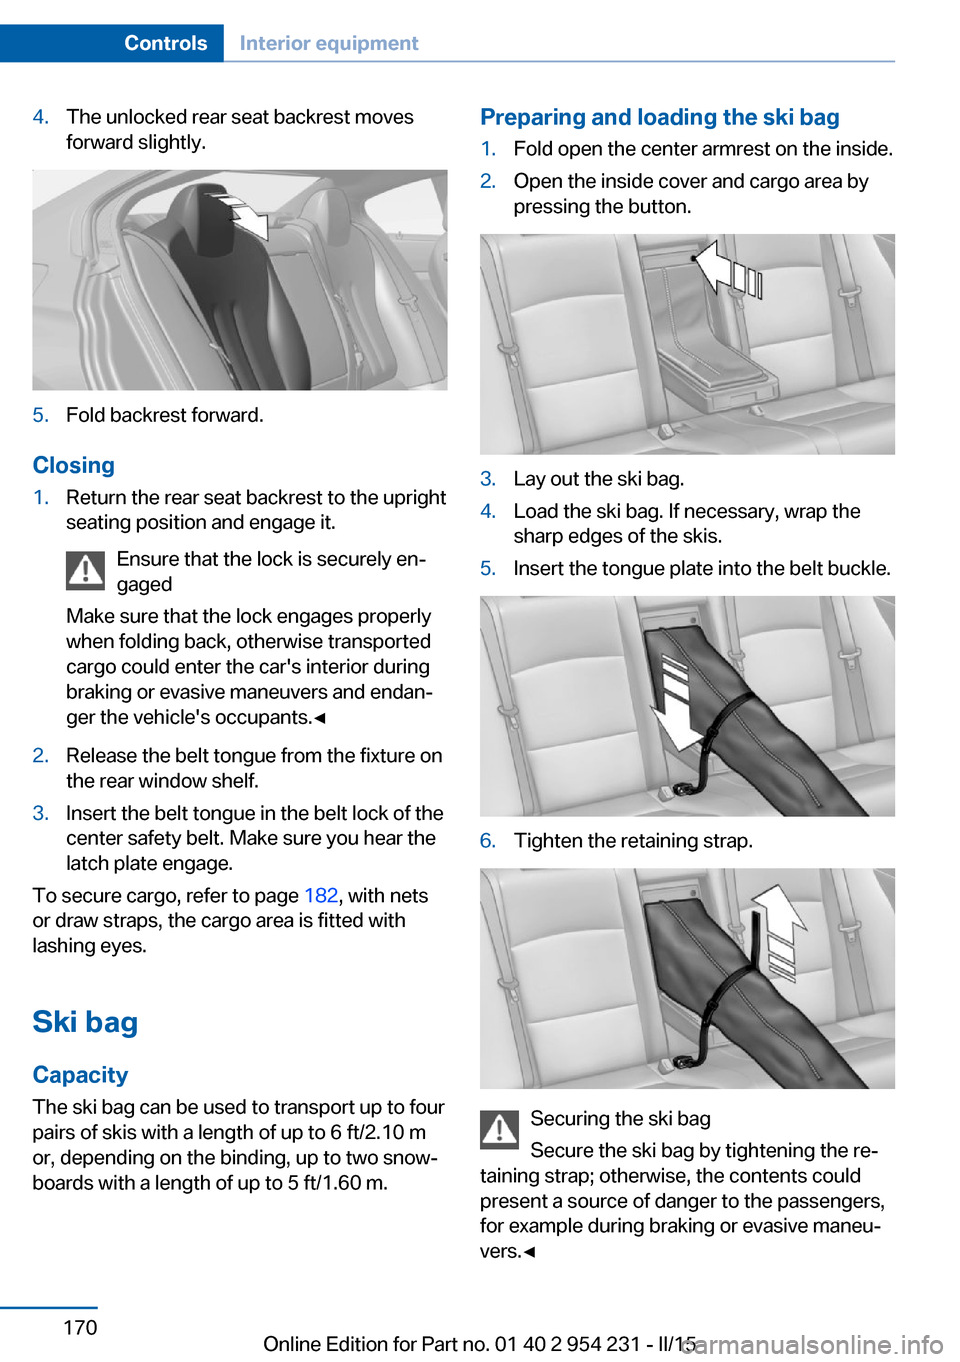
4.The unlocked rear seat backrest moves
forward slightly.5.Fold backrest forward.
Closing
1.Return the rear seat backrest to the upright
seating position and engage it.
Ensure that the lock is securely en‐
gaged
Make sure that the lock engages properly
when folding back, otherwise transported
cargo could enter the car's interior during
braking or evasive maneuvers and endan‐
ger the vehicle's occupants.◀2.Release the belt tongue from the fixture on
the rear window shelf.3.Insert the belt tongue in the belt lock of the
center safety belt. Make sure you hear the
latch plate engage.
To secure cargo, refer to page 182, with nets
or draw straps, the cargo area is fitted with
lashing eyes.
Ski bag
Capacity
The ski bag can be used to transport up to four
pairs of skis with a length of up to 6 ft/2.10 m
or, depending on the binding, up to two snow‐
boards with a length of up to 5 ft/1.60 m.
Preparing and loading the ski bag1.Fold open the center armrest on the inside.2.Open the inside cover and cargo area by
pressing the button.3.Lay out the ski bag.4.Load the ski bag. If necessary, wrap the
sharp edges of the skis.5.Insert the tongue plate into the belt buckle.6.Tighten the retaining strap.
Securing the ski bag
Secure the ski bag by tightening the re‐
taining strap; otherwise, the contents could
present a source of danger to the passengers,
for example during braking or evasive maneu‐
vers.◀
Seite 170ControlsInterior equipment170
Online Edition for Part no. 01 40 2 954 231 - II/15
Page 176 of 255
Storage compartmentsVehicle features and optionsThis chapter describes all standard, country-
specific and optional features offered with the
series. It also describes features that are not
necessarily available in your car, e. g., due to
the selected options or country versions. This
also applies to safety-related functions and
systems. The respectively applicable country
provisions must be observed when using the
respective features and systems.
Hints No loose objects in the car's interior
Do not stow any objects in the car's inte‐
rior without securing them; otherwise, they
may present a danger to occupants e.g., during
braking and evasive maneuvers.◀
Do not place anti-slip mats on the dash‐
board
Do not place anti-slip mats on the dashboard.
The mat materials could damage the dash‐
board.◀
Storage compartments The following storage compartments are avail‐
able in the vehicle interior:▷Glove compartment on the front passenger
side, refer to page 172.▷Storage compartment in the front center
armrest, refer to page 173.▷Storage compartment in the rear center
armrest, refer to page 173.▷Compartments in the doors.▷Pockets on the backrests of the front
seats.▷Net in the front passenger footwell.Glove compartment
Note Close the glove compartment again im‐
mediately
Close the glove compartment immediately af‐
ter use while driving; otherwise, injury may oc‐
cur during accidents.◀
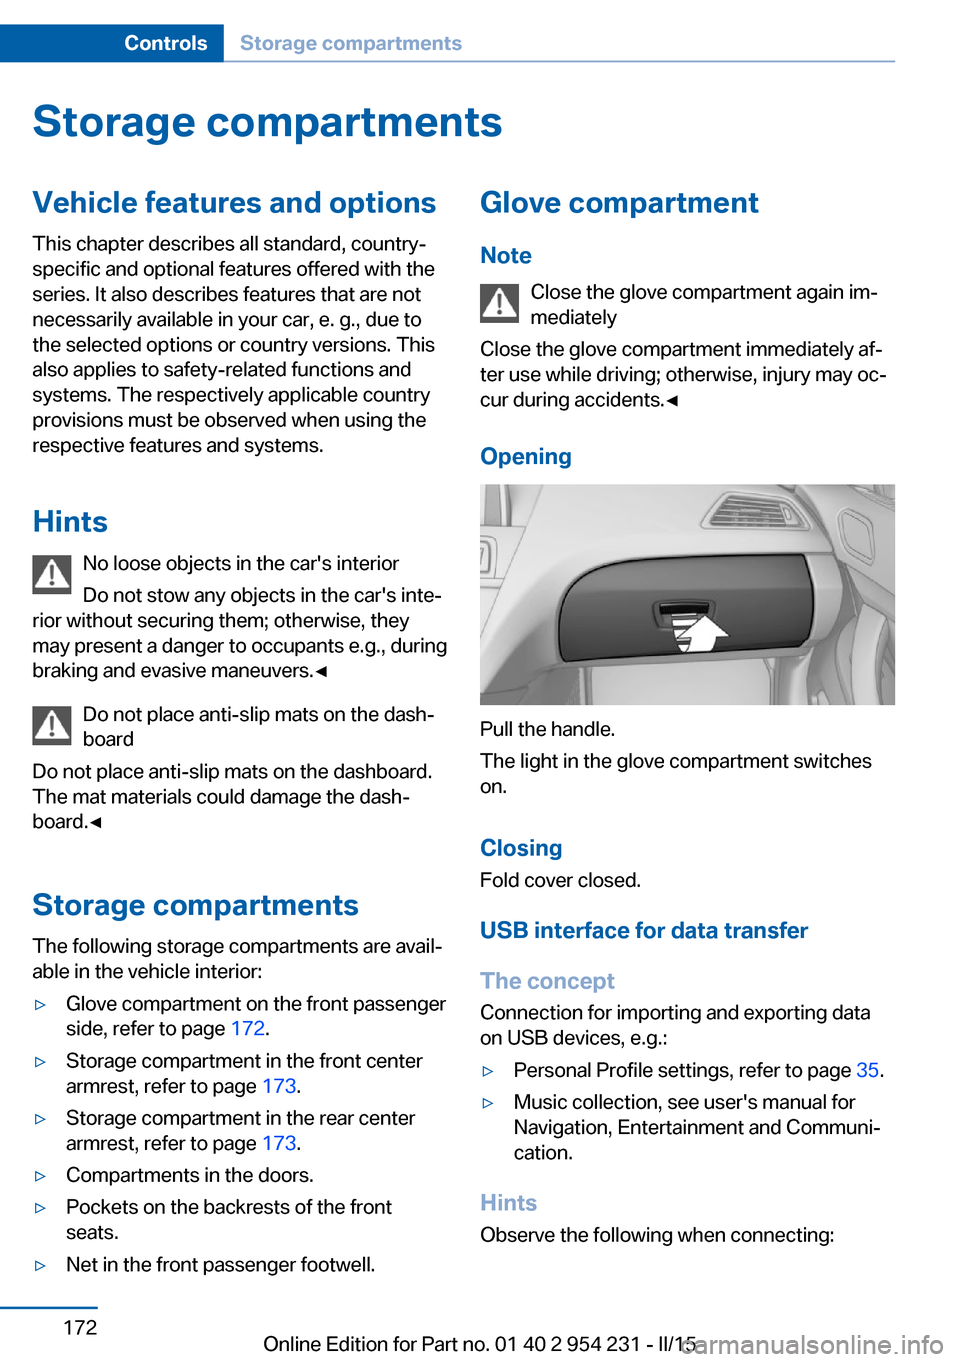
Opening
Pull the handle.
The light in the glove compartment switches
on.
ClosingFold cover closed.
USB interface for data transfer
The concept Connection for importing and exporting data
on USB devices, e.g.:
▷Personal Profile settings, refer to page 35.▷Music collection, see user's manual for
Navigation, Entertainment and Communi‐
cation.
Hints
Observe the following when connecting:
Seite 172ControlsStorage compartments172
Online Edition for Part no. 01 40 2 954 231 - II/15
Page 177 of 255
▷Do not use force when plugging the con‐
nector into the USB interface.▷Do not connect devices such as fans or
lights to the USB interface.▷Do not connect USB hard drives.▷Do not use the USB interface for recharg‐
ing external devices.
With navigation system Professional
or TV: at a glance
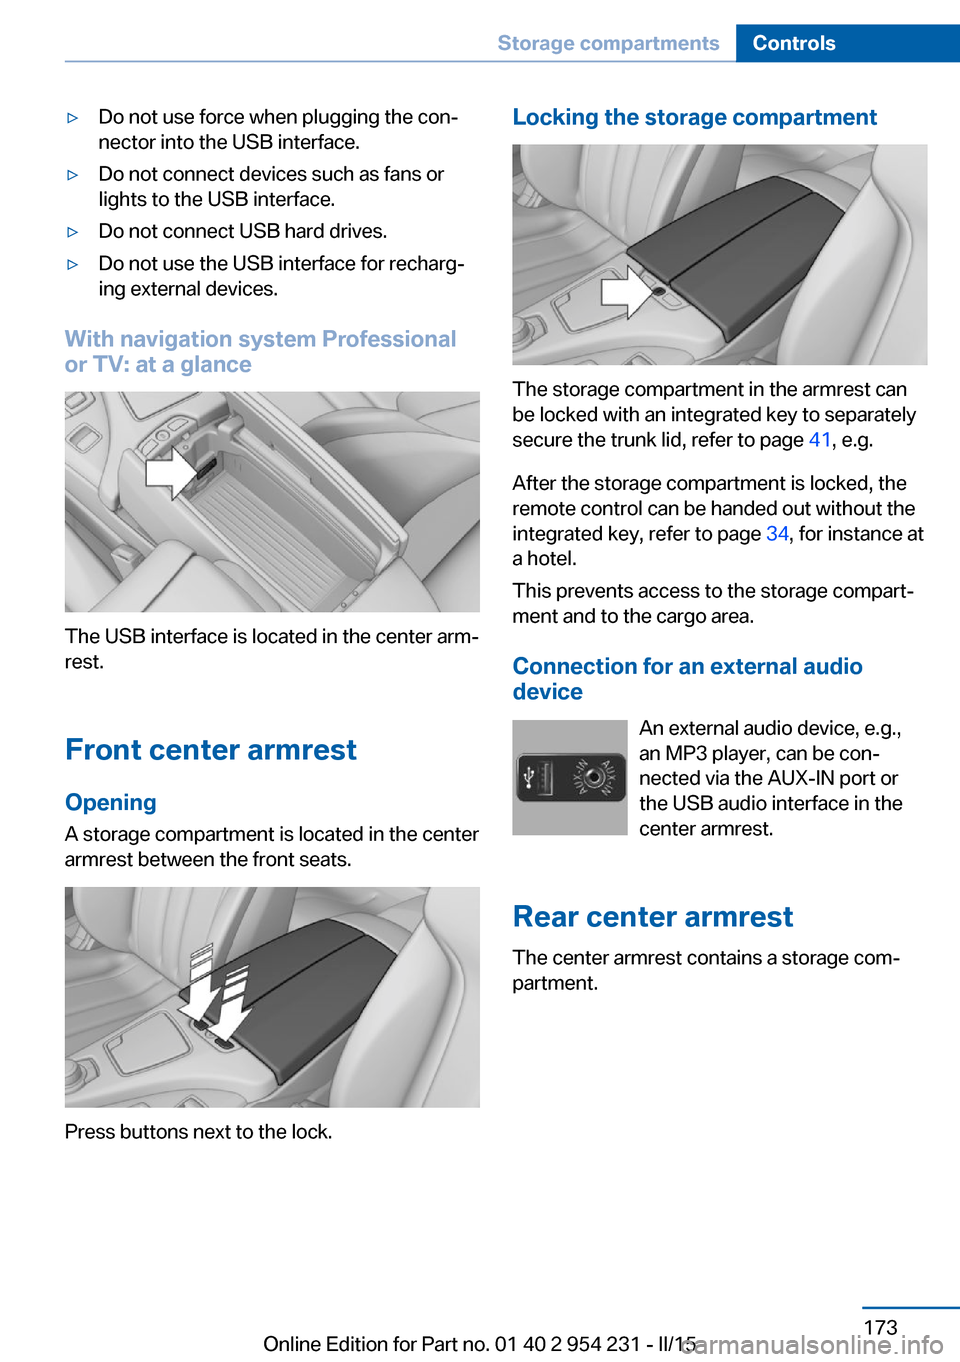
The USB interface is located in the center arm‐
rest.
Front center armrest Opening
A storage compartment is located in the center
armrest between the front seats.
Press buttons next to the lock.
Locking the storage compartment
The storage compartment in the armrest can
be locked with an integrated key to separately
secure the trunk lid, refer to page 41, e.g.
After the storage compartment is locked, the
remote control can be handed out without the
integrated key, refer to page 34, for instance at
a hotel.
This prevents access to the storage compart‐
ment and to the cargo area.
Connection for an external audio
device
An external audio device, e.g.,
an MP3 player, can be con‐
nected via the AUX-IN port or
the USB audio interface in the center armrest.
Rear center armrest The center armrest contains a storage com‐
partment.
Seite 173Storage compartmentsControls173
Online Edition for Part no. 01 40 2 954 231 - II/15
Page 178 of 255
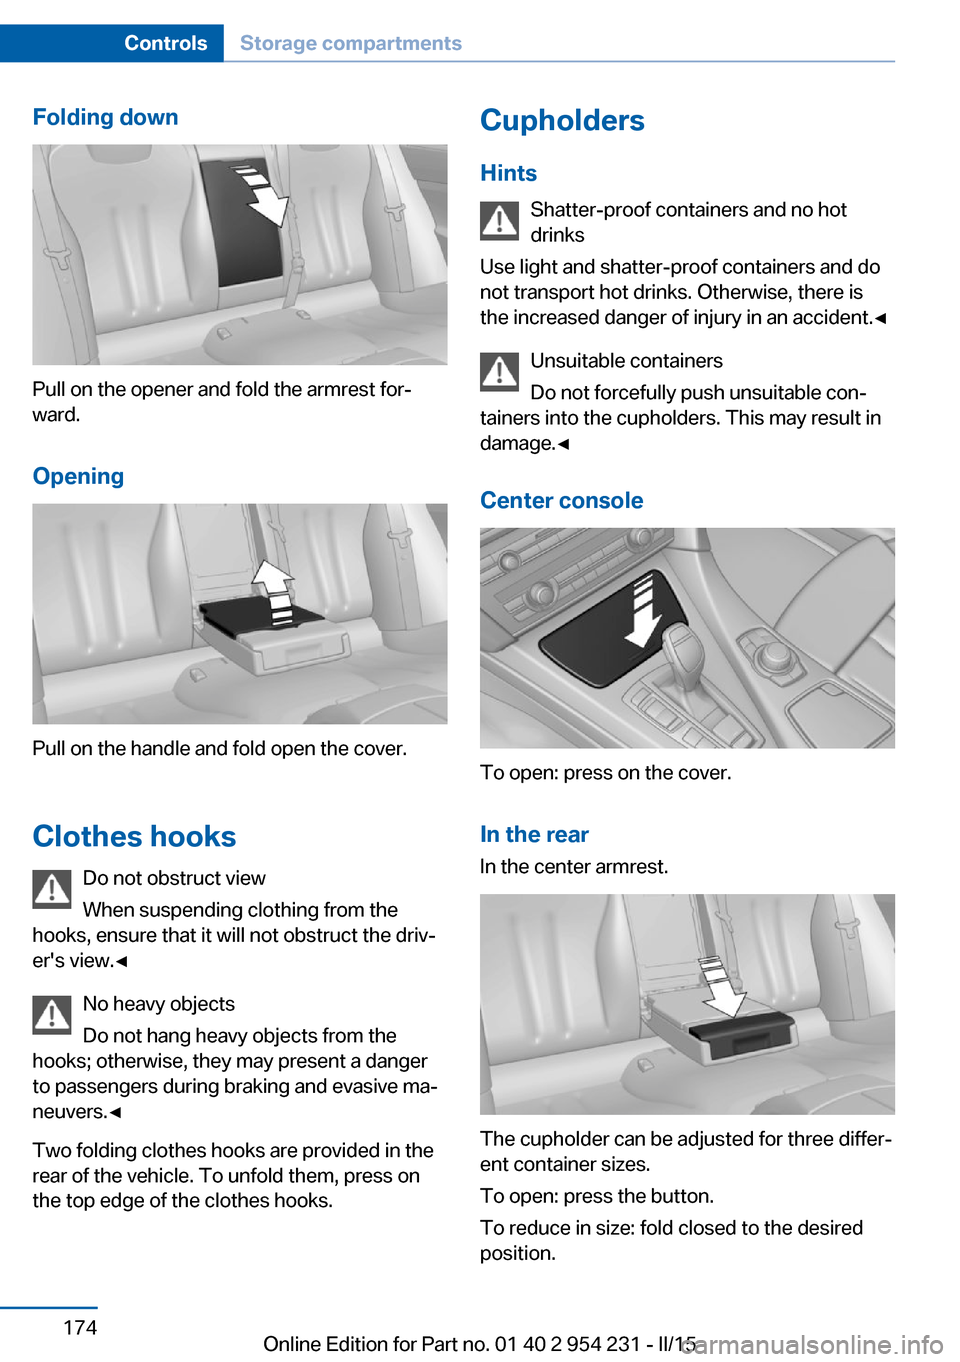
Folding down
Pull on the opener and fold the armrest for‐
ward.
Opening
Pull on the handle and fold open the cover.
Clothes hooks Do not obstruct view
When suspending clothing from the
hooks, ensure that it will not obstruct the driv‐
er's view.◀
No heavy objects
Do not hang heavy objects from the
hooks; otherwise, they may present a danger
to passengers during braking and evasive ma‐
neuvers.◀
Two folding clothes hooks are provided in the
rear of the vehicle. To unfold them, press on
the top edge of the clothes hooks.
Cupholders
Hints Shatter-proof containers and no hot
drinks
Use light and shatter-proof containers and do
not transport hot drinks. Otherwise, there is the increased danger of injury in an accident.◀
Unsuitable containers
Do not forcefully push unsuitable con‐
tainers into the cupholders. This may result in
damage.◀
Center console
To open: press on the cover.
In the rearIn the center armrest.
The cupholder can be adjusted for three differ‐
ent container sizes.
To open: press the button.
To reduce in size: fold closed to the desired
position.
Seite 174ControlsStorage compartments174
Online Edition for Part no. 01 40 2 954 231 - II/15
Page 244 of 255
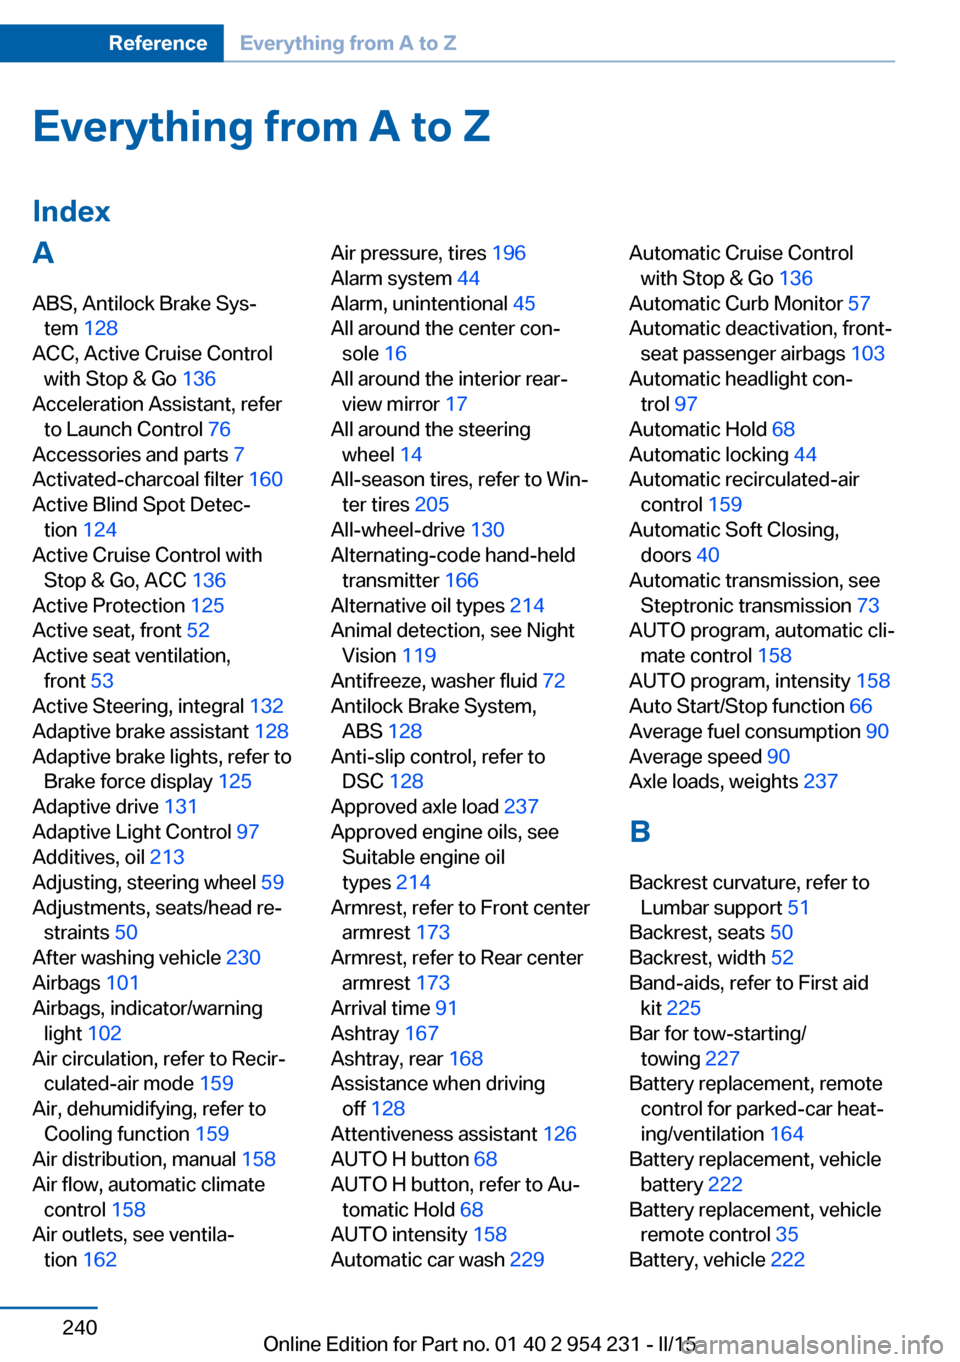
Everything from A to Z
IndexA ABS, Antilock Brake Sys‐ tem 128
ACC, Active Cruise Control with Stop & Go 136
Acceleration Assistant, refer to Launch Control 76
Accessories and parts 7
Activated-charcoal filter 160
Active Blind Spot Detec‐ tion 124
Active Cruise Control with Stop & Go, ACC 136
Active Protection 125
Active seat, front 52
Active seat ventilation, front 53
Active Steering, integral 132
Adaptive brake assistant 128
Adaptive brake lights, refer to Brake force display 125
Adaptive drive 131
Adaptive Light Control 97
Additives, oil 213
Adjusting, steering wheel 59
Adjustments, seats/head re‐ straints 50
After washing vehicle 230
Airbags 101
Airbags, indicator/warning light 102
Air circulation, refer to Recir‐ culated-air mode 159
Air, dehumidifying, refer to Cooling function 159
Air distribution, manual 158
Air flow, automatic climate control 158
Air outlets, see ventila‐ tion 162 Air pressure, tires 196
Alarm system 44
Alarm, unintentional 45
All around the center con‐ sole 16
All around the interior rear‐ view mirror 17
All around the steering wheel 14
All-season tires, refer to Win‐ ter tires 205
All-wheel-drive 130
Alternating-code hand-held transmitter 166
Alternative oil types 214
Animal detection, see Night Vision 119
Antifreeze, washer fluid 72
Antilock Brake System, ABS 128
Anti-slip control, refer to DSC 128
Approved axle load 237
Approved engine oils, see Suitable engine oil
types 214
Armrest, refer to Front center armrest 173
Armrest, refer to Rear center armrest 173
Arrival time 91
Ashtray 167
Ashtray, rear 168
Assistance when driving off 128
Attentiveness assistant 126
AUTO H button 68
AUTO H button, refer to Au‐ tomatic Hold 68
AUTO intensity 158
Automatic car wash 229 Automatic Cruise Control
with Stop & Go 136
Automatic Curb Monitor 57
Automatic deactivation, front- seat passenger airbags 103
Automatic headlight con‐ trol 97
Automatic Hold 68
Automatic locking 44
Automatic recirculated-air control 159
Automatic Soft Closing, doors 40
Automatic transmission, see Steptronic transmission 73
AUTO program, automatic cli‐ mate control 158
AUTO program, intensity 158
Auto Start/Stop function 66
Average fuel consumption 90
Average speed 90
Axle loads, weights 237
B Backrest curvature, refer to Lumbar support 51
Backrest, seats 50
Backrest, width 52
Band-aids, refer to First aid kit 225
Bar for tow-starting/ towing 227
Battery replacement, remote control for parked-car heat‐
ing/ventilation 164
Battery replacement, vehicle battery 222
Battery replacement, vehicle remote control 35
Battery, vehicle 222 Seite 240ReferenceEverything from A to Z240
Online Edition for Part no. 01 40 2 954 231 - II/15
Page 247 of 255
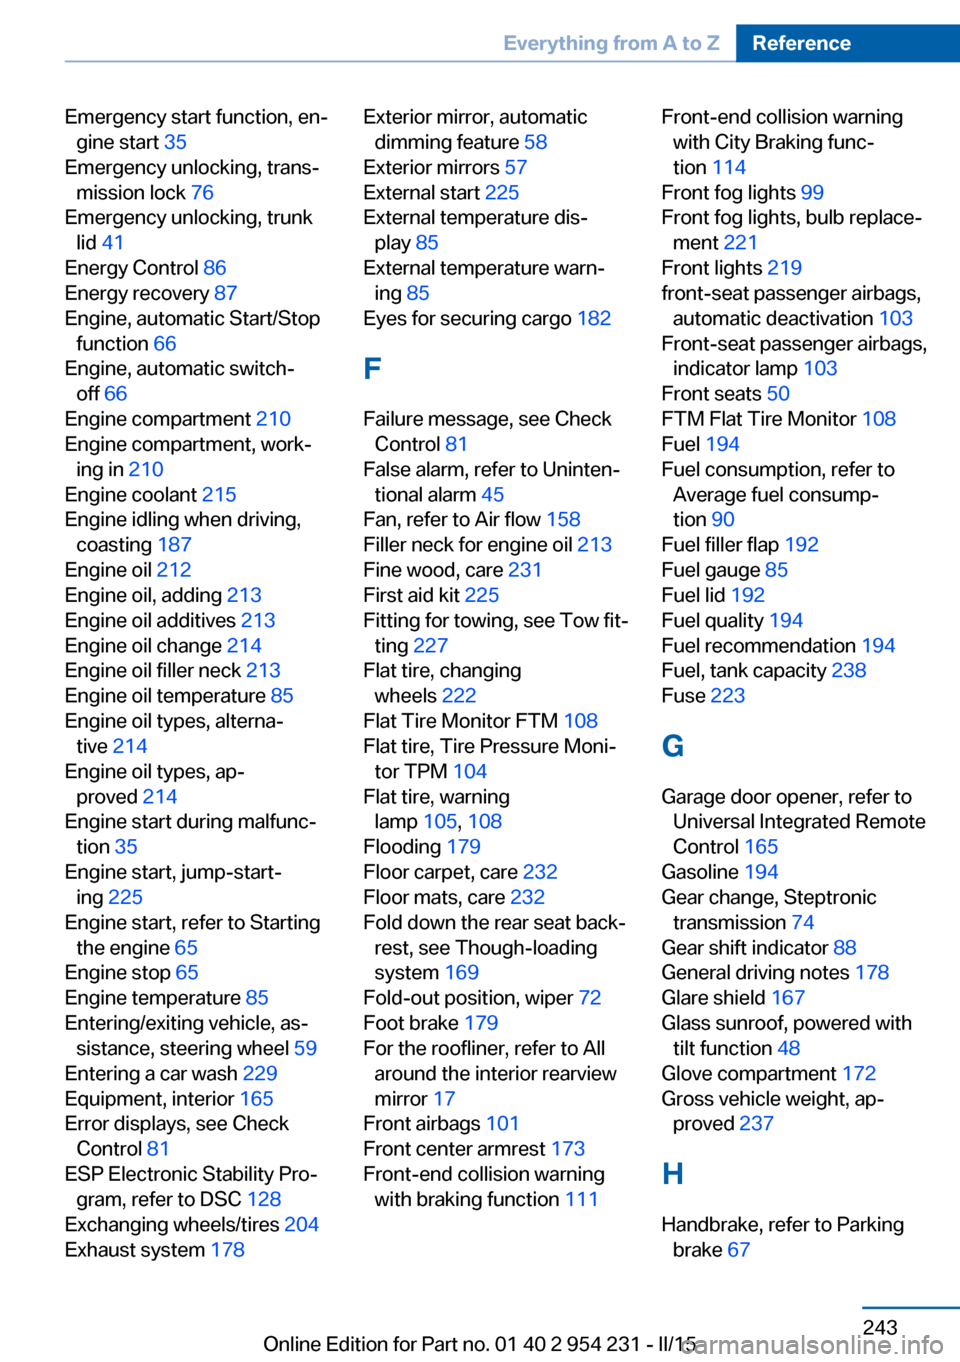
Emergency start function, en‐gine start 35
Emergency unlocking, trans‐ mission lock 76
Emergency unlocking, trunk lid 41
Energy Control 86
Energy recovery 87
Engine, automatic Start/Stop function 66
Engine, automatic switch- off 66
Engine compartment 210
Engine compartment, work‐ ing in 210
Engine coolant 215
Engine idling when driving, coasting 187
Engine oil 212
Engine oil, adding 213
Engine oil additives 213
Engine oil change 214
Engine oil filler neck 213
Engine oil temperature 85
Engine oil types, alterna‐ tive 214
Engine oil types, ap‐ proved 214
Engine start during malfunc‐ tion 35
Engine start, jump-start‐ ing 225
Engine start, refer to Starting the engine 65
Engine stop 65
Engine temperature 85
Entering/exiting vehicle, as‐ sistance, steering wheel 59
Entering a car wash 229
Equipment, interior 165
Error displays, see Check Control 81
ESP Electronic Stability Pro‐ gram, refer to DSC 128
Exchanging wheels/tires 204
Exhaust system 178 Exterior mirror, automatic
dimming feature 58
Exterior mirrors 57
External start 225
External temperature dis‐ play 85
External temperature warn‐ ing 85
Eyes for securing cargo 182
F
Failure message, see Check Control 81
False alarm, refer to Uninten‐ tional alarm 45
Fan, refer to Air flow 158
Filler neck for engine oil 213
Fine wood, care 231
First aid kit 225
Fitting for towing, see Tow fit‐ ting 227
Flat tire, changing wheels 222
Flat Tire Monitor FTM 108
Flat tire, Tire Pressure Moni‐ tor TPM 104
Flat tire, warning lamp 105, 108
Flooding 179
Floor carpet, care 232
Floor mats, care 232
Fold down the rear seat back‐ rest, see Though-loading
system 169
Fold-out position, wiper 72
Foot brake 179
For the roofliner, refer to All around the interior rearview
mirror 17
Front airbags 101
Front center armrest 173
Front-end collision warning with braking function 111 Front-end collision warning
with City Braking func‐
tion 114
Front fog lights 99
Front fog lights, bulb replace‐ ment 221
Front lights 219
front-seat passenger airbags, automatic deactivation 103
Front-seat passenger airbags, indicator lamp 103
Front seats 50
FTM Flat Tire Monitor 108
Fuel 194
Fuel consumption, refer to Average fuel consump‐
tion 90
Fuel filler flap 192
Fuel gauge 85
Fuel lid 192
Fuel quality 194
Fuel recommendation 194
Fuel, tank capacity 238
Fuse 223
G
Garage door opener, refer to Universal Integrated Remote
Control 165
Gasoline 194
Gear change, Steptronic transmission 74
Gear shift indicator 88
General driving notes 178
Glare shield 167
Glass sunroof, powered with tilt function 48
Glove compartment 172
Gross vehicle weight, ap‐ proved 237
H
Handbrake, refer to Parking brake 67 Seite 243Everything from A to ZReference243
Online Edition for Part no. 01 40 2 954 231 - II/15