low beam BMW 650I GRAN COUPE 2014 Owners Manual
[x] Cancel search | Manufacturer: BMW, Model Year: 2014, Model line: 650I GRAN COUPE, Model: BMW 650I GRAN COUPE 2014Pages: 243, PDF Size: 8.02 MB
Page 12 of 243
CockpitVehicle equipment
All standard, country-specific and optional
equipment that is offered in the model series is
described in this chapter. Therefore, equip‐ment is also described that is not available in a
vehicle, e. g., because of the selected optional
equipment or country variant. This also applies
for safety-related functions and systems.
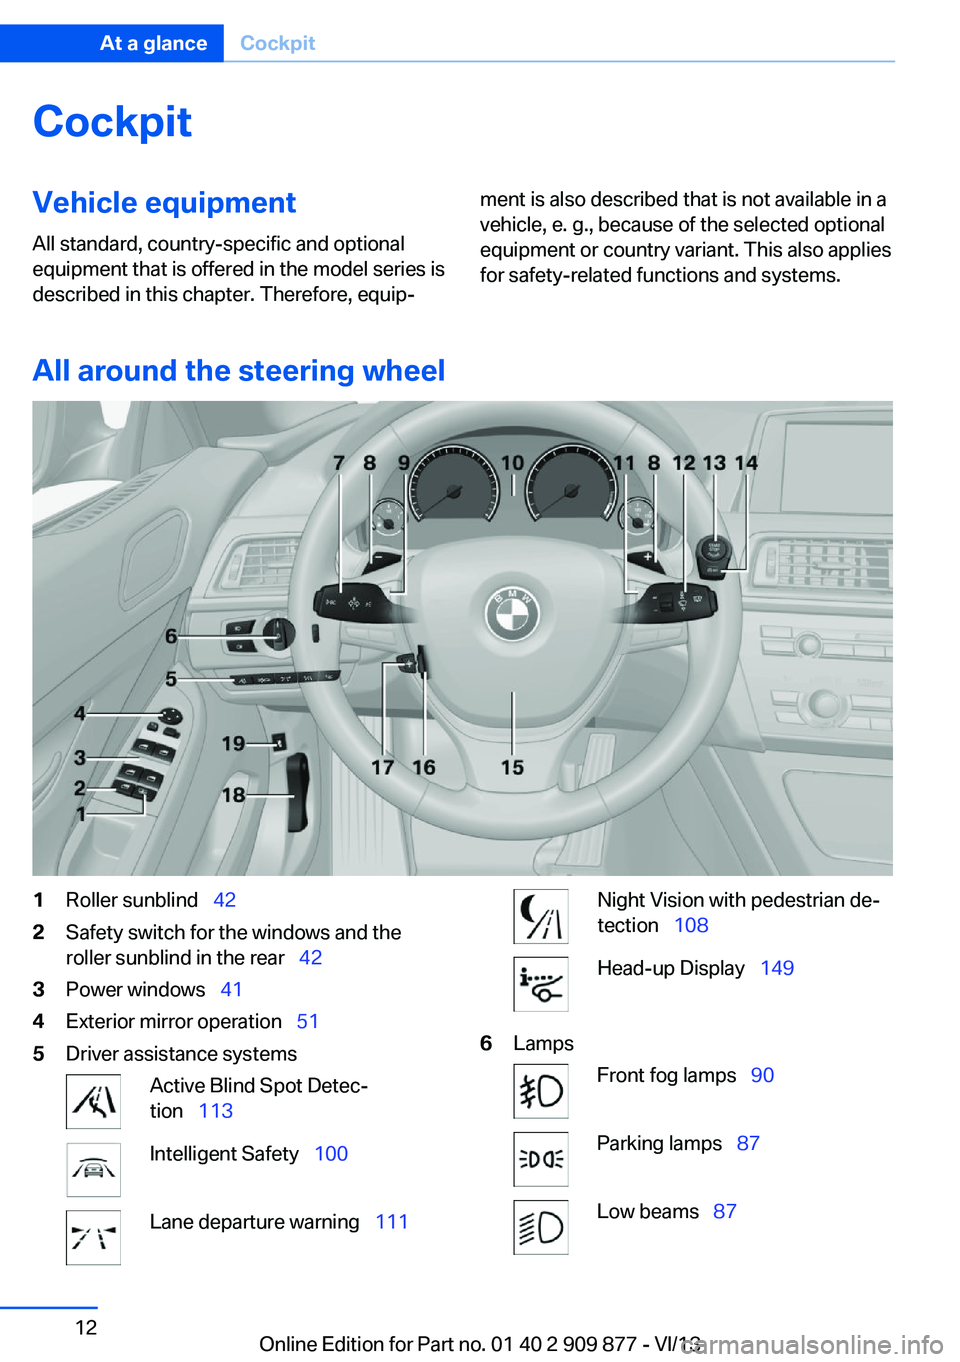
All around the steering wheel
1Roller sunblind 422Safety switch for the windows and the
roller sunblind in the rear 423Power windows 414Exterior mirror operation 515Driver assistance systemsActive Blind Spot Detec‐
tion 113Intelligent Safety 100Lane departure warning 111Night Vision with pedestrian de‐
tection 108Head-up Display 1496LampsFront fog lamps 90Parking lamps 87Low beams 87Seite 12At a glanceCockpit12
Online Edition for Part no. 01 40 2 909 877 - VI/13
Page 58 of 243
DrivingVehicle equipment
All standard, country-specific and optional
equipment that is offered in the model series is
described in this chapter. Therefore, equip‐
ment is also described that is not available in a
vehicle, e. g., because of the selected optional
equipment or country variant. This also applies
for safety-related functions and systems.
Start/Stop button The concept Pressing the Start/Stop button
switches the ignition on or off
and starts the engine.
The engine starts if the brake
pedal is pressed when you press
the Start/Stop button.
Ignition onPress the Start/Stop button and do not press
on the brake pedal at the same time.
All vehicle systems are ready for operation.
Most of the indicator and warning lamps in the
instrument cluster light up for varying lengths
of time.
To save battery power when the engine is off,
switch off the ignition and any unnecessary
electronic systems/power consumers.
The ignition switches off automatically:▷When locking the vehicle, even if the low
beams are switched on.▷Shortly before the battery is discharged
completely, so that the engine can still be
started.Note
If the engine is switched off and the ignition is
switched on, the system automatically
switches to the radio ready state when the
door is opened if the lights are switched off or
the daytime running lights are switched on.
Ignition off
Press the Start/Stop button again and do not
press on the brake pedal at the same time.
All indicator lamps in the instrument cluster go
out.
To save battery power when the engine is off,
switch off the ignition and any unnecessary
electronic systems/power consumers.
Transmission position P with the ignition
off
When the ignition is switched off, position P is
engaged automatically. When in an automatic
car wash, for example, ensure that the ignition
is not switched off accidentally.◀
The ignition automatically cuts off while the
vehicle is stationary and the engine is stopped:▷When locking the vehicle, and when the
low beams are activated.▷Shortly before the battery is discharged
completely, so that the engine can still be
started. This function is only available
when the low beams are switched off.▷When opening or closing the driver door, if
the driver's seat belt is unbuckled and the
low beams are switched off.▷While the driver's seat belt is unbuckled, if
the driver's door is open and the low
beams are switched off.
When the ignition is switched off, by opening
or closing the driver's door or unbuckling the
driver's seat belt, the radio ready state remains
active.
Seite 58ControlsDriving58
Online Edition for Part no. 01 40 2 909 877 - VI/13
Page 87 of 243
LampsVehicle equipment
All standard, country-specific and optional
equipment that is offered in the model series is
described in this chapter. Therefore, equip‐
ment is also described that is not available in a
vehicle, e. g., because of the selected optional
equipment or country variant. This also applies
for safety-related functions and systems.
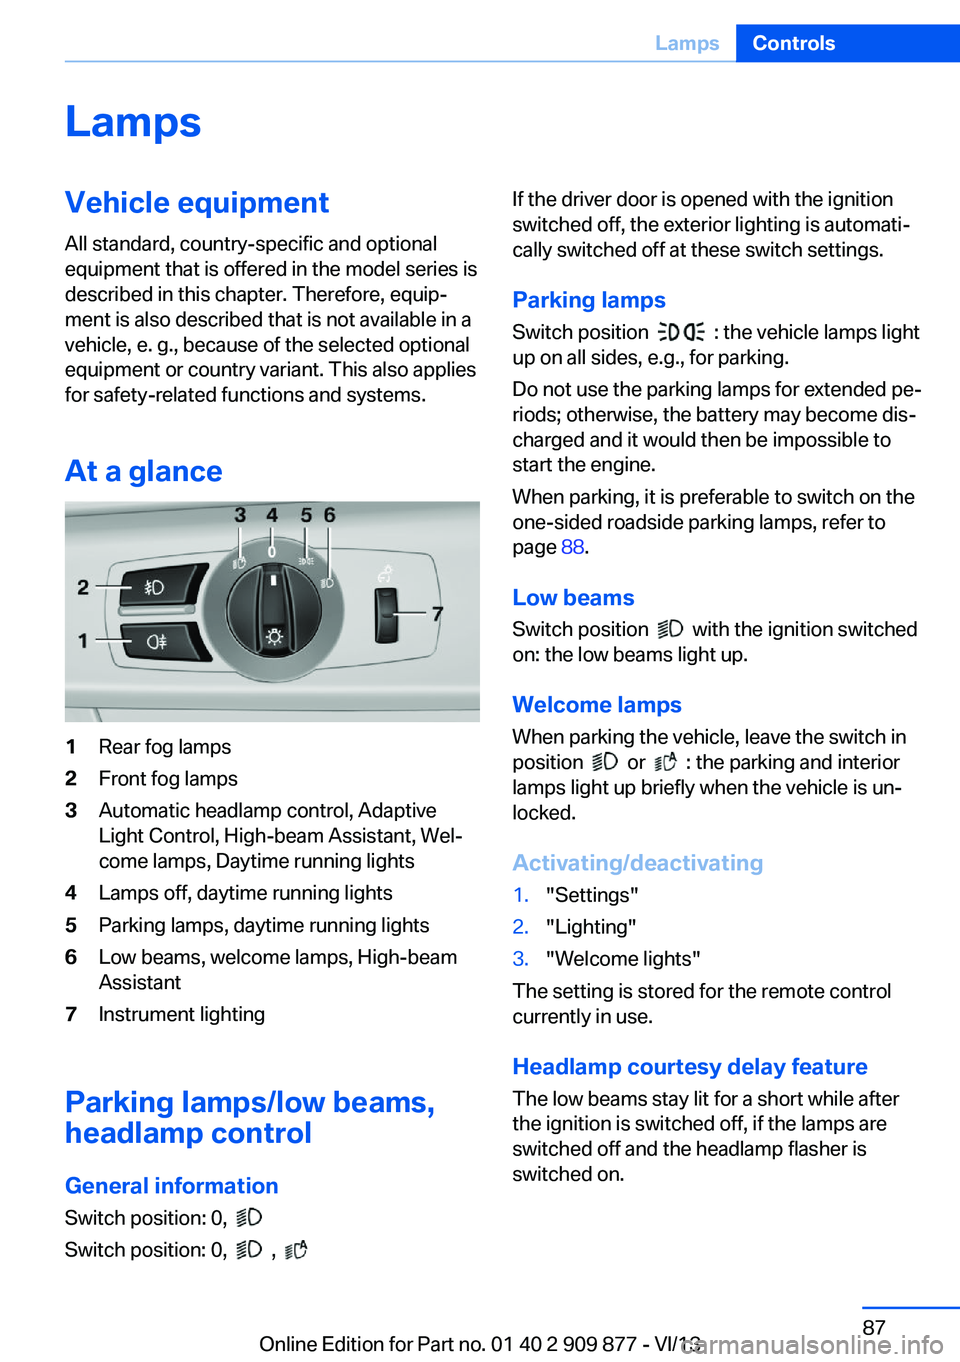
At a glance1Rear fog lamps2Front fog lamps3Automatic headlamp control, Adaptive
Light Control, High-beam Assistant, Wel‐
come lamps, Daytime running lights4Lamps off, daytime running lights5Parking lamps, daytime running lights6Low beams, welcome lamps, High-beam
Assistant7Instrument lighting
Parking lamps/low beams,
headlamp control
General information Switch position: 0,
Switch position: 0,
,
If the driver door is opened with the ignition
switched off, the exterior lighting is automati‐
cally switched off at these switch settings.
Parking lamps
Switch position
: the vehicle lamps light
up on all sides, e.g., for parking.
Do not use the parking lamps for extended pe‐
riods; otherwise, the battery may become dis‐
charged and it would then be impossible to
start the engine.
When parking, it is preferable to switch on the
one-sided roadside parking lamps, refer to
page 88.
Low beams Switch position
with the ignition switched
on: the low beams light up.
Welcome lamps When parking the vehicle, leave the switch in
position
or : the parking and interior
lamps light up briefly when the vehicle is un‐
locked.
Activating/deactivating
1."Settings"2."Lighting"3."Welcome lights"
The setting is stored for the remote control
currently in use.
Headlamp courtesy delay feature
The low beams stay lit for a short while after
the ignition is switched off, if the lamps are
switched off and the headlamp flasher is
switched on.
Seite 87LampsControls87
Online Edition for Part no. 01 40 2 909 877 - VI/13
Page 88 of 243
Setting the duration1."Settings"2."Lighting"3."Pathway lighting:"4.Set the duration.
The setting is stored for the remote control
currently in use.
Automatic headlamp control
Switch position
: the low beams are
switched on and off automatically, e.g., in tun‐
nels, in twilight or if there is precipitation. The
indicator lamp in the instrument cluster lights
up.
A blue sky with the sun low on the horizon can
cause the lights to be switched on.
The low beams always stay on when the fog
lamps are switched on.
Personal responsibility
The automatic headlamp control cannot
serve as a substitute for your personal judg‐
ment in determining when the lamps should be
switched on in response to ambient lighting
conditions.
For example, the sensors are unable to detect
fog or hazy weather. To avoid safety risks, you
should always switch on the lamps manually
under these conditions.◀
Daytime running lights With the ignition switched on, the daytime run‐
ning lights light up in position 0,
or .
After the ignition is switched off, the parking
lamps light up in position
.
Activating/deactivating
In some countries, daytime running lights are
compulsory, so it may not be possible to deac‐
tivate the daytime running lights.
1."Settings"2."Lighting"3."Daytime running lamps"
The setting is stored for the remote control
currently in use.
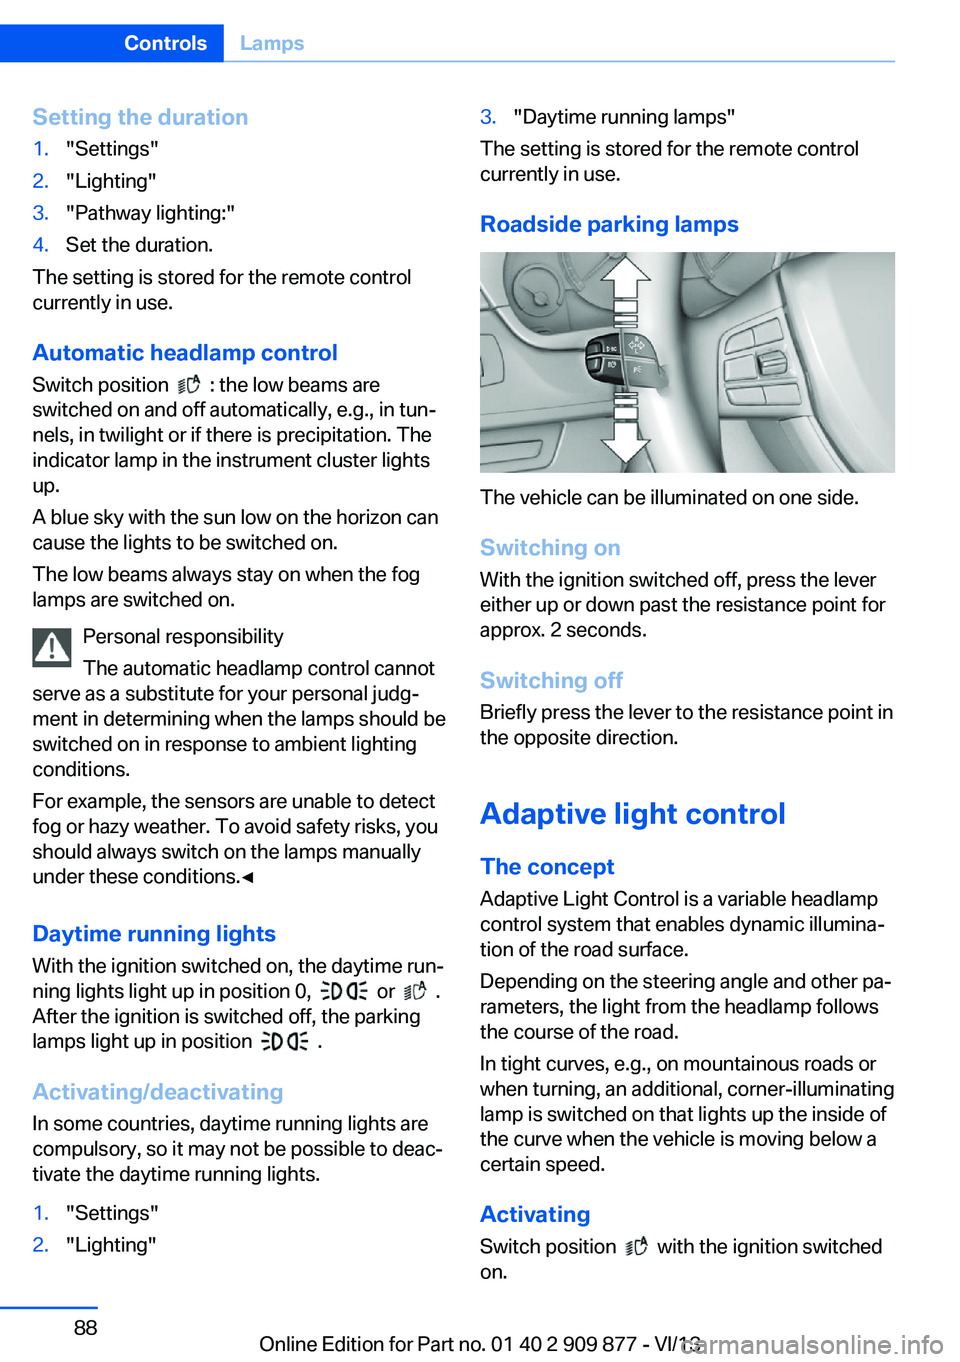
Roadside parking lamps
The vehicle can be illuminated on one side.
Switching on With the ignition switched off, press the lever
either up or down past the resistance point for
approx. 2 seconds.
Switching off Briefly press the lever to the resistance point in
the opposite direction.
Adaptive light control The concept Adaptive Light Control is a variable headlamp
control system that enables dynamic illumina‐
tion of the road surface.
Depending on the steering angle and other pa‐ rameters, the light from the headlamp follows
the course of the road.
In tight curves, e.g., on mountainous roads or
when turning, an additional, corner-illuminating
lamp is switched on that lights up the inside of
the curve when the vehicle is moving below a certain speed.
Activating Switch position
with the ignition switched
on.
Seite 88ControlsLamps88
Online Edition for Part no. 01 40 2 909 877 - VI/13
Page 89 of 243
The turning lamps are automatically switched
on depending on the steering angle or the use
of turn signals.
To avoid blinding oncoming traffic, the Adap‐
tive Light Control does not swivel to the driv‐
er's side when the vehicle is at a standstill.
When driving in reverse, only the turning lamp
is active.
Self-leveling headlamps The self-leveling headlamps compensate for
acceleration and braking operations in order
not to blind the oncoming traffic and to achieve
optimum illumination of the roadway.
Malfunction
A Check Control message is displayed.
Adaptive light control is malfunctioning or has
failed. Have the system checked as soon as
possible.
High-beam Assistant
The concept When the low beams are switched on, this sys‐
tem automatically switches the high beams on
and off. The procedure is controlled by a sen‐
sor on the front of the interior rearview mirror.
The assistant ensures that the high beams are
switched on whenever the traffic situation al‐
lows. The driver can intervene at any time and
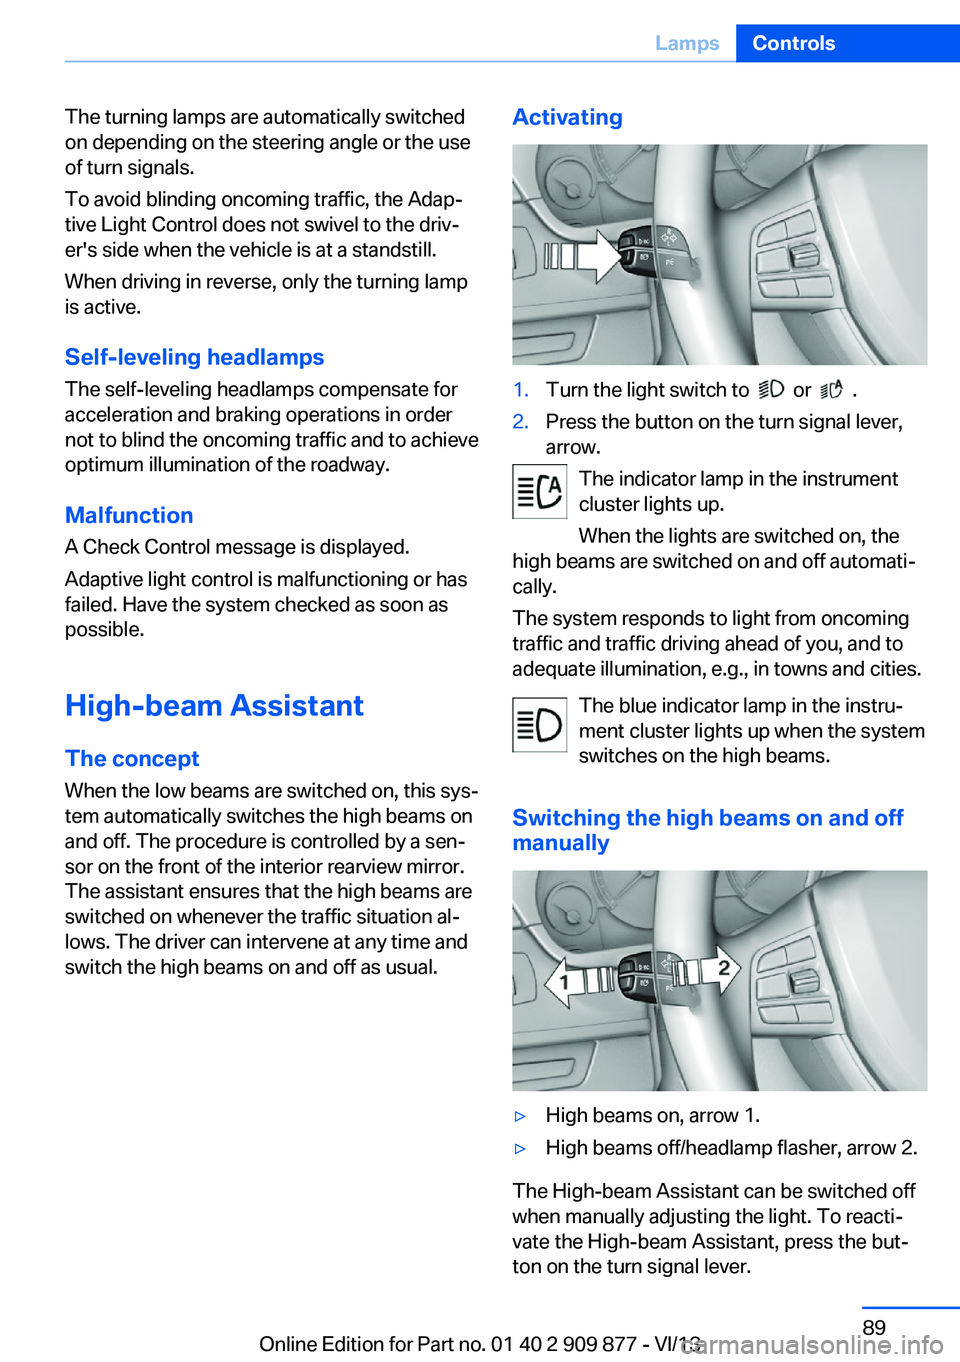
switch the high beams on and off as usual.Activating1.Turn the light switch to or .2.Press the button on the turn signal lever,
arrow.
The indicator lamp in the instrument
cluster lights up.
When the lights are switched on, the
high beams are switched on and off automati‐
cally.
The system responds to light from oncoming
traffic and traffic driving ahead of you, and to
adequate illumination, e.g., in towns and cities.
The blue indicator lamp in the instru‐
ment cluster lights up when the system
switches on the high beams.
Switching the high beams on and off manually
▷High beams on, arrow 1.▷High beams off/headlamp flasher, arrow 2.
The High-beam Assistant can be switched off
when manually adjusting the light. To reacti‐
vate the High-beam Assistant, press the but‐
ton on the turn signal lever.
Seite 89LampsControls89
Online Edition for Part no. 01 40 2 909 877 - VI/13
Page 90 of 243
System limitsPersonal responsibility
The high-beam assistant cannot serve as
a substitute for the driver's personal judgment
of when to use the high beams. Therefore,
manually switch off the high beams in situa‐
tions where this is required to avoid a safety
risk.◀
The system is not fully functional in situations
such as the following, and driver intervention
may be necessary:▷In very unfavorable weather conditions,
such as fog or heavy precipitation.▷In detecting poorly-lit road users, such as
pedestrians, cyclists, horseback riders and
wagons; when driving close to train or ship
traffic; and at animal crossings.▷In tight curves, on hilltops or in depres‐
sions, in cross traffic or half-obscured on‐
coming traffic on freeways.▷In poorly-lit towns and cities and in the
presence of highly reflective signs.▷At low speeds.▷When the windshield in front of the interior
rearview mirror is fogged over, dirty or cov‐
ered with stickers, etc.
Camera
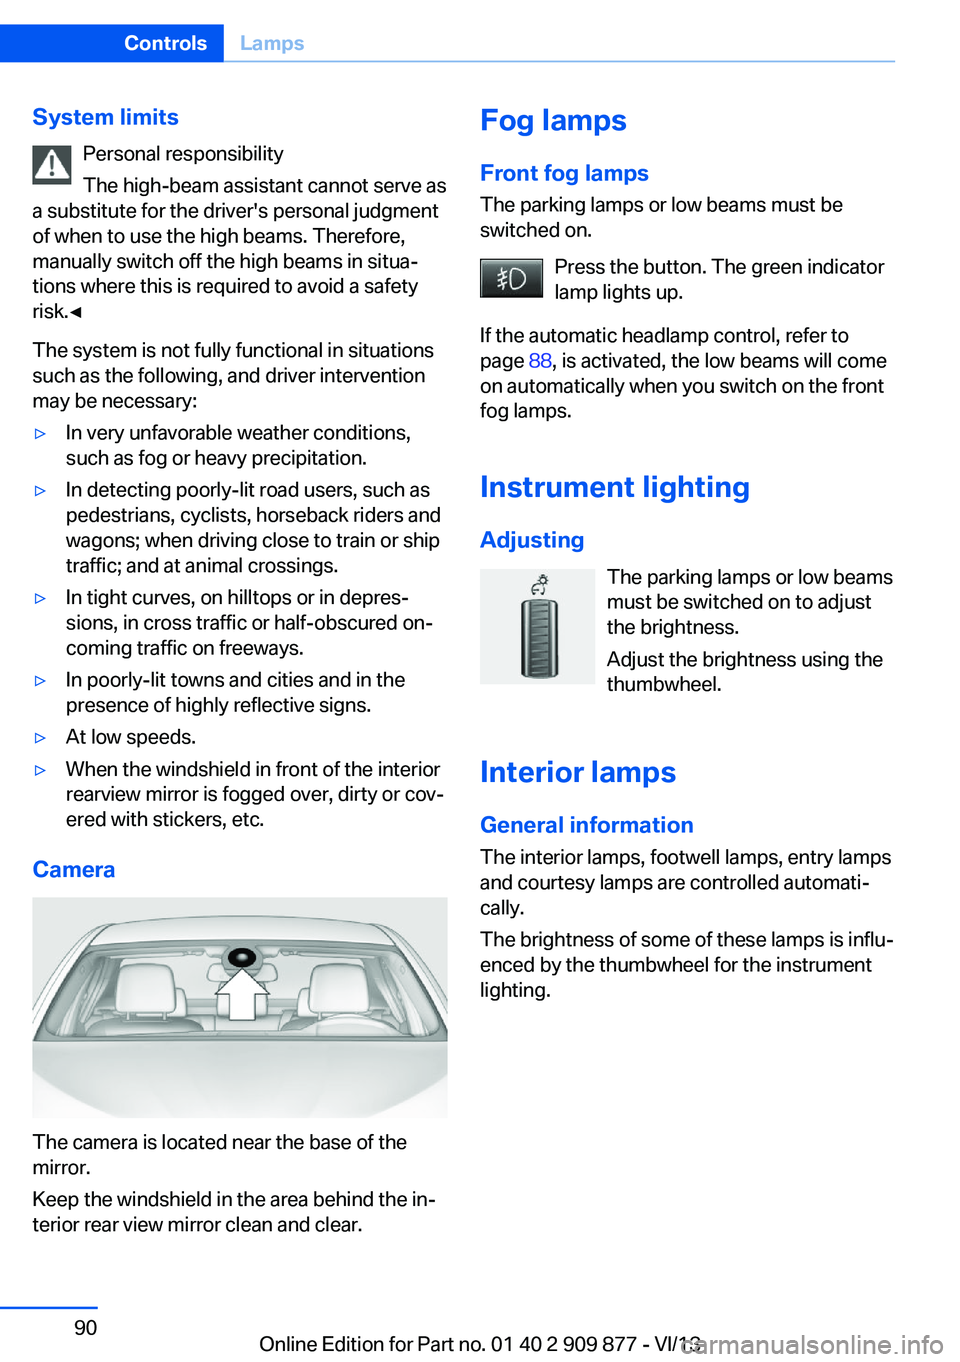
The camera is located near the base of the
mirror.
Keep the windshield in the area behind the in‐
terior rear view mirror clean and clear.
Fog lamps
Front fog lamps
The parking lamps or low beams must be
switched on.
Press the button. The green indicator
lamp lights up.
If the automatic headlamp control, refer to
page 88, is activated, the low beams will come
on automatically when you switch on the front
fog lamps.
Instrument lighting
Adjusting The parking lamps or low beams
must be switched on to adjust
the brightness.
Adjust the brightness using the
thumbwheel.
Interior lamps
General information The interior lamps, footwell lamps, entry lamps
and courtesy lamps are controlled automati‐
cally.
The brightness of some of these lamps is influ‐
enced by the thumbwheel for the instrument
lighting.Seite 90ControlsLamps90
Online Edition for Part no. 01 40 2 909 877 - VI/13
Page 108 of 243
▷Pedestrians below a body size of approx.
32 in/80 cm.
Functional limitations
The system may not be fully functional or may
not be available in the following situations:
▷In heavy fog, rain, sprayed water or snow‐
fall.▷In tight curves.▷If the camera view field or the front wind‐
shield are dirty or covered.▷When driving toward bright lights.▷Up to 10 seconds after the start of the en‐
gine, via the Start/Stop knob.▷During calibration of the camera immedi‐
ately after vehicle shipment.
Night Vision with Pedestrian
and Animal Detection
The concept Night Vision with pedestrian and animal detec‐
tion is a night vision system.
An infrared camera records the area in front of
the vehicle and issues a warning if it detects
pedestrians and animals on the street. Warm
objects that are similar in shape to human be‐
ings or animals are detected by the system. If necessary, the heat image can be displayed on
the Control Display.
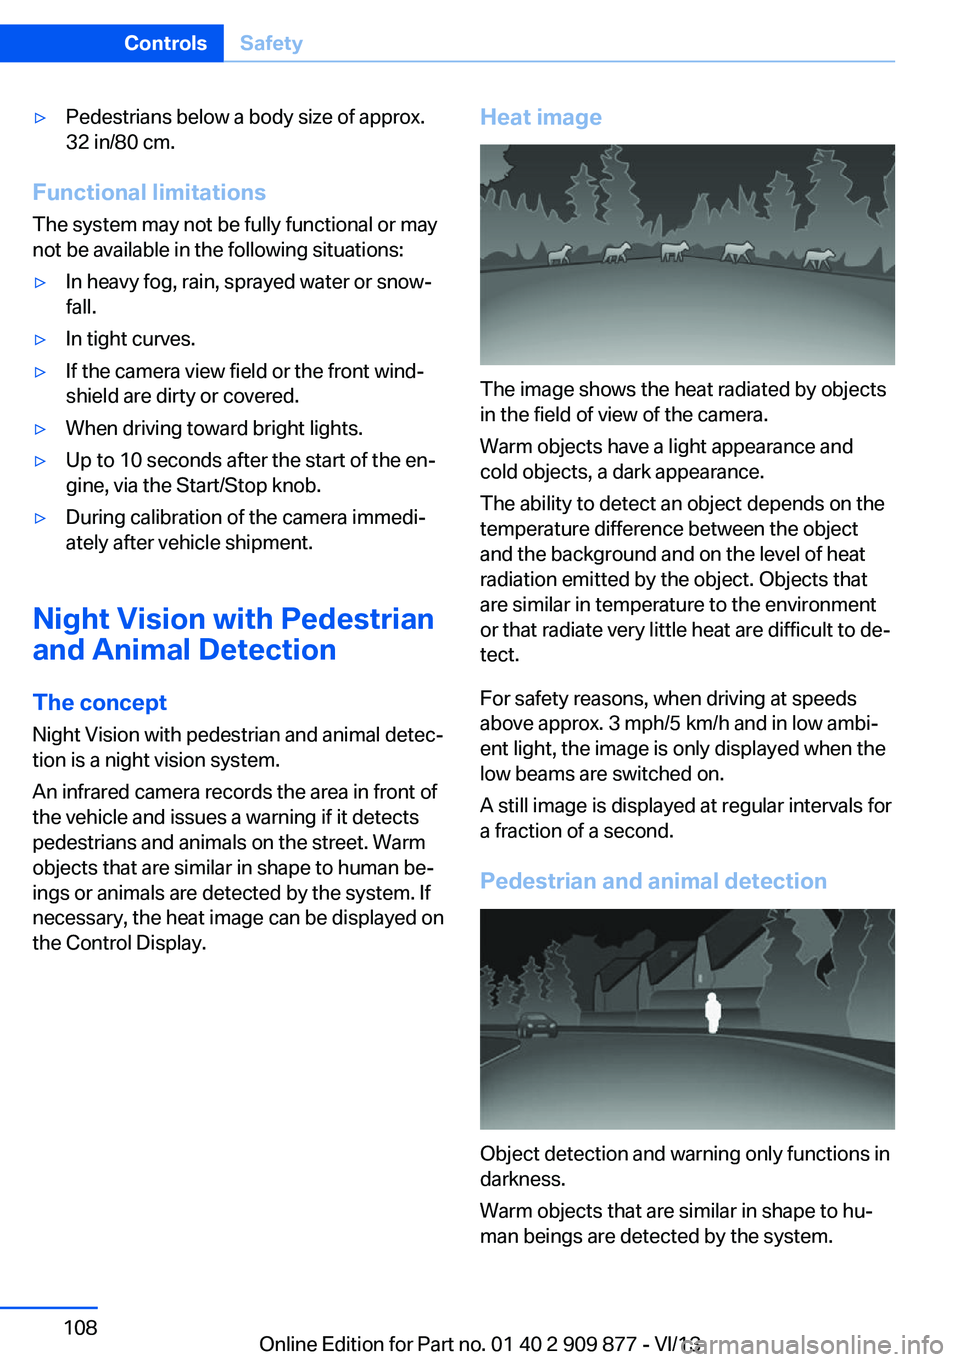
Heat image
The image shows the heat radiated by objects
in the field of view of the camera.
Warm objects have a light appearance and
cold objects, a dark appearance.
The ability to detect an object depends on the
temperature difference between the object
and the background and on the level of heat
radiation emitted by the object. Objects that
are similar in temperature to the environment
or that radiate very little heat are difficult to de‐
tect.
For safety reasons, when driving at speeds
above approx. 3 mph/5 km/h and in low ambi‐
ent light, the image is only displayed when the
low beams are switched on.
A still image is displayed at regular intervals for
a fraction of a second.
Pedestrian and animal detection
Object detection and warning only functions in
darkness.
Warm objects that are similar in shape to hu‐
man beings are detected by the system.
Seite 108ControlsSafety108
Online Edition for Part no. 01 40 2 909 877 - VI/13
Page 149 of 243
Head-up Display
The concept
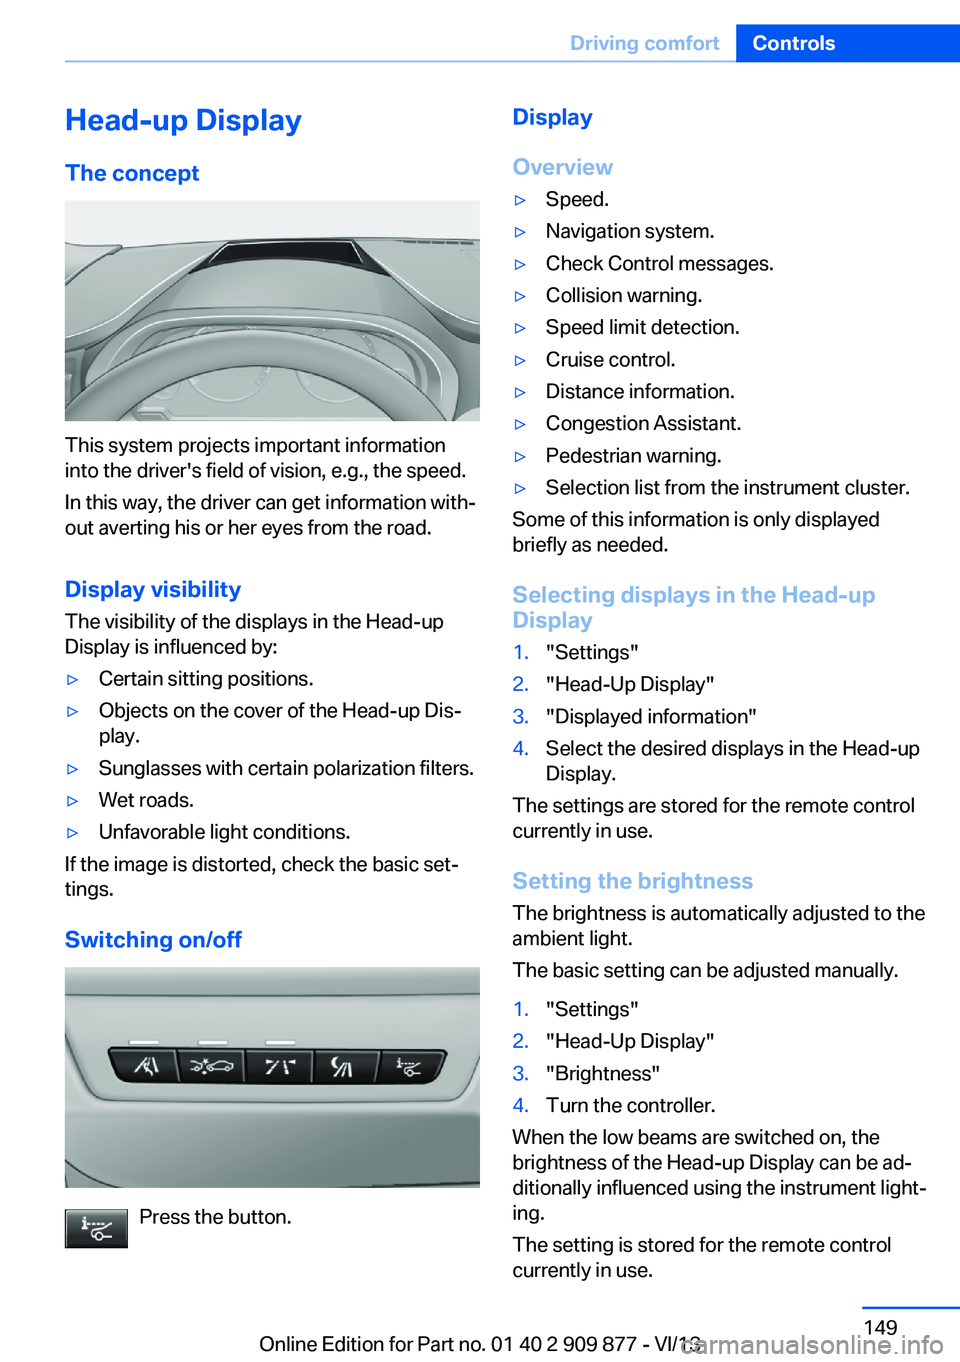
This system projects important information
into the driver's field of vision, e.g., the speed.
In this way, the driver can get information with‐
out averting his or her eyes from the road.
Display visibility The visibility of the displays in the Head-up
Display is influenced by:
▷Certain sitting positions.▷Objects on the cover of the Head-up Dis‐
play.▷Sunglasses with certain polarization filters.▷Wet roads.▷Unfavorable light conditions.
If the image is distorted, check the basic set‐
tings.
Switching on/off
Press the button.
Display
Overview▷Speed.▷Navigation system.▷Check Control messages.▷Collision warning.▷Speed limit detection.▷Cruise control.▷Distance information.▷Congestion Assistant.▷Pedestrian warning.▷Selection list from the instrument cluster.
Some of this information is only displayed
briefly as needed.
Selecting displays in the Head-up
Display
1."Settings"2."Head-Up Display"3."Displayed information"4.Select the desired displays in the Head-up
Display.
The settings are stored for the remote control
currently in use.
Setting the brightness
The brightness is automatically adjusted to the
ambient light.
The basic setting can be adjusted manually.
1."Settings"2."Head-Up Display"3."Brightness"4.Turn the controller.
When the low beams are switched on, the
brightness of the Head-up Display can be ad‐
ditionally influenced using the instrument light‐
ing.
The setting is stored for the remote control
currently in use.
Seite 149Driving comfortControls149
Online Edition for Part no. 01 40 2 909 877 - VI/13
Page 236 of 243
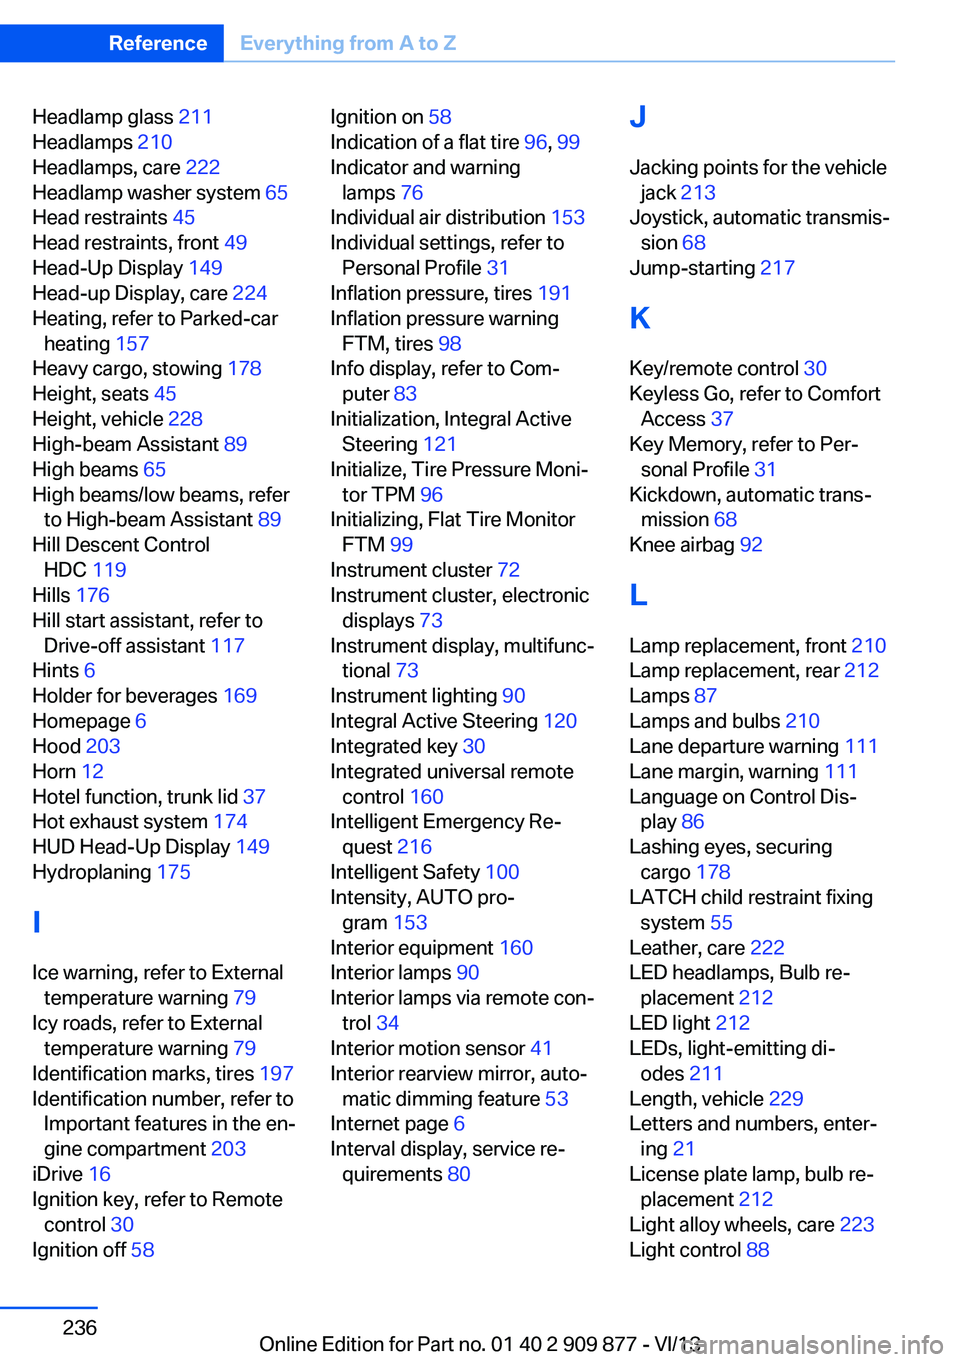
Headlamp glass 211
Headlamps 210
Headlamps, care 222
Headlamp washer system 65
Head restraints 45
Head restraints, front 49
Head-Up Display 149
Head-up Display, care 224
Heating, refer to Parked-car heating 157
Heavy cargo, stowing 178
Height, seats 45
Height, vehicle 228
High-beam Assistant 89
High beams 65
High beams/low beams, refer to High-beam Assistant 89
Hill Descent Control HDC 119
Hills 176
Hill start assistant, refer to Drive-off assistant 117
Hints 6
Holder for beverages 169
Homepage 6
Hood 203
Horn 12
Hotel function, trunk lid 37
Hot exhaust system 174
HUD Head-Up Display 149
Hydroplaning 175
I Ice warning, refer to External temperature warning 79
Icy roads, refer to External temperature warning 79
Identification marks, tires 197
Identification number, refer to Important features in the en‐
gine compartment 203
iDrive 16
Ignition key, refer to Remote control 30
Ignition off 58 Ignition on 58
Indication of a flat tire 96, 99
Indicator and warning lamps 76
Individual air distribution 153
Individual settings, refer to Personal Profile 31
Inflation pressure, tires 191
Inflation pressure warning FTM, tires 98
Info display, refer to Com‐ puter 83
Initialization, Integral Active Steering 121
Initialize, Tire Pressure Moni‐ tor TPM 96
Initializing, Flat Tire Monitor FTM 99
Instrument cluster 72
Instrument cluster, electronic displays 73
Instrument display, multifunc‐ tional 73
Instrument lighting 90
Integral Active Steering 120
Integrated key 30
Integrated universal remote control 160
Intelligent Emergency Re‐ quest 216
Intelligent Safety 100
Intensity, AUTO pro‐ gram 153
Interior equipment 160
Interior lamps 90
Interior lamps via remote con‐ trol 34
Interior motion sensor 41
Interior rearview mirror, auto‐ matic dimming feature 53
Internet page 6
Interval display, service re‐ quirements 80 J
Jacking points for the vehicle jack 213
Joystick, automatic transmis‐ sion 68
Jump-starting 217
K
Key/remote control 30
Keyless Go, refer to Comfort Access 37
Key Memory, refer to Per‐ sonal Profile 31
Kickdown, automatic trans‐ mission 68
Knee airbag 92
L Lamp replacement, front 210
Lamp replacement, rear 212
Lamps 87
Lamps and bulbs 210
Lane departure warning 111
Lane margin, warning 111
Language on Control Dis‐ play 86
Lashing eyes, securing cargo 178
LATCH child restraint fixing system 55
Leather, care 222
LED headlamps, Bulb re‐ placement 212
LED light 212
LEDs, light-emitting di‐ odes 211
Length, vehicle 229
Letters and numbers, enter‐ ing 21
License plate lamp, bulb re‐ placement 212
Light alloy wheels, care 223
Light control 88 Seite 236ReferenceEverything from A to Z236
Online Edition for Part no. 01 40 2 909 877 - VI/13
Page 237 of 243
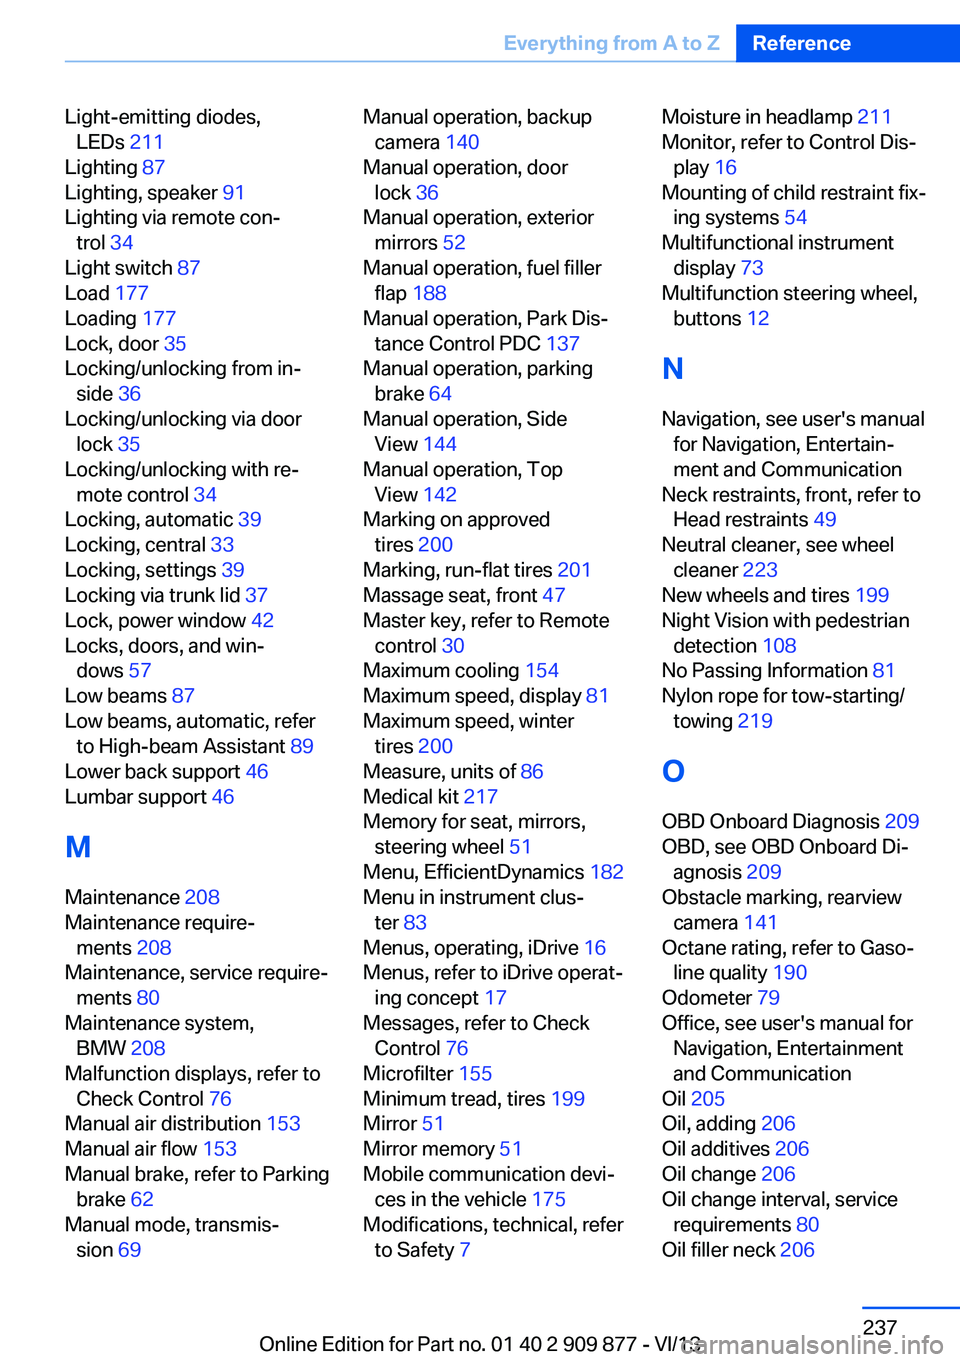
Light-emitting diodes,LEDs 211
Lighting 87
Lighting, speaker 91
Lighting via remote con‐ trol 34
Light switch 87
Load 177
Loading 177
Lock, door 35
Locking/unlocking from in‐ side 36
Locking/unlocking via door lock 35
Locking/unlocking with re‐ mote control 34
Locking, automatic 39
Locking, central 33
Locking, settings 39
Locking via trunk lid 37
Lock, power window 42
Locks, doors, and win‐ dows 57
Low beams 87
Low beams, automatic, refer to High-beam Assistant 89
Lower back support 46
Lumbar support 46
M
Maintenance 208
Maintenance require‐ ments 208
Maintenance, service require‐ ments 80
Maintenance system, BMW 208
Malfunction displays, refer to Check Control 76
Manual air distribution 153
Manual air flow 153
Manual brake, refer to Parking brake 62
Manual mode, transmis‐ sion 69 Manual operation, backup
camera 140
Manual operation, door lock 36
Manual operation, exterior mirrors 52
Manual operation, fuel filler flap 188
Manual operation, Park Dis‐ tance Control PDC 137
Manual operation, parking brake 64
Manual operation, Side View 144
Manual operation, Top View 142
Marking on approved tires 200
Marking, run-flat tires 201
Massage seat, front 47
Master key, refer to Remote control 30
Maximum cooling 154
Maximum speed, display 81
Maximum speed, winter tires 200
Measure, units of 86
Medical kit 217
Memory for seat, mirrors, steering wheel 51
Menu, EfficientDynamics 182
Menu in instrument clus‐ ter 83
Menus, operating, iDrive 16
Menus, refer to iDrive operat‐ ing concept 17
Messages, refer to Check Control 76
Microfilter 155
Minimum tread, tires 199
Mirror 51
Mirror memory 51
Mobile communication devi‐ ces in the vehicle 175
Modifications, technical, refer to Safety 7 Moisture in headlamp 211
Monitor, refer to Control Dis‐ play 16
Mounting of child restraint fix‐ ing systems 54
Multifunctional instrument display 73
Multifunction steering wheel, buttons 12
N Navigation, see user's manual for Navigation, Entertain‐
ment and Communication
Neck restraints, front, refer to Head restraints 49
Neutral cleaner, see wheel cleaner 223
New wheels and tires 199
Night Vision with pedestrian detection 108
No Passing Information 81
Nylon rope for tow-starting/ towing 219
O OBD Onboard Diagnosis 209
OBD, see OBD Onboard Di‐ agnosis 209
Obstacle marking, rearview camera 141
Octane rating, refer to Gaso‐ line quality 190
Odometer 79
Office, see user's manual for Navigation, Entertainment
and Communication
Oil 205
Oil, adding 206
Oil additives 206
Oil change 206
Oil change interval, service requirements 80
Oil filler neck 206 Seite 237Everything from A to ZReference237
Online Edition for Part no. 01 40 2 909 877 - VI/13