display BMW 7 SERIES 2013 F01 Owner's Manual
[x] Cancel search | Manufacturer: BMW, Model Year: 2013, Model line: 7 SERIES, Model: BMW 7 SERIES 2013 F01Pages: 255, PDF Size: 5.22 MB
Page 213 of 255
▷245/50 R 18.▷245/45 R 19.
Follow the chain manufacturer's instructions.
Make sure that the snow chains are always
sufficiently tight. Retighten as needed accord‐
ing to the chain manufacturer's instructions.
Do not initialize the Flat Tire Monitor after
mounting snow chains, as doing so may result
in incorrect readings.
Do not initialize the Tire Pressure Monitor after
mounting snow chains, as doing so may result
in incorrect readings.
When driving with snow chains, briefly activate
Dynamic Traction Control if necessary.
Maximum speed with snow chains Do not exceed a speed of 30 mph/50 km/h
when using snow chains.
Snow chain detection
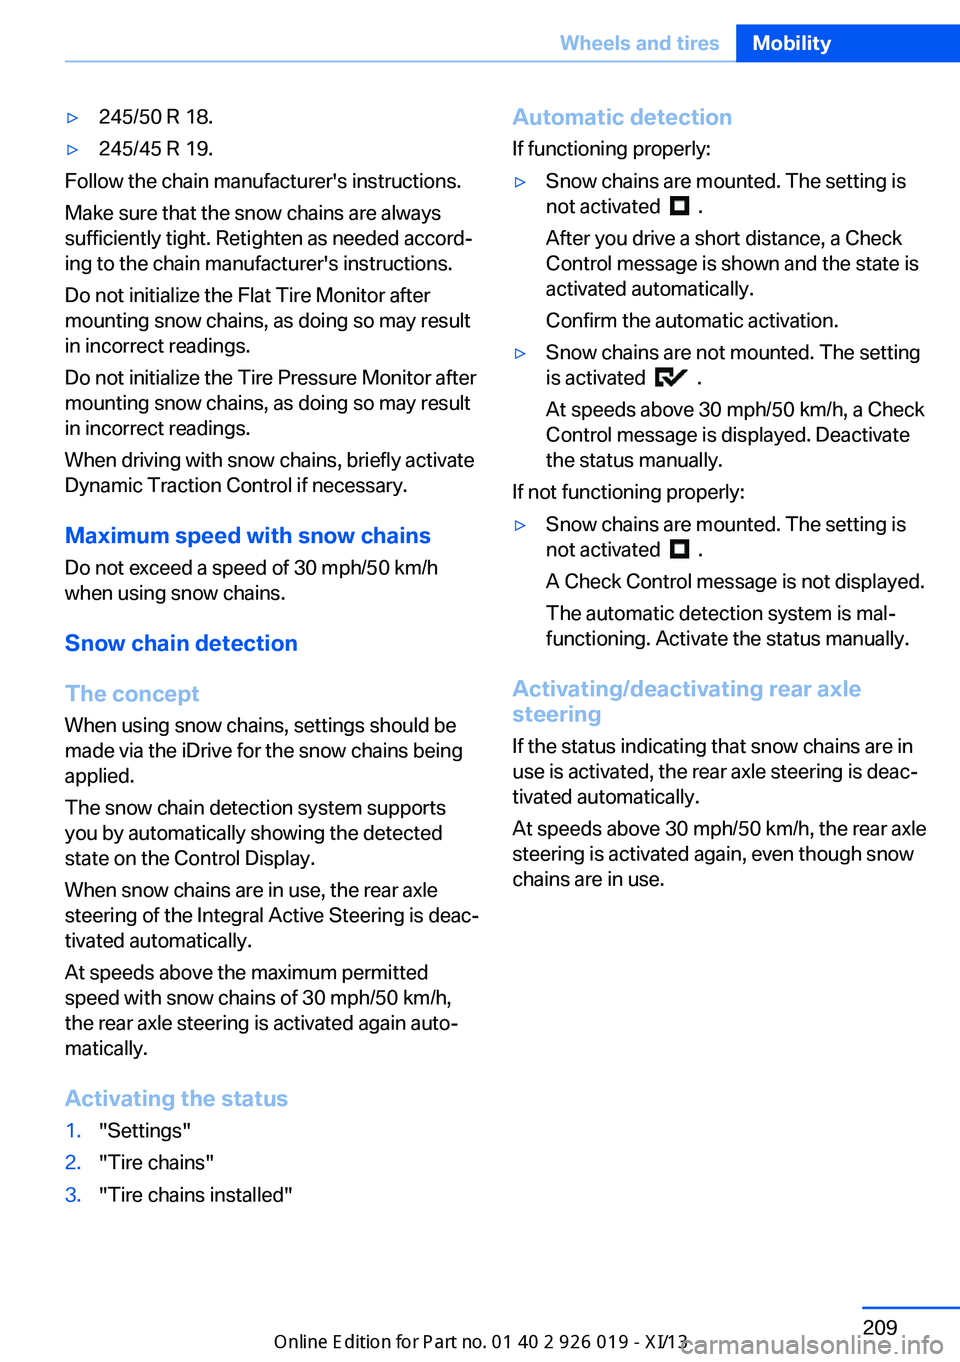
The concept When using snow chains, settings should be
made via the iDrive for the snow chains being
applied.
The snow chain detection system supports
you by automatically showing the detected
state on the Control Display.
When snow chains are in use, the rear axle
steering of the Integral Active Steering is deac‐
tivated automatically.
At speeds above the maximum permitted
speed with snow chains of 30 mph/50 km/h,
the rear axle steering is activated again auto‐
matically.
Activating the status
1."Settings"2."Tire chains"3."Tire chains installed"Automatic detection If functioning properly:▷Snow chains are mounted. The setting is
not activated
.
After you drive a short distance, a Check
Control message is shown and the state is
activated automatically.
Confirm the automatic activation.
▷Snow chains are not mounted. The setting
is activated
.
At speeds above 30 mph/50 km/h, a Check
Control message is displayed. Deactivate
the status manually.
If not functioning properly:
▷Snow chains are mounted. The setting is
not activated
.
A Check Control message is not displayed.
The automatic detection system is mal‐
functioning. Activate the status manually.
Activating/deactivating rear axle
steering
If the status indicating that snow chains are in
use is activated, the rear axle steering is deac‐
tivated automatically.
At speeds above 30 mph/50 km/h, the rear axle
steering is activated again, even though snow
chains are in use.
Seite 209Wheels and tiresMobility209
Online Edition for Part no. 01 40 2 909 749 - VI/13
Page 216 of 255
Engine oilVehicle equipment
All standard, country-specific and optional
equipment that is offered in the model series is
described in this chapter. Therefore, equip‐
ment is also described that is not available in a
vehicle, e. g., because of the selected optional
equipment or country variant. This also applies
for safety-related functions and systems.
General information The engine oil consumption is dependent on
the driving style and driving conditions. When
a sporty driving style is used, the engine oil
consumption, for example, is clearly higher.
Therefore, regularly check the engine oil level
after refueling.
Checking the oil level
electronically
Status display
The concept The oil level is monitored electronically during
driving and shown on the Control Display.
If the oil level reaches the minimum level, a
check control message is displayed.
Requirements Depending on the previous displays, the status
display is displayed when the engine is running
or after the vehicle has been driven for at least
30 minutes.
Displaying the oil level1."Vehicle Info"2."Vehicle status"3. "Engine oil level"
Oil level display messages
Different messages appear on the display de‐
pending on the oil level. Pay attention to these
messages.
If oil level is too low, immediately add 1 US
quart/liter of oil.
Take care not to add too much engine oil.
Too much engine oil
Have the vehicle checked immediately;
otherwise, surplus oil can lead to engine dam‐
age.◀
Detailed measurement
The concept
In the detailed measurement the oil level is
checked and displayed via a scale.
During the measurement, the idle speed is in‐
creased somewhat.
General information
A detailed measurement is only possible with
certain engines.
Requirements
▷Automatic transmission: selector lever in
transmission position N or P and accelera‐
tor not depressed.▷Vehicle is on a level road and the engine is
running at operating temperature.
Performing a detailed measurement
In order to perform a detailed measurement of
the engine oil level:
1."Vehicle Info"2."Vehicle status"Seite 212MobilityEngine oil212
Online Edition for Part no. 01 40 2 909 749 - VI/13
Page 217 of 255
3. "Measure engine oil level"4."Start measurement"
The oil level is checked and displayed via a
scale.
Duration: approx. 1 minute.
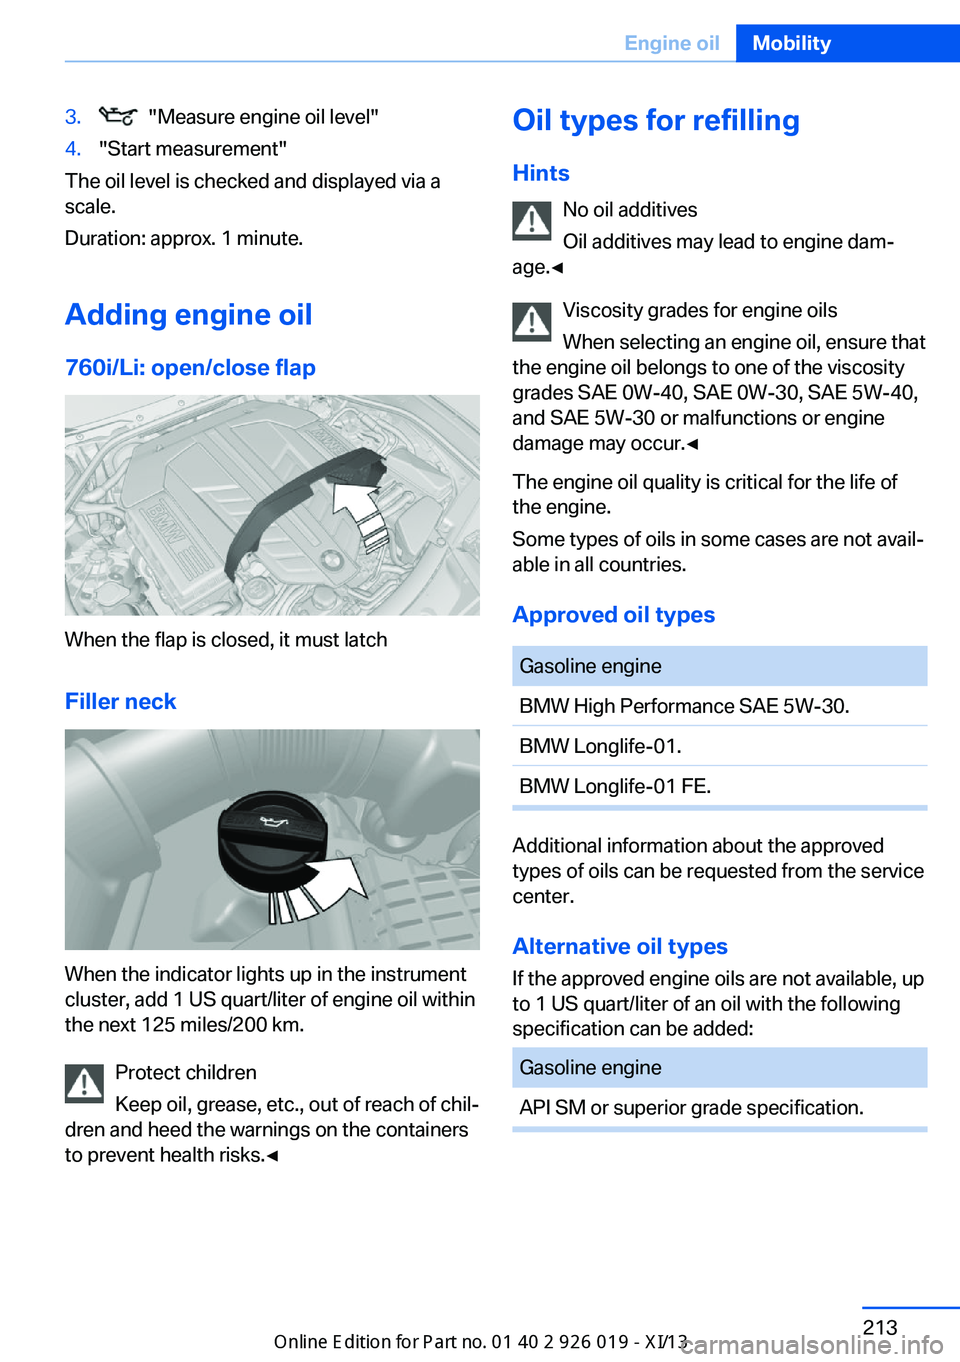
Adding engine oil
760i/Li: open/close flap
When the flap is closed, it must latch
Filler neck
When the indicator lights up in the instrument
cluster, add 1 US quart/liter of engine oil within
the next 125 miles/200 km.
Protect children
Keep oil, grease, etc., out of reach of chil‐
dren and heed the warnings on the containers
to prevent health risks.◀
Oil types for refilling
Hints
No oil additives
Oil additives may lead to engine dam‐
age.◀
Viscosity grades for engine oils
When selecting an engine oil, ensure that
the engine oil belongs to one of the viscosity
grades SAE 0W-40, SAE 0W-30, SAE 5W-40,
and SAE 5W-30 or malfunctions or engine
damage may occur.◀
The engine oil quality is critical for the life of
the engine.
Some types of oils in some cases are not avail‐
able in all countries.
Approved oil types
Gasoline engineBMW High Performance SAE 5W-30.BMW Longlife-01.BMW Longlife-01 FE.
Additional information about the approved
types of oils can be requested from the service
center.
Alternative oil types
If the approved engine oils are not available, up
to 1 US quart/liter of an oil with the following
specification can be added:
Gasoline engineAPI SM or superior grade specification.Seite 213Engine oilMobility213
Online Edition for Part no. 01 40 2 909 749 - VI/13
Page 220 of 255
MaintenanceVehicle equipment
All standard, country-specific and optional
equipment that is offered in the model series is
described in this chapter. Therefore, equip‐
ment is also described that is not available in a
vehicle, e. g., because of the selected optional
equipment or country variant. This also applies
for safety-related functions and systems.
BMW Maintenance System The maintenance system directs you to re‐
quired maintenance measures and thereby
supports you in maintaining road safety and
the operational reliability of the vehicle.
Condition Based Service
CBS
Sensors and special algorithms take into ac‐
count the driving conditions of your vehicle.
Based on this, Condition Based Service deter‐
mines the maintenance requirements.
The system makes it possible to adapt the
amount of maintenance you need to your user
profile.
Details on the service requirements, refer to
page 87, can be displayed on the Control Dis‐
play.
Service data in the remote control
Information on the required maintenance is
continuously stored in the remote control.
Your service center will read out this data and
suggest the right array of service procedures
for your vehicle.
Therefore, hand your service specialist the re‐
mote control with which the vehicle was driven
most recently.Storage periods
Storage periods during which the vehicle bat‐
tery was disconnected are not taken into ac‐
count.
If this occurs, have a service center update the
time-dependent maintenance procedures,
such as checking brake fluid and, if necessary,
changing the engine oil and the microfilter/
activated-charcoal filter.
Service history Perform maintenance work at the service cen‐
ter and have them recorded in the vehicle data.
The entries are like a service booklet of the
documentation of regular maintenance.
Displaying entered maintenance work on the
Control Display, refer to page 88.
Service and Warranty
Information Booklet for US
models and Warranty and
Service Guide Booklet for
Canadian models
Please consult your Service and Warranty In‐
formation Booklet for US models and Warranty
and Service Guide Booklet for Canadian mod‐
els for additional information on service re‐
quirements.
Maintenance and repair should be performed
by your service center. Make sure to have reg‐
ular maintenance procedures recorded in the
vehicle's Service and Warranty Information
Booklet for US models, and in the Warranty
and Service Guide Booklet for Canadian mod‐
els. These entries are proof of regular mainte‐
nance.Seite 216MobilityMaintenance216
Online Edition for Part no. 01 40 2 909 749 - VI/13
Page 221 of 255
Socket for OBD Onboard
Diagnosis
Position
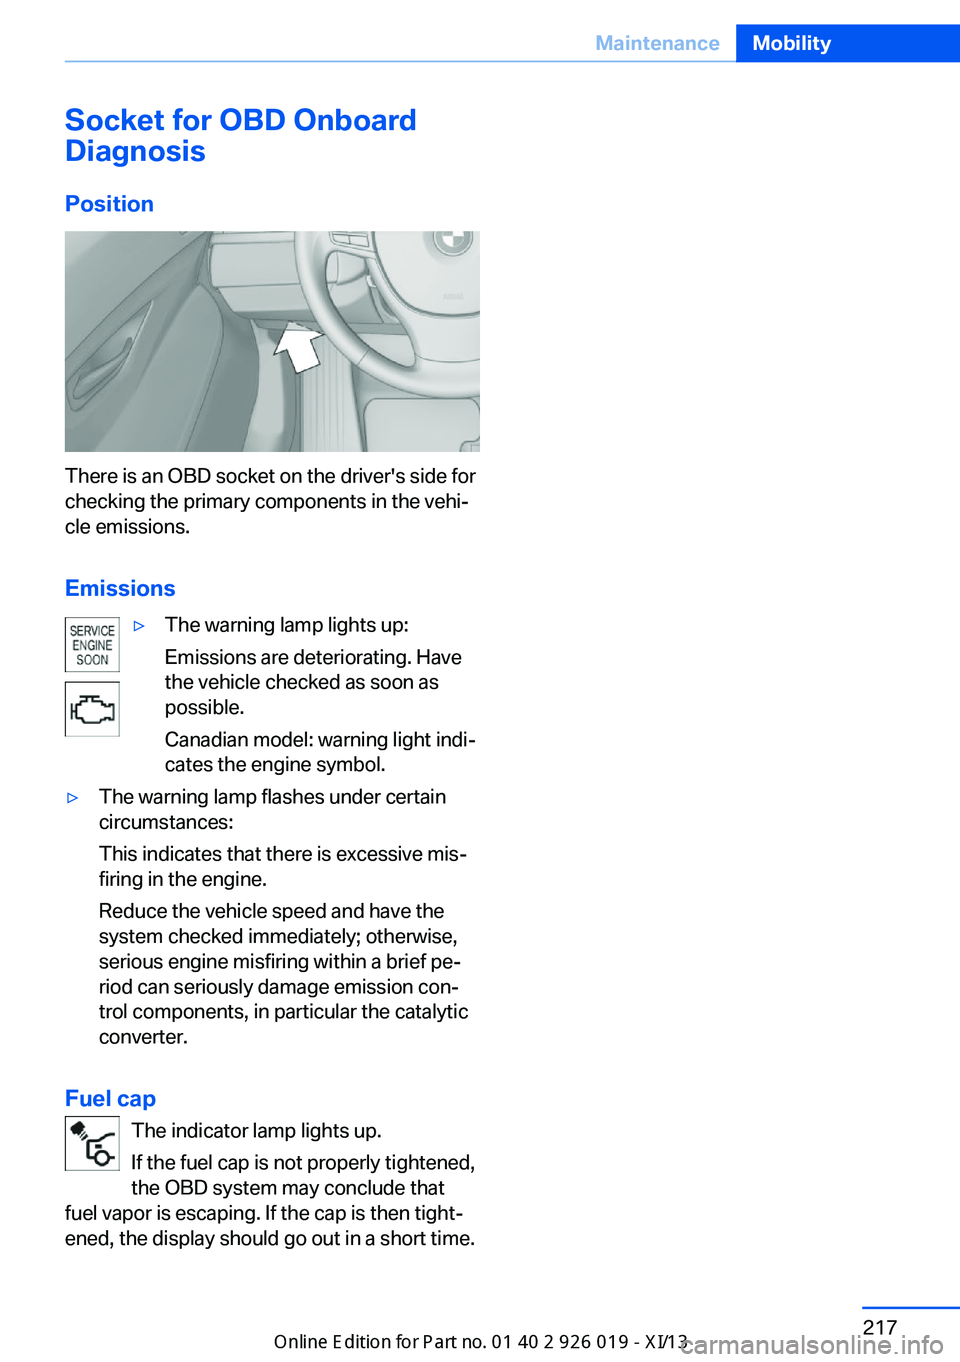
There is an OBD socket on the driver's side for
checking the primary components in the vehi‐
cle emissions.
Emissions
▷The warning lamp lights up:
Emissions are deteriorating. Have
the vehicle checked as soon as
possible.
Canadian model: warning light indi‐
cates the engine symbol.▷The warning lamp flashes under certain
circumstances:
This indicates that there is excessive mis‐
firing in the engine.
Reduce the vehicle speed and have the
system checked immediately; otherwise,
serious engine misfiring within a brief pe‐
riod can seriously damage emission con‐
trol components, in particular the catalytic
converter.
Fuel cap
The indicator lamp lights up.
If the fuel cap is not properly tightened,
the OBD system may conclude that
fuel vapor is escaping. If the cap is then tight‐
ened, the display should go out in a short time.
Seite 217MaintenanceMobility217
Online Edition for Part no. 01 40 2 909 749 - VI/13
Page 223 of 255
the service center if you are unfamiliar with
them or they are not described here.
You can obtain a selection of replacement
bulbs at the service center.
Danger of burns
Only change bulbs when they are cool;
otherwise, there is the danger of getting
burned.◀
Working on the lighting system
When working on the lighting system,
you should always switch off the lights af‐
fected to prevent short circuits.
To avoid possible injury or equipment damage
when replacing bulbs, observe any instructions
provided by the bulb manufacturer.◀
Do not perform work/bulb replacement
on xenon headlamps
Have any work on the xenon lighting system,
including bulb replacement, performed only by
a service center. Due to the high voltage
present in the system, there is the danger of
fatal injuries if work is carried out improperly.◀
Do not touch the bulbs
Do not touch the glass of new bulbs with
your bare hands, as even minute amounts of
contamination will burn into the bulb's surface
and reduce its service life.
Use a clean tissue, cloth or something similar,
or hold the bulb by its base.◀
Light-emitting diodes (LEDs)
Light-emitting diodes installed behind a cover
serve as the light source for controls, display
elements and other equipment.
These light-emitting diodes, which are related
to conventional lasers, are officially designated as Class 1 light-emitting diodes.Do not remove the covers
Do not remove the covers, and never
stare into the unfiltered light for several hours;
otherwise, irritation of the retina could result.◀
Headlamp glass
Condensation can form on the inside of the ex‐
ternal lamps in cool or humid weather. When
driving with the light switched on, the conden‐
sation evaporates after a short time. The head‐
lamp glasses do not need to be changed.
If the headlamps do not dim despite driving
with the light switched on, increasing humidity
forms, e. g. water droplets in the light, have the
service center check this.
Headlamp setting
The headlamp adjustments can be affected by
changing lamps and bulbs. Therefore after a
change, have the headlamp setting checked
and corrected by Service.
Xenon headlamps
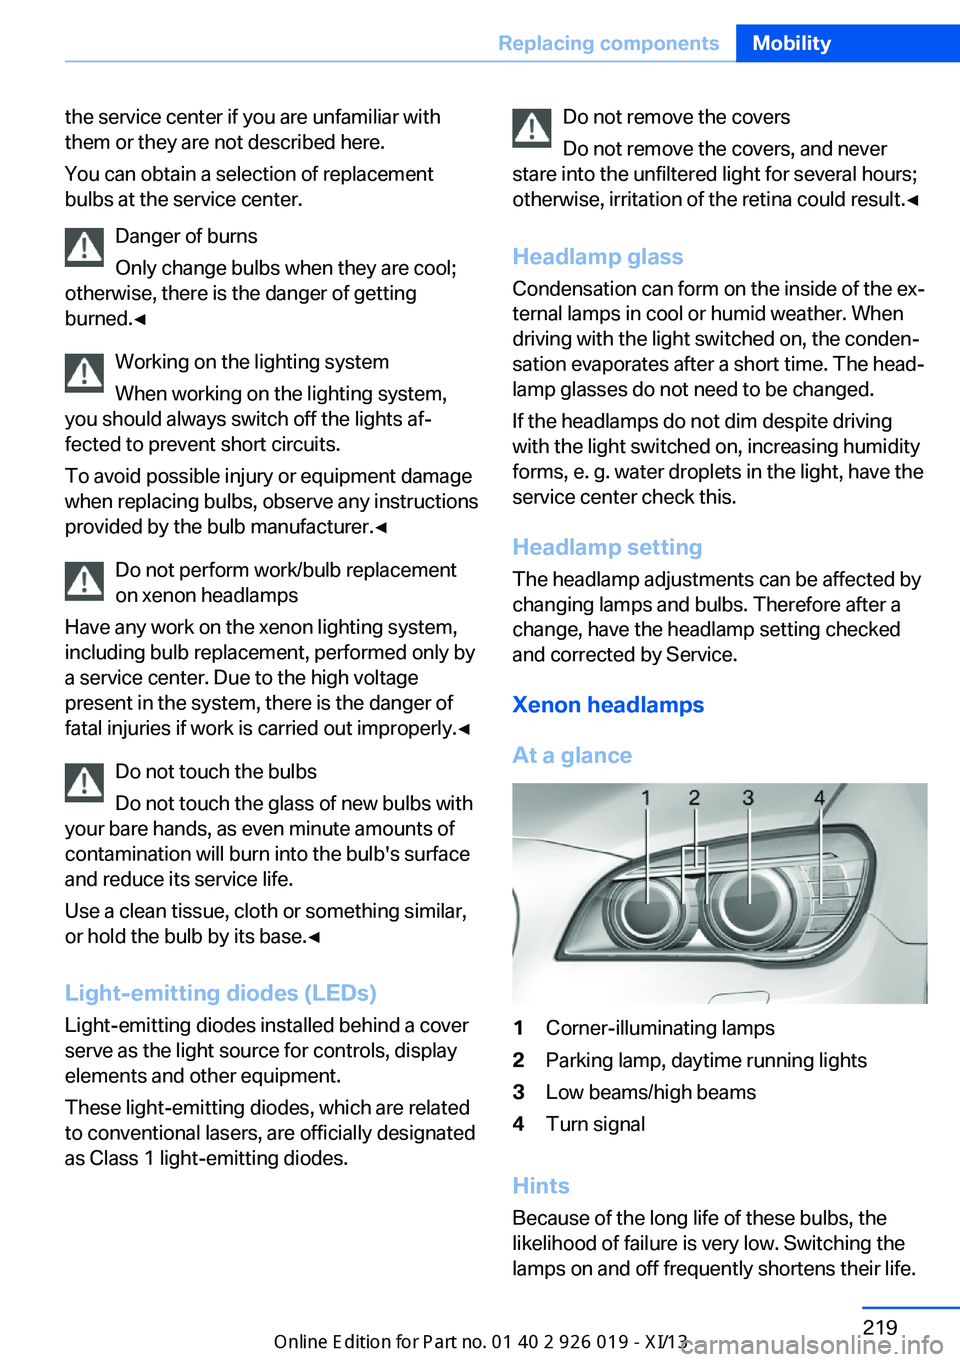
At a glance1Corner-illuminating lamps2Parking lamp, daytime running lights3Low beams/high beams4Turn signal
Hints
Because of the long life of these bulbs, the
likelihood of failure is very low. Switching the
lamps on and off frequently shortens their life.
Seite 219Replacing componentsMobility219
Online Edition for Part no. 01 40 2 909 749 - VI/13
Page 227 of 255
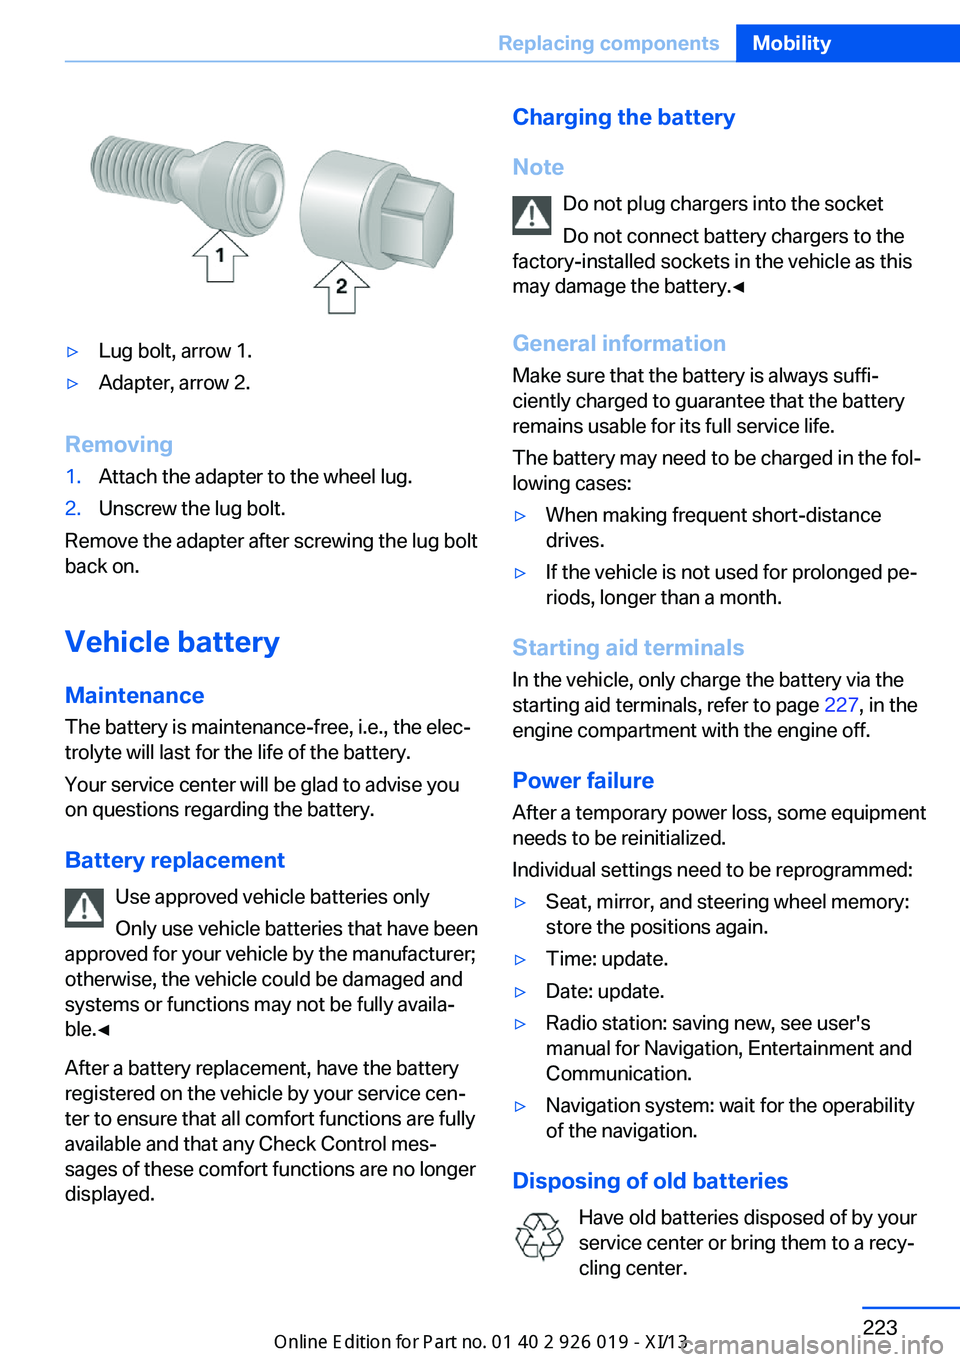
▷Lug bolt, arrow 1.▷Adapter, arrow 2.
Removing
1.Attach the adapter to the wheel lug.2.Unscrew the lug bolt.
Remove the adapter after screwing the lug bolt
back on.
Vehicle battery
Maintenance
The battery is maintenance-free, i.e., the elec‐
trolyte will last for the life of the battery.
Your service center will be glad to advise you
on questions regarding the battery.
Battery replacement Use approved vehicle batteries only
Only use vehicle batteries that have been
approved for your vehicle by the manufacturer;
otherwise, the vehicle could be damaged and
systems or functions may not be fully availa‐
ble.◀
After a battery replacement, have the battery
registered on the vehicle by your service cen‐
ter to ensure that all comfort functions are fully
available and that any Check Control mes‐
sages of these comfort functions are no longer
displayed.
Charging the battery
Note Do not plug chargers into the socketDo not connect battery chargers to the
factory-installed sockets in the vehicle as this
may damage the battery.◀
General information Make sure that the battery is always suffi‐
ciently charged to guarantee that the battery
remains usable for its full service life.
The battery may need to be charged in the fol‐
lowing cases:▷When making frequent short-distance
drives.▷If the vehicle is not used for prolonged pe‐
riods, longer than a month.
Starting aid terminals
In the vehicle, only charge the battery via the
starting aid terminals, refer to page 227, in the
engine compartment with the engine off.
Power failure After a temporary power loss, some equipment
needs to be reinitialized.
Individual settings need to be reprogrammed:
▷Seat, mirror, and steering wheel memory:
store the positions again.▷Time: update.▷Date: update.▷Radio station: saving new, see user's
manual for Navigation, Entertainment and
Communication.▷Navigation system: wait for the operability
of the navigation.
Disposing of old batteries
Have old batteries disposed of by your
service center or bring them to a recy‐
cling center.
Seite 223Replacing componentsMobility223
Online Edition for Part no. 01 40 2 909 749 - VI/13
Page 237 of 255
Carpets and floor matsNo objects in the area around the pedals
Keep floor mats, carpets, and any other
objects out of the area of motion of the pedals;
otherwise, the function of the pedals could be
impeded while driving
Do not place additional floor mats over existing
mats or other objects.
Only use floor mats that have been approved for the vehicle and can be properly fixed in
place.
Ensure that the floor mats are securely fas‐
tened again after they were removed for clean‐
ing, for example.◀
Floor mats can be removed from the passen‐
ger compartment for cleaning.
If the floor carpets are very dirty, clean with a
microfiber cloth and water or a textile cleaner.
To prevent matting of the carpet, rub back and
forth in the direction of travel only.
Sensors/cameras
To clean sensors and cameras, use a cloth moistened with a small amount of glasscleaner.
Displays/screens
Clean the displays with an antistatic microfiber
cloth.
Cleaning displays
Do not use chemical or household
cleansers.
Keep all fluids and moisture away from the
unit.
Otherwise, they could affect or damage surfa‐
ces or electrical components.
Avoid pressing too hard when cleaning and do
not use abrasive materials; otherwise, damage
can result.◀Long-term vehicle storage
Your service center can advise you on what to
consider when storing the vehicle for longer
than three months.Seite 233CareMobility233
Online Edition for Part no. 01 40 2 909 749 - VI/13
Page 244 of 255
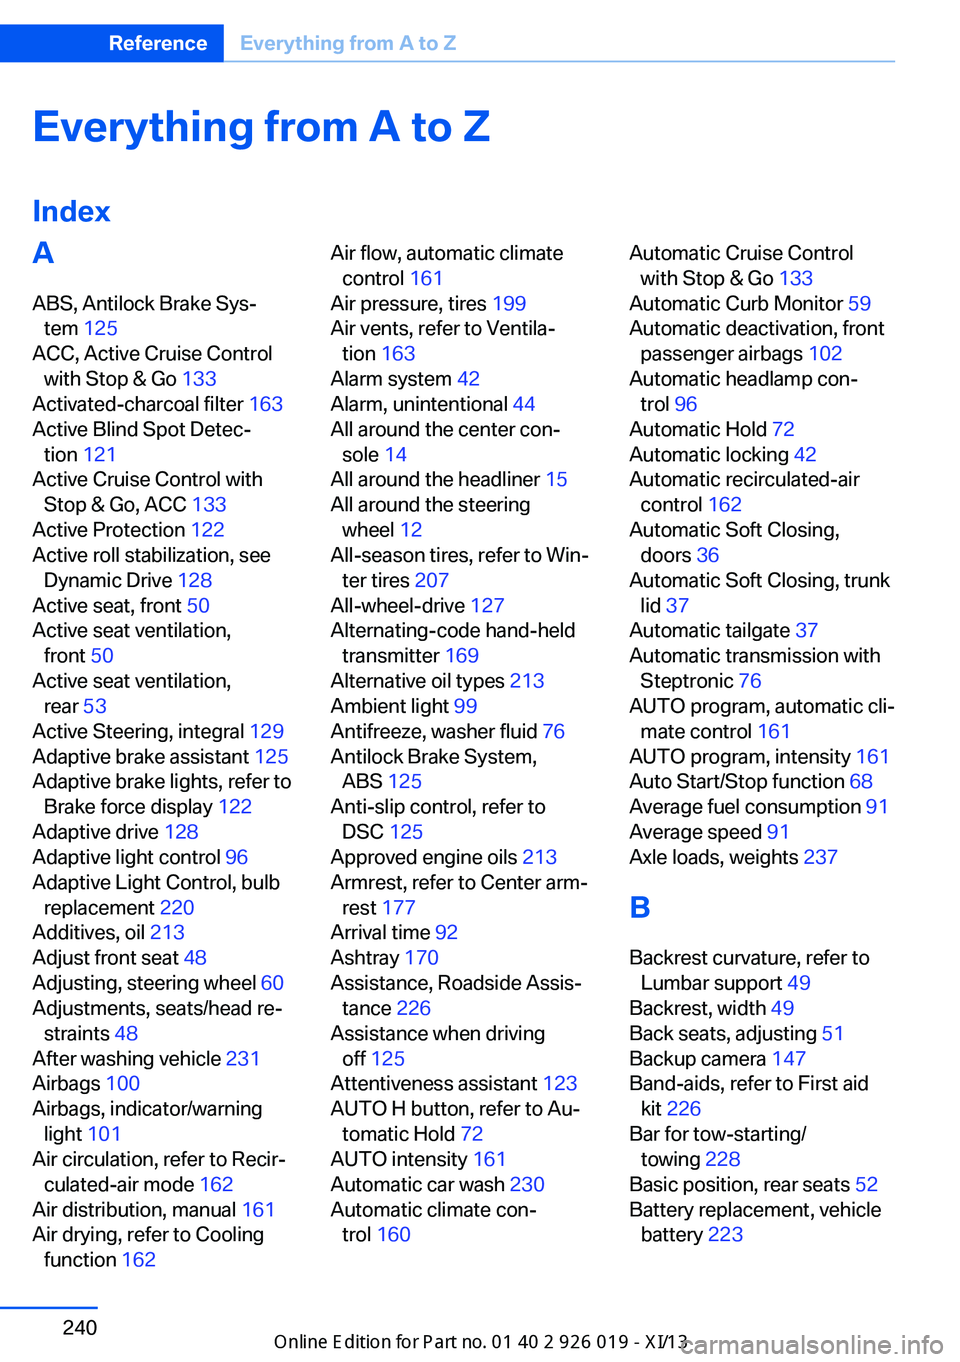
Everything from A to Z
IndexA ABS, Antilock Brake Sys‐ tem 125
ACC, Active Cruise Control with Stop & Go 133
Activated-charcoal filter 163
Active Blind Spot Detec‐ tion 121
Active Cruise Control with Stop & Go, ACC 133
Active Protection 122
Active roll stabilization, see Dynamic Drive 128
Active seat, front 50
Active seat ventilation, front 50
Active seat ventilation, rear 53
Active Steering, integral 129
Adaptive brake assistant 125
Adaptive brake lights, refer to Brake force display 122
Adaptive drive 128
Adaptive light control 96
Adaptive Light Control, bulb replacement 220
Additives, oil 213
Adjust front seat 48
Adjusting, steering wheel 60
Adjustments, seats/head re‐ straints 48
After washing vehicle 231
Airbags 100
Airbags, indicator/warning light 101
Air circulation, refer to Recir‐ culated-air mode 162
Air distribution, manual 161
Air drying, refer to Cooling function 162 Air flow, automatic climate
control 161
Air pressure, tires 199
Air vents, refer to Ventila‐ tion 163
Alarm system 42
Alarm, unintentional 44
All around the center con‐ sole 14
All around the headliner 15
All around the steering wheel 12
All-season tires, refer to Win‐ ter tires 207
All-wheel-drive 127
Alternating-code hand-held transmitter 169
Alternative oil types 213
Ambient light 99
Antifreeze, washer fluid 76
Antilock Brake System, ABS 125
Anti-slip control, refer to DSC 125
Approved engine oils 213
Armrest, refer to Center arm‐ rest 177
Arrival time 92
Ashtray 170
Assistance, Roadside Assis‐ tance 226
Assistance when driving off 125
Attentiveness assistant 123
AUTO H button, refer to Au‐ tomatic Hold 72
AUTO intensity 161
Automatic car wash 230
Automatic climate con‐ trol 160 Automatic Cruise Control
with Stop & Go 133
Automatic Curb Monitor 59
Automatic deactivation, front passenger airbags 102
Automatic headlamp con‐ trol 96
Automatic Hold 72
Automatic locking 42
Automatic recirculated-air control 162
Automatic Soft Closing, doors 36
Automatic Soft Closing, trunk lid 37
Automatic tailgate 37
Automatic transmission with Steptronic 76
AUTO program, automatic cli‐ mate control 161
AUTO program, intensity 161
Auto Start/Stop function 68
Average fuel consumption 91
Average speed 91
Axle loads, weights 237
B Backrest curvature, refer to Lumbar support 49
Backrest, width 49
Back seats, adjusting 51
Backup camera 147
Band-aids, refer to First aid kit 226
Bar for tow-starting/ towing 228
Basic position, rear seats 52
Battery replacement, vehicle battery 223 Seite 240ReferenceEverything from A to Z240
Online Edition for Part no. 01 40 2 909 749 - VI/13
Page 245 of 255
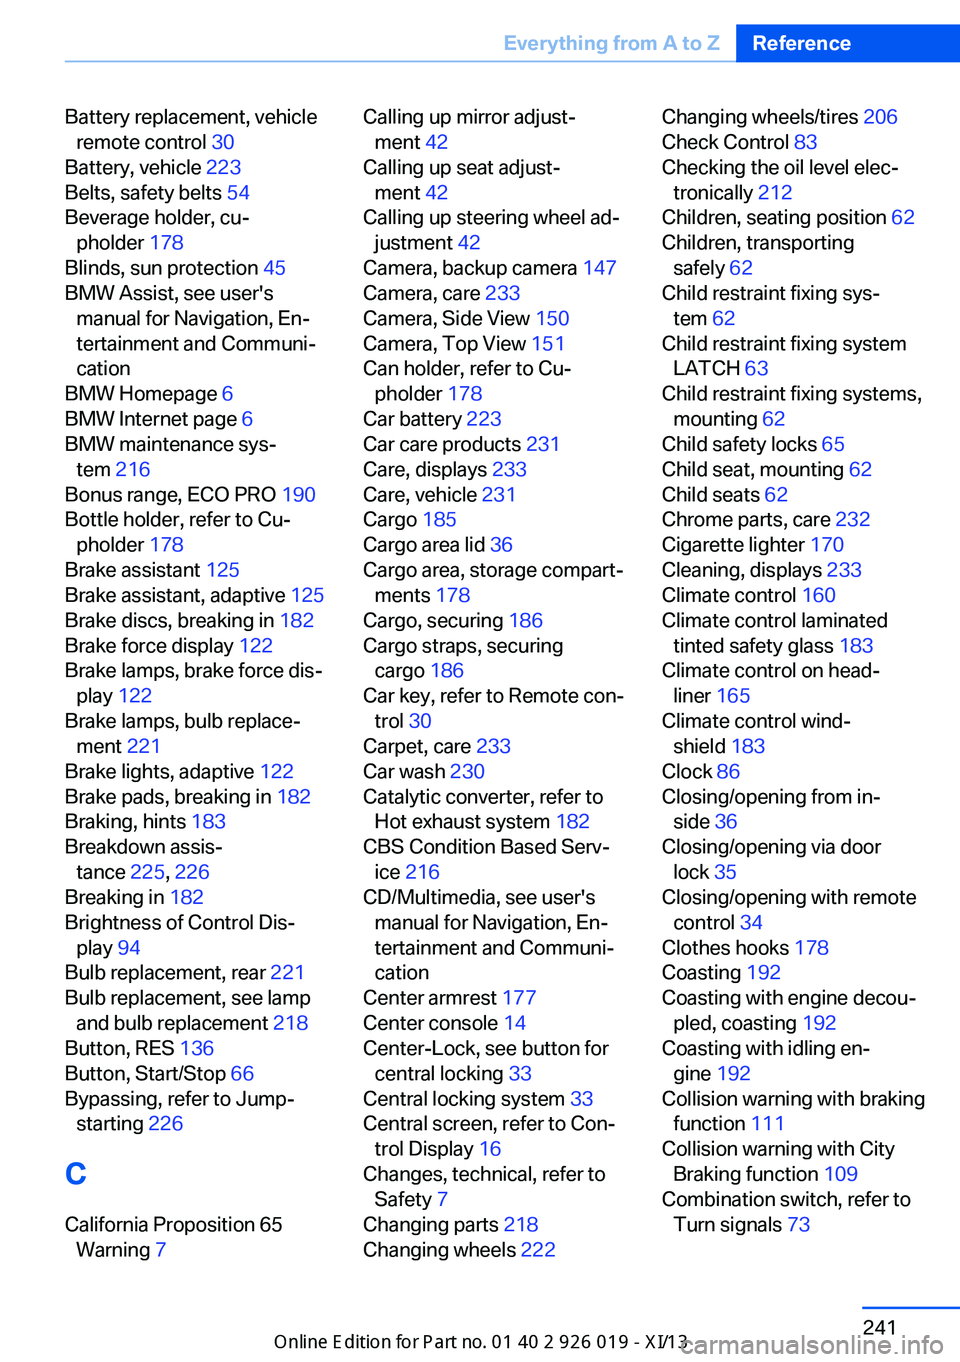
Battery replacement, vehicleremote control 30
Battery, vehicle 223
Belts, safety belts 54
Beverage holder, cu‐ pholder 178
Blinds, sun protection 45
BMW Assist, see user's manual for Navigation, En‐
tertainment and Communi‐
cation
BMW Homepage 6
BMW Internet page 6
BMW maintenance sys‐ tem 216
Bonus range, ECO PRO 190
Bottle holder, refer to Cu‐ pholder 178
Brake assistant 125
Brake assistant, adaptive 125
Brake discs, breaking in 182
Brake force display 122
Brake lamps, brake force dis‐ play 122
Brake lamps, bulb replace‐ ment 221
Brake lights, adaptive 122
Brake pads, breaking in 182
Braking, hints 183
Breakdown assis‐ tance 225, 226
Breaking in 182
Brightness of Control Dis‐ play 94
Bulb replacement, rear 221
Bulb replacement, see lamp and bulb replacement 218
Button, RES 136
Button, Start/Stop 66
Bypassing, refer to Jump- starting 226
C
California Proposition 65 Warning 7 Calling up mirror adjust‐
ment 42
Calling up seat adjust‐ ment 42
Calling up steering wheel ad‐ justment 42
Camera, backup camera 147
Camera, care 233
Camera, Side View 150
Camera, Top View 151
Can holder, refer to Cu‐ pholder 178
Car battery 223
Car care products 231
Care, displays 233
Care, vehicle 231
Cargo 185
Cargo area lid 36
Cargo area, storage compart‐ ments 178
Cargo, securing 186
Cargo straps, securing cargo 186
Car key, refer to Remote con‐ trol 30
Carpet, care 233
Car wash 230
Catalytic converter, refer to Hot exhaust system 182
CBS Condition Based Serv‐ ice 216
CD/Multimedia, see user's manual for Navigation, En‐
tertainment and Communi‐
cation
Center armrest 177
Center console 14
Center-Lock, see button for central locking 33
Central locking system 33
Central screen, refer to Con‐ trol Display 16
Changes, technical, refer to Safety 7
Changing parts 218
Changing wheels 222 Changing wheels/tires 206
Check Control 83
Checking the oil level elec‐ tronically 212
Children, seating position 62
Children, transporting safely 62
Child restraint fixing sys‐ tem 62
Child restraint fixing system LATCH 63
Child restraint fixing systems, mounting 62
Child safety locks 65
Child seat, mounting 62
Child seats 62
Chrome parts, care 232
Cigarette lighter 170
Cleaning, displays 233
Climate control 160
Climate control laminated tinted safety glass 183
Climate control on head‐ liner 165
Climate control wind‐ shield 183
Clock 86
Closing/opening from in‐ side 36
Closing/opening via door lock 35
Closing/opening with remote control 34
Clothes hooks 178
Coasting 192
Coasting with engine decou‐ pled, coasting 192
Coasting with idling en‐ gine 192
Collision warning with braking function 111
Collision warning with City Braking function 109
Combination switch, refer to Turn signals 73 Seite 241Everything from A to ZReference241
Online Edition for Part no. 01 40 2 909 749 - VI/13