instrument cluster BMW 7 SERIES 2014 F01 Service Manual
[x] Cancel search | Manufacturer: BMW, Model Year: 2014, Model line: 7 SERIES, Model: BMW 7 SERIES 2014 F01Pages: 265, PDF Size: 5.68 MB
Page 207 of 265

Failure to comply with these recommendations
may result in the need for unscheduled main‐
tenance.◀
Diesel
Low-Sulfur Diesel
The engine of your BMW is designed for diesel
with low sulfur content:
Ultra-Low Sulfur Diesel ASTM D 975-xx.
xx: comply with the current standard in each
case.
Use only Ultra-Low Sulfur Diesel.
The fraction of biodiesel in the fuel must
not exceed 5 %, referred to as B5. Do not use
gasoline. If you do fill the tank with the wrong
fuel, e.g., gasoline, do not start the engine as
this may damage the engine.◀
After adding the wrong fuel, contact your serv‐
ice center or Roadside Assistance.
If the fuel pump nozzle does not fit in the filler
pipe of your BMW, please check to ensure that you are refueling at a diesel fuel pump that is
equipped with a diesel fuel pump nozzle.
In the event the Ultra-Low Sulfur Diesel fuel
cannot be fully inserted into the fuel filler neck,
please contact BMW Roadside Assistance for
instructions on how to add fuel. For more infor‐
mation on Roadside Assistance, refer to
page 235.
Winter diesel To ensure that the diesel engine remains op‐
erational in the winter, use winter diesel.
It is available at gas stations during winter
months.
The fuel filter heating system, included as a
standard feature, prevents disruption of the
fuel supply while driving.
Do not add any diesel additives
Do not add additives, including gasoline;
otherwise, engine damage may occur.◀
BMW Advanced Diesel
The concept BMW Advanced Diesel reduces nitrogen ox‐
ides in the diesel emissions by injecting diesel
exhaust fluid reducing agent into the exhaust
system. A chemical reaction takes place inside
the catalytic converter that minimizes nitrogen
oxides.
The vehicle has a tank that can be refilled.
To be able to start the engine as usual, there
must be an adequate reducing agent.
Reducing agent is added by the service center.
Warming up the systemIn order to warm the engine up to its operating
temperature after a cold start, the Steptronic
transmission may subsequently shift up to the
next higher gear.
Displays in the instrument cluster
Reserve indication
This display in the instrument cluster provides
information about the distance that can still be
driven with the current reserve level.
▷Lamp white: refill with re‐
duction agent at the next
opportunity.▷Lamp yellow: not enough re‐
duction agent present. The
remaining range is displayed
in the instrument cluster. Im‐
mediately refill with reduc‐Seite 203FuelMobility203
Online Edition for Part no. 01 40 2 956 029 - X/14
Page 208 of 265
tion agent, refer to page
204 .
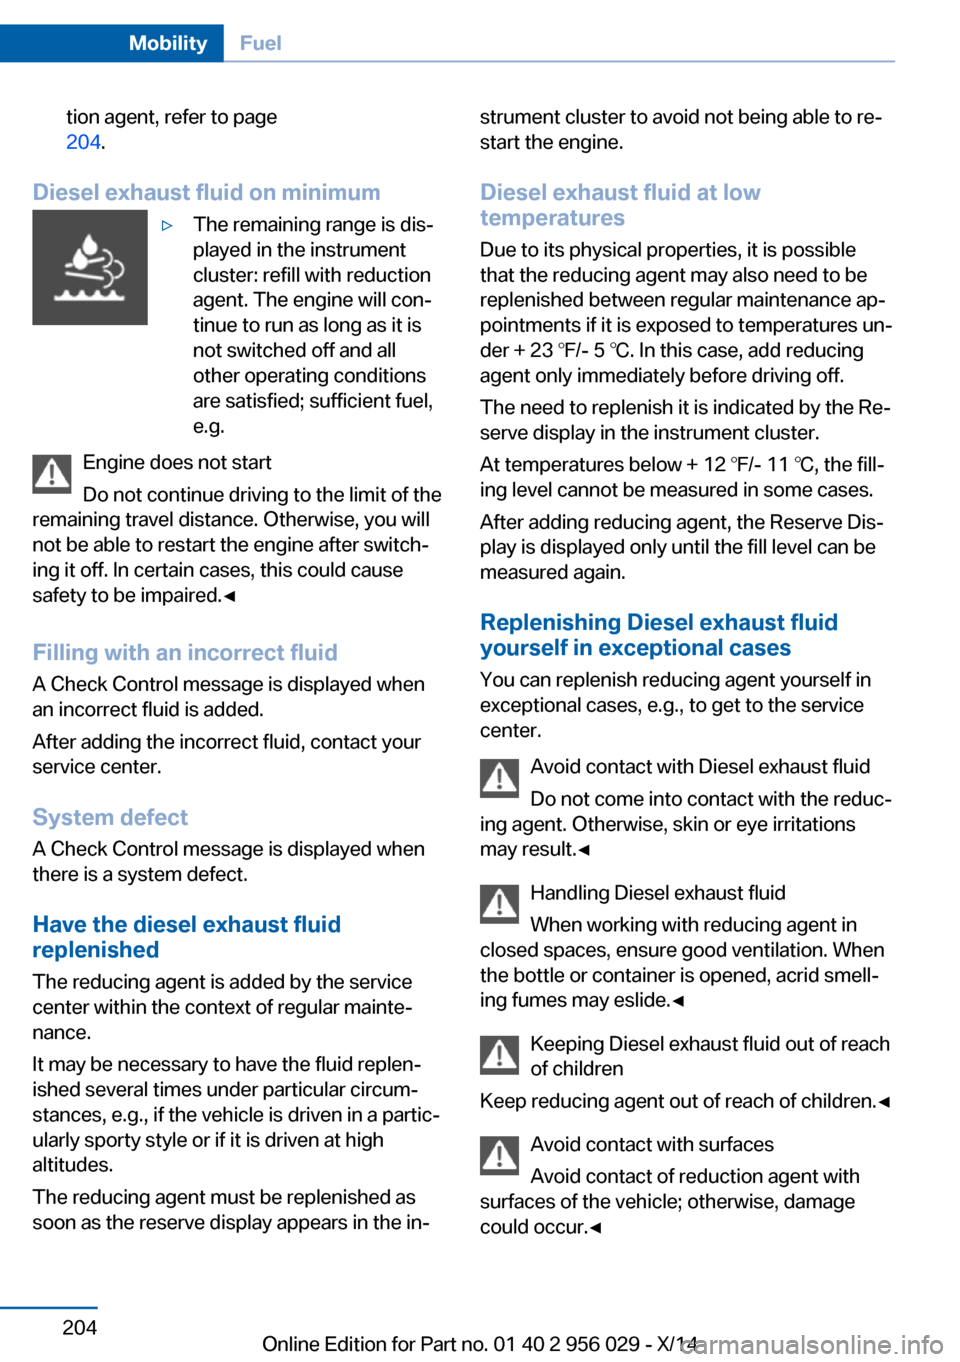
Diesel exhaust fluid on minimum
▷The remaining range is dis‐
played in the instrument
cluster: refill with reduction
agent. The engine will con‐
tinue to run as long as it is
not switched off and all
other operating conditions
are satisfied; sufficient fuel,
e.g.
Engine does not start
Do not continue driving to the limit of the
remaining travel distance. Otherwise, you will
not be able to restart the engine after switch‐
ing it off. In certain cases, this could cause
safety to be impaired.◀
Filling with an incorrect fluid A Check Control message is displayed when
an incorrect fluid is added.
After adding the incorrect fluid, contact your
service center.
System defect A Check Control message is displayed when
there is a system defect.
Have the diesel exhaust fluid
replenished
The reducing agent is added by the service
center within the context of regular mainte‐
nance.
It may be necessary to have the fluid replen‐
ished several times under particular circum‐
stances, e.g., if the vehicle is driven in a partic‐
ularly sporty style or if it is driven at high
altitudes.
The reducing agent must be replenished as
soon as the reserve display appears in the in‐
strument cluster to avoid not being able to re‐
start the engine.
Diesel exhaust fluid at low
temperatures
Due to its physical properties, it is possible that the reducing agent may also need to be
replenished between regular maintenance ap‐
pointments if it is exposed to temperatures un‐
der + 23 ℉/- 5 ℃. In this case, add reducing
agent only immediately before driving off.
The need to replenish it is indicated by the Re‐
serve display in the instrument cluster.
At temperatures below + 12 ℉/- 11 ℃, the fill‐
ing level cannot be measured in some cases.
After adding reducing agent, the Reserve Dis‐
play is displayed only until the fill level can be
measured again.
Replenishing Diesel exhaust fluid
yourself in exceptional cases
You can replenish reducing agent yourself in
exceptional cases, e.g., to get to the service
center.
Avoid contact with Diesel exhaust fluid
Do not come into contact with the reduc‐
ing agent. Otherwise, skin or eye irritations
may result.◀
Handling Diesel exhaust fluid
When working with reducing agent in
closed spaces, ensure good ventilation. When
the bottle or container is opened, acrid smell‐
ing fumes may eslide.◀
Keeping Diesel exhaust fluid out of reach
of children
Keep reducing agent out of reach of children.◀
Avoid contact with surfaces
Avoid contact of reduction agent with
surfaces of the vehicle; otherwise, damage
could occur.◀Seite 204MobilityFuel204
Online Edition for Part no. 01 40 2 956 029 - X/14
Page 225 of 265

Detailed measurement
The concept In the detailed measurement the engine oil
level is checked and displayed via a scale.
During the measurement, the idle speed is in‐
creased somewhat.
General information
A detailed measurement is only possible with
certain engines.
Requirements▷Vehicle is on level road.▷Steptronic transmission: selector lever in
selector lever position N or P and accelera‐
tor pedal not depressed.▷Engine is running and is at operating tem‐
perature.
Performing a detailed measurement
In order to perform a detailed measurement of
the engine oil level:
1."Vehicle info"2."Vehicle status"3. "Measure engine oil level"4."Start measurement"
The engine oil level is checked and displayed
via a scale.
Time: approx. 1 minute.
Adding engine oil General information
Switch off the ignition and safely park the vehi‐
cle before engine oil is added.
760i/Li: open/close flap
When the flap is closed, it must latch.
Oil filler neck
Only add engine oil when the message is dis‐
played in the instrument cluster.
Add 1 US quart/liter.
With 8 cylinder engine:
With 8 cylinder engine or 12 cylinder engine:
Add 2 US quarts/liters.
Adding engine oil
Add oil within the next 125 miles/200 km;
otherwise, this may cause engine damage.◀
Do not add too much engine oil
When too much engine oil is added, im‐
mediately have the vehicle checked, otherwise,
this may cause engine damage.◀
Protect children
Keep oil, grease, etc., out of reach of chil‐
dren and observe the warnings on the contain‐
ers to prevent health risks.◀
Seite 221Engine oilMobility221
Online Edition for Part no. 01 40 2 956 029 - X/14
Page 245 of 265

Clean light-colored leather more frequently be‐
cause soiling on such surfaces is substantially
more visible.
Use leather care products; otherwise, dirt and
grease will gradually break down the protective
layer of the leather surface.
Suitable care products are available from the
service center.
Upholstery material care Vacuum regularly with a vacuum cleaner.
If upholstery is very dirty, e.g., with beverage
stains, use a soft sponge or microfiber cloth
with a suitable interior cleaner.
Clean the upholstery down to the seams using
large sweeping motions. Avoid rubbing the
material vigorously.
Damage from Velcro® fasteners
Open Velcro® fasteners on pants or
other articles of clothing can damage the seat
covers. Ensure that any Velcro® fasteners are
closed.◀
Caring for special components
Light-alloy wheels When cleaning the vehicle, use only neutral
wheel cleaners having a pH value from 5 to 9.
Do not use abrasive cleaning agents or steam
jets above 140 ℉/60 ℃. Follow the manufac‐
turer's instructions.
Aggressive, acidic or alkaline cleaning agents
can destroy the protective layer of adjacent
components, such as the brake disk.
Chrome surfaces Carefully clean components such as the radia‐
tor grille or door handles with an ample supply of water, possibly with shampoo added, partic‐
ularly when they have been exposed to road
salt.Rubber components
Aside from water, treat only with rubber
cleansers.
When cleaning rubber seals, do not use any
silicon-containing car care products in order to
avoid damage or noises.
Fine wood partsClean fine wood facing and fine wood compo‐
nents only with a moist rag. Then dry with a
soft cloth.
Plastic components
These include:▷Imitation leather surfaces.▷Roofliner.▷Lamp lenses.▷Instrument cluster cover.▷Matt black spray-coated components.▷Painted parts in the interior.
Clean with a microfiber cloth.
Dampen cloth lightly with water.
Do not soak the roofliner.
No cleansers that contain alcohol or sol‐
vents
Do not use cleansers that contain alcohol or
solvents, such as lacquer thinners, heavy-duty
grease removers, fuel, or such; this could lead
to surface damage.◀
Safety belts
Dirty belt straps impede the reeling action and
thus have a negative impact on safety.
Chemical cleaning
Do not clean chemically; this can destroy
the webbing.◀
Use only a mild soapy solution, with the safety
belts clipped into their buckles.
Do not allow the reels to retract the safety
belts until they are dry.
Seite 241CareMobility241
Online Edition for Part no. 01 40 2 956 029 - X/14
Page 258 of 265
Gear change, Steptronictransmission 84
Gear shift indicator 97
General driving notes 186
Gentleman function 56
Glare shield 174
Glass sunroof, powered 51
Glove compartment 180
Gross vehicle weight, ap‐ proved 247
H
Handbrake, refer to Parking brake 76
Hand-held transmitter, alter‐ nating code 173
Hazard warning flashers 234
HDC Hill Descent Con‐ trol 138
Head airbags 110
Headlight control, auto‐ matic 106
Headlight courtesy delay fea‐ ture 105
Headlight courtesy delay fea‐ ture via remote control 38
Headlight flasher 81
Headlight glass 228
Headlights, care 240
Headlight washer system 81
Head restraints 54
Head restraints, front 61
Head restraints, rear 62
Head-up Display 103
Head-up Display, care 242
Heavy cargo, stowing 190
Height, vehicle 246
High-beam Assistant 107
High beams 81
High beams/low beams, refer to High-beam Assistant 107
Hill Descent Control HDC 138
Hills 188 Hill start assistant, refer to
Drive-off assistant 136
Hints 6
Holder for beverages 182
Hood 218
Horn 14
Hotel function, trunk lid 43
Hot exhaust system 186
HUD Head-up Display 103
Hydroplaning 187
I Ice warning, see External temperature warning 95
Icy roads, see External tem‐ perature warning 95
Identification marks, tires 212
Identification number, see ve‐ hicle identification num‐
ber 9
iDrive 18
Ignition key, refer to Remote control 34
Ignition off 73
Ignition on 73
Indication of a flat tire 114 , 116
Indicator and alarm lamps, see Check Control 90
Indicator lamp, see Check Control 90
Individual air distribution 166
Individual settings, refer to Personal Profile 35
Inflation pressure, tires 207
Inflation pressure warning FTM, tires 113
Info display, refer to Com‐ puter 99
Initialization, Integral Active Steering 140
Initialize, Tire Pressure Moni‐ tor TPM 116
Initializing, Flat Tire Monitor FTM 113 Instrument cluster 87
Instrument cluster, electronic displays 87
Instrument display, multifunc‐ tional 88
Instrument lighting 108
Integral Active Steering 140
Integrated key 34
Integrated Owner's Manual in the vehicle 29
Intelligent Emergency Re‐ quest 234
Intelligent Safety 118
Intensity, AUTO pro‐ gram 166
Interior equipment 172
Interior lights 108
Interior lights via remote con‐ trol 38
Interior motion sensor 48
Interior rearview mirror, auto‐ matic dimming feature 67
Interior rearview mirror, man‐ ually dimmable 67
Interval display, service re‐ quirements 96
J Jacking points for the vehicle jack 231
Joystick, Steptronic transmis‐ sion 84
Jump-starting 235
K
Key/remote control 34
Keyless Go, refer to Comfort Access 43
Key Memory, refer to Per‐ sonal Profile 35
Kickdown, Steptronic trans‐ mission 84
Knee airbag 110 Seite 254ReferenceEverything from A to Z254
Online Edition for Part no. 01 40 2 956 029 - X/14
Page 261 of 265
Rear lights 230
Rear seats 57
Rear seats, basic position 59
Rear sockets 176
Rear vanity mirror 67
Rearview camera 155
Rearview mirror 65
Rear window defroster 167
Recirculated-air mode 167
Recommended fuel grade 202
Recommended tire brands 215
Refueling 200
Remaining range 95
Remote control/key 34
Remote control, malfunc‐ tion 38
Remote control, univer‐ sal 172
Replacement fuse 233
Replacing parts 227
Replacing wheels/tires 214
Reporting safety defects 9
RES button 147
RES button, see Active Cruise Control, ACC 144
RES button, see Cruise con‐ trol 151
Reserve warning, refer to Range 95
Reset, Tire Pressure Monitor TPM 116
Residual heat, automatic cli‐ mate control 168
Retaining straps, securing cargo 190
Retreaded tires 215
Reversing lamp, bulb replace‐ ment 230
Roadside parking lights 106
Roller sunblinds 50
Roll stabilization, refer to Adaptive Drive 139
Roll stabilization, refer to Dy‐ namic Drive 139 RON recommended fuel
grade 202
Roofliner 17
Roof load capacity 247
Roof-mounted luggage rack 190
Rope for tow-starting/ towing 237
RSC Run Flat System Com‐ ponent, refer to Run-flat
tires 216
Rubber components, care 241
Run-flat tires 216
S Safe braking 188
Safety 7
Safety belt reminder for driv‐ er's seat and front passen‐
ger seat 61
Safety belts 60
Safety belts, care 241
Safety Package, refer to Ac‐ tive Protection 134
Safety reel, windows 50
Safety systems, airbags 110
Saving fuel 192
Screen, refer to Control Dis‐ play 18
Screwdriver, see Onboard ve‐ hicle tool kit 227
Screw thread, see screw thread for tow fitting, screw
thread for tow fitting 238
Seat belts, refer to Safety belts 60
Seat heating, front 57
Seat heating, rear 59
Seating position for chil‐ dren 69
Seat, mirror, and steering wheel memory 64
Seats 54
Seats, front 54 Seats, rear 57
Seat ventilation, front 57
Seat ventilation, rear 60
Selection list in instrument cluster 99
Selector lever, Steptronic transmission 84
Self-leveling suspension, air suspension 141
Self-leveling suspension, malfunction 141
Sensors, care 242
Service and warranty 8
Service requirements, Condi‐ tion Based Service
CBS 225
Service requirements, dis‐ play 96
Service, Roadside Assis‐ tance 235
Services, ConnectedDrive
SET button, see Active Cruise Control, ACC 144
SET button, see Cruise con‐ trol 151
Settings, locking/unlock‐ ing 46
Settings on Control Dis‐ play 101
Settings, storing for seat, mir‐ rors, steering wheel 64
Shift paddles on steering wheel 86
Shoulder support 56
Side airbags 110
Side View 158
Signaling, horn 14
Signals when unlocking 47
Sitting safely 54
Size 246
Ski bag 178
Slide/tilt glass roof 51
Smallest turning radius 246
Smoker's package 174
Snow chains 216
Socket 175 Seite 257Everything from A to ZReference257
Online Edition for Part no. 01 40 2 956 029 - X/14