Initializing BMW 7 SERIES 2014 F02 Owner's Manual
[x] Cancel search | Manufacturer: BMW, Model Year: 2014, Model line: 7 SERIES, Model: BMW 7 SERIES 2014 F02Pages: 265, PDF Size: 5.68 MB
Page 56 of 265

The sliding visor opens automatically. If the
sliding visor is already fully open, the glass
sunroof opens automatically.
The glass sunroof closes automatically. If
the glass sunroof is already closed or in the
tilted position, the sliding visor closes au‐
tomatically.
Pressing the reel upward stops the motion.
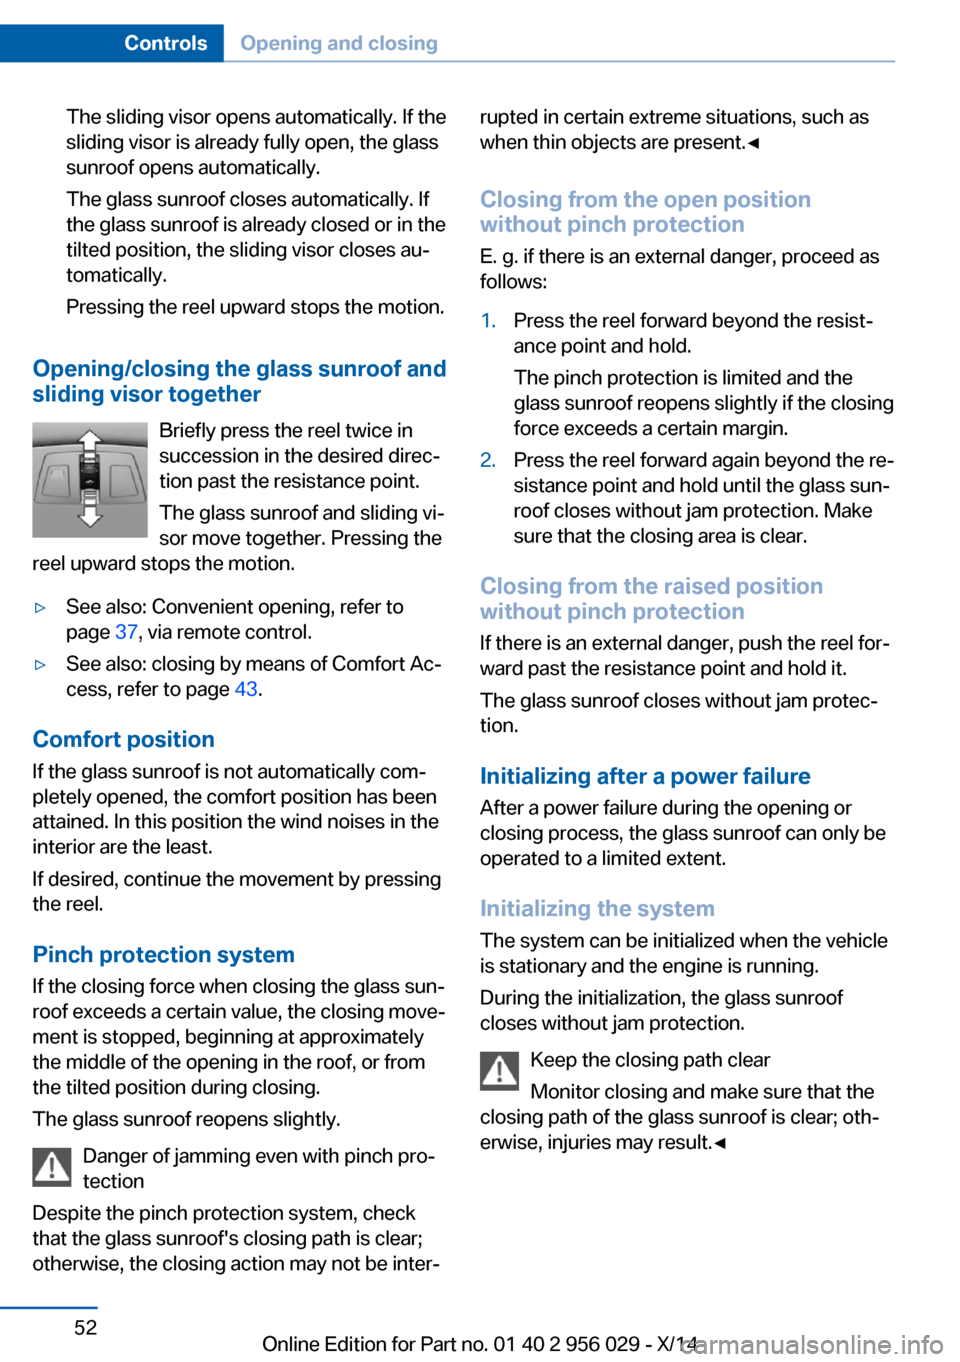
Opening/closing the glass sunroof and
sliding visor together
Briefly press the reel twice in
succession in the desired direc‐
tion past the resistance point.
The glass sunroof and sliding vi‐
sor move together. Pressing the
reel upward stops the motion.
▷See also: Convenient opening, refer to
page 37, via remote control.▷See also: closing by means of Comfort Ac‐
cess, refer to page 43.
Comfort position
If the glass sunroof is not automatically com‐
pletely opened, the comfort position has been
attained. In this position the wind noises in the
interior are the least.
If desired, continue the movement by pressing
the reel.
Pinch protection system
If the closing force when closing the glass sun‐
roof exceeds a certain value, the closing move‐
ment is stopped, beginning at approximately
the middle of the opening in the roof, or from
the tilted position during closing.
The glass sunroof reopens slightly.
Danger of jamming even with pinch pro‐
tection
Despite the pinch protection system, check
that the glass sunroof's closing path is clear;
otherwise, the closing action may not be inter‐
rupted in certain extreme situations, such as
when thin objects are present.◀
Closing from the open position
without pinch protection
E. g. if there is an external danger, proceed as
follows:1.Press the reel forward beyond the resist‐
ance point and hold.
The pinch protection is limited and the
glass sunroof reopens slightly if the closing
force exceeds a certain margin.2.Press the reel forward again beyond the re‐
sistance point and hold until the glass sun‐
roof closes without jam protection. Make
sure that the closing area is clear.
Closing from the raised position
without pinch protection
If there is an external danger, push the reel for‐
ward past the resistance point and hold it.
The glass sunroof closes without jam protec‐
tion.
Initializing after a power failure After a power failure during the opening or
closing process, the glass sunroof can only be
operated to a limited extent.
Initializing the system
The system can be initialized when the vehicle
is stationary and the engine is running.
During the initialization, the glass sunroof
closes without jam protection.
Keep the closing path clear
Monitor closing and make sure that the
closing path of the glass sunroof is clear; oth‐
erwise, injuries may result.◀
Seite 52ControlsOpening and closing52
Online Edition for Part no. 01 40 2 956 029 - X/14
Page 117 of 265

factured. After installing a child seat, make
sure that the indicator lamp for the front-seat
passenger airbags lights up. This indicates
that the child seat has been detected and the
front-seat passenger airbags are not activated.
Strength of the driver's and front-seat
passenger airbag
The explosive power that activates driver's/
front passenger's airbags very much depends
on the positions of the driver's/front passeng‐
er's seat.
With a respective message appearing on Con‐
trol Display calibrate the front seats to keep
the accuracy of this function over the long-
term.
Calibrating the front seats A corresponding message appears on the
Control Display.1.Press the reel and move the respective
seat all the way forward.2.Press the reel forward again. The seat still
moves forward slightly.3.Readjust the seat to the desired position.
The calibration procedure is completed when
the message on the Control Display disap‐
pears.
If the message continues to be displayed, re‐
peat the calibration.
If the message does not disappear after a re‐
peat calibration, have the system checked as
soon as possible.
Unobstructed area of movement
Ensure that the area of movement of the
seats is unobstructed to avoid personal injury
or damage to objects.◀
FTM Flat Tire Monitor
The concept
The system detects tire inflation pressure loss
on the basis of rotation speed differences be‐
tween the individual wheels while driving.
In the event of a tire inflation pressure loss, the
diameter and therefore the rotational speed of
the corresponding wheel changes. This will be
detected and reported as a flat tire.
The system does not measure the actual infla‐
tion pressure in the tires.
Functional requirements
The system must have been initialized when
the tire inflation pressure was correct; other‐
wise, reliable flagging of a flat tire is not as‐
sured. Initialize the system after each correc‐
tion of the tire inflation pressure and after
every tire or wheel change.
Status display The current status of the Flat Tire Monitor canbe displayed on the Control Display, e.g.,
whether or not the FTM is active.
On the Control Display:1."Vehicle info"2."Vehicle status"3. "Flat Tire Monitor (FTM)"
The status is displayed.
Initialization
When initializing the once set inflation tire
pressures serve as reference values in order to
detect a flat tire. Initialization is started by con‐
firming the tire inflation pressures.
Do not initialize the system when driving with
snow chains.
On the Control Display:
1."Vehicle info"2."Vehicle status"Seite 113SafetyControls113
Online Edition for Part no. 01 40 2 956 029 - X/14
Page 144 of 265

COMFORT/ECO PROBalanced tuning.
COMFORT+ Comfort-oriented tuning of the shock absorb‐
ers for optimal traveling comfort.
Integral Active Steering The concept
Integral Active Steering is a combination of Ac‐
tive Steering and rear axle steering.
Active Steering varies the steering angle of the
wheels in relation to the steering wheel move‐
ment as a function of the speed.
At speeds up to approx. 37 mph/60 km/h, e.g.,
in curves, the steering angle is increased, i.e.,
steering becomes more direct.
The rear axle steering acts to increase maneu‐
verability by turning the rear wheels slightly in
a direction opposite to the front wheels.
At higher speeds, the steering angle is increas‐
ingly reduced.
The rear wheels are turned to the same angle
as the front wheels.
In critical situations, Integral Active Steering
can specifically steer the front and rear wheels
to stabilize the vehicle before the driver inter‐
venes, e.g., when braking where road condi‐
tions differ on the left and right sides of the ve‐
hicle.
InitializingIn rare cases, it may become necessary to initi‐
alize the Integral Active Steering.
The warning lamp lights up. A Check
Control message is displayed.1.With the engine running, turn the steering
wheel all the way to the left and right sev‐
eral times in a uniform manner until the
warning lamp disappears.2.Have the system checked if the warning
lamp does not go out after moving the
steering wheel approx. 6 times or if the
steering wheel is at an angle.
Using snow chains
Note When snow chains are in use, refer to
page 217, rear wheel steering is deactivated.
Programs The system offers several different programs.
Select the programs via the Driving Dynamics
Control, refer to page 141.
SPORT
Consistently sporty tuning of the Integral Ac‐
tive Steering for greater driving agility.
COMFORT Balanced tuning between the COMFORT+ and
SPORT programs.
COMFORT+
Consistently comfort-oriented tuning of the In‐
tegral Active Steering for optimal traveling
comfort.
Malfunction
In the event of a malfunction, the steering
wheel must be turned further, while the vehicle
responds more sensitively to steering wheel
movements in the higher speed range.
The stability-enhancing intervention may be
deactivated.
Proceed cautiously and drive defensively.
Have the system checked.
Seite 140ControlsDriving stability control systems140
Online Edition for Part no. 01 40 2 956 029 - X/14
Page 258 of 265

Gear change, Steptronictransmission 84
Gear shift indicator 97
General driving notes 186
Gentleman function 56
Glare shield 174
Glass sunroof, powered 51
Glove compartment 180
Gross vehicle weight, ap‐ proved 247
H
Handbrake, refer to Parking brake 76
Hand-held transmitter, alter‐ nating code 173
Hazard warning flashers 234
HDC Hill Descent Con‐ trol 138
Head airbags 110
Headlight control, auto‐ matic 106
Headlight courtesy delay fea‐ ture 105
Headlight courtesy delay fea‐ ture via remote control 38
Headlight flasher 81
Headlight glass 228
Headlights, care 240
Headlight washer system 81
Head restraints 54
Head restraints, front 61
Head restraints, rear 62
Head-up Display 103
Head-up Display, care 242
Heavy cargo, stowing 190
Height, vehicle 246
High-beam Assistant 107
High beams 81
High beams/low beams, refer to High-beam Assistant 107
Hill Descent Control HDC 138
Hills 188 Hill start assistant, refer to
Drive-off assistant 136
Hints 6
Holder for beverages 182
Hood 218
Horn 14
Hotel function, trunk lid 43
Hot exhaust system 186
HUD Head-up Display 103
Hydroplaning 187
I Ice warning, see External temperature warning 95
Icy roads, see External tem‐ perature warning 95
Identification marks, tires 212
Identification number, see ve‐ hicle identification num‐
ber 9
iDrive 18
Ignition key, refer to Remote control 34
Ignition off 73
Ignition on 73
Indication of a flat tire 114 , 116
Indicator and alarm lamps, see Check Control 90
Indicator lamp, see Check Control 90
Individual air distribution 166
Individual settings, refer to Personal Profile 35
Inflation pressure, tires 207
Inflation pressure warning FTM, tires 113
Info display, refer to Com‐ puter 99
Initialization, Integral Active Steering 140
Initialize, Tire Pressure Moni‐ tor TPM 116
Initializing, Flat Tire Monitor FTM 113 Instrument cluster 87
Instrument cluster, electronic displays 87
Instrument display, multifunc‐ tional 88
Instrument lighting 108
Integral Active Steering 140
Integrated key 34
Integrated Owner's Manual in the vehicle 29
Intelligent Emergency Re‐ quest 234
Intelligent Safety 118
Intensity, AUTO pro‐ gram 166
Interior equipment 172
Interior lights 108
Interior lights via remote con‐ trol 38
Interior motion sensor 48
Interior rearview mirror, auto‐ matic dimming feature 67
Interior rearview mirror, man‐ ually dimmable 67
Interval display, service re‐ quirements 96
J Jacking points for the vehicle jack 231
Joystick, Steptronic transmis‐ sion 84
Jump-starting 235
K
Key/remote control 34
Keyless Go, refer to Comfort Access 43
Key Memory, refer to Per‐ sonal Profile 35
Kickdown, Steptronic trans‐ mission 84
Knee airbag 110 Seite 254ReferenceEverything from A to Z254
Online Edition for Part no. 01 40 2 956 029 - X/14