remote control BMW 7 SERIES 2015 G11 Owner's Guide
[x] Cancel search | Manufacturer: BMW, Model Year: 2015, Model line: 7 SERIES, Model: BMW 7 SERIES 2015 G11Pages: 314, PDF Size: 7.9 MB
Page 91 of 314
Switching onOn the screens in the rear:1."My Vehicle"2."Seat comfort"3."BMW Vitality Program"
Switch off
On the screens in the rear:
1.Press left arrow button on the remote con‐
trol in the rear.2."Stop"
BMW Touch Command
The vitality program can also be operated us‐
ing BMW Touch Command.
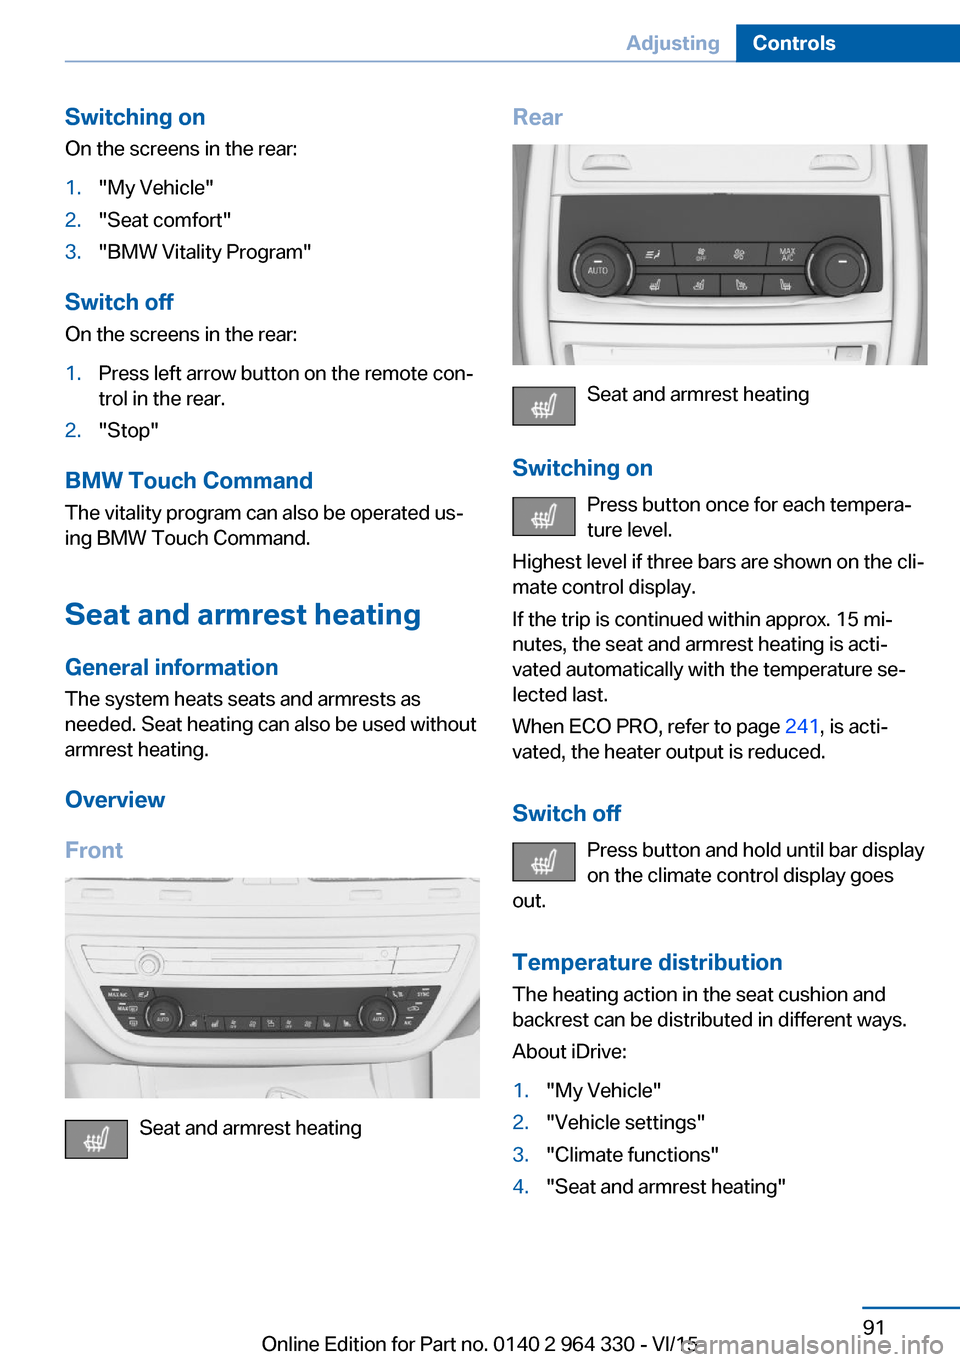
Seat and armrest heating
General information The system heats seats and armrests as
needed. Seat heating can also be used without
armrest heating.
Overview
Front
Seat and armrest heating
Rear
Seat and armrest heating
Switching on Press button once for each tempera‐
ture level.
Highest level if three bars are shown on the cli‐
mate control display.
If the trip is continued within approx. 15 mi‐
nutes, the seat and armrest heating is acti‐
vated automatically with the temperature se‐
lected last.
When ECO PRO, refer to page 241, is acti‐
vated, the heater output is reduced.
Switch off Press button and hold until bar display
on the climate control display goes
out.
Temperature distribution The heating action in the seat cushion and
backrest can be distributed in different ways.
About iDrive:
1."My Vehicle"2."Vehicle settings"3."Climate functions"4."Seat and armrest heating"Seite 91AdjustingControls91
Online Edition for Part no. 0140 2 964 330 - VI/15
Page 93 of 314
Transporting children safelyVehicle features and optionsThis chapter describes all standard, country-
specific and optional features offered with the
series. It also describes features that are not
necessarily available in your car, e. g., due tothe selected options or country versions. This
also applies to safety-related functions and
systems. The respectively applicable country
provisions must be observed when using the
respective features and systems.
The right place for children
Information
WARNING
Unattended children or animals can
move the vehicle and endanger themselves
and traffic, e.g. with the following actions:▷Pressing the Start/Stop button.▷Releasing the parking brake.▷Opening and closing of doors or windows.▷Shifting the selector lever into neutral.▷Using vehicle equipment.
There is risk of accidents or injuries. Do not
leave children or animals unattended in the ve‐
hicle. Carry remote control along when exiting
and lock the vehicle.◀
Children should always be in the rear WARNING
Persons shorter than 5 ft, 150 cm cannot
correctly fasten the safety belt without suitable
additional restraint systems. The protective ef‐
fect of the safety belts can be limited or lost
when safety belts are fastened incorrectly. An
incorrectly fastened safety belt can cause ad‐
ditional injuries, e.g. in the event of an accident
or during braking and evasive maneuvers.
There is risk of injuries or danger to life. Secure
persons shorter than 5 ft, 150 cm using suita‐
ble restraint systems.◀
Accident research shows that the safest place
for children is in the back seat.
Only transport children younger than 13 years
of age or shorter than 5 ft, 150 cm in the rear in
child restraint systems provided in accordance
with the age, weight and size of the child.
Children 13 years of age or older must wear a
safety belt as soon as a suitable child restraint
system can no longer be used due to their age,
weight and size.
Children on the front passenger seat
Before using a child restraint system on the
front passenger seat, ensure that the front,
knee, and side airbags on the front passenger
side are deactivated. Automatic deactivation of
front-seat passenger airbags, refer to
page 138.
Information WARNING
Active front-seat passenger airbags can
injure a child in a child restraint system when
the airbags are activated. There is risk of inju‐
ries. Make sure that the front-seat passenger
airbags are deactivated and that the PASSEN‐
GER AIRBAG OFF indicator lamp lights up.◀Seite 93Transporting children safelyControls93
Online Edition for Part no. 0140 2 964 330 - VI/15
Page 100 of 314
Automatic deactivation
In certain situations, Auto Start/Stop function
is deactivated automatically for safety reasons
as if the driver were absent.
Malfunction
The Auto Start/Stop function no longer
switches off the engine automatically. A Check
Control message is displayed. It is possible to
continue driving. Have the system checked.
Parking brake The concept
The parking brake is used to prevent the vehi‐
cle from rolling when it is parked.
Information WARNING
An unsecured vehicle can put itself into
motion and roll away. There is risk of an acci‐
dent. Before exiting, secure the vehicle against
rolling.
In order to ensure that the vehicle is secured
against rolling away, observe the following:▷Set the parking brake.▷On uphill grades or on a slope, turn the
front wheels in the direction of the curb.▷On uphill grades or on a slope, also secure
the vehicle, e.g. with a wheel chock.◀
WARNING
Unattended children or animals can
move the vehicle and endanger themselves
and traffic, e.g. with the following actions:
▷Pressing the Start/Stop button.▷Releasing the parking brake.▷Opening and closing of doors or windows.▷Shifting the selector lever into neutral.▷Using vehicle equipment.There is risk of accidents or injuries. Do not
leave children or animals unattended in the ve‐
hicle. Carry remote control along when exiting
and lock the vehicle.◀
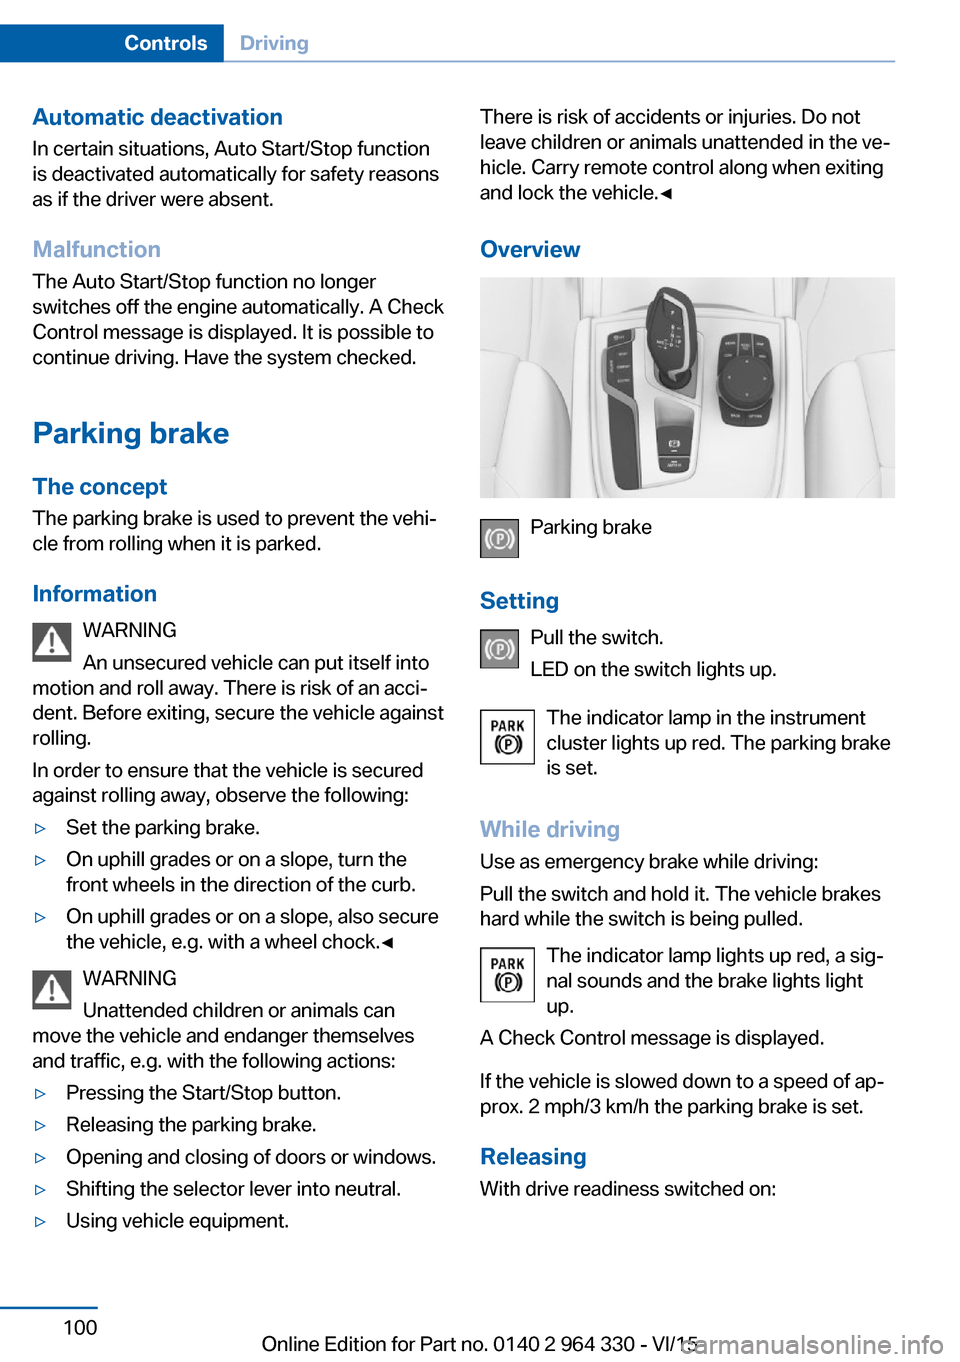
Overview
Parking brake
Setting Pull the switch.
LED on the switch lights up.
The indicator lamp in the instrument
cluster lights up red. The parking brake
is set.
While driving Use as emergency brake while driving:
Pull the switch and hold it. The vehicle brakes
hard while the switch is being pulled.
The indicator lamp lights up red, a sig‐
nal sounds and the brake lights light
up.
A Check Control message is displayed.
If the vehicle is slowed down to a speed of ap‐
prox. 2 mph/3 km/h the parking brake is set.
Releasing
With drive readiness switched on:
Seite 100ControlsDriving100
Online Edition for Part no. 0140 2 964 330 - VI/15
Page 101 of 314
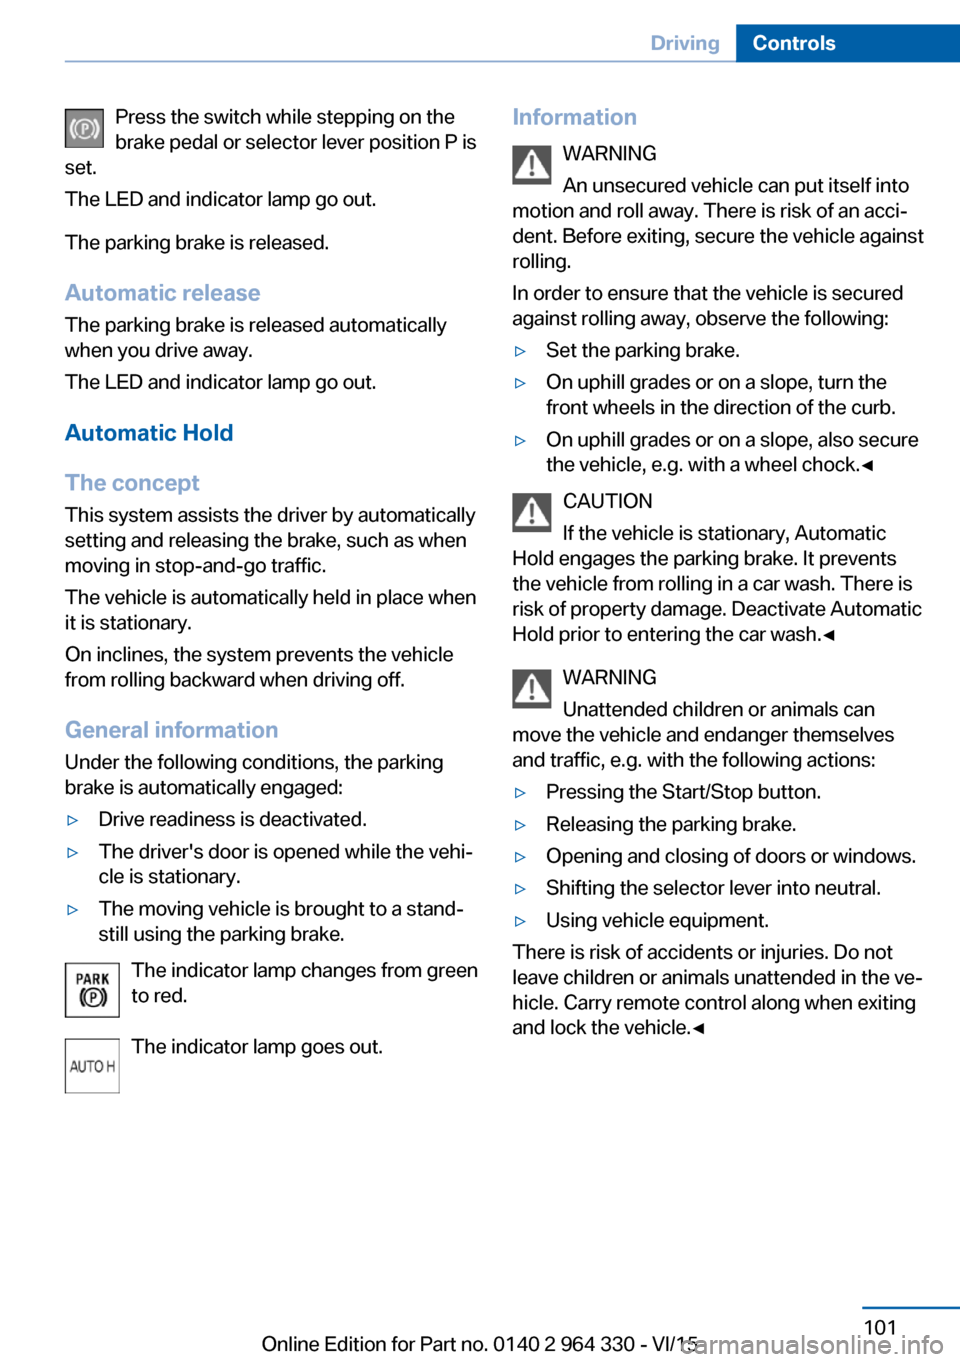
Press the switch while stepping on the
brake pedal or selector lever position P is
set.
The LED and indicator lamp go out.
The parking brake is released.
Automatic release
The parking brake is released automatically
when you drive away.
The LED and indicator lamp go out.
Automatic Hold
The concept
This system assists the driver by automatically
setting and releasing the brake, such as when
moving in stop-and-go traffic.
The vehicle is automatically held in place when
it is stationary.
On inclines, the system prevents the vehicle
from rolling backward when driving off.
General information
Under the following conditions, the parking
brake is automatically engaged:▷Drive readiness is deactivated.▷The driver's door is opened while the vehi‐
cle is stationary.▷The moving vehicle is brought to a stand‐
still using the parking brake.
The indicator lamp changes from green
to red.
The indicator lamp goes out.
Information WARNING
An unsecured vehicle can put itself into
motion and roll away. There is risk of an acci‐
dent. Before exiting, secure the vehicle against
rolling.
In order to ensure that the vehicle is secured
against rolling away, observe the following:▷Set the parking brake.▷On uphill grades or on a slope, turn the
front wheels in the direction of the curb.▷On uphill grades or on a slope, also secure
the vehicle, e.g. with a wheel chock.◀
CAUTION
If the vehicle is stationary, Automatic
Hold engages the parking brake. It prevents
the vehicle from rolling in a car wash. There is
risk of property damage. Deactivate Automatic
Hold prior to entering the car wash.◀
WARNING
Unattended children or animals can
move the vehicle and endanger themselves
and traffic, e.g. with the following actions:
▷Pressing the Start/Stop button.▷Releasing the parking brake.▷Opening and closing of doors or windows.▷Shifting the selector lever into neutral.▷Using vehicle equipment.
There is risk of accidents or injuries. Do not
leave children or animals unattended in the ve‐
hicle. Carry remote control along when exiting
and lock the vehicle.◀
Seite 101DrivingControls101
Online Edition for Part no. 0140 2 964 330 - VI/15
Page 119 of 314
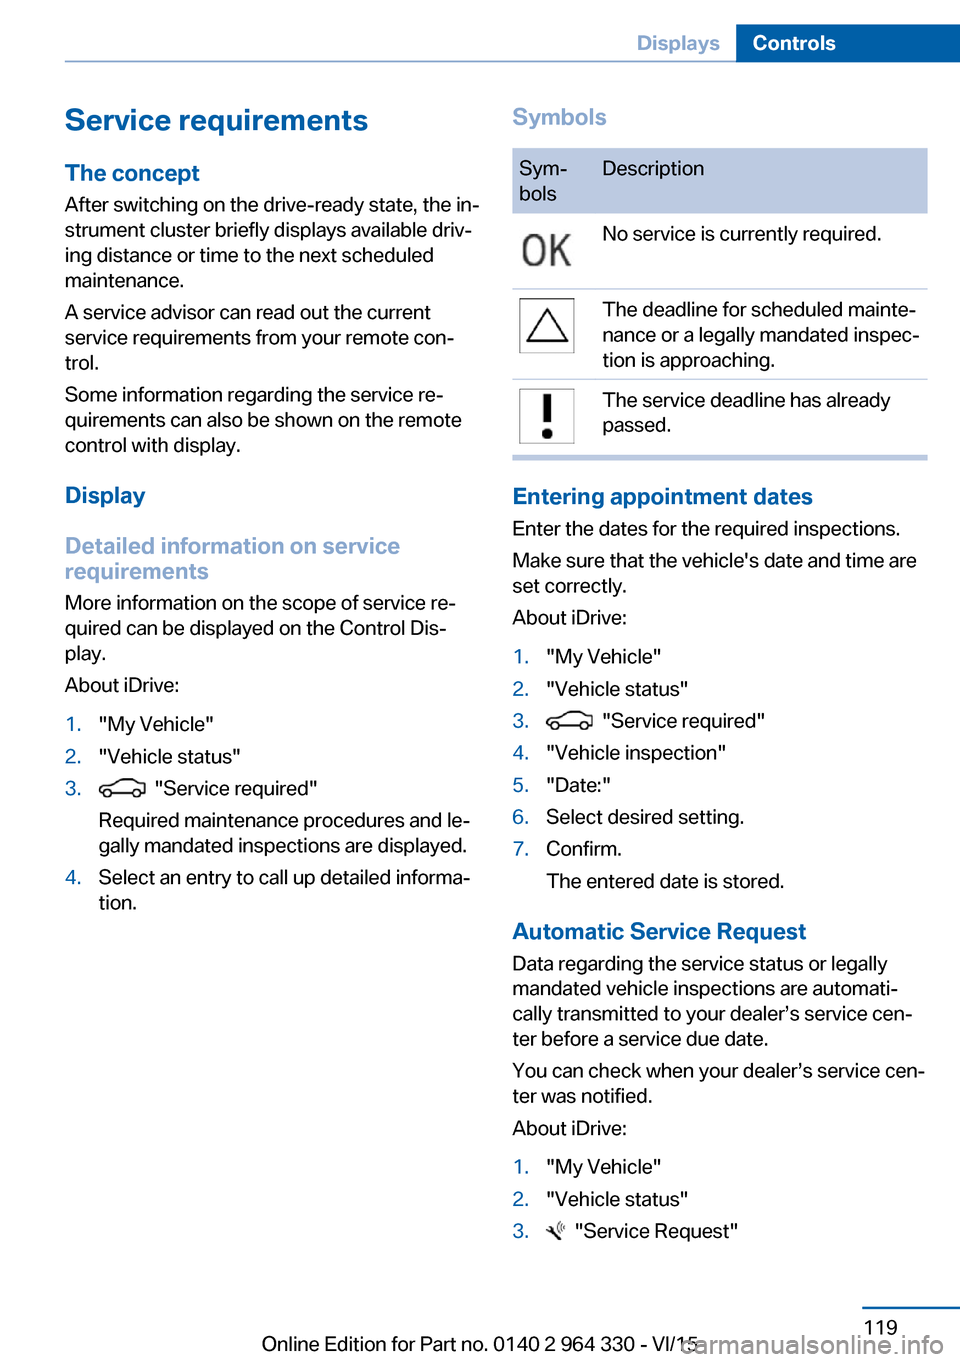
Service requirements
The concept After switching on the drive-ready state, the in‐
strument cluster briefly displays available driv‐
ing distance or time to the next scheduled
maintenance.
A service advisor can read out the current
service requirements from your remote con‐
trol.
Some information regarding the service re‐
quirements can also be shown on the remote
control with display.
Display
Detailed information on service
requirements
More information on the scope of service re‐
quired can be displayed on the Control Dis‐
play.
About iDrive:1."My Vehicle"2."Vehicle status"3. "Service required"
Required maintenance procedures and le‐
gally mandated inspections are displayed.4.Select an entry to call up detailed informa‐
tion.SymbolsSym‐
bolsDescriptionNo service is currently required.The deadline for scheduled mainte‐
nance or a legally mandated inspec‐
tion is approaching.The service deadline has already
passed.
Entering appointment dates
Enter the dates for the required inspections.
Make sure that the vehicle's date and time are
set correctly.
About iDrive:
1."My Vehicle"2."Vehicle status"3. "Service required"4."Vehicle inspection"5."Date:"6.Select desired setting.7.Confirm.
The entered date is stored.
Automatic Service Request
Data regarding the service status or legally
mandated vehicle inspections are automati‐
cally transmitted to your dealer’s service cen‐
ter before a service due date.
You can check when your dealer’s service cen‐
ter was notified.
About iDrive:
1."My Vehicle"2."Vehicle status"3. "Service Request"Seite 119DisplaysControls119
Online Edition for Part no. 0140 2 964 330 - VI/15
Page 215 of 314
Interior equipmentVehicle features and optionsThis chapter describes all standard, country-
specific and optional features offered with the
series. It also describes features that are not
necessarily available in your car, e. g., due to
the selected options or country versions. This
also applies to safety-related functions and
systems. The respectively applicable country
provisions must be observed when using the
respective features and systems.
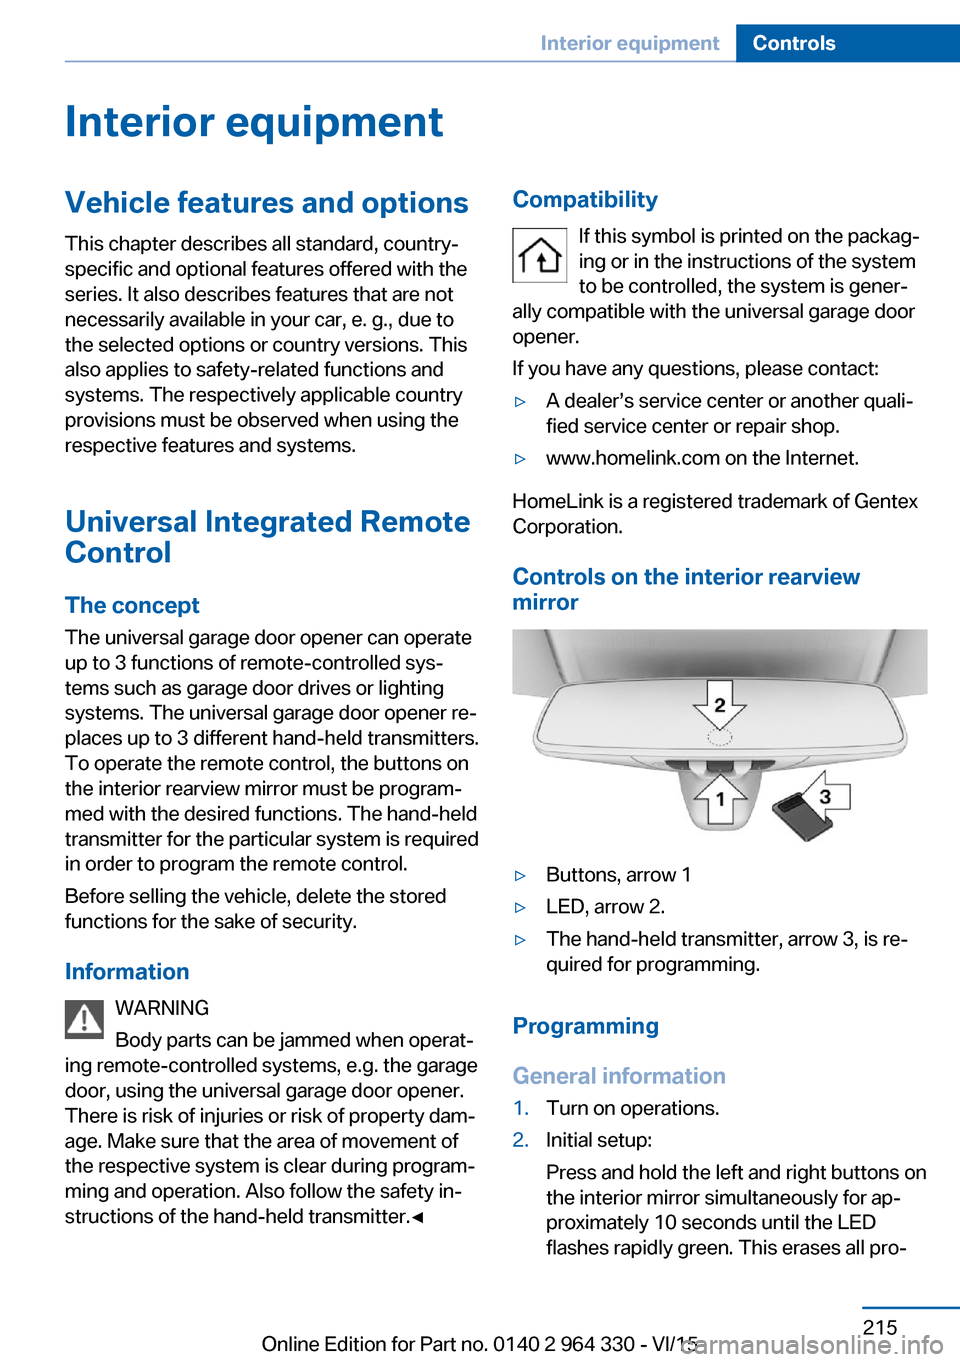
Universal Integrated Remote Control
The concept The universal garage door opener can operate
up to 3 functions of remote-controlled sys‐
tems such as garage door drives or lighting
systems. The universal garage door opener re‐
places up to 3 different hand-held transmitters.
To operate the remote control, the buttons on
the interior rearview mirror must be program‐
med with the desired functions. The hand-held
transmitter for the particular system is required
in order to program the remote control.
Before selling the vehicle, delete the stored
functions for the sake of security.
Information WARNING
Body parts can be jammed when operat‐
ing remote-controlled systems, e.g. the garage
door, using the universal garage door opener.
There is risk of injuries or risk of property dam‐
age. Make sure that the area of movement of
the respective system is clear during program‐
ming and operation. Also follow the safety in‐
structions of the hand-held transmitter.◀Compatibility
If this symbol is printed on the packag‐
ing or in the instructions of the system
to be controlled, the system is gener‐
ally compatible with the universal garage door opener.
If you have any questions, please contact:▷A dealer’s service center or another quali‐
fied service center or repair shop.▷www.homelink.com on the Internet.
HomeLink is a registered trademark of Gentex
Corporation.
Controls on the interior rearview
mirror
▷Buttons, arrow 1▷LED, arrow 2.▷The hand-held transmitter, arrow 3, is re‐
quired for programming.
Programming
General information
1.Turn on operations.2.Initial setup:
Press and hold the left and right buttons on
the interior mirror simultaneously for ap‐
proximately 10 seconds until the LED
flashes rapidly green. This erases all pro‐Seite 215Interior equipmentControls215
Online Edition for Part no. 0140 2 964 330 - VI/15
Page 217 of 314
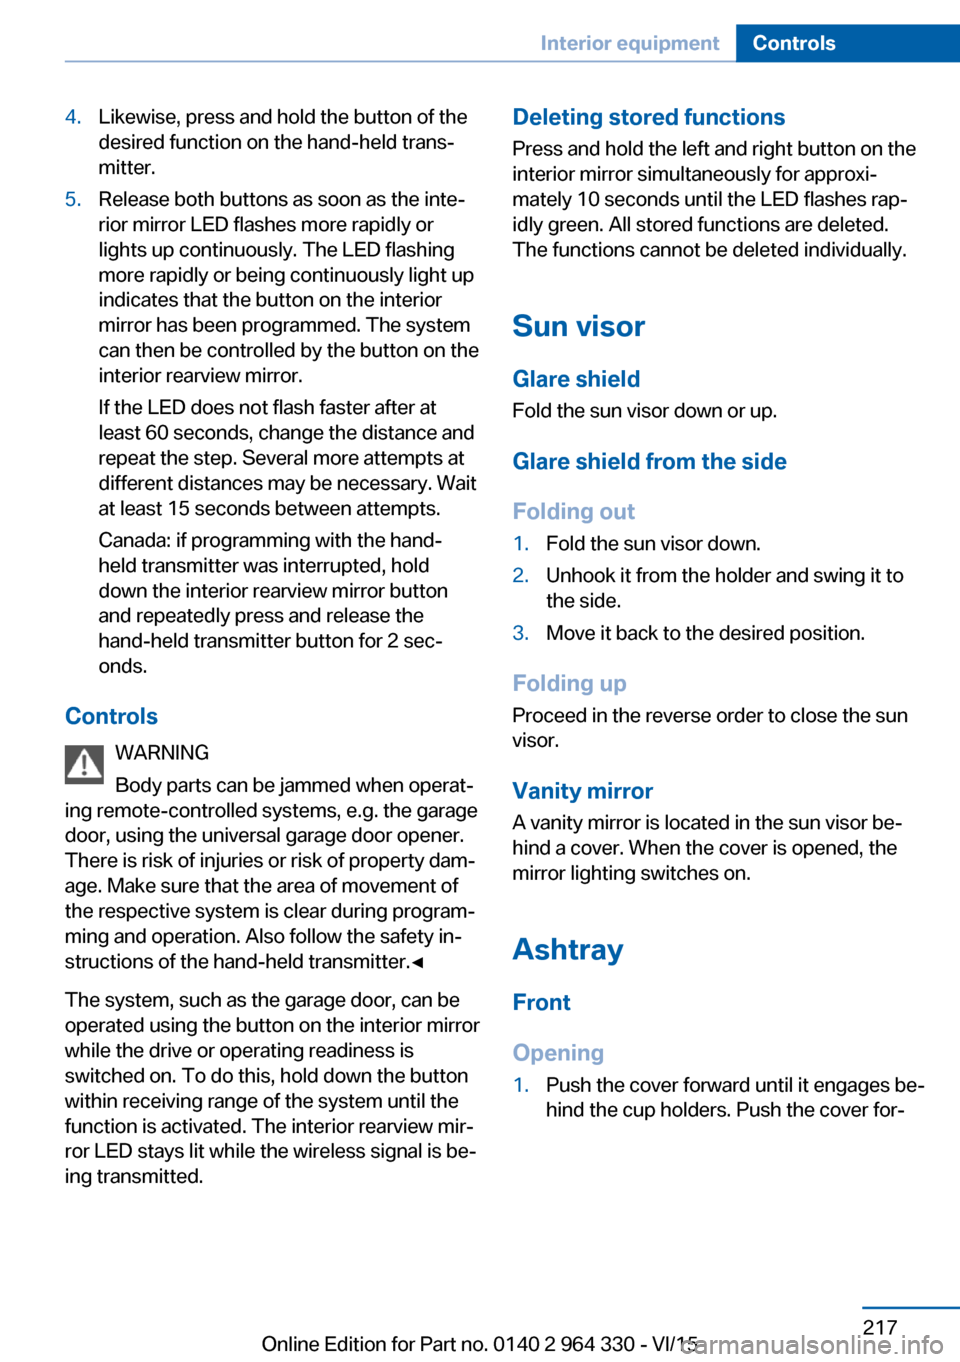
4.Likewise, press and hold the button of the
desired function on the hand-held trans‐
mitter.5.Release both buttons as soon as the inte‐
rior mirror LED flashes more rapidly or
lights up continuously. The LED flashing
more rapidly or being continuously light up
indicates that the button on the interior
mirror has been programmed. The system
can then be controlled by the button on the
interior rearview mirror.
If the LED does not flash faster after at
least 60 seconds, change the distance and
repeat the step. Several more attempts at
different distances may be necessary. Wait
at least 15 seconds between attempts.
Canada: if programming with the hand-
held transmitter was interrupted, hold
down the interior rearview mirror button
and repeatedly press and release the
hand-held transmitter button for 2 sec‐
onds.
Controls
WARNING
Body parts can be jammed when operat‐
ing remote-controlled systems, e.g. the garage
door, using the universal garage door opener. There is risk of injuries or risk of property dam‐
age. Make sure that the area of movement of
the respective system is clear during program‐
ming and operation. Also follow the safety in‐
structions of the hand-held transmitter.◀
The system, such as the garage door, can be
operated using the button on the interior mirror
while the drive or operating readiness is
switched on. To do this, hold down the button
within receiving range of the system until the
function is activated. The interior rearview mir‐
ror LED stays lit while the wireless signal is be‐
ing transmitted.
Deleting stored functions
Press and hold the left and right button on the
interior mirror simultaneously for approxi‐ mately 10 seconds until the LED flashes rap‐
idly green. All stored functions are deleted.
The functions cannot be deleted individually.
Sun visor Glare shield
Fold the sun visor down or up.
Glare shield from the side
Folding out1.Fold the sun visor down.2.Unhook it from the holder and swing it to
the side.3.Move it back to the desired position.
Folding up
Proceed in the reverse order to close the sun
visor.
Vanity mirror A vanity mirror is located in the sun visor be‐
hind a cover. When the cover is opened, the
mirror lighting switches on.
Ashtray
Front
Opening
1.Push the cover forward until it engages be‐
hind the cup holders. Push the cover for‐Seite 217Interior equipmentControls217
Online Edition for Part no. 0140 2 964 330 - VI/15
Page 218 of 314
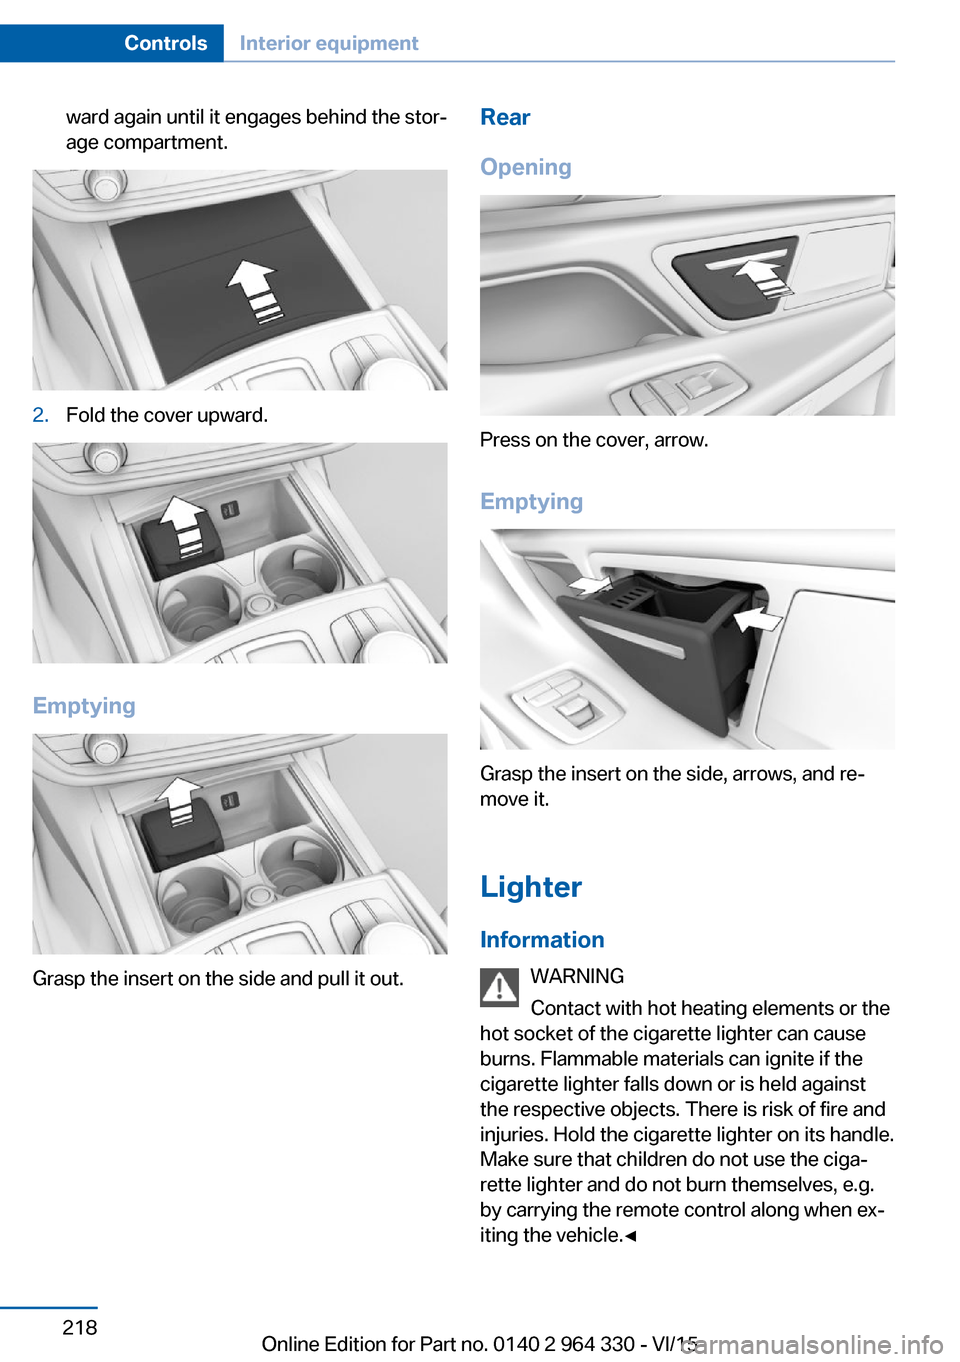
ward again until it engages behind the stor‐
age compartment.2.Fold the cover upward.
Emptying
Grasp the insert on the side and pull it out.
Rear
Opening
Press on the cover, arrow.
Emptying
Grasp the insert on the side, arrows, and re‐
move it.
Lighter Information WARNING
Contact with hot heating elements or the
hot socket of the cigarette lighter can cause
burns. Flammable materials can ignite if the
cigarette lighter falls down or is held against
the respective objects. There is risk of fire and
injuries. Hold the cigarette lighter on its handle.
Make sure that children do not use the ciga‐
rette lighter and do not burn themselves, e.g.
by carrying the remote control along when ex‐
iting the vehicle.◀
Seite 218ControlsInterior equipment218
Online Edition for Part no. 0140 2 964 330 - VI/15
Page 279 of 314

MaintenanceVehicle features and options
This chapter describes all standard, country-
specific and optional features offered with the
series. It also describes features that are not
necessarily available in your car, e. g., due to
the selected options or country versions. This
also applies to safety-related functions and
systems. The respectively applicable country
provisions must be observed when using the
respective features and systems.
BMW maintenance system The maintenance system indicates required
maintenance measures, and thereby provides
support in maintaining road safety and the op‐
erational reliability of the vehicle.
In some cases scopes and intervals may vary
according to the country-specific version. Re‐
placement work, spare parts, fuels and lubri‐
cants and wear materials are calculated sepa‐
rately. Further information is available from a
dealer’s service center or another qualified
service center or repair shop.
Condition Based ServiceCBS
Sensors and special algorithms take into ac‐
count the driving conditions of your vehicle.
Based on this, Condition Based Service recog‐
nizes the maintenance requirements.
The system makes it possible to adapt the
amount of maintenance corresponding to your
user profile.
Detailed information on service requirements,
refer to page 119, can be displayed on the
Control Display.Service data in the remote control
Information on the required maintenance is
continuously stored in the remote control. The dealer’s service center can read this data out
and suggest an optimized maintenance scope
for your vehicle.
Therefore, hand the service advisor the remote
control with which the vehicle was driven most
recently.
Storage periods Storage periods during which the vehicle bat‐
tery was disconnected are not taken into ac‐
count.
If this occurs, have a dealer's service center or
another qualified service center or repair shop
update the time-dependent maintenance pro‐
cedures, such as checking brake fluid and, if
necessary, changing the engine oil and the mi‐
crofilter/activated-charcoal filter.
Service and WarrantyInformation Booklet for US
models and Warranty and
Service Guide Booklet for
Canadian models
Please consult your Service and Warranty In‐
formation Booklet for US models and Warranty
and Service Guide Booklet for Canadian mod‐
els for additional information on service re‐
quirements.
The manufacturer of your vehicle recommends
that maintenance and repair be performed by a
dealer’s service center or another qualified
service center or repair shop. Records of regu‐
lar maintenance and repair work should be re‐
tained.Seite 279MaintenanceMobility279
Online Edition for Part no. 0140 2 964 330 - VI/15
Page 303 of 314
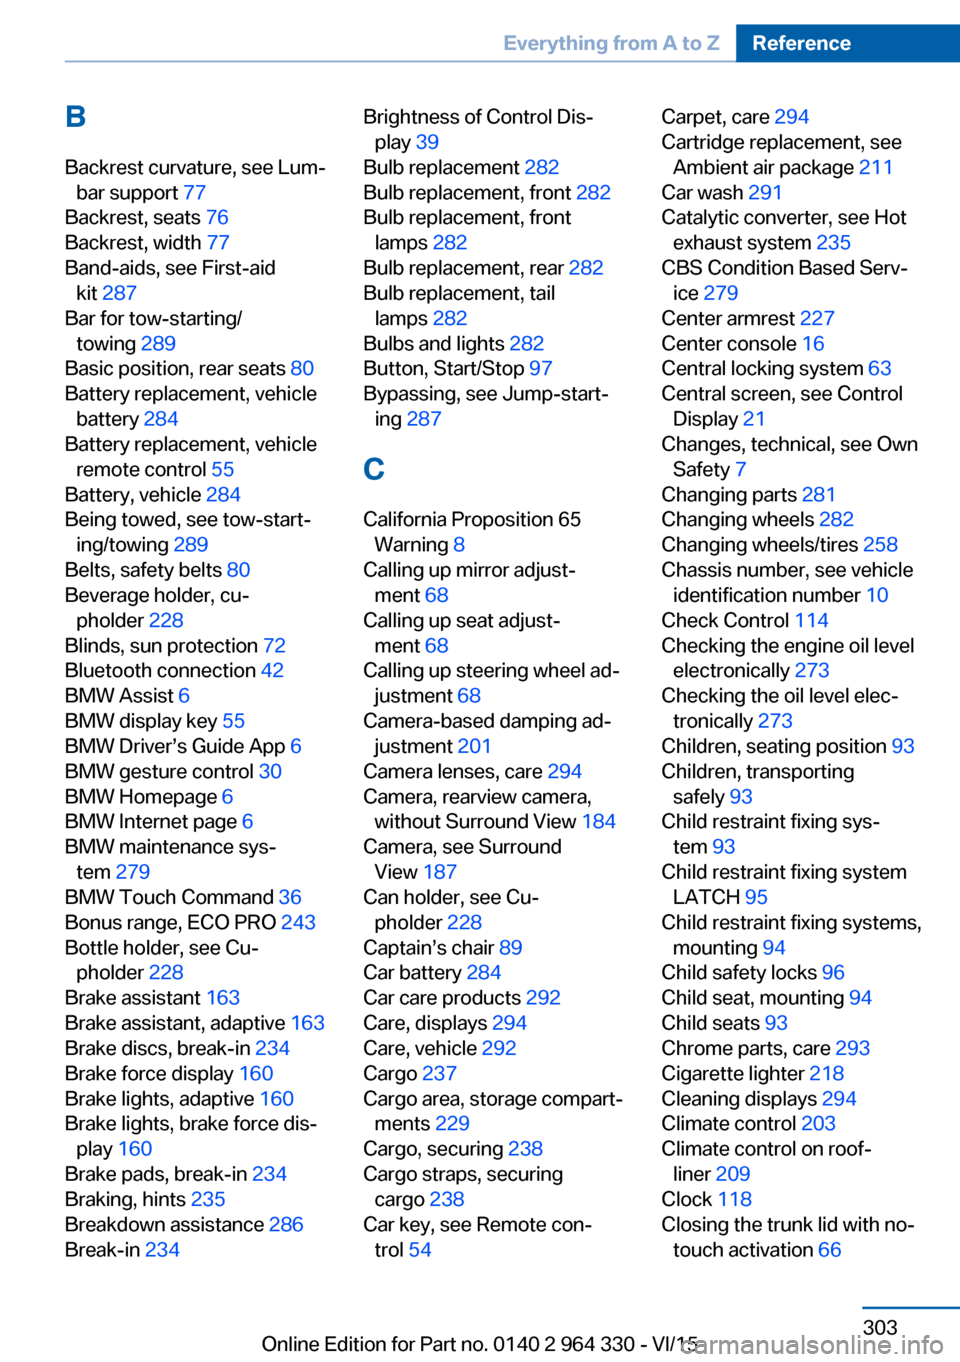
BBackrest curvature, see Lum‐ bar support 77
Backrest, seats 76
Backrest, width 77
Band-aids, see First-aid kit 287
Bar for tow-starting/ towing 289
Basic position, rear seats 80
Battery replacement, vehicle battery 284
Battery replacement, vehicle remote control 55
Battery, vehicle 284
Being towed, see tow-start‐ ing/towing 289
Belts, safety belts 80
Beverage holder, cu‐ pholder 228
Blinds, sun protection 72
Bluetooth connection 42
BMW Assist 6
BMW display key 55
BMW Driver’s Guide App 6
BMW gesture control 30
BMW Homepage 6
BMW Internet page 6
BMW maintenance sys‐ tem 279
BMW Touch Command 36
Bonus range, ECO PRO 243
Bottle holder, see Cu‐ pholder 228
Brake assistant 163
Brake assistant, adaptive 163
Brake discs, break-in 234
Brake force display 160
Brake lights, adaptive 160
Brake lights, brake force dis‐ play 160
Brake pads, break-in 234
Braking, hints 235
Breakdown assistance 286
Break-in 234 Brightness of Control Dis‐
play 39
Bulb replacement 282
Bulb replacement, front 282
Bulb replacement, front lamps 282
Bulb replacement, rear 282
Bulb replacement, tail lamps 282
Bulbs and lights 282
Button, Start/Stop 97
Bypassing, see Jump-start‐ ing 287
C
California Proposition 65 Warning 8
Calling up mirror adjust‐ ment 68
Calling up seat adjust‐ ment 68
Calling up steering wheel ad‐ justment 68
Camera-based damping ad‐ justment 201
Camera lenses, care 294
Camera, rearview camera, without Surround View 184
Camera, see Surround View 187
Can holder, see Cu‐ pholder 228
Captain’s chair 89
Car battery 284
Car care products 292
Care, displays 294
Care, vehicle 292
Cargo 237
Cargo area, storage compart‐ ments 229
Cargo, securing 238
Cargo straps, securing cargo 238
Car key, see Remote con‐ trol 54 Carpet, care 294
Cartridge replacement, see Ambient air package 211
Car wash 291
Catalytic converter, see Hot exhaust system 235
CBS Condition Based Serv‐ ice 279
Center armrest 227
Center console 16
Central locking system 63
Central screen, see Control Display 21
Changes, technical, see Own Safety 7
Changing parts 281
Changing wheels 282
Changing wheels/tires 258
Chassis number, see vehicle identification number 10
Check Control 114
Checking the engine oil level electronically 273
Checking the oil level elec‐ tronically 273
Children, seating position 93
Children, transporting safely 93
Child restraint fixing sys‐ tem 93
Child restraint fixing system LATCH 95
Child restraint fixing systems, mounting 94
Child safety locks 96
Child seat, mounting 94
Child seats 93
Chrome parts, care 293
Cigarette lighter 218
Cleaning displays 294
Climate control 203
Climate control on roof‐ liner 209
Clock 118
Closing the trunk lid with no- touch activation 66 Seite 303Everything from A to ZReference303
Online Edition for Part no. 0140 2 964 330 - VI/15