sport mode BMW 7 SERIES 2016 G11 Owner's Manual
[x] Cancel search | Manufacturer: BMW, Model Year: 2016, Model line: 7 SERIES, Model: BMW 7 SERIES 2016 G11Pages: 314, PDF Size: 7.9 MB
Page 99 of 314
▷By releasing the brake pedal.▷When Automatic Hold is activated: press
the accelerator pedal.
After the engine starts, accelerate as usual.
Safety mode
After the engine switches off automatically, it
will not start again automatically if any one of
the following conditions are met:
▷The driver's safety belt is unbuckled and
the driver's door is open.▷The hood was unlocked.
Some indicator lights light up for a varied
length of time.
The engine can only be started via the Start/
Stop button.
Functional limitations
Even if driving off was not intended, the deacti‐
vated engine starts up automatically in the fol‐
lowing situations:
▷Excessive warming of the car's interior
when the cooling function is switched on.▷Excessive cooling of the car's interior when
the heating is switched on.▷If window condensation is imminent.▷The steering wheel is turned.▷Change from selector lever position D to N
or R.▷Change from selector lever position P to N,
D or R.▷Vehicle battery is heavily discharged.▷Start of an oil level measurement.Activating/deactivating the system
manually
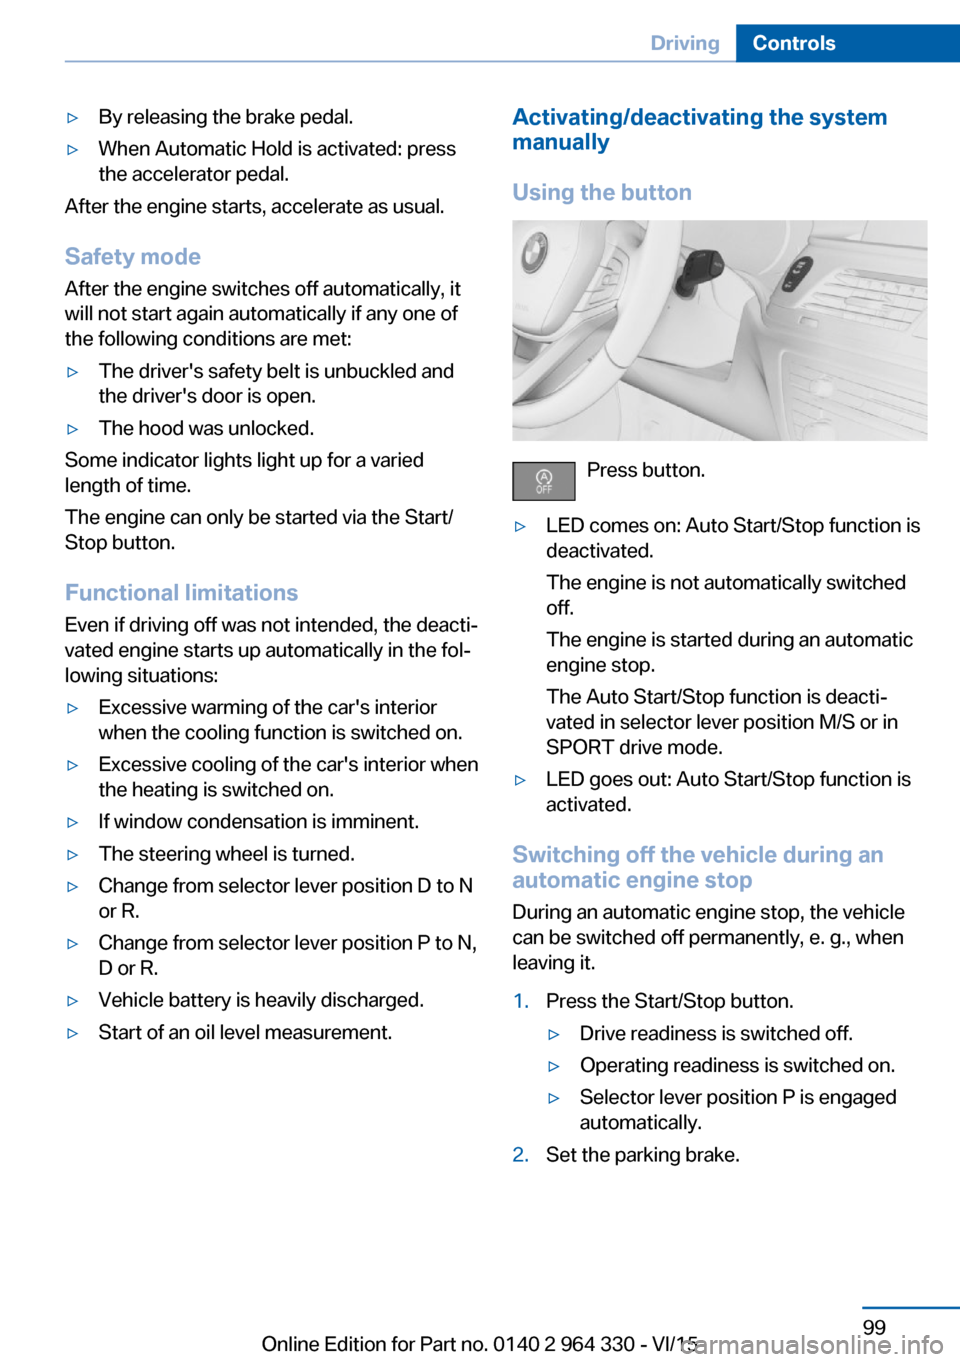
Using the button
Press button.
▷LED comes on: Auto Start/Stop function is
deactivated.
The engine is not automatically switched
off.
The engine is started during an automatic
engine stop.
The Auto Start/Stop function is deacti‐
vated in selector lever position M/S or in
SPORT drive mode.▷LED goes out: Auto Start/Stop function is
activated.
Switching off the vehicle during an
automatic engine stop
During an automatic engine stop, the vehicle
can be switched off permanently, e. g., when
leaving it.
1.Press the Start/Stop button.▷Drive readiness is switched off.▷Operating readiness is switched on.▷Selector lever position P is engaged
automatically.2.Set the parking brake.Seite 99DrivingControls99
Online Edition for Part no. 0140 2 964 330 - VI/15
Page 108 of 314
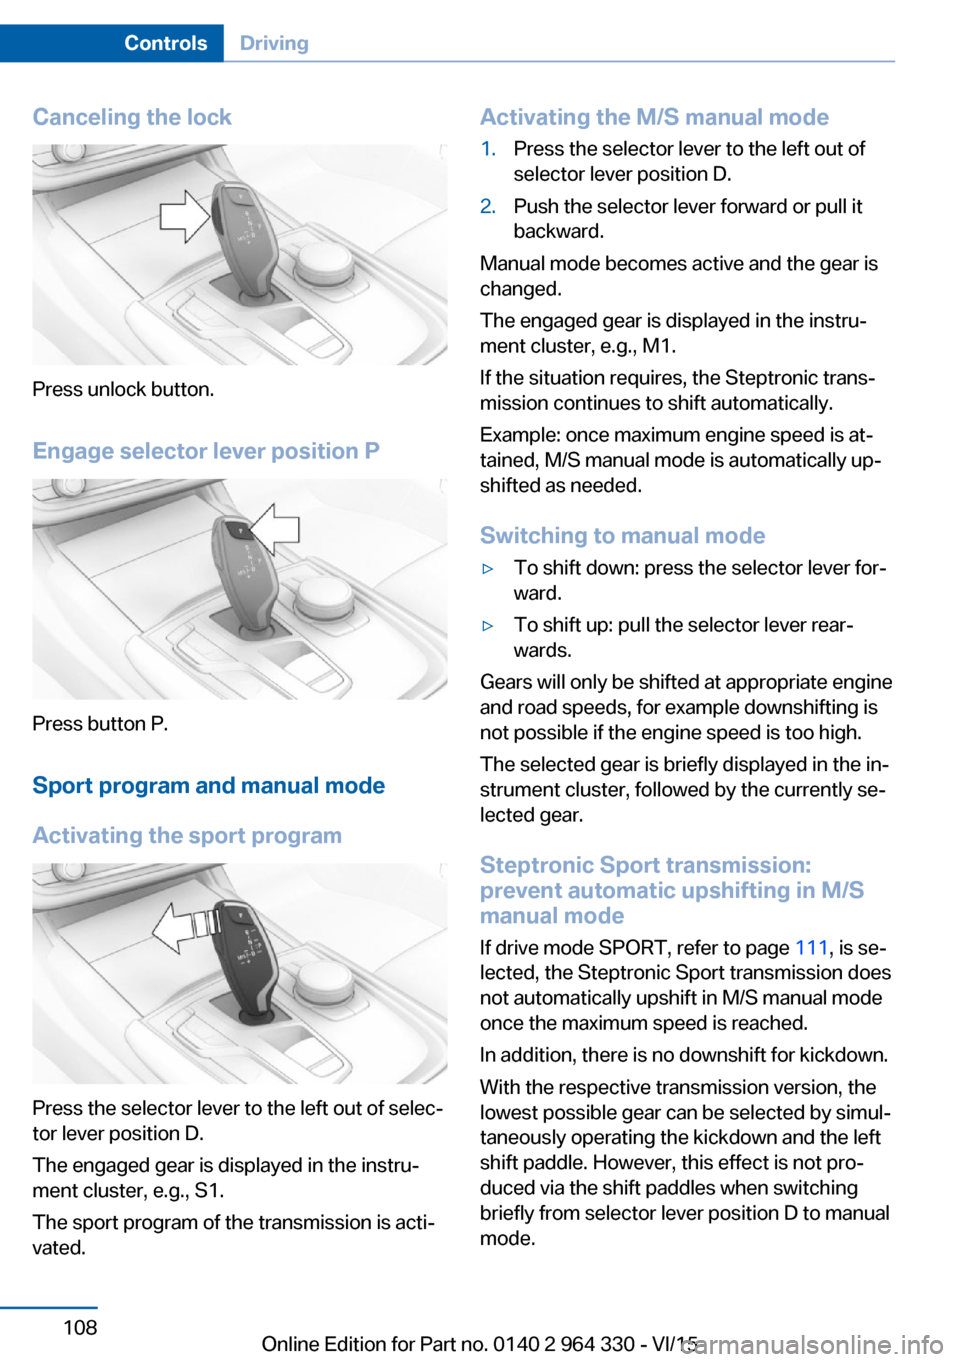
Canceling the lock
Press unlock button.Engage selector lever position P
Press button P.Sport program and manual mode
Activating the sport program
Press the selector lever to the left out of selec‐
tor lever position D.
The engaged gear is displayed in the instru‐
ment cluster, e.g., S1.
The sport program of the transmission is acti‐
vated.
Activating the M/S manual mode1.Press the selector lever to the left out of
selector lever position D.2.Push the selector lever forward or pull it
backward.
Manual mode becomes active and the gear is
changed.
The engaged gear is displayed in the instru‐
ment cluster, e.g., M1.
If the situation requires, the Steptronic trans‐
mission continues to shift automatically.
Example: once maximum engine speed is at‐
tained, M/S manual mode is automatically up‐
shifted as needed.
Switching to manual mode
▷To shift down: press the selector lever for‐
ward.▷To shift up: pull the selector lever rear‐
wards.
Gears will only be shifted at appropriate engine
and road speeds, for example downshifting is
not possible if the engine speed is too high.
The selected gear is briefly displayed in the in‐
strument cluster, followed by the currently se‐
lected gear.
Steptronic Sport transmission:
prevent automatic upshifting in M/S
manual mode
If drive mode SPORT, refer to page 111, is se‐
lected, the Steptronic Sport transmission does
not automatically upshift in M/S manual mode
once the maximum speed is reached.
In addition, there is no downshift for kickdown.
With the respective transmission version, the
lowest possible gear can be selected by simul‐
taneously operating the kickdown and the left
shift paddle. However, this effect is not pro‐
duced via the shift paddles when switching
briefly from selector lever position D to manual
mode.
Seite 108ControlsDriving108
Online Edition for Part no. 0140 2 964 330 - VI/15
Page 109 of 314
Ending the sport program/manual
mode
Push the selector lever to the right.
D is displayed in the instrument cluster.
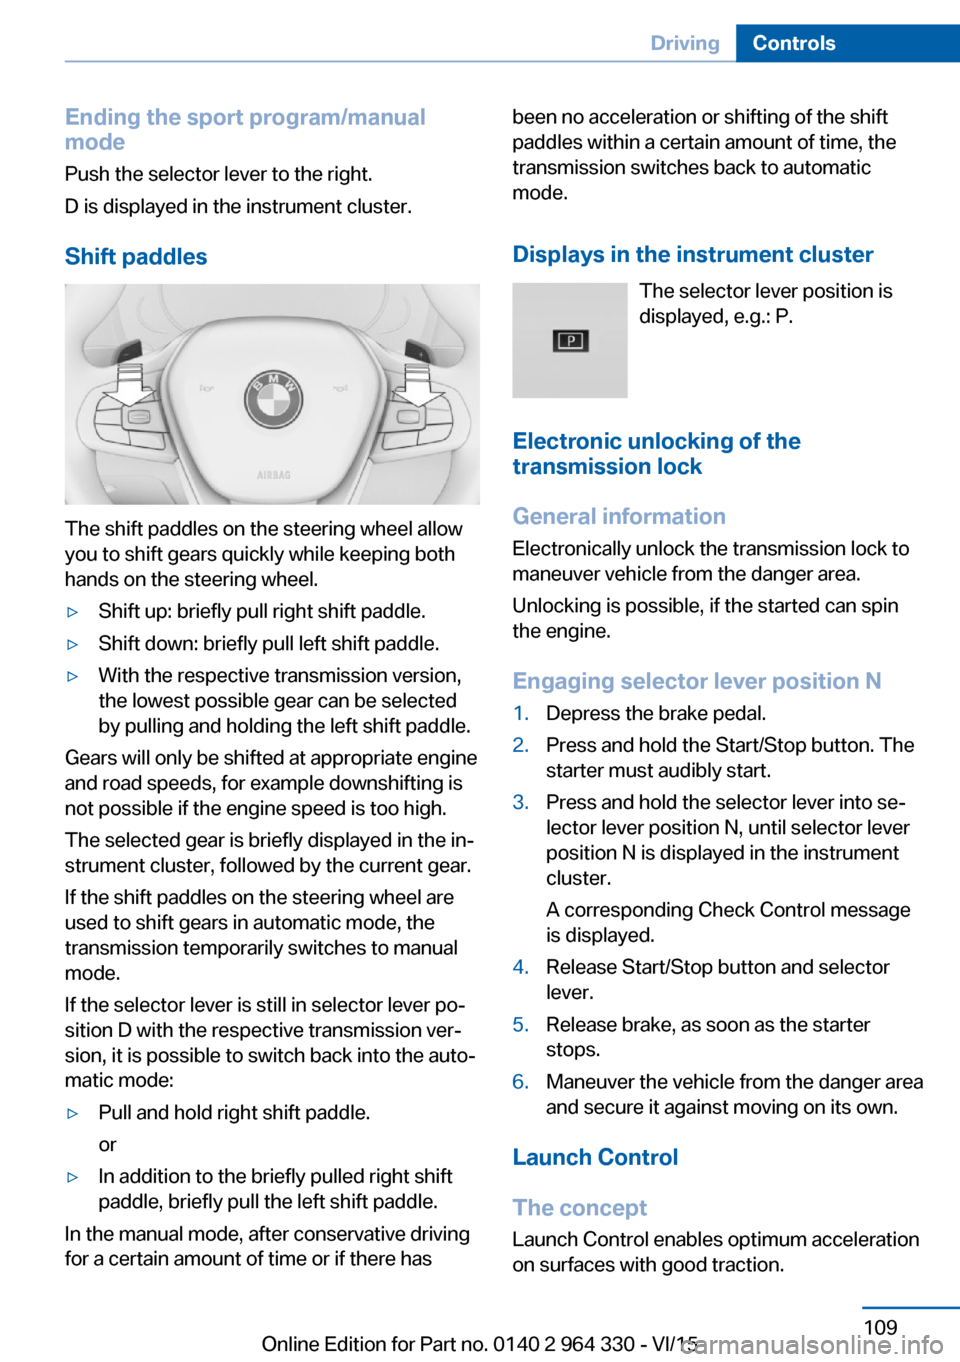
Shift paddles
The shift paddles on the steering wheel allow
you to shift gears quickly while keeping both
hands on the steering wheel.
▷Shift up: briefly pull right shift paddle.▷Shift down: briefly pull left shift paddle.▷With the respective transmission version,
the lowest possible gear can be selected
by pulling and holding the left shift paddle.
Gears will only be shifted at appropriate engine
and road speeds, for example downshifting is
not possible if the engine speed is too high.
The selected gear is briefly displayed in the in‐
strument cluster, followed by the current gear.
If the shift paddles on the steering wheel are
used to shift gears in automatic mode, the
transmission temporarily switches to manual
mode.
If the selector lever is still in selector lever po‐
sition D with the respective transmission ver‐
sion, it is possible to switch back into the auto‐
matic mode:
▷Pull and hold right shift paddle.
or▷In addition to the briefly pulled right shift
paddle, briefly pull the left shift paddle.
In the manual mode, after conservative driving
for a certain amount of time or if there has
been no acceleration or shifting of the shift
paddles within a certain amount of time, the
transmission switches back to automatic
mode.
Displays in the instrument cluster The selector lever position is
displayed, e.g.: P.
Electronic unlocking of the transmission lock
General information
Electronically unlock the transmission lock to
maneuver vehicle from the danger area.
Unlocking is possible, if the started can spin
the engine.
Engaging selector lever position N1.Depress the brake pedal.2.Press and hold the Start/Stop button. The
starter must audibly start.3.Press and hold the selector lever into se‐
lector lever position N, until selector lever
position N is displayed in the instrument
cluster.
A corresponding Check Control message
is displayed.4.Release Start/Stop button and selector
lever.5.Release brake, as soon as the starter
stops.6.Maneuver the vehicle from the danger area
and secure it against moving on its own.
Launch Control
The concept Launch Control enables optimum accelerationon surfaces with good traction.
Seite 109DrivingControls109
Online Edition for Part no. 0140 2 964 330 - VI/15
Page 110 of 314
General information
The use of Launch Control causes premature
component wear since this function represents
a very heavy load for the vehicle.
Do not use Launch Control during the break-in,
refer to page 234, period.
To increase vehicle stability, activate DSC again as soon as possible.
An experienced driver may be able to achieve
better acceleration values in DSC OFF mode.
Requirements
Launch Control is available when the engine is
warmed up, that is, after uninterrupted driving
of at least 6 miles/10 km.
To start with Launch Control do not steer the
steering wheel.
Start with launch controlWhile the engine is running:1. Press button.
TRACTION is displayed in the instrument
cluster and the indicator lamp for DSC OFF
lights up.2.Engage selector lever position S.3.With the left foot, forcefully press down on
the brake.4.Press and hold down the accelerator pedal
beyond the resistance point at the full
throttle position, kickdown.
A flag symbol is displayed in the instru‐
ment cluster.5.The starting engine speed adjusts. Within
3 seconds, release the brake.
Before using Launch Control, allow the trans‐
mission to cool down for approx. 5 minutes.
Launch Control adjusts to the surrounding
conditions, e.g., wet pavement, when used
again.
Driving Dynamics Control
The conceptThe Driving Dynamics Control influences the
driving dynamics properties of the vehicle. The
vehicle can be adjusted depending on the sit‐
uation using various driving modes.
The following systems are affected:▷Engine characteristics.▷Steptronic transmission.▷Dynamic Damping Control.▷Air suspension▷Active roll stabilization.▷Integral Active Steering.▷Display in the instrument cluster.▷Cruise control.▷Backrest width for comfort seats.
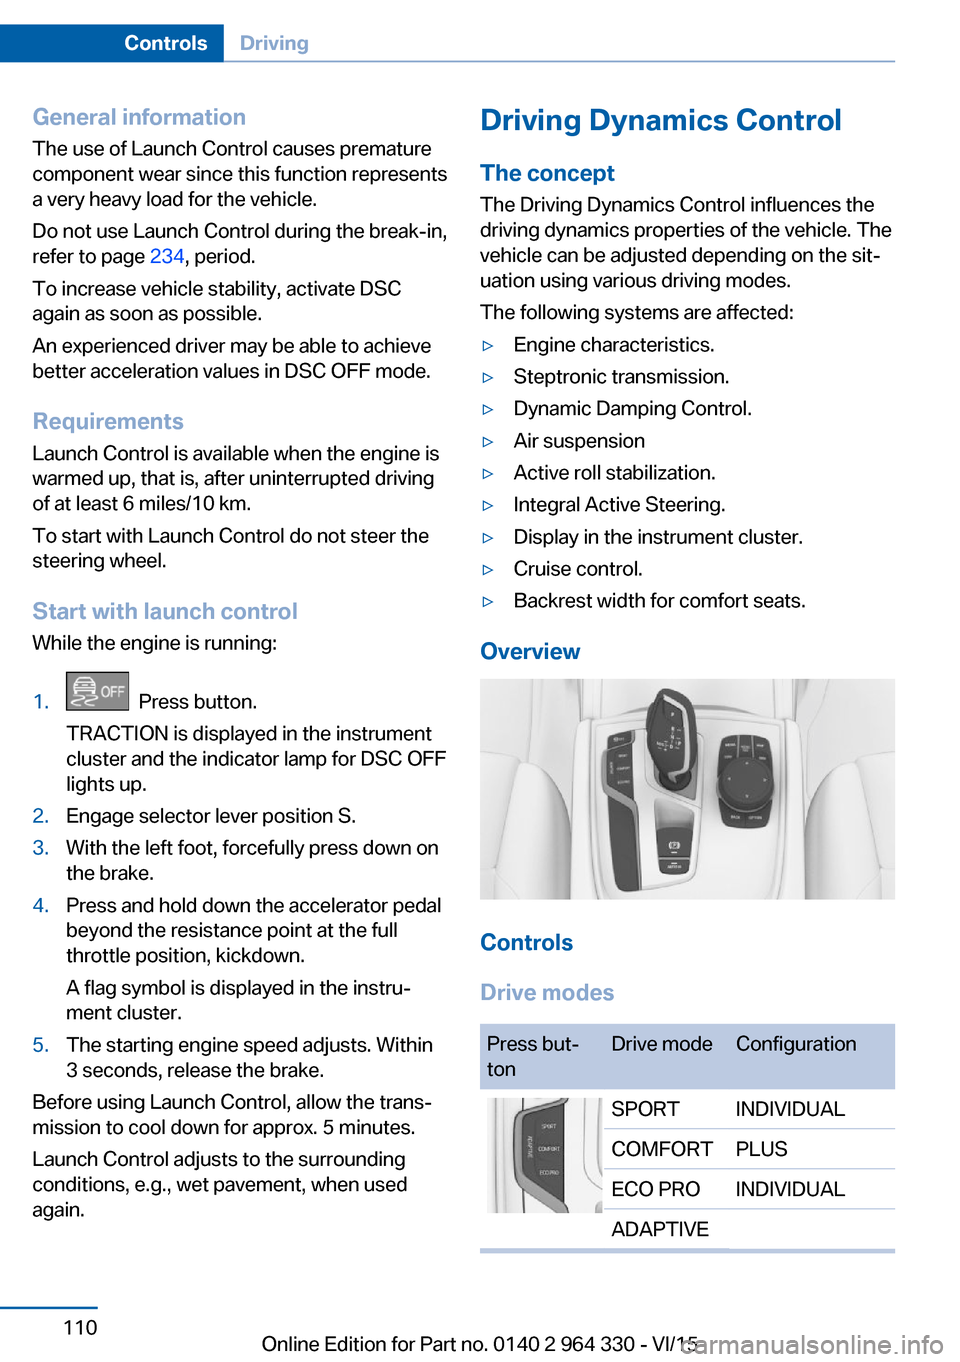
Overview
Controls
Drive modes
Press but‐
tonDrive modeConfigurationSPORTINDIVIDUALCOMFORTPLUSECO PROINDIVIDUALADAPTIVESeite 110ControlsDriving110
Online Edition for Part no. 0140 2 964 330 - VI/15
Page 111 of 314
Selecting a driving modePress button for the desired driving mode
once.
Activating configuration of the driving mode
Press button for the desired driving mode sev‐
eral times.
Configure INDIVIDUAL driving mode1.Activate desired driving mode with Driving
Dynamics Control switch.2."Configure INDIVIDUAL"
Select desired setting.
The individual configuration of the driving
mode is taken over for the active profile. The
last set configuration is activated directly when
the driving mode is called up. With activating of
the drive-ready state, the COMFORT driving
mode is selected automatically.
Displays in the instrument cluster The selected drive mode is dis‐played in the instrument cluster.
Display on the Control Display
Drive mode changes can be briefly shown on
the Control Display.
About iDrive:
1."My Vehicle"2."Vehicle settings"3."Driving Experience Control"4."Driving mode information in control
display"Driving modes in detail
COMFORT
The concept
Balanced tuning between dynamic and con‐
sumption-optimized driving.
Switching on Press button repeatedly until COM‐
FORT is displayed in the instrument
cluster.
COMFORT PLUS
The concept
Particularly comfortable tuning for optimum traveling comfort.
Switching on Press button repeatedly until COM‐
FORT PLUS is displayed in the instru‐
ment cluster.
SPORT
The concept
Dynamic tuning for higher agility.
Switching on Press button. SPORT is displayed in
the instrument cluster.
SPORT INDIVIDUAL The concept
Individual settings can be adjusted in the
SPORT INDIVIDUAL drive mode.Seite 111DrivingControls111
Online Edition for Part no. 0140 2 964 330 - VI/15
Page 112 of 314
Configuration
About iDrive:1."My Vehicle"2."Vehicle settings"3."Driving Experience Control"4."Configure SPORT INDIVIDUAL"5.Select desired setting.
The setting is stored for the drive profile cur‐
rently used.
Reset SPORT INDIVIDUAL to the standard
settings:
"Reset to SPORT STANDARD".
ECO PRO The concept
Consumption-optimized tuning, refer to
page 241.
Switching on Press button. ECO PRO is displayed
in the instrument cluster.
ECO PRO INDIVIDUAL The concept
Individual settings can be adjusted in the ECO
PRO INDIVIDUAL drive mode.
Configuration
About iDrive:
1."My Vehicle"2."Vehicle settings"3."Driving Experience Control"4."Configure ECO PRO INDIVIDUAL"5.Select desired setting.
The setting is stored for the drive profile cur‐
rently used.
Reset ECO PRO INDIVIDUAL to the standard
settings:
"Reset to ECO PRO STANDARD".
ADAPTIVE
The concept
Comfort-oriented drive mode, whose tuning is
automatically adjusted to the driving situation
and driving style.
If the navigation system is active, upcoming
road sections are considered as well.
Switching on Press button. ADAPTIVE is displayed
in the instrument cluster.Seite 112ControlsDriving112
Online Edition for Part no. 0140 2 964 330 - VI/15
Page 114 of 314
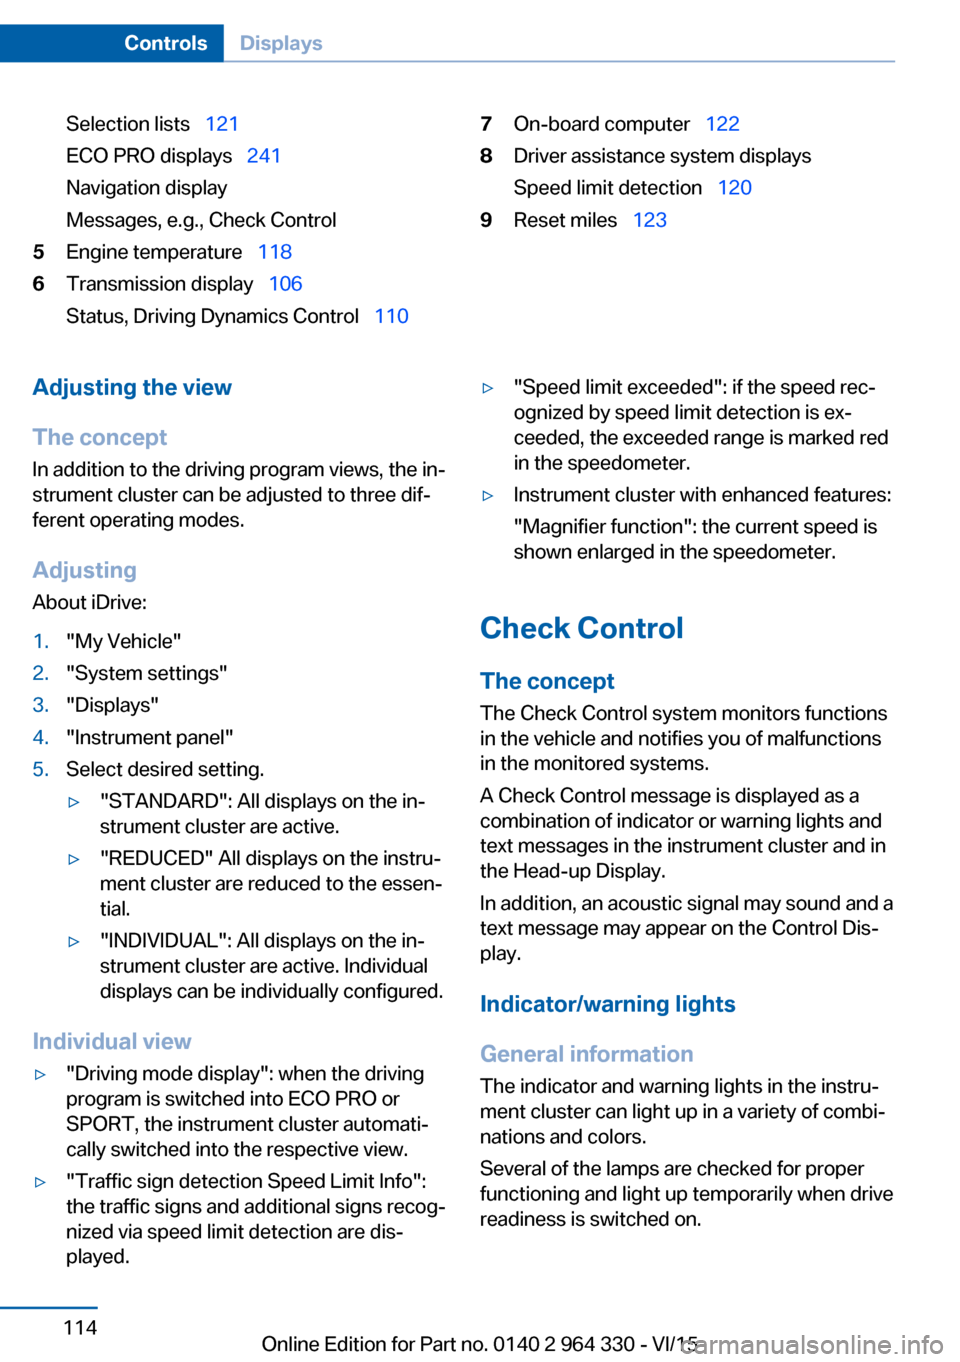
Selection lists 121
ECO PRO displays 241
Navigation display
Messages, e.g., Check Control5Engine temperature 1186Transmission display 106
Status, Driving Dynamics Control 1107On-board computer 1228Driver assistance system displays
Speed limit detection 1209Reset miles 123Adjusting the view
The concept In addition to the driving program views, the in‐
strument cluster can be adjusted to three dif‐
ferent operating modes.
Adjusting
About iDrive:1."My Vehicle"2."System settings"3."Displays"4."Instrument panel"5.Select desired setting.▷"STANDARD": All displays on the in‐
strument cluster are active.▷"REDUCED" All displays on the instru‐
ment cluster are reduced to the essen‐
tial.▷"INDIVIDUAL": All displays on the in‐
strument cluster are active. Individual
displays can be individually configured.
Individual view
▷"Driving mode display": when the driving
program is switched into ECO PRO or
SPORT, the instrument cluster automati‐
cally switched into the respective view.▷"Traffic sign detection Speed Limit Info":
the traffic signs and additional signs recog‐
nized via speed limit detection are dis‐
played.▷"Speed limit exceeded": if the speed rec‐
ognized by speed limit detection is ex‐
ceeded, the exceeded range is marked red
in the speedometer.▷Instrument cluster with enhanced features:
"Magnifier function": the current speed is
shown enlarged in the speedometer.
Check Control
The concept The Check Control system monitors functions
in the vehicle and notifies you of malfunctions
in the monitored systems.
A Check Control message is displayed as a
combination of indicator or warning lights and
text messages in the instrument cluster and in
the Head-up Display.
In addition, an acoustic signal may sound and a text message may appear on the Control Dis‐
play.
Indicator/warning lights
General information
The indicator and warning lights in the instru‐
ment cluster can light up in a variety of combi‐
nations and colors.
Several of the lamps are checked for proper
functioning and light up temporarily when drive
readiness is switched on.
Seite 114ControlsDisplays114
Online Edition for Part no. 0140 2 964 330 - VI/15
Page 167 of 314
With strong steering movements and low
speeds, e.g. when parking, the wheel angle is
magnified, that is, the steering is more direct.
The rear axle steering acts to increase maneu‐
verability by turning the rear wheels slightly in
a direction opposite to the front wheels.
At higher speeds, the rear wheels are turned in
the same direction as the front wheels.
In critical driving situations, the Integral Active
Steering can stabilize the vehicle through pur‐
poseful steering of the rear wheels before the
driver intervenes, e.g. in case of oversteering.
General information The system offers several different tunings.
These are assigned to the different driving
modes of the Driving Dynamics Control, refer
to page 110.
TuningDrive modeIntegral Active SteeringCOMFORT/E
CO PROcomfortable, for optimal
travel comfortSPORTdynamic, for greater agility
Using snow chains
Information When snow chains are in use, refer to
page 264, rear wheel steering is deactivated.
Malfunction
In the event of a malfunction, the steering
wheel must be turned further, while the vehicle
responds more sensitively to steering wheel
movements in the higher speed range.
The stability-enhancing intervention may be
deactivated.
Proceed cautiously and drive defensively.
Have the system checked.
Seite 167Driving stability control systemsControls167
Online Edition for Part no. 0140 2 964 330 - VI/15
Page 200 of 314
Driving comfortVehicle features and options
This chapter describes all standard, country-
specific and optional features offered with the
series. It also describes features that are not
necessarily available in your car, e. g., due to
the selected options or country versions. This
also applies to safety-related functions and
systems. The respectively applicable country
provisions must be observed when using the
respective features and systems.
Air suspension The conceptAir suspension ensures best possible driving
comfort under all load conditions. Due to a var‐
iable adjustment of the front and rear axles, the
damping is adjusted to the vehicle condition.
General information In the case of an uneven road surface, the ve‐
hicle level can be elevated to increase ground
clearance.▷Normal level, for normal road surface.▷Raised level, when the road surface is poor.
In the SPORT driving mode, refer to page 110,
or at higher speeds, the vehicle lowers itself.
Information WARNING
With lowering the vehicle, body parts can
be jammed. There is risk of injuries. When low‐
ering the vehicle, make sure that the areas of
movement under the vehicle and under the
wheel housing are free.◀
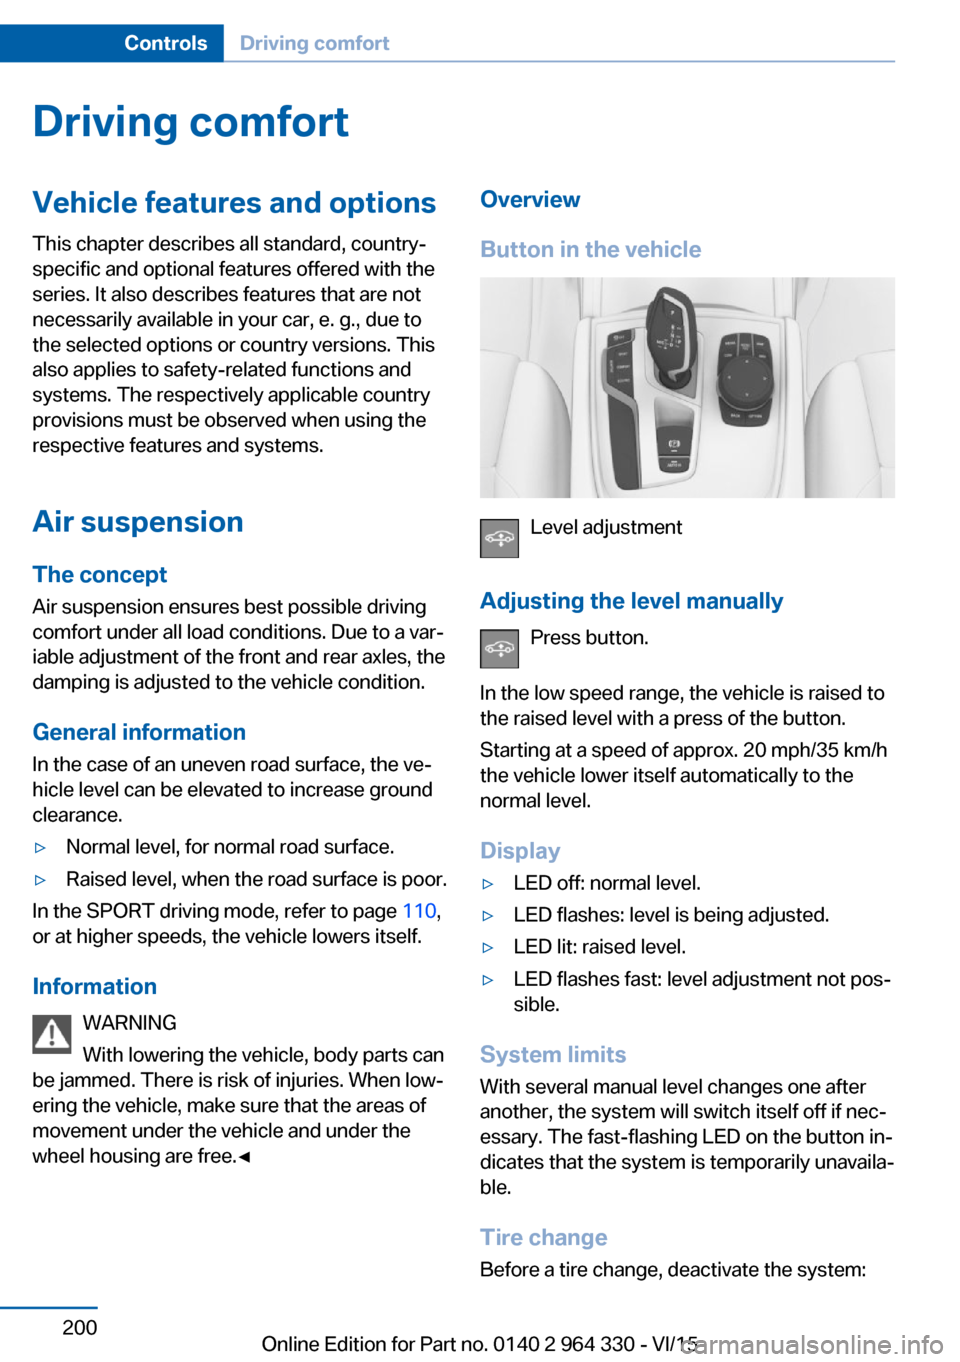
Overview
Button in the vehicle
Level adjustment
Adjusting the level manually Press button.
In the low speed range, the vehicle is raised to
the raised level with a press of the button.
Starting at a speed of approx. 20 mph/35 km/h
the vehicle lower itself automatically to the
normal level.
Display
▷LED off: normal level.▷LED flashes: level is being adjusted.▷LED lit: raised level.▷LED flashes fast: level adjustment not pos‐
sible.
System limits
With several manual level changes one after
another, the system will switch itself off if nec‐
essary. The fast-flashing LED on the button in‐
dicates that the system is temporarily unavaila‐
ble.
Tire change Before a tire change, deactivate the system:
Seite 200ControlsDriving comfort200
Online Edition for Part no. 0140 2 964 330 - VI/15
Page 201 of 314
Press button and hold for approx. 7 sec‐
onds, then release. The LED flashes fast.
Activate system:
The system is activated again automatically
when you drive away.
Malfunction
A Check Control message is displayed. The
system is disrupted. Vehicle handling may be
altered and driving comfort may be noticeably
reduced. Have checked by a dealer’s service
center or another qualified service center or re‐
pair shop.
Long periods when vehicle is parked During long periods when the vehicle is
parked, it can lower itself. This is not a mal‐
function.
Dynamic Damping Control The conceptThis system reduces undesirable vehicle mo‐tion when using a dynamic driving style or trav‐
eling on uneven road surfaces.
The system enhances driving dynamics and
comfort fitting road surface and driving style.
General information
The system offers several different damping
settings.
These are assigned to the different driving
modes of the Driving Dynamics Control, refer
to page 110.TuningDrive modeDamper tuningCOMFORT PLUScomfortableSPORTfirmCOMFORT/ECO PRObalanced out
Executive Drive Pro
The concept Executive Drive Pro is an actively controlled
chassis. It increases driving comfort and mini‐
mizes the lateral tilt when driving around
curves. This increases both the agility of the
vehicle as well as the vehicle comfort.
Executive Drive Pro includes the following sys‐
tems:
▷Active damping adjustment, refer to
page 201.▷Active roll stabilization, refer to page 202.
Active damping adjustment
The concept The system increases driving comfort. Using a
camera in the area of the interior mirror, the
road surface is detected and damping auto‐
matically adjusted to the road surface.
Seite 201Driving comfortControls201
Online Edition for Part no. 0140 2 964 330 - VI/15