Rse BMW 7 SERIES 2016 G12 Owner's Manual
[x] Cancel search | Manufacturer: BMW, Model Year: 2016, Model line: 7 SERIES, Model: BMW 7 SERIES 2016 G12Pages: 314, PDF Size: 7.9 MB
Page 9 of 314
▷Operating mode of system components, fill
levels for instance.▷Status messages for the vehicle and from
its individual components, e.g., wheel rota‐
tion speed/vehicle speed, deceleration,
transverse acceleration.▷Malfunctions and faults in important sys‐
tem components, e.g., lights and brakes.▷Responses by the vehicle to special situa‐
tions such as airbag deployment or engag‐
ing the stability control system.▷Ambient conditions, such as temperature.
This data is purely technical in nature and is
used to detect and correct faults and to opti‐
mize vehicle functions. Motion profiles over
routes traveled cannot be created from this
data. When service offerings are used, e.g., re‐
pair services, service processes, warranty
claims, quality assurance, this technical infor‐
mation can be read out from the event and
fault memories by employees of the dealer’s
service center or another qualified service cen‐
ter or repair shop, including the manufacturer,
using special diagnostic tools. You can obtain
further information there if you need it. After an
error is corrected, the information in the fault
memory is deleted or overwritten on a continu‐
ous basis.
With the vehicle in use there are situations
where you can associate these technical data
with individuals if combined with other infor‐
mation, e.g., an accident report, damage to the
vehicle, eye witness accounts — possibly with
the assistance of an expert.
Additional functions that are contractually
agreed with the customer - such as vehicle
emergency locating - you can transmit certain
vehicle data from the vehicle.
Event Data Recorder EDR
This vehicle is equipped with an event data re‐
corder EDR. The main purpose of an EDR is to
record, in certain crash or near crash-like situa‐
tions, such as an air bag deployment or hitting
a road obstacle, data that will assist in under‐
standing how a vehicle’s systems performed.
The EDR is designed to record data related to
vehicle dynamics and safety systems for a
short period of time, typically 30 seconds or
less.
The EDR in this vehicle is designed to record
such data as:▷How various systems in your vehicle were
operating.▷Whether or not the driver and passenger
safety belts were fastened.▷How far, if at all, the driver was depressing
the accelerator and/or brake pedal.▷How fast the vehicle was traveling.
These data can help provide a better under‐
standing of the circumstances in which
crashes and injuries occur.
EDR data are recorded by your vehicle only if a
nontrivial crash situation occurs; no data are
recorded by the EDR under normal driving
conditions and no personal data, e.g., name,
gender, age, and crash location, are recorded.
However, other parties, such as law enforce‐
ment, could combine the EDR data with the
type of personally identifying data routinely ac‐
quired during a crash investigation.
To read data recorded by an EDR, special
equipment is required, and access to the vehi‐
cle or the EDR is needed. In addition to the ve‐
hicle manufacturer, other parties, such as law
enforcement, that have the special equipment,
can read the information if they have access to
the vehicle or the EDR.
Seite 9Information9
Online Edition for Part no. 0140 2 964 330 - VI/15
Page 10 of 314
Vehicle identification
number
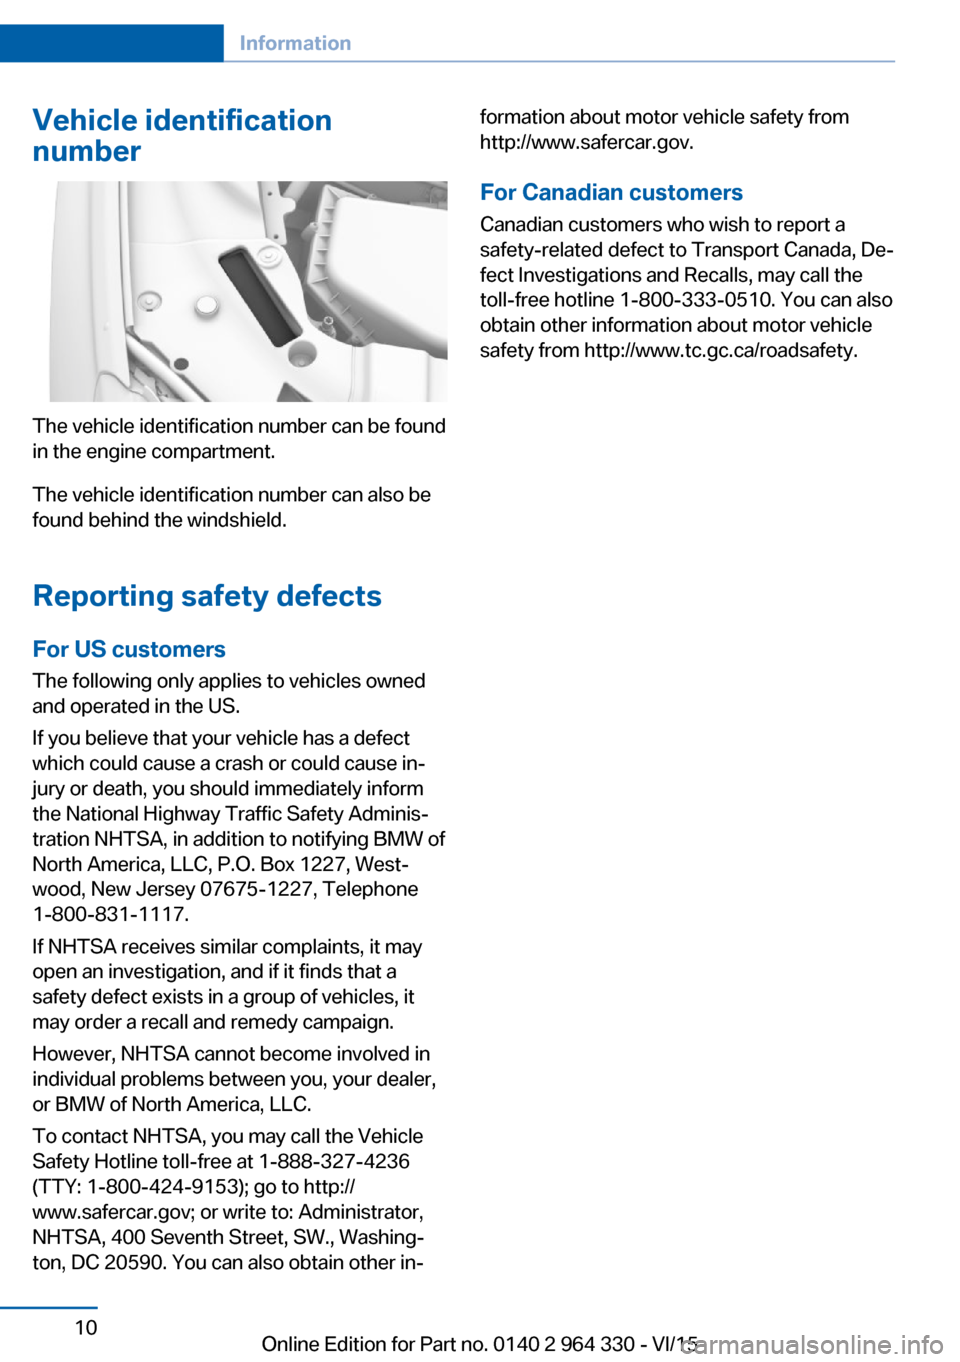
The vehicle identification number can be found
in the engine compartment.
The vehicle identification number can also be
found behind the windshield.
Reporting safety defects
For US customers The following only applies to vehicles owned
and operated in the US.
If you believe that your vehicle has a defect
which could cause a crash or could cause in‐
jury or death, you should immediately inform
the National Highway Traffic Safety Adminis‐
tration NHTSA, in addition to notifying BMW of
North America, LLC, P.O. Box 1227, West‐
wood, New Jersey 07675-1227, Telephone
1-800-831-1117.
If NHTSA receives similar complaints, it may
open an investigation, and if it finds that a
safety defect exists in a group of vehicles, it
may order a recall and remedy campaign.
However, NHTSA cannot become involved in
individual problems between you, your dealer,
or BMW of North America, LLC.
To contact NHTSA, you may call the Vehicle
Safety Hotline toll-free at 1-888-327-4236
(TTY: 1-800-424-9153); go to http://
www.safercar.gov; or write to: Administrator,
NHTSA, 400 Seventh Street, SW., Washing‐
ton, DC 20590. You can also obtain other in‐
formation about motor vehicle safety from
http://www.safercar.gov.
For Canadian customers
Canadian customers who wish to report a
safety-related defect to Transport Canada, De‐
fect Investigations and Recalls, may call the
toll-free hotline 1-800-333-0510. You can also
obtain other information about motor vehicle
safety from http://www.tc.gc.ca/roadsafety.Seite 10Information10
Online Edition for Part no. 0140 2 964 330 - VI/15
Page 61 of 314
Convenient openingPress and hold this button on the re‐
mote control after unlocking.
The windows and the glass sunroof are
opened, as long as the button on the remote
control is pressed.
Locking WARNING
For some country-specific variants, un‐
locking from the inside is only possible with
special knowledge.
If people must spend a longer time in the vehi‐
cle while it is very hot or cold outside, there is
risk of injuries or danger to life. Do not lock the
vehicle from the outside when there are people
in it.◀
The driver's door must be closed. Press button on the remote control.▷All doors, the tailgate, and the fuel filler flap
are locked.▷The rear sliding visor is being closed.▷Anti-theft protection is switched on. It pre‐
vents the doors from being unlocked using
the lock buttons or the door opener.▷The alarm system, refer to page 69, is
armed.
Switching on exterior lighting
Press button on the remote control with
the vehicle locked.
▷The interior lights are being switched on,
unless they were manually switched off.
Switching the interior lights on and off
manually, refer to page 133.▷In the dark, door handle lighting and Wel‐
come Light Carpet are switched on if these
functions were activated. For Settings, re‐
fer to page 67.If the button is pressed again within 10 sec‐
onds after vehicle was locked, the interior mo‐
tion sensor and tilt alarm sensor of the anti-
theft warning system, refer to page 70, are
turned off. After locking, wait 10 seconds be‐
fore pressing the button again.
Panic mode
You can trigger the alarm system if you find
yourself in a dangerous situation.
Press button on the remote control
and hold for at least 3 seconds.
To switch off the alarm: press any button.
Opening the tailgate CAUTION
During opening, the trunk lid pivots back
and up. There is risk of property damage. Make
sure that the area of movement of the tailgate
is clear during opening and closing.◀
Press and hold button on the remotecontrol for approx. one second.
The trunk lid opens, regardless of whether the
vehicle was previously locked or unlocked.
To avoid locking it into the vehicle, do not
place the remote control in the cargo area.
Depending on the features and the country
version, it is also possible to have door un‐
locked. Create the settings, refer to page 67.
If the doors were not unlocked, the trunk lid is
locked again as soon as it closes.
Switching on the headlight courtesy delay feature
Press button on the remote control.
The duration can be set in the Control Display.Seite 61Opening and closingControls61
Online Edition for Part no. 0140 2 964 330 - VI/15
Page 69 of 314
About iDrive:1."My Vehicle"2."Driver profiles"3.Select profile.4."Last seat position automatic"
The adjustment procedure is interrupted:
▷When a seat position switch is pressed.▷When a button of the seat, mirror, and
steering wheel memory is pressed briefly.
Alarm system
The conceptWhen the vehicle is locked, the vehicle alarm
system responds to:
▷Opening a door, the hood or the trunk lid.▷Movements in the interior.▷Changes in the vehicle tilt, e. g., during at‐
tempts at stealing a wheel or when towing
the car.▷Disconnected battery voltage.
The alarm system briefly signals tampering:
▷By sounding an acoustic alarm.▷By switching on the hazard warning sys‐
tem.▷By flashing the high beams.
Arming and disarming the alarm
system
When you unlock or lock the vehicle, either
with the remote control or via the Comfort Ac‐
cess, the alarm system is disarmed or armed at
the same time.
Door lock and armed alarm systemThe alarm system is triggered when the door is
opened, when the vehicle is unlocked via the
door lock.
Trunk lid and armed alarm system
The trunk lid can be opened even when the
alarm system is armed.
After the trunk lid is closed, it is locked and
monitored again when the doors are locked.
The hazard warning system flashes once.
Panic mode
You can trigger the alarm system if you find
yourself in a dangerous situation.
Press button on the remote control
and hold for at least 3 seconds.
To switch off the alarm: press any button.
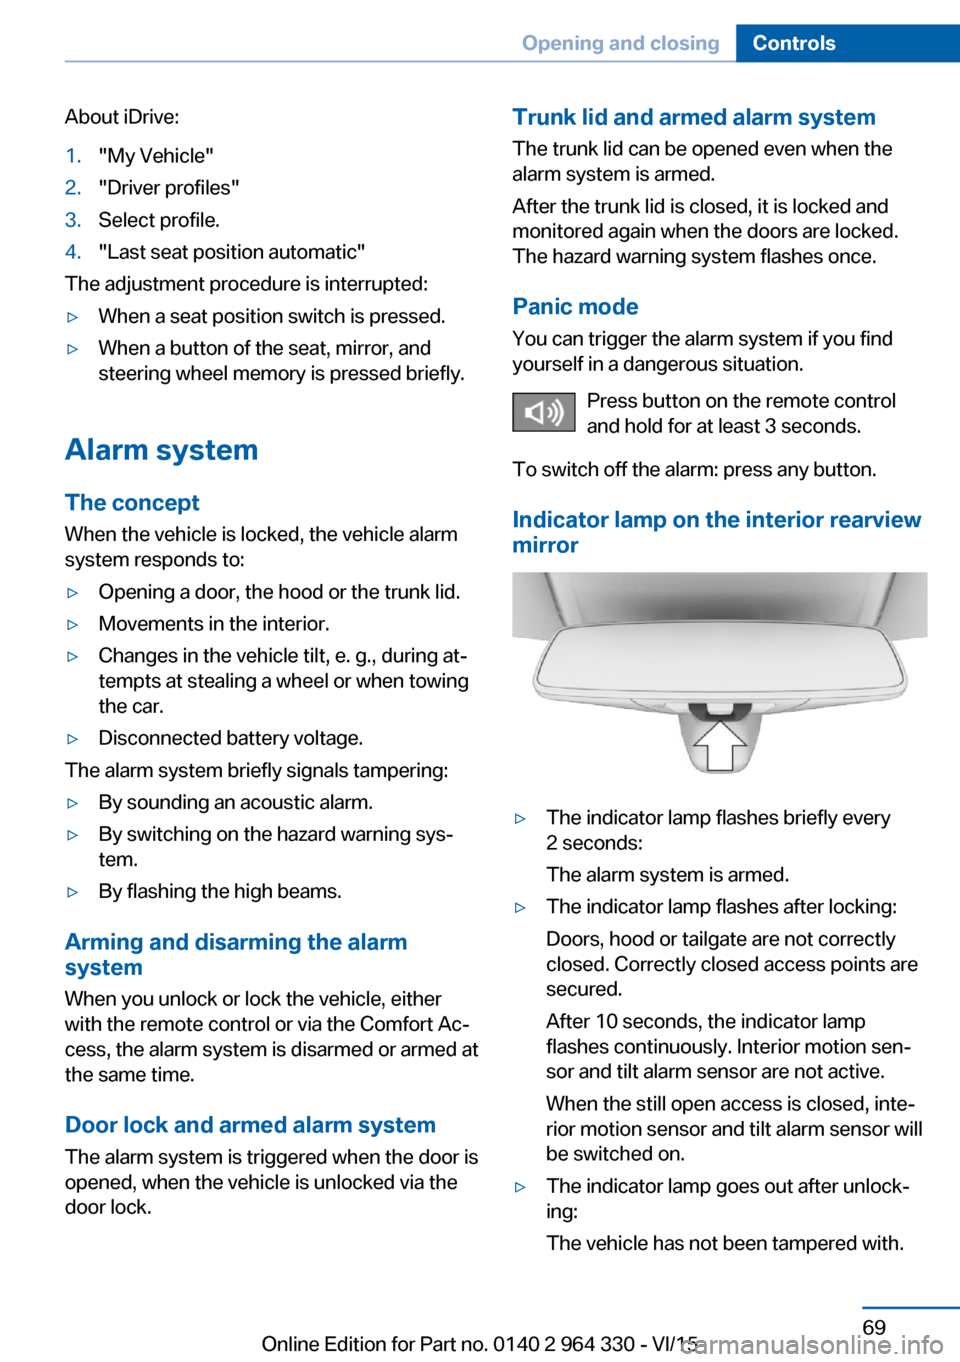
Indicator lamp on the interior rearview
mirror▷The indicator lamp flashes briefly every
2 seconds:
The alarm system is armed.▷The indicator lamp flashes after locking:
Doors, hood or tailgate are not correctly
closed. Correctly closed access points are
secured.
After 10 seconds, the indicator lamp
flashes continuously. Interior motion sen‐
sor and tilt alarm sensor are not active.
When the still open access is closed, inte‐
rior motion sensor and tilt alarm sensor will
be switched on.▷The indicator lamp goes out after unlock‐
ing:
The vehicle has not been tampered with.Seite 69Opening and closingControls69
Online Edition for Part no. 0140 2 964 330 - VI/15
Page 85 of 314
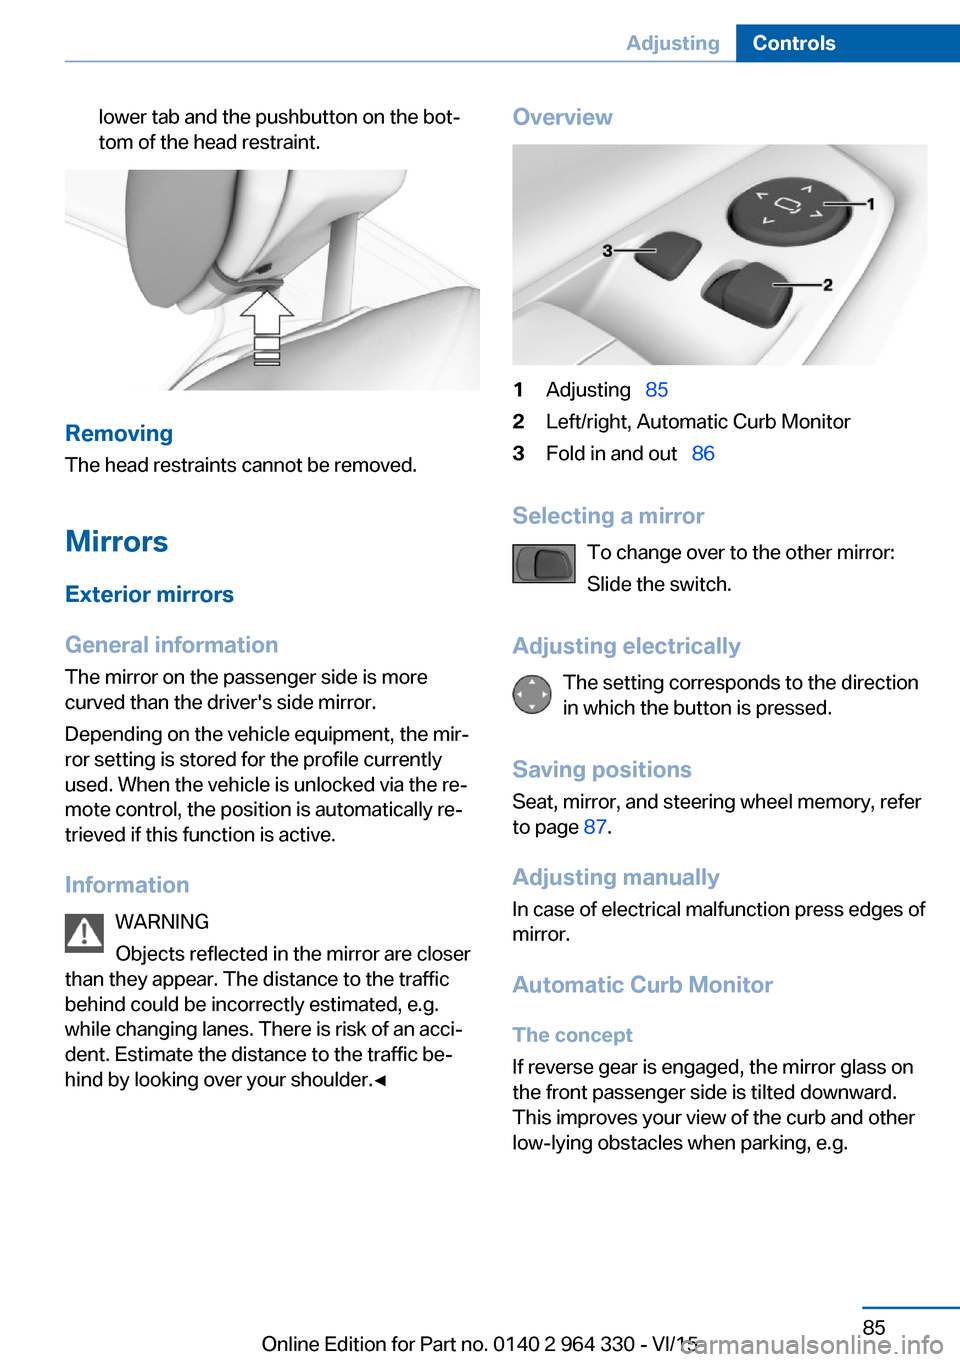
lower tab and the pushbutton on the bot‐
tom of the head restraint.
Removing
The head restraints cannot be removed.
Mirrors
Exterior mirrors
General information The mirror on the passenger side is more
curved than the driver's side mirror.
Depending on the vehicle equipment, the mir‐
ror setting is stored for the profile currently
used. When the vehicle is unlocked via the re‐
mote control, the position is automatically re‐
trieved if this function is active.
Information WARNING
Objects reflected in the mirror are closer
than they appear. The distance to the traffic
behind could be incorrectly estimated, e.g.
while changing lanes. There is risk of an acci‐
dent. Estimate the distance to the traffic be‐
hind by looking over your shoulder.◀
Overview1Adjusting 852Left/right, Automatic Curb Monitor3Fold in and out 86
Selecting a mirror
To change over to the other mirror:
Slide the switch.
Adjusting electrically The setting corresponds to the direction
in which the button is pressed.
Saving positions Seat, mirror, and steering wheel memory, refer
to page 87.
Adjusting manually
In case of electrical malfunction press edges of
mirror.
Automatic Curb Monitor
The concept
If reverse gear is engaged, the mirror glass on
the front passenger side is tilted downward.
This improves your view of the curb and other
low-lying obstacles when parking, e.g.
Seite 85AdjustingControls85
Online Edition for Part no. 0140 2 964 330 - VI/15
Page 98 of 314
3.Set the parking brake.
Before driving into a car wash
So that the vehicle can roll into a car wash ob‐
serve instructions for going into an automatic
car wash, refer to page 291.
Auto Start/Stop function
The concept The Auto Start/Stop function helps save fuel.
The system switches off the engine during a
stop, e.g., in traffic congestion or at traffic lights. Drive readiness remains switched on.
The engine starts again automatically for driv‐
ing off.
Information After every engine start via the Start/Stop but‐
ton, the Auto Start/Stop function is activated or
deactivated, according to the last setting, refer
to page 99. If the Auto Start/Stop function is
active, it is available as soon as a speed of ap‐
prox. 3 mph, approx. 5 km/h is exceeded.
Engine stop
The engine is switched off automatically dur‐
ing a stop under the following conditions:
▷The selector lever is in selector lever posi‐
tion D.▷The brake pedal remains pressed while the
vehicle is stationary or the vehicle is held
by Automatic Hold.▷The driver's safety belt is buckled or the
driver's door is closed.
The air flow from the air conditioner is reduced
when the engine is switched off.
Displays in the instrument cluster
The display in the tachometer
indicates that the Auto Start/
Stop function is ready for an Au‐
tomatic engine start.
The display indicates that the
conditions for an automatic en‐
gine stop have not been met.
Functional limitations The engine is not switched off automatically in
the following situations:▷In case of a steep downhill grade.▷Brake not engaged strongly enough.▷The external temperature is high and auto‐
matic climate control is running.▷The car's interior has not yet been heated
or cooled to the required level.▷If window condensation is imminent.▷Engine or other parts not at operating tem‐
perature.▷Engine cooling is required.▷The wheels are at a sharp angle or the
steering wheel is being turned.▷Vehicle battery is heavily discharged.▷At higher elevations.▷The engine compartment lid is unlocked.▷HDC Hill Descent Control is activated.▷The parking assistant is activated.▷Stop-and-go traffic.▷Selector lever position in N or R.▷After driving in reverse.▷Use of fuel with high ethanol content.
Starting the engine
The engine starts automatically under the fol‐
lowing conditions:
Seite 98ControlsDriving98
Online Edition for Part no. 0140 2 964 330 - VI/15
Page 107 of 314
▷On uphill grades or on a slope, also secure
the vehicle, e.g. with a wheel chock.◀
Selector lever positions
D Drive
Selector lever position for normal vehicle oper‐
ation. All gears for forward travel are activated
automatically.
To reduce fuel consumption, the engine is au‐
tomatically decoupled from the transmission
under the conditions described for Coasting,
refer to page 245.
R is Reverse
Select only when the vehicle is stationary.
N Neutral:
The vehicle may roll in selector lever posi‐
tion N.
Engage selector lever position N, e.g. in car
washes, refer to page 291.
With operating readiness switched off, refer to
page 20, selector lever position P is engaged
automatically.
P Park Select only when the vehicle is stationary. The
drive wheels are blocked.
Selector lever position P is engaged automati‐
cally:
▷After drive readiness, refer to page 97, is
switched off and selector lever position R
or D is engaged.▷If operating readiness is switched off and
selector lever position N is engaged.▷If the driver's safety belt is released, the
driver's door is opened, and the brake
pedal is not pressed while the vehicle is
stationary and selector lever position D or
R is set.Kickdown
Kickdown is used to achieve maximum driving
performance. Step on the accelerator pedal
beyond the resistance point at the full throttle
position.
Engaging selector lever positions General information To prevent the vehicle from creeping after you
select a gear, maintain pressure on the brake
pedal until you are ready to start.
It is not possible to shift out of selector lever
position P until the engine is running and the
brake is applied.
With the vehicle is stationary, press on the
brake pedal before shifting out of selector lever
position P or N; otherwise, the shift command
will not be executed: shift lock.
A block prevents the inadvertent switching to
selector lever position R or the inadvertent
change from selector lever position P.
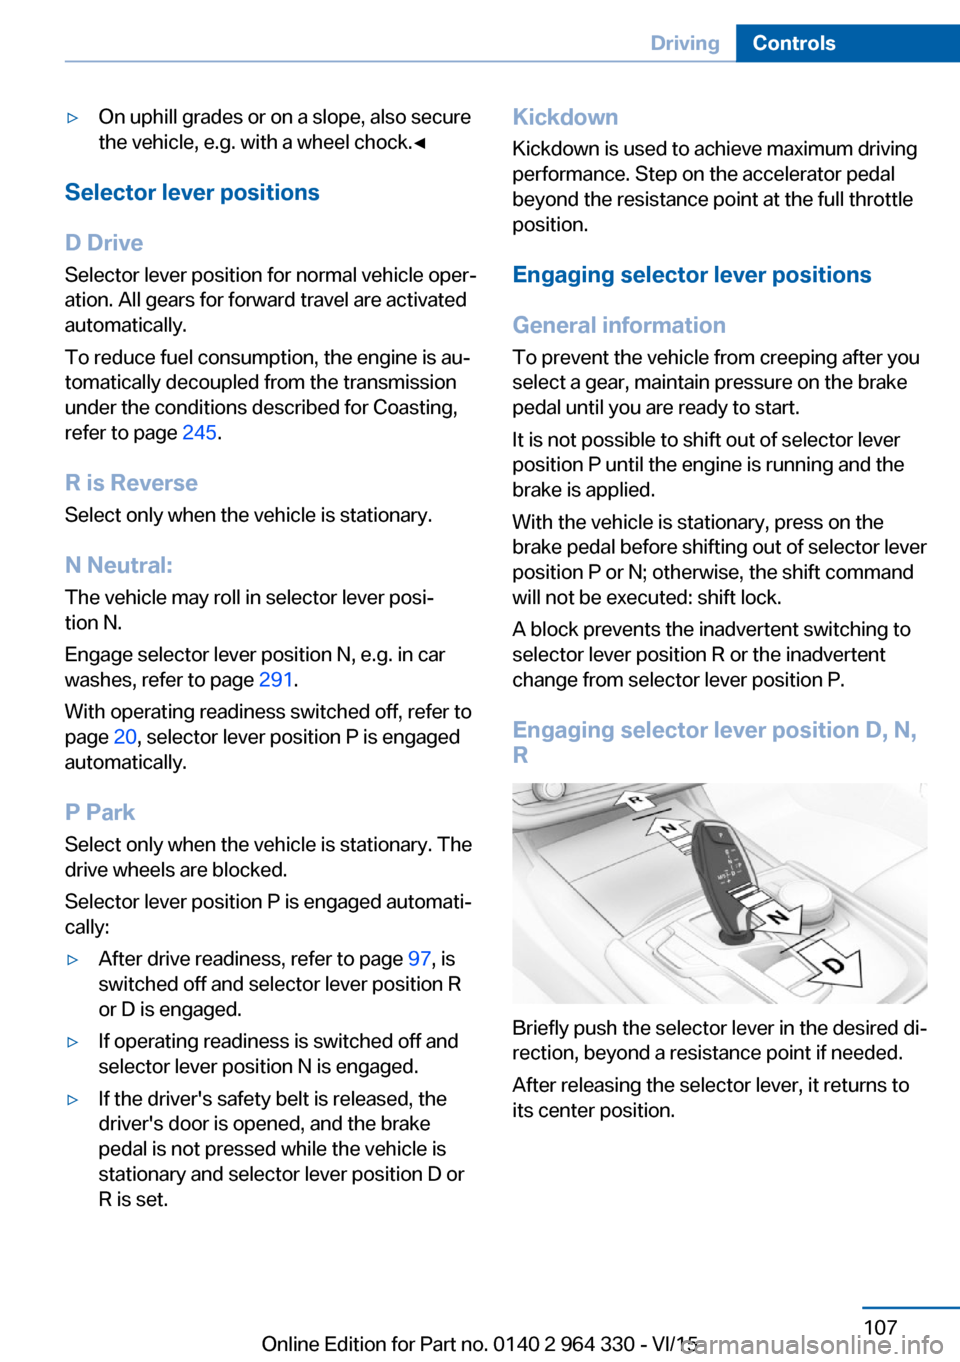
Engaging selector lever position D, N, R
Briefly push the selector lever in the desired di‐
rection, beyond a resistance point if needed.
After releasing the selector lever, it returns to
its center position.
Seite 107DrivingControls107
Online Edition for Part no. 0140 2 964 330 - VI/15
Page 131 of 314
E. g. the sensors are unable to detect fog or
hazy weather. To avoid safety risks under
these conditions, you should always switch on
the lights manually.
Daytime running lights General information
Position of switch:
, ,
The daytime running lights light up when the
drive-ready state is switched on. After the
drive-ready state is switched off, the parking
lights light up in position
.
Activating/deactivating
In some countries, daytime running lights are
mandatory, so it may not be possible to deacti‐
vate the daytime running lights.
About iDrive:
1."My Vehicle"2."Vehicle settings"3."Lighting"4."Exterior lighting"5.Select desired setting.
The setting is stored for the drive profile cur‐
rently used.
Adaptive Light Control The conceptAdaptive Light Control is a variable headlight
control system that enables dynamic illumina‐
tion of the road surface.
General information
Depending on the steering angle and other pa‐ rameters, the light from the headlight follows
the course of the road.
To avoid blinding oncoming traffic, the Adap‐
tive Light Control does not swivel to the driv‐
er's side when the vehicle is at a standstill.
Depending on the equipment version, Adap‐
tive Light Control consists of one or several systems:▷Cornering light, refer to page 131.▷Adaptive headlight range control, refer to
page 131.
Activating
Switch setting
with switched-on drive-
ready state.
Corner-illuminating lights
In tight curves, e.g., on mountainous roads or
when turning, an additional, corner-illuminating
lamp is switched on that lights up the inside of
the curve when the vehicle is moving below a
certain speed.
The turning lights are automatically switched
on depending on the steering angle or the use
of turn signals.
When driving in reverse, the turning lights may
be automatically switched on regardless of the
steering angle.
Self-leveling headlights
The self-leveling headlights compensate for
acceleration and braking operations in order
not to blind the oncoming traffic and to achieve
optimum illumination of the roadway.
Malfunction
A Check Control message is displayed.
Adaptive Light Control is malfunctioning or has
failed. Have the system checked as soon as
possible.
Seite 131LightsControls131
Online Edition for Part no. 0140 2 964 330 - VI/15
Page 132 of 314
High-beam AssistantThe concept
The high-beam Assistant detects other traffic
participants early on and automatically
switches the high beams on or off depending
on the traffic situation. The assistant ensures
that the high beams are activated whenever
the traffic situation allows. In the low speed
range, the high beams are not switched on by
the system.
General information
The system responds to light from oncoming
traffic and traffic driving ahead of you, and to
adequate illumination, e.g., in towns and cities.
The driver can intervene at any time and switch
the high beams on and off as usual.
Depending on the version of the system in the
vehicle, the high beams may not switch off for
oncoming vehicles, but may only be dimmed in
the areas that blind oncoming traffic. In this
case, the blue indicator light will stay on.
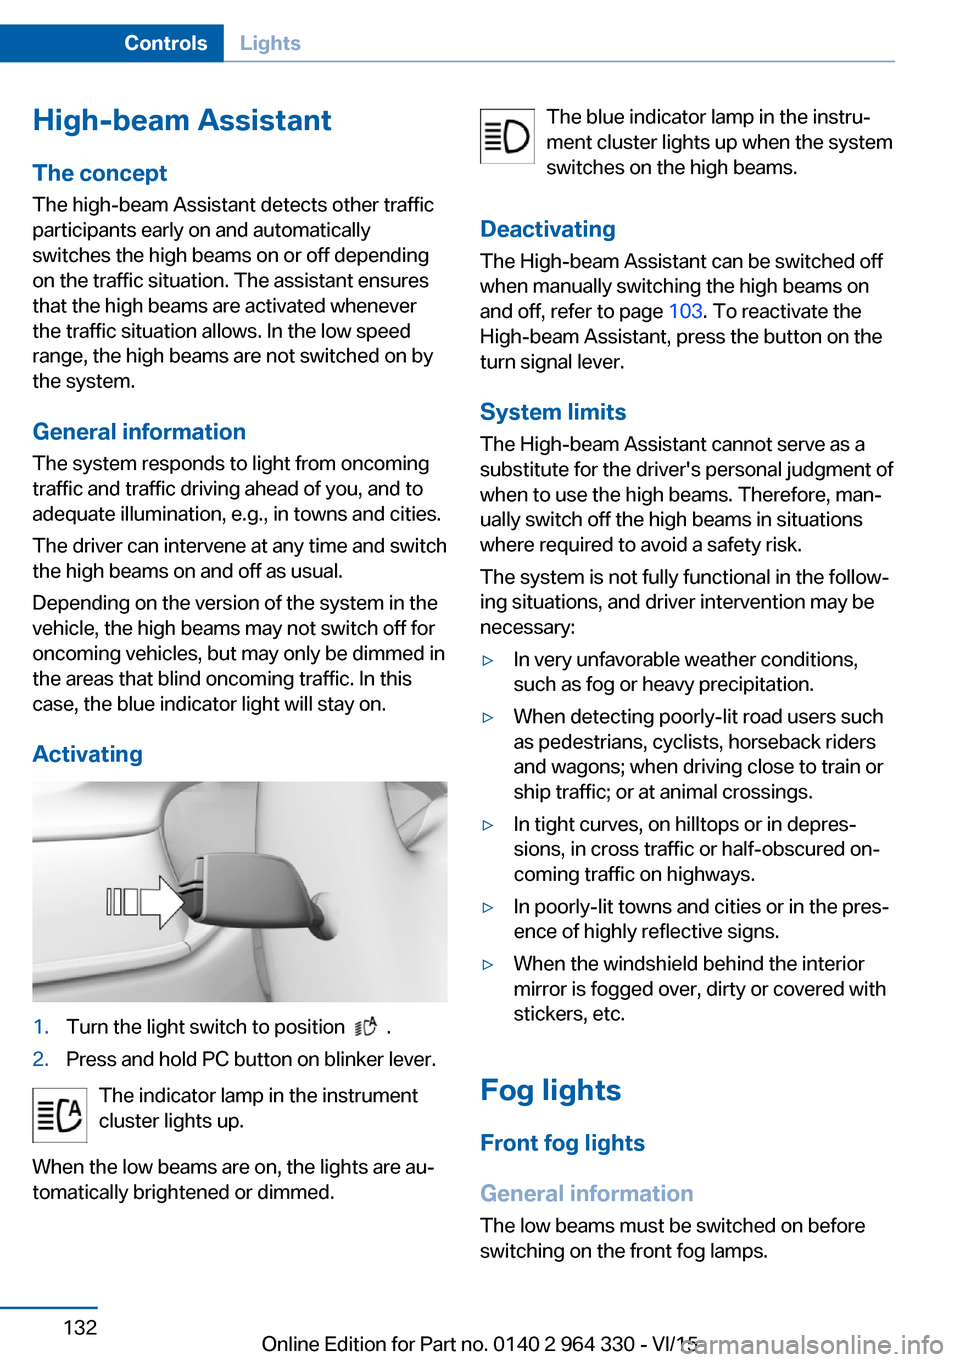
Activating1.Turn the light switch to position .2.Press and hold PC button on blinker lever.
The indicator lamp in the instrument
cluster lights up.
When the low beams are on, the lights are au‐
tomatically brightened or dimmed.
The blue indicator lamp in the instru‐
ment cluster lights up when the system
switches on the high beams.
Deactivating The High-beam Assistant can be switched off
when manually switching the high beams on
and off, refer to page 103. To reactivate the
High-beam Assistant, press the button on the
turn signal lever.
System limits The High-beam Assistant cannot serve as a
substitute for the driver's personal judgment of
when to use the high beams. Therefore, man‐
ually switch off the high beams in situations
where required to avoid a safety risk.
The system is not fully functional in the follow‐
ing situations, and driver intervention may be
necessary:▷In very unfavorable weather conditions,
such as fog or heavy precipitation.▷When detecting poorly-lit road users such
as pedestrians, cyclists, horseback riders
and wagons; when driving close to train or
ship traffic; or at animal crossings.▷In tight curves, on hilltops or in depres‐
sions, in cross traffic or half-obscured on‐
coming traffic on highways.▷In poorly-lit towns and cities or in the pres‐
ence of highly reflective signs.▷When the windshield behind the interior
mirror is fogged over, dirty or covered with
stickers, etc.
Fog lights
Front fog lights
General information
The low beams must be switched on before
switching on the front fog lamps.
Seite 132ControlsLights132
Online Edition for Part no. 0140 2 964 330 - VI/15
Page 143 of 314
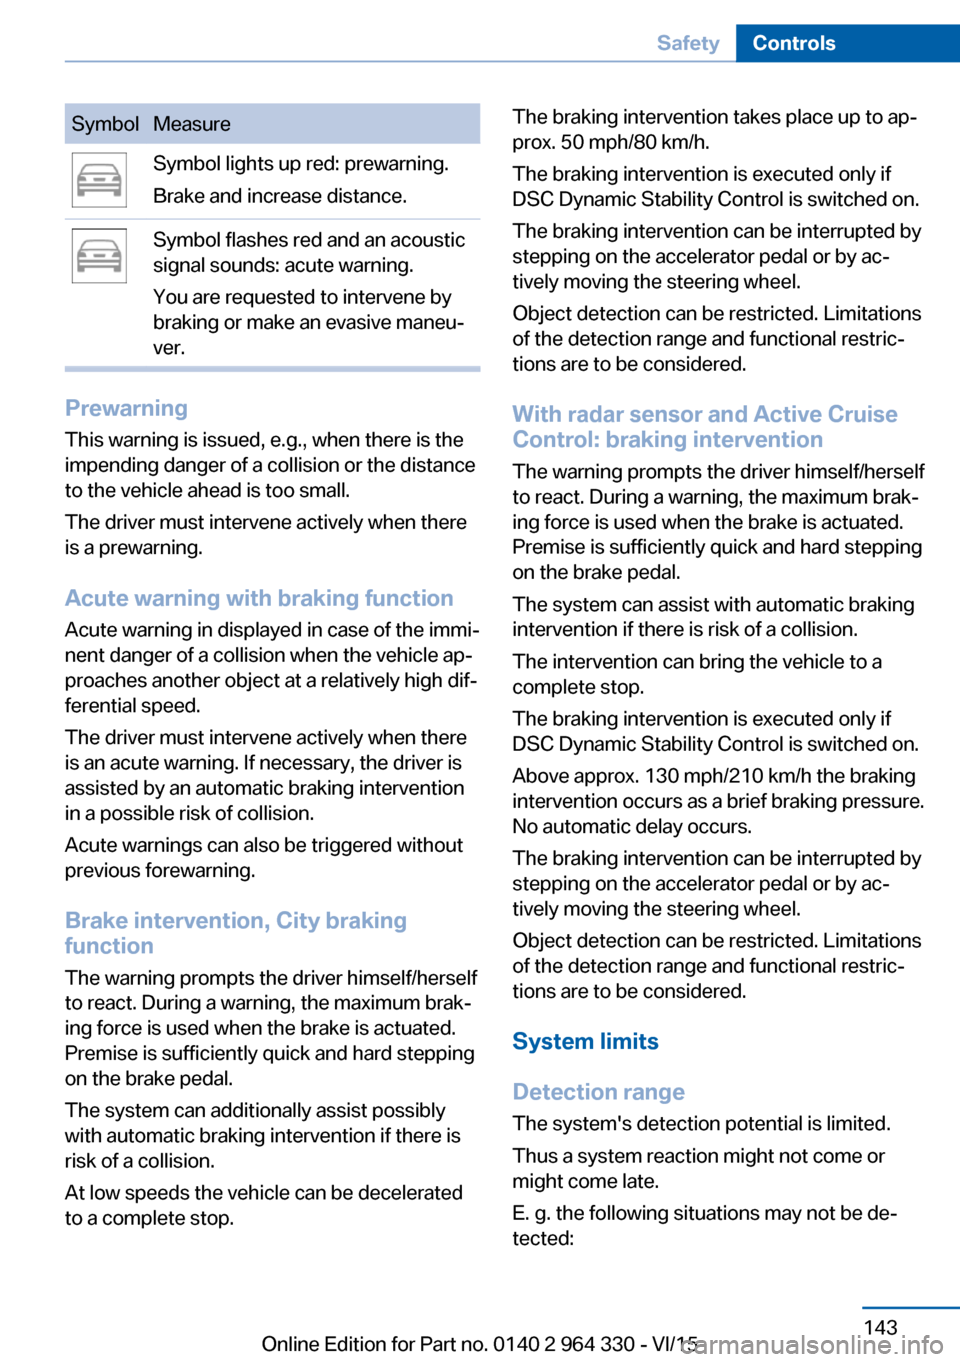
SymbolMeasureSymbol lights up red: prewarning.
Brake and increase distance.Symbol flashes red and an acoustic
signal sounds: acute warning.
You are requested to intervene by
braking or make an evasive maneu‐
ver.
Prewarning
This warning is issued, e.g., when there is the
impending danger of a collision or the distance
to the vehicle ahead is too small.
The driver must intervene actively when there
is a prewarning.
Acute warning with braking function
Acute warning in displayed in case of the immi‐
nent danger of a collision when the vehicle ap‐
proaches another object at a relatively high dif‐
ferential speed.
The driver must intervene actively when there
is an acute warning. If necessary, the driver is
assisted by an automatic braking intervention
in a possible risk of collision.
Acute warnings can also be triggered without
previous forewarning.
Brake intervention, City braking
function
The warning prompts the driver himself/herself
to react. During a warning, the maximum brak‐
ing force is used when the brake is actuated.
Premise is sufficiently quick and hard stepping
on the brake pedal.
The system can additionally assist possibly
with automatic braking intervention if there is
risk of a collision.
At low speeds the vehicle can be decelerated
to a complete stop.
The braking intervention takes place up to ap‐
prox. 50 mph/80 km/h.
The braking intervention is executed only if
DSC Dynamic Stability Control is switched on.
The braking intervention can be interrupted by
stepping on the accelerator pedal or by ac‐
tively moving the steering wheel.
Object detection can be restricted. Limitations
of the detection range and functional restric‐
tions are to be considered.
With radar sensor and Active CruiseControl: braking intervention
The warning prompts the driver himself/herself
to react. During a warning, the maximum brak‐
ing force is used when the brake is actuated.
Premise is sufficiently quick and hard stepping
on the brake pedal.
The system can assist with automatic braking
intervention if there is risk of a collision.
The intervention can bring the vehicle to a
complete stop.
The braking intervention is executed only if
DSC Dynamic Stability Control is switched on.
Above approx. 130 mph/210 km/h the braking
intervention occurs as a brief braking pressure.
No automatic delay occurs.
The braking intervention can be interrupted by
stepping on the accelerator pedal or by ac‐
tively moving the steering wheel.
Object detection can be restricted. Limitations
of the detection range and functional restric‐
tions are to be considered.
System limits
Detection range
The system's detection potential is limited.
Thus a system reaction might not come or
might come late.
E. g. the following situations may not be de‐
tected:Seite 143SafetyControls143
Online Edition for Part no. 0140 2 964 330 - VI/15