reset BMW 7 SERIES LONG 2006 E66 MOST Bus Diagnosis Workshop Manual
[x] Cancel search | Manufacturer: BMW, Model Year: 2006, Model line: 7 SERIES LONG, Model: BMW 7 SERIES LONG 2006 E66Pages: 20, PDF Size: 0.13 MB
Page 8 of 20

8
MOST Bus Diagnosis
Interfaces
The following contains a brief summary of the tasks of the connected control units in the
MOST framework:
Control Display
The Control Display is the system master of all MOST bus functions and serves as the
power master. It wakes up the bus and is responsible for switching it off (power down).
The DIS Plus and GT1 will show a Control Display and a Control Display (Gateway).
Audio System Controller (ASK)
The audio system controller has the following controller functions:
Network Master
The ASK performs the role of network master for the MOST bus. The functions of the net-
work master are the following:
Wake-up, initialization, power-down
The network master wakes up the bus and has the task of achieving an orderly
initialization of the network. The ASK can operate with KLR off. To turn it on, push in
the volume/ON/OFF knob. Adjustments and control is carried out by using the
Controller and Control Display.
Another task of the network master is to control the power-down process. Each power-
down is initiated and started by the ASK.
Configuration control
The network master detects the exact system configuration each time that the network
is started and compares it to the stored coded configuration.
Control of the network operation
The network master controls the MOST transceiver of the slave equipment for correct
operation. The equipment which is not operating properly will be released by a reset or
switched to low power mode so that they do not affect bus communication.
Fault code memory
The network master includes the fault code memory of the MOST network. It stores all
the faults occurring during the network operation as well as deviations from the
nominal configuration.
Page 13 of 20

13
MOST Bus Diagnosis
Optical Wave Guide Communication Fault
This fault (FC 111) indicates a problem with optical transmission. Insufficient light is being
received by one of the modules in the ring. The loss of light may be caused by:
Defective optical wave guide, Harness twisted too tightly (Min. bend radius 50mm.)
Light output or reception sensitivity of a diode is too low
Connector not installed correctly
Voltage fluctuation while powering up a control module
If the fault is stored, the system triggers a reset and starts up again. The music is switched
off briefly and the display screen of the Control Display continues to operate.
To find the module responsible for the fault, the fault memory of the modules must be read
in MOST ring order.
Fault lies between the module with the fault code (B) and the preceding module (A).
If the voltage has dipped below 9v, the fault may be incorrectly stored. If the voltage is low
perform the following test after connecting a battery charger.
1.Clear the fault memory in control module B.
2.Lower the light output in control module A.
3.Read out the fault memory in the MOST ring in order.
4.If control module B is again the first to store the fault, it can be assumed the fault lies
between control modules A and B.
Then, check control modules A and B for loose connections and check the optical wave
guide for kinks. If the visual inspection is OK, the fault can be located using the OPPS tester
or optionally performing the following tests.
Remove the input optical wave guide from control module B and confirm the presence
of light.
If light is present, install by-pass optical wave guide in place of control module A, clear
fault codes in module B and perform ring break test. If MOST network operates prop-
erly, then control module A is at fault and must be replaced.
If MOST network still has a fault, put module A back in the network and by-pass mod-
ule B. Clear faults and again perform ring break test. If MOST network operates now
problem is with control module B and it must be replaced.
If light is not present at input of module B, perform by-pass of module A as above.
Note: AMP Butt connector # 1355734-1
Page 15 of 20

15
MOST Bus Diagnosis
Ring Break Diagnosis Carried Out (FC E190)
Reading out the fault memory of the Control Display (Gateway) after performing the Ring
Fault Diagnostic, results in a fault of Ring Fault Diagnosis Carried Out being stored.
This fault memory is not a true fault memory entry, but only an output of additional infor-
mation for relative node position.
Testing
Light Output Reduction
Reducing the light output of individual control modules is a convenient method of deter-
mining the area of a defect.
Switch on the radio.
In Control Module functions, begin to activate luminous power reduction in the individ-
ual control module. (In this test the light output of the selected control module is
reduced for 5 seconds and then automatically reset to normal output)
If the optical transmission for control module Ato the next control module in the ring
(control module B) is OK, a slight noise may occur when the light output is reduced
however the radio will continue to play.
If the radio goes off and comes back on again(radio volume may be reduced) in 5 to 10
seconds, the optical transmission between control modules Aand Bis defective.
If the visual inspection is OK, the fault can be located using the OPPS tester or optionally
performing the following tests.
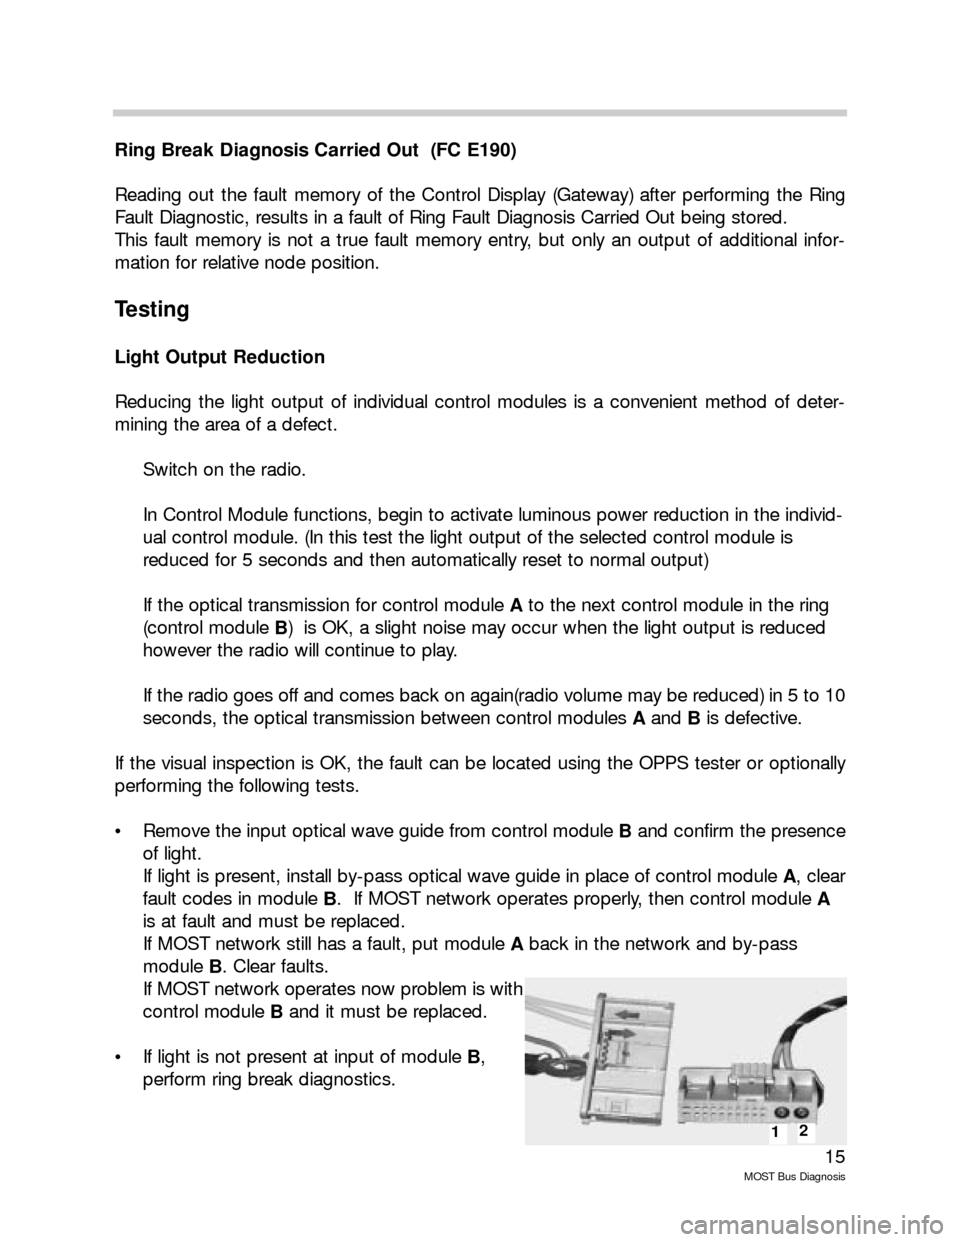
Remove the input optical wave guide from control module Band confirm the presence
of light.
If light is present, install by-pass optical wave guide in place of control module A, clear
fault codes in module B. If MOST network operates properly, then control module A
is at fault and must be replaced.
If MOST network still has a fault, put module Aback in the network and by-pass
module B. Clear faults.
If MOST network operates now problem is with
control module Band it must be replaced.
If light is not present at input of module B,
perform ring break diagnostics.
12