instrument cluster BMW 750I SEDAN 2015 Owner's Manual
[x] Cancel search | Manufacturer: BMW, Model Year: 2015, Model line: 750I SEDAN, Model: BMW 750I SEDAN 2015Pages: 314, PDF Size: 7.9 MB
Page 124 of 314
▷Total range, arrow 2.
With a low remaining range, a Check Control
message is briefly displayed. With a dynamic
driving style, e.g. taking curves aggressively,
the engine function is not always ensured.
The Check Control message appears continu‐
ously below a range of approx. 30 miles/50 km.
CAUTION
With a range of less than 30 miles/50 km
it is possible that the engine will no longer have
sufficient fuel. Engine functions are no longer
ensured. There is risk of property damage. Re‐
fuel promptly.◀
Average speed and average fuel
consumption
General information
Average speed and average fuel consumption
are calculated for the distance traveled since
the last reset in the onboard computer.
Periods in which the vehicle is parked with the
engine manually stopped are not included in
the calculation of the average speed.
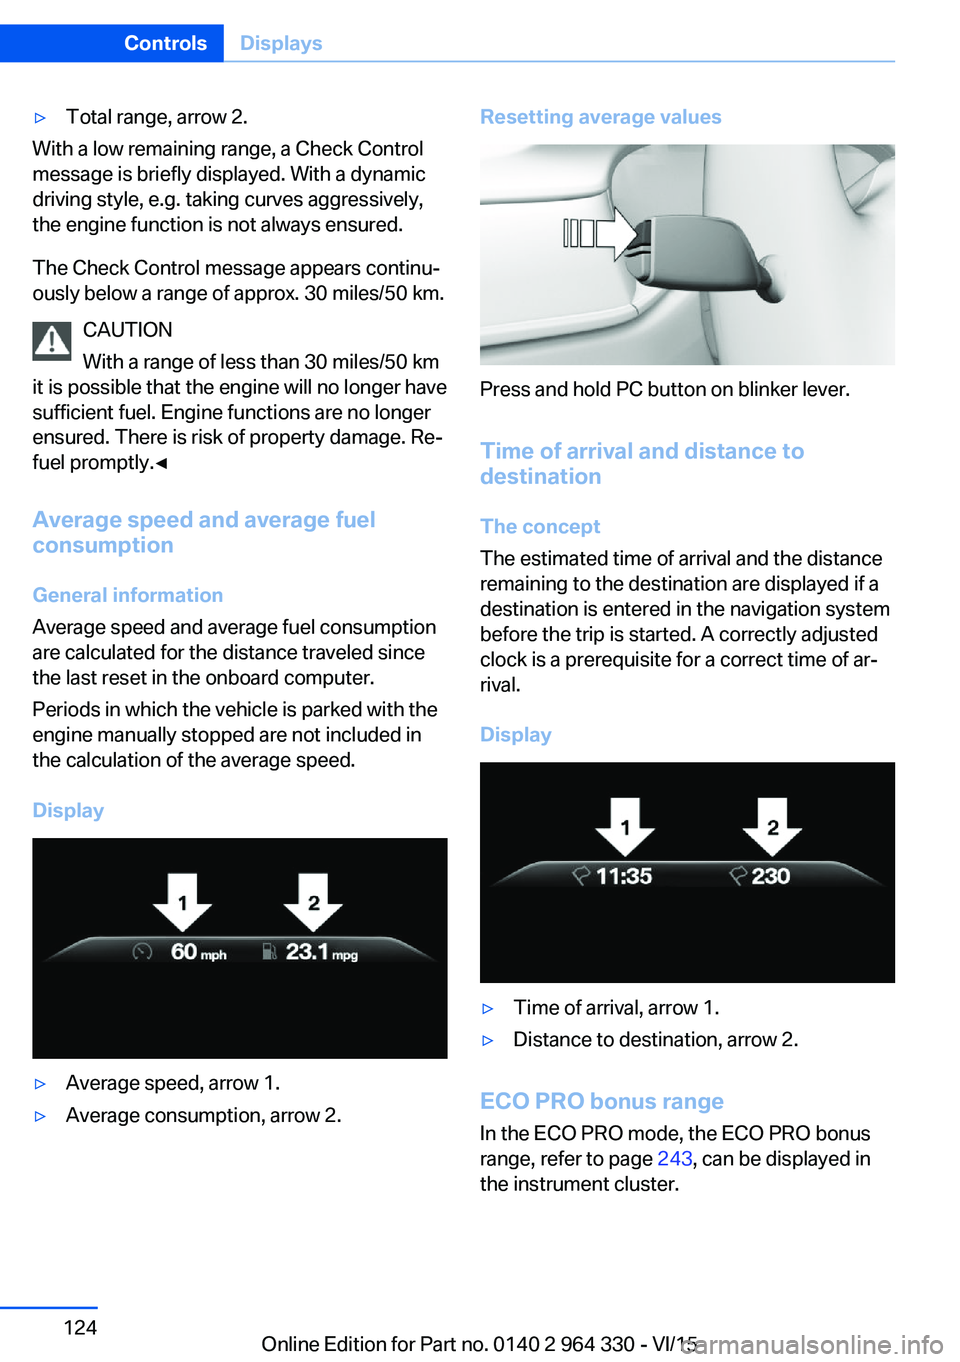
Display
▷Average speed, arrow 1.▷Average consumption, arrow 2.Resetting average values
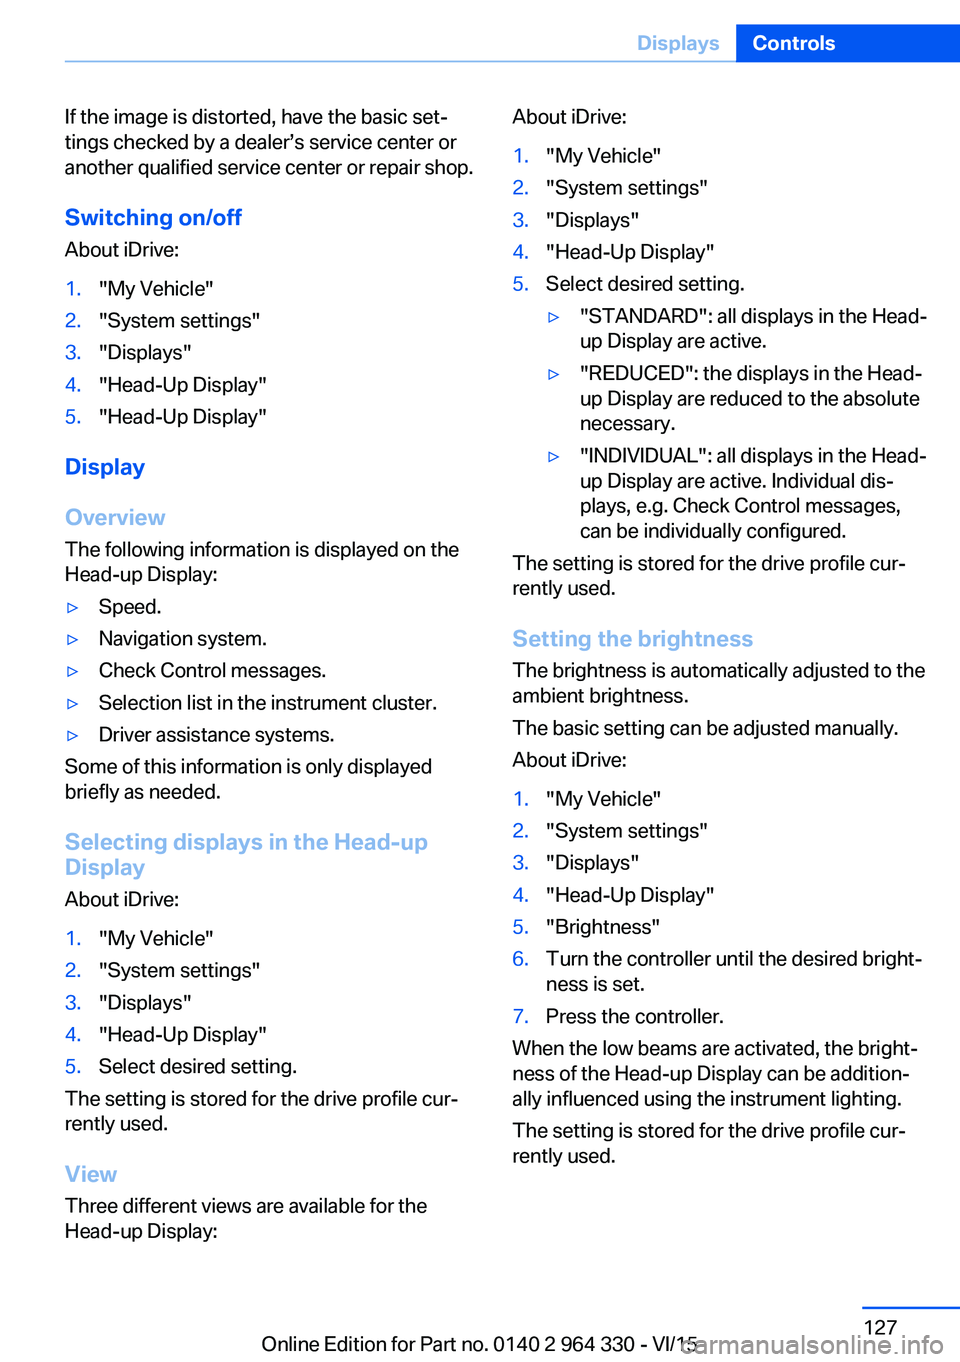
Press and hold PC button on blinker lever.
Time of arrival and distance to
destination
The concept
The estimated time of arrival and the distance
remaining to the destination are displayed if a
destination is entered in the navigation system
before the trip is started. A correctly adjusted
clock is a prerequisite for a correct time of ar‐
rival.
Display
▷Time of arrival, arrow 1.▷Distance to destination, arrow 2.
ECO PRO bonus range In the ECO PRO mode, the ECO PRO bonus
range, refer to page 243, can be displayed in
the instrument cluster.
Seite 124ControlsDisplays124
Online Edition for Part no. 0140 2 964 330 - VI/15
Page 127 of 314
If the image is distorted, have the basic set‐
tings checked by a dealer’s service center or
another qualified service center or repair shop.
Switching on/off
About iDrive:1."My Vehicle"2."System settings"3."Displays"4."Head-Up Display"5."Head-Up Display"
Display
Overview
The following information is displayed on the
Head-up Display:
▷Speed.▷Navigation system.▷Check Control messages.▷Selection list in the instrument cluster.▷Driver assistance systems.
Some of this information is only displayed
briefly as needed.
Selecting displays in the Head-up
Display
About iDrive:
1."My Vehicle"2."System settings"3."Displays"4."Head-Up Display"5.Select desired setting.
The setting is stored for the drive profile cur‐
rently used.
View Three different views are available for the
Head-up Display:
About iDrive:1."My Vehicle"2."System settings"3."Displays"4."Head-Up Display"5.Select desired setting.▷"STANDARD": all displays in the Head-
up Display are active.▷"REDUCED": the displays in the Head- up Display are reduced to the absolute
necessary.▷"INDIVIDUAL": all displays in the Head-
up Display are active. Individual dis‐
plays, e.g. Check Control messages,
can be individually configured.
The setting is stored for the drive profile cur‐
rently used.
Setting the brightness The brightness is automatically adjusted to the
ambient brightness.
The basic setting can be adjusted manually.
About iDrive:
1."My Vehicle"2."System settings"3."Displays"4."Head-Up Display"5."Brightness"6.Turn the controller until the desired bright‐
ness is set.7.Press the controller.
When the low beams are activated, the bright‐
ness of the Head-up Display can be addition‐
ally influenced using the instrument lighting.
The setting is stored for the drive profile cur‐
rently used.
Seite 127DisplaysControls127
Online Edition for Part no. 0140 2 964 330 - VI/15
Page 130 of 314
The low beams light up when the drive-ready
state is switched on.
Roadside parking lights When the vehicle is parked, a one-sided road‐
side parking lamp can be switched on.Press buttonFunctionRight roadside parking lamp
on/offLeft roadside parking lamp
on/off
Welcome lights and
headlight courtesy delay
feature
Welcome lights
General information
Depending on the equipment, the exterior
lighting of the vehicle can be set individually.
Activating/deactivating About iDrive:
1."My Vehicle"2."Vehicle settings"3."Lighting"4."Exterior lighting"5.Select desired setting:▷"Welcome lights"
Parking lights and tail lamps are
switched on for a limited time.▷"Door handle lighting"
Door handles and the ground in front of
the doors are illuminated for a limited
time.▷"Light carpet"
The area next to the vehicle is illumi‐
nated for a limited time.Headlight courtesy delay feature
General information
The low beams stay lit for a particular time if
the high beams are switched on after opera‐
tional readiness is switched on.
Setting the duration
About iDrive:1."My Vehicle"2."Vehicle settings"3."Lighting"4."Exterior lighting"5."Pathway lighting"6.Select desired setting.
Automatic headlight control
The concept
The low beams are switched on and off auto‐
matically depending on the ambient bright‐
ness, e.g. in tunnels, in twilight or if there is
precipitation.
General information
A blue sky with the sun low on the horizon can
cause the lights to be switched on.
When emerging from a tunnel during the day,
the low beams are not switched off immedi‐
ately but instead only after approx. 2 minutes.
ActivatingPosition of switch:
The indicator lamp in the instrument cluster
lights up when the low beams are switched on.
System limits
The automatic headlamp control cannot serve
as a substitute for your personal judgment of
lighting conditions.
Seite 130ControlsLights130
Online Edition for Part no. 0140 2 964 330 - VI/15
Page 132 of 314
High-beam AssistantThe concept
The high-beam Assistant detects other traffic
participants early on and automatically
switches the high beams on or off depending
on the traffic situation. The assistant ensures
that the high beams are activated whenever
the traffic situation allows. In the low speed
range, the high beams are not switched on by
the system.
General information
The system responds to light from oncoming
traffic and traffic driving ahead of you, and to
adequate illumination, e.g., in towns and cities.
The driver can intervene at any time and switch
the high beams on and off as usual.
Depending on the version of the system in the
vehicle, the high beams may not switch off for
oncoming vehicles, but may only be dimmed in
the areas that blind oncoming traffic. In this
case, the blue indicator light will stay on.
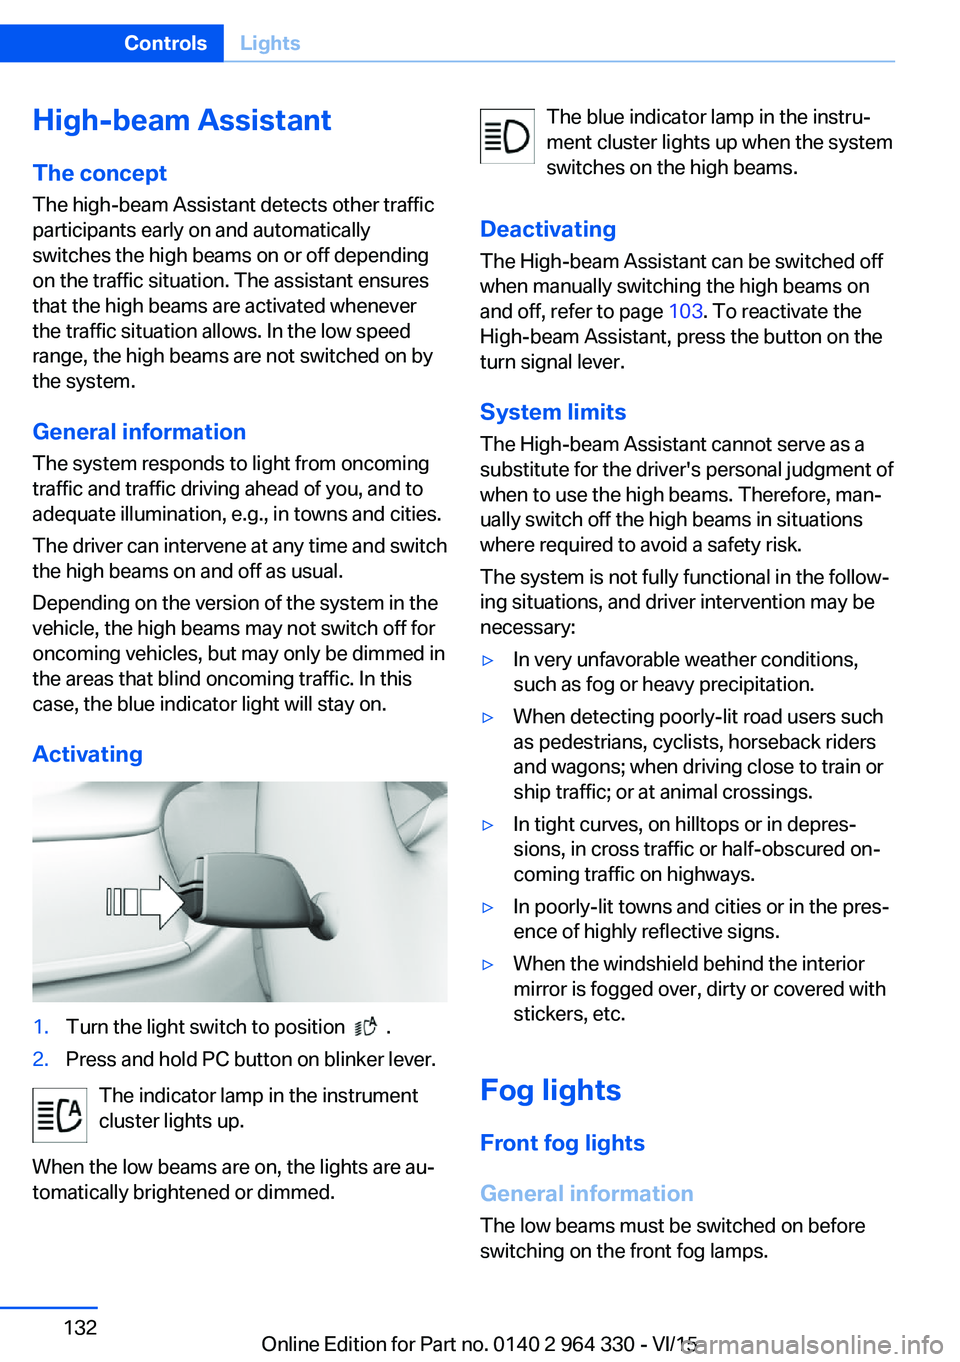
Activating1.Turn the light switch to position .2.Press and hold PC button on blinker lever.
The indicator lamp in the instrument
cluster lights up.
When the low beams are on, the lights are au‐
tomatically brightened or dimmed.
The blue indicator lamp in the instru‐
ment cluster lights up when the system
switches on the high beams.
Deactivating The High-beam Assistant can be switched off
when manually switching the high beams on
and off, refer to page 103. To reactivate the
High-beam Assistant, press the button on the
turn signal lever.
System limits The High-beam Assistant cannot serve as a
substitute for the driver's personal judgment of
when to use the high beams. Therefore, man‐
ually switch off the high beams in situations
where required to avoid a safety risk.
The system is not fully functional in the follow‐
ing situations, and driver intervention may be
necessary:▷In very unfavorable weather conditions,
such as fog or heavy precipitation.▷When detecting poorly-lit road users such
as pedestrians, cyclists, horseback riders
and wagons; when driving close to train or
ship traffic; or at animal crossings.▷In tight curves, on hilltops or in depres‐
sions, in cross traffic or half-obscured on‐
coming traffic on highways.▷In poorly-lit towns and cities or in the pres‐
ence of highly reflective signs.▷When the windshield behind the interior
mirror is fogged over, dirty or covered with
stickers, etc.
Fog lights
Front fog lights
General information
The low beams must be switched on before
switching on the front fog lamps.
Seite 132ControlsLights132
Online Edition for Part no. 0140 2 964 330 - VI/15
Page 138 of 314
spective accident severity. There is risk of
injuries or danger to life. Have the airbag sys‐
tem checked, repaired, dismantled and scrap‐
ped by a dealer’s service center or another
qualified service center or repair shop.◀
Correct function When drive readiness is switched on,
the warning lamp in the instrument
cluster lights up briefly and thereby in‐
dicates the function readiness of the entire air‐
bag system and the belt tensioners.
Airbag system malfunctioning▷Warning lamp does not come on when
drive readiness is switched on.▷The warning lamp lights up continuously.
Automatic deactivation of the front-
seat passenger airbags
The concept The system reads if the front passenger seat is
occupied by measuring the human body's re‐
sistance.
Front, knee and side airbag on the front pas‐
senger's side are either activated or deacti‐
vated.
Information Before transporting a child on the front pas‐
senger seat, refer to the safety notes and in‐
structions for children on the front passenger
seat, see Children.
WARNING
The ensure the front-seat passenger air‐
bag function, it must be detected, whether a
person occupies the front passenger seat. The
entire seat cushion area must be used for this
purpose. There is risk of injuries or danger to
life. Make sure that the front passenger keeps
his or her feet in the floor area.◀
Malfunction of the automatic
deactivation system
When transporting older children and adults,
the front-seat passenger airbags may be deac‐
tivated in certain sitting positions. In this case,
the indicator lamp for the front-seat passenger
airbags lights up.
In this case, change the sitting position so that
the front-seat passenger airbags are activated
and the indicator lamp goes out.
If it is not possible to activate the airbags, have
the person sit in the rear.
To enable correct recognition of the occupied
seat cushion▷Do not attach covers, cushions, ball mats
or other items to the front passenger seat
unless they are specifically determined to
be safe for use on the front passenger
seat.▷Do not place any electronic devices on the
passenger seat if a child restraint system is
to be installed on it.▷Do not place objects under the seat that
could press against the seat from below.▷No moisture in or on the seat.
Indicator lamp for the front-seat
passenger airbags
The indicator lamp for the front-seat passen‐
ger airbag in the roofliner indicates the operat‐
ing state of the front-seat passenger airbag.
The lamp indicates whether the airbags are ei‐
ther activated or deactivated.
After drive readiness is switched on, the lamp
briefly lights up and then indicates whether the
airbags are either activated or deactivated.
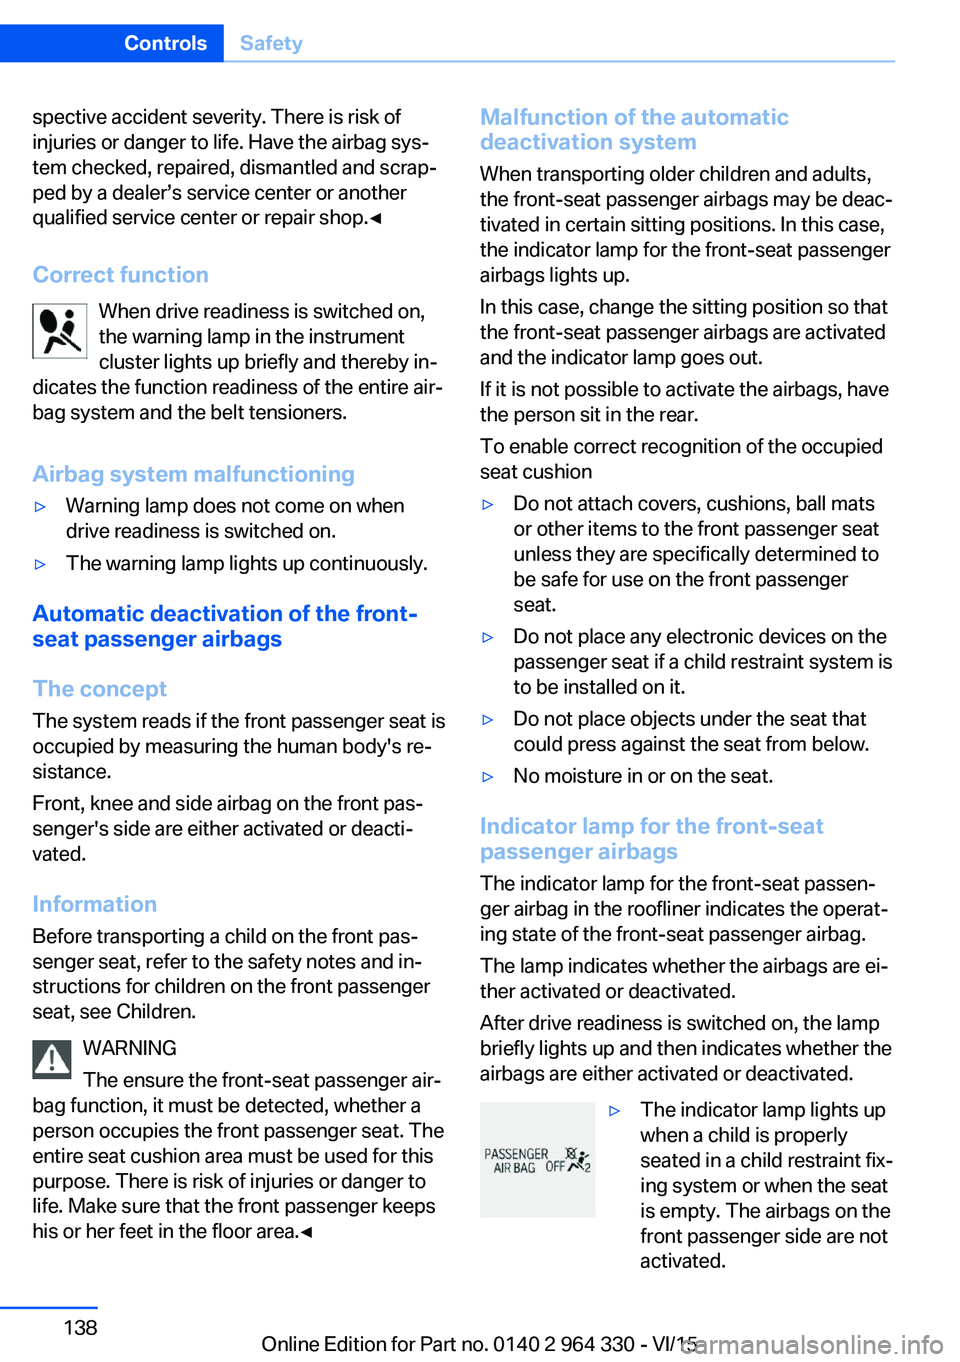
▷The indicator lamp lights up
when a child is properly
seated in a child restraint fix‐
ing system or when the seat
is empty. The airbags on the
front passenger side are not
activated.Seite 138ControlsSafety138
Online Edition for Part no. 0140 2 964 330 - VI/15
Page 146 of 314
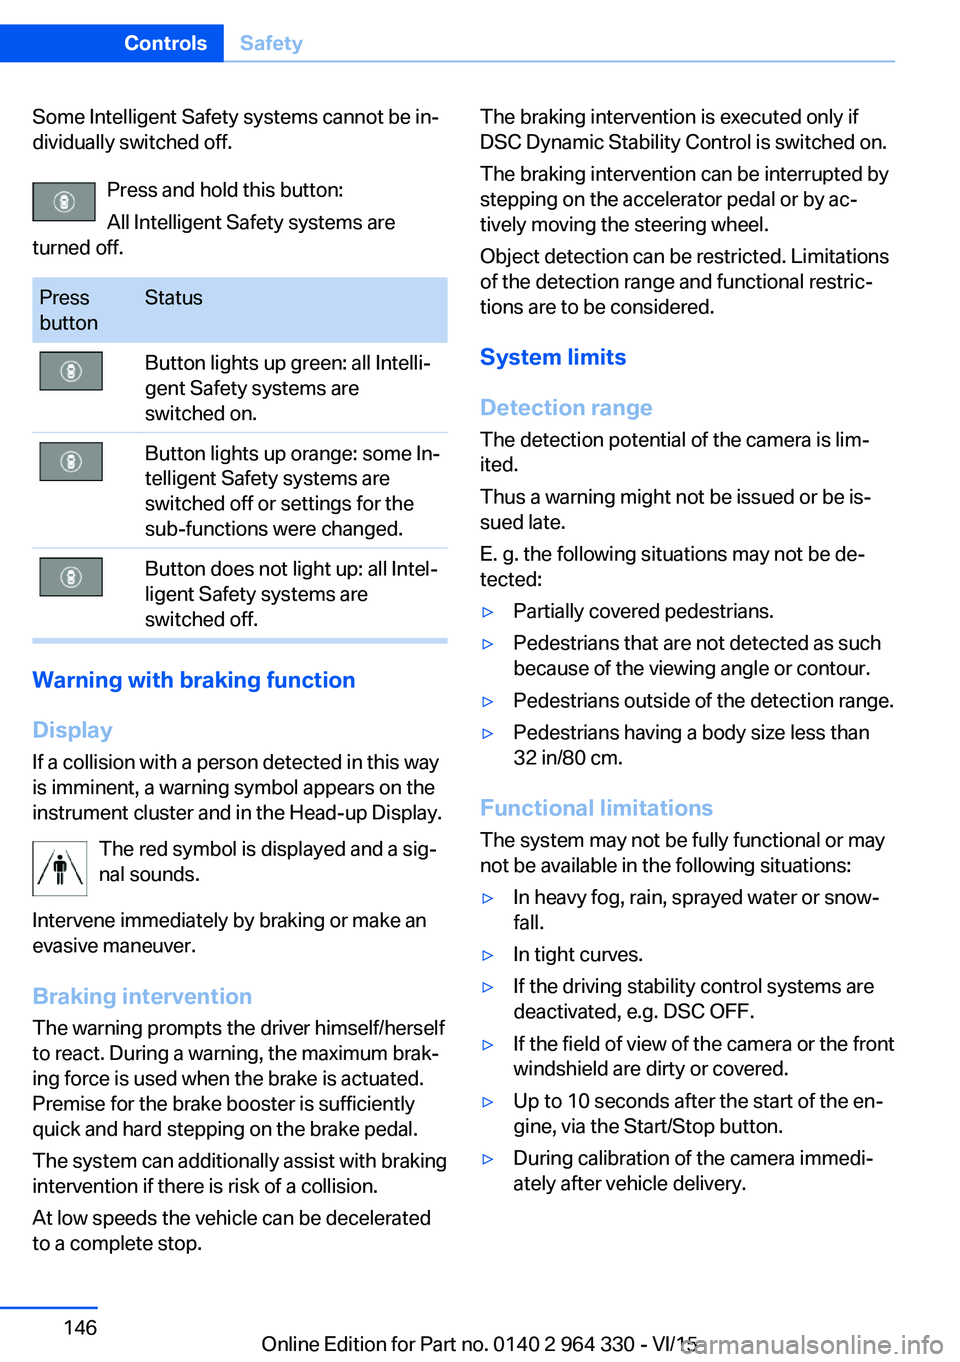
Some Intelligent Safety systems cannot be in‐
dividually switched off.
Press and hold this button:
All Intelligent Safety systems are
turned off.Press
buttonStatusButton lights up green: all Intelli‐
gent Safety systems are
switched on.Button lights up orange: some In‐
telligent Safety systems are
switched off or settings for the
sub-functions were changed.Button does not light up: all Intel‐
ligent Safety systems are
switched off.
Warning with braking function
Display
If a collision with a person detected in this way
is imminent, a warning symbol appears on the
instrument cluster and in the Head-up Display.
The red symbol is displayed and a sig‐
nal sounds.
Intervene immediately by braking or make an
evasive maneuver.
Braking intervention
The warning prompts the driver himself/herself
to react. During a warning, the maximum brak‐
ing force is used when the brake is actuated.
Premise for the brake booster is sufficiently
quick and hard stepping on the brake pedal.
The system can additionally assist with braking
intervention if there is risk of a collision.
At low speeds the vehicle can be decelerated
to a complete stop.
The braking intervention is executed only if
DSC Dynamic Stability Control is switched on.
The braking intervention can be interrupted by
stepping on the accelerator pedal or by ac‐
tively moving the steering wheel.
Object detection can be restricted. Limitations
of the detection range and functional restric‐
tions are to be considered.
System limits
Detection range
The detection potential of the camera is lim‐
ited.
Thus a warning might not be issued or be is‐
sued late.
E. g. the following situations may not be de‐
tected:▷Partially covered pedestrians.▷Pedestrians that are not detected as such
because of the viewing angle or contour.▷Pedestrians outside of the detection range.▷Pedestrians having a body size less than
32 in/80 cm.
Functional limitations
The system may not be fully functional or may
not be available in the following situations:
▷In heavy fog, rain, sprayed water or snow‐
fall.▷In tight curves.▷If the driving stability control systems are
deactivated, e.g. DSC OFF.▷If the field of view of the camera or the front
windshield are dirty or covered.▷Up to 10 seconds after the start of the en‐
gine, via the Start/Stop button.▷During calibration of the camera immedi‐
ately after vehicle delivery.Seite 146ControlsSafety146
Online Edition for Part no. 0140 2 964 330 - VI/15
Page 149 of 314
Display
Warning of people or animals in
danger
If a collision with a person or an animal de‐
tected in this way is imminent, a warning sym‐
bol appears on the instrument cluster and in
the Head-up Display.
Although both the shape and the heat radiation
are analyzed, false warnings cannot be ruled
out.
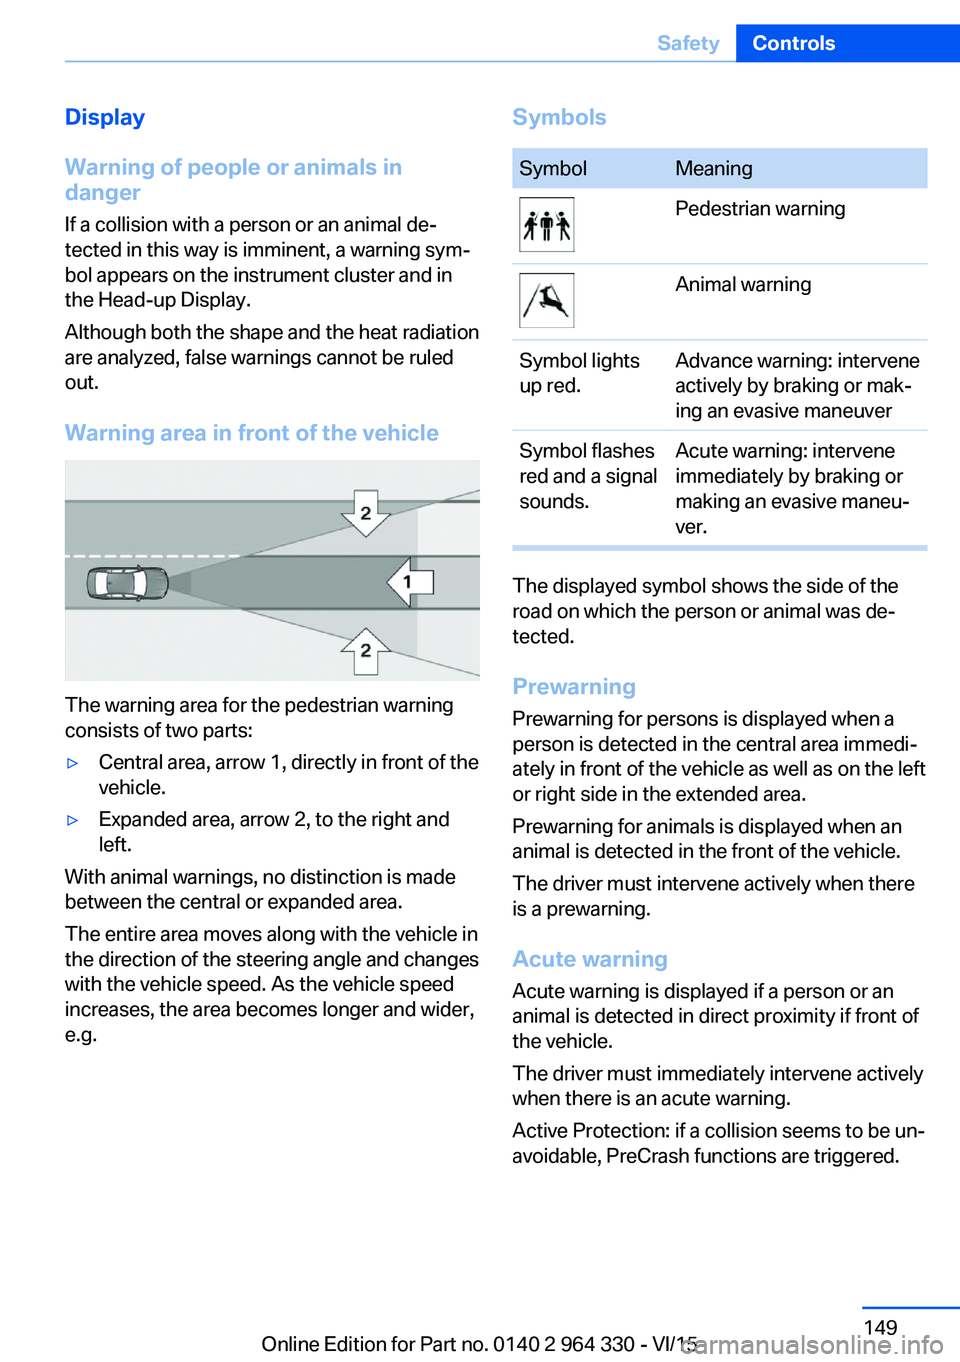
Warning area in front of the vehicle
The warning area for the pedestrian warning
consists of two parts:
▷Central area, arrow 1, directly in front of the
vehicle.▷Expanded area, arrow 2, to the right and
left.
With animal warnings, no distinction is made
between the central or expanded area.
The entire area moves along with the vehicle in
the direction of the steering angle and changes
with the vehicle speed. As the vehicle speed
increases, the area becomes longer and wider,
e.g.
SymbolsSymbolMeaningPedestrian warningAnimal warningSymbol lights
up red.Advance warning: intervene
actively by braking or mak‐
ing an evasive maneuverSymbol flashes
red and a signal
sounds.Acute warning: intervene
immediately by braking or
making an evasive maneu‐
ver.
The displayed symbol shows the side of the
road on which the person or animal was de‐
tected.
Prewarning
Prewarning for persons is displayed when a
person is detected in the central area immedi‐
ately in front of the vehicle as well as on the left
or right side in the extended area.
Prewarning for animals is displayed when an
animal is detected in the front of the vehicle.
The driver must intervene actively when there
is a prewarning.
Acute warning
Acute warning is displayed if a person or an
animal is detected in direct proximity if front of
the vehicle.
The driver must immediately intervene actively
when there is an acute warning.
Active Protection: if a collision seems to be un‐
avoidable, PreCrash functions are triggered.
Seite 149SafetyControls149
Online Edition for Part no. 0140 2 964 330 - VI/15
Page 152 of 314
The selected setting is stored for the drive pro‐
file currently used.
Set force of the steering wheel
vibration
About iDrive:1."My Vehicle"2."Vehicle settings"3."Steering wheel vibration"4.Select desired setting.
The setting is applied to all Intelligent Safety
systems and stored for the profile currently
used.
Vehicles with side collision warning:
switching steering intervention on/off
The steering intervention can be switched on
and off separately for Active Blind Spot Detec‐
tion and lane departure warning.
About iDrive:
1."My Vehicle"2."Vehicle settings"3."Intelligent Safety"4."Steering intervention"
The selected setting is stored for the drive pro‐
file currently used.
Display in the instrument cluster Green symbol: at least one lane mark‐
ing was detected and warnings can be
issued.
Issued warning
If you leave the lane and if a lane marking has
been detected, the steering wheel begins vi‐
brating.
If the turn signal is set before changing the
lane, a warning is not issued.
Vehicles with side collision warning: if the vi‐
brating steering wheel is ignored and the lane
marking crossed, the system intervenes with a
brief active steering intervention and helps to
maintain the vehicle in the lane. The steering
intervention can be noticed on the steering
wheel and can be manually overridden at any
time.
End of warning The warning is canceled in the following situa‐
tions:▷Automatically after approx. 3 seconds.▷When returning to your own lane.▷When braking hard.▷When using the turn signal.▷When DSC is actively controlling stability.
System limits
Functional limitations
The system may not be fully functional in the
following situations:
▷In heavy fog, rain or snowfall.▷In the event of missing, worn, poorly visi‐
ble, merging, diverging, or multiple lane
markings such as in construction areas.▷When lane markings are covered in snow,
ice, dirt or water.▷In tight curves or on narrow lanes.▷When the lane markings are covered by
objects.▷When driving very close to the vehicle in
front of you.▷If there are constant blinding effects be‐
cause of oncoming light, e. g., from the sun
low in the sky.▷When the windshield in front of the interior
rearview mirror is fogged over, dirty or cov‐
ered with stickers, etc.▷During calibration of the camera immedi‐
ately after vehicle delivery.
A Check Control message is displayed when
the system is not fully functional.
Seite 152ControlsSafety152
Online Edition for Part no. 0140 2 964 330 - VI/15
Page 164 of 314
WARNING
When driving with roof load, e.g. with
roof-mounted luggage rack, driving safety may
not be ensured in driving-critical situations due
to the elevated center of gravity. There is risk
of accidents or risk of property damage. Do not
deactivate Dynamic Stability Control DSC
when driving with roof load.◀
Overview
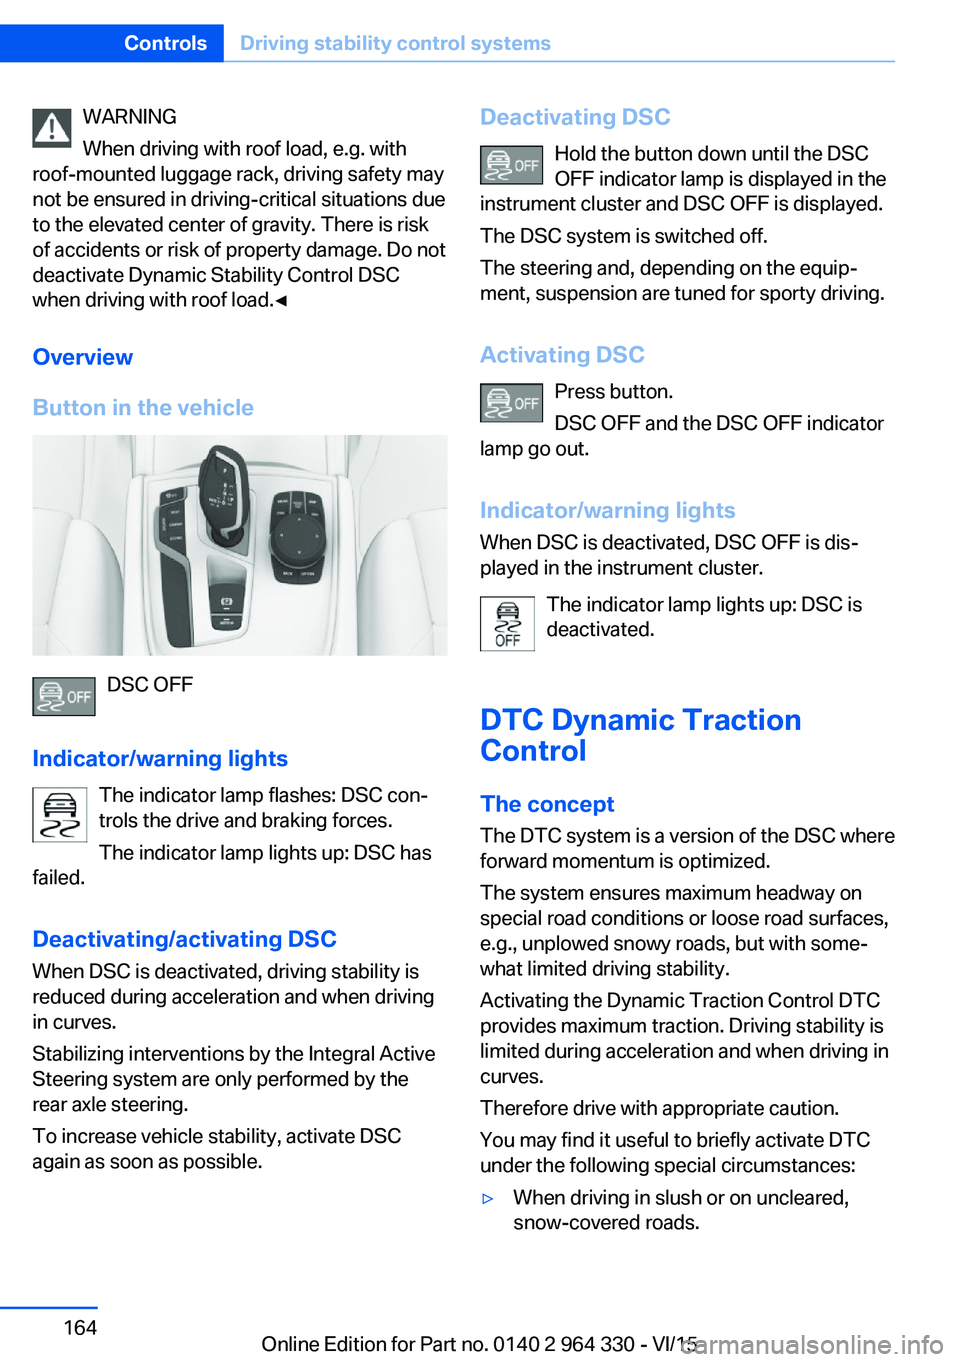
Button in the vehicle
DSC OFF
Indicator/warning lights The indicator lamp flashes: DSC con‐
trols the drive and braking forces.
The indicator lamp lights up: DSC has
failed.
Deactivating/activating DSC
When DSC is deactivated, driving stability is
reduced during acceleration and when driving
in curves.
Stabilizing interventions by the Integral Active
Steering system are only performed by the
rear axle steering.
To increase vehicle stability, activate DSC
again as soon as possible.
Deactivating DSC
Hold the button down until the DSC
OFF indicator lamp is displayed in the
instrument cluster and DSC OFF is displayed.
The DSC system is switched off.
The steering and, depending on the equip‐
ment, suspension are tuned for sporty driving.
Activating DSC Press button.
DSC OFF and the DSC OFF indicator
lamp go out.
Indicator/warning lights
When DSC is deactivated, DSC OFF is dis‐
played in the instrument cluster.
The indicator lamp lights up: DSC is
deactivated.
DTC Dynamic Traction
Control
The concept The DTC system is a version of the DSC where
forward momentum is optimized.
The system ensures maximum headway on
special road conditions or loose road surfaces,
e.g., unplowed snowy roads, but with some‐
what limited driving stability.
Activating the Dynamic Traction Control DTC
provides maximum traction. Driving stability is
limited during acceleration and when driving in
curves.
Therefore drive with appropriate caution.
You may find it useful to briefly activate DTC
under the following special circumstances:▷When driving in slush or on uncleared,
snow-covered roads.Seite 164ControlsDriving stability control systems164
Online Edition for Part no. 0140 2 964 330 - VI/15
Page 165 of 314
▷When freeing vehicle from deep snow or
driving off from loose grounds.▷When driving with snow chains.
Overview
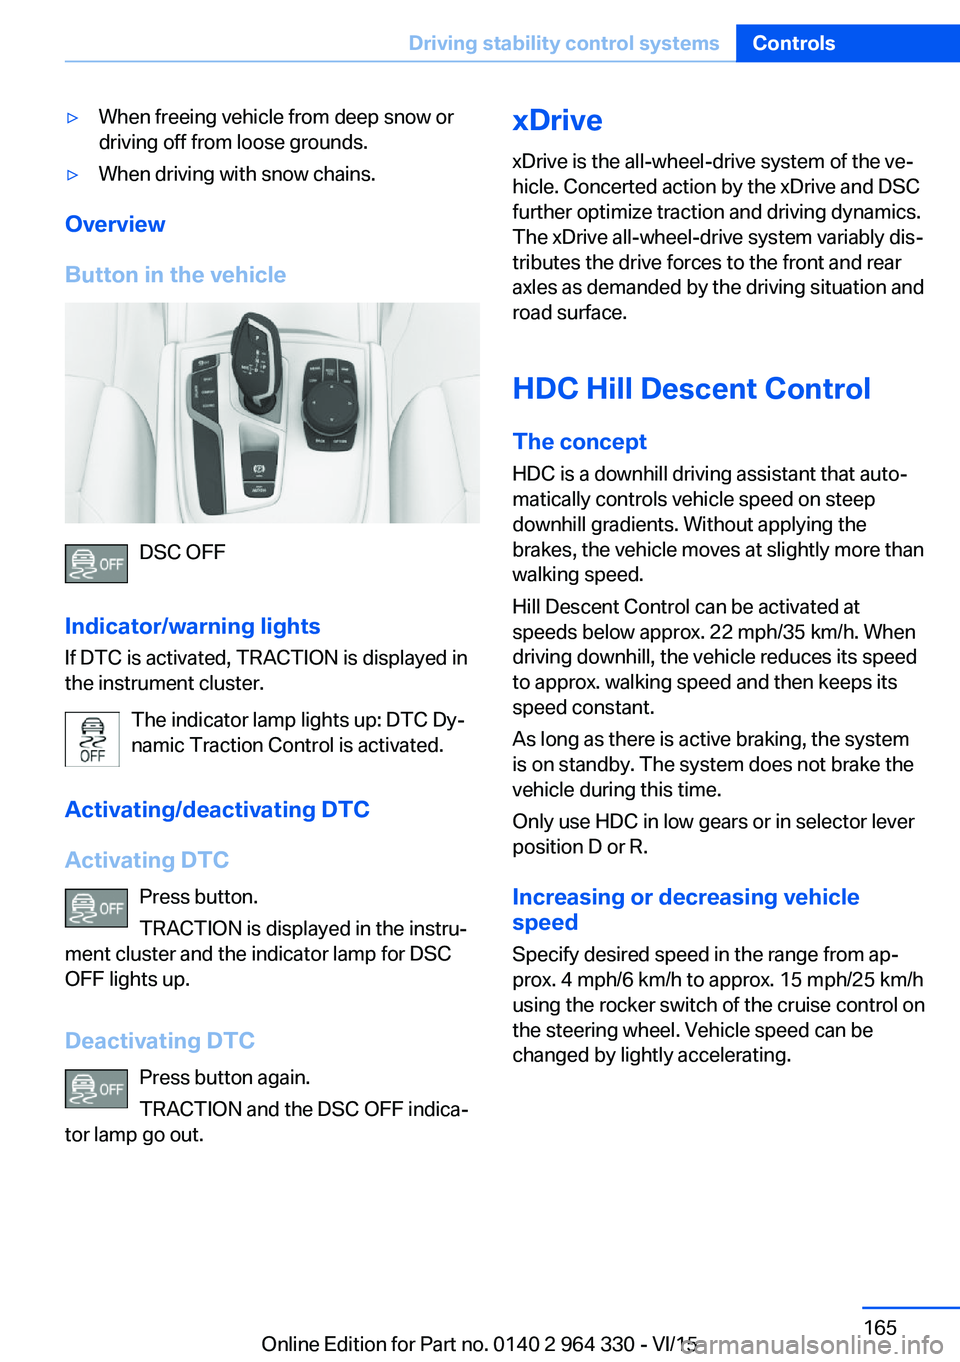
Button in the vehicle
DSC OFF
Indicator/warning lights
If DTC is activated, TRACTION is displayed in
the instrument cluster.
The indicator lamp lights up: DTC Dy‐
namic Traction Control is activated.
Activating/deactivating DTC
Activating DTC Press button.
TRACTION is displayed in the instru‐
ment cluster and the indicator lamp for DSC
OFF lights up.
Deactivating DTC Press button again.
TRACTION and the DSC OFF indica‐
tor lamp go out.
xDrive
xDrive is the all-wheel-drive system of the ve‐
hicle. Concerted action by the xDrive and DSC
further optimize traction and driving dynamics.
The xDrive all-wheel-drive system variably dis‐
tributes the drive forces to the front and rear
axles as demanded by the driving situation and
road surface.
HDC Hill Descent Control
The concept
HDC is a downhill driving assistant that auto‐
matically controls vehicle speed on steep
downhill gradients. Without applying the
brakes, the vehicle moves at slightly more than
walking speed.
Hill Descent Control can be activated at
speeds below approx. 22 mph/35 km/h. When
driving downhill, the vehicle reduces its speed
to approx. walking speed and then keeps its
speed constant.
As long as there is active braking, the system
is on standby. The system does not brake the
vehicle during this time.
Only use HDC in low gears or in selector lever
position D or R.
Increasing or decreasing vehicle
speed
Specify desired speed in the range from ap‐
prox. 4 mph/6 km/h to approx. 15 mph/25 km/h
using the rocker switch of the cruise control on
the steering wheel. Vehicle speed can be
changed by lightly accelerating.Seite 165Driving stability control systemsControls165
Online Edition for Part no. 0140 2 964 330 - VI/15