radio controls BMW 760i 2005 E65 User Guide
[x] Cancel search | Manufacturer: BMW, Model Year: 2005, Model line: 760i, Model: BMW 760i 2005 E65Pages: 239, PDF Size: 8.03 MB
Page 75 of 239
Controls
73Reference
At a glance
Driving tips
Communications
Navigation
Entertainment
Mobility
The rain sensor is automatically deac-
tivated when you switch off the igni-
tion.<
Deactivate the rain sensor when
passing through an automatic car
wash. Failure to do so could result in dam-
age caused by undesired wiper activa-
tion.<
Selecting wiper fold-out position
Important for changing wiper blades, when
folding away from windshield to prevent
blades from sticking when ice forms, etc.
1.Switch off the engine and remove the
remote control from the ignition lock
2.Press the wiper lever up and maintain
pressure for about 3 seconds until the
wipers are roughly vertical: this is the
fold-out position.
After folding the wipers back against the
windshield you will need to reactivate the
wiper system:
1.Insert the remote control to activate the
radio mode in the ignition lock
2.Apply brief upward pressure to the
wiper lever. The wipers return to their
retracted position and are ready for nor-
mal operation.
To prevent damage to the wipers,
always fold them back against the
windshield before switching on either the
radio mode or the ignition.<
Washer fluid
Washer fluid antifreeze is flammable.
Always keep it well away from sparks
and open flames, and store it in tightly
closed containers well out of the reach of
children. Always observe the instructions
for use provided on the containers.<
We recommend that you mix the
washer fluid before adding it to the
reservoir.<
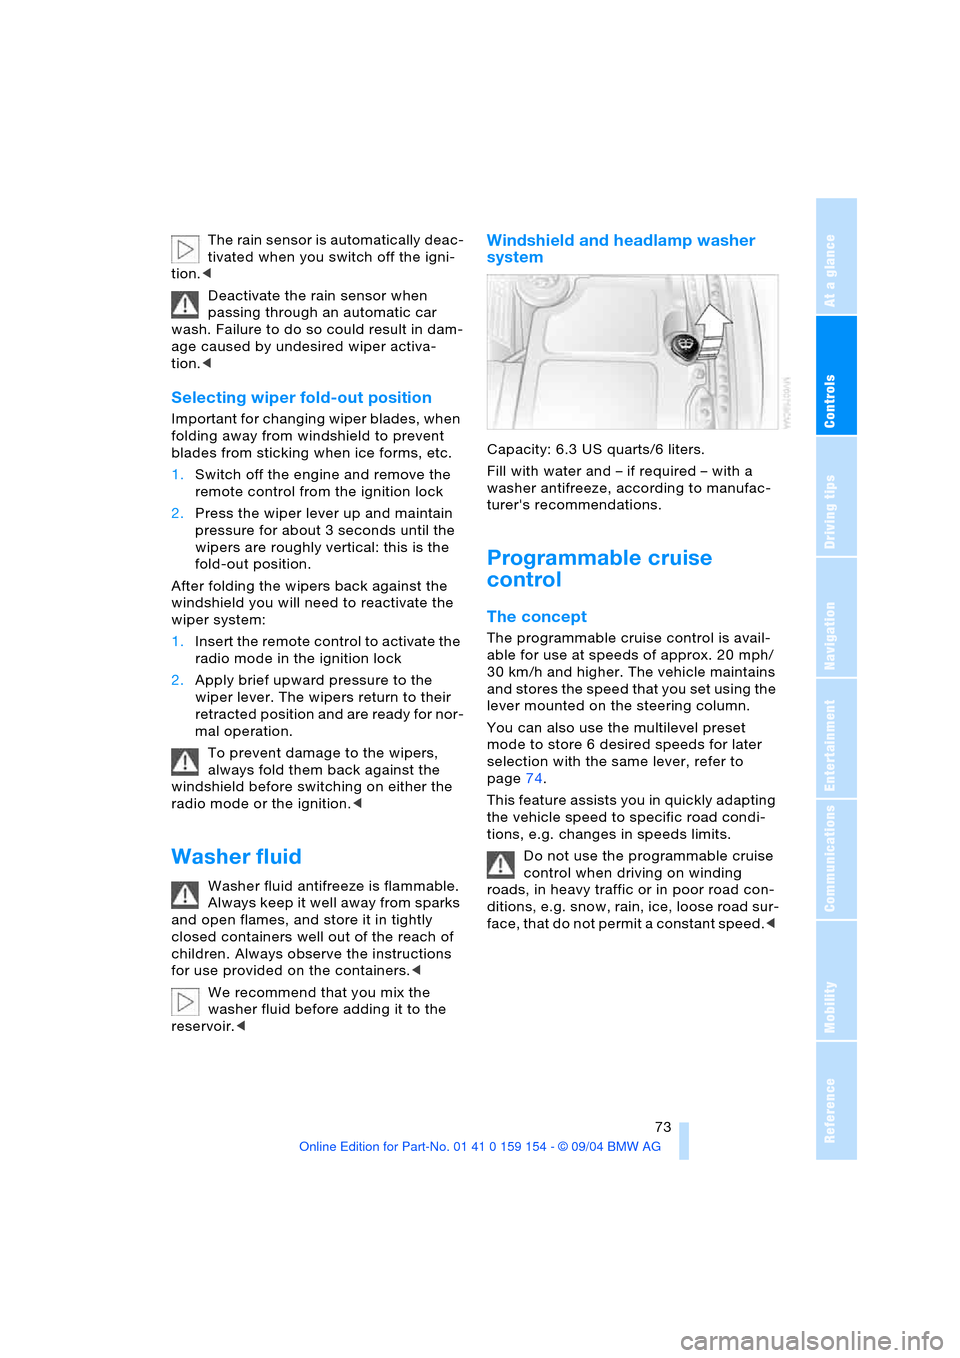
Windshield and headlamp washer
system
Capacity: 6.3USquarts/6liters.
Fill with water and – if required – with a
washer antifreeze, according to manufac-
turer's recommendations.
Programmable cruise
control
The concept
The programmable cruise control is avail-
able for use at speeds of approx. 20 mph/
30 km/h and higher. The vehicle maintains
and stores the speed that you set using the
lever mounted on the steering column.
You can also use the multilevel preset
mode to store 6 desired speeds for later
selection with the same lever, refer to
page74.
This feature assists you in quickly adapting
the vehicle speed to specific road condi-
tions, e.g. changes in speeds limits.
Do not use the programmable cruise
control when driving on winding
roads, in heavy traffic or in poor road con-
ditions, e.g. snow, rain, ice, loose road sur-
face, that do not permit a constant speed.<
Page 83 of 239
Controls
81Reference
At a glance
Driving tips
Communications
Navigation
Entertainment
Mobility
Everything under control
Odometer, outside temperature display, clock
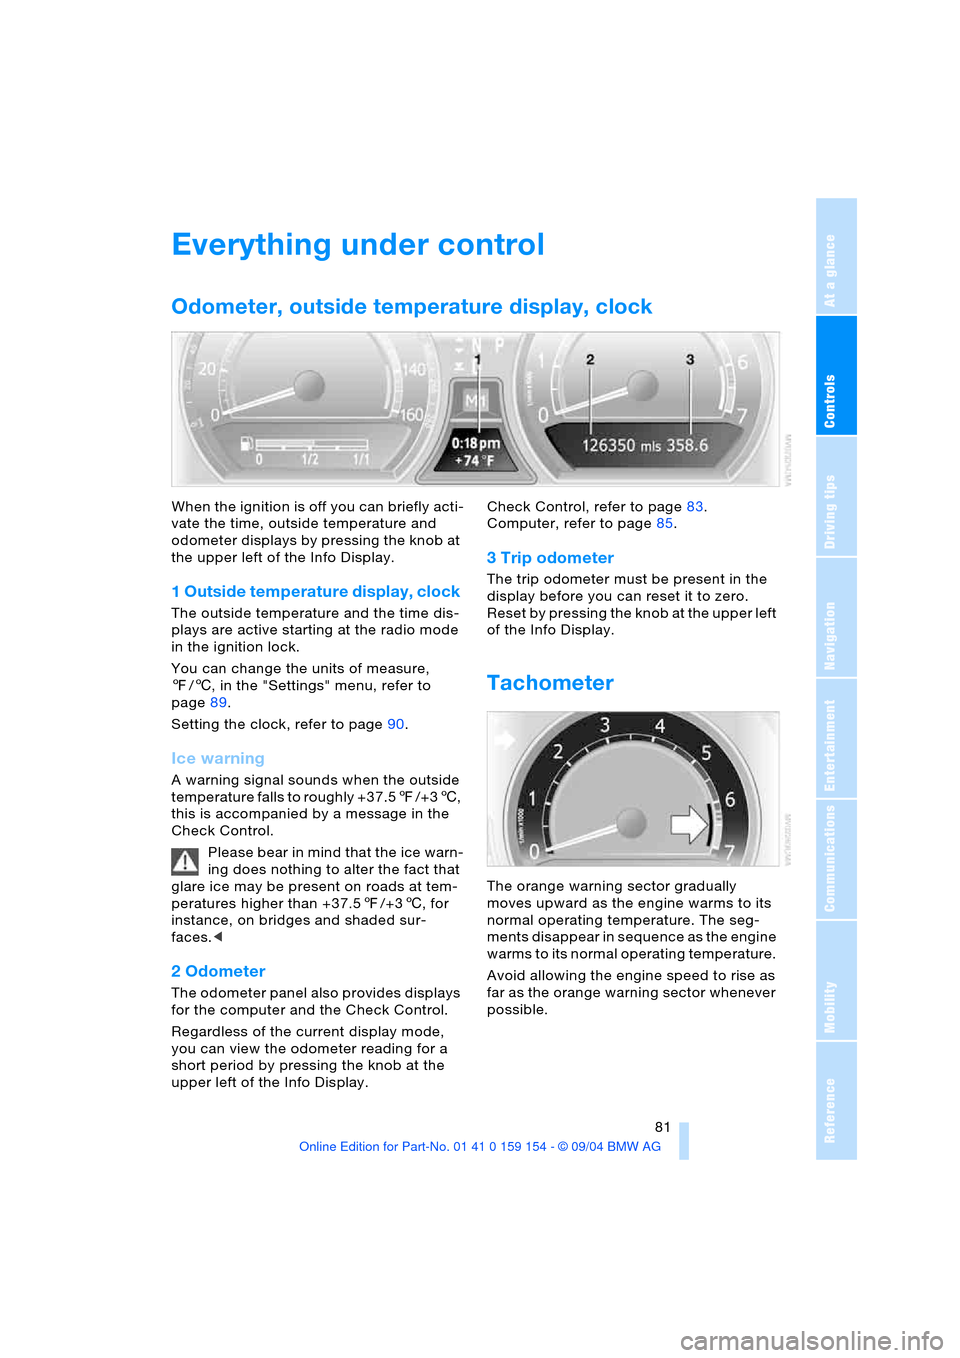
When the ignition is off you can briefly acti-
vate the time, outside temperature and
odometer displays by pressing the knob at
the upper left of the Info Display.
1 Outside temperature display, clock
The outside temperature and the time dis-
plays are active starting at the radio mode
in the ignition lock.
You can change the units of measure,
7/6, in the "Settings" menu, refer to
page89.
Setting the clock, refer to page90.
Ice warning
A warning signal sounds when the outside
temperature falls to roughly +37.57/+36,
this is accompanied by a message in the
Check Control.
Please bear in mind that the ice warn-
ing does nothing to alter the fact that
glare ice may be present on roads at tem-
peratures higher than +37.57/+36, for
instance, on bridges and shaded sur-
faces.<
2 Odometer
The odometer panel also provides displays
for the computer and the Check Control.
Regardless of the current display mode,
you can view the odometer reading for a
short period by pressing the knob at the
upper left of the Info Display. Check Control, refer to page83.
Computer, refer to page85.
3 Trip odometer
The trip odometer must be present in the
display before you can reset it to zero.
Reset by pressing the knob at the upper left
of the Info Display.
Tachometer
The orange warning sector gradually
moves upward as the engine warms to its
normal operating temperature. The seg-
ments disappear in sequence as the engine
warms to its normal operating temperature.
Avoid allowing the engine speed to rise as
far as the orange warning sector whenever
possible.
Page 87 of 239
Controls
85Reference
At a glance
Driving tips
Communications
Navigation
Entertainment
Mobility
Confirm to hide the display.
Displays after completion of trip
Selected fault reports generated during the
trip are shown consecutively when you
switch off the ignition.
If indicated, the following message may
also appear:
"Parking lamps on!"
This message appears when you open the
driver's door after parking. A supplemen-
tary gong is also heard.
Even with the ignition and Info Display off,
you can reactivate the screen and display
the messages.
Press the CHECK button for approx.
8 seconds, refer to page84. The stored
status reports appear again in the display. If
several messages are present, you can
continue to briefly press the CHECK button
to view them in succession.
The Check Control function
>cancels itself automatically after a brief
period
>can be canceled by again pressing the
CHECK button for approximately
8seconds.
You can select the language in which
Check Control status reports and
messages from the computer will appear,
refer to page89.<
Computer
Requesting functions
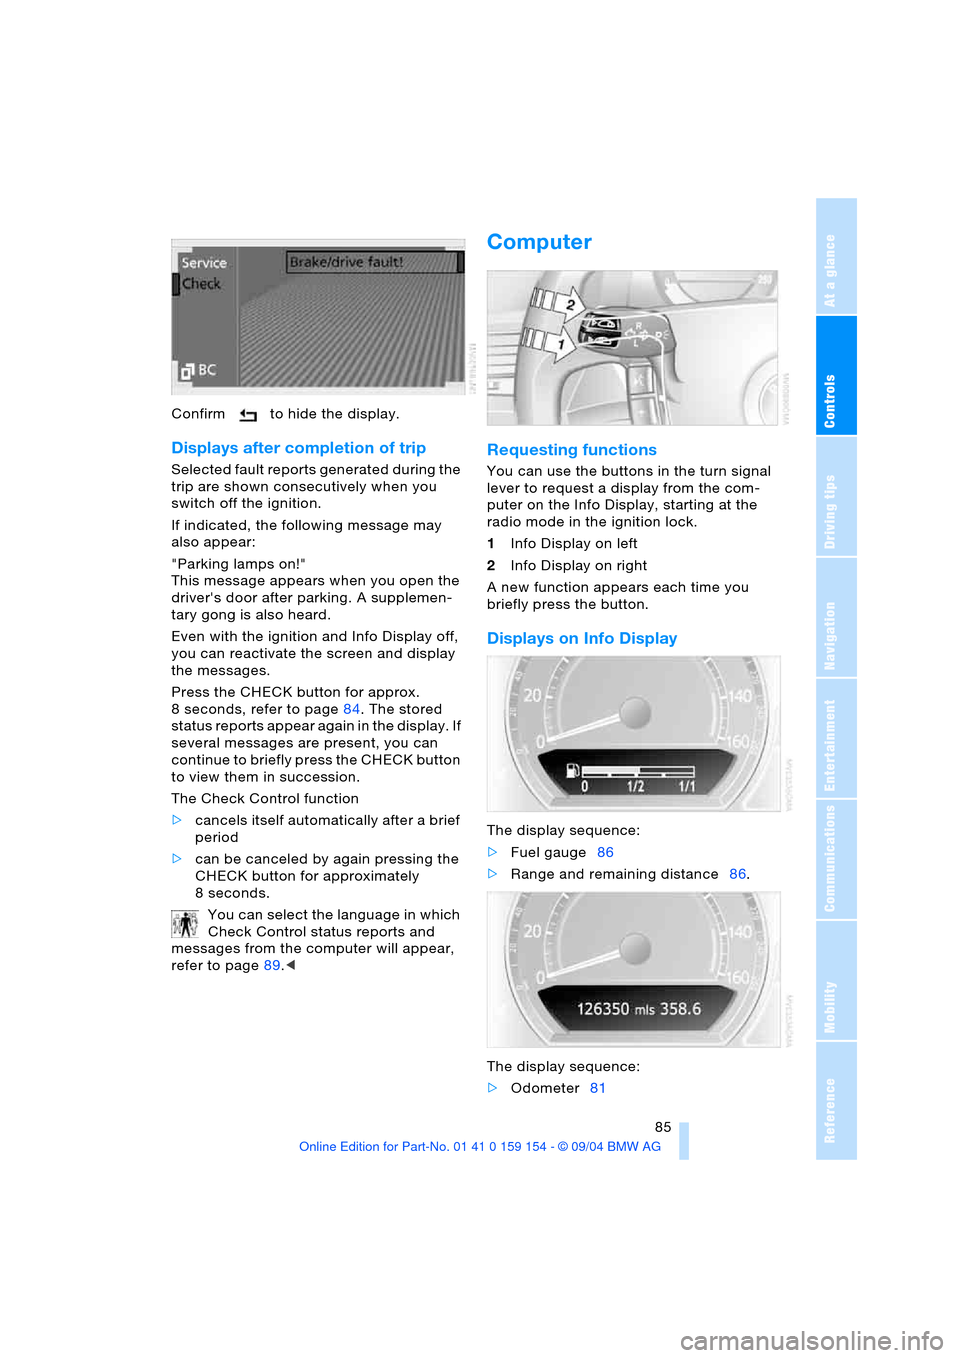
You can use the buttons in the turn signal
lever to request a display from the com-
puter on the Info Display, starting at the
radio mode in the ignition lock.
1Info Display on left
2Info Display on right
A new function appears each time you
briefly press the button.
Displays on Info Display
The display sequence:
>Fuel gauge86
>Range and remaining distance86.
The display sequence:
>Odometer81
Page 101 of 239
Controls
99Reference
At a glance
Driving tips
Communications
Navigation
Entertainment
Mobility
whether or not the seat is occupied by a
child in the child-restraint system or an
adult.
>When a child is seated in the child-
restraint system or with an empty seat,
the front and side airbags are automat-
ically deactivated on the passenger's
side
>When an adult is traveling in the front
seat, the front and side airbags remain
active on the passenger side.
Although not desired, it can occur in
the case of heavier children that the
front passenger airbags remain active or in
the case of very light adults or young per-
sons that the front passenger airbags are
deactivated.
The state of the front passenger airbags is
shown with the indicator lamp, refer to Indi-
cator lamps in the following. In this case
transport the corresponding persons on the
rear seat.
Except when persons to be transported, do
not increase the load on the front passen-
ger seat with additional items. Do not fit
seat covers, seat cushion padding, ball
mats or other items to the front passenger
seat unless they are specifically recom-
mended by BMW. Do not place any items
under the seat. Otherwise, the function of
the seat occupation detection could be
impaired.<
Indicator lamps
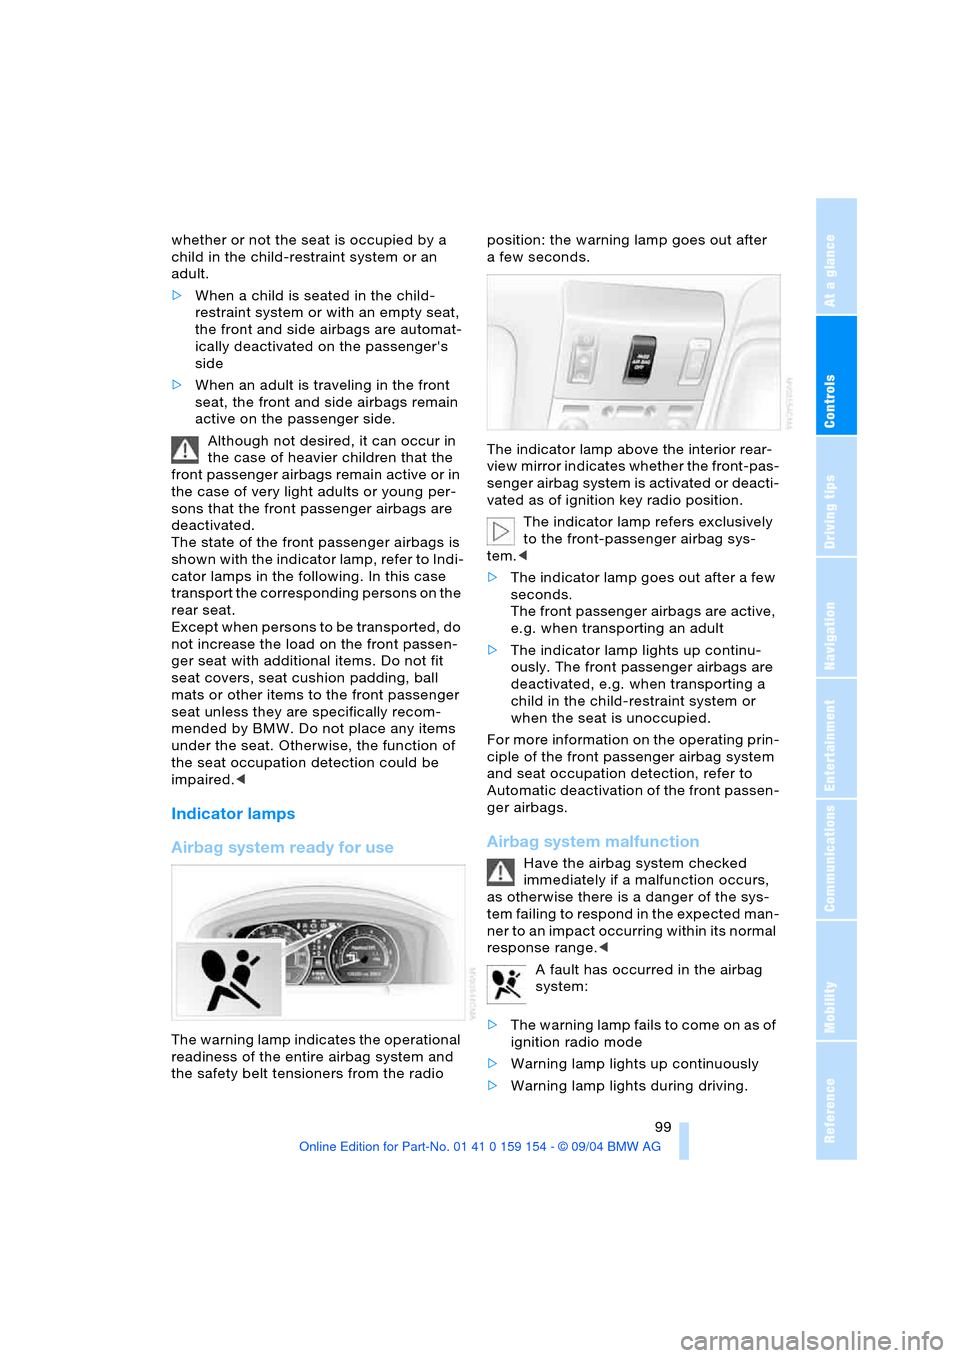
Airbag system ready for use
The warning lamp indicates the operational
readiness of the entire airbag system and
the safety belt tensioners from the radio position: the warning lamp goes out after
afew seconds.
The indicator lamp above the interior rear-
view mirror indicates whether the front-pas-
senger airbag system is activated or deacti-
vated as of ignition key radio position.
The indicator lamp refers exclusively
to the front-passenger airbag sys-
tem.<
>The indicator lamp goes out after a few
seconds.
The front passenger airbags are active,
e.g. when transporting an adult
>The indicator lamp lights up continu-
ously. The front passenger airbags are
deactivated, e.g. when transporting a
child in the child-restraint system or
when the seat is unoccupied.
For more information on the operating prin-
ciple of the front passenger airbag system
and seat occupation detection, refer to
Automatic deactivation of the front passen-
ger airbags.
Airbag system malfunction
Have the airbag system checked
immediately if a malfunction occurs,
as otherwise there is a danger of the sys-
tem failing to respond in the expected man-
ner to an impact occurring within its normal
response range.<
A fault has occurred in the airbag
system:
>The warning lamp fails to come on as of
ignition radio mode
>Warning lamp lights up continuously
>Warning lamp lights during driving.
Page 107 of 239
Controls
105Reference
At a glance
Driving tips
Communications
Navigation
Entertainment
Mobility
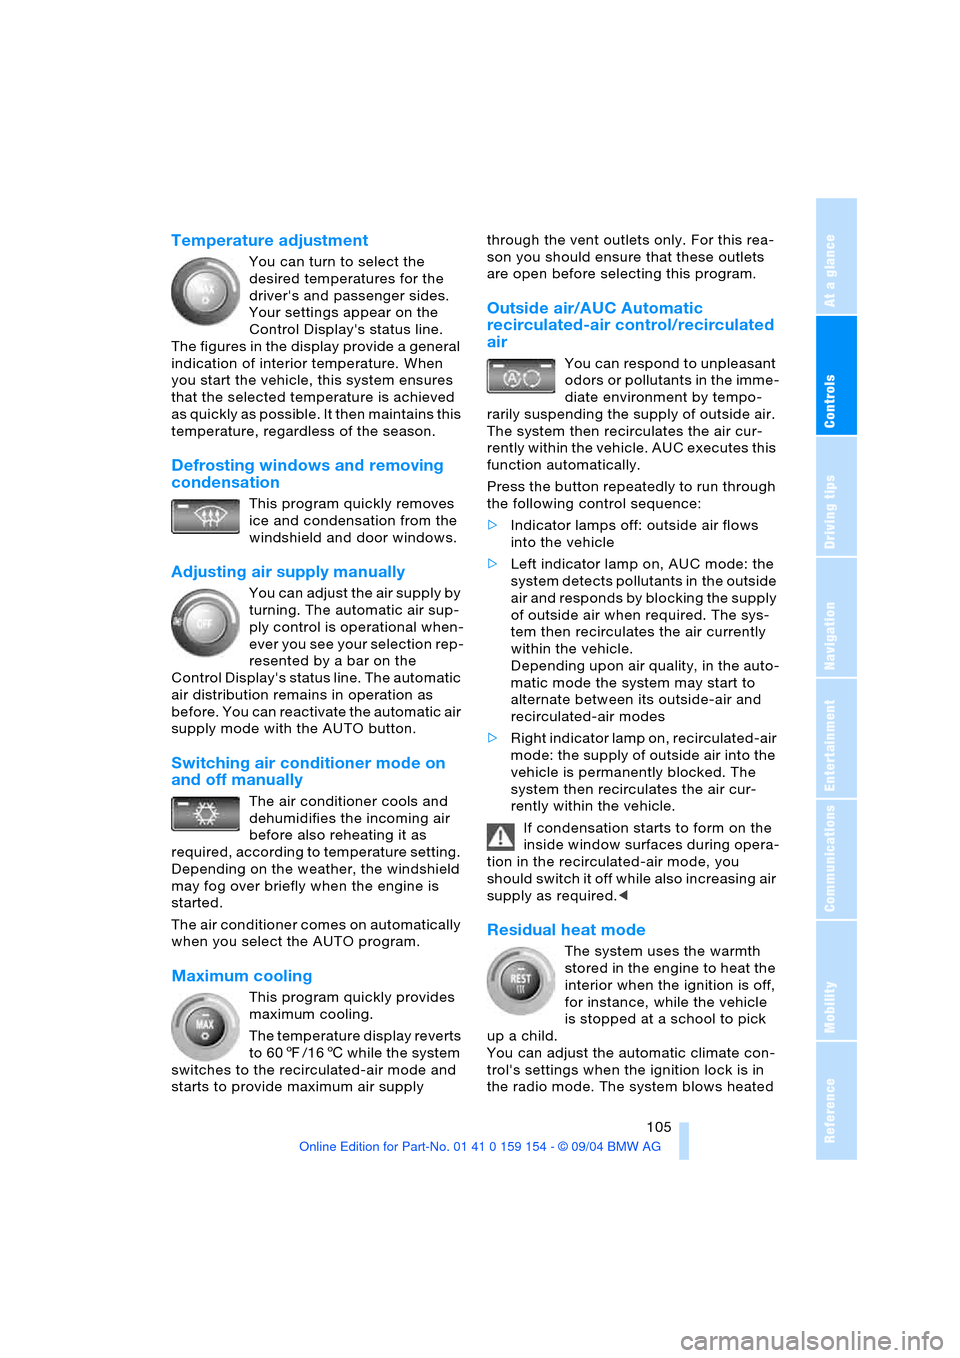
Temperature adjustment
You can turn to select the
desired temperatures for the
driver's and passenger sides.
Your settings appear on the
Control Display's status line.
The figures in the display provide a general
indication of interior temperature. When
you start the vehicle, this system ensures
that the selected temperature is achieved
as quickly as possible. It then maintains this
temperature, regardless of the season.
Defrosting windows and removing
condensation
This program quickly removes
ice and condensation from the
windshield and door windows.
Adjusting air supply manually
You can adjust the air supply by
turning. The automatic air sup-
ply control is operational when-
ever you see your selection rep-
resented by a bar on the
Control Display's status line. The automatic
air distribution remains in operation as
before. You can reactivate the automatic air
supply mode with the AUTO button.
Switching air conditioner mode on
and off manually
The air conditioner cools and
dehumidifies the incoming air
before also reheating it as
required, according to temperature setting.
Depending on the weather, the windshield
may fog over briefly when the engine is
started.
The air conditioner comes on automatically
when you select the AUTO program.
Maximum cooling
This program quickly provides
maximum cooling.
The temperature display reverts
to 607/166 while the system
switches to the recirculated-air mode and
starts to provide maximum air supply through the vent outlets only. For this rea-
son you should ensure that these outlets
are open before selecting this program.
Outside air/AUC Automatic
recirculated-air control/recirculated
air
You can respond to unpleasant
odors or pollutants in the imme-
diate environment by tempo-
rarily suspending the supply of outside air.
The system then recirculates the air cur-
rently within the vehicle. AUC executes this
function automatically.
Press the button repeatedly to run through
the following control sequence:
>Indicator lamps off: outside air flows
into the vehicle
>Left indicator lamp on, AUC mode: the
system detects pollutants in the outside
air and responds by blocking the supply
of outside air when required. The sys-
tem then recirculates the air currently
within the vehicle.
Depending upon air quality, in the auto-
matic mode the system may start to
alternate between its outside-air and
recirculated-air modes
>Right indicator lamp on, recirculated-air
mode: the supply of outside air into the
vehicle is permanently blocked. The
system then recirculates the air cur-
rently within the vehicle.
If condensation starts to form on the
inside window surfaces during opera-
tion in the recirculated-air mode, you
should switch it off while also increasing air
supply as required.<
Residual heat mode
The system uses the warmth
stored in the engine to heat the
interior when the ignition is off,
for instance, while the vehicle
is stopped at a school to pick
up a child.
You can adjust the automatic climate con-
trol's settings when the ignition lock is in
the radio mode. The system blows heated
Page 115 of 239
Controls
113Reference
At a glance
Driving tips
Communications
Navigation
Entertainment
Mobility
The corresponding memory key1 is now
programmed with the signal of the original
hand-held transmitter.
The device can be operated as of ignition
on.
If the device can not be operated
after repeated programming, check
whether the original hand-held transmitter
uses an alternating-code system. To do so,
either read the instructions of the original
hand-held transmitter or press and hold
down the programmed memory key1 of
the integrated universal remote control.
If the indicator lamp2 on the integrated
universal remote control flashes quickly
for a brief period and then remains lit up
for approx. two seconds, this indicates
that the original hand-held transmitter is
equipped with an alternating-code system.
In the case of an alternating-code system,
program the memory keys1 as described
at the section on alternating-code transmit-
ters.<
Alternating-code transmitters
Consult the operating instructions of the
unit you wish to set when programming the
universal remote control. You will find infor-
mation there on the possibilities for syn-
chronization.
When programming hand-held transmitters
that employ an alternating code, please
observe the following supplementary
instructions:
Programming will be easier with the
aid of a second person.<
1.Park your vehicle within the range of the
remote-controlled device
2.Program the integrated universal
remote control as described at the sec-
tion on fixed-code hand-held transmit-
ters
3.Localize the key on the receiver of the
device you want to set up, e.g. on the
upper section of the motor
4.Press the key on the receiver of the
device you want to set up. After step 4,
you have approx. 30 seconds for step 55.Press the programmed memory key1
on the integrated universal remote con-
trol three times.
The corresponding memory key1 is now
programmed with the signal of the original
hand-held transmitter.
If you have any additional questions,
please contact your BMW center.<
Clearing memory keys
Individual memory keys1 can not be
cleared. However, you clear all three mem-
ory keys1 together as follows:
Press both outer keys1 of the integrated
universal remote control for approx.
20 seconds, maintaining pressure until the
indicator lamp2 starts to flash.
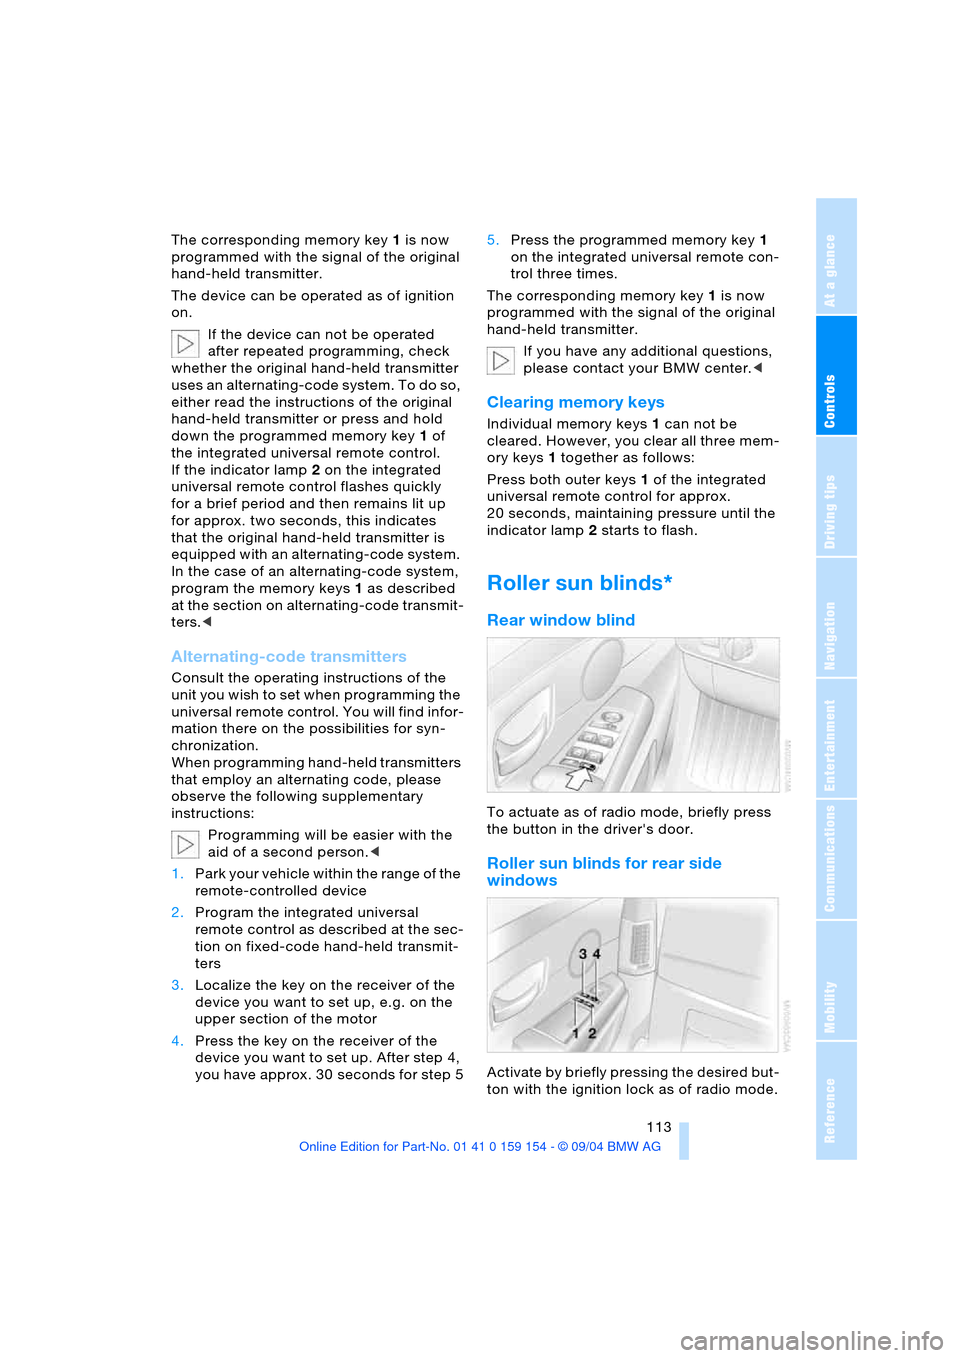
Roller sun blinds*
Rear window blind
To actuate as of radio mode, briefly press
the button in the driver's door.
Roller sun blinds for rear side
windows
Activate by briefly pressing the desired but-
ton with the ignition lock as of radio mode.
Page 150 of 239
On/off, tone
148
On/off, tone
Controls
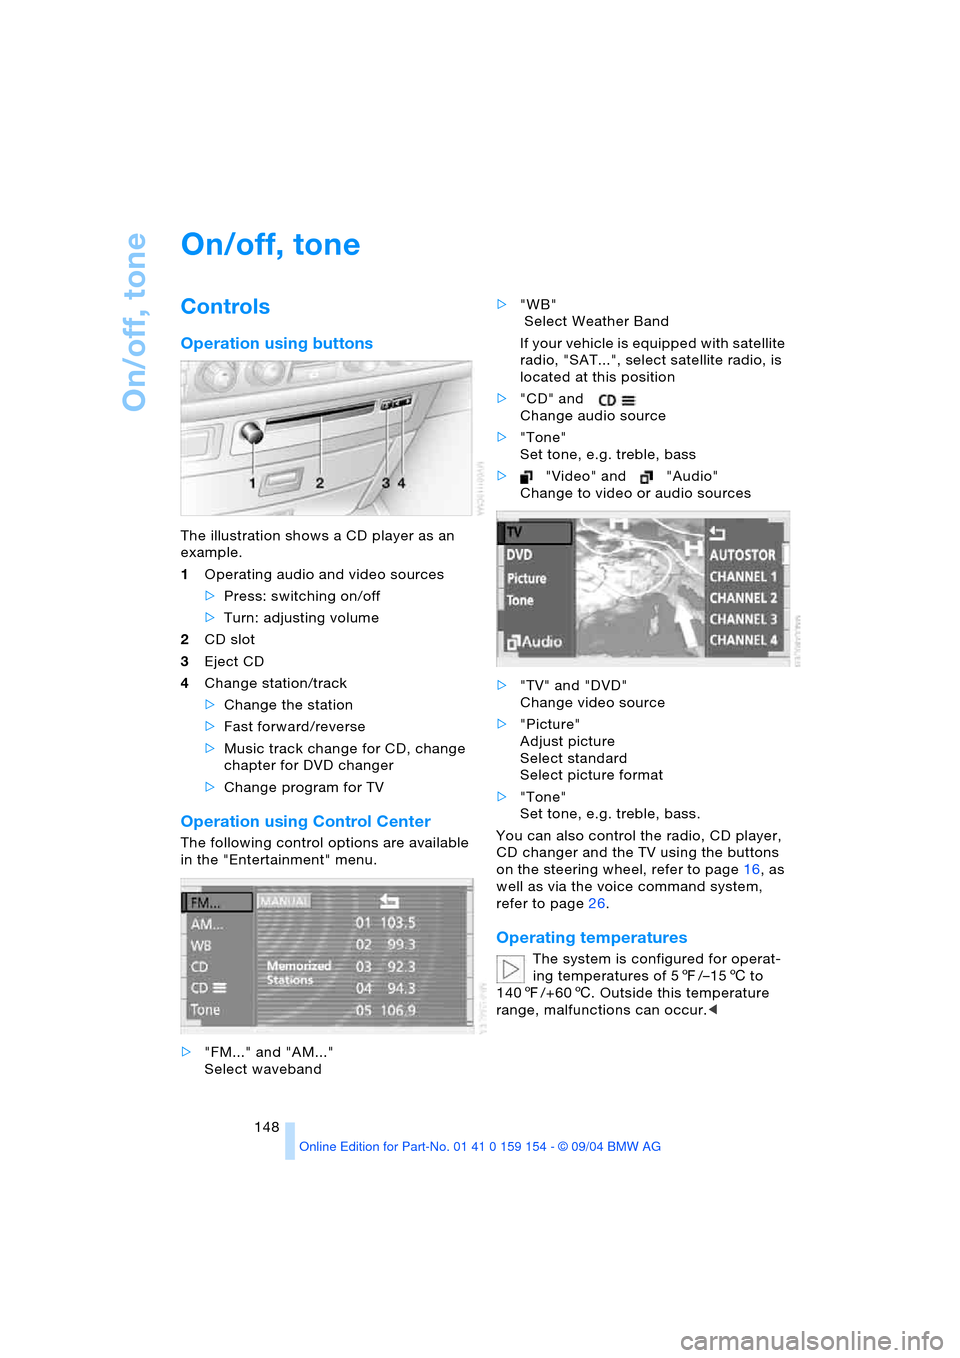
Operation using buttons
The illustration shows a CD player as an
example.
1Operating audio and video sources
>Press: switching on/off
>Turn: adjusting volume
2CD slot
3Eject CD
4Change station/track
>Change the station
>Fast forward/reverse
>Music track change for CD, change
chapter for DVD changer
>Change program for TV
Operation using Control Center
The following control options are available
in the "Entertainment" menu.
>"FM..." and "AM..."
Select waveband>"WB"
Select Weather Band
If your vehicle is equipped with satellite
radio, "SAT...", select satellite radio, is
located at this position
>"CD" and
Change audio source
>"Tone"
Set tone, e.g. treble, bass
>"Video" and "Audio"
Change to video or audio sources
>"TV" and "DVD"
Change video source
>"Picture"
Adjust picture
Select standard
Select picture format
>"Tone"
Set tone, e.g. treble, bass.
You can also control the radio, CD player,
CD changer and the TV using the buttons
on the steering wheel, refer to page16, as
well as via the voice command system,
refer to page26.
Operating temperatures
The system is configured for operat-
ing temperatures of 57/–156 to
1407/+606. Outside this temperature
range, malfunctions can occur.<
Page 151 of 239
Navigation
Entertainment
Driving tips
149Reference
At a glance
Controls
Communications
Mobility
Care instructions
You can find everything you need to know
on this topic by consulting the separate
Caring for your vehicle brochure.
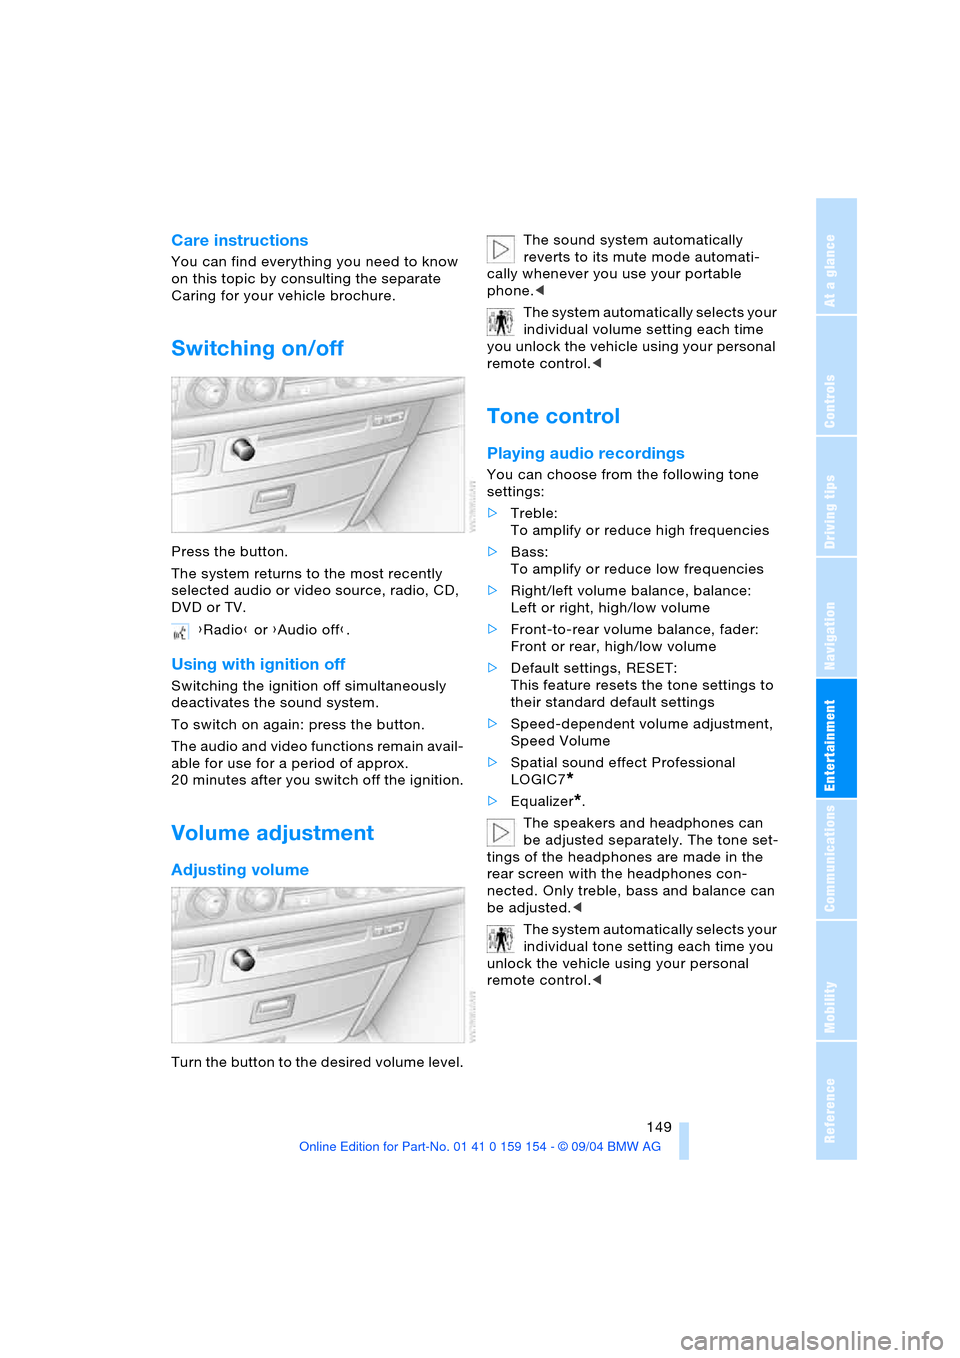
Switching on/off
Press the button.
The system returns to the most recently
selected audio or video source, radio, CD,
DVD or TV.
Using with ignition off
Switching the ignition off simultaneously
deactivates the sound system.
To switch on again: press the button.
The audio and video functions remain avail-
able for use for a period of approx.
20 minutes after you switch off the ignition.
Volume adjustment
Adjusting volume
Turn the button to the desired volume level.The sound system automatically
reverts to its mute mode automati-
cally whenever you use your portable
phone.<
The system automatically selects your
individual volume setting each time
you unlock the vehicle using your personal
remote control.<
Tone control
Playing audio recordings
You can choose from the following tone
settings:
>Treble:
To amplify or reduce high frequencies
>Bass:
To amplify or reduce low frequencies
>Right/left volume balance, balance:
Left or right, high/low volume
>Front-to-rear volume balance, fader:
Front or rear, high/low volume
>Default settings, RESET:
This feature resets the tone settings to
their standard default settings
>Speed-dependent volume adjustment,
Speed Volume
>Spatial sound effect Professional
LOGIC7
*
>Equalizer*.
The speakers and headphones can
be adjusted separately. The tone set-
tings of the headphones are made in the
rear screen with the headphones con-
nected. Only treble, bass and balance can
be adjusted.<
The system automatically selects your
individual tone setting each time you
unlock the vehicle using your personal
remote control.< {Radio} or {Audio off}.
Page 155 of 239
Navigation
Entertainment
Driving tips
153Reference
At a glance
Controls
Communications
Mobility
2.Select "MANUAL" and confirm your
selection.
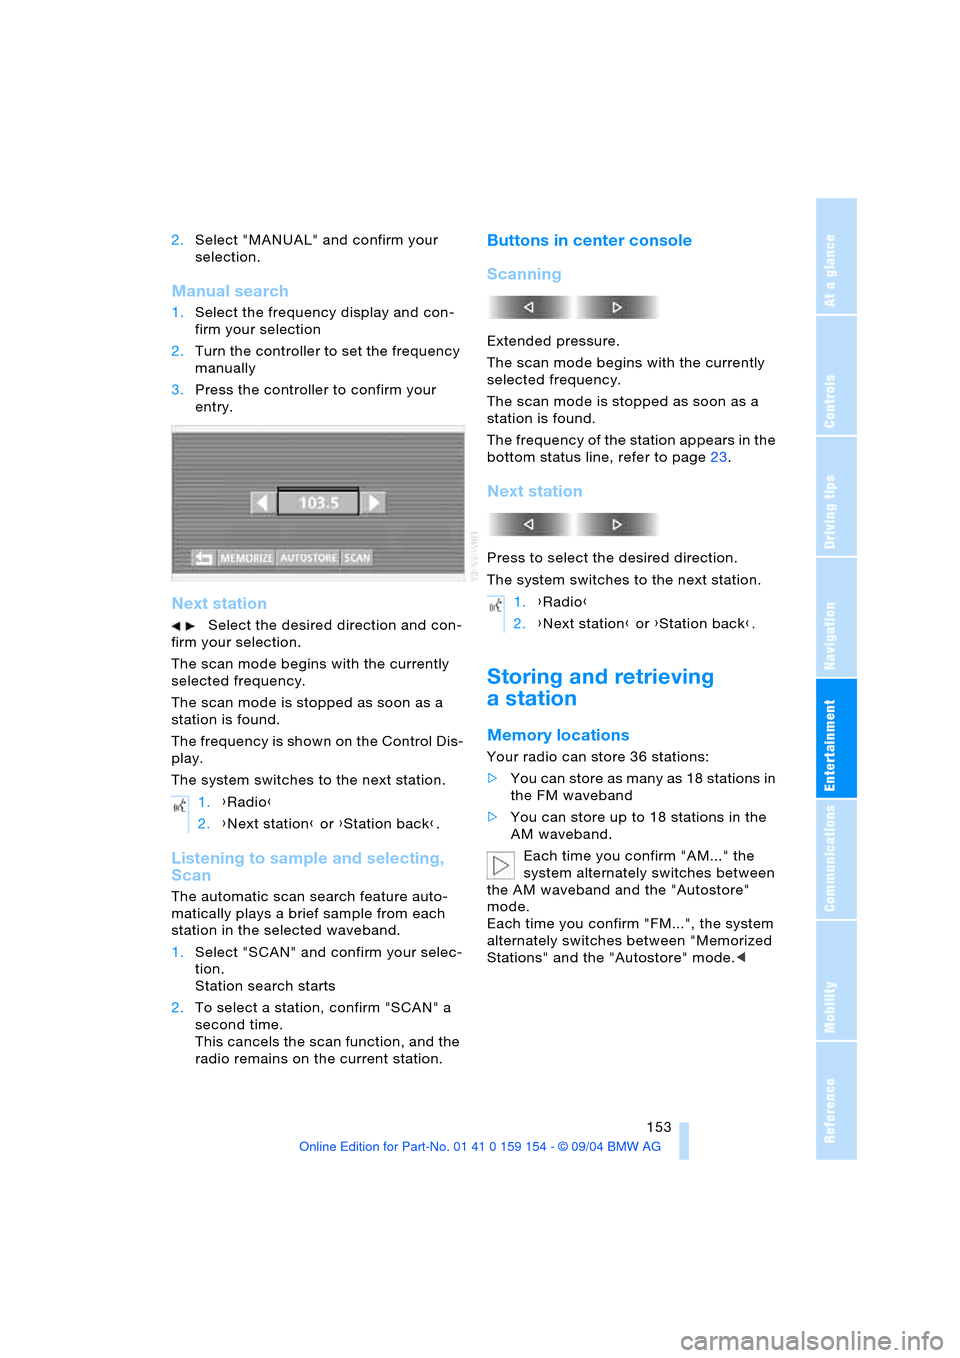
Manual search
1.Select the frequency display and con-
firm your selection
2.Turn the controller to set the frequency
manually
3.Press the controller to confirm your
entry.
Next station
Select the desired direction and con-
firm your selection.
The scan mode begins with the currently
selected frequency.
The scan mode is stopped as soon as a
station is found.
The frequency is shown on the Control Dis-
play.
The system switches to the next station.
Listening to sample and selecting,
Scan
The automatic scan search feature auto-
matically plays a brief sample from each
station in the selected waveband.
1.Select "SCAN" and confirm your selec-
tion.
Station search starts
2.To select a station, confirm "SCAN" a
second time.
This cancels the scan function, and the
radio remains on the current station.
Buttons in center console
Scanning
Extended pressure.
The scan mode begins with the currently
selected frequency.
The scan mode is stopped as soon as a
station is found.
The frequency of the station appears in the
bottom status line, refer to page23.
Next station
Press to select the desired direction.
The system switches to the next station.
Storing and retrieving
a station
Memory locations
Your radio can store 36 stations:
>You can store as many as 18 stations in
the FM waveband
>You can store up to 18 stations in the
AM waveband.
Each time you confirm "AM..." the
system alternately switches between
the AM waveband and the "Autostore"
mode.
Each time you confirm "FM...", the system
alternately switches between "Memorized
Stations" and the "Autostore" mode.< 1.{Radio}
2.{Next station} or {Station back}.
1.{Radio}
2.{Next station} or {Station back}.
Page 157 of 239
Navigation
Entertainment
Driving tips
155Reference
At a glance
Controls
Communications
Mobility
Weather Band
Weather Radio is a service of the National
Oceanic and Atmospheric Administration,
NOAA, of the U.S. Department of Com-
merce. Weather messages are repeated
every four to six minutes and are routinely
revised every one to three hours, or more
frequently if needed. Most of the stations
operate 24 hours daily. During severe
weather, National Weather Service fore-
casters can interrupt the routine weather
broadcasts and substitute special warning
messages. If you have a question concern-
ing NOAA Weather Radio, please contact
your nearest National Weather Service
Office, or write to National Weather Ser-
vice, Attn: W/OM11, National Oceanic and
Atmospheric Administration, 1325 East-
West Highway Silver Spring, MD. 20910.
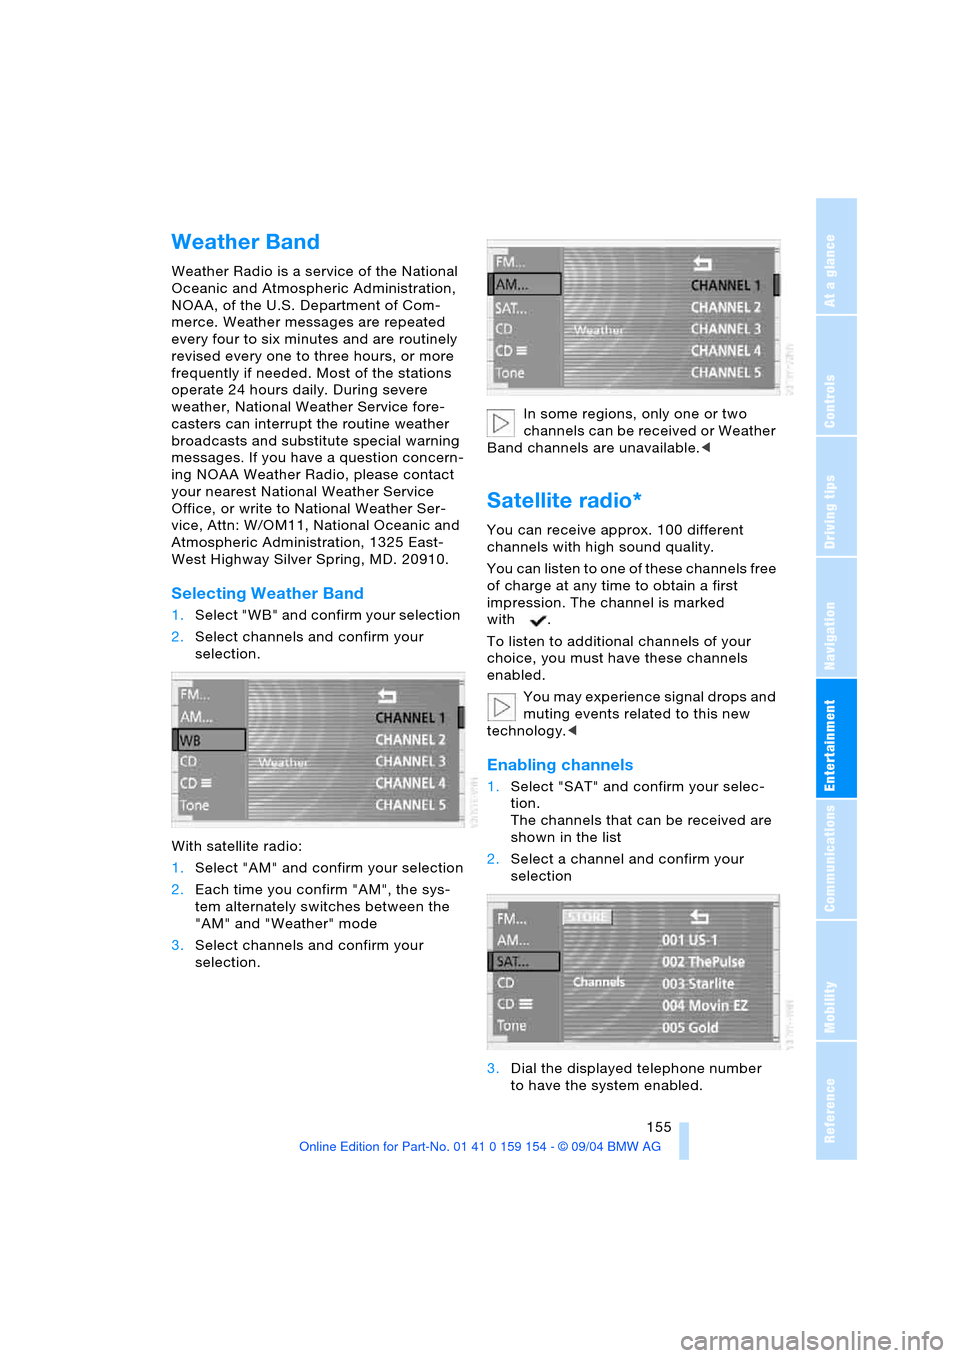
Selecting Weather Band
1.Select "WB" and confirm your selection
2.Select channels and confirm your
selection.
With satellite radio:
1.Select "AM" and confirm your selection
2.Each time you confirm "AM", the sys-
tem alternately switches between the
"AM" and "Weather" mode
3.Select channels and confirm your
selection.In some regions, only one or two
channels can be received or Weather
Band channels are unavailable.<
Satellite radio*
You can receive approx. 100 different
channels with high sound quality.
You can listen to one of these channels free
of charge at any time to obtain a first
impression. The channel is marked
with .
To listen to additional channels of your
choice, you must have these channels
enabled.
You may experience signal drops and
muting events related to this new
technology.<
Enabling channels
1.Select "SAT" and confirm your selec-
tion.
The channels that can be received are
shown in the list
2.Select a channel and confirm your
selection
3.Dial the displayed telephone number
to have the system enabled.