fuel pressure BMW 760LI SEDAN 2003 Owners Manual
[x] Cancel search | Manufacturer: BMW, Model Year: 2003, Model line: 760LI SEDAN, Model: BMW 760LI SEDAN 2003Pages: 229, PDF Size: 4.35 MB
Page 6 of 229
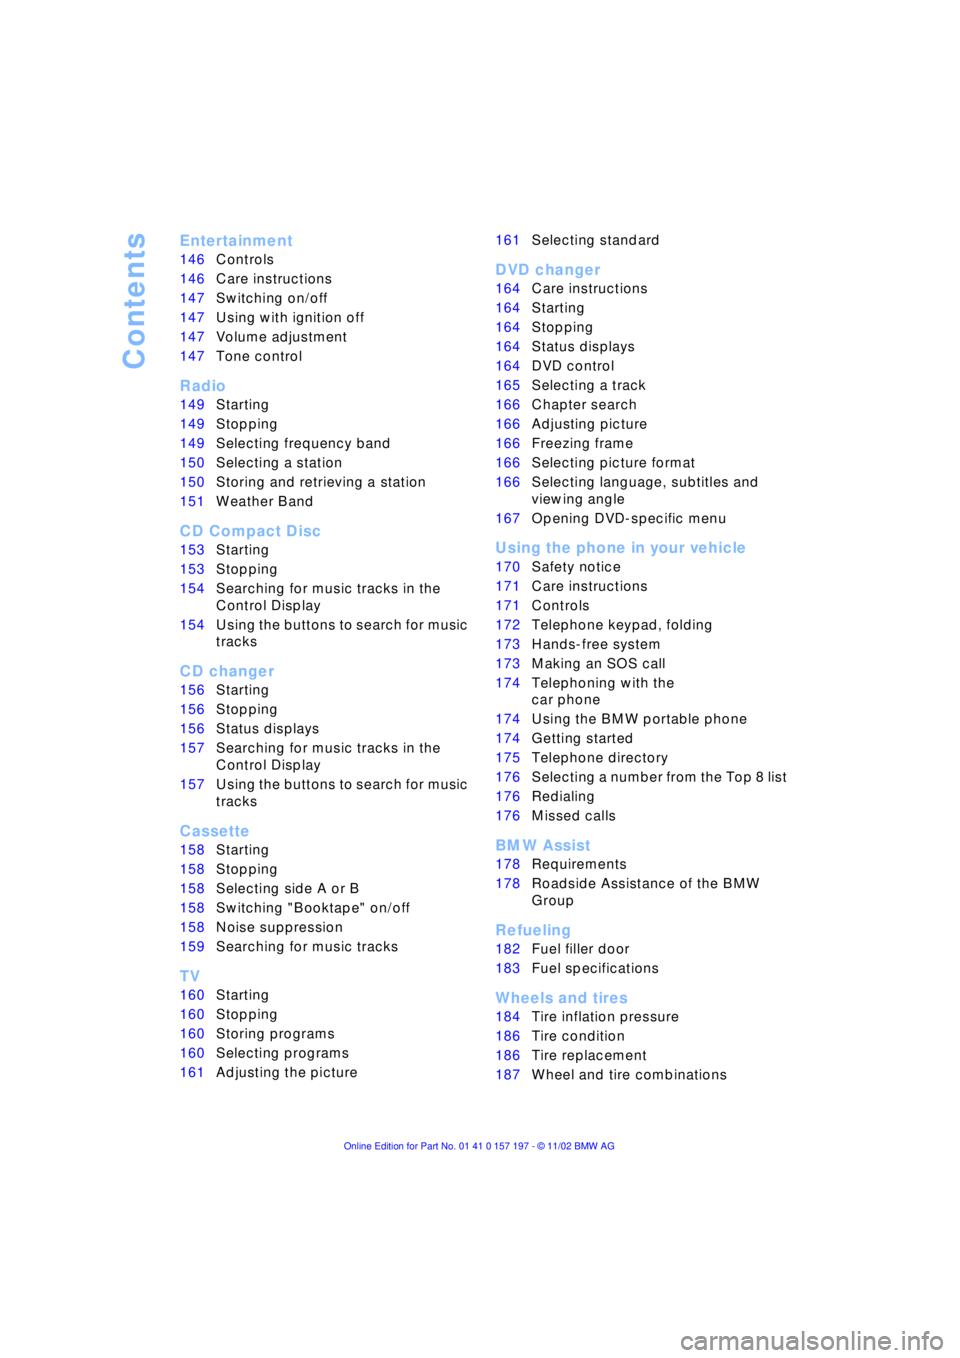
Contents
Entertainment
146Controls
146Care instructions
147Switching on/off
147Using with ignition off
147Volume adjustment
147Tone control
Radio
149Starting
149Stopping
149Selecting frequency band
150Selecting a station
150Storing and retrieving a station
151Weather Band
CD Compact Disc
153Starting
153Stopping
154Searching for music tracks in the
Control Display
154Using the buttons to search for music
tracks
CD changer
156Starting
156Stopping
156Status displays
157Searching for music tracks in the
Control Display
157Using the buttons to search for music
tracks
Cassette
158Starting
158Stopping
158Selecting side A or B
158Switching "Booktape" on/off
158Noise suppression
159Searching for music tracks
TV
160Starting
160Stopping
160Storing programs
160Selecting programs
161Adjusting the picture
*
161Selecting standard
DVD changer
164Care instructions
164Starting
164Stopping
164Status displays
164DVD control
165Selecting a track
166Chapter search
166Adjusting picture
166Freezing frame
166Selecting picture format
166Selecting language, subtitles and
viewing angle
167Opening DVD-specific menu
Using the phone in your vehicle
170Safety notice
171Care instructions
171Controls
172Telephone keypad, folding
173Hands-free system
173Making an SOS call
174Telephoning with the
car phone
174Using the BMW portable phone
174Getting started
175Telephone directory
176Selecting a number from the Top 8 list
176Redialing
176Missed calls
BMW Assist
178Requirements
178Roadside Assistance of the BMW
Group
Refueling
182Fuel filler door
183Fuel specifications
Wheels and tires
184Tire inflation pressure
186Tire condition
186Tire replacement
187Wheel and tire combinations
Page 38 of 229
Opening and closing
36
Unlocking the vehicle
Press button 1.
The interior lamps and the door-mounted
proximity lamps come on.
Press the button once to unlock the driver's
door only; press a second time to unlock all
remaining doors as well as the luggage
compartment lid and the fuel filler door.
Convenience opening mode
Hold button 1pressed. The windows
and the sliding/tilt sunroof open. The
sliding/tilt sunroof will not be retracted if it
is already in its raised position.
Locking and securing
Press button 2.
Switching off the tilt alarm sensor
and interior motion sensor
Press button 2once again
directly after locking. For more detailed
information, refer to page 41.
Switching on interior lamps and
door-mounted proximity lamps
If the vehicle is locked, press
button 2.
Switching on the interior lamps
Press button 4.
You can also use this function to locate
your vehicle in parking garages etc.
Panic mode
By pressing and holding button 4for
more than approx. two seconds, you can
trigger the alarm system in response to any
impending danger.
To switch off the alarm: press any of the
buttons.
Opening the luggage compartment
lid
Maintain pressure on button 3for
approx. 1 second. The luggage compartment lid opens,
regardless of whether it was previously
locked or unlocked.
During opening the luggage compart-
ment lid pivots upward and to the
rear. Ensure that adequate clearance is
available before opening.
To avoid being inadvertently locked out,
never lay the remote control unit down in
the luggage compartment. If the luggage
compartment lid was locked earlier, it will
relock automatically when closed.<
Automatic luggage compartment lid
operation*
Opening the luggage compartment
lid
Maintain pressure on button 3for
approx. 1 second.
The luggage compartment lid opens all the
way, regardless of whether it was previ-
ously locked or unlocked.
To interrupt the opening process:
Press the button again while opening is in
progress.
During opening the luggage compart-
ment lid pivots upward and to the
rear. Ensure that adequate clearance is
available before opening.
To avoid being inadvertently locked out,
never lay the remote control unit down in
the luggage compartment. If the vehicle is
locked, the luggage compartment lid is also
locked again when closed.<
External systems
External systems or devices may cause
local interference in the functions of the
remote control.
Should the remote control unit fail to
operate owing to interference of this kind,
you can respond by using the key to unlock
your vehicle at one of the doors.
Page 64 of 229
Driving
62
Starting the engine
Do not run the engine in closed
rooms, as otherwise the inhaling of
toxic exhaust gases can cause uncon-
sciousness and death. The exhaust gases
contain carbon monoxide, an odorless and
colorless, but highly toxic gas.
Never leave an unattended vehicle with the
engine running, as such a vehicle repre-
sents a potential safety hazard.<
1.Insert the remote control unit all the way
into the ignition lock
2.Depress the brake pedal
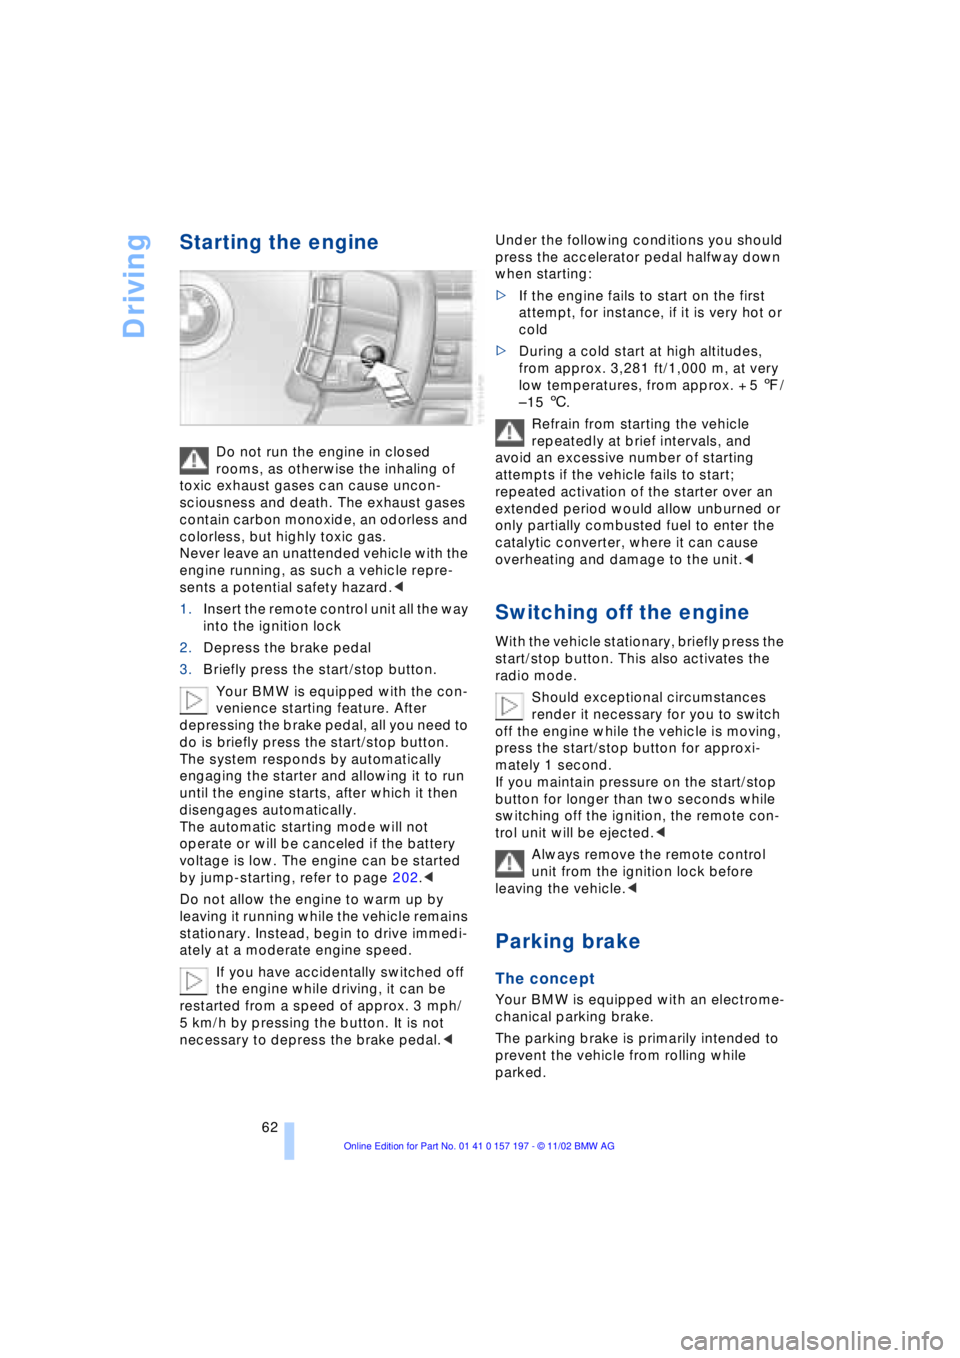
3.Briefly press the start/stop button.
Your BMW is equipped with the con-
venience starting feature. After
depressing the brake pedal, all you need to
do is briefly press the start/stop button.
The system responds by automatically
engaging the starter and allowing it to run
until the engine starts, after which it then
disengages automatically.
The automatic starting mode will not
operate or will be canceled if the battery
voltage is low. The engine can be started
by jump-starting, refer to page 202.<
Do not allow the engine to warm up by
leaving it running while the vehicle remains
stationary. Instead, begin to drive immedi-
ately at a moderate engine speed.
If you have accidentally switched off
the engine while driving, it can be
restarted from a speed of approx. 3 mph/
5 km/h by pressing the button. It is not
necessary to depress the brake pedal.< Under the following conditions you should
press the accelerator pedal halfway down
when starting:
>If the engine fails to start on the first
attempt, for instance, if it is very hot or
cold
>During a cold start at high altitudes,
from approx. 3,281 ft/1,000 m, at very
low temperatures, from approx. + 5 7/
Ð 15 6.
Refrain from starting the vehicle
repeatedly at brief intervals, and
avoid an excessive number of starting
attempts if the vehicle fails to start;
repeated activation of the starter over an
extended period would allow unburned or
only partially combusted fuel to enter the
catalytic converter, where it can cause
overheating and damage to the unit.<
Switching off the engine
With the vehicle stationary, briefly press the
start/stop button. This also activates the
radio mode.
Should exceptional circumstances
render it necessary for you to switch
off the engine while the vehicle is moving,
press the start/stop button for approxi-
mately 1 second.
If you maintain pressure on the start/stop
button for longer than two seconds while
switching off the ignition, the remote con-
trol unit will be ejected.<
Always remove the remote control
unit from the ignition lock before
leaving the vehicle.<
Parking brake
The concept
Your BMW is equipped with an electrome-
chanical parking brake.
The parking brake is primarily intended to
prevent the vehicle from rolling while
parked.
Page 70 of 229
Driving
68
P Ñ Park
Press the button.
Select only when the vehicle is stationary.
The transmission lockout prevents the rear
wheels from turning. The lockout disen-
gages when you press the selector lever
toward D, N or R while the engine is run-
ning.
P is automatically engaged when you
remove the remote control unit from
the ignition lock after parking the vehicle.<
R Ñ Reverse
Press the selector lever upward, con-
tinuing to apply pressure to move it past
the detent. Select R only when the vehicle
is stationary.
N Ð Neutral
Press the selector lever as far as the
detent, but no further. Select N only if your
journey is interrupted for a long period.
>From D press the selector lever up
>From R press the selector lever down.
Note the arrows indicating direction in the
range display.
N is selected automatically whenever
the remote control unit remains
locked in the ignition lock after the ignition
is switched off. This function is useful in
automatic car washes, etc.
After approx. 30 minutes the system auto-
matically engages P. Remember to
observe the Check Control for status mes-
sages.<
D Drive Ð Automatic
Press the selector lever down, con-
tinuing beyond the detent. This is the range
recommended for normal vehicle opera-
tion. All forward gears are available.
Under normal operating conditions, fuel
consumption is lowest when driving in
position D.
Kickdown
The kickdown mode provides maximum
acceleration.
Press the accelerator pedal beyond full-
throttle detent point.
L mode
We recommend the L mode for times when
you wish to suppress certain shifts, for
instance, when ascending or descending
steep grades.
When the L mode is activated the transmis-
sion remains in your current gear, which
also appears in the Info Display, refer to
page 67. The transmission continues to
shift through the available ratios, but does
not proceed beyond the gear in the display.
Activating the L mode
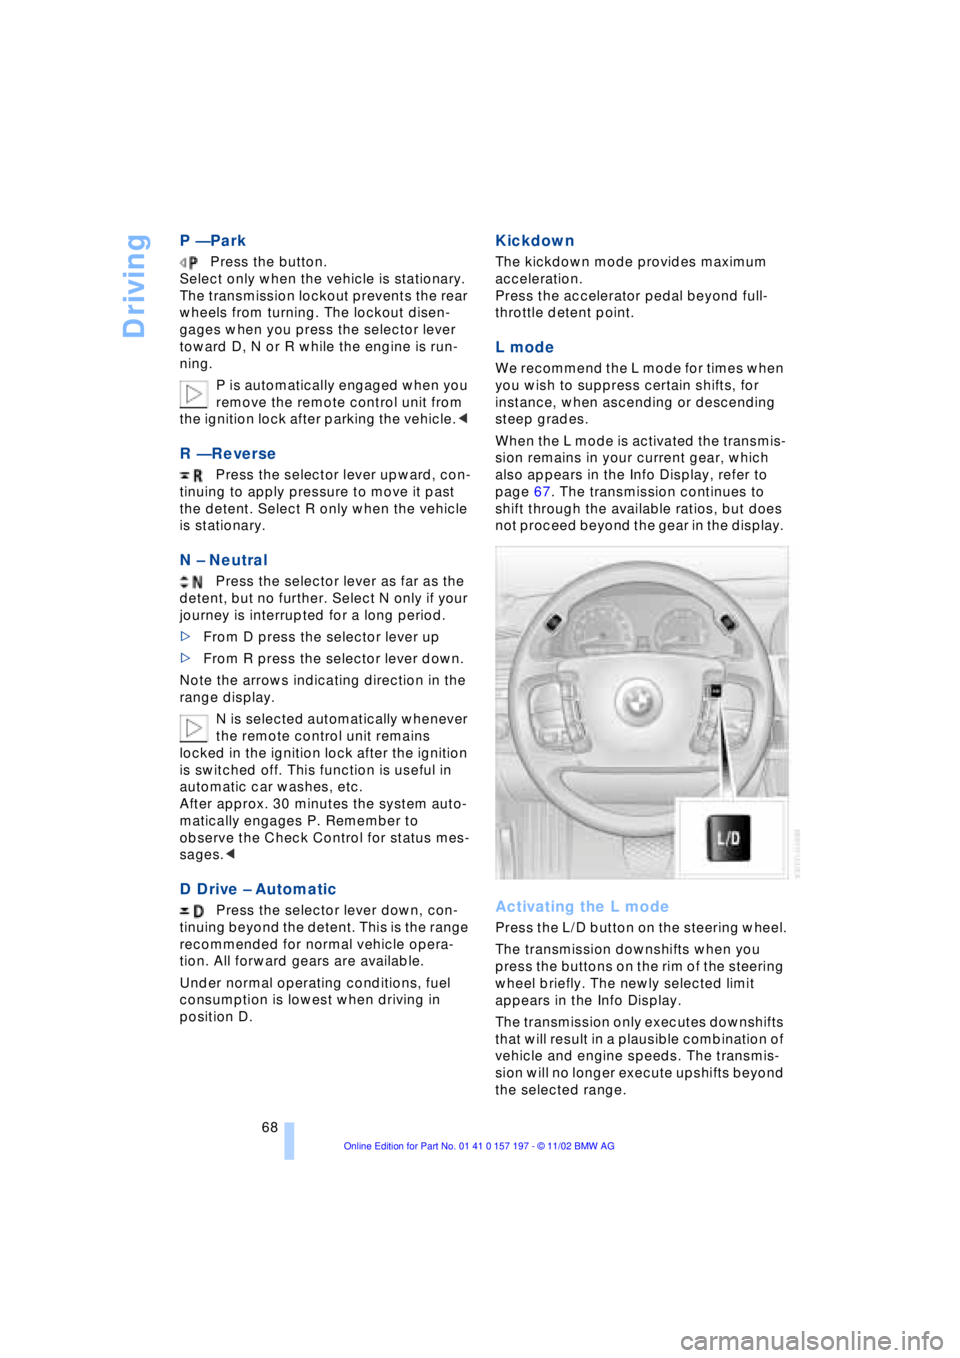
Press the L/D button on the steering wheel.
The transmission downshifts when you
press the buttons on the rim of the steering
wheel briefly. The newly selected limit
appears in the Info Display.
The transmission only executes downshifts
that will result in a plausible combination of
vehicle and engine speeds. The transmis-
sion will no longer execute upshifts beyond
the selected range.
Page 89 of 229
At a glance
Controls
Driving tips
Communications
Navigation
Entertainment
Mobility
Reference
87
Info Display screen contents
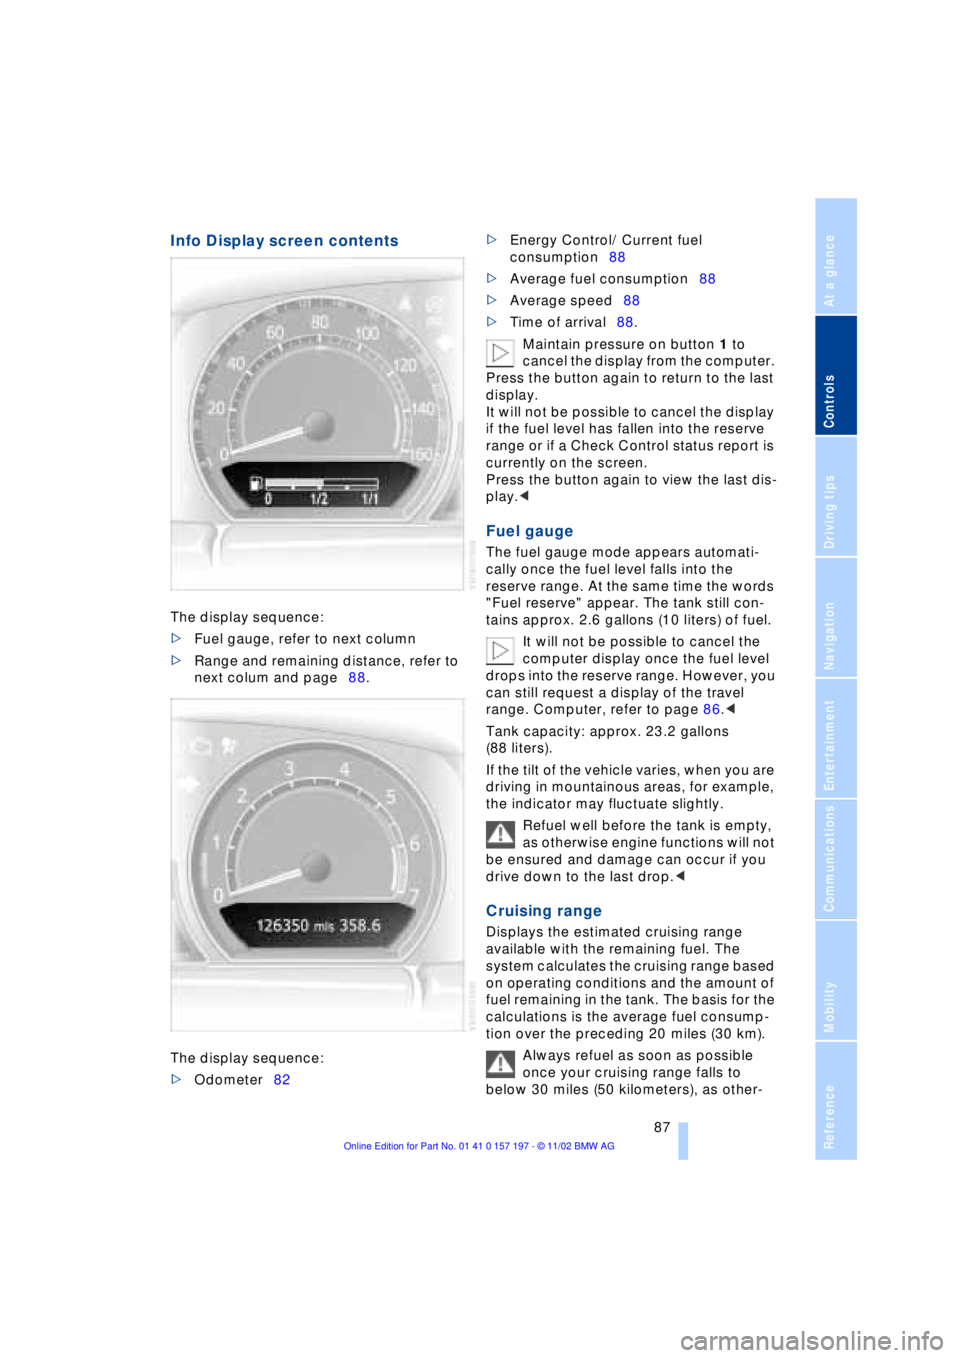
The display sequence:
>Fuel gauge, refer to next column
>Range and remaining distance, refer to
next colum and page88.
The display sequence:
>Odometer82 >Energy Control/ Current fuel
consumption88
>Average fuel consumption88
>Average speed88
>Time of arrival88.
Maintain pressure on button 1 to
cancel the display from the computer.
Press the button again to return to the last
display.
It will not be possible to cancel the display
if the fuel level has fallen into the reserve
range or if a Check Control status report is
currently on the screen.
Press the button again to view the last dis-
play.<
Fuel gauge
The fuel gauge mode appears automati-
cally once the fuel level falls into the
reserve range. At the same time the words
"Fuel reserve" appear. The tank still con-
tains approx. 2.6 gallons (10 liters) of fuel.
It will not be possible to cancel the
computer display once the fuel level
drops into the reserve range. However, you
can still request a display of the travel
range. Computer, refer to page 86.<
Tank capacity: approx. 23.2 gallons
(88 liters).
If the tilt of the vehicle varies, when you are
driving in mountainous areas, for example,
the indicator may fluctuate slightly.
Refuel well before the tank is empty,
as otherwise engine functions will not
be ensured and damage can occur if you
drive down to the last drop.<
Cruising range
Displays the estimated cruising range
available with the remaining fuel. The
system calculates the cruising range based
on operating conditions and the amount of
fuel remaining in the tank. The basis for the
calculations is the average fuel consump-
tion over the preceding 20 miles (30 km).
Always refuel as soon as possible
once your cruising range falls to
below 30 miles (50 kilometers), as other-
Page 93 of 229
At a glance
Controls
Driving tips
Communications
Navigation
Entertainment
Mobility
Reference
91
Importing display
1.Select the desired function and confirm
Ð here, computer "BC"
2.Select and confirm. This resets
the stopwatch to zero and then restarts
it. The function appears in the assis-
tance window.
The symbol is highlighted if
the function displayed in the asssis-
tance window is selected in the Control
Display. You can also choose to view brief
help texts explaining selected menu
entries, refer to page 23, or the travel route
on vehicles equipped with a GPS naviga-
tion system, refer to page 131.<
Changing settings
Units of measure and display format
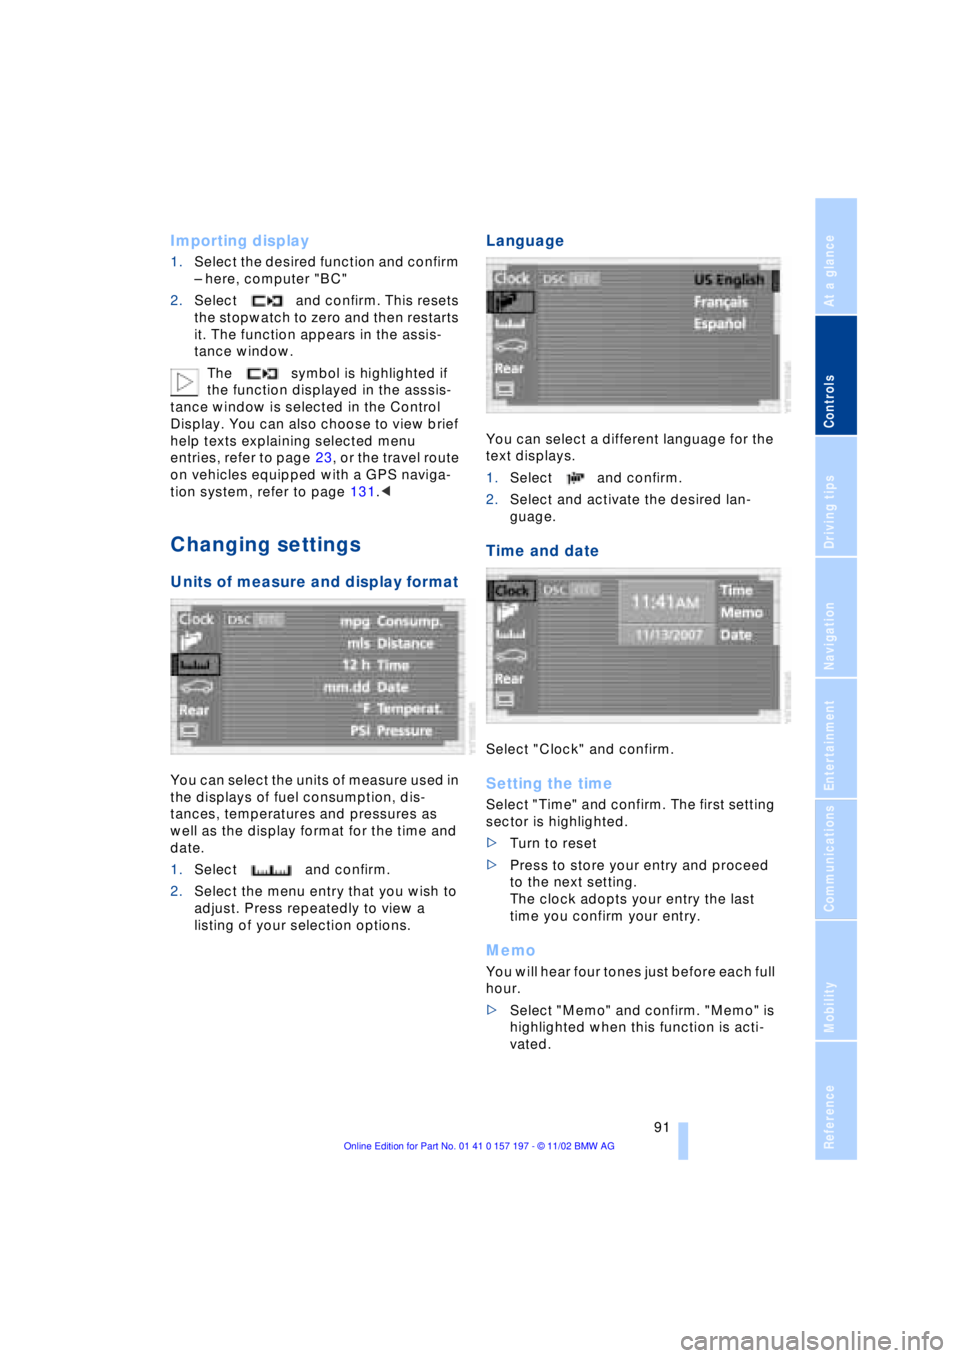
You can select the units of measure used in
the displays of fuel consumption, dis-
tances, temperatures and pressures as
well as the display format for the time and
date.
1.Select and confirm.
2.Select the menu entry that you wish to
adjust. Press repeatedly to view a
listing of your selection options.
Language
You can select a different language for the
text displays.
1.Select and confirm.
2.Select and activate the desired lan-
guage.
Time and date
Select "Clock" and confirm.
Setting the time
Select "Time" and confirm. The first setting
sector is highlighted.
>Turn to reset
>Press to store your entry and proceed
to the next setting.
The clock adopts your entry the last
time you confirm your entry.
Memo
You will hear four tones just before each full
hour.
>Select "Memo" and confirm. "Memo" is
highlighted when this function is acti-
vated.
Page 190 of 229
Wheels and tires
188 The correct combination of wheels
and tires is a vital factor in ensuring
reliable operation of various vehicle sys-
tems such as ABS and DSC.
It is therefore important to ensure that tires
from a single manufacturer with a single
tread configuration are always mounted on
all vehicle wheels; after a flat tire, always
remember to have the specified wheel and
tire combination remounted on the vehicle
as soon as possible.<
Storage
Always store wheels and tires in a cool, dry
place with as little exposure to light as pos-
sible. Always protect tires against all con-
tact with oil, grease and fuels.
Special characteristics of
winter tires
Choosing the right tire
BMW recommends winter tires Ð M+S tires
for use in cold winter driving conditions.
Although all-season M+S tires provide
better winter traction than standard
summer tires with H, V, W and ZR speed
ratings, they generally fail to provide the
same levels of cold-weather performance
as winter tires.
When mounting, always install winter tires
of a single tread configuration and from a
single manufacturer on all four wheels to
ensure safe tracking and secure steering
response.
Observing speed ratings
Never exceed the maximum speed for
which the winter tires are rated.
Unprofessional attempts by laymen to ser-
vice tires can lead to damage and acci-
dents.
Have this work performed by skilled pro-
fessionals only. The technicians at your
BMW center will be glad to assist you with
the required professional knowledge and
specialized equipment.<
Tire condition, tire pressure
Because winter tires display a noticeable
loss in their ability to cope with cold-wea-
ther driving conditions once the tread
wears to below 0.16 in (4 mm), to ensure
continued safety you should always have
such tires replaced.
Always maintain the specified inflation
pressures in all tires, and remember to
have the wheel and tire assemblies bal-
anced every time either a wheel or a tire is
replaced.
Snow chains*
BMW only tests certain snow chains, clas-
sifies them as road-safe and approves
them. Consult your BMW center for more
information. BMW recommends only using
these approved, narrow-link snow chains.
These snow chains are approved exclusi-
vely for use in pairs on the rear wheels, and
should only be mounted on tires with the
dimensions 245/50 R 18. Observe the
manufacturer's instructions when installing
snow chains. Do not exceed a vehicle
speed of 30 mph (50 km/h) with the chains
mounted.
Page 214 of 229
Everything from A to Z
212
A
"ABC..." for
navigation 132, 133
ABS Antilock Braking
System 96
ACC, refer to Active cruise
control 75
"ACCEPT" for
navigation 136, 142
Accessories 8
Accessory position 61
Activated-charcoal
filter 111
Activation
Ð portable phone 174
Activation time 113
Active cruise control 75
Ð malfunctions 81
Active head restraints,
front 48
Active seat 52
Active seat ventilation 51
Adapter for spare key 34
Adaptive brake lamp 101
Adding washer fluid 73
"Address book" 140
Adjusting
Ð head restraints 47
Ð lumbar support 46
Ð seats 46
Ð shoulder support 46
Ð thigh support 46
Airbags 55
Air distribution 107, 109
Air outlet vents 105
Air pressure, refer to Tire
inflation pressure 184
Air supply 107
Ð rear air conditioner 111
AKI, refer to Fuel
specifications 183Alarm system 41
Ð avoiding unintentional
alarms 41
All-season tires 188
"AM..." 146, 149, 151
AM waveband 149
Anchorages 126
"ANGLE" in DVD mode 167
Antifreeze 191
Ð washer fluid 73
Antilock Braking System
ABS 96
Anti-theft system 35, 41
Approved gross vehicle
weight 210
Aquaplaning, refer to
Hydroplaning 124
Armrest, refer to Center
armrest 120
Arrival time 88
"Arrow display" for
navigation 138
"AS ADDRESS"
Ð current location 142
Ð destination
input 132, 134, 135
Ð destination list 136
Ð directory creation 140
Ð home address 141
Ð in address directory 141
Ð most recent
destinations 136
"AS DEST."
Ð destination
input 132, 134, 135
Ð directory creation 140
Ð home address 141
Ð most recent
destinations 136
Ð with address
directory 140Ashtray
Ð front 118
Ð rear 119
Assistance window
Ð Control Center 23
Ð help texts 23
Ð status lines 24
AUC Automatic
recirculated-air
control 107
"Audio" 146, 149
Audio 146
Ð adjusting the tone 147
Ð controls 146
Ð switching on/off 147
Ð volume 147
"AUDIO" in DVD mode 167
"AUTO", refer to Automatic
climate control 109
"AUTO" for audio
operation 151
Automatic
Ð air distribution 107
Ð cruise control 73
Ð headlamp control 102
Ð luggage compartment lid
control 36, 40
Ð steering wheel
adjustment 53
Automatic car wash, refer
to Care manual
Automatic climate
control 105
Ð rear air conditioner 111
Ð rear cooler 116
Ð settings 107
Ð settings in Control
Display 109
Automatic curb monitor 55
Automatic Hold
Ð parking 64
Ð parking brake 63
Everything from A to Z
Contents
Page 219 of 229
217
At a glance
Controls
Driving tips
Communications
Navigation
Entertainment
Mobility
Reference
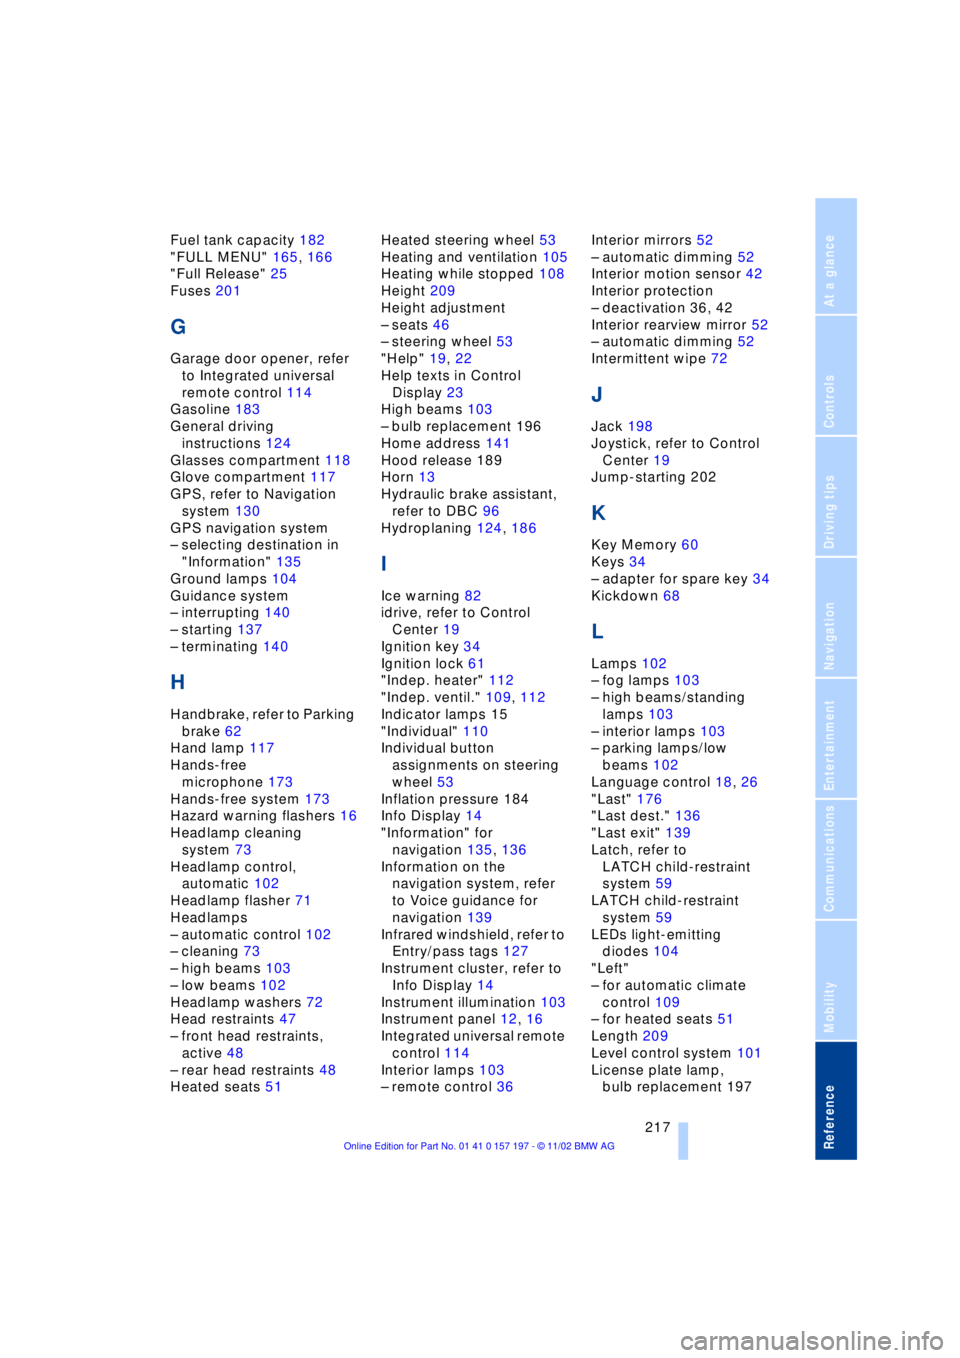
Fuel tank capacity 182
"FULL MENU" 165, 166
"Full Release" 25
Fuses 201
G
Garage door opener, refer
to Integrated universal
remote control 114
Gasoline 183
General driving
instructions 124
Glasses compartment 118
Glove compartment 117
GPS, refer to Navigation
system 130
GPS navigation system
Ð selecting destination in
"Information" 135
Ground lamps 104
Guidance system
Ð interrupting 140
Ð starting 137
Ð terminating 140
H
Handbrake, refer to Parking
brake 62
Hand lamp 117
Hands-free
microphone 173
Hands-free system 173
Hazard warning flashers 16
Headlamp cleaning
system 73
Headlamp control,
automatic 102
Headlamp flasher 71
Headlamps
Ð automatic control 102
Ð cleaning 73
Ð high beams 103
Ð low beams 102
Headlamp washers 72
Head restraints 47
Ð front head restraints,
active 48
Ð rear head restraints 48
Heated seats 51Heated steering wheel 53
Heating and ventilation 105
Heating while stopped 108
Height 209
Height adjustment
Ð seats 46
Ð steering wheel 53
"Help" 19, 22
Help texts in Control
Display 23
High beams 103
Ð bulb replacement 196
Home address 141
Hood release 189
Horn 13
Hydraulic brake assistant,
refer to DBC 96
Hydroplaning 124, 186
I
Ice warning 82
idrive, refer to Control
Center 19
Ignition key 34
Ignition lock 61
"Indep. heater" 112
"Indep. ventil." 109, 112
Indicator lamps 15
"Individual" 110
Individual button
assignments on steering
wheel 53
Inflation pressure 184
Info Display 14
"Information" for
navigation 135, 136
Information on the
navigation system, refer
to Voice guidance for
navigation 139
Infrared windshield, refer to
Entry/pass tags 127
Instrument cluster, refer to
Info Display 14
Instrument illumination 103
Instrument panel 12, 16
Integrated universal remote
control 114
Interior lamps 103
Ð remote control 36Interior mirrors 52
Ð automatic dimming 52
Interior motion sensor 42
Interior protection
Ð deactivation 36, 42
Interior rearview mirror 52
Ð automatic dimming 52
Intermittent wipe 72
J
Jack 198
Joystick, refer to Control
Center 19
Jump-starting 202
K
Key Memory 60
Keys 34
Ð adapter for spare key 34
Kickdown 68
L
Lamps 102
Ð fog lamps 103
Ð high beams/standing
lamps 103
Ð interior lamps 103
Ð parking lamps/low
beams 102
Language control 18, 26
"Last" 176
"Last dest." 136
"Last exit" 139
Latch, refer to
LATCH child-restraint
system 59
LATCH child-restraint
system 59
LEDs light-emitting
diodes 104
"Left"
Ð for automatic climate
control 109
Ð for heated seats 51
Length 209
Level control system 101
License plate lamp,
bulb replacement 197
Page 222 of 229
Everything from A to Z
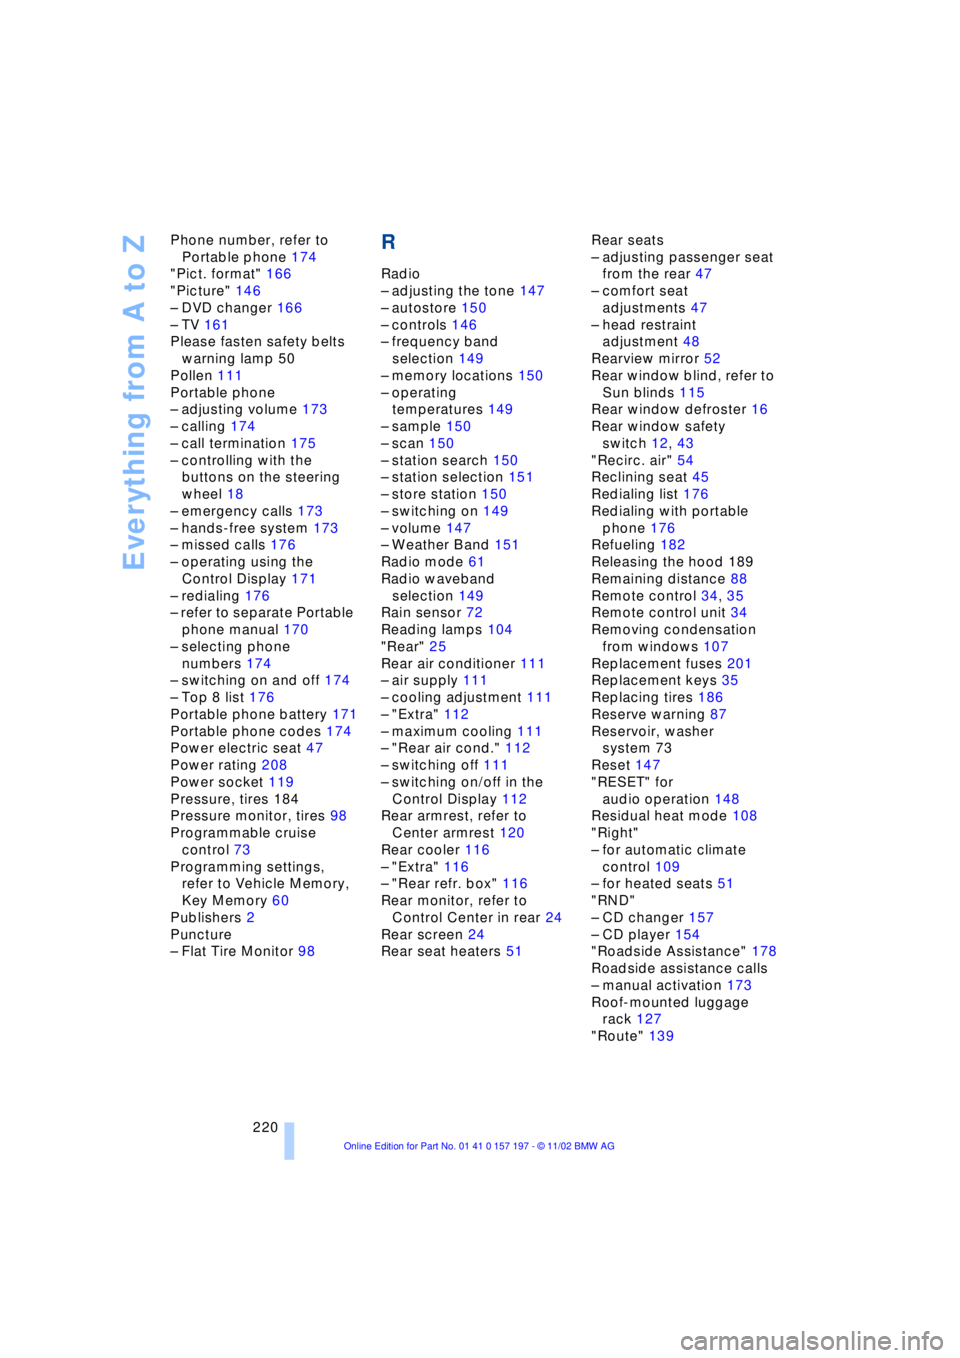
220 Phone number, refer to
Portable phone 174
"Pict. format" 166
"Picture" 146
Ð DVD changer 166
Ð TV 161
Please fasten safety belts
warning lamp 50
Pollen 111
Portable phone
Ð adjusting volume 173
Ð calling 174
Ð call termination 175
Ð controlling with the
buttons on the steering
wheel 18
Ð emergency calls 173
Ð hands-free system 173
Ð missed calls 176
Ð operating using the
Control Display 171
Ð redialing 176
Ð refer to separate Portable
phone manual 170
Ð selecting phone
numbers 174
Ð switching on and off 174
Ð Top 8 list 176
Portable phone battery 171
Portable phone codes 174
Power electric seat 47
Power rating 208
Power socket 119
Pressure, tires 184
Pressure monitor, tires 98
Programmable cruise
control 73
Programming settings,
refer to Vehicle Memory,
Key Memory 60
Publishers 2
Puncture
Ð Flat Tire Monitor 98
R
Radio
Ð adjusting the tone 147
Ð autostore 150
Ð controls 146
Ð frequency band
selection 149
Ð memory locations 150
Ð operating
temperatures 149
Ð sample 150
Ð scan 150
Ð station search 150
Ð station selection 151
Ð store station 150
Ð switching on 149
Ð volume 147
Ð Weather Band 151
Radio mode 61
Radio waveband
selection 149
Rain sensor 72
Reading lamps 104
"Rear" 25
Rear air conditioner 111
Ð air supply 111
Ð cooling adjustment 111
Ð "Extra" 112
Ð maximum cooling 111
Ð "Rear air cond." 112
Ð switching off 111
Ð switching on/off in the
Control Display 112
Rear armrest, refer to
Center armrest 120
Rear cooler 116
Ð "Extra" 116
Ð "Rear refr. box" 116
Rear monitor, refer to
Control Center in rear 24
Rear screen 24
Rear seat heaters 51Rear seats
Ð adjusting passenger seat
from the rear 47
Ð comfort seat
adjustments 47
Ð head restraint
adjustment 48
Rearview mirror 52
Rear window blind, refer to
Sun blinds 115
Rear window defroster 16
Rear window safety
switch 12, 43
"Recirc. air" 54
Reclining seat 45
Redialing list 176
Redialing with portable
phone 176
Refueling 182
Releasing the hood 189
Remaining distance 88
Remote control 34, 35
Remote control unit 34
Removing condensation
from windows 107
Replacement fuses 201
Replacement keys 35
Replacing tires 186
Reserve warning 87
Reservoir, washer
system 73
Reset 147
"RESET" for
audio operation 148
Residual heat mode 108
"Right"
Ð for automatic climate
control 109
Ð for heated seats 51
"RND"
Ð CD changer 157
Ð CD player 154
"Roadside Assistance" 178
Roadside assistance calls
Ð manual activation 173
Roof-mounted luggage
rack 127
"Route" 139