warning lights BMW ACTIVE HYBRID 5 2015 F10H Owner's Guide
[x] Cancel search | Manufacturer: BMW, Model Year: 2015, Model line: ACTIVE HYBRID 5, Model: BMW ACTIVE HYBRID 5 2015 F10HPages: 257, PDF Size: 5.26 MB
Page 142 of 257
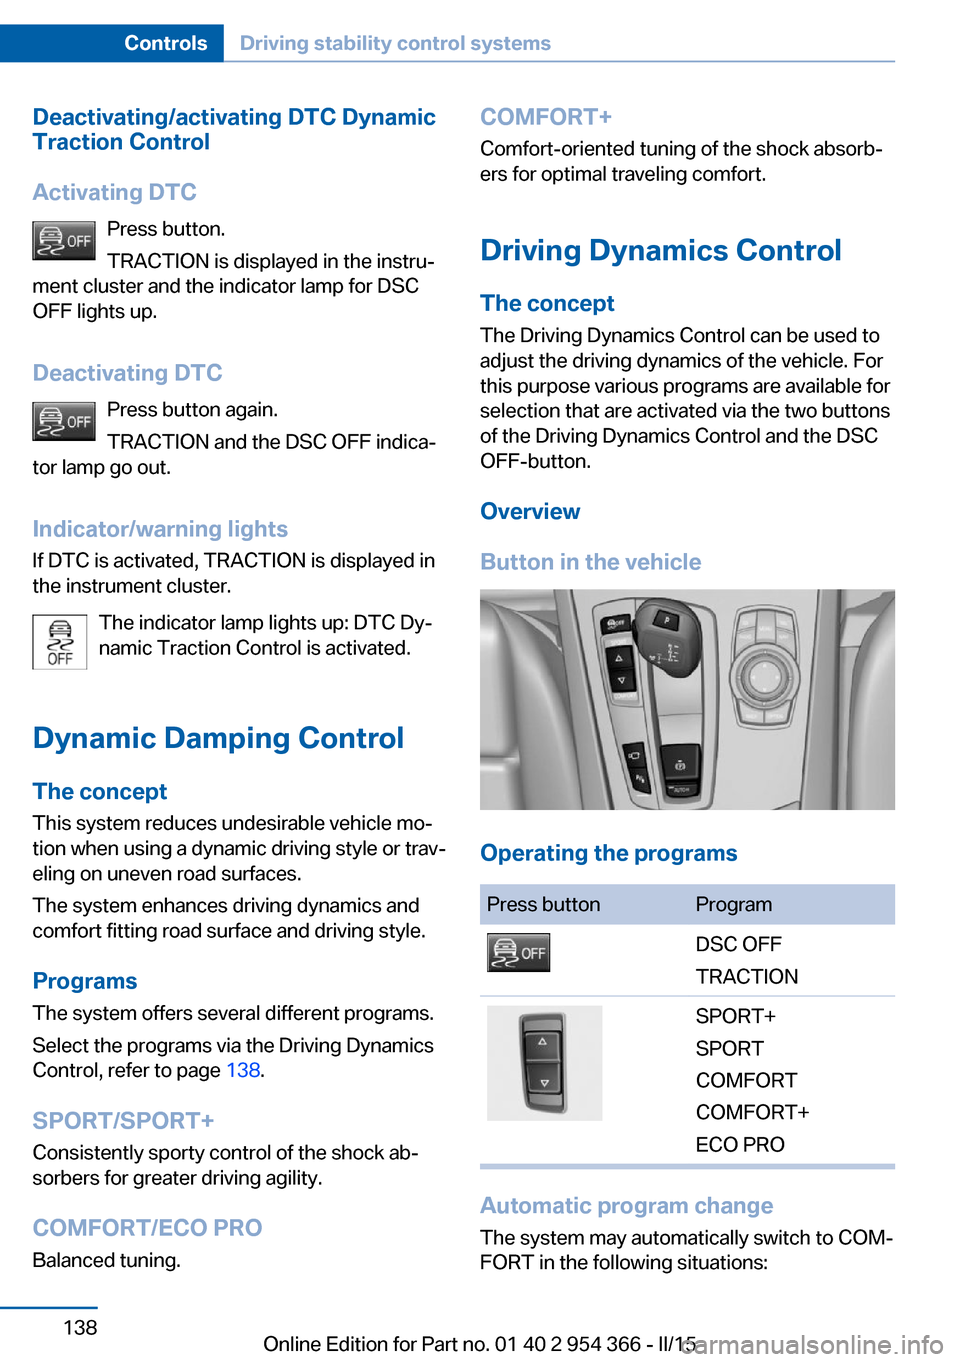
Deactivating/activating DTC Dynamic
Traction Control
Activating DTC Press button.
TRACTION is displayed in the instru‐
ment cluster and the indicator lamp for DSC
OFF lights up.
Deactivating DTC Press button again.
TRACTION and the DSC OFF indica‐
tor lamp go out.
Indicator/warning lights
If DTC is activated, TRACTION is displayed in
the instrument cluster.
The indicator lamp lights up: DTC Dy‐
namic Traction Control is activated.
Dynamic Damping Control The conceptThis system reduces undesirable vehicle mo‐
tion when using a dynamic driving style or trav‐
eling on uneven road surfaces.
The system enhances driving dynamics and
comfort fitting road surface and driving style.
Programs The system offers several different programs.
Select the programs via the Driving Dynamics
Control, refer to page 138.
SPORT/SPORT+
Consistently sporty control of the shock ab‐
sorbers for greater driving agility.
COMFORT/ECO PRO Balanced tuning.COMFORT+
Comfort-oriented tuning of the shock absorb‐
ers for optimal traveling comfort.
Driving Dynamics Control The conceptThe Driving Dynamics Control can be used to
adjust the driving dynamics of the vehicle. For
this purpose various programs are available for
selection that are activated via the two buttons
of the Driving Dynamics Control and the DSC
OFF-button.
Overview
Button in the vehicle
Operating the programs
Press buttonProgramDSC OFF
TRACTIONSPORT+
SPORT
COMFORT
COMFORT+
ECO PRO
Automatic program change
The system may automatically switch to COM‐
FORT in the following situations:
Seite 138ControlsDriving stability control systems138
Online Edition for Part no. 01 40 2 954 366 - II/15
Page 143 of 257
▷Failure of Dynamic Damping Control.▷Failure of DSC Dynamic Stability Control.▷The vehicle has a flat tire.▷When activating cruise control in TRAC‐
TION or DSC OFF mode.
DSC OFF
When DSC OFF, refer to page 137, is active,
driving stability is limited during acceleration
and when driving in curves.
TRACTION When TRACTION is active, the vehicle has
maximum traction on loose road surfaces. DTC
Dynamic Traction Control, refer to page 138, is
activated. Driving stability is limited during ac‐
celeration and when driving in curves.
SPORT+
Sporty driving with optimized suspension and
adapted engine control with limited driving sta‐
bilization.
Dynamic Traction Control is switched on.
The driver handles several of the stabilization
tasks.
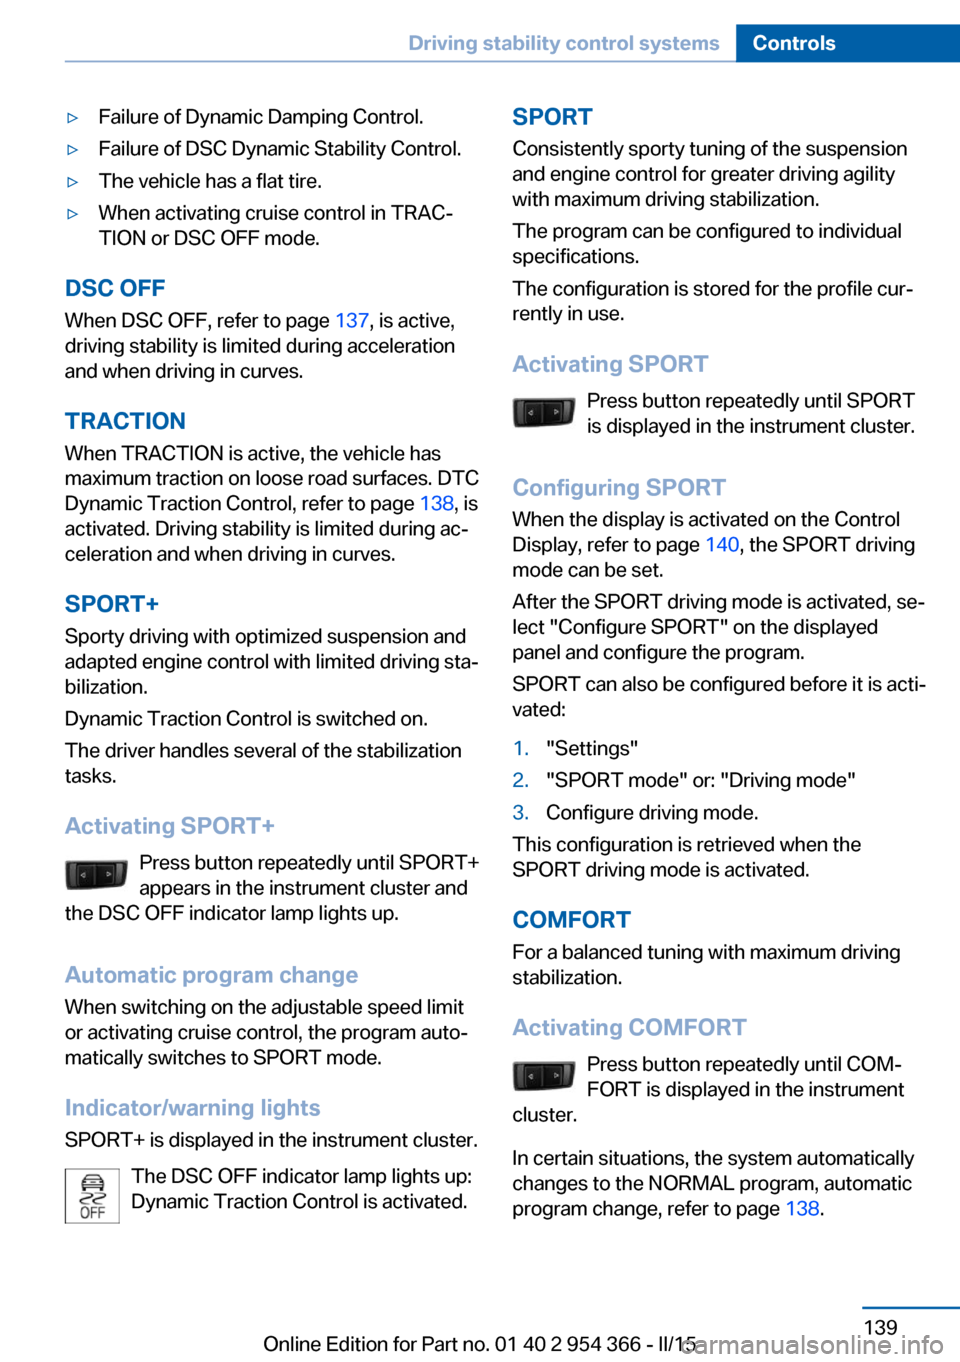
Activating SPORT+ Press button repeatedly until SPORT+
appears in the instrument cluster and
the DSC OFF indicator lamp lights up.
Automatic program change When switching on the adjustable speed limit
or activating cruise control, the program auto‐
matically switches to SPORT mode.
Indicator/warning lights
SPORT+ is displayed in the instrument cluster.
The DSC OFF indicator lamp lights up:
Dynamic Traction Control is activated.
SPORT
Consistently sporty tuning of the suspension
and engine control for greater driving agility
with maximum driving stabilization.
The program can be configured to individual
specifications.
The configuration is stored for the profile cur‐
rently in use.
Activating SPORT Press button repeatedly until SPORT
is displayed in the instrument cluster.
Configuring SPORT When the display is activated on the Control
Display, refer to page 140, the SPORT driving
mode can be set.
After the SPORT driving mode is activated, se‐
lect "Configure SPORT" on the displayed
panel and configure the program.
SPORT can also be configured before it is acti‐
vated:1."Settings"2."SPORT mode" or: "Driving mode"3.Configure driving mode.
This configuration is retrieved when the
SPORT driving mode is activated.
COMFORT For a balanced tuning with maximum driving
stabilization.
Activating COMFORT Press button repeatedly until COM‐
FORT is displayed in the instrument
cluster.
In certain situations, the system automatically
changes to the NORMAL program, automatic
program change, refer to page 138.
Seite 139Driving stability control systemsControls139
Online Edition for Part no. 01 40 2 954 366 - II/15
Page 149 of 257
Displays in the instrument cluster
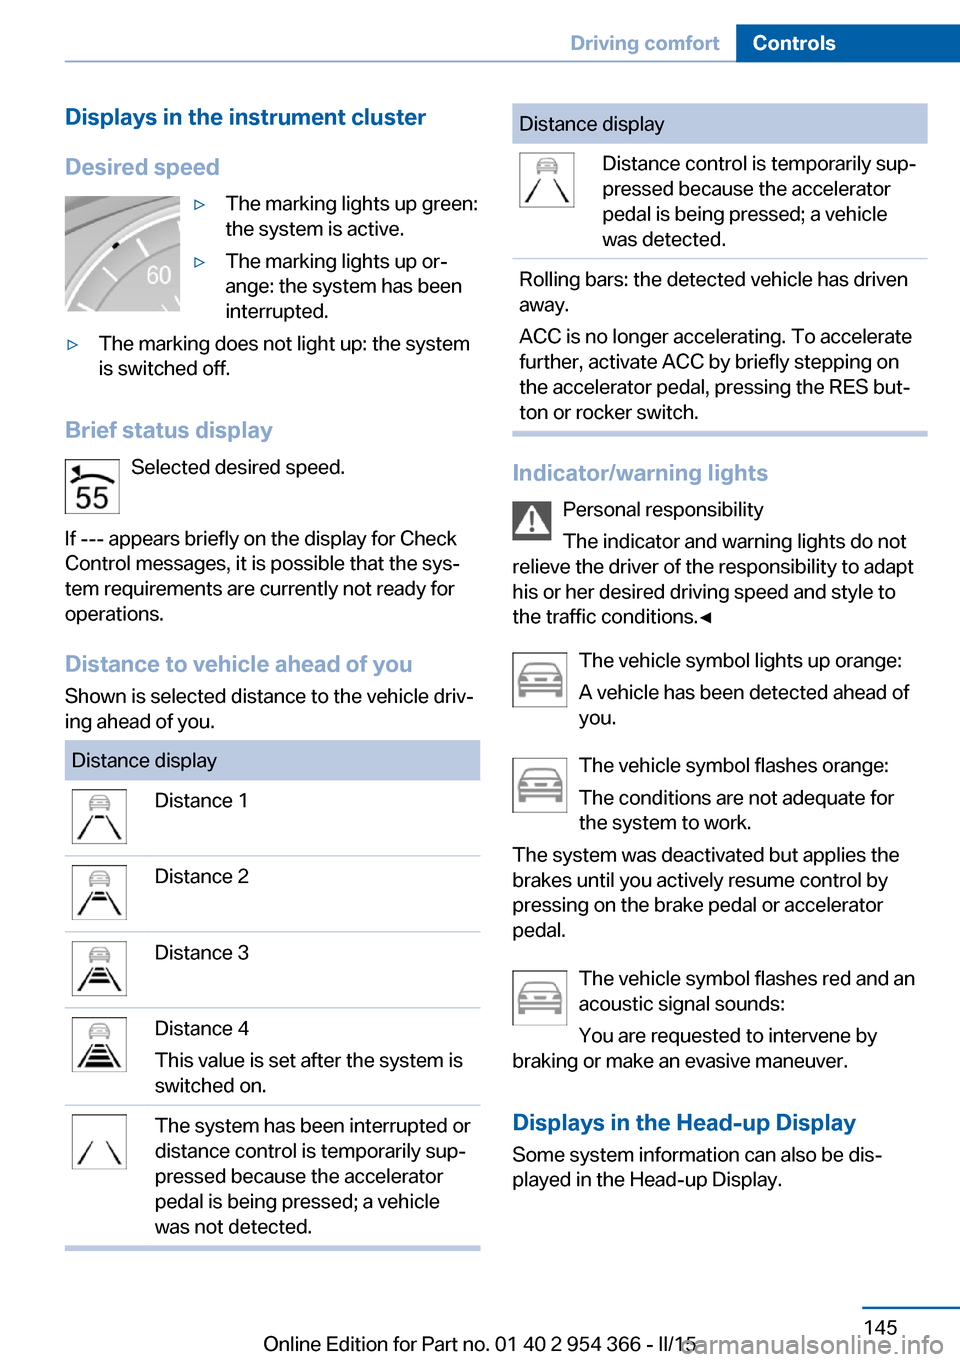
Desired speed▷The marking lights up green:
the system is active.▷The marking lights up or‐
ange: the system has been
interrupted.▷The marking does not light up: the system
is switched off.
Brief status display
Selected desired speed.
If --- appears briefly on the display for Check
Control messages, it is possible that the sys‐
tem requirements are currently not ready for
operations.
Distance to vehicle ahead of you Shown is selected distance to the vehicle driv‐
ing ahead of you.
Distance displayDistance 1Distance 2Distance 3Distance 4
This value is set after the system is
switched on.The system has been interrupted or
distance control is temporarily sup‐
pressed because the accelerator
pedal is being pressed; a vehicle
was not detected.Distance displayDistance control is temporarily sup‐
pressed because the accelerator
pedal is being pressed; a vehicle
was detected.Rolling bars: the detected vehicle has driven
away.
ACC is no longer accelerating. To accelerate
further, activate ACC by briefly stepping on
the accelerator pedal, pressing the RES but‐
ton or rocker switch.
Indicator/warning lights
Personal responsibility
The indicator and warning lights do not
relieve the driver of the responsibility to adapt
his or her desired driving speed and style to
the traffic conditions.◀
The vehicle symbol lights up orange:
A vehicle has been detected ahead of
you.
The vehicle symbol flashes orange:
The conditions are not adequate for
the system to work.
The system was deactivated but applies the
brakes until you actively resume control by
pressing on the brake pedal or accelerator
pedal.
The vehicle symbol flashes red and an
acoustic signal sounds:
You are requested to intervene by
braking or make an evasive maneuver.
Displays in the Head-up Display Some system information can also be dis‐
played in the Head-up Display.
Seite 145Driving comfortControls145
Online Edition for Part no. 01 40 2 954 366 - II/15
Page 155 of 257
Automatic deactivation during forward
travel
The system switches off when a certain driving
distance or speed is exceeded.
Switch the system back on if needed.
With front PDC: switching on/off
manually
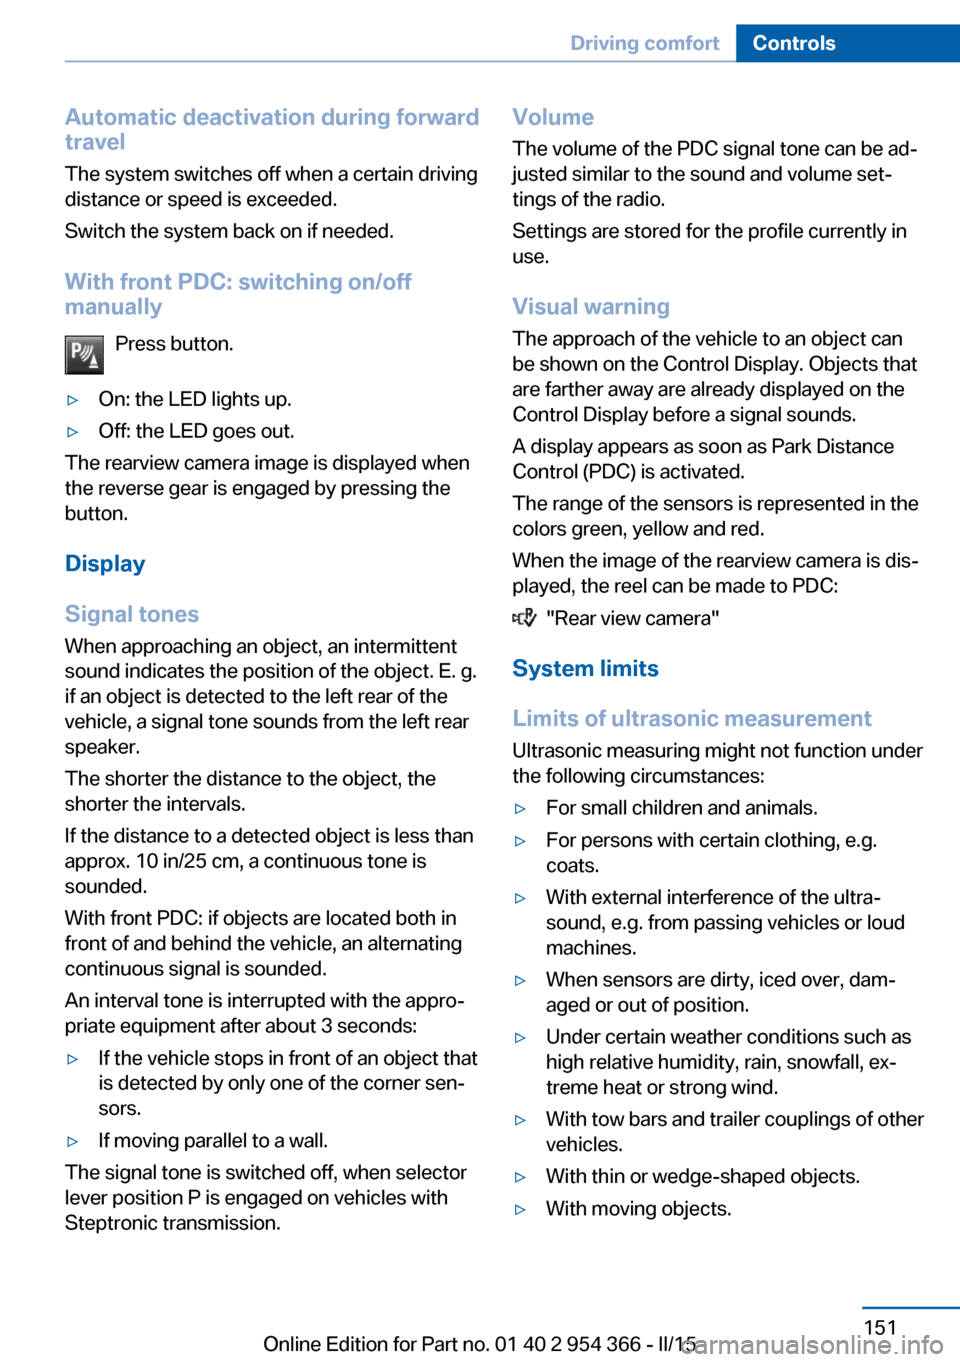
Press button.▷On: the LED lights up.▷Off: the LED goes out.
The rearview camera image is displayed when
the reverse gear is engaged by pressing the
button.
Display
Signal tones When approaching an object, an intermittent
sound indicates the position of the object. E. g.
if an object is detected to the left rear of the
vehicle, a signal tone sounds from the left rear
speaker.
The shorter the distance to the object, the
shorter the intervals.
If the distance to a detected object is less than
approx. 10 in/25 cm, a continuous tone is
sounded.
With front PDC: if objects are located both in
front of and behind the vehicle, an alternating
continuous signal is sounded.
An interval tone is interrupted with the appro‐
priate equipment after about 3 seconds:
▷If the vehicle stops in front of an object that
is detected by only one of the corner sen‐
sors.▷If moving parallel to a wall.
The signal tone is switched off, when selector
lever position P is engaged on vehicles with
Steptronic transmission.
Volume
The volume of the PDC signal tone can be ad‐
justed similar to the sound and volume set‐
tings of the radio.
Settings are stored for the profile currently in
use.
Visual warning
The approach of the vehicle to an object can
be shown on the Control Display. Objects that
are farther away are already displayed on the
Control Display before a signal sounds.
A display appears as soon as Park Distance
Control (PDC) is activated.
The range of the sensors is represented in the
colors green, yellow and red.
When the image of the rearview camera is dis‐
played, the reel can be made to PDC:
"Rear view camera"
System limits
Limits of ultrasonic measurement
Ultrasonic measuring might not function under
the following circumstances:
▷For small children and animals.▷For persons with certain clothing, e.g.
coats.▷With external interference of the ultra‐
sound, e.g. from passing vehicles or loud
machines.▷When sensors are dirty, iced over, dam‐
aged or out of position.▷Under certain weather conditions such as
high relative humidity, rain, snowfall, ex‐
treme heat or strong wind.▷With tow bars and trailer couplings of other
vehicles.▷With thin or wedge-shaped objects.▷With moving objects.Seite 151Driving comfortControls151
Online Edition for Part no. 01 40 2 954 366 - II/15
Page 156 of 257
▷With elevated, protruding objects such as
ledges or cargo.▷With objects with corners and sharp edges.▷With objects with a fine surface structure
such as fences.▷For objects with porous surfaces.
Low objects already displayed, e.g., curbs, can
move into the blind area of the sensors before
or after a continuous tone sounds.
False warnings
PDC may issue a warning under the following conditions even though there is no obstacle
within the detection range:
▷In heavy rain.▷When sensors are very dirty or covered
with ice.▷When sensors are covered in snow.▷On rough road surfaces.▷On uneven surfaces, such as speed
bumps.▷In large buildings with right angles and
smooth walls, e.g., in underground ga‐
rages.▷In automatic car washes.▷Through heavy pollution.▷Due to other ultrasound sources, e.g.,
sweeping machines, high pressure steam
cleaners or neon lights.
Malfunction
A Check Control message is displayed.
The range of the sensors is shown as a shaded
area on the Control Display.
PDC has failed. Have the system checked.
To ensure full functionality:
▷Keep the sensors clean and free of ice.▷dimmedDo not put any stickers on sen‐
sors.▷When using high-pressure washers, do not
spray the sensors for long periods and
maintain a distance of at least 12 in/30 cm.
Surround View
The concept Surround View comprises various camera as‐
sistance systems that help the driver when
parking, maneuvering, and at complex exits
and intersections.
▷Rearview camera, refer to page 152▷Side View, refer to page 155.▷Top View, refer to page 156.
Rearview camera
The concept The rearview camera provides assistance in
parking and maneuvering backwards. The area
behind the vehicle is shown on the Control
Display.
Hints Check the traffic situation as well
Check the traffic situation around the ve‐
hicle with your own eyes. Otherwise, an acci‐
dent could result from road users or objects
that are not lidtured by the camera.◀
Seite 152ControlsDriving comfort152
Online Edition for Part no. 01 40 2 954 366 - II/15
Page 161 of 257
Cameras
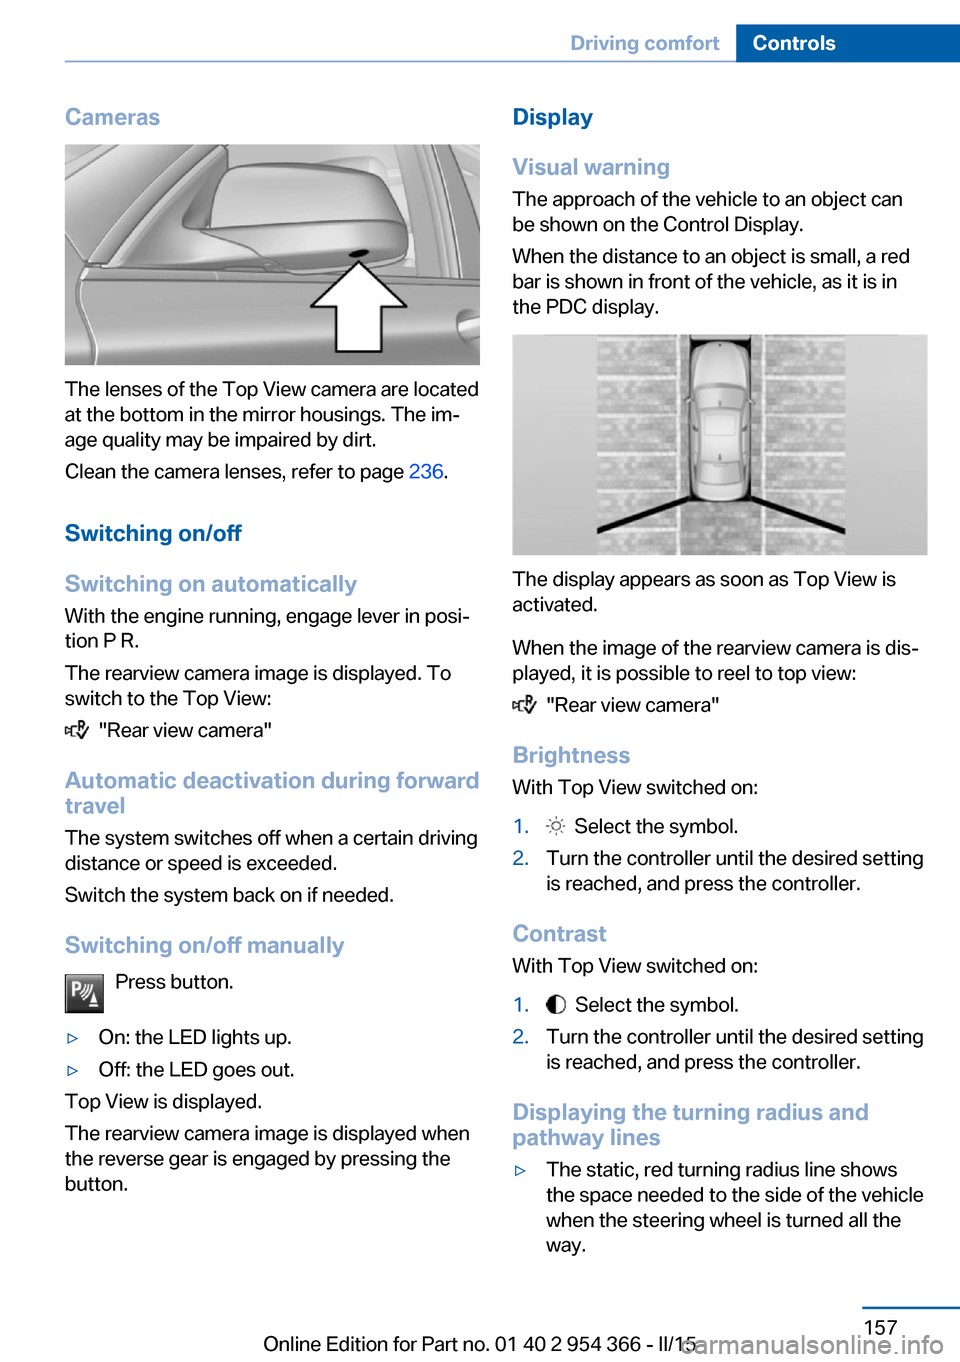
The lenses of the Top View camera are located
at the bottom in the mirror housings. The im‐
age quality may be impaired by dirt.
Clean the camera lenses, refer to page 236.
Switching on/off
Switching on automatically With the engine running, engage lever in posi‐
tion P R.
The rearview camera image is displayed. To
switch to the Top View:
"Rear view camera"
Automatic deactivation during forward
travel
The system switches off when a certain driving
distance or speed is exceeded.
Switch the system back on if needed.
Switching on/off manually Press button.
▷On: the LED lights up.▷Off: the LED goes out.
Top View is displayed.
The rearview camera image is displayed when
the reverse gear is engaged by pressing the
button.
Display
Visual warning
The approach of the vehicle to an object can
be shown on the Control Display.
When the distance to an object is small, a red
bar is shown in front of the vehicle, as it is in
the PDC display.
The display appears as soon as Top View is
activated.
When the image of the rearview camera is dis‐
played, it is possible to reel to top view:
"Rear view camera"
Brightness
With Top View switched on:
1. Select the symbol.2.Turn the controller until the desired setting
is reached, and press the controller.
Contrast
With Top View switched on:
1. Select the symbol.2.Turn the controller until the desired setting
is reached, and press the controller.
Displaying the turning radius and
pathway lines
▷The static, red turning radius line shows
the space needed to the side of the vehicle
when the steering wheel is turned all the
way.Seite 157Driving comfortControls157
Online Edition for Part no. 01 40 2 954 366 - II/15
Page 223 of 257
Socket for OBD Onboard
Diagnosis
Note Socket for Onboard Diagnosis
The socket for onboard diagnostics may
only be used by the service center or a work‐
shop that operates in accordance with the
specifications of the vehicle manufacturer with
correspondingly trained personnel and other
authorized persons. Otherwise, use may result
in operating problems for the vehicle.◀
Position
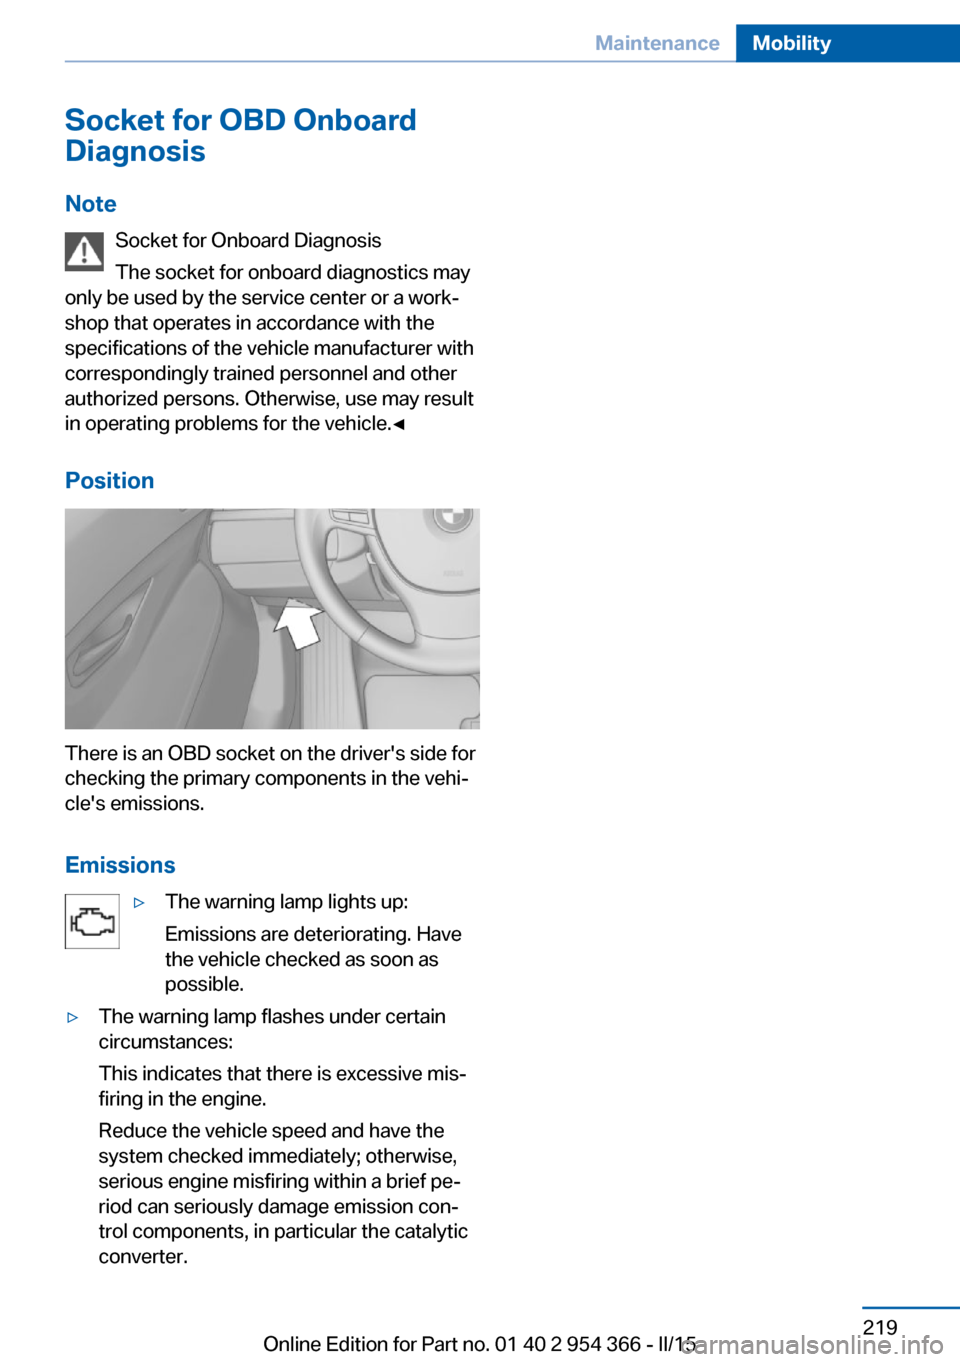
There is an OBD socket on the driver's side for
checking the primary components in the vehi‐
cle's emissions.
Emissions
▷The warning lamp lights up:
Emissions are deteriorating. Have
the vehicle checked as soon as
possible.▷The warning lamp flashes under certain
circumstances:
This indicates that there is excessive mis‐
firing in the engine.
Reduce the vehicle speed and have the
system checked immediately; otherwise,
serious engine misfiring within a brief pe‐
riod can seriously damage emission con‐
trol components, in particular the catalytic
converter.Seite 219MaintenanceMobility219
Online Edition for Part no. 01 40 2 954 366 - II/15
Page 231 of 257
Breakdown assistanceVehicle features and options
This chapter describes all standard, country-
specific and optional features offered with the
series. It also describes features that are not
necessarily available in your car, e. g., due to
the selected options or country versions. This
also applies to safety-related functions and
systems. The respectively applicable country
provisions must be observed when using the
respective features and systems.
Hazard warning flashers
The button is located in the center console.
Intelligent Emergency
Request
The concept In case of an emergency, an Emergency Re‐
quest can be made through this system.
General information
Only press the SOS button in an emergency.
Hints
Emergency Request not guaranteed
For technical reasons, the Emergency
Request cannot be guaranteed under unfavor‐
able conditions.◀
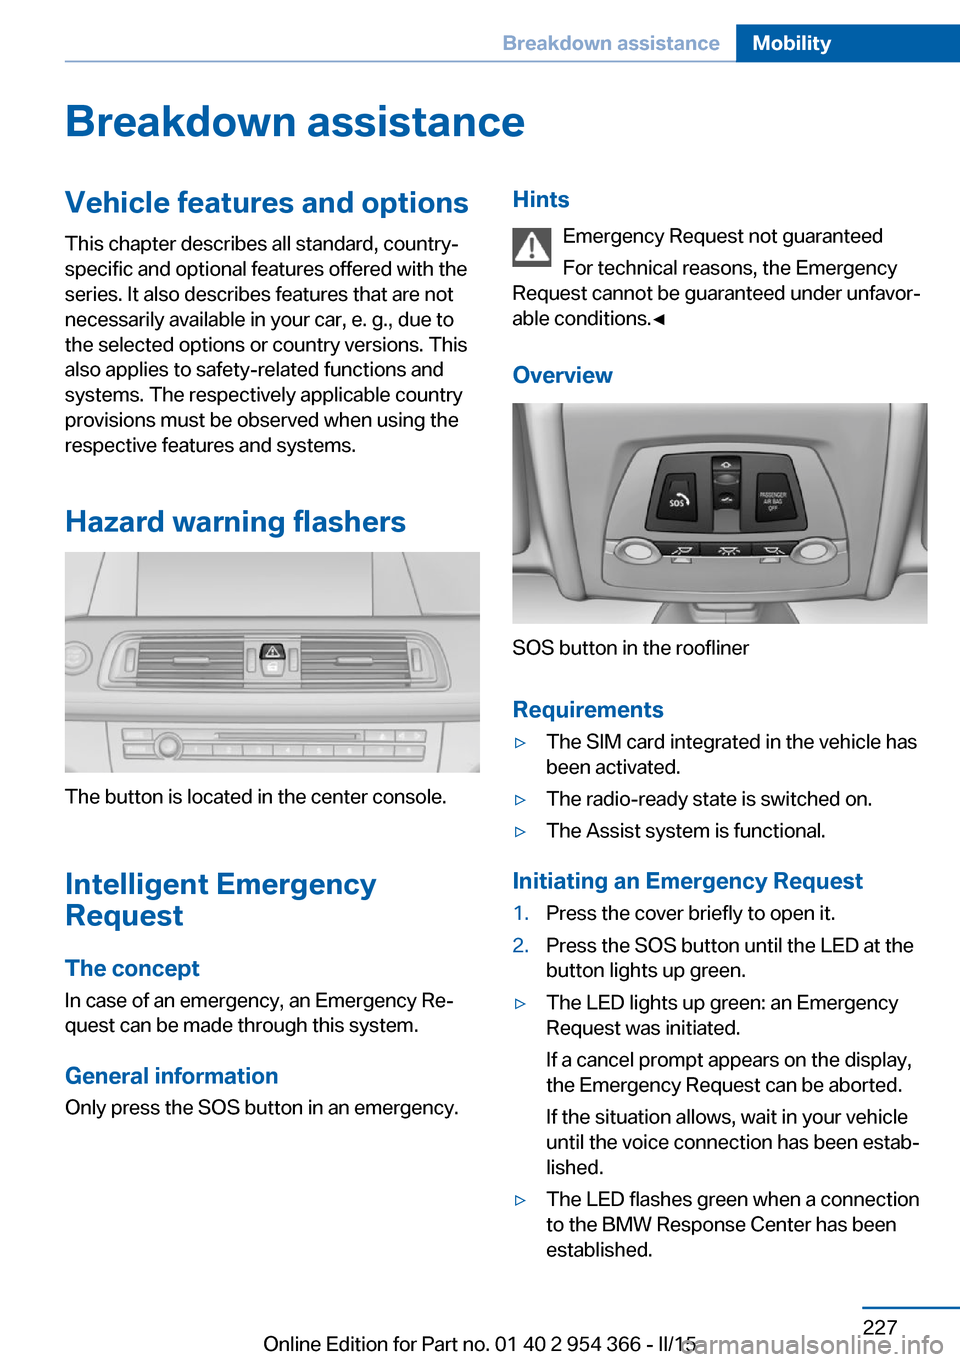
Overview
SOS button in the roofliner
Requirements
▷The SIM card integrated in the vehicle has
been activated.▷The radio-ready state is switched on.▷The Assist system is functional.
Initiating an Emergency Request
1.Press the cover briefly to open it.2.Press the SOS button until the LED at the
button lights up green.▷The LED lights up green: an Emergency
Request was initiated.
If a cancel prompt appears on the display,
the Emergency Request can be aborted.
If the situation allows, wait in your vehicle
until the voice connection has been estab‐
lished.▷The LED flashes green when a connection
to the BMW Response Center has been
established.Seite 227Breakdown assistanceMobility227
Online Edition for Part no. 01 40 2 954 366 - II/15
Page 246 of 257
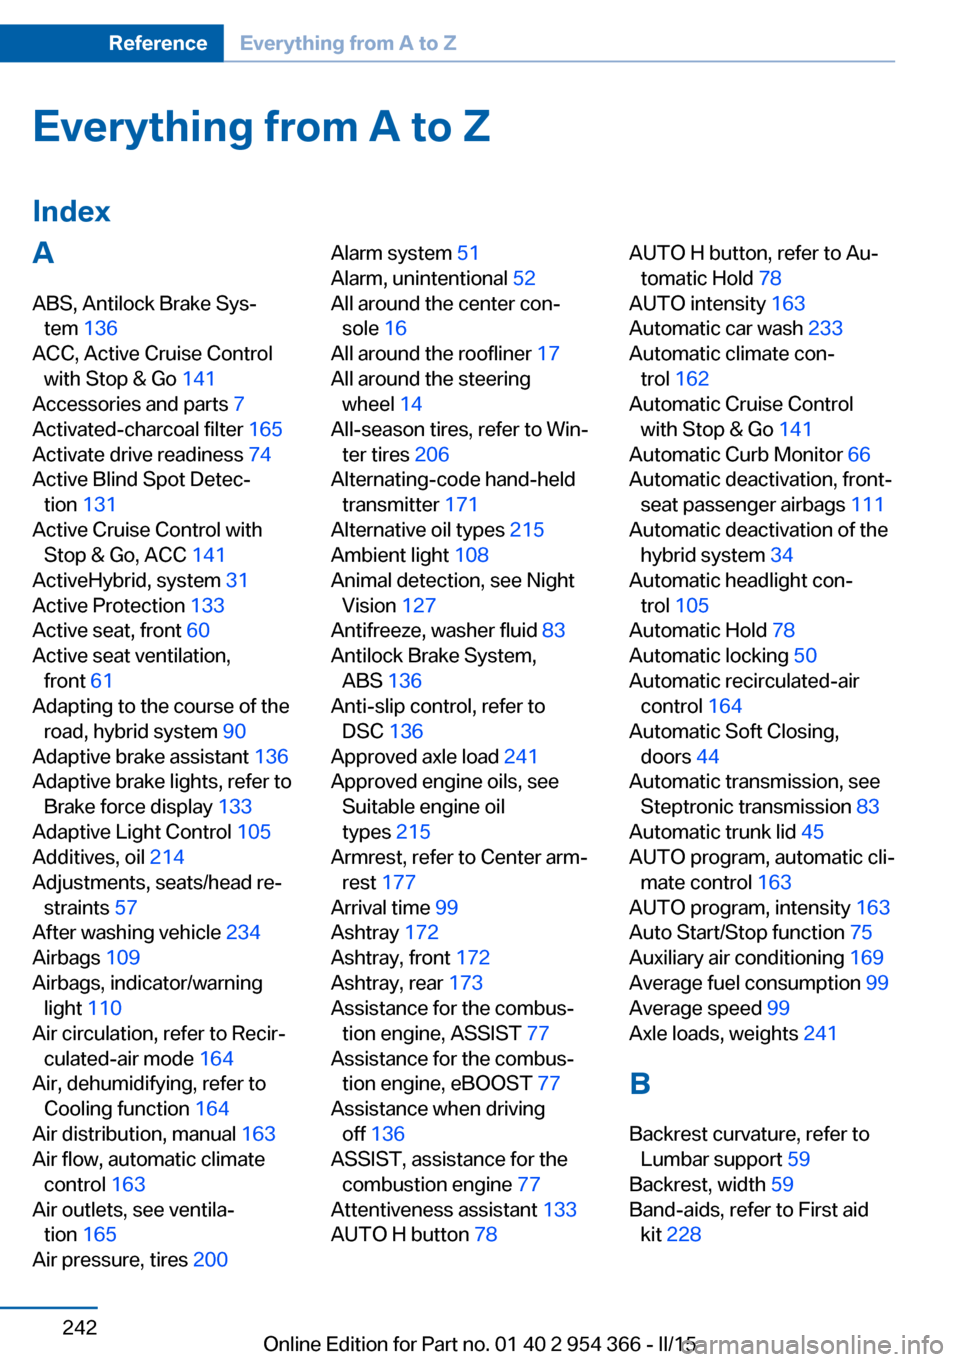
Everything from A to Z
IndexA ABS, Antilock Brake Sys‐ tem 136
ACC, Active Cruise Control with Stop & Go 141
Accessories and parts 7
Activated-charcoal filter 165
Activate drive readiness 74
Active Blind Spot Detec‐ tion 131
Active Cruise Control with Stop & Go, ACC 141
ActiveHybrid, system 31
Active Protection 133
Active seat, front 60
Active seat ventilation, front 61
Adapting to the course of the road, hybrid system 90
Adaptive brake assistant 136
Adaptive brake lights, refer to Brake force display 133
Adaptive Light Control 105
Additives, oil 214
Adjustments, seats/head re‐ straints 57
After washing vehicle 234
Airbags 109
Airbags, indicator/warning light 110
Air circulation, refer to Recir‐ culated-air mode 164
Air, dehumidifying, refer to Cooling function 164
Air distribution, manual 163
Air flow, automatic climate control 163
Air outlets, see ventila‐ tion 165
Air pressure, tires 200 Alarm system 51
Alarm, unintentional 52
All around the center con‐ sole 16
All around the roofliner 17
All around the steering wheel 14
All-season tires, refer to Win‐ ter tires 206
Alternating-code hand-held transmitter 171
Alternative oil types 215
Ambient light 108
Animal detection, see Night Vision 127
Antifreeze, washer fluid 83
Antilock Brake System, ABS 136
Anti-slip control, refer to DSC 136
Approved axle load 241
Approved engine oils, see Suitable engine oil
types 215
Armrest, refer to Center arm‐ rest 177
Arrival time 99
Ashtray 172
Ashtray, front 172
Ashtray, rear 173
Assistance for the combus‐ tion engine, ASSIST 77
Assistance for the combus‐ tion engine, eBOOST 77
Assistance when driving off 136
ASSIST, assistance for the combustion engine 77
Attentiveness assistant 133
AUTO H button 78 AUTO H button, refer to Au‐
tomatic Hold 78
AUTO intensity 163
Automatic car wash 233
Automatic climate con‐ trol 162
Automatic Cruise Control with Stop & Go 141
Automatic Curb Monitor 66
Automatic deactivation, front- seat passenger airbags 111
Automatic deactivation of the hybrid system 34
Automatic headlight con‐ trol 105
Automatic Hold 78
Automatic locking 50
Automatic recirculated-air control 164
Automatic Soft Closing, doors 44
Automatic transmission, see Steptronic transmission 83
Automatic trunk lid 45
AUTO program, automatic cli‐ mate control 163
AUTO program, intensity 163
Auto Start/Stop function 75
Auxiliary air conditioning 169
Average fuel consumption 99
Average speed 99
Axle loads, weights 241
B Backrest curvature, refer to Lumbar support 59
Backrest, width 59
Band-aids, refer to First aid kit 228 Seite 242ReferenceEverything from A to Z242
Online Edition for Part no. 01 40 2 954 366 - II/15
Page 247 of 257
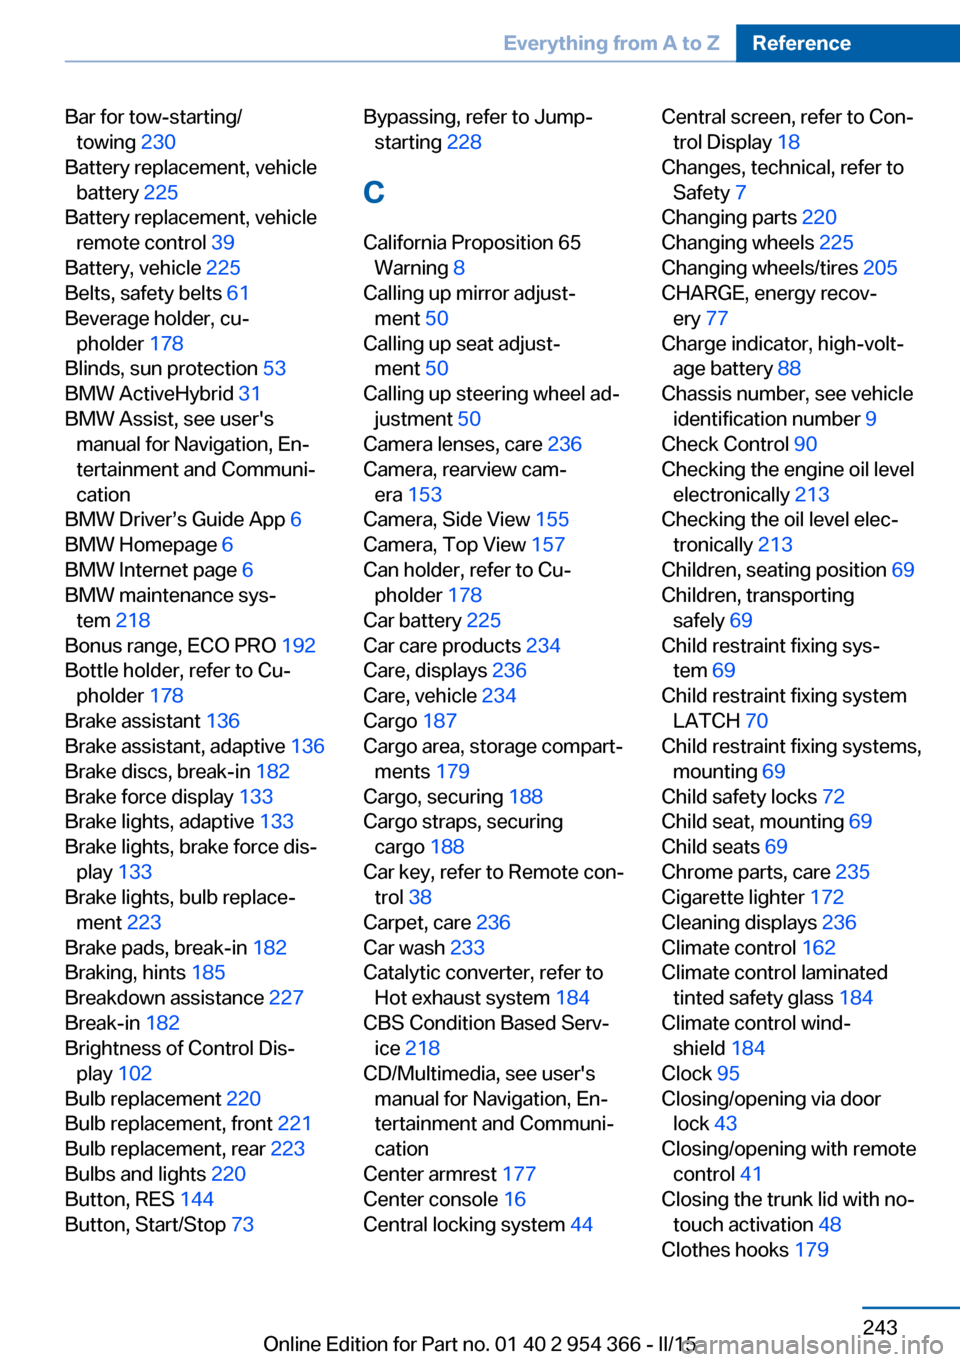
Bar for tow-starting/towing 230
Battery replacement, vehicle battery 225
Battery replacement, vehicle remote control 39
Battery, vehicle 225
Belts, safety belts 61
Beverage holder, cu‐ pholder 178
Blinds, sun protection 53
BMW ActiveHybrid 31
BMW Assist, see user's manual for Navigation, En‐
tertainment and Communi‐
cation
BMW Driver’s Guide App 6
BMW Homepage 6
BMW Internet page 6
BMW maintenance sys‐ tem 218
Bonus range, ECO PRO 192
Bottle holder, refer to Cu‐ pholder 178
Brake assistant 136
Brake assistant, adaptive 136
Brake discs, break-in 182
Brake force display 133
Brake lights, adaptive 133
Brake lights, brake force dis‐ play 133
Brake lights, bulb replace‐ ment 223
Brake pads, break-in 182
Braking, hints 185
Breakdown assistance 227
Break-in 182
Brightness of Control Dis‐ play 102
Bulb replacement 220
Bulb replacement, front 221
Bulb replacement, rear 223
Bulbs and lights 220
Button, RES 144
Button, Start/Stop 73 Bypassing, refer to Jump-
starting 228
C
California Proposition 65 Warning 8
Calling up mirror adjust‐ ment 50
Calling up seat adjust‐ ment 50
Calling up steering wheel ad‐ justment 50
Camera lenses, care 236
Camera, rearview cam‐ era 153
Camera, Side View 155
Camera, Top View 157
Can holder, refer to Cu‐ pholder 178
Car battery 225
Car care products 234
Care, displays 236
Care, vehicle 234
Cargo 187
Cargo area, storage compart‐ ments 179
Cargo, securing 188
Cargo straps, securing cargo 188
Car key, refer to Remote con‐ trol 38
Carpet, care 236
Car wash 233
Catalytic converter, refer to Hot exhaust system 184
CBS Condition Based Serv‐ ice 218
CD/Multimedia, see user's manual for Navigation, En‐
tertainment and Communi‐
cation
Center armrest 177
Center console 16
Central locking system 44 Central screen, refer to Con‐
trol Display 18
Changes, technical, refer to Safety 7
Changing parts 220
Changing wheels 225
Changing wheels/tires 205
CHARGE, energy recov‐ ery 77
Charge indicator, high-volt‐ age battery 88
Chassis number, see vehicle identification number 9
Check Control 90
Checking the engine oil level electronically 213
Checking the oil level elec‐ tronically 213
Children, seating position 69
Children, transporting safely 69
Child restraint fixing sys‐ tem 69
Child restraint fixing system LATCH 70
Child restraint fixing systems, mounting 69
Child safety locks 72
Child seat, mounting 69
Child seats 69
Chrome parts, care 235
Cigarette lighter 172
Cleaning displays 236
Climate control 162
Climate control laminated tinted safety glass 184
Climate control wind‐ shield 184
Clock 95
Closing/opening via door lock 43
Closing/opening with remote control 41
Closing the trunk lid with no- touch activation 48
Clothes hooks 179 Seite 243Everything from A to ZReference243
Online Edition for Part no. 01 40 2 954 366 - II/15