instrument cluster BMW ACTIVE HYBRID 7 2015 F01H Owner's Guide
[x] Cancel search | Manufacturer: BMW, Model Year: 2015, Model line: ACTIVE HYBRID 7, Model: BMW ACTIVE HYBRID 7 2015 F01HPages: 262, PDF Size: 5.34 MB
Page 152 of 262
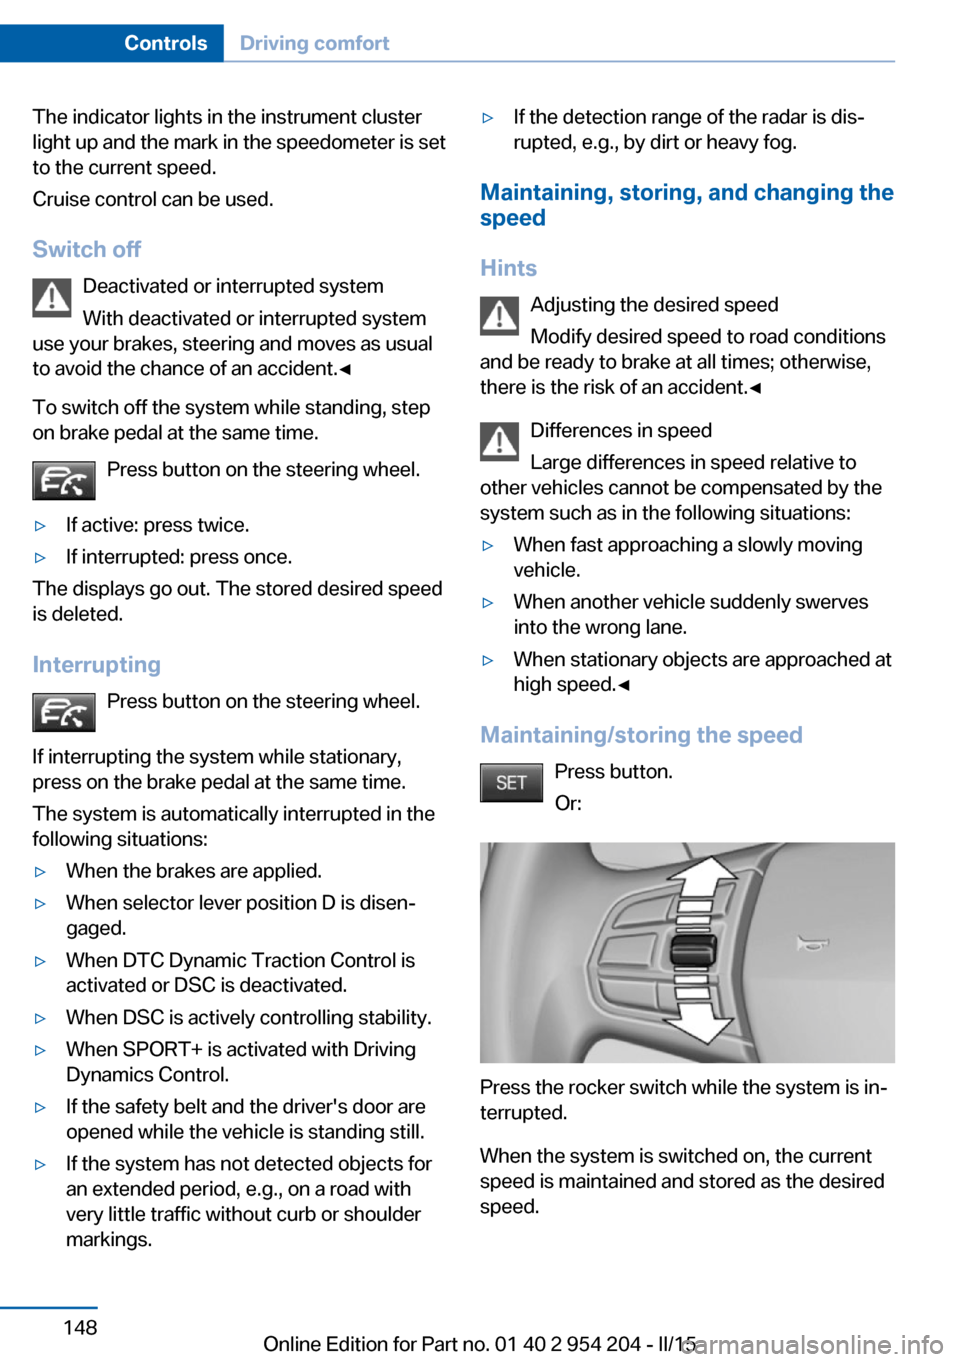
The indicator lights in the instrument cluster
light up and the mark in the speedometer is set
to the current speed.
Cruise control can be used.
Switch off Deactivated or interrupted system
With deactivated or interrupted system
use your brakes, steering and moves as usual
to avoid the chance of an accident.◀
To switch off the system while standing, step
on brake pedal at the same time.
Press button on the steering wheel.▷If active: press twice.▷If interrupted: press once.
The displays go out. The stored desired speed
is deleted.
Interrupting Press button on the steering wheel.
If interrupting the system while stationary,
press on the brake pedal at the same time.
The system is automatically interrupted in the
following situations:
▷When the brakes are applied.▷When selector lever position D is disen‐
gaged.▷When DTC Dynamic Traction Control is
activated or DSC is deactivated.▷When DSC is actively controlling stability.▷When SPORT+ is activated with Driving
Dynamics Control.▷If the safety belt and the driver's door are
opened while the vehicle is standing still.▷If the system has not detected objects for
an extended period, e.g., on a road with
very little traffic without curb or shoulder
markings.▷If the detection range of the radar is dis‐
rupted, e.g., by dirt or heavy fog.
Maintaining, storing, and changing the
speed
Hints Adjusting the desired speedModify desired speed to road conditions
and be ready to brake at all times; otherwise,
there is the risk of an accident.◀
Differences in speed
Large differences in speed relative to
other vehicles cannot be compensated by the
system such as in the following situations:
▷When fast approaching a slowly moving
vehicle.▷When another vehicle suddenly swerves
into the wrong lane.▷When stationary objects are approached at
high speed.◀
Maintaining/storing the speed
Press button.
Or:
Press the rocker switch while the system is in‐
terrupted.
When the system is switched on, the current
speed is maintained and stored as the desired
speed.
Seite 148ControlsDriving comfort148
Online Edition for Part no. 01 40 2 954 204 - II/15
Page 153 of 262

This is displayed in the speedometer and
briefly in the instrument cluster. Displays in the
instrument cluster, refer to page 150.
When cruise control is maintained or stored,
DSC Dynamic Stability Control will be turned
on if needed.
Changing the speed
Press the rocker switch up or down repeatedly
until the desired speed is set.
If active, the displayed speed is stored and the vehicle reaches the stored speed when the
road is clear.▷Each time the rocker switch is pressed to
the point of resistance, the desired speed
increases or decreases by approx.
1 mph/1 km/h.▷Each time the rocker switch is pressed
past the point of resistance, the desired
speed increases or decreases by a maxi‐
mum of 5 mph/10 km/h.
Hold the rocker switch in position to repeat the
action.
Distance Select a distance
Adjust the distance according to the traf‐
fic and weather conditions; otherwise, there is
the risk of an accident. Maintain the prescribed
safety distance.◀
Reduce distance Press button repeatedly until the de‐
sired distance is set.
Instrument cluster will display selected dis‐
tance, refer to page 150.
Increase distance Press button repeatedly until the de‐
sired distance is set.
Instrument cluster will display selected dis‐
tance, refer to page 150.
Calling up the desired speed and
distance
While driving Press button with the system
switched on.
In the following cases, the stored speed value
is deleted and cannot be called up again:▷When the system is switched off.▷When the ignition is switched off.
While standing
The system brought the vehicle to a complete
standstill:
▷Green marking in the speedometer:
Your vehicle accelerates automatically as
soon as the vehicle in the range of the ra‐
dar sensor moves off.▷Speedometer markings turn orange: no au‐
tomatic driving off.
To accelerate to the desired speed auto‐
matically, press the accelerator or press
the RES or SET button.
Rolling bars in the distance display indicate
that the the vehicle detected by the radar sen‐
sor has driven off.
Your vehicle was brought down to a halt
through stepping on the brake pedal and it is
standing behind another vehicle:
1. Press button to call up a stored
desired speed.2.Release the brake pedal.3.Step on the accelerator briefly, or press the
RES rocker switch when the vehicle ahead
of you drives away.Seite 149Driving comfortControls149
Online Edition for Part no. 01 40 2 954 204 - II/15
Page 154 of 262
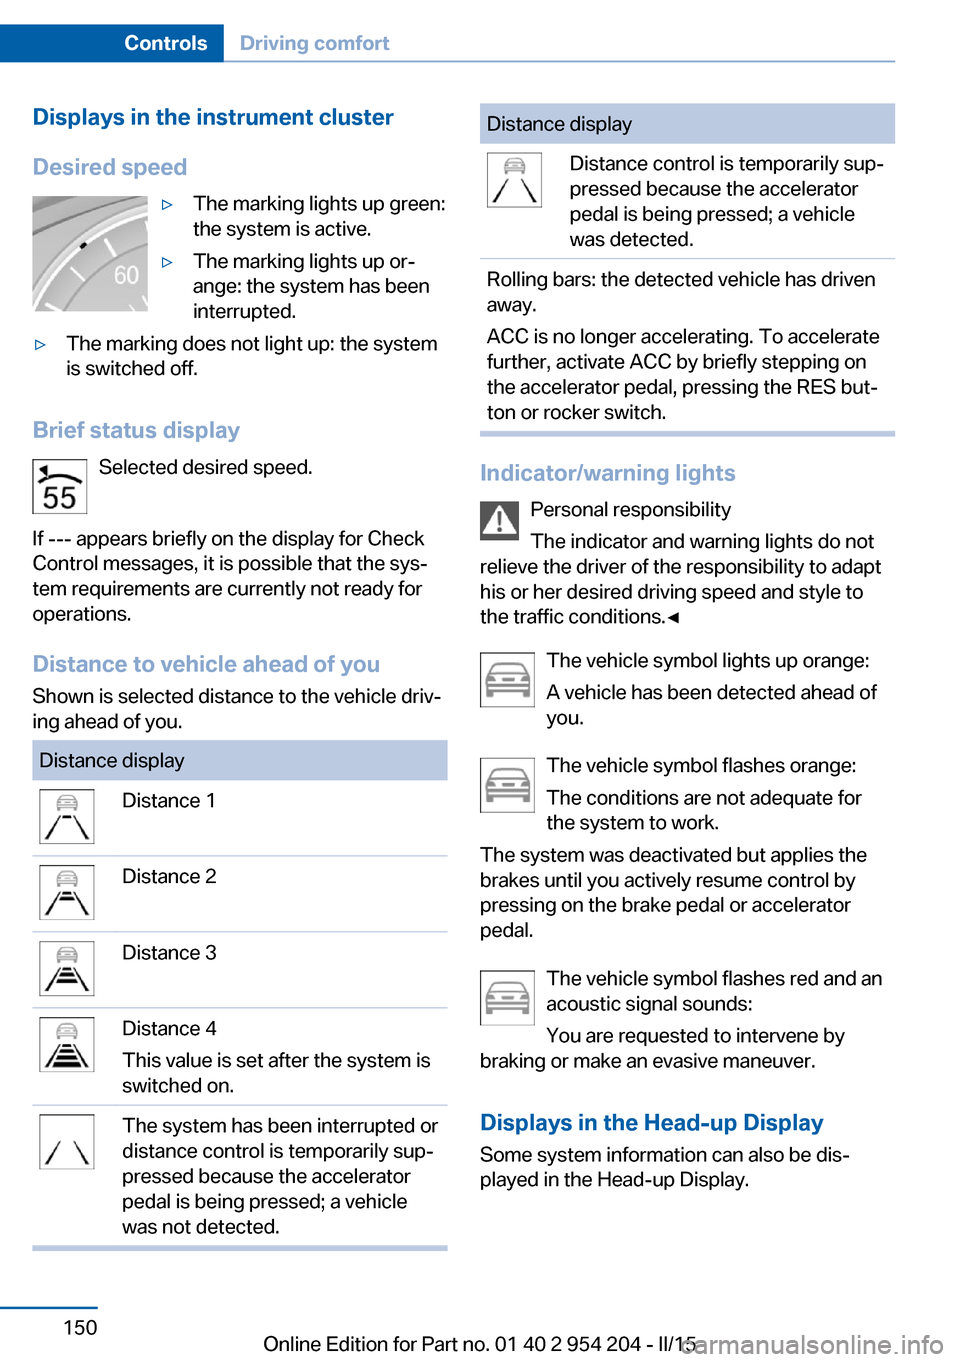
Displays in the instrument cluster
Desired speed▷The marking lights up green:
the system is active.▷The marking lights up or‐
ange: the system has been
interrupted.▷The marking does not light up: the system
is switched off.
Brief status display
Selected desired speed.
If --- appears briefly on the display for Check
Control messages, it is possible that the sys‐
tem requirements are currently not ready for
operations.
Distance to vehicle ahead of you Shown is selected distance to the vehicle driv‐
ing ahead of you.
Distance displayDistance 1Distance 2Distance 3Distance 4
This value is set after the system is
switched on.The system has been interrupted or
distance control is temporarily sup‐
pressed because the accelerator
pedal is being pressed; a vehicle
was not detected.Distance displayDistance control is temporarily sup‐
pressed because the accelerator
pedal is being pressed; a vehicle
was detected.Rolling bars: the detected vehicle has driven
away.
ACC is no longer accelerating. To accelerate
further, activate ACC by briefly stepping on
the accelerator pedal, pressing the RES but‐
ton or rocker switch.
Indicator/warning lights
Personal responsibility
The indicator and warning lights do not
relieve the driver of the responsibility to adapt
his or her desired driving speed and style to
the traffic conditions.◀
The vehicle symbol lights up orange:
A vehicle has been detected ahead of
you.
The vehicle symbol flashes orange:
The conditions are not adequate for
the system to work.
The system was deactivated but applies the
brakes until you actively resume control by
pressing on the brake pedal or accelerator
pedal.
The vehicle symbol flashes red and an
acoustic signal sounds:
You are requested to intervene by
braking or make an evasive maneuver.
Displays in the Head-up Display Some system information can also be dis‐
played in the Head-up Display.
Seite 150ControlsDriving comfort150
Online Edition for Part no. 01 40 2 954 204 - II/15
Page 158 of 262
Maintaining, storing, and changing the
speed
Hints Adjusting the desired speed
Modify desired speed to road conditions
and be ready to brake at all times; otherwise,
there is the risk of an accident.◀
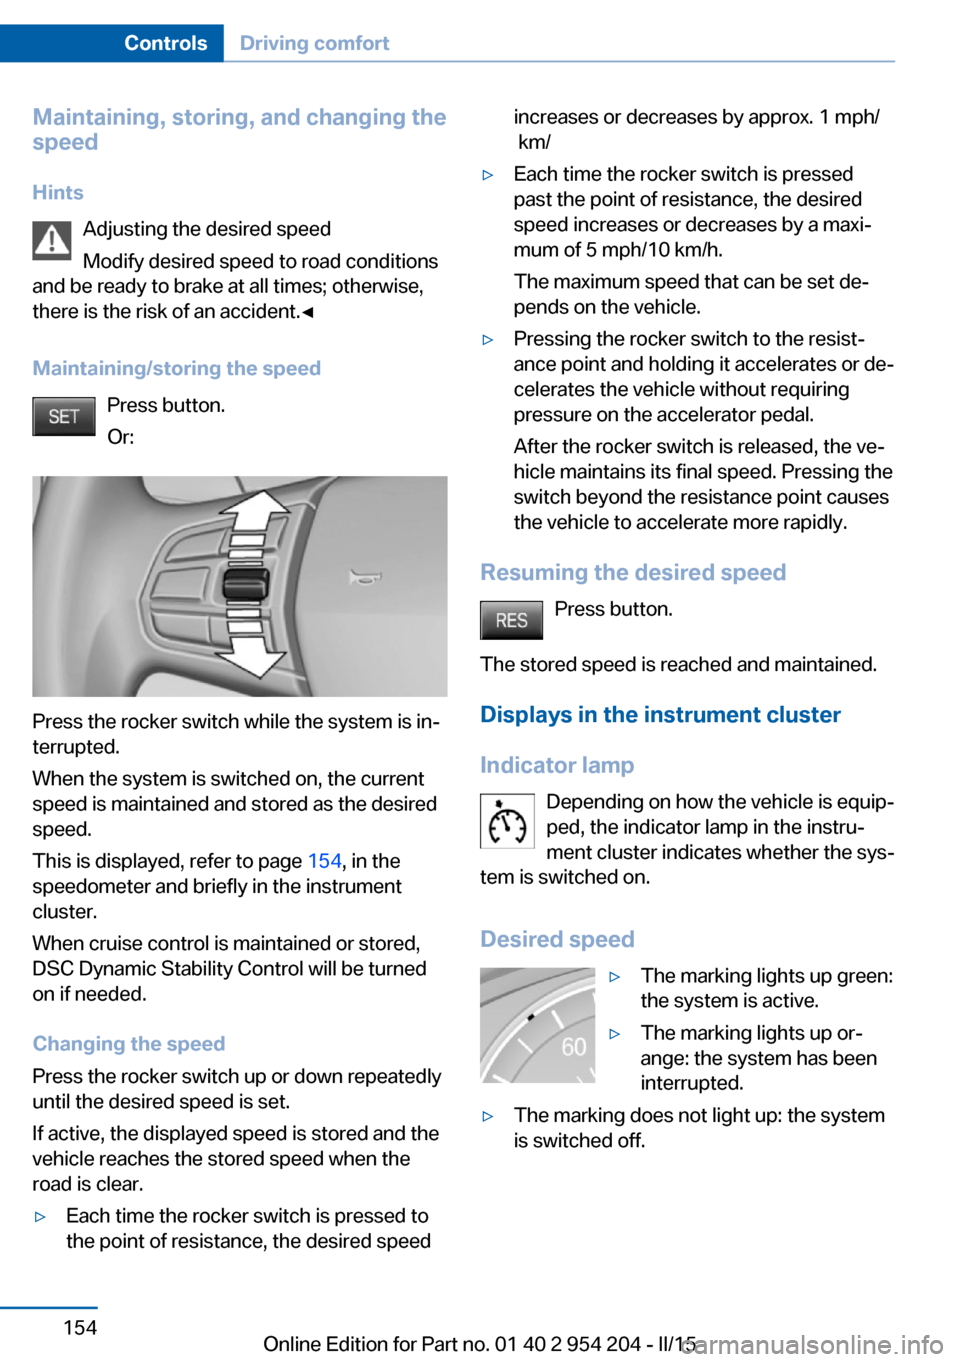
Maintaining/storing the speed Press button.
Or:
Press the rocker switch while the system is in‐
terrupted.
When the system is switched on, the current
speed is maintained and stored as the desired
speed.
This is displayed, refer to page 154, in the
speedometer and briefly in the instrument
cluster.
When cruise control is maintained or stored,
DSC Dynamic Stability Control will be turned
on if needed.
Changing the speed
Press the rocker switch up or down repeatedly
until the desired speed is set.
If active, the displayed speed is stored and the
vehicle reaches the stored speed when the
road is clear.
▷Each time the rocker switch is pressed to
the point of resistance, the desired speedincreases or decreases by approx. 1 mph/
km/▷Each time the rocker switch is pressed
past the point of resistance, the desired
speed increases or decreases by a maxi‐
mum of 5 mph/10 km/h.
The maximum speed that can be set de‐
pends on the vehicle.▷Pressing the rocker switch to the resist‐
ance point and holding it accelerates or de‐
celerates the vehicle without requiring
pressure on the accelerator pedal.
After the rocker switch is released, the ve‐
hicle maintains its final speed. Pressing the
switch beyond the resistance point causes
the vehicle to accelerate more rapidly.
Resuming the desired speed
Press button.
The stored speed is reached and maintained. Displays in the instrument cluster
Indicator lamp Depending on how the vehicle is equip‐
ped, the indicator lamp in the instru‐
ment cluster indicates whether the sys‐
tem is switched on.
Desired speed
▷The marking lights up green:
the system is active.▷The marking lights up or‐
ange: the system has been
interrupted.▷The marking does not light up: the system
is switched off.Seite 154ControlsDriving comfort154
Online Edition for Part no. 01 40 2 954 204 - II/15
Page 194 of 262
Coasting to a standstill and braking phases are
used more often to recover energy.
eDRIVE electric driving and the Auto Start
Stop function will also be deactivated.
Fast charging
In exceptional cases it can be charged in place,
such as before extended idle phases in order
to prevent damage to the high-voltage battery.1.Start the engine.2.Engage transmission position P and set
parking brake.3.Press and hold down brake pedal.4.Use the accelerator pedal to maintain an
engine speed of approx. 2,000 rpm.
After a few minutes, the high-voltage battery is
fully charged again.
The battery charge indicator in the instrument
cluster, refer to page 92, is used to check the
status.
General driving notes
Closing the trunk lid Drive with the trunk lid closed
Only drive with the tailgate closed; other‐
wise, in the event of an accident or braking and
evasive maneuvers, passengers and other traf‐
fic may be injured, and the vehicle may be
damaged. In addition, exhaust fumes may en‐
ter the vehicle interior.◀
If driving with the tailgate open cannot be
avoided:
▷Close all windows and the glass sunroof.▷Greatly increase the air flow from the vents.▷Drive moderately.Hot exhaust system
Hot exhaust system
High temperatures are generated in the
exhaust system.
Do not remove the heat shields installed and
never apply undercoating to them. Make sure
that flammable materials, e. g. hay, leaves,
grass, etc. do not come in contact with the hot
exhaust system while driving, while in idle po‐
sition mode, or when parked. Such contact
could lead to a fire, resulting in an increased
risk of serious personal injury as well as prop‐
erty damage.
Do not touch hot exhaust pipes; otherwise,
there is a danger of getting burned.◀
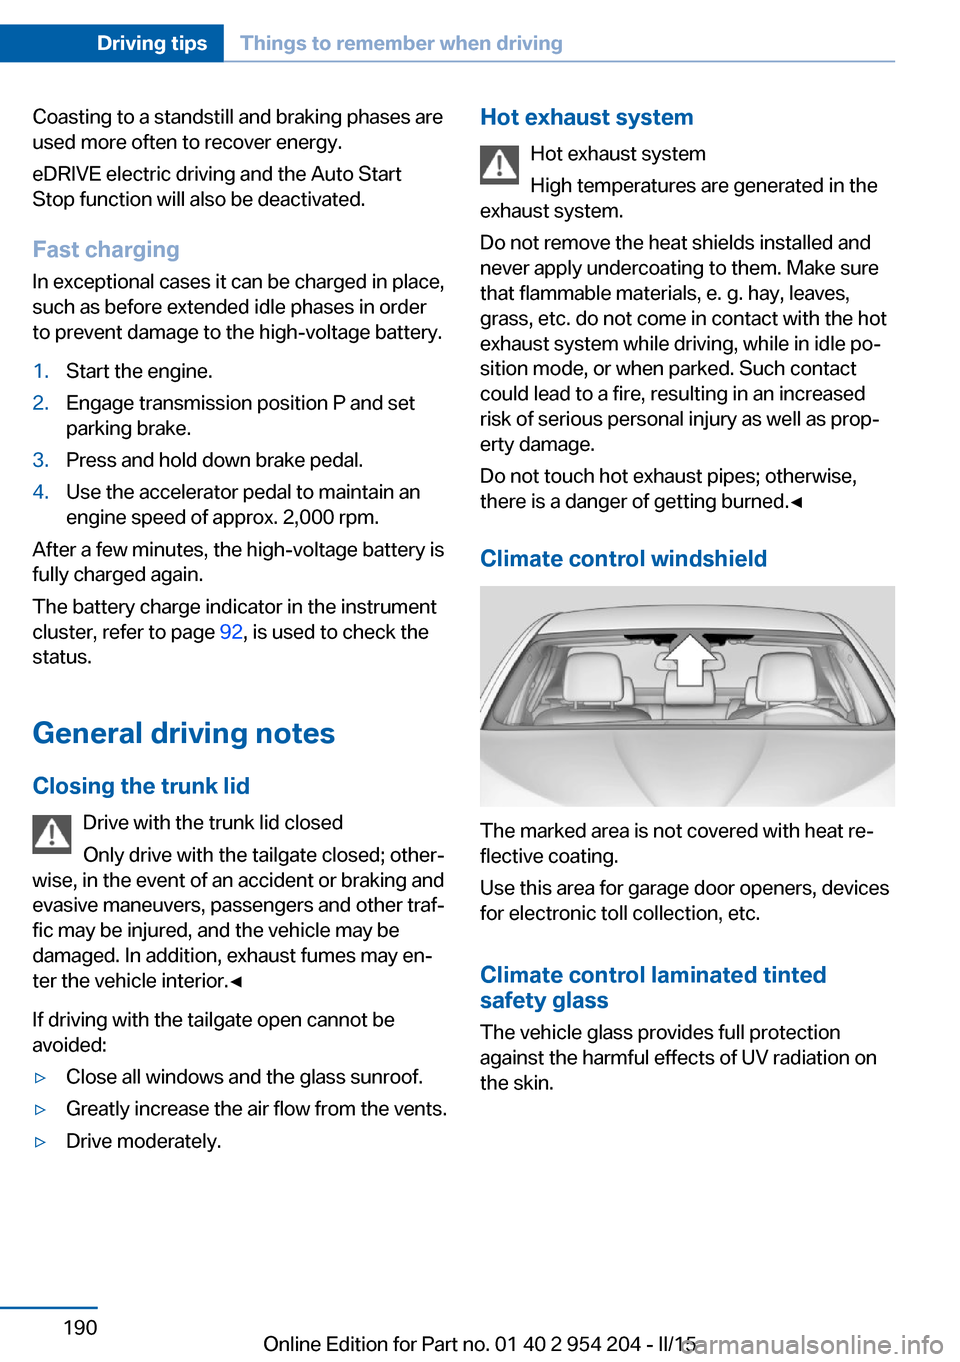
Climate control windshield
The marked area is not covered with heat re‐
flective coating.
Use this area for garage door openers, devices
for electronic toll collection, etc.
Climate control laminated tinted
safety glass
The vehicle glass provides full protection
against the harmful effects of UV radiation on
the skin.
Seite 190Driving tipsThings to remember when driving190
Online Edition for Part no. 01 40 2 954 204 - II/15
Page 201 of 262
Longer braking procedures result in more effi‐
cient charging of the high-voltage battery via
energy recovery from braking.
Avoid high engine speeds
As a rule: driving at low engine speeds lowers
fuel consumption and reduces wear.
If necessary, observe the gear shift indicator of
the vehicle, refer to page 100.
Use coasting When approaching a red light, take your foot
off the accelerator and let the vehicle coast to
a halt.
For going downhill take your foot off the accel‐
erator and let the vehicle roll.
The flow of fuel is interrupted while coasting.
The high-voltage battery is being charged.
Switch off the engine during
longer stops
Switch off the engine during longer stops, e.g.,
at traffic lights, railroad crossings or in traffic
congestion.
Switch off any functions that
are not currently needed
Functions such as seat heating and the rear
window defroster require a lot of energy and
reduce the range, especially in city and stop-
and-go traffic.
Reel off these functions if they are not needed.
The ECO PRO driving program supports the
energy conserving use of comfort features.
These functions are automatically deactivated
partially or completely.Have maintenance carried
out
Have vehicles maintained regularly to achieve
optimal vehicle efficiency and operating life.
The maintenance should be carried out by
your service center.
Also note the BMW Maintenance System, refer
to page 223.
ECO PRO
The concept ECO PRO supports a driving style that saves
on fuel consumption. For this purpose, the en‐
gine control and comfort features, e. g. the cli‐
mate control output, are adjusted.
eDRIVE electric driving, refer to page 79, and
the Coasting, refer to page 79, driving status
are becoming increasingly possible.
In addition, context-sensitive instructions are
displayed to assist with an optimized fuel con‐
sumption driving style.
The achieved extended range is displayed in
the instrument cluster as bonus range.
Overview The system includes the following
EfficientDynamics functions and displays:▷ECO PRO bonus range, refer to page 198.▷ECO PRO tips driving instruction, refer to
page 199▷ECO PRO climate control, refer to
page 198.
Activate ECO PRO
Press button repeatedly until ECO
PRO is displayed in the instrument
cluster.
Seite 197Saving fuelDriving tips197
Online Edition for Part no. 01 40 2 954 204 - II/15
Page 202 of 262
Configuring ECO PRO
Via the Driving Dynamics Control1.Activate ECO PRO.2."Configure ECO PRO"3.Configure the program.
Via the iDrive
1."Settings"2."ECO PRO mode"
Or
1."Settings"2."Driving mode"3."Configure ECO PRO"
Configure the program.
ECO PRO Tip
▷"Tip at:":
Adjust the ECO PRO speed.▷"ECO PRO speed warning":
The output is reduced once the set ECO
PRO speed is reached.
ECO PRO climate control
"ECO PRO climate control"
Climate control is set to be fuel-efficient.
By making a slight change to the set tempera‐
ture, or slowly adjusting the rate of heating or
cooling of the car's interior, fuel consumption
can be economized.
The mirror heating is made available when out‐
side temperatures are very cold.
ECO PRO potential
Shows potential savings with the current set‐
tings in percentages.
Display in the instrument cluster
ECO PRO bonus range An adjusted driving style helps
you extend your driving range.
This may be displayed as the
bonus range in the instrument
cluster.
The bonus range is shown in the range display.
The bonus range is automatically reset every
time the vehicle is refueled.
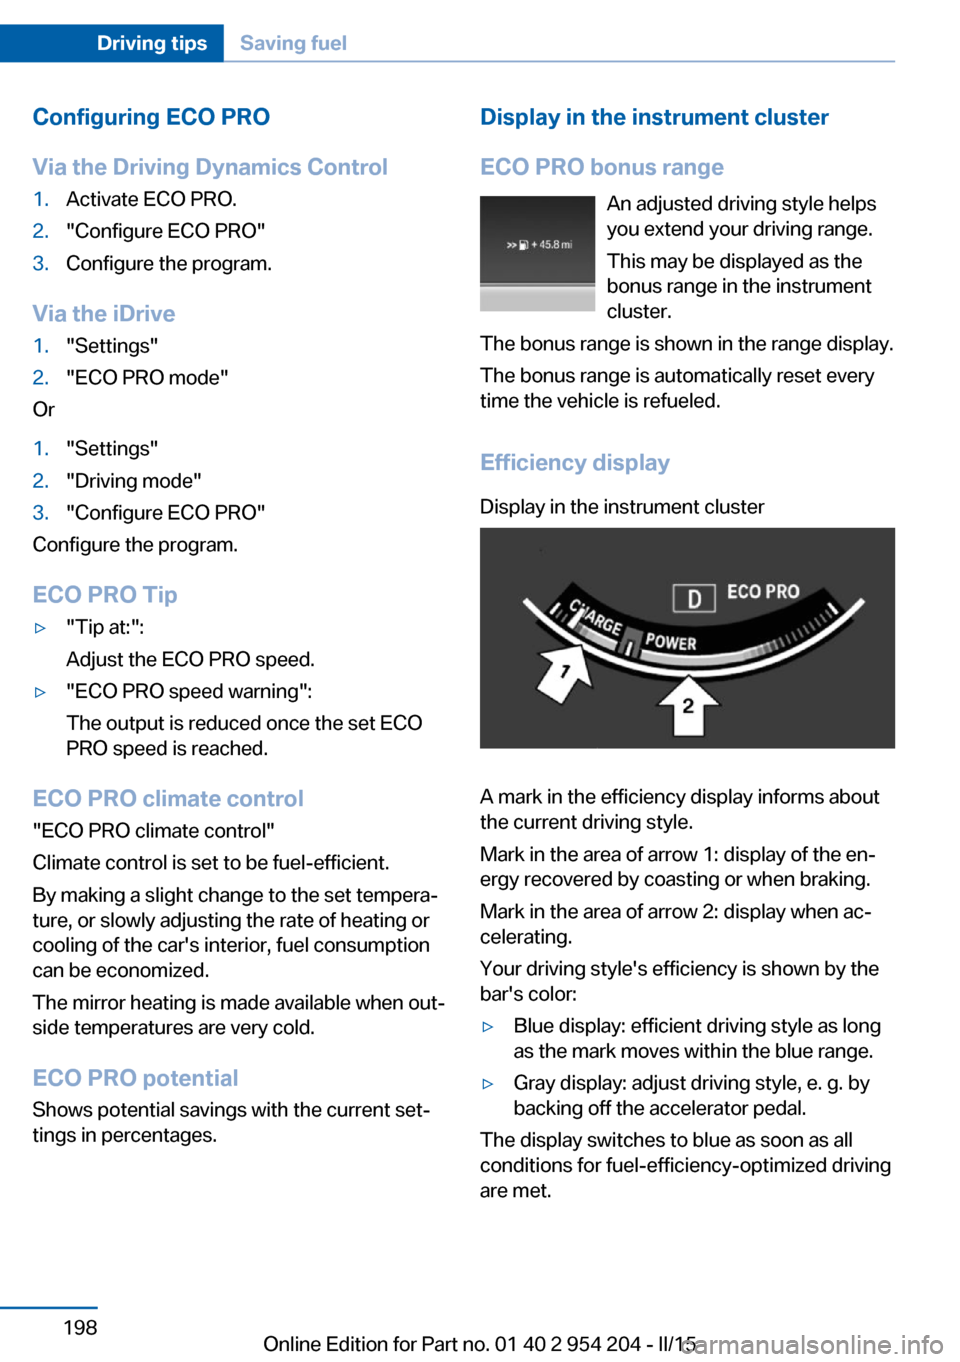
Efficiency displayDisplay in the instrument cluster
A mark in the efficiency display informs about
the current driving style.
Mark in the area of arrow 1: display of the en‐
ergy recovered by coasting or when braking.
Mark in the area of arrow 2: display when ac‐
celerating.
Your driving style's efficiency is shown by the
bar's color:
▷Blue display: efficient driving style as long
as the mark moves within the blue range.▷Gray display: adjust driving style, e. g. by
backing off the accelerator pedal.
The display switches to blue as soon as all
conditions for fuel-efficiency-optimized driving
are met.
Seite 198Driving tipsSaving fuel198
Online Edition for Part no. 01 40 2 954 204 - II/15
Page 203 of 262
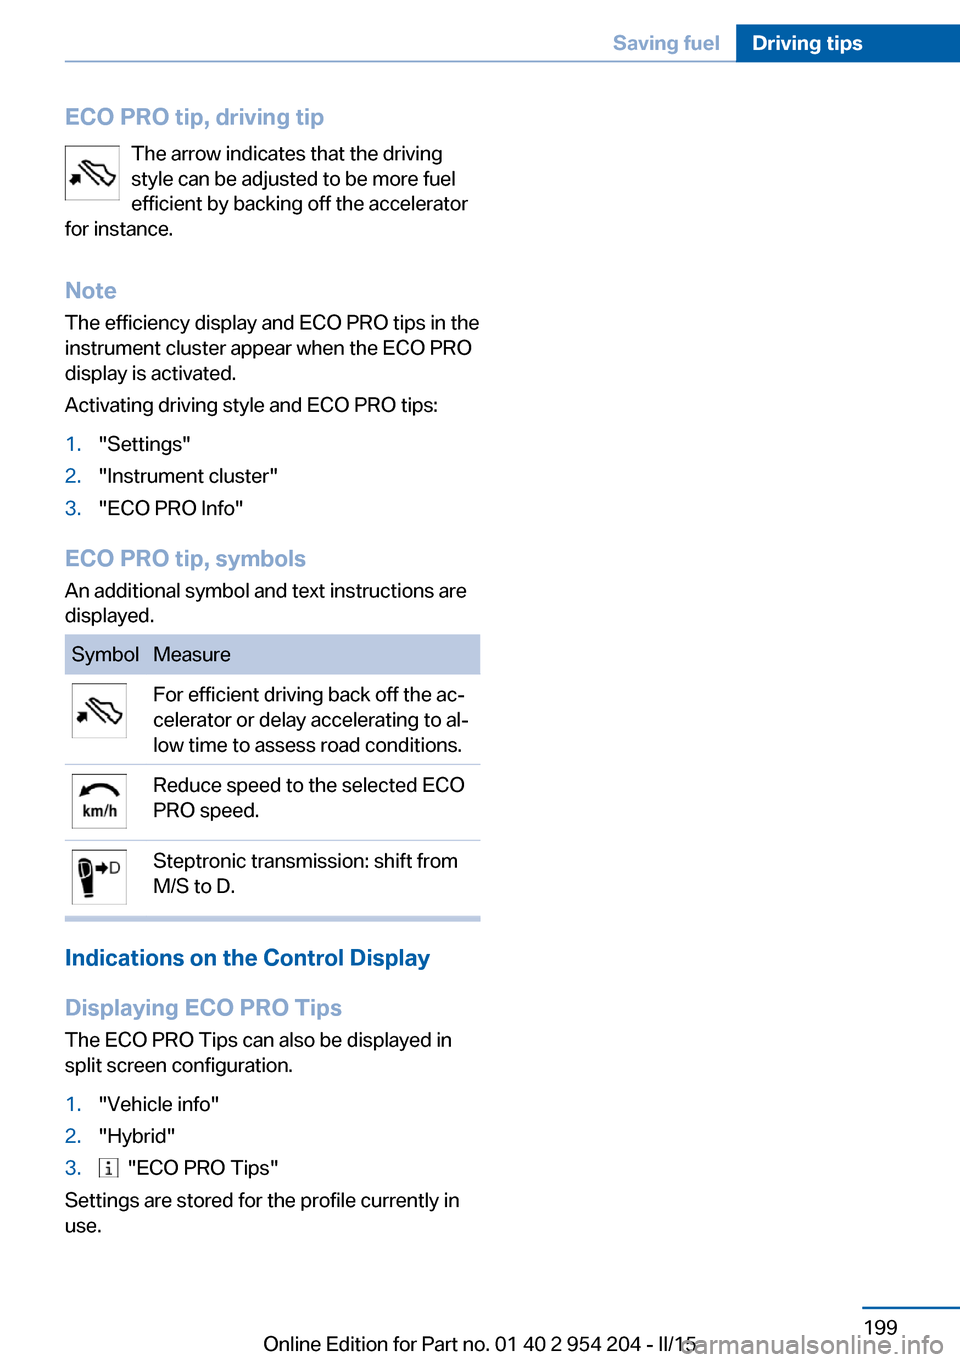
ECO PRO tip, driving tipThe arrow indicates that the driving
style can be adjusted to be more fuel
efficient by backing off the accelerator
for instance.
Note The efficiency display and ECO PRO tips in the
instrument cluster appear when the ECO PRO
display is activated.
Activating driving style and ECO PRO tips:1."Settings"2."Instrument cluster"3."ECO PRO Info"
ECO PRO tip, symbols
An additional symbol and text instructions are
displayed.
SymbolMeasureFor efficient driving back off the ac‐
celerator or delay accelerating to al‐
low time to assess road conditions.Reduce speed to the selected ECO
PRO speed.Steptronic transmission: shift from
M/S to D.
Indications on the Control Display
Displaying ECO PRO Tips The ECO PRO Tips can also be displayed in
split screen configuration.
1."Vehicle info"2."Hybrid"3. "ECO PRO Tips"
Settings are stored for the profile currently in
use.
Seite 199Saving fuelDriving tips199
Online Edition for Part no. 01 40 2 954 204 - II/15
Page 223 of 262
Detailed measurement
The concept In the detailed measurement the engine oil
level is checked and displayed via a scale.
Gasoline engine:
If the engine oil level reaches the minimum
level, a check control message is displayed.
Diesel engine:
During the measurement, the idle speed is in‐
creased somewhat.
General information
A detailed measurement is only possible with
certain engines.
Requirements▷Vehicle is on level road.▷Steptronic transmission: selector lever in
selector lever position N or P and accelera‐
tor pedal not depressed.▷Engine is running and is at operating tem‐
perature.
Performing a detailed measurement
In order to perform a detailed measurement of
the engine oil level:
1."Vehicle info"2."Vehicle status"3. "Measure engine oil level"4."Start measurement"
The engine oil level is checked and displayed
via a scale.
Time: approx. 1 minute.
Adding engine oil General information
Switch off the ignition and safely park the vehi‐
cle before engine oil is added.
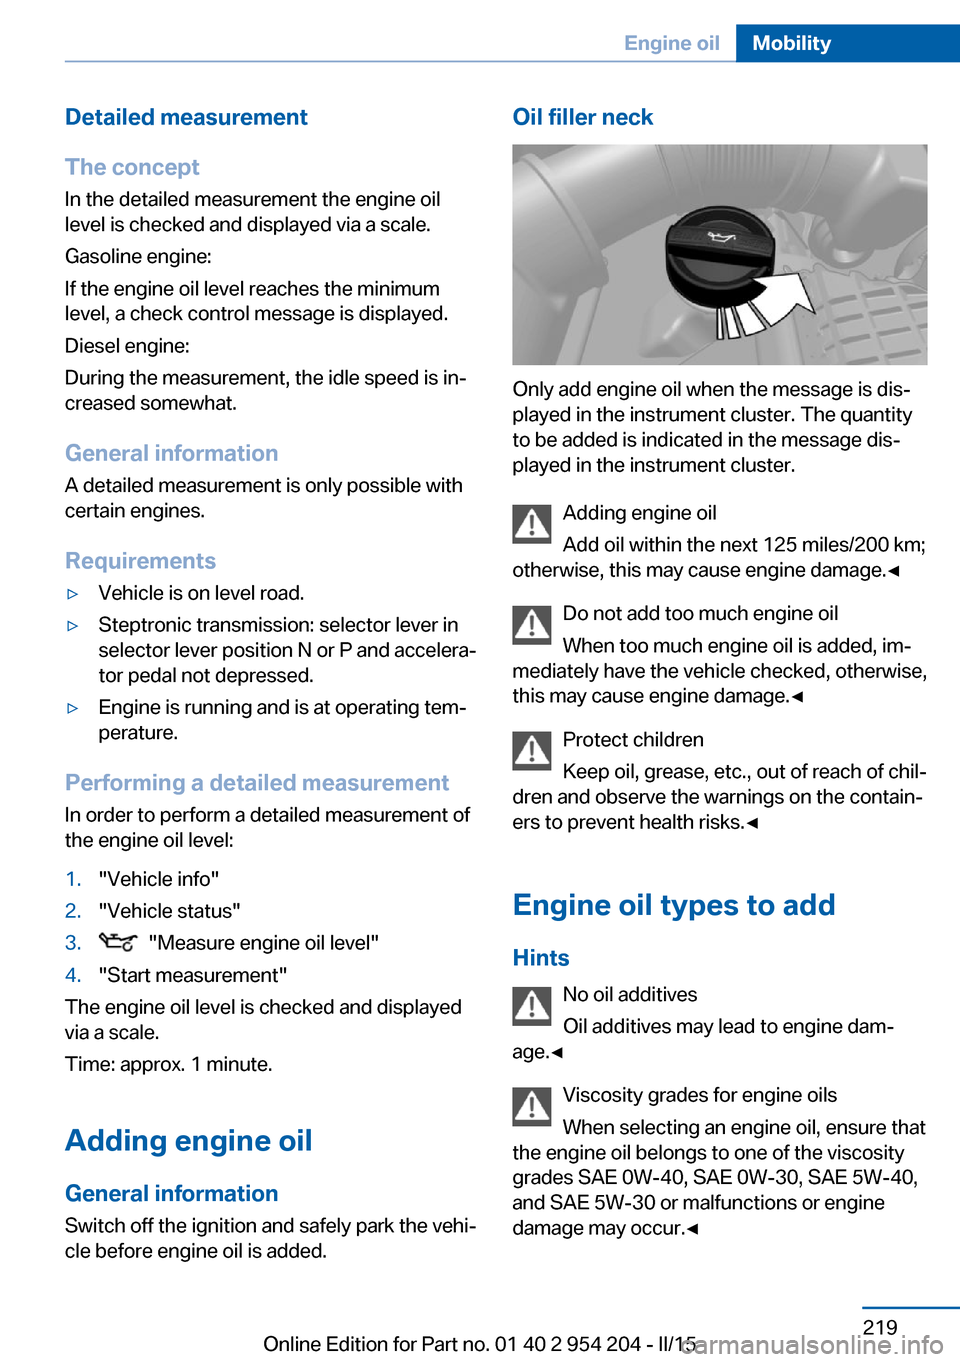
Oil filler neck
Only add engine oil when the message is dis‐
played in the instrument cluster. The quantity
to be added is indicated in the message dis‐
played in the instrument cluster.
Adding engine oil
Add oil within the next 125 miles/200 km;
otherwise, this may cause engine damage.◀
Do not add too much engine oil
When too much engine oil is added, im‐
mediately have the vehicle checked, otherwise,
this may cause engine damage.◀
Protect children
Keep oil, grease, etc., out of reach of chil‐
dren and observe the warnings on the contain‐
ers to prevent health risks.◀
Engine oil types to add Hints No oil additives
Oil additives may lead to engine dam‐
age.◀
Viscosity grades for engine oils
When selecting an engine oil, ensure that
the engine oil belongs to one of the viscosity
grades SAE 0W-40, SAE 0W-30, SAE 5W-40,
and SAE 5W-30 or malfunctions or engine
damage may occur.◀
Seite 219Engine oilMobility219
Online Edition for Part no. 01 40 2 954 204 - II/15
Page 243 of 262
Otherwise, particles of dust and road grime
chafe in pores and folds, and lead to increased
wear and premature degradation of the leather
surface.
To guard against discoloration, such as from
clothing, provide leather care roughly every
two months.
Clean light-colored leather more frequently be‐
cause soiling on such surfaces is substantially
more visible.
Use leather care products; otherwise, dirt and
grease will gradually break down the protective
layer of the leather surface.
Suitable care products are available from the
service center.
Upholstery material care Vacuum regularly with a vacuum cleaner.
If upholstery is very dirty, e.g., with beverage
stains, use a soft sponge or microfiber cloth
with a suitable interior cleaner.
Clean the upholstery down to the seams using
large sweeping motions. Avoid rubbing the
material vigorously.
Damage from Velcro® fasteners
Open Velcro® fasteners on pants or
other articles of clothing can damage the seat
covers. Ensure that any Velcro® fasteners are
closed.◀
Caring for special components
Light-alloy wheels When cleaning the vehicle, use only neutral
wheel cleaners having a pH value from 5 to 9.
Do not use abrasive cleaning agents or steam
jets above 140 ℉/60 ℃. Follow the manufac‐
turer's instructions.
Aggressive, acidic or alkaline cleaning agents
can destroy the protective layer of adjacent
components, such as the brake disk.Chrome surfaces
Carefully clean components such as the radia‐
tor grille or door handles with an ample supply
of water, possibly with shampoo added, partic‐
ularly when they have been exposed to road
salt.
Rubber components
Aside from water, treat only with rubber
cleansers.
When cleaning rubber seals, do not use any
silicon-containing car care products in order to
avoid damage or noises.
Fine wood partsClean fine wood facing and fine wood compo‐
nents only with a moist rag. Then dry with a
soft cloth.
Plastic components
These include:▷Imitation leather surfaces.▷Roofliner.▷Lamp lenses.▷Instrument cluster cover.▷Matt black spray-coated components.▷Painted parts in the interior.
Clean with a microfiber cloth.
Dampen cloth lightly with water.
Do not soak the roofliner.
No cleansers that contain alcohol or sol‐
vents
Do not use cleansers that contain alcohol or
solvents, such as lacquer thinners, heavy-duty
grease removers, fuel, or such; this could lead
to surface damage.◀
Safety belts
Dirty belt straps impede the reeling action and
thus have a negative impact on safety.
Seite 239CareMobility239
Online Edition for Part no. 01 40 2 954 204 - II/15