engine BMW I3 2014 I01 User Guide
[x] Cancel search | Manufacturer: BMW, Model Year: 2014, Model line: I3, Model: BMW I3 2014 I01Pages: 230, PDF Size: 29.93 MB
Page 93 of 230
With Range Extender: fuel
gauge
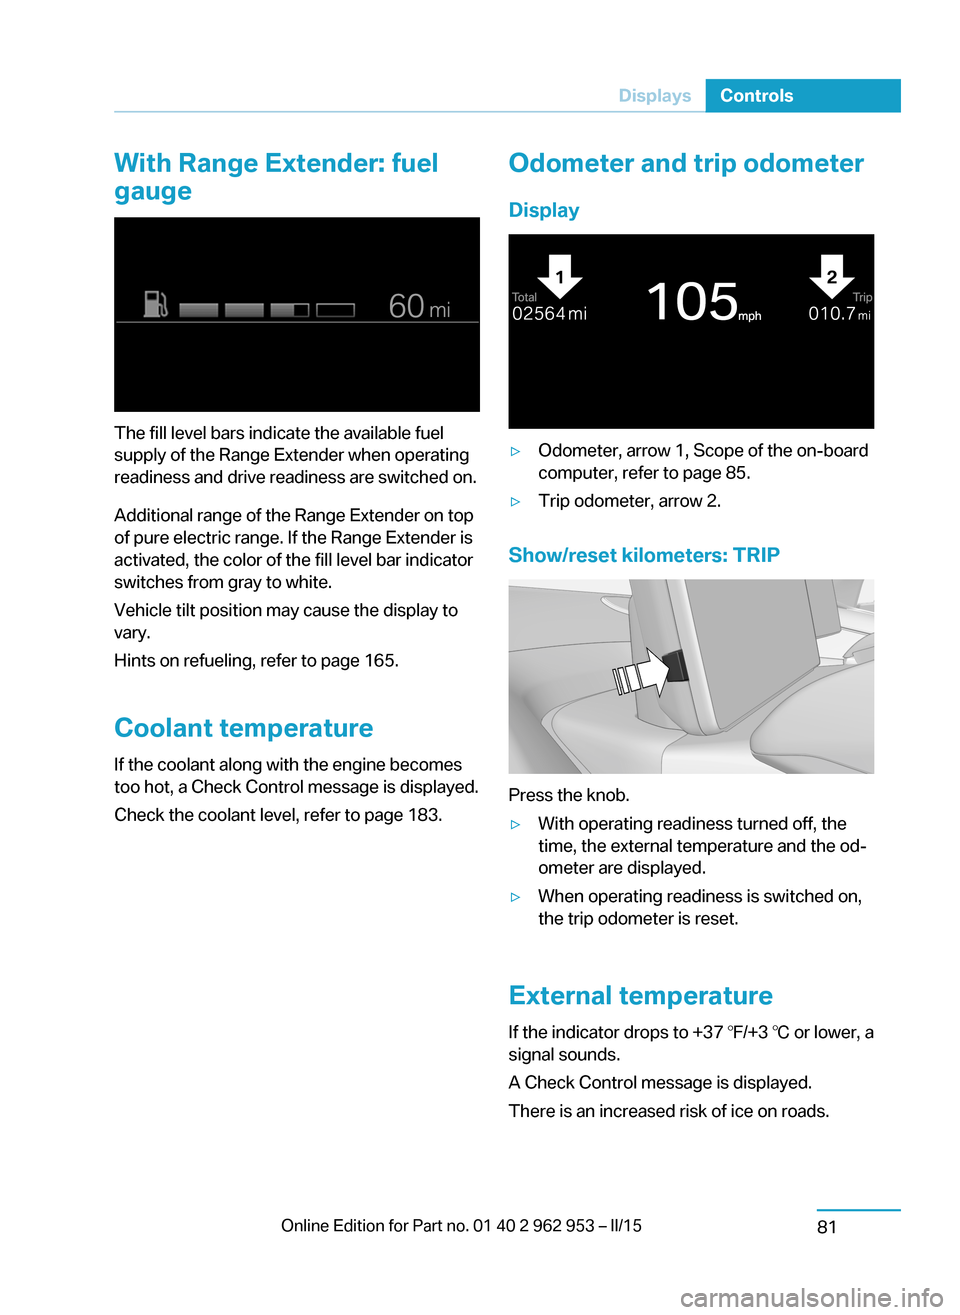
The fill level bars indicate the available fuel
supply of the Range Extender when operating
readiness and drive readiness are switched on.
Additional range of the Range Extender on top
of pure electric range. If the Range Extender is
activated, the color of the fill level bar indicator
switches from gray to white.
Vehicle tilt position may cause the display to
vary.
Hints on refueling, refer to page 165.
Coolant temperature If the coolant along with the engine becomes
too hot, a Check Control message is displayed.
Check the coolant level, refer to page 183.
Odometer and trip odometer
Display▷Odometer, arrow 1, Scope of the on-board
computer, refer to page 85.▷Trip odometer, arrow 2.
Show/reset kilometers: TRIP
Press the knob.
▷With operating readiness turned off, the
time, the external temperature and the od‐
ometer are displayed.▷When operating readiness is switched on,
the trip odometer is reset.
External temperature
If the indicator drops to +37 ℉/+3 ℃ or lower, a
signal sounds.
A Check Control message is displayed.
There is an increased risk of ice on roads.
Seite 79DisplaysControls81
Page 118 of 230
Driving stability control systemsVehicle features and optionsThis chapter describes all standard, country-
specific and optional features offered with the
series. It also describes features that are not
necessarily available in your car, e. g., due to
the selected options or country versions. This
also applies to safety-related functions and
systems.
Antilock Brake System ABS
ABS prevents locking of the wheels during
braking.
The vehicle contains its steering power even
during full brake applications, thus increasing
active safety.
ABS is ready when car is ready to drive.
Brake assistant
When you apply the brakes rapidly, this system automatically produces the greatest possible
braking force boost. It reduces the braking dis‐
tance to a minimum during emergency stop.
This system utilizes all of the benefits provided
by ABS.
Do not reduce the pressure on the brake pedal
for the duration of the emergency stop.
Energy recovery
In the event of danger, such as with locked
wheels, energy recovery is reduced in order to
prevent unstable driving situations.
Always be ready to apply the brake
Always be ready to apply the brake, be‐
cause without energy recovery there is also no
braking action through the electric drive unit.The vehicle could roll further than anticipated.
This may constitute a danger for other traffic.◀
DSC Dynamic Stability
Control
The concept DSC prevents traction loss in the power
wheels when driving off and accelerating.
DSC also recognizes unstable vehicle condi‐
tions such as fishtailing or nose-diving. Within
the physical limits DSC helps to keep the vehi‐
cle on a steady course by reducing engine
speed and by applying brakes to the individual
wheels.
Note Adjust your driving style to the situation
An appropriate driving style is always the
responsibility of the driver.
The laws of physics cannot be repealed, not
even with DSC.
Therefore, do not reduce the additional safety
margin by driving in a risky manner.◀
Do not deactivate DSC when driving with
roof load
Do not deactivate Dynamic Stability Control DSC when driving with roof load, e.g. roof-
mounted luggage rack.
Otherwise, driving safety is not given in driv‐
ing-critical situation due to the elevated center
of gravity.◀
Indicator/warning lights The indicator lamp flashes: DSC con‐
trols the drive and braking forces.Seite 104ControlsDriving stability control systems106
Page 120 of 230
ECO PROECO PRO, refer to page 151, provides consis‐
tent tuning to maximize range.
Comfort functions and the engine controller
are adjusted.
The program can be configured to individual
specifications.
Activating ECO PRO Press button repeatedly until ECO
PRO is displayed in the instrument
cluster.
Configuring ECO PRO1.Activate ECO PRO.2."Configure ECO PRO"
Make the desired settings.
ECO PRO+ ECO PRO+, refer to page 151, also limits the
maximum speed and reduces climate control and lighting functions.
Comfort functions and the engine controller
are adjusted.
Activating ECO PRO+ Press button repeatedly until ECO
PRO+ is displayed in the instrument
cluster.
Displays
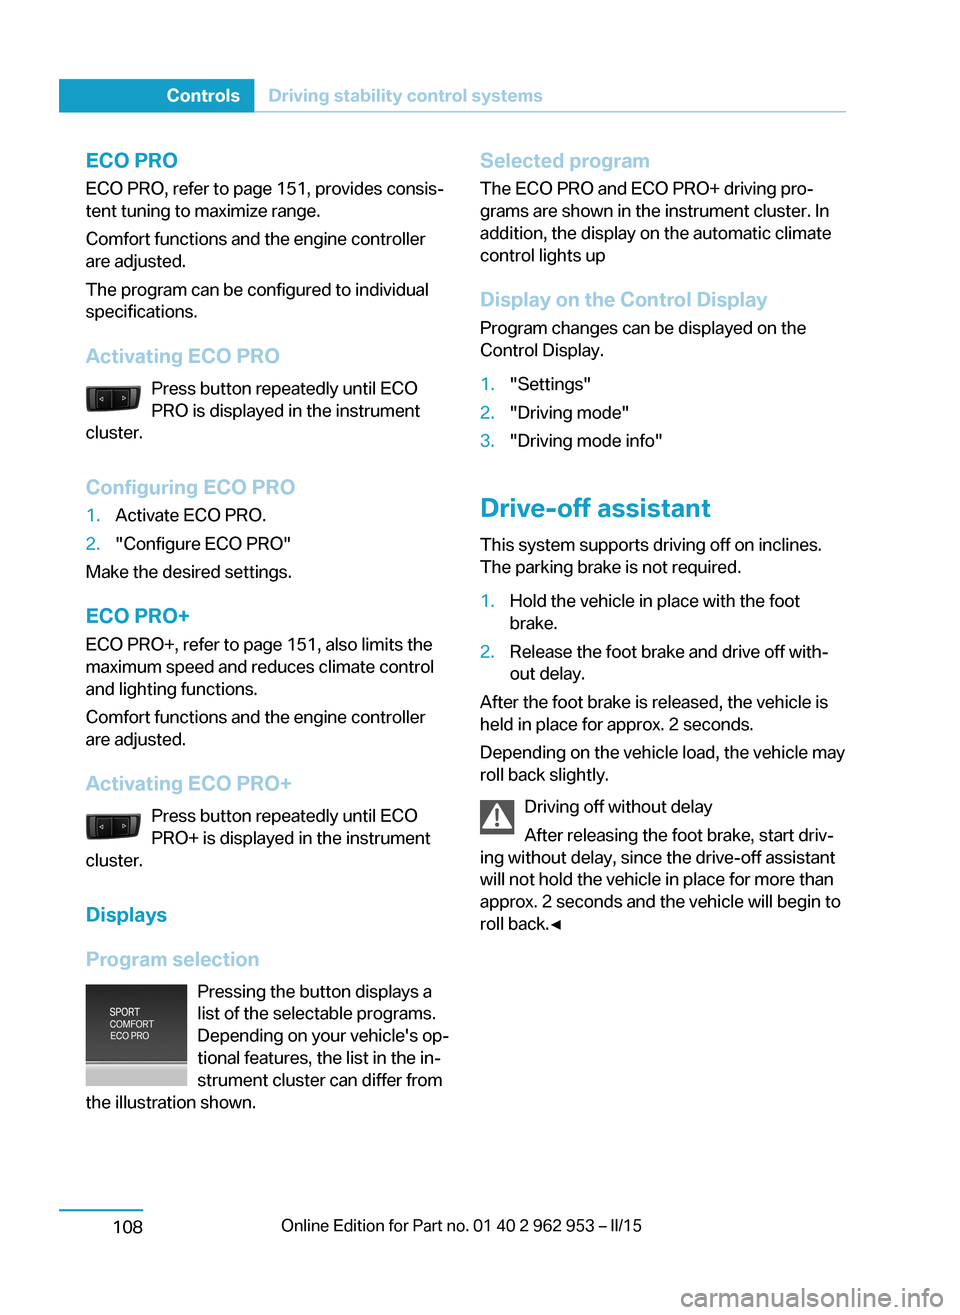
Program selection Pressing the button displays a
list of the selectable programs.
Depending on your vehicle's op‐
tional features, the list in the in‐
strument cluster can differ from
the illustration shown.
Selected program
The ECO PRO and ECO PRO+ driving pro‐
grams are shown in the instrument cluster. In
addition, the display on the automatic climate
control lights up
Display on the Control Display Program changes can be displayed on the
Control Display.1."Settings"2."Driving mode"3."Driving mode info"
Drive-off assistant
This system supports driving off on inclines.
The parking brake is not required.
1.Hold the vehicle in place with the foot
brake.2.Release the foot brake and drive off with‐
out delay.
After the foot brake is released, the vehicle is
held in place for approx. 2 seconds.
Depending on the vehicle load, the vehicle may
roll back slightly.
Driving off without delay
After releasing the foot brake, start driv‐
ing without delay, since the drive-off assistant
will not hold the vehicle in place for more than
approx. 2 seconds and the vehicle will begin to
roll back.◀
Seite 106ControlsDriving stability control systems108
Page 121 of 230
Driving comfortVehicle features and options
This chapter describes all standard, country-
specific and optional features offered with the
series. It also describes features that are not
necessarily available in your car, e. g., due to
the selected options or country versions. This
also applies to safety-related functions and
systems.
Camera-based cruise control
with Stop & Go function,
ACC
The concept Use this system to select a desired speed that
the vehicle will maintain automatically on clear
roads.
To the extent possible, the system automati‐
cally adjusts the speed to a slower vehicle
ahead of you.
A camera on the interior rear view mirror is
used to detect vehicles driving ahead.
The distance that the vehicle maintains to the
vehicle ahead of you can be varied.
For safety reasons, it depends on the speed.
To maintain a certain distance, the system au‐
tomatically reduces the speed, applies the
brakes lightly, or accelerates again if the vehi‐
cle ahead begins moving faster.
If the vehicle ahead of you brakes to a halt, and
then proceeds to drive again within a brief pe‐
riod, the system is able to detect this within the
given system limits. Your own vehicle will
brake automatically and then accelerate again.
If the vehicle ahead of you drives away again
after a prolonged period, briefly press the ac‐
celerator pedal or press the appropriate button
to reactivate the system. The vehicle will auto‐
matically accelerate.As soon as the road is clear, the vehicle accel‐
erates to the desired speed.
The speed is also maintained downhill, but
may not be maintained uphill if engine power is
insufficient.
General information
Depending on the driving settings, the features
of the cruise control can change in certain
areas.
Hints Personal responsibility
Even an active system holds the driver
responsible for his or her driving, particularly
for staying in your lane, adjusting your speed,
keeping your distance and for your driving
style all in relation to traffic.
Technically the system has its limits, it cannot
independently react to all traffic situations.
Monitor your driving, be on the alert, observe
the vehicle surroundings and other traffic and
react when needed, e.g. through braking,
steering or make evasive maneuvers - risk of
accident.◀
Unfavorable weather conditions
In the event of unfavorable weather and
light conditions, e. g. if there is rain, snowfall,
slush, fog or glare, this may result in poorer
recognition of vehicles as well as short-term
interruptions for vehicles that are already de‐
tected. Drive attentively, and react to the cur‐
rent traffic situation. Intervene actively when
necessary, e.g., by braking, steering or making
an evasive maneuver, otherwise, there is the
risk of an accident.◀Seite 107Driving comfortControls109
Page 127 of 230
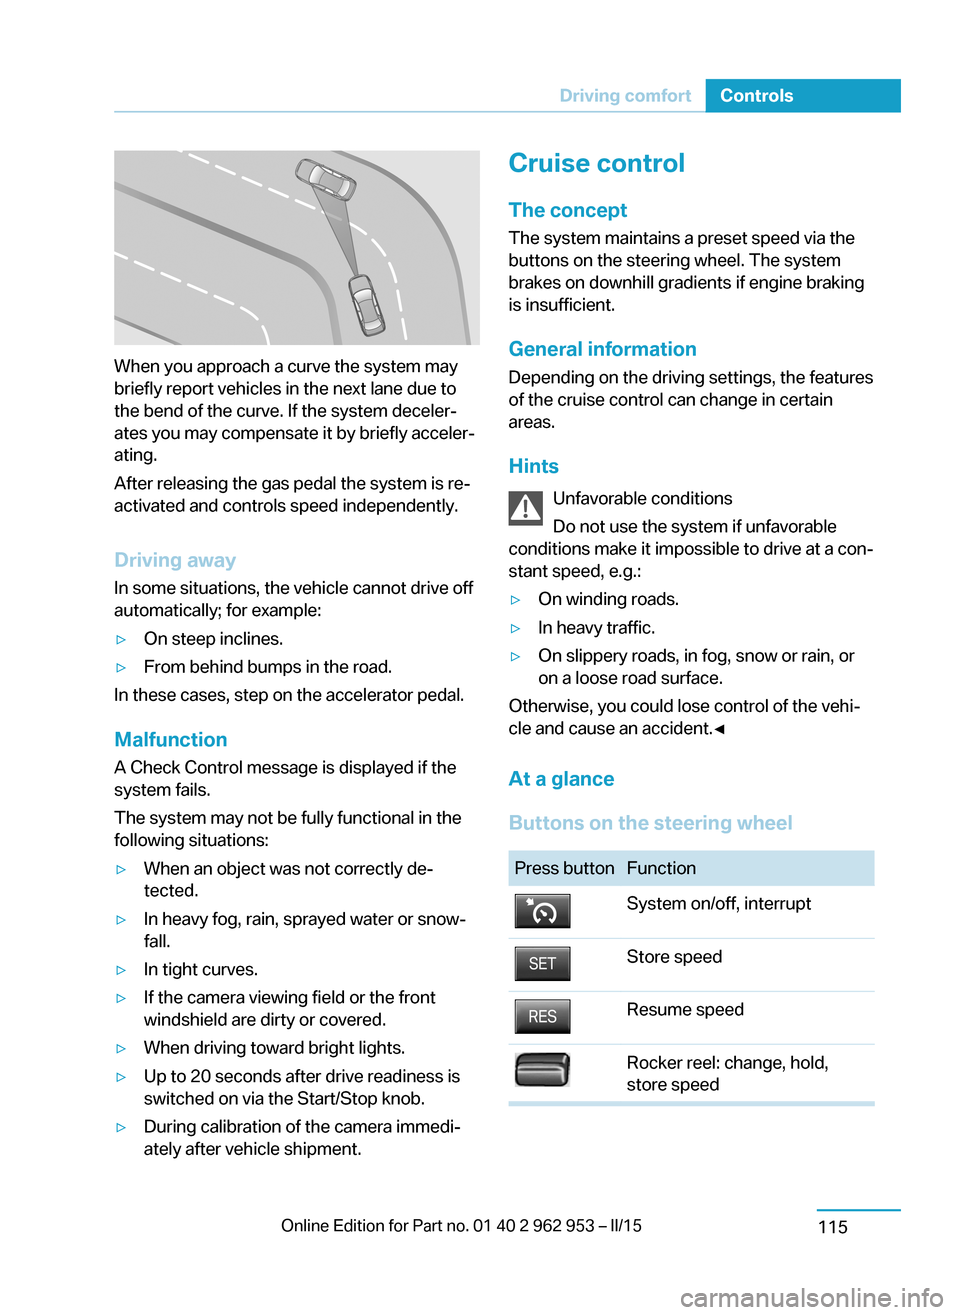
When you approach a curve the system may
briefly report vehicles in the next lane due to
the bend of the curve. If the system deceler‐
ates you may compensate it by briefly acceler‐
ating.
After releasing the gas pedal the system is re‐
activated and controls speed independently.
Driving away In some situations, the vehicle cannot drive off
automatically; for example:
▷On steep inclines.▷From behind bumps in the road.
In these cases, step on the accelerator pedal.
Malfunction
A Check Control message is displayed if the
system fails.
The system may not be fully functional in the
following situations:
▷When an object was not correctly de‐
tected.▷In heavy fog, rain, sprayed water or snow‐
fall.▷In tight curves.▷If the camera viewing field or the front
windshield are dirty or covered.▷When driving toward bright lights.▷Up to 20 seconds after drive readiness is
switched on via the Start/Stop knob.▷During calibration of the camera immedi‐
ately after vehicle shipment.Cruise control
The concept The system maintains a preset speed via the
buttons on the steering wheel. The system
brakes on downhill gradients if engine braking
is insufficient.
General information
Depending on the driving settings, the features
of the cruise control can change in certain
areas.
Hints Unfavorable conditions
Do not use the system if unfavorable
conditions make it impossible to drive at a con‐
stant speed, e.g.:▷On winding roads.▷In heavy traffic.▷On slippery roads, in fog, snow or rain, or
on a loose road surface.
Otherwise, you could lose control of the vehi‐
cle and cause an accident.◀
At a glance
Buttons on the steering wheel
Press buttonFunctionSystem on/off, interruptStore speedResume speedRocker reel: change, hold,
store speedSeite 113Driving comfortControls115
Page 158 of 230
with each other. In addition, there is no assur‐
ance that the radiation generated during trans‐
mission will be conducted away from the vehi‐
cle interior.◀
Hydroplaning Hydroplaning
When driving on wet or slushy roads, re‐
duce your speed to prevent hydroplaning.◀
On wet or slushy roads, a wedge of water can
form between the tires and road surface.
This phenomenon is referred to as hydroplan‐
ing. It is characterized by a partial or complete
loss of contact between the tires and the road
surface, ultimately undermining your ability to
steer and brake the vehicle.
Driving through water Observe water level and speed
Do not exceed the maximum water level
and maximum speed; otherwise, the vehicle's
engine, the electrical systems and the trans‐
mission may be damaged.◀
Drive though calm water only and only if it is
not deeper than 9.8 inches/25 cm and at this
height, no faster than walking speed, up to 3 mph/5 km/h.
Braking safely
Your vehicle is equipped with ABS as a stand‐
ard feature.
Applying the brakes fully is the most effective
way of braking in situations needed.
Steering is still responsive. You can still avoid
any obstacles with a minimum of steering ef‐
fort.
Pulsation of the brake pedal and sounds from
the hydraulic circuits indicate that ABS is in its
active mode.
In certain braking situations, the perforated
brake discs can cause functional problems.However, this has no effect on the perform‐
ance and operational reliability of the brake.
Objects in the range of movement of the pedals and in the footwell
Do not allow objects in the interior
around pedals and foot space
Keep floor mats, carpets, and any other ob‐
jects out of the pedal area and do not stow
them in the footwell; otherwise, the function of
the pedals could be impeded while driving.
Do not place additional floor mats over existing
mats or other objects.
Only use floor mats that have been approved
for the vehicle and can be properly attached to
floor.
Ensure that the floor mats are securely fas‐
tened again after they were removed for clean‐
ing, e.g.◀
Hills Avoid stressing the brakes
Avoid placing excessive stress on the
brake system. Light but consistent brake pres‐
sure can lead to high temperatures, brakes
wearing out and possibly even brake failure.◀
Do not drive in neutral
Do not drive in neutral or with drive readi‐
ness switched off, as doing so disables engine
braking. In addition, steering and brake assist
are unavailable with the engine stopped.◀
On downhill sections, use energy recovery if
possible to decelerate the vehicle.
Brake disc corrosion
Brake disc corrosion and contamination of the
brake pads are favored by:▷Low mileage.▷Extended periods when the vehicle is not
used at all.▷Infrequent use of the brakes.Seite 144Driving tipsThings to remember when driving146
Page 160 of 230
LoadingVehicle features and options
This chapter describes all standard, country-
specific and optional features offered with the
series. It also describes features that are not
necessarily available in your car, e. g., due to
the selected options or country versions. This
also applies to safety-related functions and
systems.
Hints Overloading the vehicle
To avoid exceeding the approved ca‐
pacity of the tires, never overload the vehicle.
Overloading can lead to overheating and in‐
creases the rate at which damage develops in‐
side the tires. This could result in a sudden
loss of tire inflation pressure.◀
No fluids in the cargo area
Make sure that fluids do not leak into the
cargo area; otherwise, the vehicle may be dam‐
aged.◀
Heavy and hard objects
Do not stow any heavy and hard objects
in the car's interior without securing them; oth‐
erwise, they may present a danger to occu‐
pants, e.g., during braking and evasive maneu‐
vers.◀
Load cargo area only with the cargo area
floor installed
Load the cargo area only if the cargo area floor
is located in the cargo area. Otherwise, the
cover of the engine below it could be dam‐
aged.◀Only use loops for releasing the rear seat
backrests
Do not use the loops for releasing the rear seat
backrests to attach objects; otherwise there is
an increased risk of injury because of unex‐
pected movement of the rear seat backrest.◀
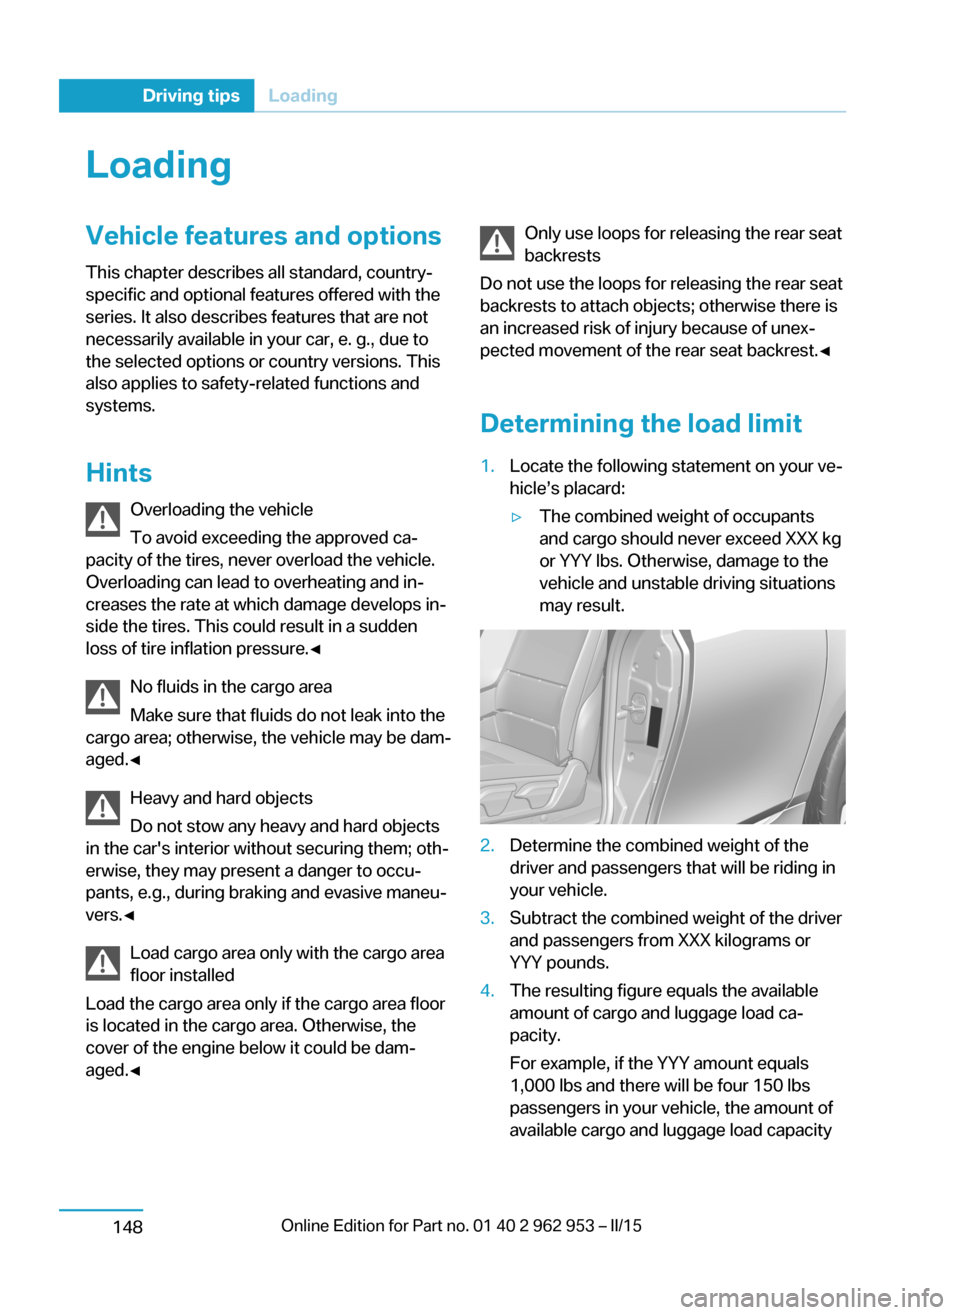
Determining the load limit1.Locate the following statement on your ve‐
hicle’s placard:▷The combined weight of occupants
and cargo should never exceed XXX kg
or YYY lbs. Otherwise, damage to the
vehicle and unstable driving situations
may result.2.Determine the combined weight of the
driver and passengers that will be riding in
your vehicle.3.Subtract the combined weight of the driver
and passengers from XXX kilograms or
YYY pounds.4.The resulting figure equals the available
amount of cargo and luggage load ca‐
pacity.
For example, if the YYY amount equals
1,000 lbs and there will be four 150 lbs
passengers in your vehicle, the amount of
available cargo and luggage load capacitySeite 146Driving tipsLoading148
Page 177 of 230
RefuelingVehicle features and options
This chapter describes all standard, country-
specific and optional features offered with the
series. It also describes features that are not
necessarily available in your car, e. g., due to
the selected options or country versions. This
also applies to safety-related functions and
systems.
Hints
A sufficient amount of fuel must be added to
operate the Range Extender. When the Range
Extender is activated, the current charging
state is maintained. The vehicle has a greater
range.
Do not refuel unless the engine is at a
standstill and the selector lever is in posi‐
tion P/N
Do not refuel unless the engine is at a standstill
and the selector lever is in position P/N, other‐
wise the buildup of pressure may cause the
fuel nozzle to shut off prematurely.◀
Tank ventThe concept
The vehicle is equipped with a special fuel
tank. It is designed for special requirements
that arise in operation with the Range Ex‐
tender.
General information
In the fuel tank, excess pressure can build up
due to gasoline vapors which are dissipated
before the tank lid is opened.
At a glance The button is located on the driver's footwell.Tank venting1.Switch off drive readiness.2.
Press button to start the pressure
equalization.
The status of the tank venting is displayed
in the instrument cluster. In rare cases, the
tank venting can last several seconds.
If the tank venting has been completed, a
message is displayed in the instrument
cluster. The tank lid is released for open‐
ing.
3.Open the fuel filler flap.
If the fuel filler flap is not opened within 10
minutes after the fuel filler flap was re‐
leased, the fuel filler flap relocks. Press
button again.
Fuel lid
Opening
Before opening , vent the tank, refer to
page 165.
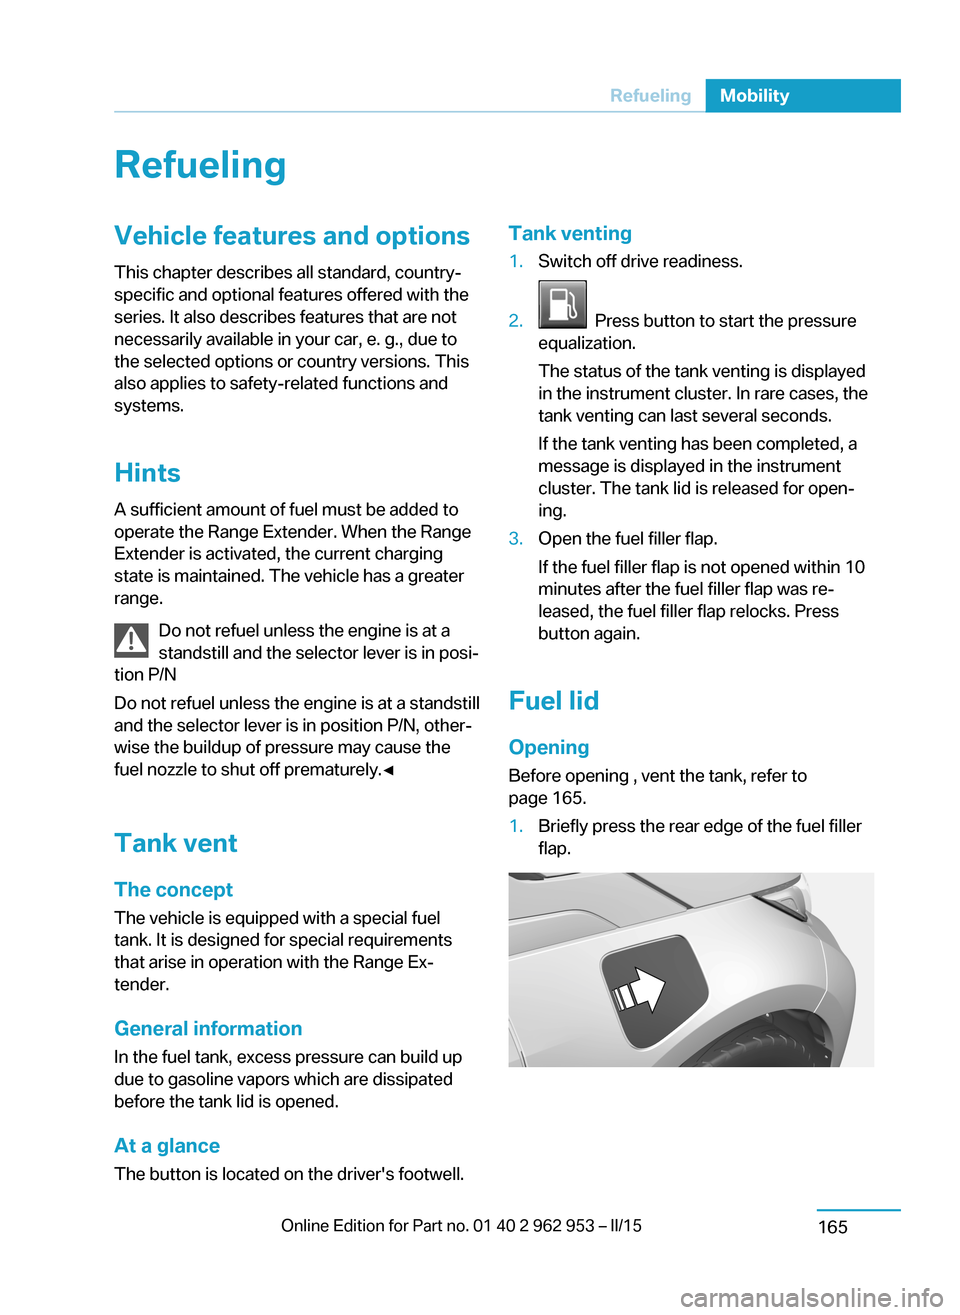
1.Briefly press the rear edge of the fuel filler
flap.Seite 163RefuelingMobility165
Page 180 of 230
FuelVehicle features and optionsThis chapter describes all standard, country-
specific and optional features offered with the
series. It also describes features that are not
necessarily available in your car, e. g., due to
the selected options or country versions. This
also applies to safety-related functions and
systems.
Fuel recommendation
Note General fuel quality
Even fuels that conform to the specifica‐
tions can be of low quality. This may cause en‐
gine problems, for instance poor engine start-
up behavior, poor handling and/or poor
performance. Switch gas stations or use a
brand name fuel with a higher octane rating.◀
Gasoline
For the best fuel efficiency, the gasoline
should be sulfur-free or very low in sulfur con‐
tent.
Fuels that are marked on the gas pump as con‐
taining metal must not be used.
Refuel only with unleaded gasoline with‐
out metallic additives.
Do not refuel with any leaded gasoline or gaso‐
line with metallic additives, e. g. manganese or
iron, as this can cause permanent damage to
the catalytic converter and other compo‐
nents.◀
Fuels with a maximum ethanol content of
10 %, i. e., E10, may be used for refueling.
Ethanol should satisfy the following quality
standards:
US: ASTM 4806–xxCAN: CGSB-3.511–xx
xx: comply with the current standard in each
case.
Do not use a fuel with a higher percent‐
age of ethanol
Do not use a fuel with a higher ethanol per‐
centage than recommended or one with other
types of alcohol, e.g. M5 to M100; otherwise
this could damage the engine and fuel supply
system.◀
Recommended fuel grade BMW recommends AKI 91.
Minimum fuel grade
BMW recommends AKI 89.
Minimum fuel grade
Do not use any gasoline below the mini‐
mum fuel grade as this may impair engine per‐
formance.◀
Fuel supply in winter Depending on the region, many gas stations
sell fuel that has been customized to winter or
summer conditions.
Fuel that is available in winter helps make a
cold start easier, e. g.
The manufacturer of the vehicle recommends
filling the tank with the corresponding fuel at
the start of winter to ensure the operational re‐
liability of the Range Extender at low tempera‐
tures.Seite 166MobilityFuel168
Page 193 of 230
Engine oilVehicle features and options
This chapter describes all standard, country-
specific and optional features offered with the
series. It also describes features that are not
necessarily available in your car, e. g., due to
the selected options or country versions. This
also applies to safety-related functions and
systems.
General information
Engine oil consumption depends on the fre‐
quency of Range Extender use. Therefore,
regularly check the engine oil level after refuel‐
ing.
Checking the oil level
Note Check the engine oil level with Range Extender
warmed up to operating temperature.
After switching off the Range Extender, wait
several minutes before checking the oil level
so that the engine oil can collect in the oil pan.
Checking1.Park the vehicle in horizontal position in a
safe place.2.Switch the engine off.3.Remove the cargo floor panel.4.Turn the lid counterclockwise and remove.5.After approx. 5, minutes, remove the dip
stick and wipe with a lint-free cloth, paper
towel or similar.6.Carefully insert the dipstick up to the stop
in the measuring tube, and pull it back out.
The engine oil level must be between the
two marks of the dipstick.Seite 179Engine oilMobility181