display BMW I3 2015 I01 Owners Manual
[x] Cancel search | Manufacturer: BMW, Model Year: 2015, Model line: I3, Model: BMW I3 2015 I01Pages: 236, PDF Size: 17.6 MB
Page 189 of 236
Wheels and tiresVehicle features and options
This chapter describes all standard, country-
specific and optional features offered with the
series. It also describes features that are not
necessarily available in your car, e. g., due to
the selected options or country versions. This
also applies to safety-related functions and
systems. The respectively applicable country
provisions must be observed when using the
respective features and systems.
Tire inflation pressure Safety information
The tire characteristics and tire inflation pres‐
sure influence the following:▷The service life of the tires.▷Road safety.▷Driving comfort.
Checking the tire inflation pressure
Check the tire inflation pressure regularly
Regularly check the tire inflation pres‐
sure, and correct it as needed: at least twice a
month and before a long trip. If you fail to ob‐
serve this precaution, you may be driving on
tires with incorrect tire pressures, a condition
that may not only compromise your vehicle's
driving stability, but also lead to tire damage
and the risk of an accident.◀
Tires have a natural, consistent loss of tire in‐
flation pressure.
Tires heat up while driving, and the tire infla‐
tion pressure increases along with the tire's
temperature. The tire inflation pressure speci‐
fications relate to cold tires or tires with the
ambient temperature.
Only check the tire inflation pressure when the
tires are cold. This means after driving no more
than 1.25 miles/2 km or when the vehicle has
been parked for at least 2 hours.
The displays of inflation devices may under-
read by up to 1.45 psi/0.1 bar.
For Flat Tire Monitor: after correcting the tire
inflation pressure, reinitialize the Flat Tire
Monitor.
For Tire Pressure Monitor: after correcting the
tire inflation pressure, reset the Tire Pressure
Monitor.
Tire inflation pressure specifications
The tire inflation pressure table, refer to
page 174, contains all tire inflation pressure
specifications for the specified tire sizes at the
ambient temperature. Tire inflation pressure
specifications apply to approved tire sizes and
recommended tire brands. This information
can be obtained from your service center.
To identify the correct tire inflation pressure,
please note the following:▷Tire sizes of your vehicle.
Tire fill pressures
To achieve optimum driving comfort, note the
pressure specifications in the Tire inflation
pressure table, refer to page 174, and adjust
as needed.
Seite 173Wheels and tiresMobility173
Online Edition for Part no. 01 40 2 960 865 - II/15
Page 193 of 236
Approved wheels and tires
You should only use wheels and tires
that have been approved by the vehicle manu‐
facturer for your vehicle type; otherwise, e.g.,
despite having the same official size ratings,
variations can lead to chassis contact and with
it, the risk of severe accidents
The manufacturer of your vehicle cannot eval‐
uate non-approved wheels and tires to deter‐
mine if they are suited for use, and therefore
cannot guarantee the operating safety of the
vehicle.◀
Recommended tire brands
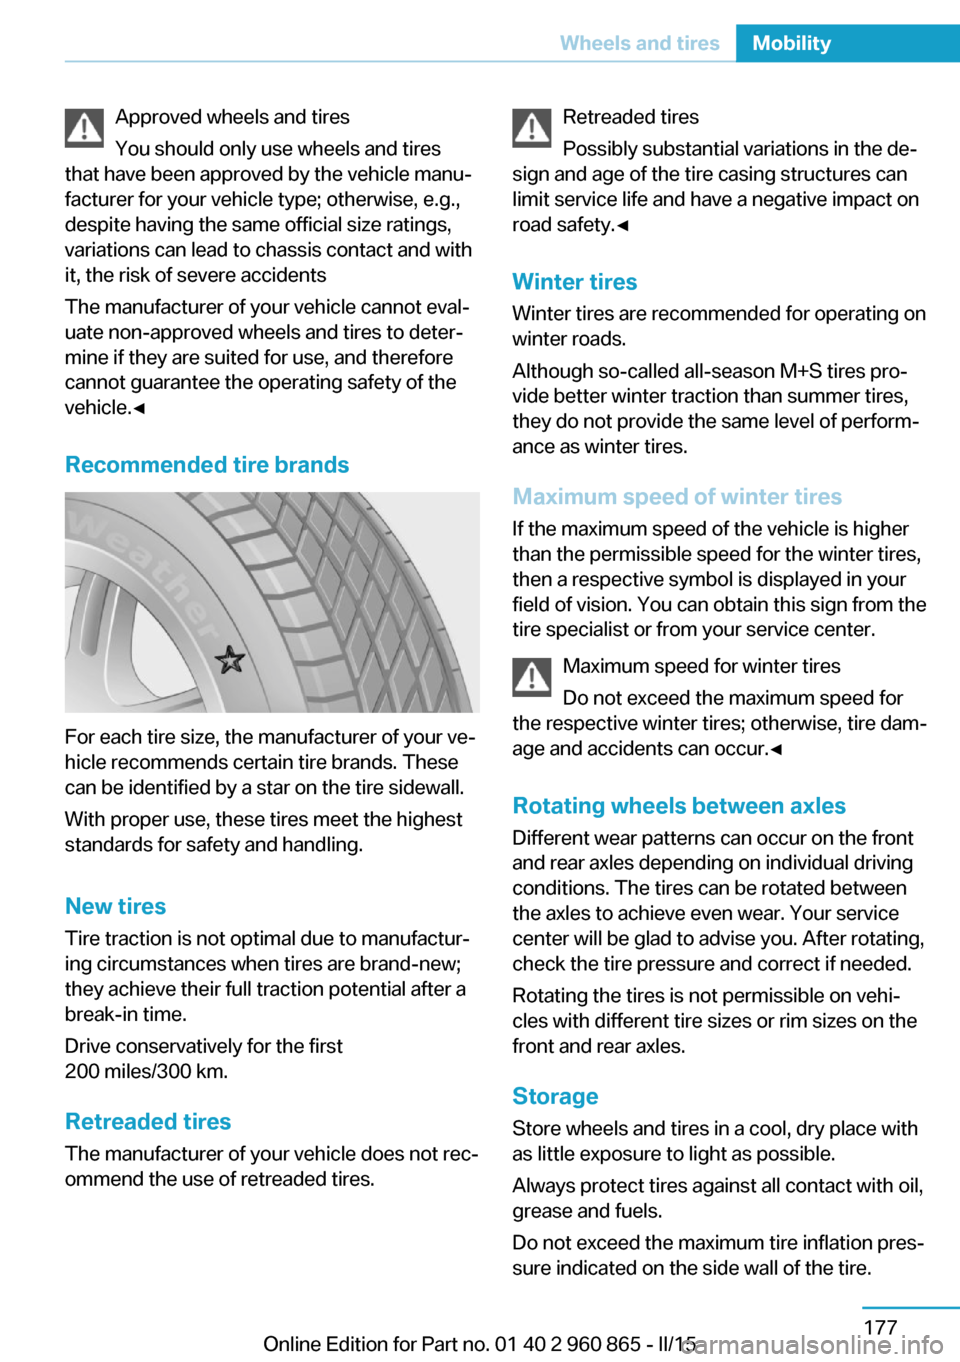
For each tire size, the manufacturer of your ve‐
hicle recommends certain tire brands. These
can be identified by a star on the tire sidewall.
With proper use, these tires meet the highest
standards for safety and handling.
New tires Tire traction is not optimal due to manufactur‐
ing circumstances when tires are brand-new;
they achieve their full traction potential after a
break-in time.
Drive conservatively for the first
200 miles/300 km.
Retreaded tires
The manufacturer of your vehicle does not rec‐
ommend the use of retreaded tires.
Retreaded tires
Possibly substantial variations in the de‐
sign and age of the tire casing structures can
limit service life and have a negative impact on
road safety.◀
Winter tires
Winter tires are recommended for operating on
winter roads.
Although so-called all-season M+S tires pro‐
vide better winter traction than summer tires, they do not provide the same level of perform‐
ance as winter tires.
Maximum speed of winter tires If the maximum speed of the vehicle is higher
than the permissible speed for the winter tires,
then a respective symbol is displayed in your
field of vision. You can obtain this sign from the
tire specialist or from your service center.
Maximum speed for winter tires
Do not exceed the maximum speed for
the respective winter tires; otherwise, tire dam‐
age and accidents can occur.◀
Rotating wheels between axles Different wear patterns can occur on the front
and rear axles depending on individual driving
conditions. The tires can be rotated between
the axles to achieve even wear. Your service
center will be glad to advise you. After rotating,
check the tire pressure and correct if needed.
Rotating the tires is not permissible on vehi‐
cles with different tire sizes or rim sizes on the
front and rear axles.
StorageStore wheels and tires in a cool, dry place with
as little exposure to light as possible.
Always protect tires against all contact with oil,
grease and fuels.
Do not exceed the maximum tire inflation pres‐
sure indicated on the side wall of the tire.Seite 177Wheels and tiresMobility177
Online Edition for Part no. 01 40 2 960 865 - II/15
Page 199 of 236
Opening hood
Unlocking hood1. Press button on the remote con‐
trol or in the driver's footwell, refer to
page 44.
Opening hood
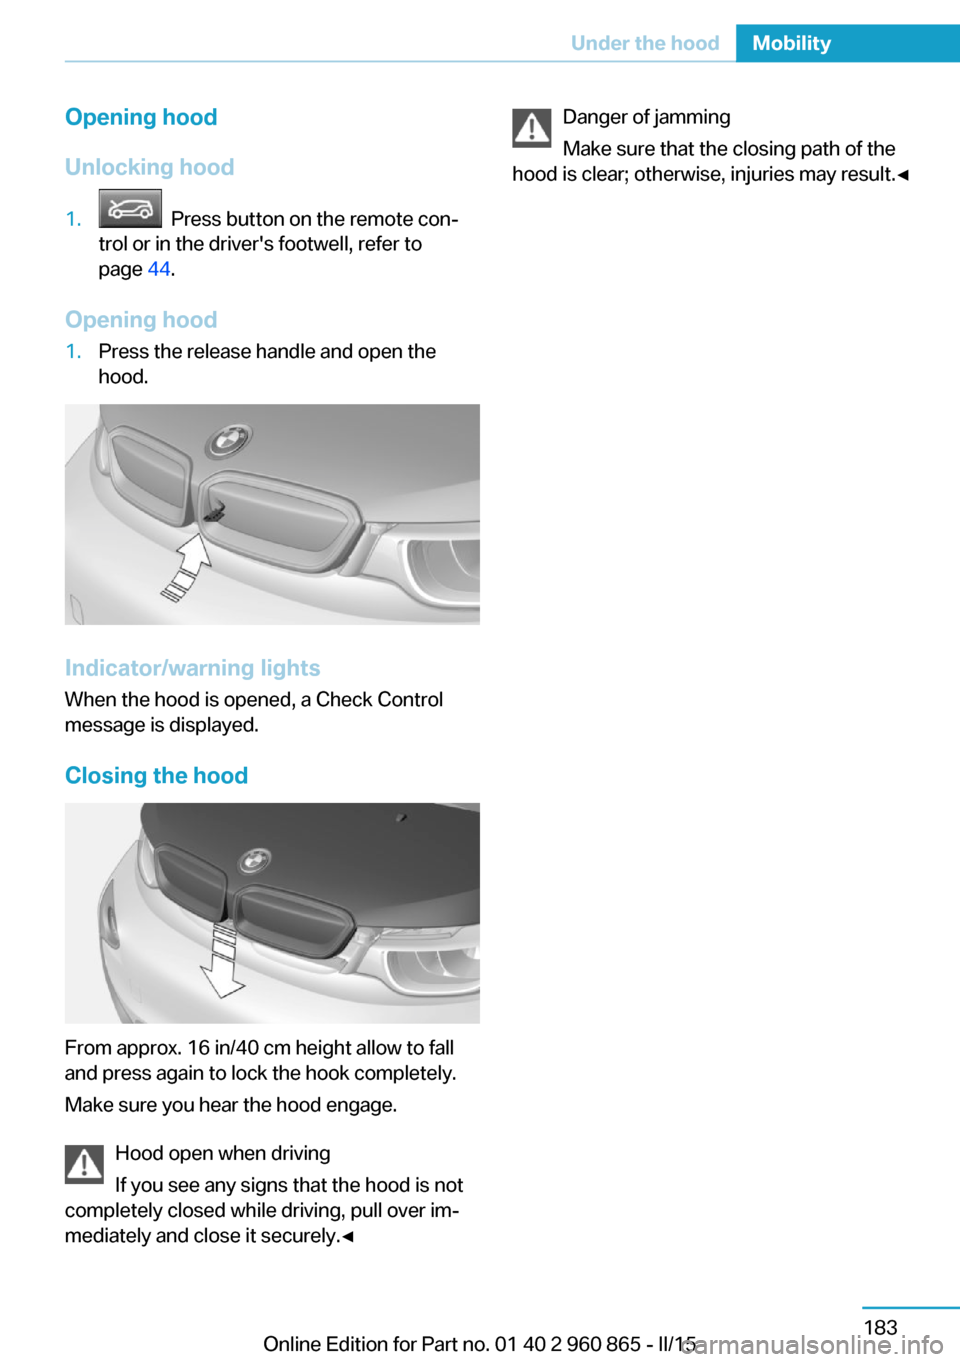
1.Press the release handle and open the
hood.
Indicator/warning lights
When the hood is opened, a Check Control
message is displayed.
Closing the hood
From approx. 16 in/40 cm height allow to fall
and press again to lock the hook completely.
Make sure you hear the hood engage.
Hood open when driving
If you see any signs that the hood is not
completely closed while driving, pull over im‐
mediately and close it securely.◀
Danger of jamming
Make sure that the closing path of the
hood is clear; otherwise, injuries may result.◀Seite 183Under the hoodMobility183
Online Edition for Part no. 01 40 2 960 865 - II/15
Page 204 of 236
MaintenanceVehicle features and options
This chapter describes all standard, country-
specific and optional features offered with the
series. It also describes features that are not
necessarily available in your car, e. g., due to
the selected options or country versions. This
also applies to safety-related functions and
systems. The respectively applicable country
provisions must be observed when using the
respective features and systems.
BMW maintenance system The maintenance system indicates required
maintenance measures, and thereby provides
support in maintaining road safety and the op‐
erational reliability of the vehicle.
In some cases scopes and intervals may vary
according to the country-specific version. Re‐
placement work, spare parts, fuels and lubri‐
cants and wear materials are calculated sepa‐
rately. Additional information is available from
the service center.
Note Maintenance and repairs
Have maintenance and repair work per‐
formed only by a service center or a workshop
that works according to BMW specifications
with appropriately trained personnel. Other‐
wise, there is the risk of fatal injury from elec‐
trocution due to the high-voltage system's
high voltage.◀Condition Based Service
CBS
Sensors and special algorithms take into ac‐
count the driving conditions of your vehicle.
Based on this, Condition Based Service recog‐
nizes the maintenance requirements.
The system makes it possible to adapt the
amount of maintenance corresponding to your
user profile.
Detailed information on service requirements,
refer to page 83, can be displayed on the Con‐
trol Display.
Service data in the remote control Information on the required maintenance is
continuously stored in the remote control. Your service center will read out this data and
suggest the right array of service procedures for your vehicle.
Therefore, hand your service specialist the re‐
mote control with which the vehicle was driven
most recently.
Storage periods Storage periods during which the vehicle bat‐
tery was disconnected are not taken into ac‐
count.
If this occurs, have a service center update the
time-dependent maintenance procedures,
such as checking brake fluid and, if needed,
changing the engine oil and the microfilter/
activated-charcoal filter.Seite 188MobilityMaintenance188
Online Edition for Part no. 01 40 2 960 865 - II/15
Page 210 of 236
Changing wheels
Hints
Which is why no spare tire is available.
The tools for changing wheels are available as
accessories from your service center.
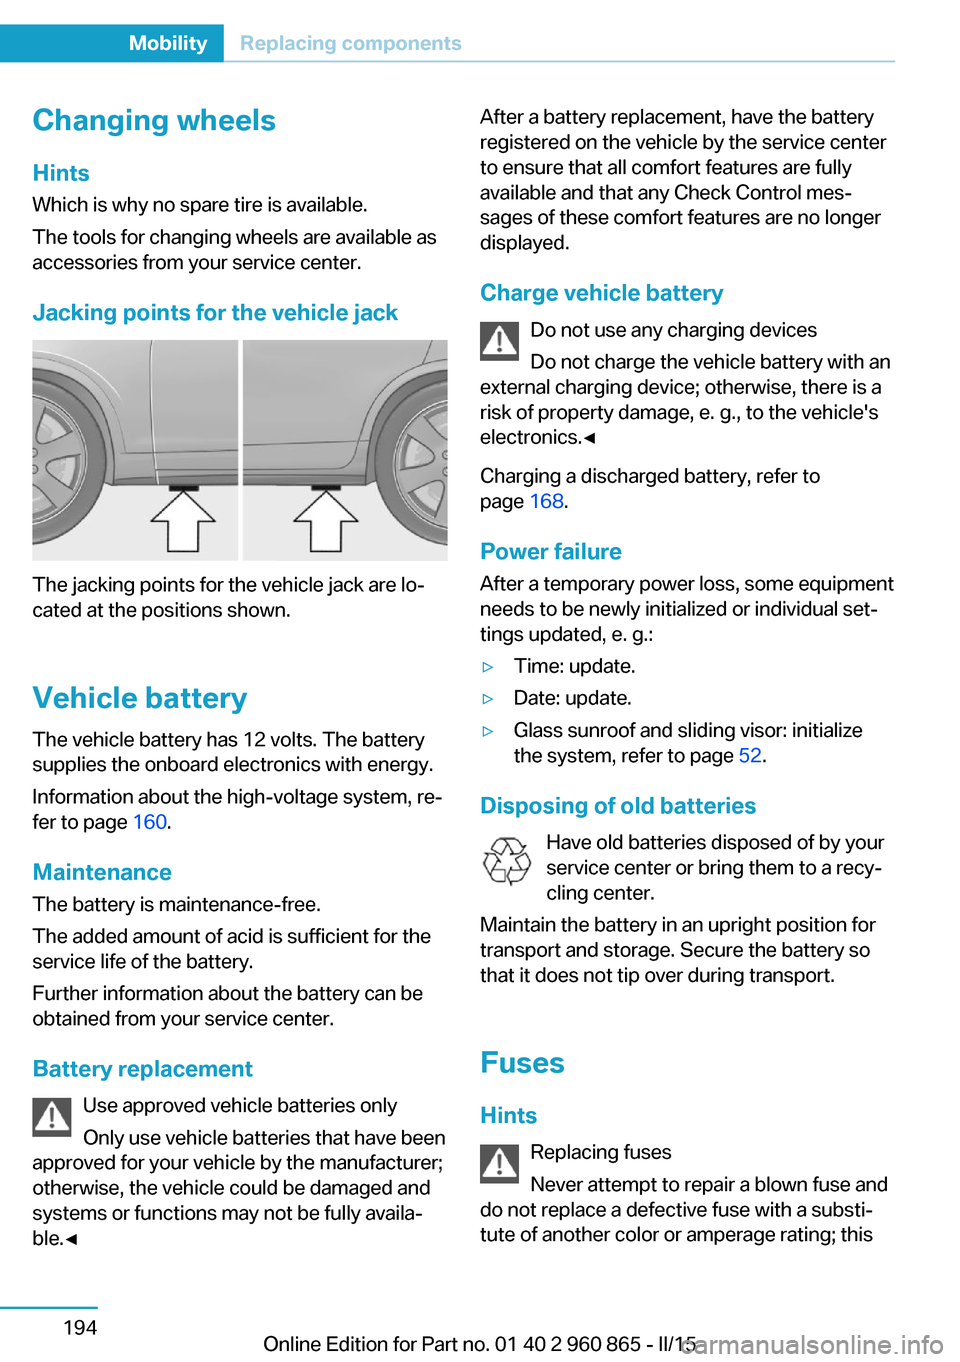
Jacking points for the vehicle jack
The jacking points for the vehicle jack are lo‐
cated at the positions shown.
Vehicle battery The vehicle battery has 12 volts. The battery
supplies the onboard electronics with energy.
Information about the high-voltage system, re‐
fer to page 160.
Maintenance
The battery is maintenance-free.
The added amount of acid is sufficient for the
service life of the battery.
Further information about the battery can be
obtained from your service center.
Battery replacement Use approved vehicle batteries only
Only use vehicle batteries that have been
approved for your vehicle by the manufacturer;
otherwise, the vehicle could be damaged and
systems or functions may not be fully availa‐
ble.◀
After a battery replacement, have the battery
registered on the vehicle by the service center
to ensure that all comfort features are fully
available and that any Check Control mes‐
sages of these comfort features are no longer
displayed.
Charge vehicle battery Do not use any charging devices
Do not charge the vehicle battery with an
external charging device; otherwise, there is a
risk of property damage, e. g., to the vehicle's
electronics.◀
Charging a discharged battery, refer to
page 168.
Power failure
After a temporary power loss, some equipment
needs to be newly initialized or individual set‐
tings updated, e. g.:▷Time: update.▷Date: update.▷Glass sunroof and sliding visor: initialize
the system, refer to page 52.
Disposing of old batteries
Have old batteries disposed of by your
service center or bring them to a recy‐
cling center.
Maintain the battery in an upright position for
transport and storage. Secure the battery so
that it does not tip over during transport.
Fuses Hints Replacing fuses
Never attempt to repair a blown fuse and
do not replace a defective fuse with a substi‐
tute of another color or amperage rating; this
Seite 194MobilityReplacing components194
Online Edition for Part no. 01 40 2 960 865 - II/15
Page 212 of 236
Breakdown assistanceVehicle features and options
This chapter describes all standard, country-
specific and optional features offered with the
series. It also describes features that are not
necessarily available in your car, e. g., due to
the selected options or country versions. This
also applies to safety-related functions and
systems. The respectively applicable country
provisions must be observed when using the
respective features and systems.
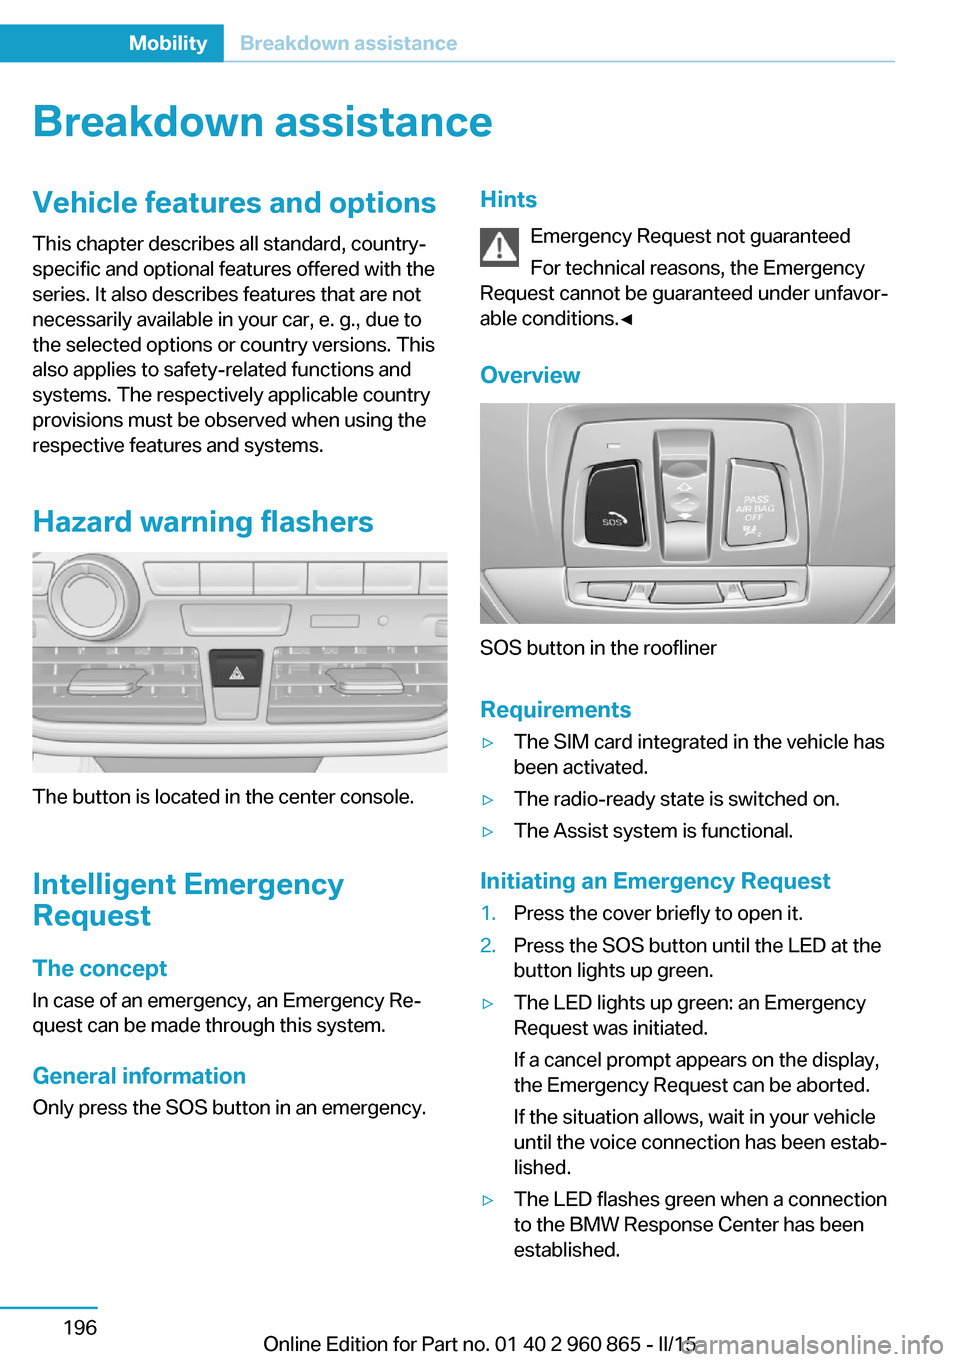
Hazard warning flashers
The button is located in the center console.
Intelligent Emergency
Request
The concept In case of an emergency, an Emergency Re‐
quest can be made through this system.
General information
Only press the SOS button in an emergency.
Hints
Emergency Request not guaranteed
For technical reasons, the Emergency
Request cannot be guaranteed under unfavor‐
able conditions.◀
Overview
SOS button in the roofliner
Requirements
▷The SIM card integrated in the vehicle has
been activated.▷The radio-ready state is switched on.▷The Assist system is functional.
Initiating an Emergency Request
1.Press the cover briefly to open it.2.Press the SOS button until the LED at the
button lights up green.▷The LED lights up green: an Emergency
Request was initiated.
If a cancel prompt appears on the display,
the Emergency Request can be aborted.
If the situation allows, wait in your vehicle
until the voice connection has been estab‐
lished.▷The LED flashes green when a connection
to the BMW Response Center has been
established.Seite 196MobilityBreakdown assistance196
Online Edition for Part no. 01 40 2 960 865 - II/15
Page 217 of 236
tions on avoiding an unintentional alarm,
refer to page 50.
Guide rails in car washes
Avoid car washes with guide rails higher
than 4 in/10 cm; otherwise, the vehicle body
could be damaged.◀
Before driving into a car wash In order to ensure that the vehicle can roll in a
car wash, take the following steps:
1.Drive into the car wash.2.Engage selector lever position N.3.Remove foot from brake pedal.4.Press the Start/Stop button.
In this way, operating readiness remains
switched on, and a Check-Control mes‐
sage is displayed.
To activate drive readiness:
1.Depress the brake pedal.2.Press the Start/Stop button.
Pressing the Start/Stop button without step‐
ping on the brake turns operating readiness
off.
Selector lever position Selector lever position P is engaged automati‐
cally:
▷With operating readiness turned off.▷After approx. 15 minutes.
Headlights
▷Do not rub dry and do not use abrasive or
acidic cleansers.▷Soak areas that have been dirtied e. g.,
from insects, with shampoo and wash off
with water.▷Thaw ice with de-icing spray; do not use an
ice scraper.After washing the vehicle
After washing the vehicle, apply the brakes
briefly to dry them; otherwise, braking action
can be reduced and corrosion of the brake
discs can occur.
Completely remove all residues on the win‐
dows, to minimize loss of visibility due to
smearing and to reduce wiper noises and
wiper blade wear.
Vehicle care
Car care products BMW recommends using care and cleaning
products from BMW, since these have been
tested and approved.
Car care and cleaning products
Follow the instructions on the container.
When cleaning the interior, open the doors or
windows.
Only use products intended for cleaning vehi‐
cles.
Cleansers can contain substances that are
dangerous and harmful to your health.◀
Vehicle paint
Regular care contributes to driving safety and
value retention. Environmental influences in
areas with elevated air pollution or natural con‐
taminants, such as tree resin or pollen can af‐
fect the vehicle's paintwork. Tailor the fre‐
quency and extent of your car care to these
influences.
Aggressive substances such as spilled fuel, oil,
grease or bird droppings, must be removed im‐
mediately to prevent the finish from being al‐
tered or discolored.
Leather care
Remove dust from the leather often, using a
cloth or vacuum cleaner.Seite 201CareMobility201
Online Edition for Part no. 01 40 2 960 865 - II/15
Page 219 of 236
Chemical cleaning
Do not clean chemically; this can destroy
the webbing.◀
Use only a mild soapy solution, with the safety
belts clipped into their buckles.
Do not allow the reels to retract the safety
belts until they are dry.
Carpets and floor mats No objects in the area around the pedals
Keep floor mats, carpets, and any other
objects out of the pedal area; otherwise, the
function of the pedals could be impeded while
driving and create the risk of an accident.
Do not place additional floor mats over existing
mats or other objects.
Only use floor mats that have been approved
for the vehicle and can be properly attached to
floor.
Ensure that the floor mats are securely fas‐
tened again after they were removed for clean‐
ing, e.g.◀
Floor mats can be removed from the car's inte‐
rior for cleaning.
If the floor carpets are very dirty, clean with a
microfiber cloth and water or a textile cleaner.
To prevent matting of the carpet, rub back and
forth in the direction of travel only.
Sensor/camera lenses
To clean sensors and camera lenses, use a
cloth moistened with a small amount of glass
detergent.
Displays/monitors Cleaning displays and screens
Do not use any chemical or household
cleaning agents; otherwise, surfaces can be af‐
fected.◀Keeping out moisture
Keep all fluids and moisture away from
the unit; otherwise, electrical components can
be damaged.◀
Avoid pressure
Avoid pressing too hard when cleaning
and do not use abrasive materials; otherwise,
damage can result.◀
Clean with a clean, antistatic microfiber cloth.
Long idle times and long-term vehicle
storage
Do not allow the vehicle to sit idle for ex‐
tended periods with a low charging state
Before storing the vehicle for an extended pe‐
riod, check the battery charge indicator to en‐
sure that the high-voltage battery is fully
charged. For longer idle times, park the vehicle
with a charging plug plugged into a suitable
power source. Regularly check charging state.
Otherwise, the high-voltage battery can be
damaged when there is excessive discharge.◀
For idle phases that last several weeks, park
the vehicle with a fully charged battery if possi‐
ble.
Do not park the vehicle for longer than 14 days
if the electric range is less than 6 mls, approx.
10 km.
With storage times of up to three months, if
possible plug the vehicle into a suitable power
source or park it in a nearly fully charged state.
Note The service center can advise you on what to
consider when storing the vehicle for longer
than three months.Seite 203CareMobility203
Online Edition for Part no. 01 40 2 960 865 - II/15
Page 227 of 236
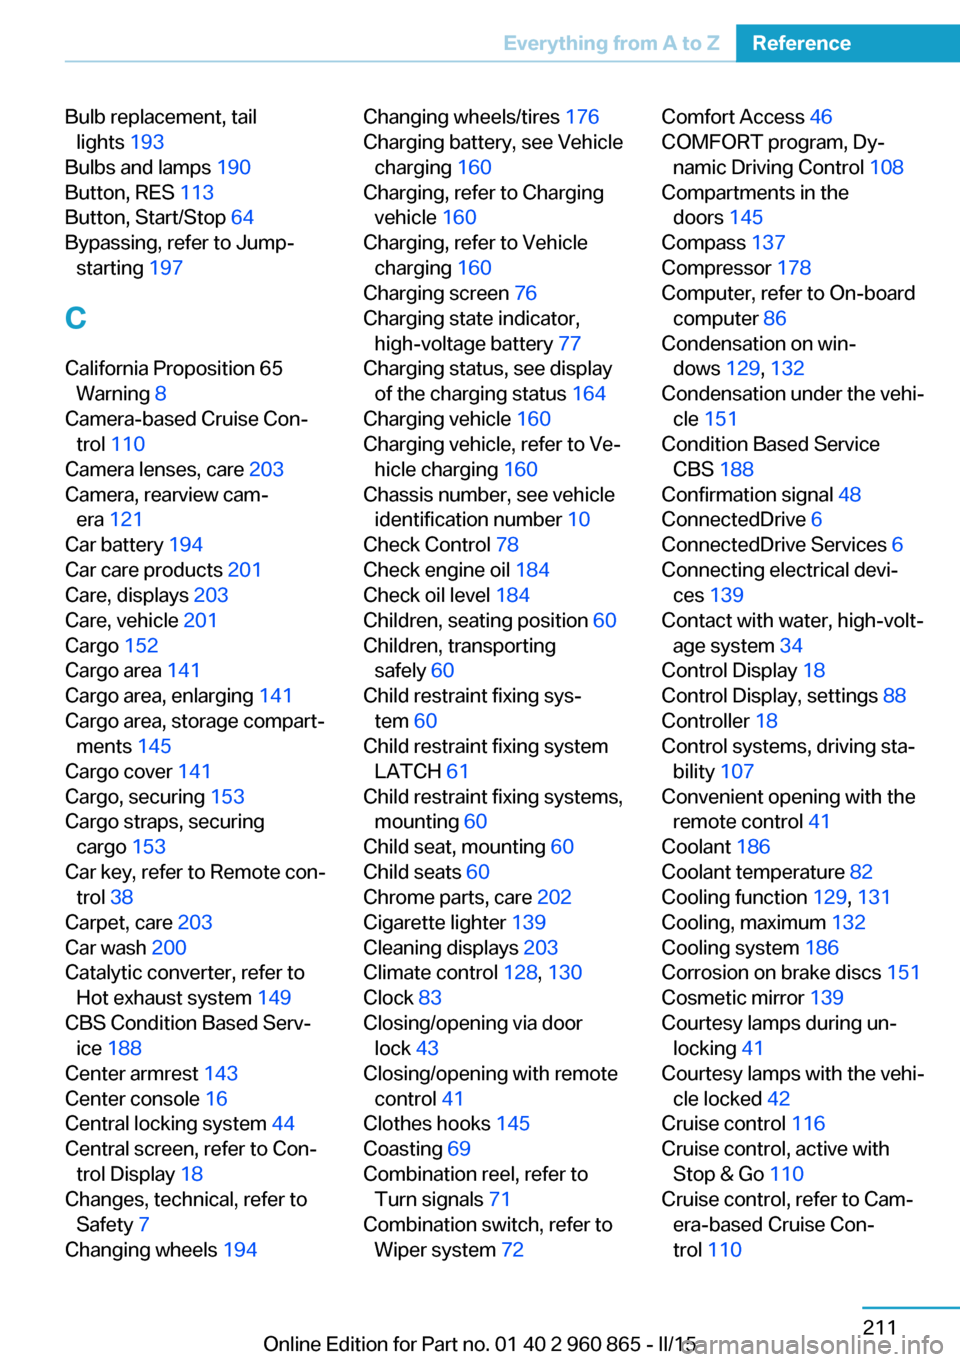
Bulb replacement, taillights 193
Bulbs and lamps 190
Button, RES 113
Button, Start/Stop 64
Bypassing, refer to Jump- starting 197
C
California Proposition 65 Warning 8
Camera-based Cruise Con‐ trol 110
Camera lenses, care 203
Camera, rearview cam‐ era 121
Car battery 194
Car care products 201
Care, displays 203
Care, vehicle 201
Cargo 152
Cargo area 141
Cargo area, enlarging 141
Cargo area, storage compart‐ ments 145
Cargo cover 141
Cargo, securing 153
Cargo straps, securing cargo 153
Car key, refer to Remote con‐ trol 38
Carpet, care 203
Car wash 200
Catalytic converter, refer to Hot exhaust system 149
CBS Condition Based Serv‐ ice 188
Center armrest 143
Center console 16
Central locking system 44
Central screen, refer to Con‐ trol Display 18
Changes, technical, refer to Safety 7
Changing wheels 194 Changing wheels/tires 176
Charging battery, see Vehicle charging 160
Charging, refer to Charging vehicle 160
Charging, refer to Vehicle charging 160
Charging screen 76
Charging state indicator, high-voltage battery 77
Charging status, see display of the charging status 164
Charging vehicle 160
Charging vehicle, refer to Ve‐ hicle charging 160
Chassis number, see vehicle identification number 10
Check Control 78
Check engine oil 184
Check oil level 184
Children, seating position 60
Children, transporting safely 60
Child restraint fixing sys‐ tem 60
Child restraint fixing system LATCH 61
Child restraint fixing systems, mounting 60
Child seat, mounting 60
Child seats 60
Chrome parts, care 202
Cigarette lighter 139
Cleaning displays 203
Climate control 128, 130
Clock 83
Closing/opening via door lock 43
Closing/opening with remote control 41
Clothes hooks 145
Coasting 69
Combination reel, refer to Turn signals 71
Combination switch, refer to Wiper system 72 Comfort Access 46
COMFORT program, Dy‐ namic Driving Control 108
Compartments in the doors 145
Compass 137
Compressor 178
Computer, refer to On-board computer 86
Condensation on win‐ dows 129, 132
Condensation under the vehi‐ cle 151
Condition Based Service CBS 188
Confirmation signal 48
ConnectedDrive 6
ConnectedDrive Services 6
Connecting electrical devi‐ ces 139
Contact with water, high-volt‐ age system 34
Control Display 18
Control Display, settings 88
Controller 18
Control systems, driving sta‐ bility 107
Convenient opening with the remote control 41
Coolant 186
Coolant temperature 82
Cooling function 129, 131
Cooling, maximum 132
Cooling system 186
Corrosion on brake discs 151
Cosmetic mirror 139
Courtesy lamps during un‐ locking 41
Courtesy lamps with the vehi‐ cle locked 42
Cruise control 116
Cruise control, active with Stop & Go 110
Cruise control, refer to Cam‐ era-based Cruise Con‐
trol 110 Seite 211Everything from A to ZReference211
Online Edition for Part no. 01 40 2 960 865 - II/15
Page 228 of 236
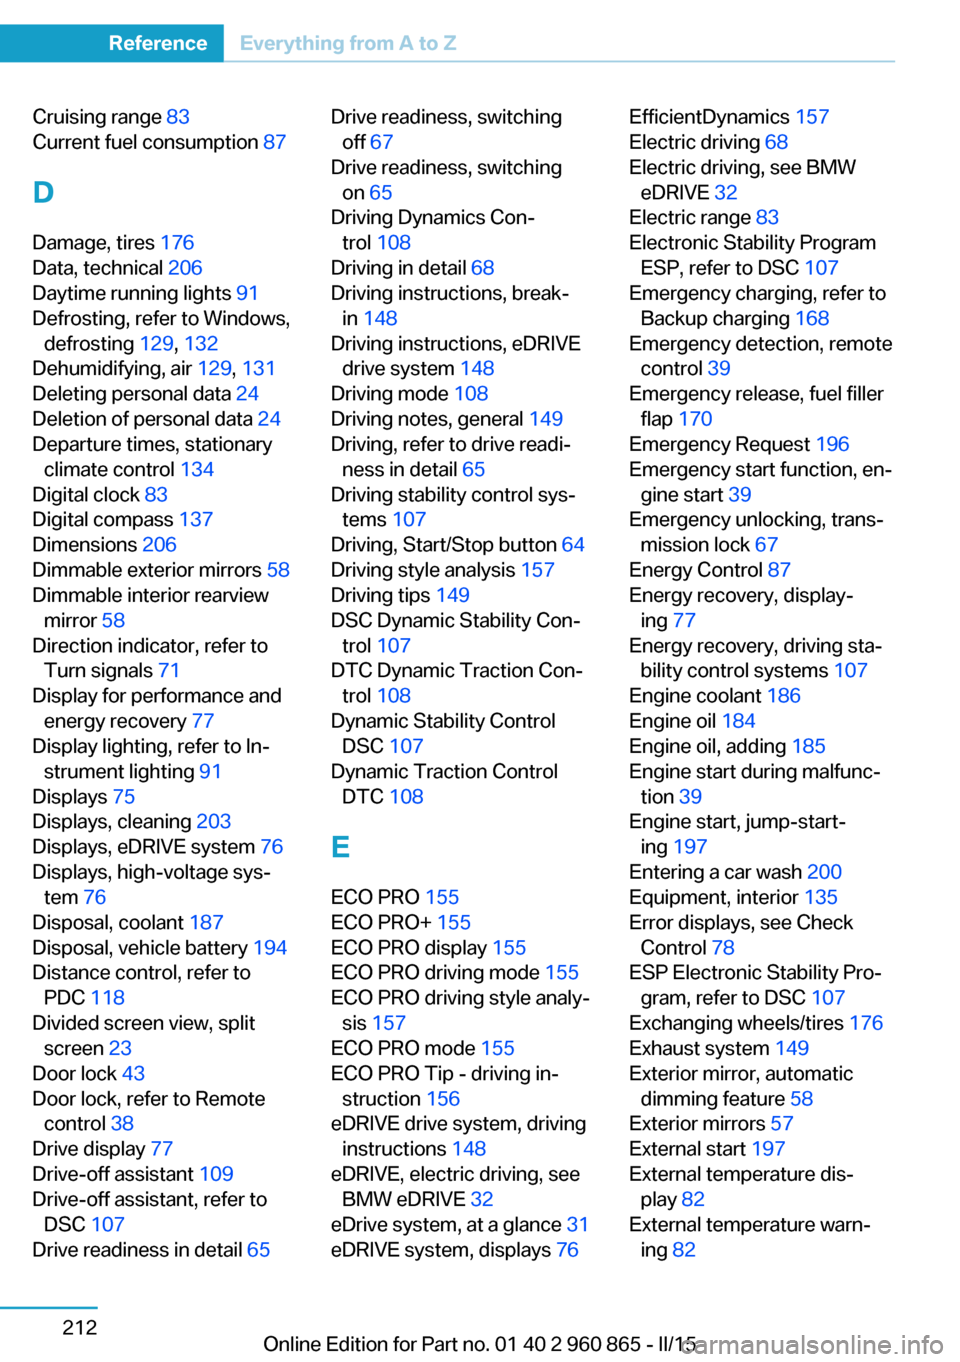
Cruising range 83
Current fuel consumption 87
D
Damage, tires 176
Data, technical 206
Daytime running lights 91
Defrosting, refer to Windows, defrosting 129, 132
Dehumidifying, air 129, 131
Deleting personal data 24
Deletion of personal data 24
Departure times, stationary climate control 134
Digital clock 83
Digital compass 137
Dimensions 206
Dimmable exterior mirrors 58
Dimmable interior rearview mirror 58
Direction indicator, refer to Turn signals 71
Display for performance and energy recovery 77
Display lighting, refer to In‐ strument lighting 91
Displays 75
Displays, cleaning 203
Displays, eDRIVE system 76
Displays, high-voltage sys‐ tem 76
Disposal, coolant 187
Disposal, vehicle battery 194
Distance control, refer to PDC 118
Divided screen view, split screen 23
Door lock 43
Door lock, refer to Remote control 38
Drive display 77
Drive-off assistant 109
Drive-off assistant, refer to DSC 107
Drive readiness in detail 65 Drive readiness, switching
off 67
Drive readiness, switching on 65
Driving Dynamics Con‐ trol 108
Driving in detail 68
Driving instructions, break- in 148
Driving instructions, eDRIVE drive system 148
Driving mode 108
Driving notes, general 149
Driving, refer to drive readi‐ ness in detail 65
Driving stability control sys‐ tems 107
Driving, Start/Stop button 64
Driving style analysis 157
Driving tips 149
DSC Dynamic Stability Con‐ trol 107
DTC Dynamic Traction Con‐ trol 108
Dynamic Stability Control DSC 107
Dynamic Traction Control DTC 108
E ECO PRO 155
ECO PRO+ 155
ECO PRO display 155
ECO PRO driving mode 155
ECO PRO driving style analy‐ sis 157
ECO PRO mode 155
ECO PRO Tip - driving in‐ struction 156
eDRIVE drive system, driving instructions 148
eDRIVE, electric driving, see BMW eDRIVE 32
eDrive system, at a glance 31
eDRIVE system, displays 76 EfficientDynamics 157
Electric driving 68
Electric driving, see BMW eDRIVE 32
Electric range 83
Electronic Stability Program ESP, refer to DSC 107
Emergency charging, refer to Backup charging 168
Emergency detection, remote control 39
Emergency release, fuel filler flap 170
Emergency Request 196
Emergency start function, en‐ gine start 39
Emergency unlocking, trans‐ mission lock 67
Energy Control 87
Energy recovery, display‐ ing 77
Energy recovery, driving sta‐ bility control systems 107
Engine coolant 186
Engine oil 184
Engine oil, adding 185
Engine start during malfunc‐ tion 39
Engine start, jump-start‐ ing 197
Entering a car wash 200
Equipment, interior 135
Error displays, see Check Control 78
ESP Electronic Stability Pro‐ gram, refer to DSC 107
Exchanging wheels/tires 176
Exhaust system 149
Exterior mirror, automatic dimming feature 58
Exterior mirrors 57
External start 197
External temperature dis‐ play 82
External temperature warn‐ ing 82 Seite 212ReferenceEverything from A to Z212
Online Edition for Part no. 01 40 2 960 865 - II/15