buttons BMW I3 2015 I01 User Guide
[x] Cancel search | Manufacturer: BMW, Model Year: 2015, Model line: I3, Model: BMW I3 2015 I01Pages: 236, PDF Size: 17.6 MB
Page 63 of 236
Locking
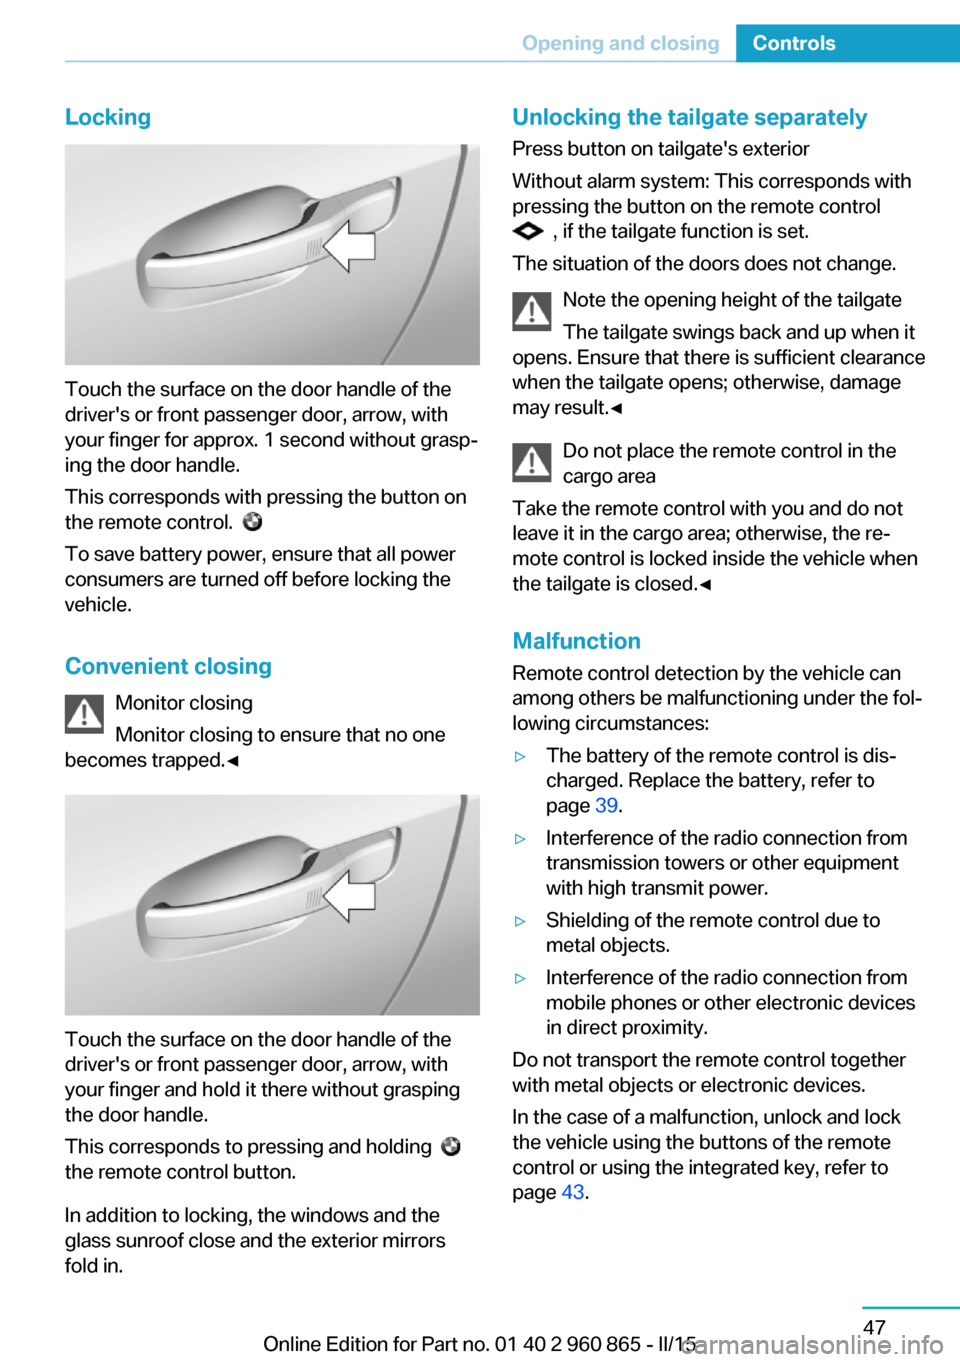
Touch the surface on the door handle of the
driver's or front passenger door, arrow, with
your finger for approx. 1 second without grasp‐
ing the door handle.
This corresponds with pressing the button on
the remote control.
To save battery power, ensure that all power
consumers are turned off before locking the
vehicle.
Convenient closing Monitor closing
Monitor closing to ensure that no one
becomes trapped.◀
Touch the surface on the door handle of the
driver's or front passenger door, arrow, with
your finger and hold it there without grasping
the door handle.
This corresponds to pressing and holding
the remote control button.
In addition to locking, the windows and the
glass sunroof close and the exterior mirrors
fold in.
Unlocking the tailgate separately
Press button on tailgate's exterior
Without alarm system: This corresponds with
pressing the button on the remote control
, if the tailgate function is set.
The situation of the doors does not change.
Note the opening height of the tailgate
The tailgate swings back and up when it
opens. Ensure that there is sufficient clearance
when the tailgate opens; otherwise, damage
may result.◀
Do not place the remote control in the
cargo area
Take the remote control with you and do not
leave it in the cargo area; otherwise, the re‐
mote control is locked inside the vehicle when
the tailgate is closed.◀
Malfunction
Remote control detection by the vehicle can
among others be malfunctioning under the fol‐
lowing circumstances:
▷The battery of the remote control is dis‐
charged. Replace the battery, refer to
page 39.▷Interference of the radio connection from
transmission towers or other equipment
with high transmit power.▷Shielding of the remote control due to
metal objects.▷Interference of the radio connection from
mobile phones or other electronic devices
in direct proximity.
Do not transport the remote control together
with metal objects or electronic devices.
In the case of a malfunction, unlock and lock
the vehicle using the buttons of the remote
control or using the integrated key, refer to
page 43.
Seite 47Opening and closingControls47
Online Edition for Part no. 01 40 2 960 865 - II/15
Page 101 of 236
Keep the windshield in the area behind the in‐
terior rearview mirror clean and clear.
Switching on/offOn the Control Display:1."Settings"2."Instrument cluster"3."Speed limit information"
If speed limit detection is switched on, it can
be displayed on the info display in the instru‐
ment cluster.
Display
The following is displayed in the instrument
cluster:
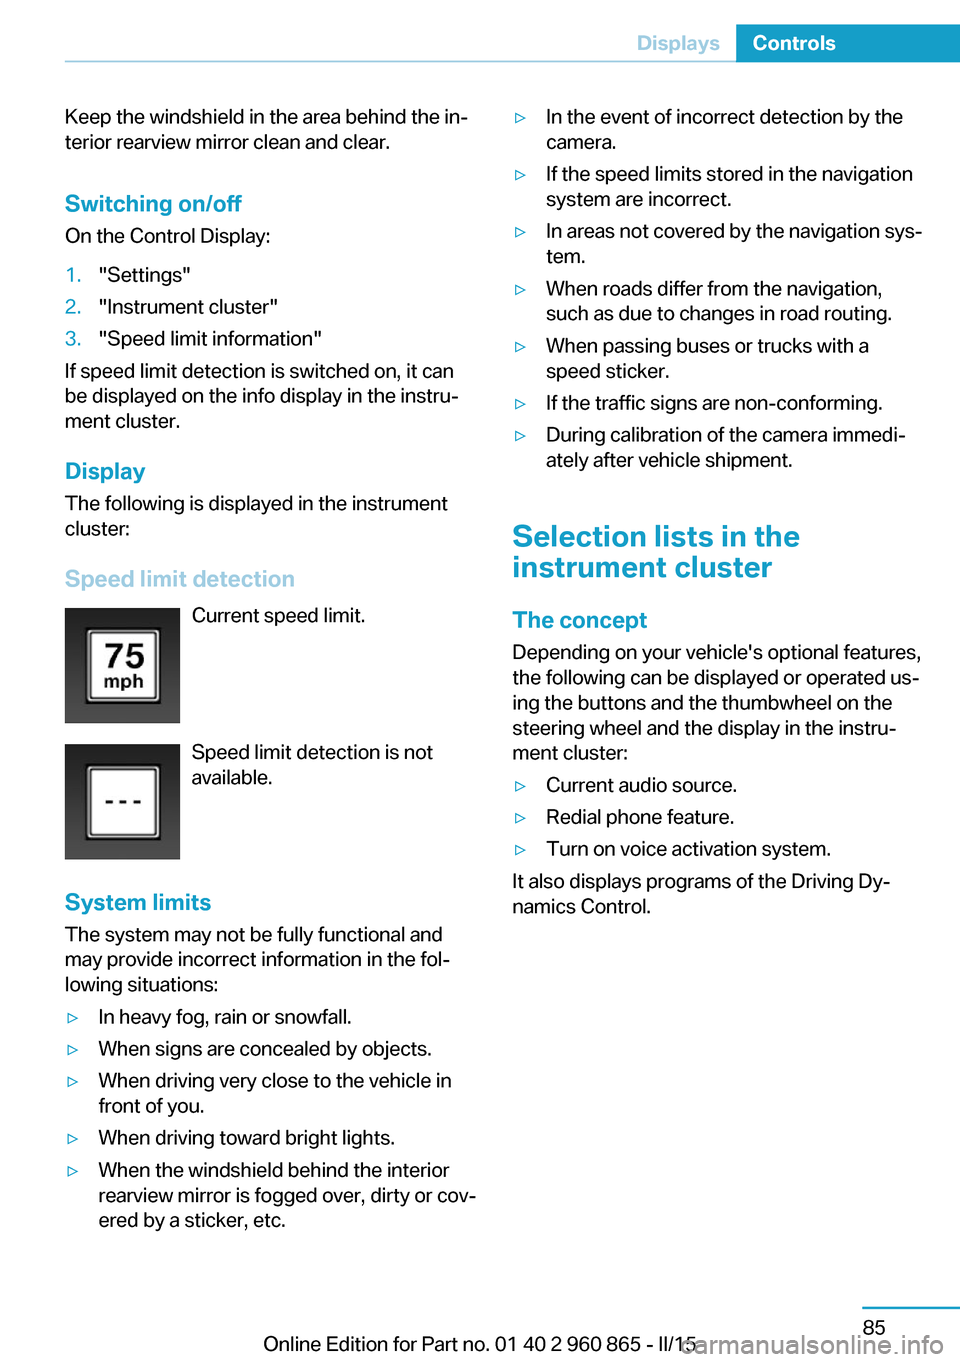
Speed limit detection Current speed limit.
Speed limit detection is not
available.
System limits
The system may not be fully functional and
may provide incorrect information in the fol‐ lowing situations:
▷In heavy fog, rain or snowfall.▷When signs are concealed by objects.▷When driving very close to the vehicle in
front of you.▷When driving toward bright lights.▷When the windshield behind the interior
rearview mirror is fogged over, dirty or cov‐
ered by a sticker, etc.▷In the event of incorrect detection by the
camera.▷If the speed limits stored in the navigation
system are incorrect.▷In areas not covered by the navigation sys‐
tem.▷When roads differ from the navigation,
such as due to changes in road routing.▷When passing buses or trucks with a
speed sticker.▷If the traffic signs are non-conforming.▷During calibration of the camera immedi‐
ately after vehicle shipment.
Selection lists in the
instrument cluster
The concept Depending on your vehicle's optional features,
the following can be displayed or operated us‐
ing the buttons and the thumbwheel on the
steering wheel and the display in the instru‐
ment cluster:
▷Current audio source.▷Redial phone feature.▷Turn on voice activation system.
It also displays programs of the Driving Dy‐
namics Control.
Seite 85DisplaysControls85
Online Edition for Part no. 01 40 2 960 865 - II/15
Page 127 of 236
Before leaving the vehicle, secure it
against moving on its own.
Before leaving the vehicle, set the parking
brake and reel off drive readiness. Otherwise,
the vehicle may begin to move.◀
At a glance
Buttons on the steering wheelPress but‐
tonFunctionCruise control on/off, interrupt‐
ing, refer to page 111.Store/maintain speed, refer to
page 112.Resume speed, refer to
page 113.Adjust distance, refer to
page 113.rocker switch:
Maintain, store, change speed,
refer to page 112.
Buttons are arranged according to vehicle's
series, optional features and country specifica‐
tions.
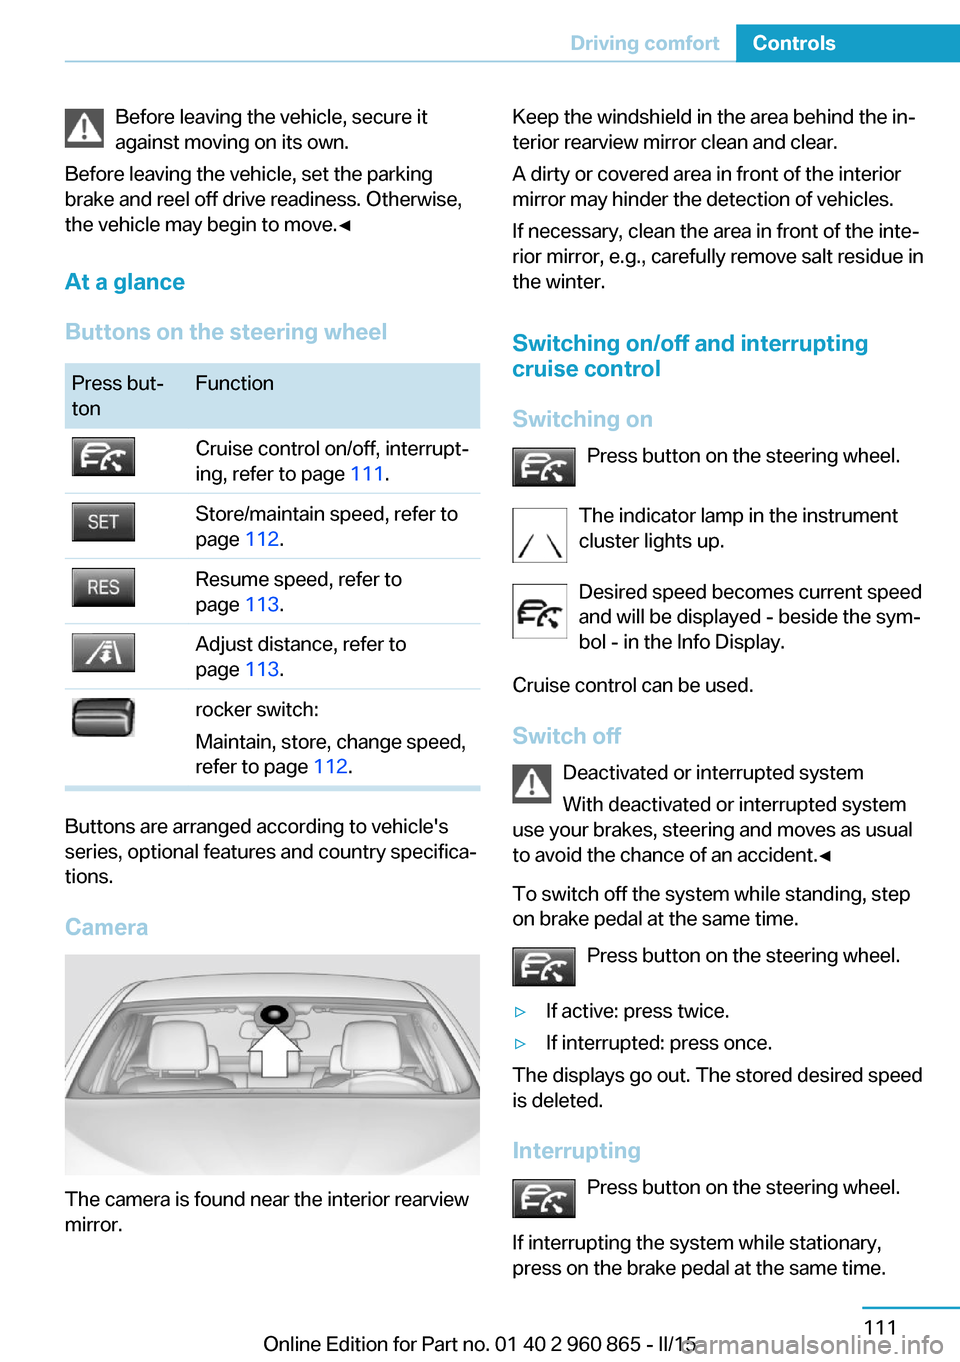
Camera
The camera is found near the interior rearview
mirror.
Keep the windshield in the area behind the in‐
terior rearview mirror clean and clear.
A dirty or covered area in front of the interior
mirror may hinder the detection of vehicles.
If necessary, clean the area in front of the inte‐
rior mirror, e.g., carefully remove salt residue in
the winter.
Switching on/off and interrupting
cruise control
Switching on Press button on the steering wheel.
The indicator lamp in the instrument
cluster lights up.
Desired speed becomes current speed
and will be displayed - beside the sym‐
bol - in the Info Display.
Cruise control can be used.
Switch off Deactivated or interrupted system
With deactivated or interrupted system
use your brakes, steering and moves as usual
to avoid the chance of an accident.◀
To switch off the system while standing, step
on brake pedal at the same time.
Press button on the steering wheel.▷If active: press twice.▷If interrupted: press once.
The displays go out. The stored desired speed
is deleted.
Interrupting Press button on the steering wheel.
If interrupting the system while stationary,
press on the brake pedal at the same time.
Seite 111Driving comfortControls111
Online Edition for Part no. 01 40 2 960 865 - II/15
Page 132 of 236
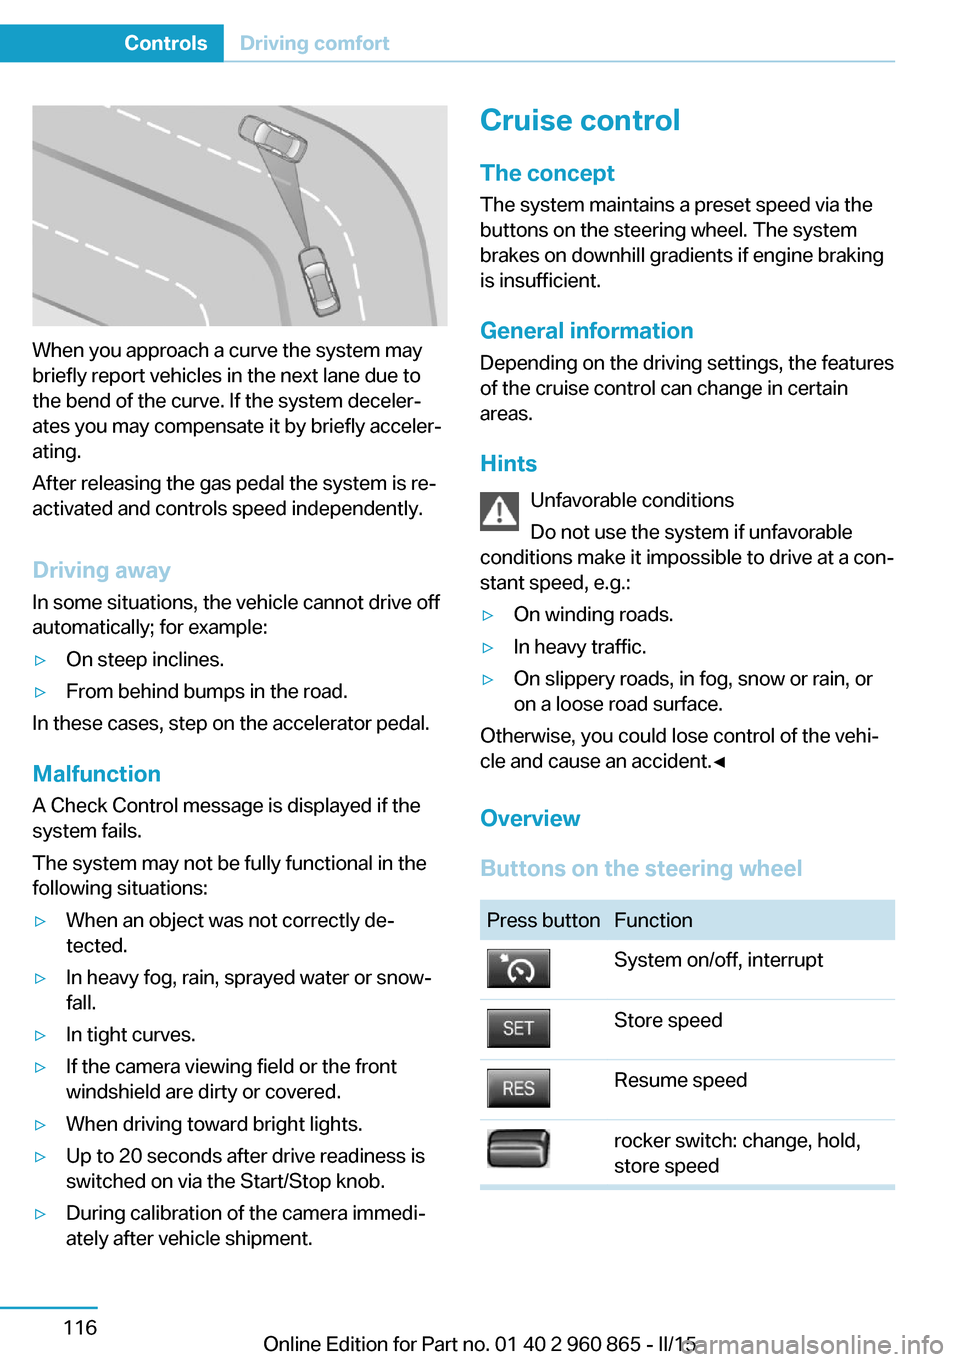
When you approach a curve the system may
briefly report vehicles in the next lane due to
the bend of the curve. If the system deceler‐
ates you may compensate it by briefly acceler‐
ating.
After releasing the gas pedal the system is re‐
activated and controls speed independently.
Driving away In some situations, the vehicle cannot drive off
automatically; for example:
▷On steep inclines.▷From behind bumps in the road.
In these cases, step on the accelerator pedal.
Malfunction
A Check Control message is displayed if the
system fails.
The system may not be fully functional in the
following situations:
▷When an object was not correctly de‐
tected.▷In heavy fog, rain, sprayed water or snow‐
fall.▷In tight curves.▷If the camera viewing field or the front
windshield are dirty or covered.▷When driving toward bright lights.▷Up to 20 seconds after drive readiness is
switched on via the Start/Stop knob.▷During calibration of the camera immedi‐
ately after vehicle shipment.Cruise control
The concept The system maintains a preset speed via the
buttons on the steering wheel. The system
brakes on downhill gradients if engine braking
is insufficient.
General information
Depending on the driving settings, the features
of the cruise control can change in certain
areas.
Hints Unfavorable conditions
Do not use the system if unfavorable
conditions make it impossible to drive at a con‐
stant speed, e.g.:▷On winding roads.▷In heavy traffic.▷On slippery roads, in fog, snow or rain, or
on a loose road surface.
Otherwise, you could lose control of the vehi‐
cle and cause an accident.◀
Overview
Buttons on the steering wheel
Press buttonFunctionSystem on/off, interruptStore speedResume speedrocker switch: change, hold,
store speedSeite 116ControlsDriving comfort116
Online Edition for Part no. 01 40 2 960 865 - II/15
Page 145 of 236
HintsSufficient ventilation
When remaining in the vehicle for an ex‐
tended period of time, ensure sufficient exter‐
nal ventilation. Do not continuously use recir‐
culated-air mode; otherwise the air quality in
the interior continuously deteriorates and win‐
dow condensation increases.◀
Climate control functions in detail
Cooling function
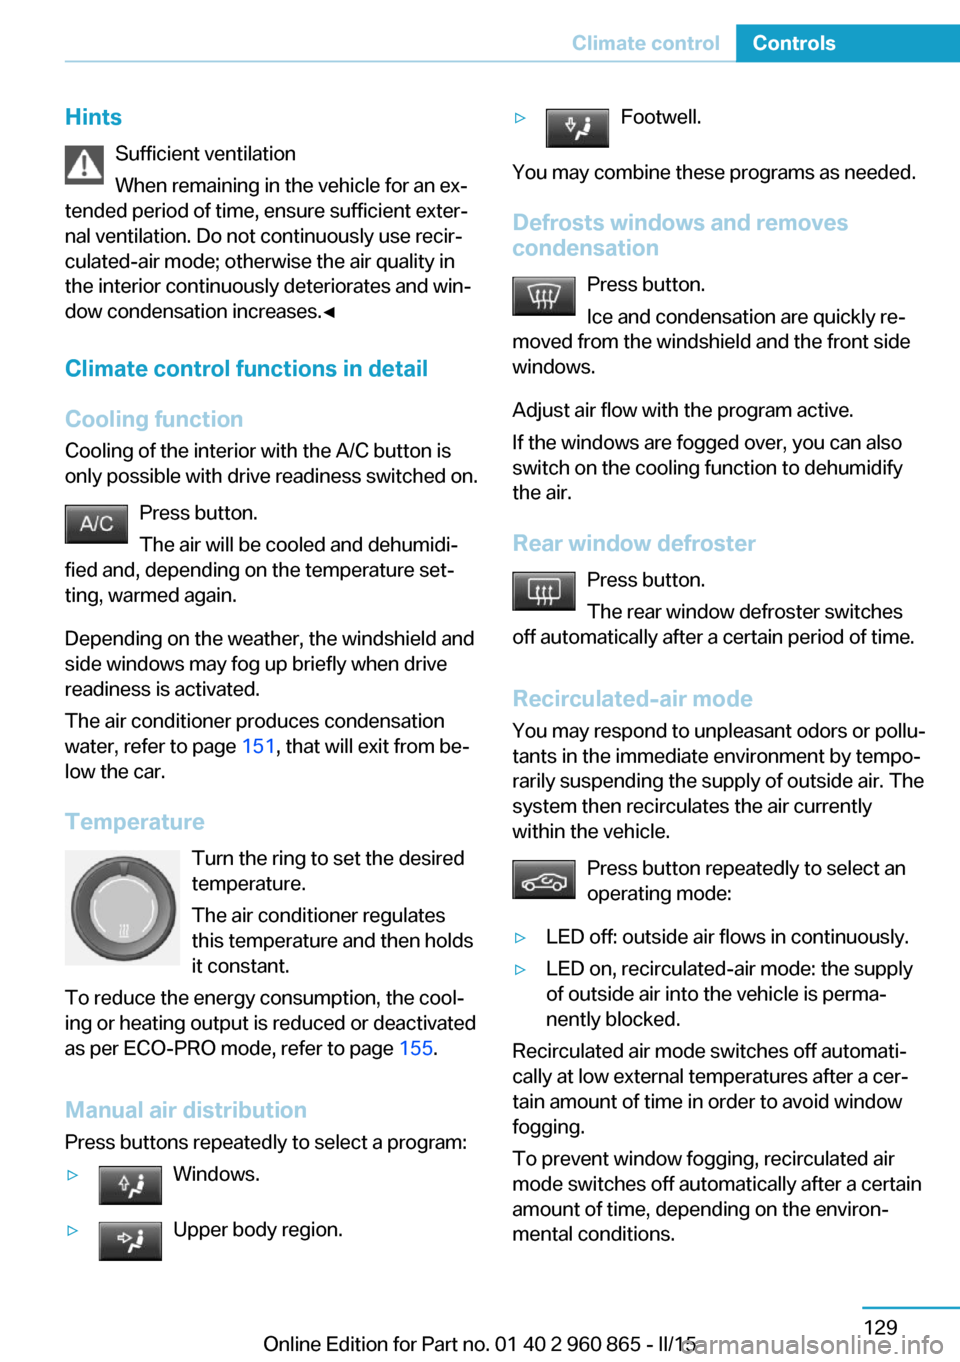
Cooling of the interior with the A/C button is
only possible with drive readiness switched on.
Press button.
The air will be cooled and dehumidi‐
fied and, depending on the temperature set‐
ting, warmed again.
Depending on the weather, the windshield and
side windows may fog up briefly when drive
readiness is activated.
The air conditioner produces condensation
water, refer to page 151, that will exit from be‐
low the car.
Temperature Turn the ring to set the desired
temperature.
The air conditioner regulates
this temperature and then holds
it constant.
To reduce the energy consumption, the cool‐
ing or heating output is reduced or deactivated
as per ECO-PRO mode, refer to page 155.
Manual air distribution
Press buttons repeatedly to select a program:▷Windows.▷Upper body region.▷Footwell.
You may combine these programs as needed.
Defrosts windows and removes
condensation
Press button.
Ice and condensation are quickly re‐
moved from the windshield and the front side
windows.
Adjust air flow with the program active.
If the windows are fogged over, you can also
switch on the cooling function to dehumidify
the air.
Rear window defroster Press button.
The rear window defroster switches
off automatically after a certain period of time.
Recirculated-air mode
You may respond to unpleasant odors or pollu‐
tants in the immediate environment by tempo‐
rarily suspending the supply of outside air. The
system then recirculates the air currently
within the vehicle.
Press button repeatedly to select an
operating mode:
▷LED off: outside air flows in continuously.▷LED on, recirculated-air mode: the supply
of outside air into the vehicle is perma‐
nently blocked.
Recirculated air mode switches off automati‐
cally at low external temperatures after a cer‐
tain amount of time in order to avoid window
fogging.
To prevent window fogging, recirculated air
mode switches off automatically after a certain
amount of time, depending on the environ‐
mental conditions.
Seite 129Climate controlControls129
Online Edition for Part no. 01 40 2 960 865 - II/15
Page 151 of 236
Interior equipmentVehicle features and optionsThis chapter describes all standard, country-
specific and optional features offered with the
series. It also describes features that are not
necessarily available in your car, e. g., due to
the selected options or country versions. This
also applies to safety-related functions and
systems. The respectively applicable country
provisions must be observed when using the
respective features and systems.
Universal Integrated Remote Control
The concept The universal garage door opener can operate
up to 3 functions of remote-controlled sys‐
tems such as garage door drives or lighting
systems. The universal garage door opener re‐
places up to 3 different hand-held transmitters.
To operate the remote control, the buttons on
the interior rearview mirror must be program‐
med with the desired functions. The hand-held
transmitter for the particular system is required
in order to program the remote control.
During programming
During programming and before activat‐
ing a device using the universal garage door
opener, ensure that there are no people, ani‐
mals or objects in the area of the remote-con‐
trolled device; otherwise, there is a risk of in‐
jury or damage.
Also follow the safety instructions of the hand-
held transmitter.◀
Before selling the vehicle, delete the stored
functions for the sake of security.Compatibility
If this symbol is printed on the packag‐
ing or in the instructions of the system
to be controlled, the system is gener‐
ally compatible with the universal garage door opener.
If you have any questions, please contact:▷Your service center.▷www.homelink.com on the Internet.
HomeLink is a registered trademark of Gentex
Corporation.
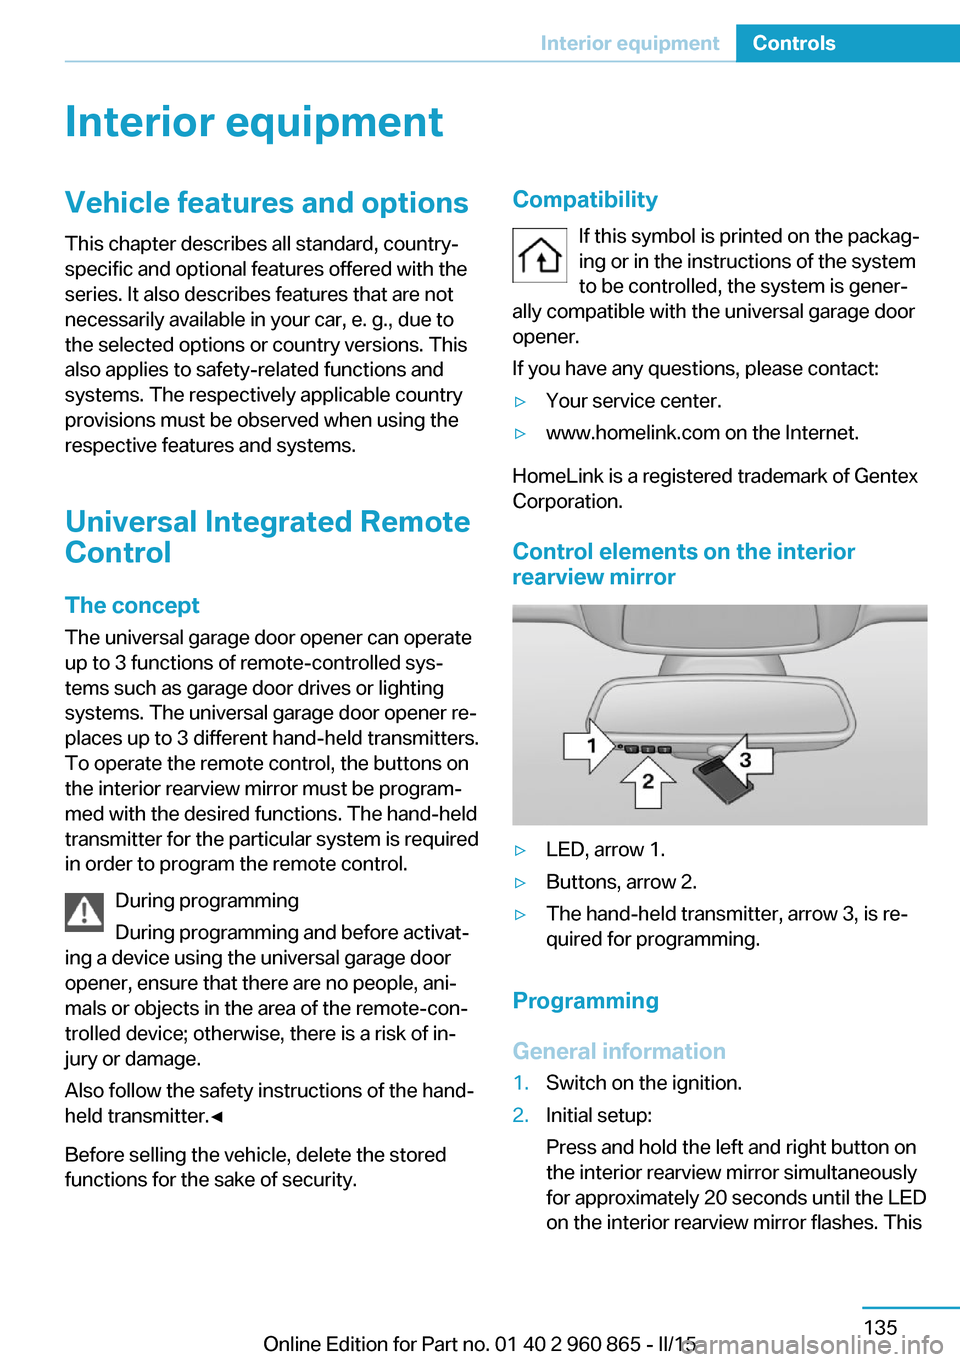
Control elements on the interior
rearview mirror
▷LED, arrow 1.▷Buttons, arrow 2.▷The hand-held transmitter, arrow 3, is re‐
quired for programming.
Programming
General information
1.Switch on the ignition.2.Initial setup:
Press and hold the left and right button on
the interior rearview mirror simultaneously
for approximately 20 seconds until the LED
on the interior rearview mirror flashes. ThisSeite 135Interior equipmentControls135
Online Edition for Part no. 01 40 2 960 865 - II/15
Page 152 of 236
erases all programming of the buttons on
the interior rearview mirror.3.Hold the hand-held transmitter for the sys‐
tem to be controlled approx. 1 to 3 in/2.5 to
8 cm away from the buttons of the interior
rearview mirror. The required distance de‐
pends on the manual transmitter.4.Simultaneously press and hold the button
of the desired function on the hand-held
transmitter and the button to be program‐
med on the interior rearview mirror. The
LED on the interior rearview mirror will be‐
gin flashing slowly.5.Release both buttons as soon as the LED
flashes more rapidly. The LED flashing
faster indicates that the button on the inte‐
rior rearview mirror has been programmed.
If the LED does not flash faster after at
least 60 seconds, change the distance be‐
tween the interior rearview mirror and the
hand-held transmitter and repeat the step.
Several more attempts at different distan‐
ces may be necessary. Wait at least
15 seconds between attempts.
Canada: if programming with the hand-
held transmitter was interrupted, hold
down the interior rearview mirror button
and repeatedly press and release the
hand-held transmitter button for 2 sec‐
onds.6.To program other functions on other but‐
tons, repeat steps 3 to 5.
The systems can be controlled using the inte‐
rior rearview mirror buttons.
Special feature of the alternating-
code wireless system
If you are unable to operate the system after
repeated programming, please check if the
system to be controlled features an alternat‐
ing-code system.
Read the system's operating manual, or press
the programmed button on the interior rear‐
view mirror longer. If the LED on the interior
rearview mirror starts flashing rapidly and then
stays lit constantly for 2 seconds, the system
features an alternating-code system. Flashing
and continuous illumination of the LED will re‐
peat for approximately 20 seconds.
For systems with an alternating-code system,
the universal garage door opener and the sys‐
tem also have to be synchronized.
Please read the operating manual to find out how to synchronize the system.
Synchronizing is easier with the aid of a sec‐
ond person.
To synchronize:1.Park the vehicle within range of the re‐
mote-controlled system.2.Program the relevant button on the interior
rearview mirror as described.3.Locate and press the synchronizing button
on the system being programmed. You
have approx. 30 seconds for the next step.4.Hold down the programmed button on the
interior rearview mirror for approximately
3 seconds and then release it. If necessary,
repeat this step up to three times in order
to finish synchronization. Once synchroni‐
zation is complete, the programmed func‐
tion will be carried out.
Reprogramming individual buttons
1.Switch on the ignition.2.Press and hold the interior rearview mirror
button to be programmed.3.As soon as the interior rearview mirror LED
starts flashing slowly, hold the hand-held
transmitter for the system to be controlled
approx. 1 to 3 in/2.5 to 8 cm away from the
buttons of the interior rearview mirror. The
required distance depends on the manual
transmitter.Seite 136ControlsInterior equipment136
Online Edition for Part no. 01 40 2 960 865 - II/15
Page 153 of 236
4.Likewise, press and hold the button of the
desired function on the hand-held trans‐
mitter.5.Release both buttons as soon as the inte‐
rior rearview mirror LED flashes more rap‐
idly. The LED flashing faster indicates that
the button on the interior rearview mirror
has been programmed. The system can
then be controlled by the button on the in‐
terior rearview mirror.
If the LED does not flash faster after at
least 60 seconds, change the distance and
repeat the step. Several more attempts at
different distances may be necessary. Wait
at least 15 seconds between attempts.
Canada: if programming with the hand-
held transmitter was interrupted, hold
down the interior rearview mirror button
and repeatedly press and release the
hand-held transmitter button for 2 sec‐
onds.
Controls
Before operation
Before operating a system using the uni‐
versal garage door opener, ensure that there are no people, animals, or objects within the
range of movement of the remote-controlled
system; otherwise, there is a risk of injury or
damage.
Also follow the safety instructions of the hand-
held transmitter.◀
The system, such as the garage door, can be
operated using the button on the interior rear‐
view mirror while the engine is running or when
the ignition is started. To do this, hold down
the button within receiving range of the system
until the function is activated. The interior rear‐ view mirror LED stays lit while the wireless sig‐
nal is being transmitted.
Deleting stored functions Press and hold the left and right button on the
interior rearview mirror simultaneously for ap‐
proximately 20 seconds until the LED flashes
rapidly. All stored functions are deleted. The
functions cannot be deleted individually.
Digital compass
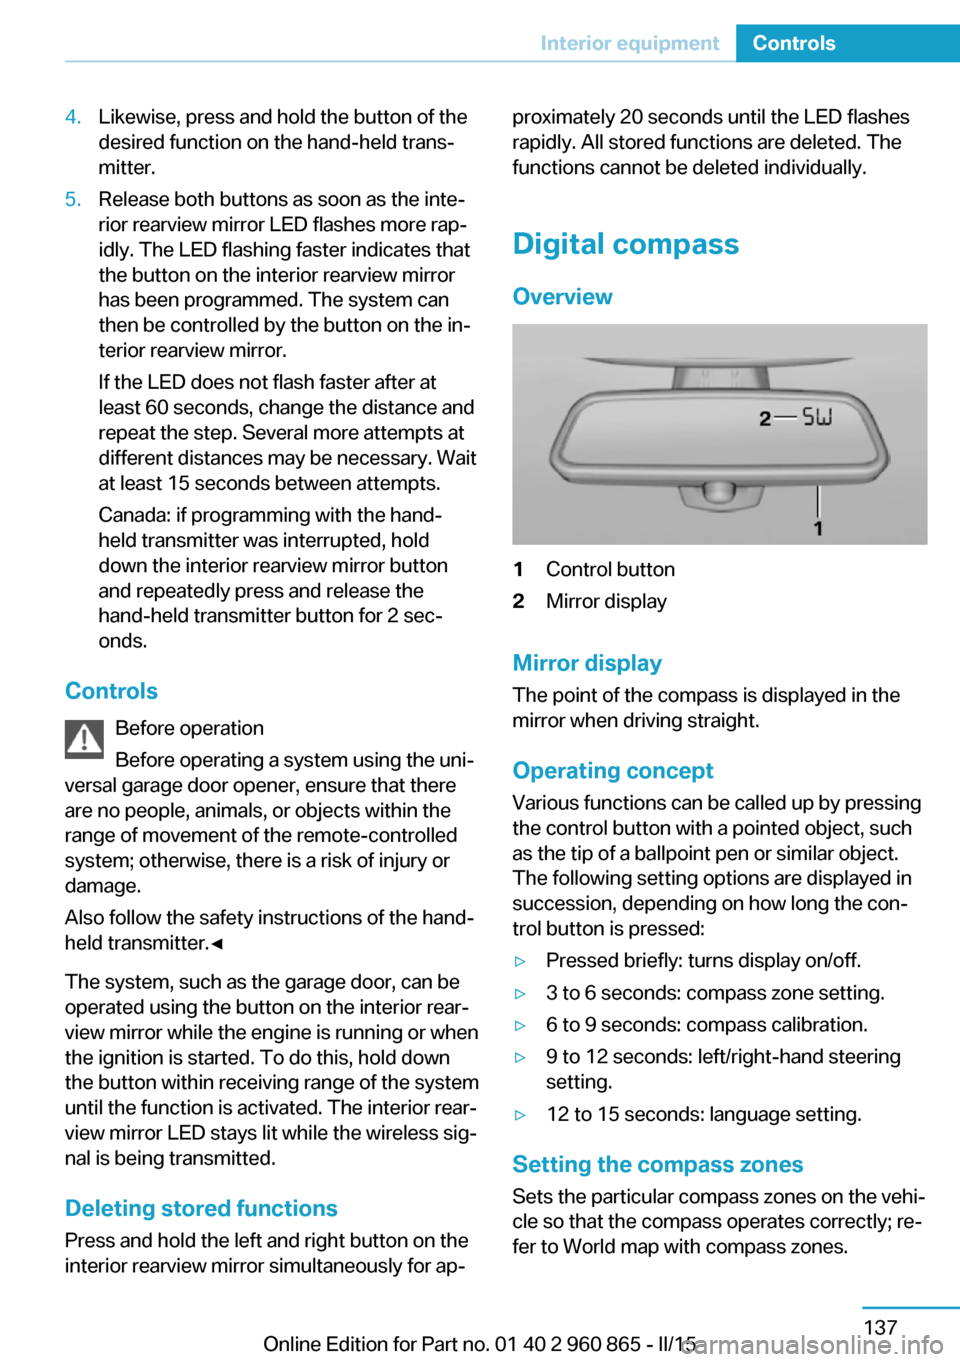
Overview1Control button2Mirror display
Mirror display
The point of the compass is displayed in the
mirror when driving straight.
Operating concept
Various functions can be called up by pressing
the control button with a pointed object, such
as the tip of a ballpoint pen or similar object.
The following setting options are displayed in
succession, depending on how long the con‐
trol button is pressed:
▷Pressed briefly: turns display on/off.▷3 to 6 seconds: compass zone setting.▷6 to 9 seconds: compass calibration.▷9 to 12 seconds: left/right-hand steering
setting.▷12 to 15 seconds: language setting.
Setting the compass zones
Sets the particular compass zones on the vehi‐
cle so that the compass operates correctly; re‐
fer to World map with compass zones.
Seite 137Interior equipmentControls137
Online Edition for Part no. 01 40 2 960 865 - II/15
Page 231 of 236
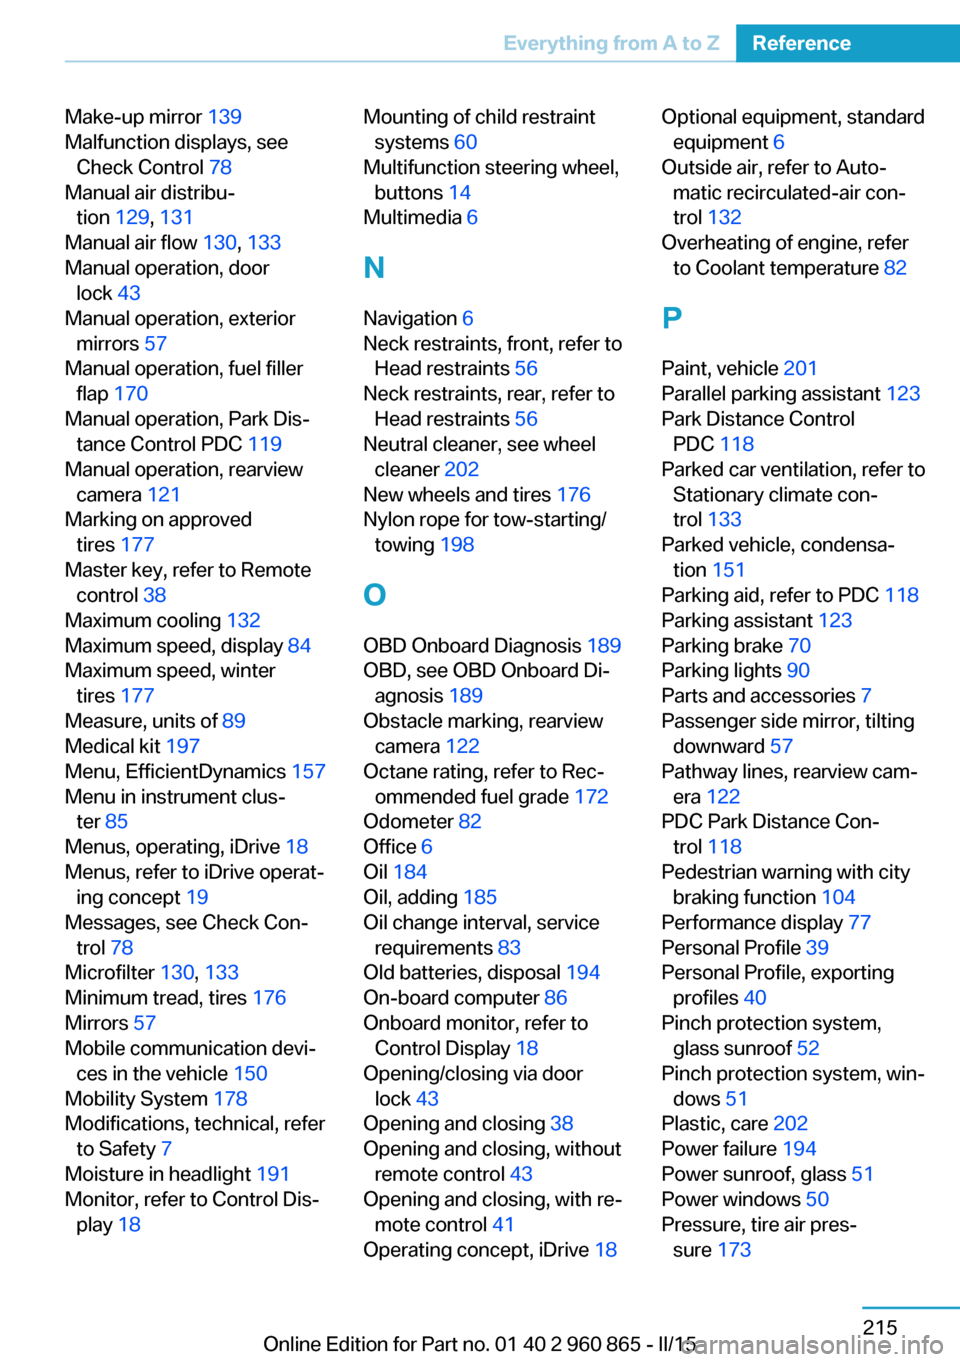
Make-up mirror 139
Malfunction displays, see Check Control 78
Manual air distribu‐ tion 129, 131
Manual air flow 130, 133
Manual operation, door lock 43
Manual operation, exterior mirrors 57
Manual operation, fuel filler flap 170
Manual operation, Park Dis‐ tance Control PDC 119
Manual operation, rearview camera 121
Marking on approved tires 177
Master key, refer to Remote control 38
Maximum cooling 132
Maximum speed, display 84
Maximum speed, winter tires 177
Measure, units of 89
Medical kit 197
Menu, EfficientDynamics 157
Menu in instrument clus‐ ter 85
Menus, operating, iDrive 18
Menus, refer to iDrive operat‐ ing concept 19
Messages, see Check Con‐ trol 78
Microfilter 130, 133
Minimum tread, tires 176
Mirrors 57
Mobile communication devi‐ ces in the vehicle 150
Mobility System 178
Modifications, technical, refer to Safety 7
Moisture in headlight 191
Monitor, refer to Control Dis‐ play 18 Mounting of child restraint
systems 60
Multifunction steering wheel, buttons 14
Multimedia 6
N
Navigation 6
Neck restraints, front, refer to Head restraints 56
Neck restraints, rear, refer to Head restraints 56
Neutral cleaner, see wheel cleaner 202
New wheels and tires 176
Nylon rope for tow-starting/ towing 198
O OBD Onboard Diagnosis 189
OBD, see OBD Onboard Di‐ agnosis 189
Obstacle marking, rearview camera 122
Octane rating, refer to Rec‐ ommended fuel grade 172
Odometer 82
Office 6
Oil 184
Oil, adding 185
Oil change interval, service requirements 83
Old batteries, disposal 194
On-board computer 86
Onboard monitor, refer to Control Display 18
Opening/closing via door lock 43
Opening and closing 38
Opening and closing, without remote control 43
Opening and closing, with re‐ mote control 41
Operating concept, iDrive 18 Optional equipment, standard
equipment 6
Outside air, refer to Auto‐ matic recirculated-air con‐
trol 132
Overheating of engine, refer to Coolant temperature 82
P Paint, vehicle 201
Parallel parking assistant 123
Park Distance Control PDC 118
Parked car ventilation, refer to Stationary climate con‐
trol 133
Parked vehicle, condensa‐ tion 151
Parking aid, refer to PDC 118
Parking assistant 123
Parking brake 70
Parking lights 90
Parts and accessories 7
Passenger side mirror, tilting downward 57
Pathway lines, rearview cam‐ era 122
PDC Park Distance Con‐ trol 118
Pedestrian warning with city braking function 104
Performance display 77
Personal Profile 39
Personal Profile, exporting profiles 40
Pinch protection system, glass sunroof 52
Pinch protection system, win‐ dows 51
Plastic, care 202
Power failure 194
Power sunroof, glass 51
Power windows 50
Pressure, tire air pres‐ sure 173 Seite 215Everything from A to ZReference215
Online Edition for Part no. 01 40 2 960 865 - II/15