bolt pattern BMW M3 1992 E36 Workshop Manual
[x] Cancel search | Manufacturer: BMW, Model Year: 1992, Model line: M3, Model: BMW M3 1992 E36Pages: 759
Page 19 of 759

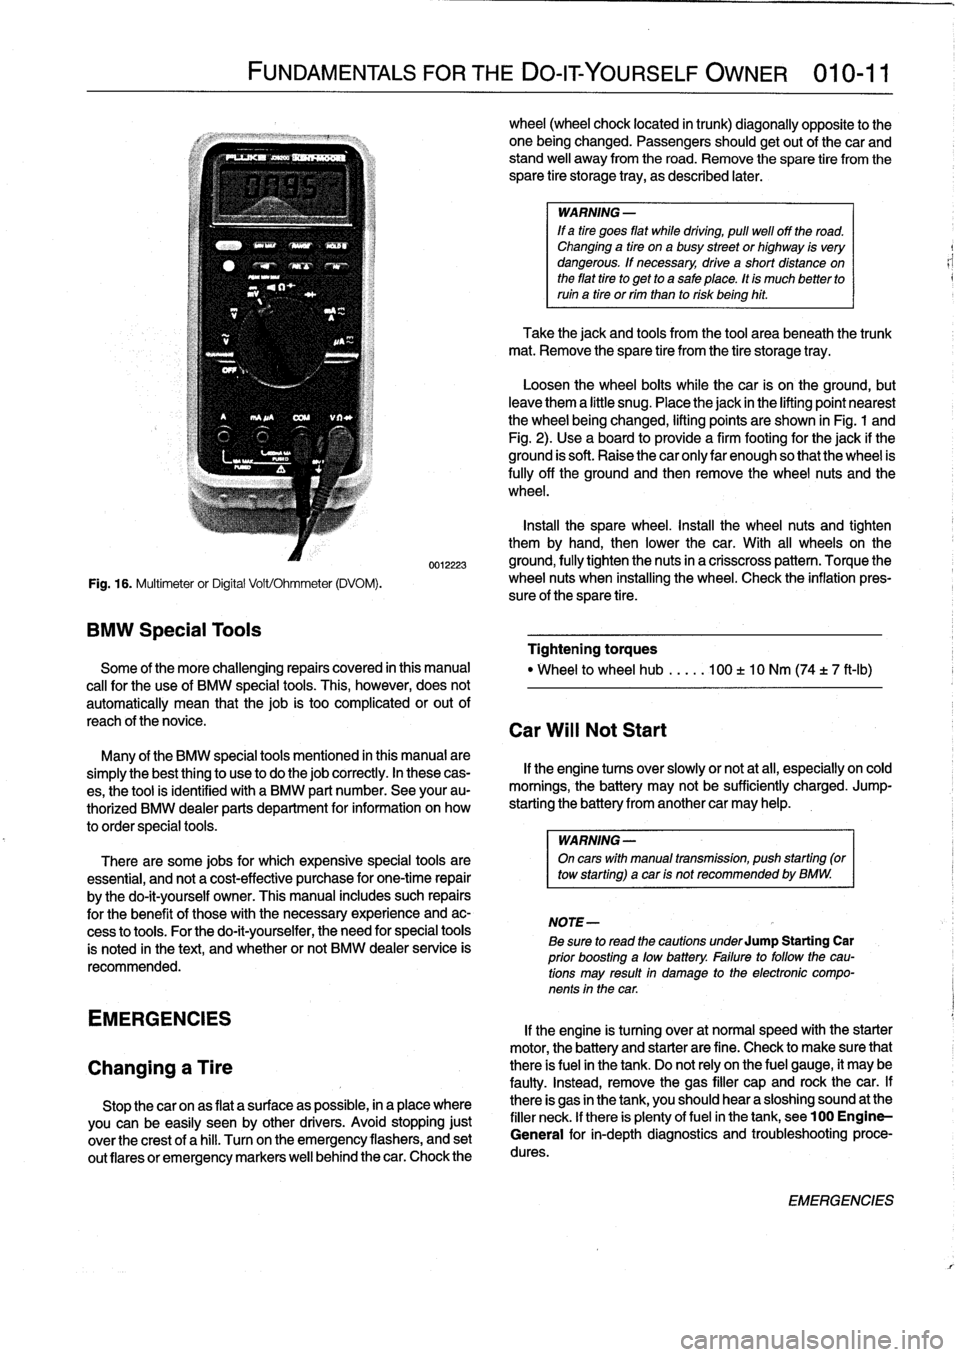
Fig
.
16
.
Multimeter
or
Digital
Volt/Ohmmeter
(DVOM)
.
BMW
Special
Tools
FUNDAMENTALS
FOR
THE
DO-ITYOURSELF
OWNER
010-11
0012223
Some
of
the
more
challenging
repairs
covered
in
this
manual
cal¬°
for
the
use
of
BMW
special
tools
.
This,
however,
does
not
automatically
mean
that
thejob
is
too
complicated
or
out
of
reach
of
thenovice
.
Many
of
the
BMW
special
tools
mentioned
in
this
manual
are
simplythe
best
thing
to
use
to
do
thejob
correctly
.
In
these
cas-
es,
the
tool
is
identified
with
a
BMW
part
number
.
See
your
au-
thorized
BMW
dealer
parts
department
for
information
on
how
to
order
special
tools
.
There
are
some
jobs
for
which
expensive
special
tools
are
essential,
and
not
a
cost-effective
purchase
for
one-time
repair
by
the
do-it-yourself
owner
.
This
manual
includes
such
repairs
for
the
benefit
of
these
with
the
necessary
experience
and
ac-
cess
to
tools
.
For
the
do-it-yourselfer,
the
need
for
special
tools
is
noted
in
the
text,
and
whether
or
not
BMW
dealer
service
is
recommended
.
EMERGENCIES
Changing
a
Tire
Stop
thecar
onas
flat
a
surface
as
possible,
in
a
place
where
you
canbe
easily
seen
by
other
drivers
.
Avoid
stopping
just
over
the
crest
of
a
hill
.
Turnon
the
emergency
flashers,
and
set
out
(lares
or
emergency
markers
well
behindthecar
.
Chock
the
wheel
(wheel
chock
located
in
trunk)
diagonally
opposite
to
the
one
being
changed
.
Passengers
shouldgetout
of
thecar
and
stand
well
away
from
the
road
.
Remove
the
spare
tire
from
the
spare
tire
storage
tray,
as
described
later
.
WARNING
-
If
a
tire
goes
fíat
while
drtving,
pull
well
off
the
road
.
Changing
a
tire
ona
busy
street
or
highway
is
very
dangerous
.
If
necessary,
drive
a
short
distance
on
the
fíat
tire
to
get
to
a
sale
place
.
tt
is
much
better
to
ruin
a
tire
or
rim
than
to
risk
being
hit
.
Take
the
jack
and
tools
from
the
tool
area
beneath
the
trunk
mat
.
Remove
the
spare
tire
from
the
tire
storage
tray
.
Loosen
the
wheel
bolts
while
the
car
is
on
the
ground,
but
leave
them
a
little
snug
.
Placethe
jack
in
the
lifting
point
nearest
the
wheel
beingchanged,
lifting
points
are
shown
in
Fig
.
1
and
Fig
.
2)
.
Use
a
board
to
provide
a
firm
footing
for
the
jack
if
the
ground
is
soft
.
Raise
the
car
only
lar
enough
so
that
the
wheel
is
fully
off
the
ground
and
then
remove
the
wheel
nuts
and
the
wheel
.
Insta¬°¬°
the
spare
wheel
.
Install
the
wheel
nuts
and
tighten
them
by
hand,
then
lower
the
car
.
With
all
wheelson
the
ground,
fully
tighten
the
nuts
in
a
crisscross
pattern
.
Torque
the
wheel
nuts
when
installing
the
wheel
.
Check
the
inflation
pres-
sure
of
the
spare
tire
.
Tightening
torques
"
Wheel
to
wheel
hub
.....
100
t
10
Nm
(74
t
7
ft-Ib)
Car
Will
Not
Start
If
the
engine
tucos
over
slowly
or
not
at
all,
especially
on
cold
mornings,
the
battery
may
not
be
sufficiently
charged
.
Jump-
starting
the
battery
from
another
car
may
help
.
WARNING
-
On
carswith
manual
transmisston,
push
starting
(or
tow
starting)
acar
ts
not
recommended
by
BMW
.
NOTE-
Be
sure
to
read
the
cautions
underJump
Starting
Car
prior
boosting
a
low
battery
.
Fatlure
to
followthe
cau-
tions
may
result
in
damage
to
the
electronic
compo-
nents
in
the
car
.
If
the
engine
is
turning
over
at
normal
speed
with
the
starter
motor,
the
battery
and
starter
are
fine
.
Check
to
make
sure
that
there
is
fuel
in
the
tank
.
Do
not
rely
on
the
fuel
gauge,
it
may
be
faulty
.
Instead,
remove
the
gas
filler
cap
and
rock
thecar
.
If
there
is
gas
in
the
tank,
you
should
hear
a
sloshing
sound
at
the
filler
neck
.
lf
there
is
plenty
offuel
in
the
tank,
see100
Engine-
General
for
in-depth
diagnostics
and
troubleshootingproce-
dures
.
EMERGENCIES
Page 231 of 759

2
.
On
MS
270R/A4S
310R
transmissions
:
Remove
front
5
.
Installation
is
reverse
of
Rmoval
.
and
rear
oil
sump
mounting
bolts
andremove
sumps
"
Always
replace
sea¬°
for
drain
plug
and
al¬°
gasket(s)
andand
sump
gaskets
.
O-rings
.
"
Clean
sump
and
sump
magnet(s)
using
a
lint-free
NOTE-
cloth
.
The
MS
270
R/A4S
310
R
transmissions
may
be
fitted
"
On
MS
270R/A4S310R
transmissions
:
Use
new
bolts
with
ASE
(inch)
bolts
.
at
sump
and
tighten
bolts
in-line,
one
after
other
(do
nottighten
bolts
in
a
cross-wise
pattern)
.
3
.
On
A5S
310Z
transmission
:
Remove
oil
sump
mount-
"
On
MS
310Z
transmission,
be
sureto
instan
rounded
ing
bolts
and
brackets,
noting
position
of
brackets
.
Re-
sump
clamping
brackets
at
corners
of
sump
.
move
"
Fill
transmission
with
approved
fluid
.
sump
and
sump
gasket
.
"
Check
fluid
level
as
described
under
ATF
leve¬°,
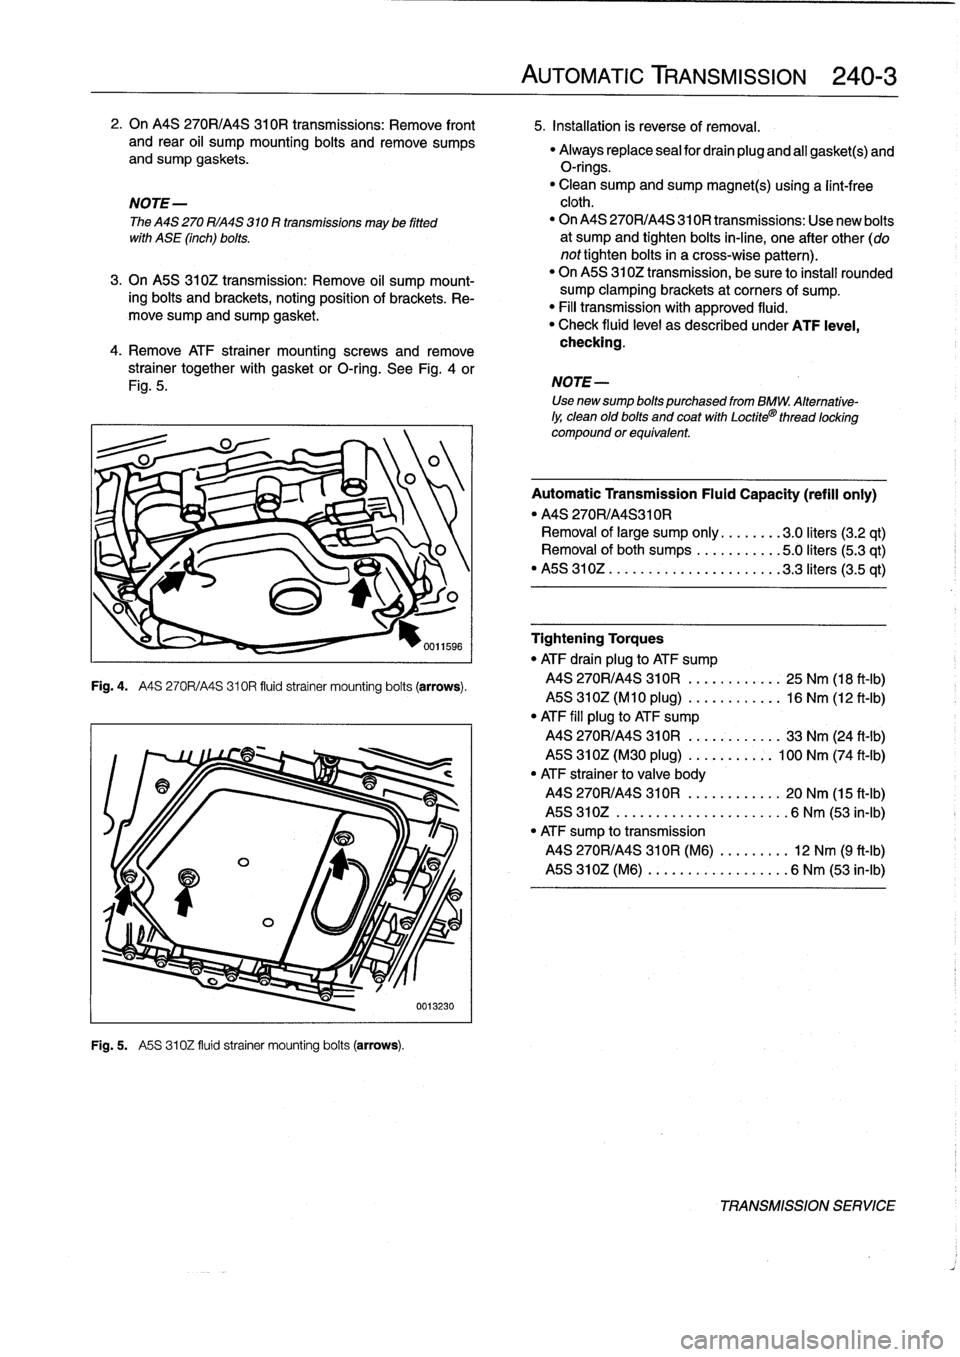
4
.
Remove
ATF
otra¬°ner
mount¬°ng
screws
and
remove
checking
.
strainer
together
with
gasket
orO-ring
.
See
Fig
.
4
or
Fig
.
5
.
Fig
.
4
.
A4S
270R/A4S310R
fluid
strainer
mounting
boits
(arrows)
.
Fig
.
5
.
A5S
310Z
fluid
strainer
mounting
boits
(arrows)
.
0013230
AUTOMATIC
TRANSMISSION
240-
3
NOTE-
Use
newsump
bolts
purchased
from
BMW
.
Alternative-
ly,
clean
old
bolts
and
coat
with
Loctite¬ģ
thread
locking
compound
or
equivalent
Automatic
Transmission
Fluid
Capacity
(refill
only)
"
MS
270R/A4S310R
Removal
of
large
sump
only
........
3
.0liters
(3.2
qt)
Removal
ofboth
sumps
...........
5
.0liters(5
.3
qt)
"
MS
310Z
..
..
..................
3
.3liters
(3.5
qt)
Tightening
Torques
"
ATF
drain
plug
to
ATF
sump
MS
270R/A4S
310R
..........
..
25
Nm
(18
ft-Ib)
MS
310Z(M10
plug)
..........
..
16
Nm
(12
ft-Ib)
"
ATF
fill
plug
to
ATF
sump
MS
270R/A4S
310R
..........
..
33
Nm
(24
ft-Ib)
MS
310Z(M30
plug)
.....
..
..
:.
100
Nm
(74
ft-Ib)
"
ATF
strainer
to
valve
body
MS
270R/A4S
310R
.....
..
.
...
.
20
Nm
(15
ft-Ib)
MS
310Z
..............
..
.
...
..
6
Nm
(53
in-lb)
"
ATF
sump
to
transmission
MS
270R/A4S
310R
(M6)
.
..
.
..
...
12
Nm
(9
ft-¬°b)
MS
310Z
(M6)
..........
..
.
..
...
6
Nm
(53
in-¬°b)
TRANSMISSION
SERVICE