display BMW M3 CONVERTIBLE 2002 E46 User Guide
[x] Cancel search | Manufacturer: BMW, Model Year: 2002, Model line: M3 CONVERTIBLE, Model: BMW M3 CONVERTIBLE 2002 E46Pages: 159, PDF Size: 2.19 MB
Page 75 of 159
75n
OverviewControlsMaintenanceRepairsDataIndex
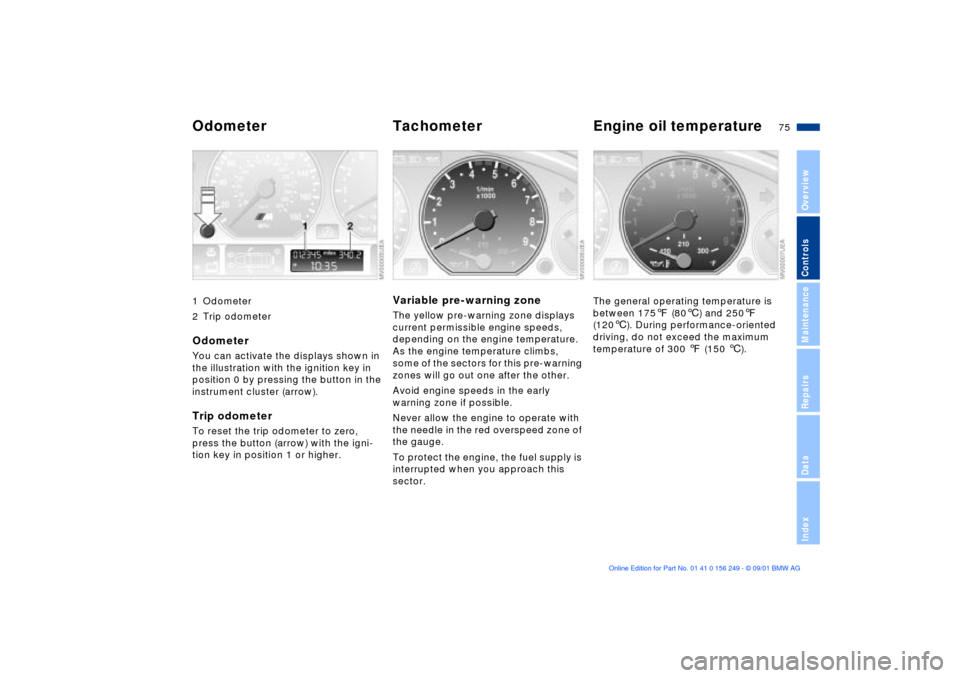
1 Odometer
2 Trip odometerOdometerYou can activate the displays shown in
the illustration with the ignition key in
position 0 by pressing the button in the
instrument cluster (arrow).Trip odometerTo reset the trip odometer to zero,
press the button (arrow) with the igni-
tion key in position 1 or higher.
Variable pre-warning zoneThe yellow pre-warning zone displays
current permissible engine speeds,
depending on the engine temperature.
As the engine temperature climbs,
some of the sectors for this pre-warning
zones will go out one after the other.
Avoid engine speeds in the early
warning zone if possible.
Never allow the engine to operate with
the needle in the red overspeed zone of
the gauge.
To protect the engine, the fuel supply is
interrupted when you approach this
sector.
The general operating temperature is
between 1757 (806) and 2507
(1206). During performance-oriented
driving, do not exceed the maximum
temperature of 300 7 (150 6).
Odometer Tachometer Engine oil temperature
Page 76 of 159
76n
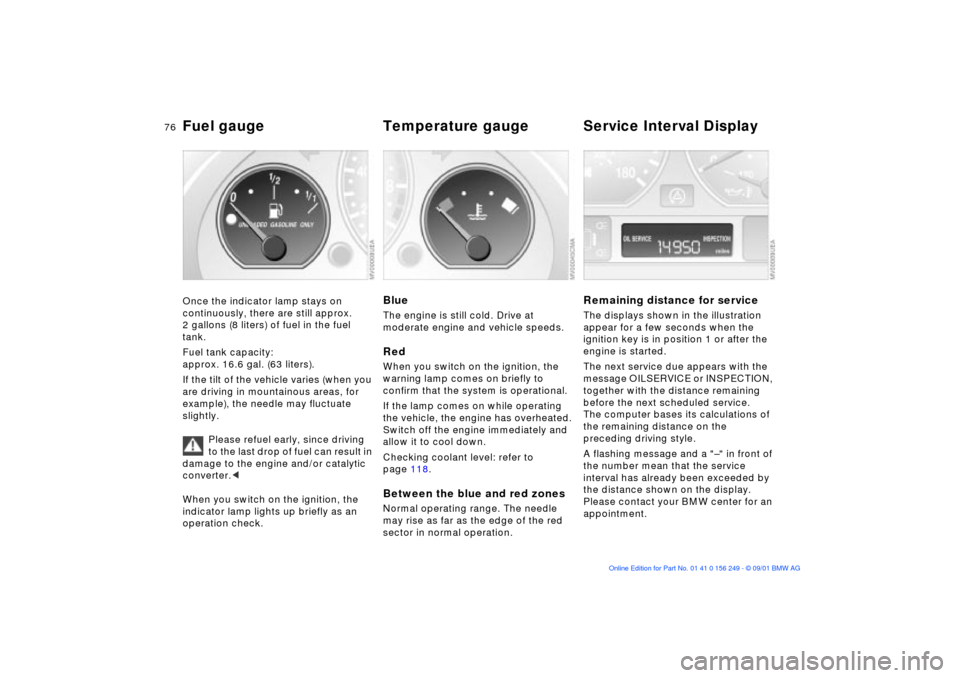
Fuel gauge Temperature gauge Service Interval Display Once the indicator lamp stays on
continuously, there are still approx.
2 gallons (8 liters) of fuel in the fuel
tank.
Fuel tank capacity:
approx. 16.6 gal. (63 liters).
If the tilt of the vehicle varies (when you
are driving in mountainous areas, for
example), the needle may fluctuate
slightly.
Please refuel early, since driving
to the last drop of fuel can result in
damage to the engine and/or catalytic
converter.<
When you switch on the ignition, the
indicator lamp lights up briefly as an
operation check.
BlueThe engine is still cold. Drive at
moderate engine and vehicle speeds. RedWhen you switch on the ignition, the
warning lamp comes on briefly to
confirm that the system is operational.
If the lamp comes on while operating
the vehicle, the engine has overheated.
Switch off the engine immediately and
allow it to cool down.
Checking coolant level: refer to
page 118.Between the blue and red zonesNormal operating range. The needle
may rise as far as the edge of the red
sector in normal operation.
Remaining distance for serviceThe displays shown in the illustration
appear for a few seconds when the
ignition key is in position 1 or after the
engine is started.
The next service due appears with the
message OILSERVICE or INSPECTION,
together with the distance remaining
before the next scheduled service.
The computer bases its calculations of
the remaining distance on the
preceding driving style.
A flashing message and a "Ð" in front of
the number mean that the service
interval has already been exceeded by
the distance shown on the display.
Please contact your BMW center for an
appointment.
Page 77 of 159
77n
OverviewControlsMaintenanceRepairsDataIndex
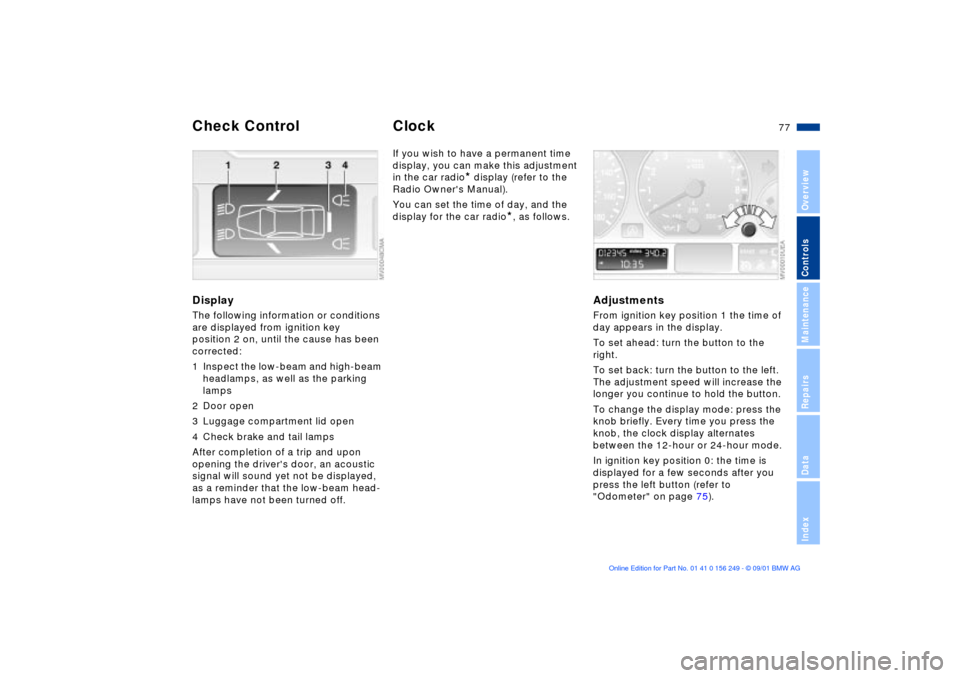
DisplayThe following information or conditions
are displayed from ignition key
position 2 on, until the cause has been
corrected:
1 Inspect the low-beam and high-beam
headlamps, as well as the parking
lamps
2 Door open
3 Luggage compartment lid open
4 Check brake and tail lamps
After completion of a trip and upon
opening the driver's door, an acoustic
signal will sound yet not be displayed,
as a reminder that the low-beam head-
lamps have not been turned off.
If you wish to have a permanent time
display, you can make this adjustment
in the car radio
* display (refer to the
Radio Owner's Manual).
You can set the time of day, and the
display for the car radio
*, as follows.
Adjustments From ignition key position 1 the time of
day appears in the display.
To set ahead: turn the button to the
right.
To set back: turn the button to the left.
The adjustment speed will increase the
longer you continue to hold the button.
To change the display mode: press the
knob briefly. Every time you press the
knob, the clock display alternates
between the 12-hour or 24-hour mode.
In ignition key position 0: the time is
displayed for a few seconds after you
press the left button (refer to
"Odometer" on page 75).
Check Control
Clock
Page 78 of 159
78n
Computer
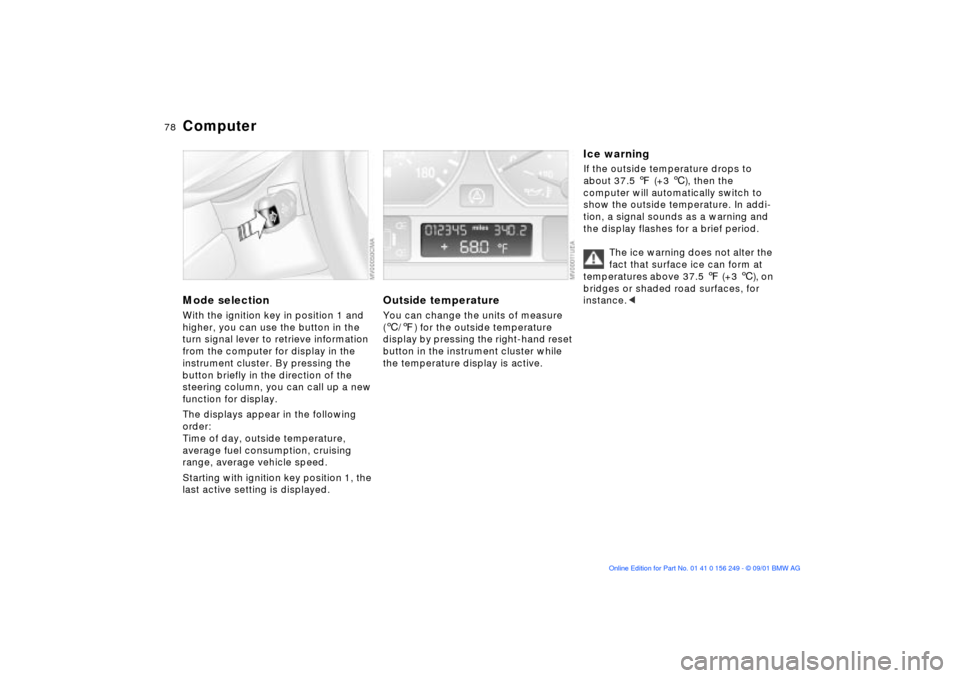
Mode selectionWith the ignition key in position 1 and
higher, you can use the button in the
turn signal lever to retrieve information
from the computer for display in the
instrument cluster. By pressing the
button briefly in the direction of the
steering column, you can call up a new
function for display.
The displays appear in the following
order:
Time of day, outside temperature,
average fuel consumption, cruising
range, average vehicle speed.
Starting with ignition key position 1, the
last active setting is displayed.
Outside temperature You can change the units of measure
(6/7) for the outside temperature
display by pressing the right-hand reset
button in the instrument cluster while
the temperature display is active.
Ice warning If the outside temperature drops to
about 37.5 7 (+3 6), then the
computer will automatically switch to
show the outside temperature. In addi-
tion, a signal sounds as a warning and
the display flashes for a brief period.
The ice warning does not alter the
fact that surface ice can form at
temperatures above 37.5 7 (+3 6), on
bridges or shaded road surfaces, for
instance.<
Page 79 of 159
79n
OverviewControlsMaintenanceRepairsDataIndex
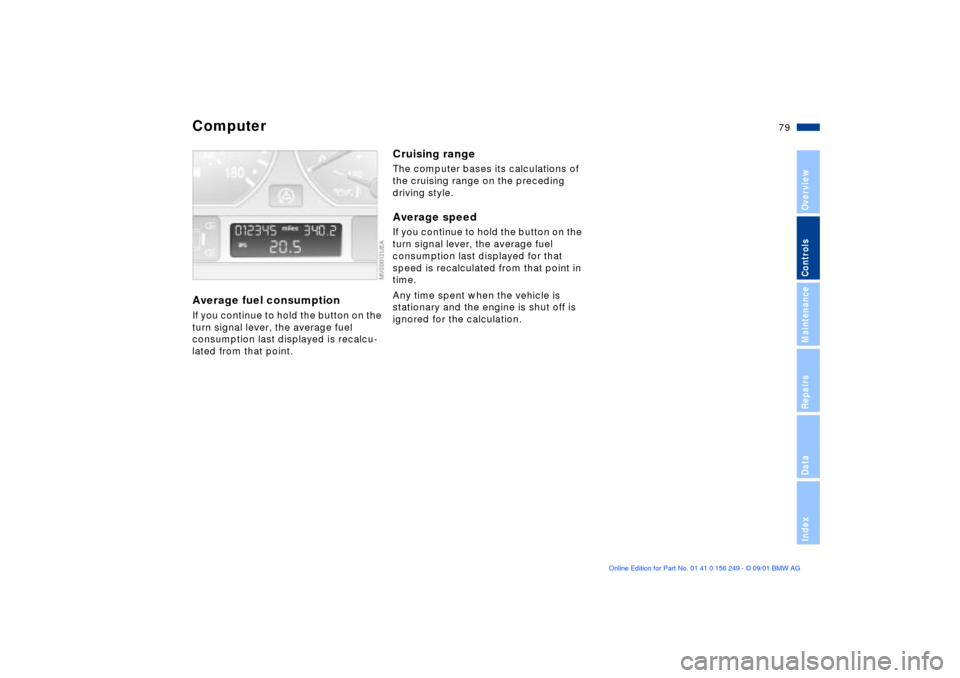
Computer Average fuel consumption If you continue to hold the button on the
turn signal lever, the average fuel
consumption last displayed is recalcu-
lated from that point.
Cruising range The computer bases its calculations of
the cruising range on the preceding
driving style.Average speed If you continue to hold the button on the
turn signal lever, the average fuel
consumption last displayed for that
speed is recalculated from that point in
time.
Any time spent when the vehicle is
stationary and the engine is shut off is
ignored for the calculation.
Page 84 of 159
84n
Flat Tire Monitor
M Engine dynamics control
Flat tire
The indicator lamp in the instru-
ment cluster will light up red in
the event of a flat tire with
ensuing loss in pressure. In addition, an
acoustic signal is sounded. To come to
an immediate stop, reduce speed, while
avoiding any sudden, jerky braking or
steering maneuvers.
Fix the flat tire using the M Mobility
system (refer to page 132).
Resetting the indicator lamp: the red
indicator lamp has to be switched off
manually after putting on a new wheel.
At this point, hold the Flat Tire Monitor
button down until the indicator lamp
goes out. Reinitialize the system after-
ward.
The Flat Tire Monitor cannot alert
you to severe and sudden tire
damage caused by external factors.
Another factor which the Flat Tire
Monitor does not recognize is the
balanced and very gradual pressure
loss that takes place in all tires over an
extended period of time.<
Check the tire inflation pressure
on a regular basis and correct if
necessary, refer to page 24.
Under certain circumstances, there
may be false warnings or a delayed
detection of losses in pressure when
driving on snow-covered or slippery
road surfaces.
Performance-oriented driving (slip at
the drive wheels, high levels of lateral
acceleration) can also delay the
appearance of status reports in the Flat
Tire Monitor's display panel.<
System malfunctionAs long as there is still a malfunction,
the indicator lamp in the instrument
cluster will stay lit up yellow.
Please contact your BMW center for
additional information.
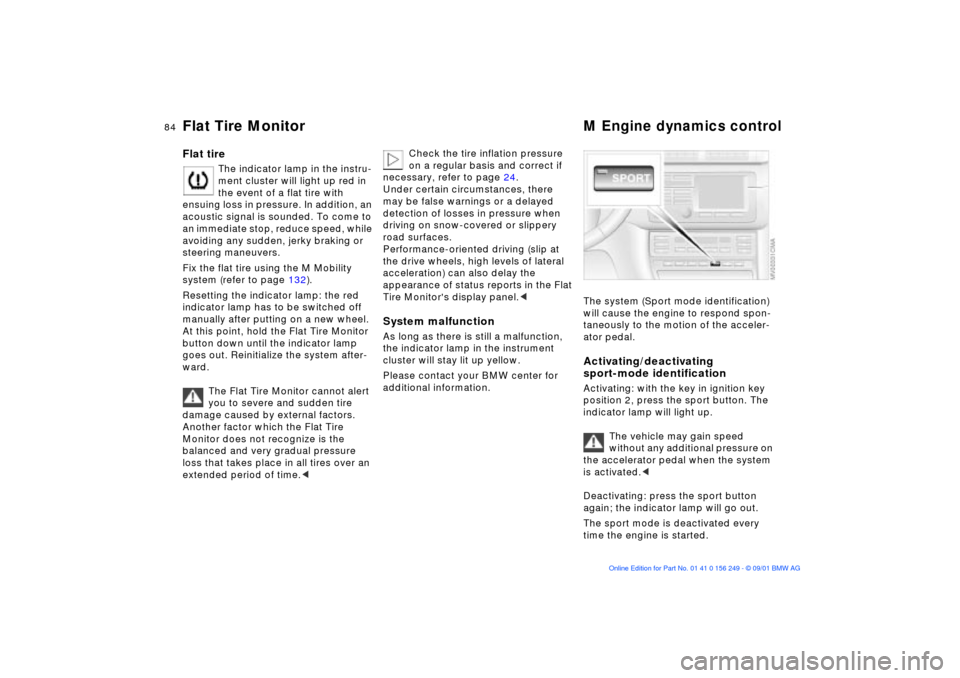
The system (Sport mode identification)
will cause the engine to respond spon-
taneously to the motion of the acceler-
ator pedal. Activating/deactivating
sport-mode identificationActivating: with the key in ignition key
position 2, press the sport button. The
indicator lamp will light up.
The vehicle may gain speed
without any additional pressure on
the accelerator pedal when the system
is activated.<
Deactivating: press the sport button
again; the indicator lamp will go out.
The sport mode is deactivated every
time the engine is started.
Page 91 of 159
91n
OverviewControlsMaintenanceRepairsDataIndex
Automatic climate control
*
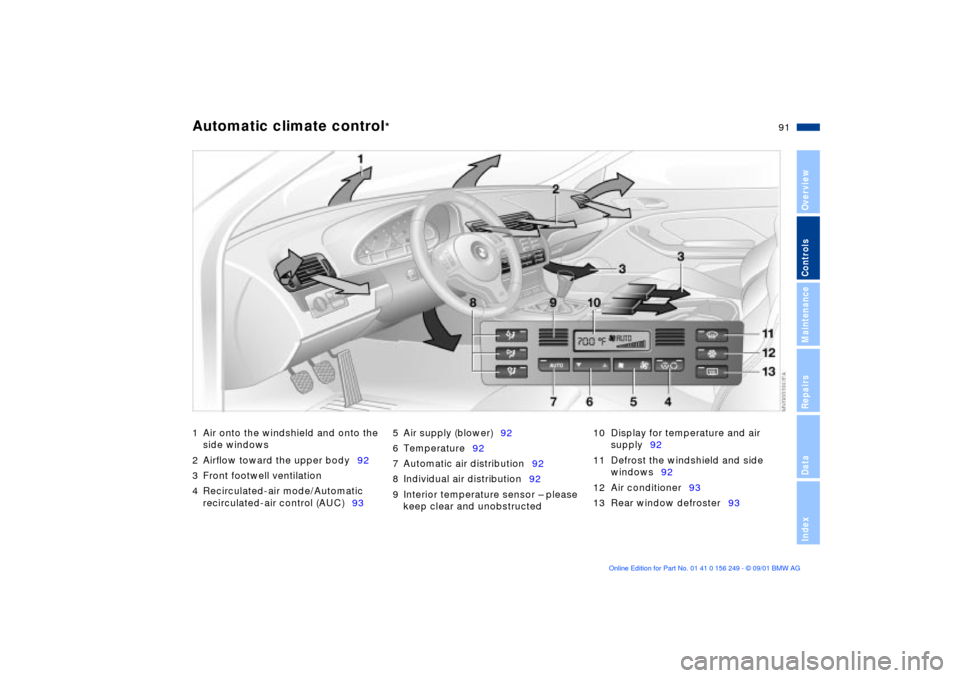
1 Air onto the windshield and onto the
side windows
2 Airflow toward the upper body92
3 Front footwell ventilation
4 Recirculated-air mode/Automatic
recirculated-air control (AUC)935 Air supply (blower)92
6 Temperature92
7 Automatic air distribution92
8 Individual air distribution92
9 Interior temperature sensor Ð please
keep clear and unobstructed10 Display for temperature and air
supply92
11 Defrost the windshield and side
windows92
12 Air conditioner93
13 Rear window defroster93
Page 92 of 159
92n
Automatic climate control
*
Tips for pleasant drivingUse the automatic system (switch on
AUTO button 7). Select the desired
interior temperature.
Detailed setting options are described
for you in the following sections.
You can make the settings of your
vehicle in such a manner that,
when you unlock the vehicle with the
remote control of your personal key,
your own personalized setting for the
automatic climate control is initiated.
the adjustment of the air distri-
bution and the air supply for you and Ð
in addition to that Ð adapts the temper-
ature to external influences (summer,
winter) to meet preferences you can
specify.
Individual air distribution
You also have the option of indi-
vidually configuring the air
distribution pattern to suit your
own personal preferences.
While the AUTO program is then deacti-
vated, the automatic airflow control
remains in operation. The system
directs air to the windows , the upper
body and into the footwells . You
can reactivate the automatic air supply
by pressing the AUTO button.
Temperature
The displayed temperatures are
reference values for the interior
temperature. We recommend 727
(+226) as a comfortable setting, even
if the air conditioner is on. When you
start the vehicle, the system ensures
that the selected temperature is
reached as quickly as possible. It then
maintains this temperature, regardless
of the season.
Air supply (blower)
By pressing the left or right side
of the button, you can vary the
air supply. This deactivates the auto-
matic air supply Ð the AUTO display
disappears from the panel. Neverthe-
less, the automatic air distribution
remains unchanged. You can reactivate
the automatic air supply by pressing the
AUTO button.
When you set the lowest blower speed
by pressing the left half of the button,
all of the displays are canceled: the
blower, heating and air conditioner are
switched off, and the air supply is
stopped. You can reactivate the system
by pressing any button for the auto-
matic climate control.
To defrost windows and remove
condensation
This program quickly removes
ice and condensation from the
windshield and side windows.
Page 116 of 159
116n
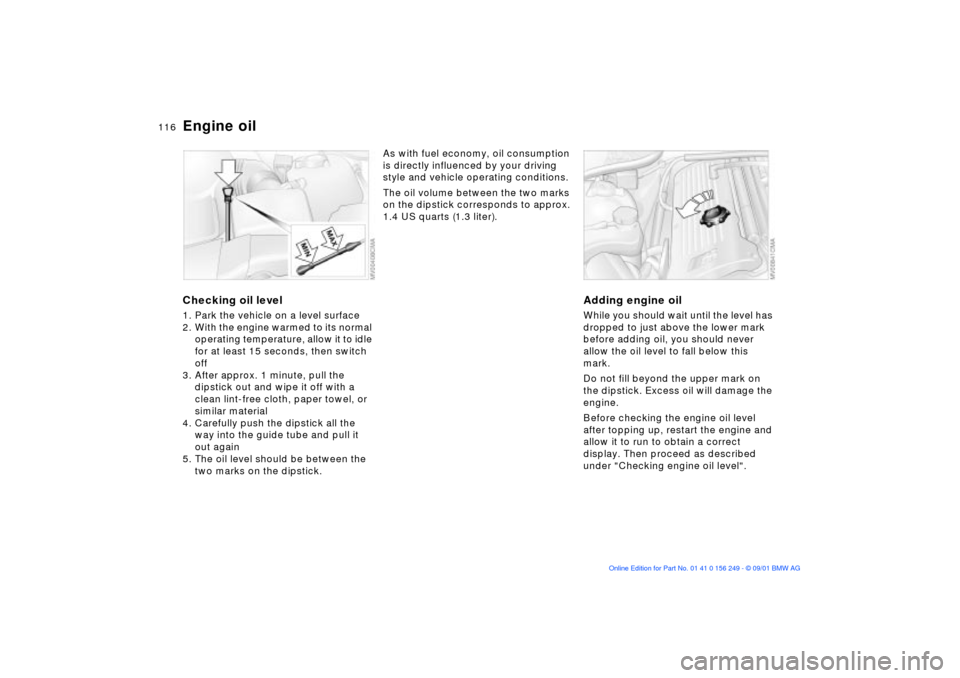
Engine oilChecking oil level 1. Park the vehicle on a level surface
2. With the engine warmed to its normal
operating temperature, allow it to idle
for at least 15 seconds, then switch
off
3. After approx. 1 minute, pull the
dipstick out and wipe it off with a
clean lint-free cloth, paper towel, or
similar material
4. Carefully push the dipstick all the
way into the guide tube and pull it
out again
5. The oil level should be between the
two marks on the dipstick.
As with fuel economy, oil consumption
is directly influenced by your driving
style and vehicle operating conditions.
The oil volume between the two marks
on the dipstick corresponds to approx.
1.4 US quarts (1.3 liter).
Adding engine oil While you should wait until the level has
dropped to just above the lower mark
before adding oil, you should never
allow the oil level to fall below this
mark.
Do not fill beyond the upper mark on
the dipstick. Excess oil will damage the
engine.
Before checking the engine oil level
after topping up, restart the engine and
allow it to run to obtain a correct
display. Then proceed as described
under "Checking engine oil level".
Page 120 of 159
120n
The BMW Maintenance System has
been designed as a reliable means of
providing maximum driving and oper-
ating safety Ð and as cost-effectively as
possible for you.
Please keep in mind that regular main-
tenance is not only necessary for the
safety of your vehicle, but also plays a
significant role in maintaining the resale
value of the vehicle.
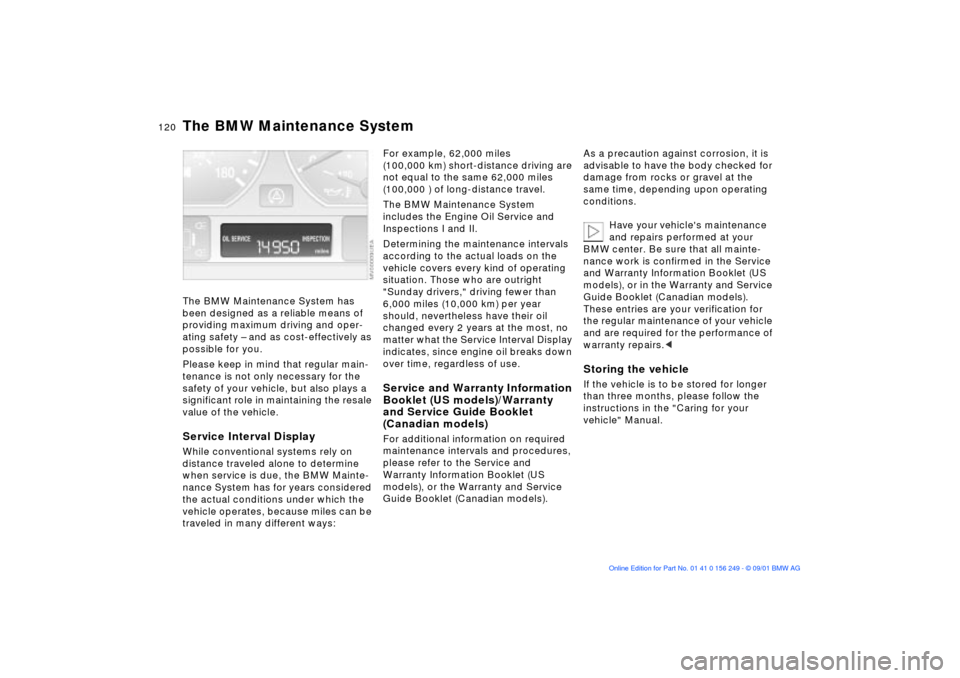
Service Interval DisplayWhile conventional systems rely on
distance traveled alone to determine
when service is due, the BMW Mainte-
nance System has for years considered
the actual conditions under which the
vehicle operates, because miles can be
traveled in many different ways:
For example, 62,000 miles
(100,000 km) short-distance driving are
not equal to the same 62,000 miles
(100,000 ) of long-distance travel.
The BMW Maintenance System
includes the Engine Oil Service and
Inspections I and II.
Determining the maintenance intervals
according to the actual loads on the
vehicle covers every kind of operating
situation. Those who are outright
"Sunday drivers," driving fewer than
6,000 miles (10,000 km) per year
should, nevertheless have their oil
changed every 2 years at the most, no
matter what the Service Interval Display
indicates, since engine oil breaks down
over time, regardless of use. Service and Warranty Information
Booklet (US models)/Warranty
and Service Guide Booklet
(Canadian models)For additional information on required
maintenance intervals and procedures,
please refer to the Service and
Warranty Information Booklet (US
models), or the Warranty and Service
Guide Booklet (Canadian models).As a precaution against corrosion, it is
advisable to have the body checked for
damage from rocks or gravel at the
same time, depending upon operating
conditions.
Have your vehicle's maintenance
and repairs performed at your
BMW center. Be sure that all mainte-
nance work is confirmed in the Service
and Warranty Information Booklet (US
models), or in the Warranty and Service
Guide Booklet (Canadian models).
These entries are your verification for
the regular maintenance of your vehicle
and are required for the performance of
warranty repairs.<
Storing the vehicleIf the vehicle is to be stored for longer
than three months, please follow the
instructions in the "Caring for your
vehicle" Manual.
The BMW Maintenance System