turn signal BMW M3 CONVERTIBLE 2002 E46 User Guide
[x] Cancel search | Manufacturer: BMW, Model Year: 2002, Model line: M3 CONVERTIBLE, Model: BMW M3 CONVERTIBLE 2002 E46Pages: 159, PDF Size: 2.19 MB
Page 79 of 159
79n
OverviewControlsMaintenanceRepairsDataIndex
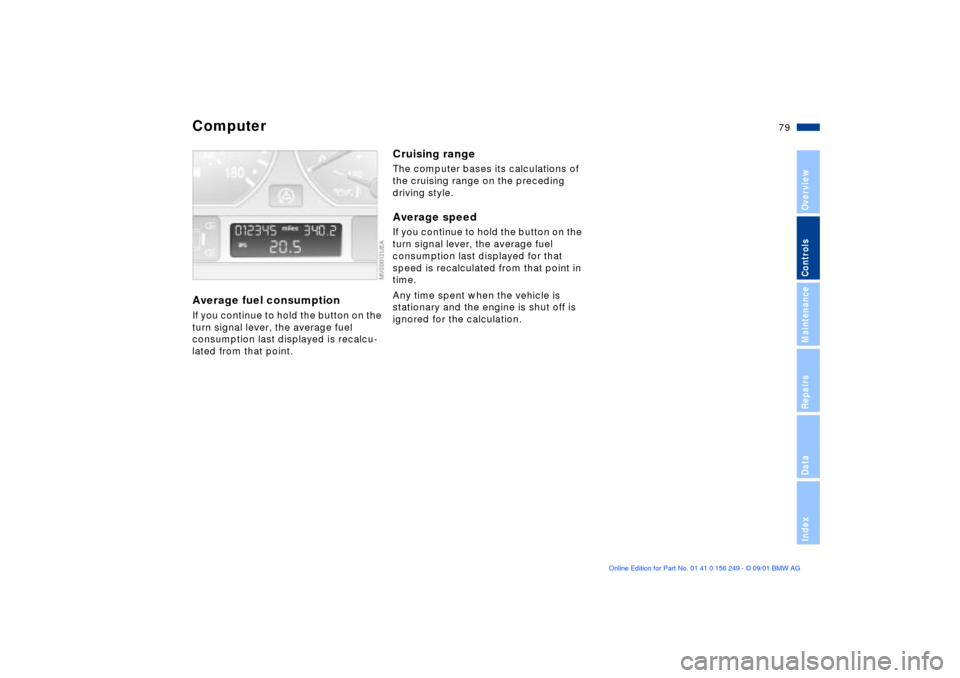
Computer Average fuel consumption If you continue to hold the button on the
turn signal lever, the average fuel
consumption last displayed is recalcu-
lated from that point.
Cruising range The computer bases its calculations of
the cruising range on the preceding
driving style.Average speed If you continue to hold the button on the
turn signal lever, the average fuel
consumption last displayed for that
speed is recalculated from that point in
time.
Any time spent when the vehicle is
stationary and the engine is shut off is
ignored for the calculation.
Page 85 of 159
85n
OverviewControlsMaintenanceRepairsDataIndex
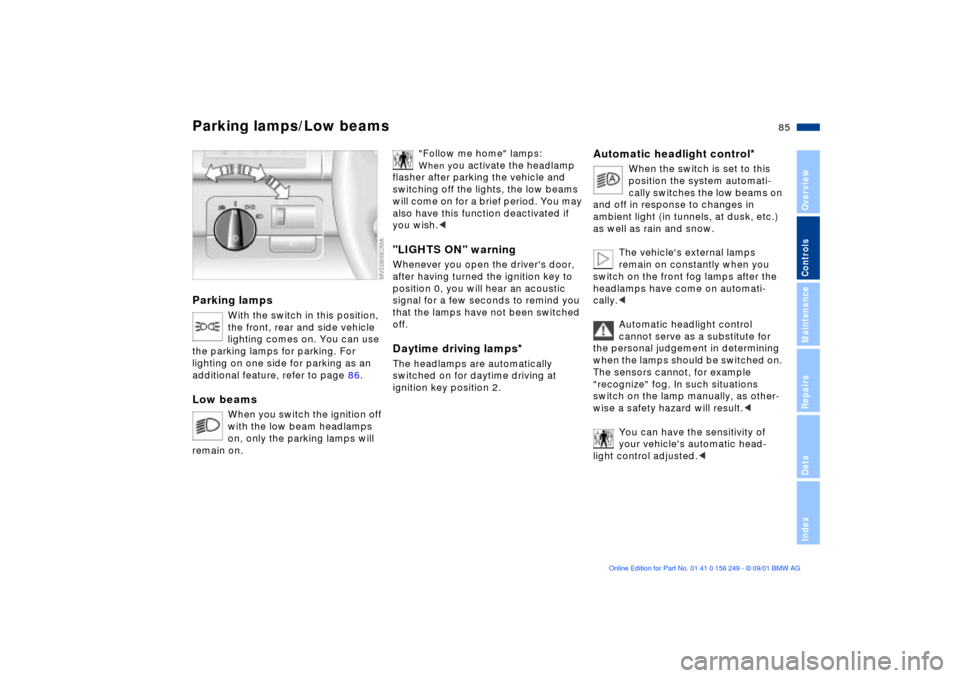
Parking lamps
With the switch in this position,
the front, rear and side vehicle
lighting comes on. You can use
the parking lamps for parking. For
lighting on one side for parking as an
additional feature, refer to page 86.
Low beams
When you switch the ignition off
with the low beam headlamps
on, only the parking lamps will
remain on.
"Follow me home" lamps: When y
ou activate the headlamp
flasher after parking the vehicle and
switching off the lights, the low beams
will come on for a brief period. You may
also have this function deactivated if
you wish.<
"LIGHTS ON" warningWhenever you open the driver's door,
after having turned the ignition key to
position 0, you will hear an acoustic
signal for a few seconds to remind you
that the lamps have not been switched
off.Daytime driving lamps
*
The headlamps are automatically
switched on for daytime driving at
ignition key position 2.
Automatic headlight control
*
When the switch is set to this
position the system automati-
cally switches the low beams on
and off in response to changes in
ambient light ( in tunnels, at dusk, etc.)
as well as rain and snow.
The vehicle's external lamps
remain on constantly when you
switch on the front fog lamps after the
headlamps have come on automati-
cally.<
Automatic headlight control
cannot serve as a substitute for
the personal judgement in determining
when the lamps should be switched on.
The sensors cannot, for example
"recognize" fog. In such situations
switch on the lamp manually, as other-
wise a safety hazard will result.<
You can have the sensitivity of
your vehicle's automatic head-
light control adjusted.<
Parking lamps/Low beams
Page 86 of 159
86n
Instrument lighting
High beams/Standing lamps
Fog lamps
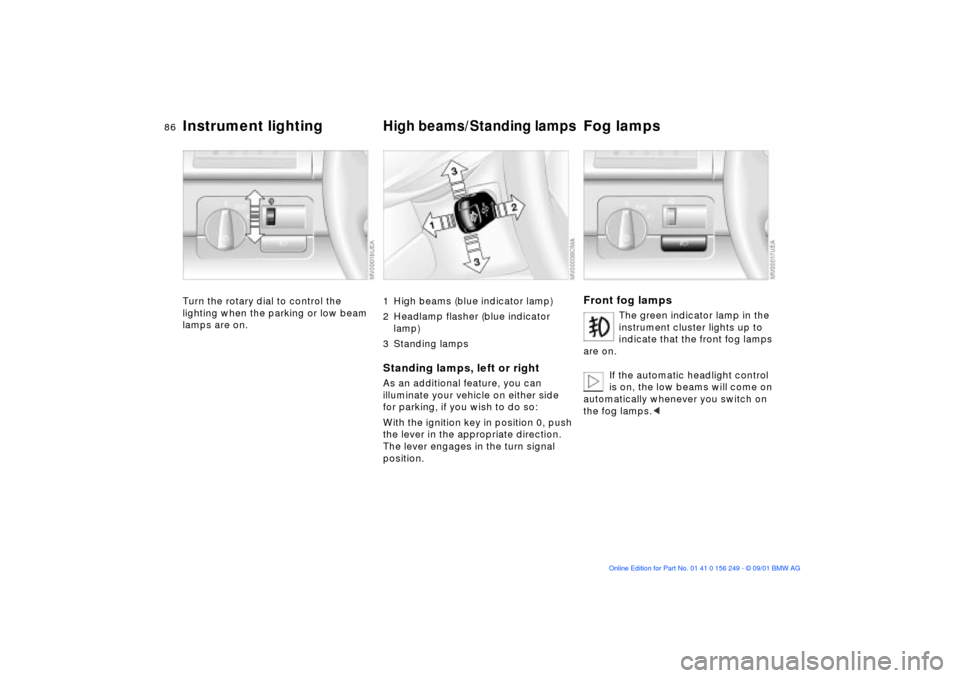
Turn the rotary dial to control the
lighting when the parking or low beam
lamps are on.
1 High beams (blue indicator lamp)
2 Headlamp flasher (blue indicator
lamp)
3 Standing lampsStanding lamps, left or rightAs an additional feature, you can
illuminate your vehicle on either side
for parking, if you wish to do so:
With the ignition key in position 0, push
the lever in the appropriate direction.
The lever engages in the turn signal
position.
Front fog lamps
The green indicator lamp in the
instrument cluster lights up to
indicate that the front fog lamps
are on.
If the automatic headlight control
is on, the low beams will come on
automatically whenever you switch on
the fog lamps.<
Page 128 of 159
128n
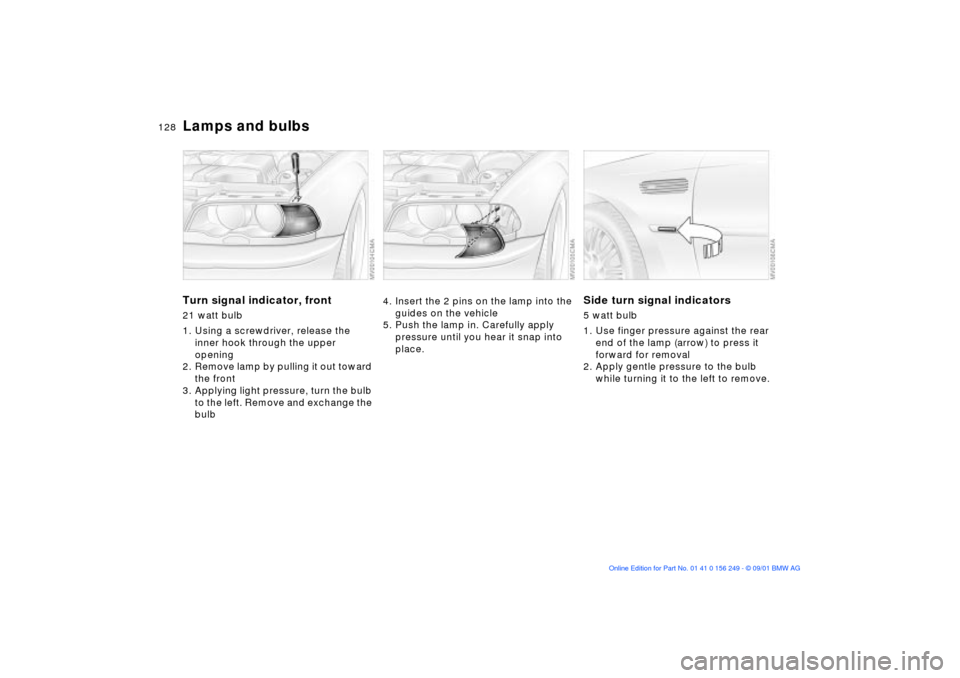
Lamps and bulbsTurn signal indicator, front 21 watt bulb
1. Using a screwdriver, release the
inner hook through the upper
opening
2. Remove lamp by pulling it out toward
the front
3. Applying light pressure, turn the bulb
to the left. Remove and exchange the
bulb
4. Insert the 2 pins on the lamp into the
guides on the vehicle
5. Push the lamp in. Carefully apply
pressure until you hear it snap into
place.
Side turn signal indicators5 watt bulb
1. Use finger pressure against the rear
end of the lamp (arrow) to press it
forward for removal
2. Apply gentle pressure to the bulb
while turning it to the left to remove.
Page 129 of 159
129n
OverviewControlsMaintenanceRepairsDataIndex
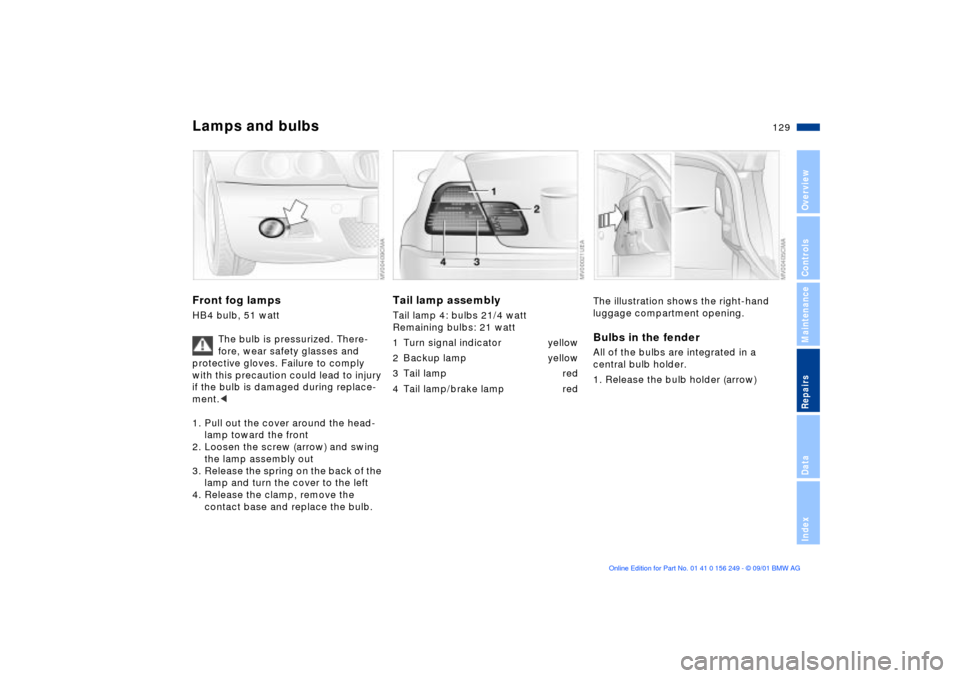
Lamps and bulbsFront fog lamps HB4 bulb, 51 watt
The bulb is pressurized. There-
fore, wear safety glasses and
protective gloves. Failure to comply
with this precaution could lead to injury
if the bulb is damaged during replace-
ment.<
1. Pull out the cover around the head-
lamp toward the front
2. Loosen the screw (arrow) and swing
the lamp assembly out
3. Release the spring on the back of the
lamp and turn the cover to the left
4. Release the clamp, remove the
contact base and replace the bulb.
Tail lamp assembly Tail lamp 4: bulbs 21/4 watt
Remaining bulbs: 21 watt
1 Turn signal indicator yellow
2 Backup lamp yellow
3 Tail lamp red
4 Tail lamp/brake lamp red
The illustration shows the right-hand
luggage compartment opening.Bulbs in the fenderAll of the bulbs are integrated in a
central bulb holder.
1. Release the bulb holder (arrow)
Page 140 of 159
140n
Towing the vehicleUse only a nylon towing strap to tow
the vehicle, since the inherent resil-
ience of this material helps protect both
vehicles from sudden jerking move-
ments.
The towed vehicle should always
be the lighter of the two vehicles.
If this is not the case, it will not be
possible to control vehicle handling.
Never attempt to use your vehicle to
push another vehicle, since damage to
the energy-absorbing bumpers could
result.
Towing a vehicle1. Gearshift lever in neutral
2. Towing speed:
Max. 45 mph (70 km/h)
3. Towing distance:
Max. 95 miles (150 km)
4. Leave the ignition key at position 1 to
ensure that the brake lamps, turn
signal indicators, horn and wind-
shield wipers remain operative, and
to prevent the steering lock detent
from engaging
5. Switch on the hazard warning system
(observe applicable legal regula-
tions).
Find some means of identifying the
vehicle in tow, for instance, place a sign
or warning triangle in the rear window.
Make sure that the ignition key
remains in position 1 even when
the electrical system has failed to
prevent the steering lock from
engaging.
The steering and brakes are without
power-assist when the engine is off.
This means that increased effort is
required for steering and braking.c
Vehicles with sequential M gearbox
*
SMG II:
To push or tow, engage selector lever
in position 0.
Never work on the vehicle with a
driving position engaged.c
Page 155 of 159
Everything from A to Z
155n
OverviewControlsMaintenanceRepairsDataIndex
Refueling22
Releasing
fuel filler door following an
electrical
malfunction22t
Remote control30
Removing condensation
from the windows92
Replace windshield wiper
blades126t
Replacement key28
Replacing bulbs126t
Reporting safety defects11
Restraint system54
Rims111
Rollover protection
system58
indicator lamp20
lowering58t
Roof load capacity146
Roof-mounted luggage
rack101 S
Safety belts47, 48
Safety buttons33
Seat adjustment
lumbar support45
thigh support45
Seat heating49
Seat memory48
Seat-integrated safety belts
(SGS)47
Seats
adjusting44, 45
Secure glove compartment
and luggage compartment
separately34
Securing cargo100
Securing cargo in luggage
compartment101
Sequential M gearbox
SMG II64
Service and Warranty
Information Booklet120
Service Interval
Display76, 120
Set clock77
Set interior temperature92
SGS (Seat-integrated safety
belts)47 Side airbags52
Side impact Head Protection
System52
Side turn signals
bulb replacement128t
Ski bag98
Snow chains112
Spare key28
Speedometer15
Sport-mode
identification84
Standing lamps86
Starting problems62t
Steering lock61
Steering wheel with
multifunction buttons21
Steering wheel,
adjusting50
Stopping the vehicle62
Storage areas96
Storage compartments96
Stowing cargo100
Stroke144
Summer tires111
Switching off the engine62
Symbols, used8 T
Tachometer75
Tail lamps129
bulb replacement129t
Tank capacity147
Technical data144
Technical
modifications10, 121
Telephone hookup96
Temperature display
ice warning78
interior temperature92
outside temperature78
Temperature gauge
engine coolant76
Temperature
layering90, 94
Temperature, adjusting89
Thigh support, adjusting45
Third brake lamp131
Tilt alarm sensor38
deactivate31
remote control31
Tire inflation
pressures24, 25, 109
Tire wear indicator109
Page 156 of 159
Everything from A to ZTires
marking111
profile109
replacing110
Tires and wheels111
Tools126t
Torque144
Towing eyelets139t
Towing the vehicle139t
Track145
Transmission63
Transporting children
safely54
Tread depth, tires109
Trip odometer75
Trunk lid, refer to luggage
compartment lid34
Turn signal indicator70
bulb replacement128t
indicator lamp20
Turning radius145 U
Uniform Tire Quality
Grading110
Upholstery material, refer to
the "Caring for your
vehicle" manual
Used batteries136t
V
Vehicle battery136
Vehicle Memory60
Vehicle weight146
Ventilation88, 91
draftfree90, 94
Ventilation while parked,
refer to the "Onboard
Computer Owner's
Manual"
W
Warning lamps17
Warning messages77
Warranty and Service
Guide120
Washing your vehicle, refer
to the "Caring for your
vehicle" manual
Water on roadways105
Wear indicator in the
tires109 Weights146
Wheel and tire
combinations111
Wheelbase145
Wheelslip control, refer to
DSC81
Width145
Windows, convenience
operation29
Windshield washer reservoir,
capacities147
Windshield wiper71
Winter tires112
Wiper system71
Work in the engine
compartment113t
X
Xenon lamps127