check engine light BMW M3 CONVERTIBLE 2004 E46 Owner's Manual
[x] Cancel search | Manufacturer: BMW, Model Year: 2004, Model line: M3 CONVERTIBLE, Model: BMW M3 CONVERTIBLE 2004 E46Pages: 174, PDF Size: 2.67 MB
Page 9 of 174
Contents
9
Driving:
Ignition lock65
Starting the engine and driving
off66
Switching off the engine68
Parking brake68
Manual transmission69
Sequential M gearbox with
Drivelogic*70
Turn signal indicator/Headlamp
flasher75
Washer/wiper system/Rain
sensor*76
Cruise control77
Everything under control:
Odometer79
Tachometer79
Engine oil temperature79
Fuel gauge80
Engine coolant temperature
gauge80
Service interval display81
Check Control81
Clock82
Computer83
Technology for safety and
driving convenience:
Park Distance Control (PDC)*85
Dynamic Stability Control
DSC86
Flat Tire Monitor87
M Engine dynamics control90
Brake force display90
Lamps:
Parking lamps/Low beams91
Instrument lighting92
High beams/Standing lamps92
Fog lamps93
Interior lamps93
Reading lamps93
Controlling the climate for
pleasant driving:
Automatic climate control96
Interior conveniences:
Glove compartment101
Storage compartments101
Cellular phone*102
Ashtray, front*103
Ashtray, rear*103
Loading and transporting:
Ski bag*104
Cargo loading106
Roof-mounted luggage rack for
the hardtop*108
Operation, maintenance
Special operating instructions:
Break-in procedures112
General driving notes113
Antilock Brake System
(ABS)114
Brake system114
Hardtop*115
Wheels and tires:
Tire inflation pressure118
Tire condition118
Tire replacement119
Wheel and tire
combinations121
Winter tires122
Snow chains*122
In the engine compartment:
Hood123
Engine compartment
essentials124
Washer fluids126
Engine oil126
Coolant128
Brake fluid129
Maintenance:
The BMW Maintenance
System130
Laws and regulations:
California Proposition 65
warning132
OBD interface socket132
Controls and features
Page 18 of 174
18
Indicator and warning lamps
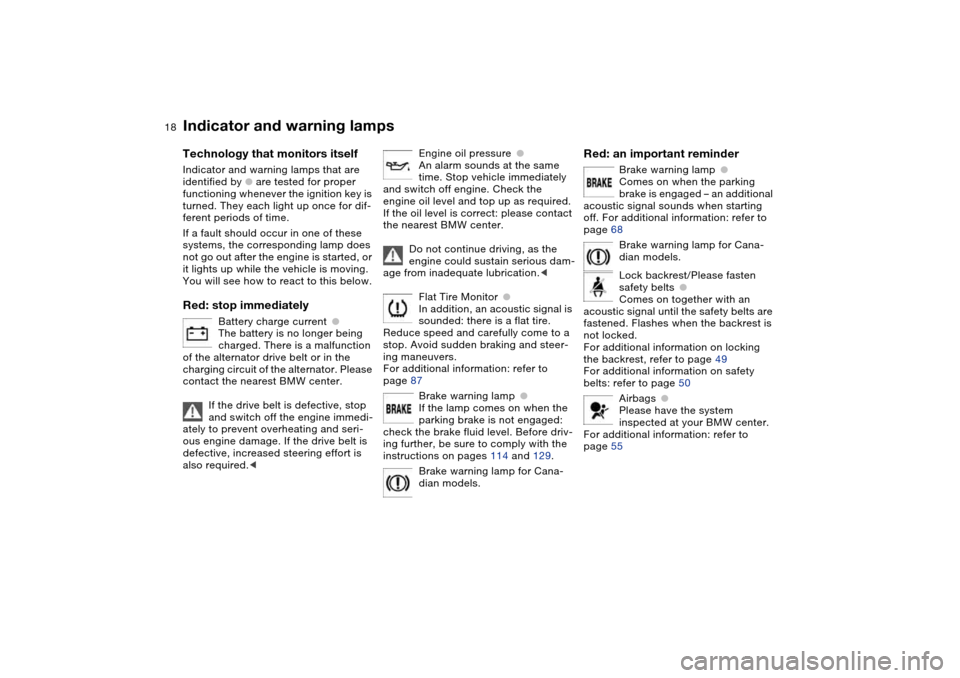
Technology that monitors itself
Indicator and warning lamps that are
identified by
●
are tested for proper
functioning whenever the ignition key is
turned. They each light up once for dif-
ferent periods of time.
If a fault should occur in one of these
systems, the corresponding lamp does
not go out after the engine is started, or
it lights up while the vehicle is moving.
You will see how to react to this below.
Red: stop immediately
Battery charge current
●
The battery is no longer being
charged. There is a malfunction
of the alternator drive belt or in the
charging circuit of the alternator. Please
contact the nearest BMW center.
If the drive belt is defective, stop
and switch off the engine immedi-
ately to prevent overheating and seri-
ous engine damage. If the drive belt is
defective, increased steering effort is
also required.
<
Engine oil pressure
●
An alarm sounds at the same
time. Stop vehicle immediately
and switch off engine. Check the
engine oil level and top up as required.
If the oil level is correct: please contact
the nearest BMW center.
Do not continue driving, as the
engine could sustain serious dam-
age from inadequate lubrication.
<
Flat Tire Monitor
●
In addition, an acoustic signal is
sounded: there is a flat tire.
Reduce speed and carefully come to a
stop. Avoid sudden braking and steer-
ing maneuvers.
For additional information: refer to
page 87
Brake warning lamp
●
If the lamp comes on when the
parking brake is not engaged:
check the brake fluid level. Before driv-
ing further, be sure to comply with the
instructions on pages 114 and 129.
Brake warning lamp for Cana-
dian models.
Red: an important reminder
Brake warning lamp
●
Comes on when the parking
brake is engaged – an additional
acoustic signal sounds when starting
off. For additional information: refer to
page 68
Brake warning lamp for Cana-
dian models.
Lock backrest/Please fasten
safety belts
●
Comes on together with an
acoustic signal until the safety belts are
fastened. Flashes when the backrest is
not locked.
For additional information on locking
the backrest, refer to page 49
For additional information on safety
belts: refer to page 50
Airbags
●
Please have the system
inspected at your BMW center.
For additional information: refer to
page 55
Page 20 of 174
20
button or in response to a system mal-
function. In the event of a malfunction,
have the system checked by your near-
est BMW center.
For additional information: refer to
page 86
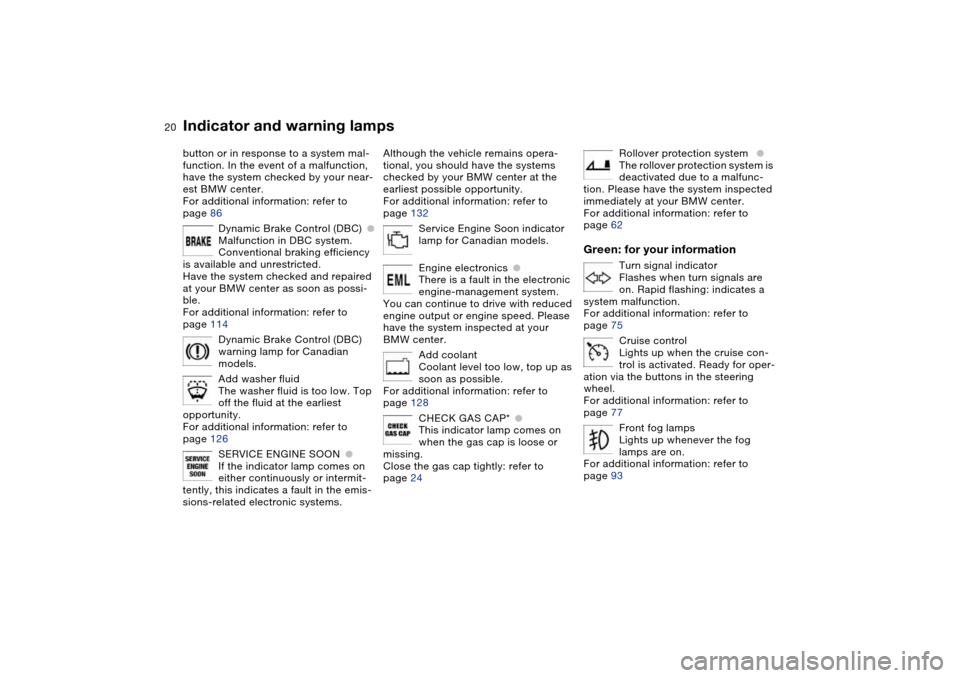
Dynamic Brake Control (DBC)
●
Malfunction in DBC system.
Conventional braking efficiency
is available and unrestricted.
Have the system checked and repaired
at your BMW center as soon as possi-
ble.
For additional information: refer to
page 114
Dynamic Brake Control (DBC)
warning lamp for Canadian
models.
Add washer fluid
The washer fluid is too low. Top
off the fluid at the earliest
opportunity.
For additional information: refer to
page 126
SERVICE ENGINE SOON
●
If the indicator lamp comes on
either continuously or intermit-
tently, this indicates a fault in the emis-
sions-related electronic systems.
Although the vehicle remains opera-
tional, you should have the systems
checked by your BMW center at the
earliest possible opportunity.
For additional information: refer to
page 132
Service Engine Soon indicator
lamp for Canadian models.
Engine electronics
●
There is a fault in the electronic
engine-management system.
You can continue to drive with reduced
engine output or engine speed. Please
have the system inspected at your
BMW center.
Add coolant
Coolant level too low, top up as
soon as possible.
For additional information: refer to
page 128
CHECK GAS CAP*
●
This indicator lamp comes on
when the gas cap is loose or
missing.
Close the gas cap tightly: refer to
page 24
Rollover protection system
●
The rollover protection system is
deactivated due to a malfunc-
tion. Please have the system inspected
immediately at your BMW center.
For additional information: refer to
page 62
Green: for your information
Turn signal indicator
Flashes when turn signals are
on. Rapid flashing: indicates a
system malfunction.
For additional information: refer to
page 75
Cruise control
Lights up when the cruise con-
trol is activated. Ready for oper-
ation via the buttons in the steering
wheel.
For additional information: refer to
page 77
Front fog lamps
Lights up whenever the fog
lamps are on.
For additional information: refer to
page 93
Indicator and warning lamps
Page 74 of 174
74
Indicator lamp
The gearbox indicator lamp in
the instrument cluster goes out
after the engine is started.
>If it does not go out, or if it lights up
during driving, a malfunction has
occurred. The available functions
may be limited under certain circum-
stances.
Drive carefully and with the Dynamic
Stability Control (DSC) activated.
Have the system checked by the
nearest BMW center
>If the indicator lamp flashes while
driving, the system is overloaded.
Avoid high loads until the indicator
lamp goes out again permanently.
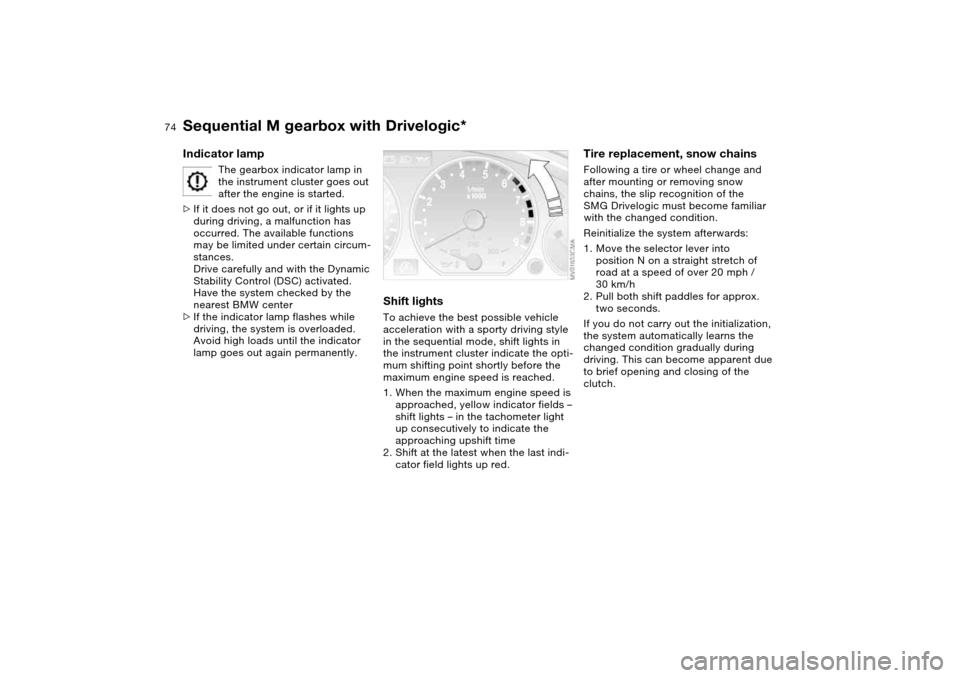
Shift lightsTo achieve the best possible vehicle
acceleration with a sporty driving style
in the sequential mode, shift lights in
the instrument cluster indicate the opti-
mum shifting point shortly before the
maximum engine speed is reached.
1. When the maximum engine speed is
approached, yellow indicator fields –
shift lights – in the tachometer light
up consecutively to indicate the
approaching upshift time
2. Shift at the latest when the last indi-
cator field lights up red.
Tire replacement, snow chainsFollowing a tire or wheel change and
after mounting or removing snow
chains, the slip recognition of the
SMG Drivelogic must become familiar
with the changed condition.
Reinitialize the system afterwards:
1. Move the selector lever into
position N on a straight stretch of
road at a speed of over 20 mph /
30 km/h
2. Pull both shift paddles for approx.
two seconds.
If you do not carry out the initialization,
the system automatically learns the
changed condition gradually during
driving. This can become apparent due
to brief opening and closing of the
clutch.
Sequential M gearbox with Drivelogic*
Page 80 of 174
80
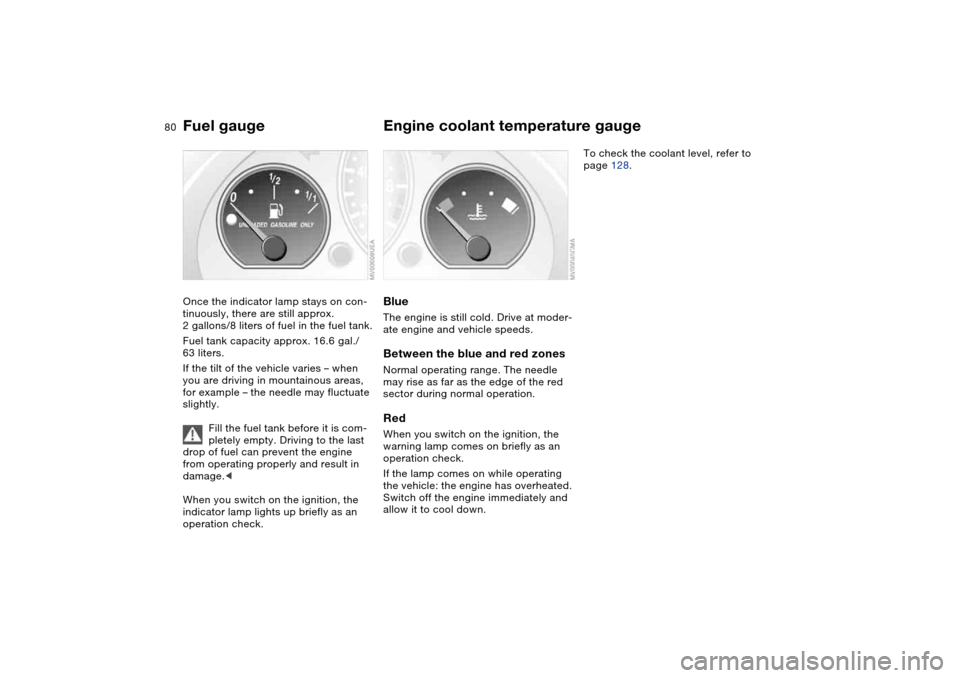
Fuel gaugeOnce the indicator lamp stays on con-
tinuously, there are still approx.
2 gallons/8 liters of fuel in the fuel tank.
Fuel tank capacity approx. 16.6 gal./
63 liters.
If the tilt of the vehicle varies – when
you are driving in mountainous areas,
for example – the needle may fluctuate
slightly.
Fill the fuel tank before it is com-
pletely empty. Driving to the last
drop of fuel can prevent the engine
from operating properly and result in
damage.<
When you switch on the ignition, the
indicator lamp lights up briefly as an
operation check.
Engine coolant temperature gaugeBlueThe engine is still cold. Drive at moder-
ate engine and vehicle speeds.Between the blue and red zonesNormal operating range. The needle
may rise as far as the edge of the red
sector during normal operation.RedWhen you switch on the ignition, the
warning lamp comes on briefly as an
operation check.
If the lamp comes on while operating
the vehicle: the engine has overheated.
Switch off the engine immediately and
allow it to cool down.
To check the coolant level, refer to
page 128.
Page 128 of 174
128
However, if the vehicle is exposed to
temperatures below –47/–206 for
extended periods, please have your
BMW center recommend a suitable oil.
Coolant
Do not add coolant to the cooling
system when the engine is hot. If
you attempt to do so, escaping coolant
can cause burns.
Antifreeze and anti-corrosion agents
are hazardous to health. You should
always store them in their closed origi-
nal containers and in a location inac-
cessible to children. Antifreeze and
anti-corrosion agents are inflammable.
For this reason, do not spill them on hot
engine parts. They could ignite and
cause burns. Comply with the instruc-
tions on the containers.<
Comply with the applicable envi-
ronmental laws regulating the dis-
posal of antifreeze agents with corro-
sion inhibitor.<
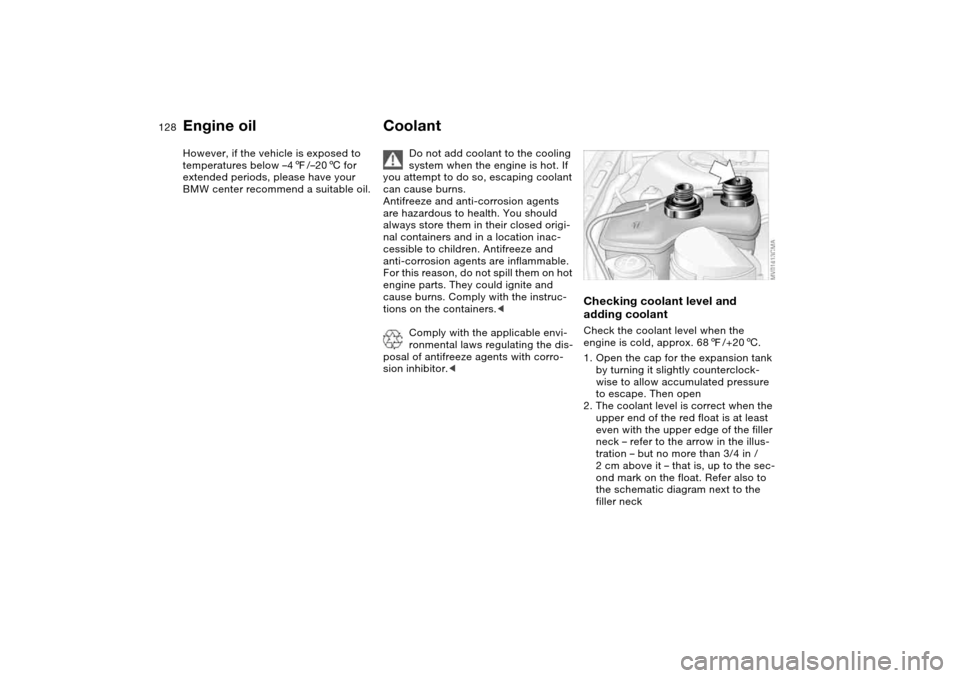
Checking coolant level and
adding coolant Check the coolant level when the
engine is cold, approx. 687/+206.
1. Open the cap for the expansion tank
by turning it slightly counterclock-
wise to allow accumulated pressure
to escape. Then open
2. The coolant level is correct when the
upper end of the red float is at least
even with the upper edge of the filler
neck – refer to the arrow in the illus-
tration – but no more than 3/4 in /
2 cm above it – that is, up to the sec-
ond mark on the float. Refer also to
the schematic diagram next to the
filler neck
Engine oil
Page 147 of 174
147
Jump-startingWhen your battery is discharged, you
can use two jumper cables to start your
vehicle with power from the battery in a
second vehicle. You can also use the
same method to help start another
vehicle. Use only jumper cables with
fully insulated handles on the terminal
clamps.
Do not touch high-voltage wiring
and cables on a running engine.
Contact with components carrying high
voltage can be harmful or fatal.
Carefully observe the following instruc-
tions to avoid personal injury and/or
damage to one or both vehicles.
approximately the same capacity –
measured in Ah. This information is
provided on the battery
2. Stop the engine of the support vehi-
cle
3. Switch off all electrical components
in both vehicles.
Make absolutely certain that there
is no contact between the body-
work of the two vehicles, otherwise
there is a short circuit hazard.<
Connecting the jumper cables
Always adhere to this sequence
when connecting jumper cables;
failure to observe this procedure can
lead to sparks at the battery terminals
and pose an injury hazard.<
The auxiliary jump-starting terminal
located in your BMW's engine compart-
ment acts as the positive battery termi-
nal. Refer to the engine compartment
overview on page 124. The cover of this
auxiliary terminal is marked with a +.
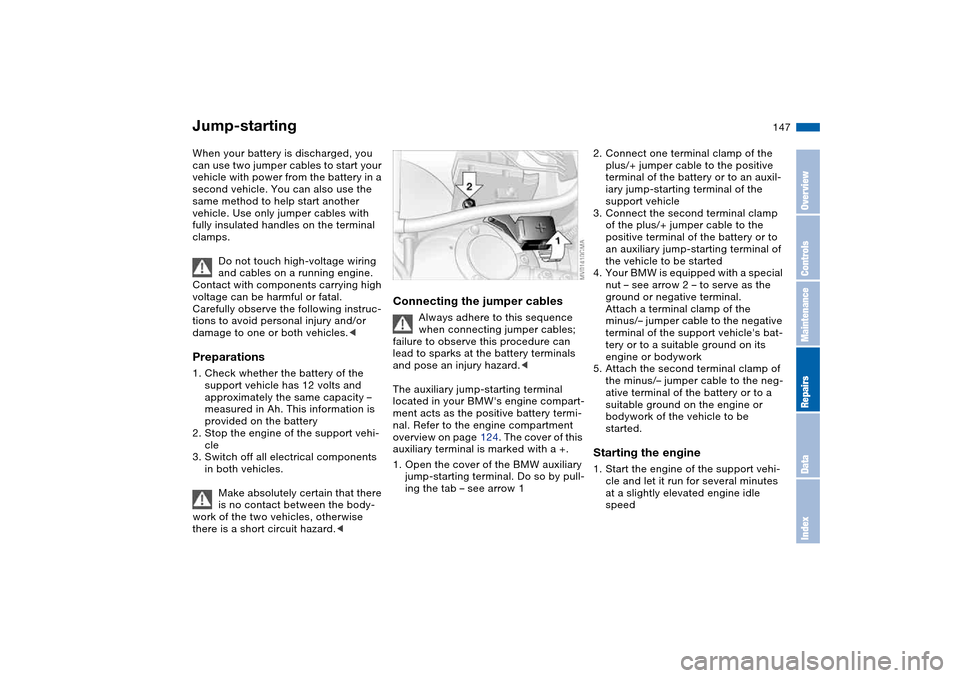
1. Open the cover of the BMW auxiliary
jump-starting terminal. Do so by pull-
ing the tab – see arrow 1
2. Connect one terminal clamp of the
plus/+ jumper cable to the positive
terminal of the battery or to an auxil-
iary jump-starting terminal of the
support vehicle
3. Connect the second terminal clamp
of the plus/+ jumper cable to the
positive terminal of the battery or to
an auxiliary jump-starting terminal of
the vehicle to be started
4. Your BMW is equipped with a special
nut – see arrow 2 – to serve as the
ground or negative terminal.
Attach a terminal clamp of the
minus/– jumper cable to the negative
terminal of the support vehicle's bat-
tery or to a suitable ground on its
engine or bodywork
5. Attach the second terminal clamp of
the minus/– jumper cable to the neg-
ative terminal of the battery or to a
suitable ground on the engine or
bodywork of the vehicle to be
started.Starting the engine1. Start the engine of the support vehi-
cle and let it run for several minutes
at a slightly elevated engine idle
speed
OverviewControlsMaintenanceRepairsDataIndex
Page 161 of 174
Everything from A to Z
161
Brake force display 90
Brake hydraulics 114
Brake lamps
bulb replacement 139
indicator lamp, defective
lamp 81
Brake lights
brake force display 90
Brake pads 115
brake fluid level
18, 114, 129
breaking in 112
disc brakes 114
Brake rotors
brake system 114
breaking in 112
Brake system
brake pads, indicator
lamp 19
Brake wear warning
indicator lamp 19
Brakes
ABS 114
brake fluid 129
breaking in 112
indicator/warning lamp
18, 19
parking brake 68
Break-in procedures 112
Bulb replacement 137
Bulb replacement, refer to
Lamps and bulbs 137Buttons in steering wheel 22
C
California Proposition
65 warning 132
Can holders, see Beverage
holders 102
Capacities 157
Car battery 144
Car care, refer to the Caring
for your vehicle brochure
Car keys, refer to Keys 30
Car radio, refer to the
Owner's Manual for Radio
Car telephone
preparation 102
Car telephone, refer to the
separate Owner's Manual
Car vacuum cleaner, con-
necting 103
Car wash, refer to the Caring
for your vehicle brochure
Carpet care, refer to the
Caring for your vehicle
brochure
Cassette operation, refer to
the Owner's Manual for
Radio/Onboard Computer
CBC Cornering Brake Con-
trol 114
warning lamp 19CD changer, refer to the
Owner's Manual for
Radio/Onboard Computer
CD operation, refer to the
Owner's Manual for
Radio/Onboard Computer
Cellular phone 102
Center armrest
front 101
Center high-mount brake
lamp
bulb replacement 140
Central locking system 30
button 34
passenger
compartment 34
Check Control 81
Check Gas Cap
indicator lamp 19
Child seats, refer to Child-
restraint systems 58
Child-restraint mounting
system LATCH 60
Child-restraint systems 58
Cigarette lighter 103
Cigarette lighter socket 103
Cleaning chrome parts, refer
to the Caring for your vehi-
cle brochure
Cleaning light alloy wheels,
refer to the Caring for your
vehicle brochureCleaning position, convert-
ible top 44
Cleaning the vehicle, refer to
the Caring for your vehicle
brochure
Cleaning windshield 77
Clock 82
12-/24-hour mode 82
setting, refer also to the
Owner's Manual for
Radio/Onboard Computer
Closing
from inside 34
from outside 31
Clothes hooks 113
Clutch
breaking in 113
Cockpit 14
Code, refer to the Owner's
Manual for Radio/Onboard
Computer
Coin box 102
Cold start, refer to Starting
the engine 66
Compact disc operation,
refer to the Owner's Man-
ual for Radio/Onboard
Computer
Compression ratio, refer to
Engine data 154
Computer 83
OverviewControlsMaintenanceRepairsDataIndex
Page 164 of 174
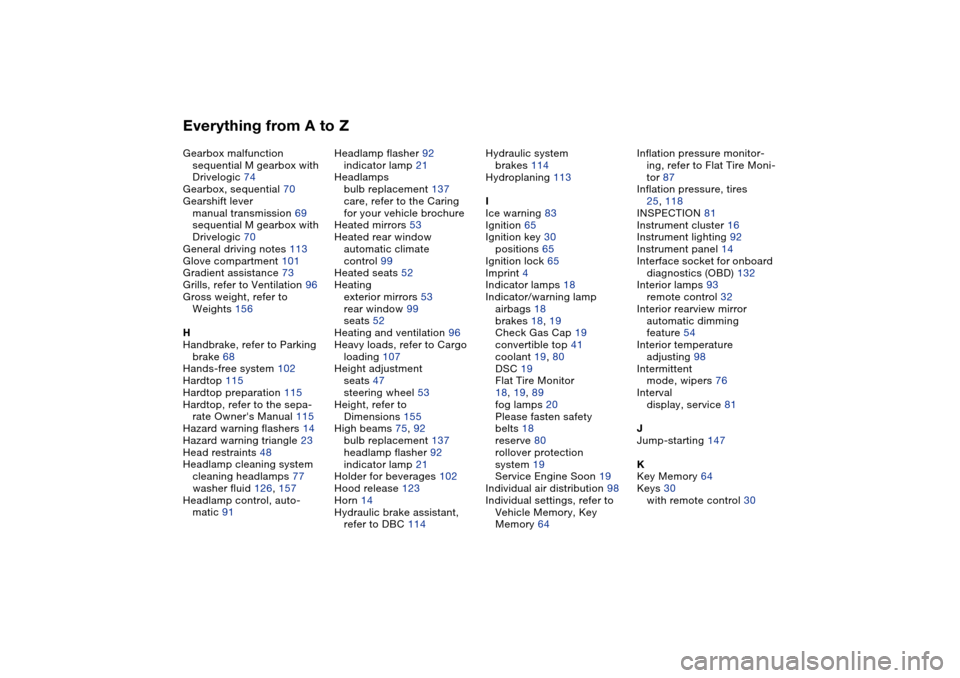
Everything from A to ZGearbox malfunction
sequential M gearbox with
Drivelogic 74
Gearbox, sequential 70
Gearshift lever
manual transmission 69
sequential M gearbox with
Drivelogic 70
General driving notes 113
Glove compartment 101
Gradient assistance 73
Grills, refer to Ventilation 96
Gross weight, refer to
Weights 156
H
Handbrake, refer to Parking
brake 68
Hands-free system 102
Hardtop 115
Hardtop preparation 115
Hardtop, refer to the sepa-
rate Owner's Manual 115
Hazard warning flashers 14
Hazard warning triangle 23
Head restraints 48
Headlamp cleaning system
cleaning headlamps 77
washer fluid 126, 157
Headlamp control, auto-
matic 91Headlamp flasher 92
indicator lamp 21
Headlamps
bulb replacement 137
care, refer to the Caring
for your vehicle brochure
Heated mirrors 53
Heated rear window
automatic climate
control 99
Heated seats 52
Heating
exterior mirrors 53
rear window 99
seats 52
Heating and ventilation 96
Heavy loads, refer to Cargo
loading 107
Height adjustment
seats 47
steering wheel 53
Height, refer to
Dimensions 155
High beams 75, 92
bulb replacement 137
headlamp flasher 92
indicator lamp 21
Holder for beverages 102
Hood release 123
Horn 14
Hydraulic brake assistant,
refer to DBC 114Hydraulic system
brakes 114
Hydroplaning 113
I
Ice warning 83
Ignition 65
Ignition key 30
positions 65
Ignition lock 65
Imprint 4
Indicator lamps 18
Indicator/warning lamp
airbags 18
brakes 18, 19
Check Gas Cap 19
convertible top 41
coolant 19, 80
DSC 19
Flat Tire Monitor
18, 19, 89
fog lamps 20
Please fasten safety
belts 18
reserve 80
rollover protection
system 19
Service Engine Soon 19
Individual air distribution 98
Individual settings, refer to
Vehicle Memory, Key
Memory 64Inflation pressure monitor-
ing, refer to Flat Tire Moni-
tor 87
Inflation pressure, tires
25, 118
INSPECTION 81
Instrument cluster 16
Instrument lighting 92
Instrument panel 14
Interface socket for onboard
diagnostics (OBD) 132
Interior lamps 93
remote control 32
Interior rearview mirror
automatic dimming
feature 54
Interior temperature
adjusting 98
Intermittent
mode, wipers 76
Interval
display, service 81
J
Jump-starting 147
K
Key Memory 64
Keys 30
with remote control 30
Page 166 of 174
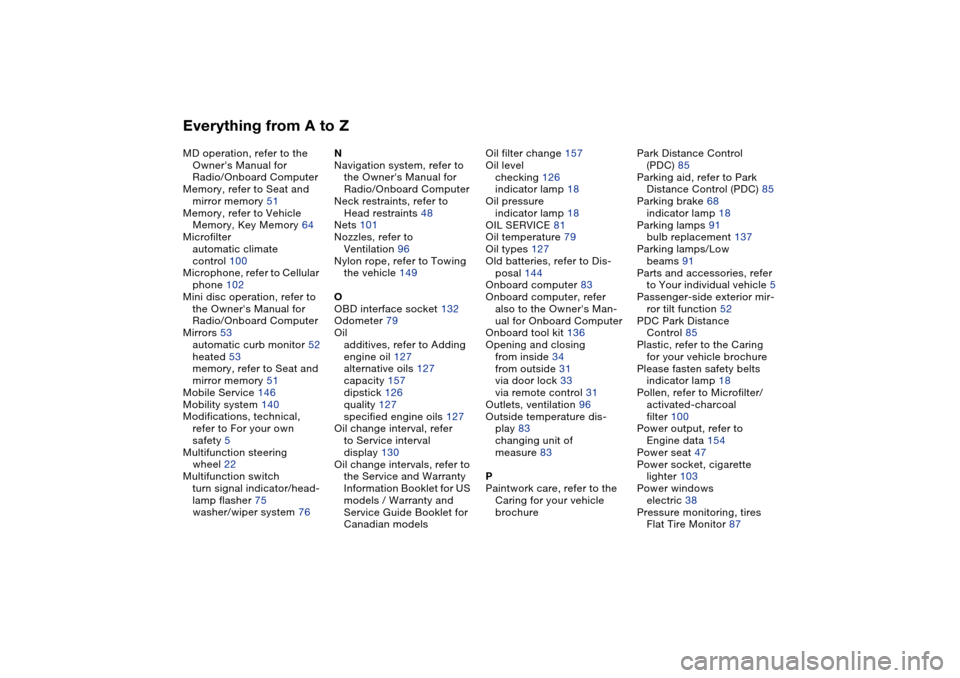
Everything from A to ZMD operation, refer to the
Owner's Manual for
Radio/Onboard Computer
Memory, refer to Seat and
mirror memory 51
Memory, refer to Vehicle
Memory, Key Memory 64
Microfilter
automatic climate
control 100
Microphone, refer to Cellular
phone 102
Mini disc operation, refer to
the Owner's Manual for
Radio/Onboard Computer
Mirrors 53
automatic curb monitor 52
heated 53
memory, refer to Seat and
mirror memory 51
Mobile Service 146
Mobility system 140
Modifications, technical,
refer to For your own
safety 5
Multifunction steering
wheel 22
Multifunction switch
turn signal indicator/head-
lamp flasher 75
washer/wiper system 76N
Navigation system, refer to
the Owner's Manual for
Radio/Onboard Computer
Neck restraints, refer to
Head restraints 48
Nets 101
Nozzles, refer to
Ventilation 96
Nylon rope, refer to Towing
the vehicle 149
O
OBD interface socket 132
Odometer 79
Oil
additives, refer to Adding
engine oil 127
alternative oils 127
capacity 157
dipstick 126
quality 127
specified engine oils 127
Oil change interval, refer
to Service interval
display 130
Oil change intervals, refer to
the Service and Warranty
Information Booklet for US
models / Warranty and
Service Guide Booklet for
Canadian modelsOil filter change 157
Oil level
checking 126
indicator lamp 18
Oil pressure
indicator lamp 18
OIL SERVICE 81
Oil temperature 79
Oil types 127
Old batteries, refer to Dis-
posal 144
Onboard computer 83
Onboard computer, refer
also to the Owner's Man-
ual for Onboard Computer
Onboard tool kit 136
Opening and closing
from inside 34
from outside 31
via door lock 33
via remote control 31
Outlets, ventilation 96
Outside temperature dis-
play 83
changing unit of
measure 83
P
Paintwork care, refer to the
Caring for your vehicle
brochurePark Distance Control
(PDC) 85
Parking aid, refer to Park
Distance Control (PDC) 85
Parking brake 68
indicator lamp 18
Parking lamps 91
bulb replacement 137
Parking lamps/Low
beams 91
Parts and accessories, refer
to Your individual vehicle 5
Passenger-side exterior mir-
ror tilt function 52
PDC Park Distance
Control 85
Plastic, refer to the Caring
for your vehicle brochure
Please fasten safety belts
indicator lamp 18
Pollen, refer to Microfilter/
activated-charcoal
filter 100
Power output, refer to
Engine data 154
Power seat 47
Power socket, cigarette
lighter 103
Power windows
electric 38
Pressure monitoring, tires
Flat Tire Monitor 87