tire pressure BMW M3 CONVERTIBLE 2004 E46 Owner's Manual
[x] Cancel search | Manufacturer: BMW, Model Year: 2004, Model line: M3 CONVERTIBLE, Model: BMW M3 CONVERTIBLE 2004 E46Pages: 174, PDF Size: 2.67 MB
Page 8 of 174
Contents
Notes
About this Owner's Manual4
Additional sources of
information4
Symbols used4
Your individual vehicle5
Status at time of printing5
For your own safety5
Symbol on vehicle parts6
Service and warranty7
Reporting safety defects7
Overview
Cockpit14
Instrument cluster16
Indicator and warning lamps18
Buttons in steering wheel22
Hazard warning triangle*23
First-aid kit*23
Refueling24
Fuel specifications25
Tire inflation pressure25
Controls and features
Opening and closing:
Keys30
Central locking system30
Opening and closing – via the
remote control31
Opening and closing – via the
door lock33
Opening and closing – from the
inside34
Luggage compartment lid35
Luggage compartment37
Electric power windows38
Convertible top39
Wind deflector*44
To adjust:
Safe seating position46
Seats47
Power seat adjustment47
Head restraints48
Entering the rear49
Safety belts50
Seat and mirror memory51
Seat heating*52
Steering wheel53
Mirrors53
Passenger safety systems:
Airbags55
Transporting children safely58
Rollover protection system62
Vehicle Memory, Key
Memory64
Page 9 of 174
Contents
9
Driving:
Ignition lock65
Starting the engine and driving
off66
Switching off the engine68
Parking brake68
Manual transmission69
Sequential M gearbox with
Drivelogic*70
Turn signal indicator/Headlamp
flasher75
Washer/wiper system/Rain
sensor*76
Cruise control77
Everything under control:
Odometer79
Tachometer79
Engine oil temperature79
Fuel gauge80
Engine coolant temperature
gauge80
Service interval display81
Check Control81
Clock82
Computer83
Technology for safety and
driving convenience:
Park Distance Control (PDC)*85
Dynamic Stability Control
DSC86
Flat Tire Monitor87
M Engine dynamics control90
Brake force display90
Lamps:
Parking lamps/Low beams91
Instrument lighting92
High beams/Standing lamps92
Fog lamps93
Interior lamps93
Reading lamps93
Controlling the climate for
pleasant driving:
Automatic climate control96
Interior conveniences:
Glove compartment101
Storage compartments101
Cellular phone*102
Ashtray, front*103
Ashtray, rear*103
Loading and transporting:
Ski bag*104
Cargo loading106
Roof-mounted luggage rack for
the hardtop*108
Operation, maintenance
Special operating instructions:
Break-in procedures112
General driving notes113
Antilock Brake System
(ABS)114
Brake system114
Hardtop*115
Wheels and tires:
Tire inflation pressure118
Tire condition118
Tire replacement119
Wheel and tire
combinations121
Winter tires122
Snow chains*122
In the engine compartment:
Hood123
Engine compartment
essentials124
Washer fluids126
Engine oil126
Coolant128
Brake fluid129
Maintenance:
The BMW Maintenance
System130
Laws and regulations:
California Proposition 65
warning132
OBD interface socket132
Controls and features
Page 18 of 174
18
Indicator and warning lamps
Technology that monitors itself
Indicator and warning lamps that are
identified by
●
are tested for proper
functioning whenever the ignition key is
turned. They each light up once for dif-
ferent periods of time.
If a fault should occur in one of these
systems, the corresponding lamp does
not go out after the engine is started, or
it lights up while the vehicle is moving.
You will see how to react to this below.
Red: stop immediately
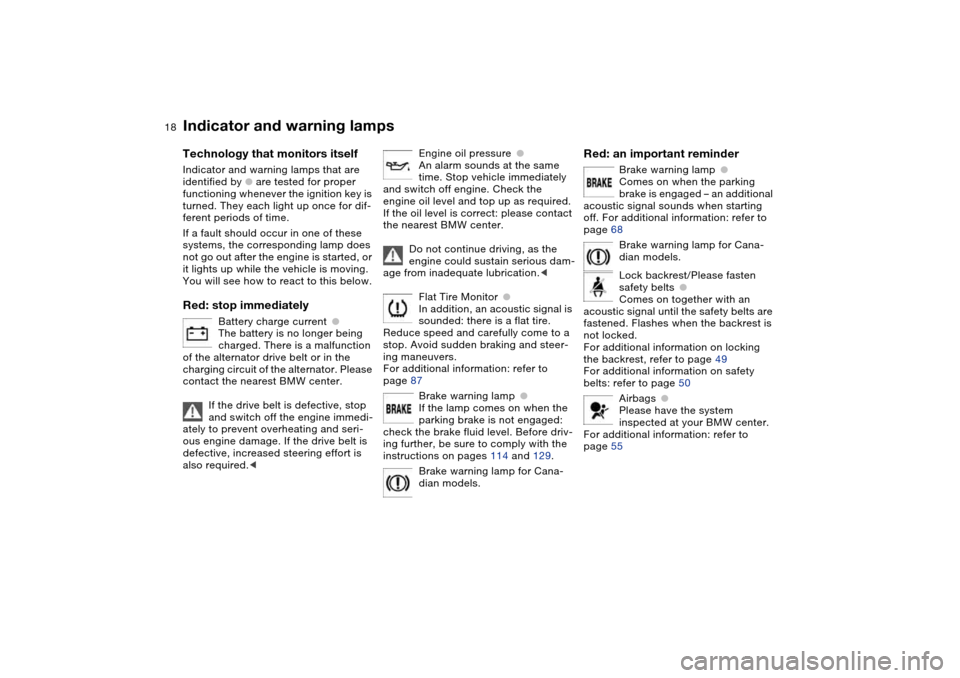
Battery charge current
●
The battery is no longer being
charged. There is a malfunction
of the alternator drive belt or in the
charging circuit of the alternator. Please
contact the nearest BMW center.
If the drive belt is defective, stop
and switch off the engine immedi-
ately to prevent overheating and seri-
ous engine damage. If the drive belt is
defective, increased steering effort is
also required.
<
Engine oil pressure
●
An alarm sounds at the same
time. Stop vehicle immediately
and switch off engine. Check the
engine oil level and top up as required.
If the oil level is correct: please contact
the nearest BMW center.
Do not continue driving, as the
engine could sustain serious dam-
age from inadequate lubrication.
<
Flat Tire Monitor
●
In addition, an acoustic signal is
sounded: there is a flat tire.
Reduce speed and carefully come to a
stop. Avoid sudden braking and steer-
ing maneuvers.
For additional information: refer to
page 87
Brake warning lamp
●
If the lamp comes on when the
parking brake is not engaged:
check the brake fluid level. Before driv-
ing further, be sure to comply with the
instructions on pages 114 and 129.
Brake warning lamp for Cana-
dian models.
Red: an important reminder
Brake warning lamp
●
Comes on when the parking
brake is engaged – an additional
acoustic signal sounds when starting
off. For additional information: refer to
page 68
Brake warning lamp for Cana-
dian models.
Lock backrest/Please fasten
safety belts
●
Comes on together with an
acoustic signal until the safety belts are
fastened. Flashes when the backrest is
not locked.
For additional information on locking
the backrest, refer to page 49
For additional information on safety
belts: refer to page 50
Airbags
●
Please have the system
inspected at your BMW center.
For additional information: refer to
page 55
Page 25 of 174
25
Close the gas cap carefully after
refueling until a click is heard.
While closing, be sure not to squeeze
the strap which is fastened to the cap.
A loose or missing cap will activate the
CHECK GAS CAP* lamp.<
Fuel tank capacity>Approx. 16.6 gal./63 liters, of which
>approx. 2.1 gal./8 liters are reserve
capacity.
Do not drive to the last drop of
fuel. This can prevent the engine
from operating properly and result in
damage.<
Fuel specificationsThe engine uses lead-free gasoline
only.
Required fuel:
>Premium Unleaded Gasoline,
min. 91 AKI.
AKI = Anti Knock Index
Never use leaded fuel, as it would
cause permanent and irreversible
damage to the oxygen sensor and the
catalytic converter.<
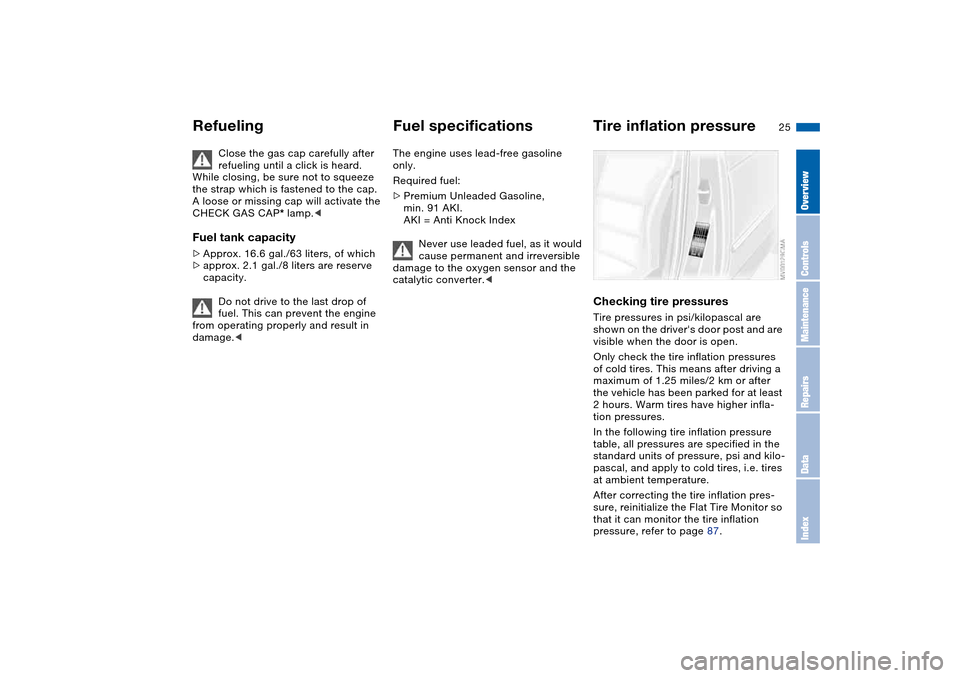
Tire inflation pressureChecking tire pressuresTire pressures in psi/kilopascal are
shown on the driver's door post and are
visible when the door is open.
Only check the tire inflation pressures
of cold tires. This means after driving a
maximum of 1.25 miles/2 km or after
the vehicle has been parked for at least
2 hours. Warm tires have higher infla-
tion pressures.
In the following tire inflation pressure
table, all pressures are specified in the
standard units of pressure, psi and kilo-
pascal, and apply to cold tires, i.e. tires
at ambient temperature.
After correcting the tire inflation pres-
sure, reinitialize the Flat Tire Monitor so
that it can monitor the tire inflation
pressure, refer to page 87.
Refueling
OverviewControlsMaintenanceRepairsDataIndex
Page 26 of 174
26
Check the tire pressures on a reg-
ular basis – at least twice a month
– and before every extended journey. If
this is not done, incorrect tire pressures
can cause driving instability and tire
damage, ultimately resulting in acci-
dents.<
Comply with tire approval
specificationsThe inflation pressures in the table
apply to BMW-approved tire sizes and
tire manufacturers. Your BMW center
will be glad to supply this information.
Other pressures may be required for
tires made by other manufacturers.
Your vehicle is equipped with tires
which not only meet US standards, but
also European standards. We recom-
mend the exclusive use of BMW
approved tires.Tire inflation pressure
Page 27 of 174
27
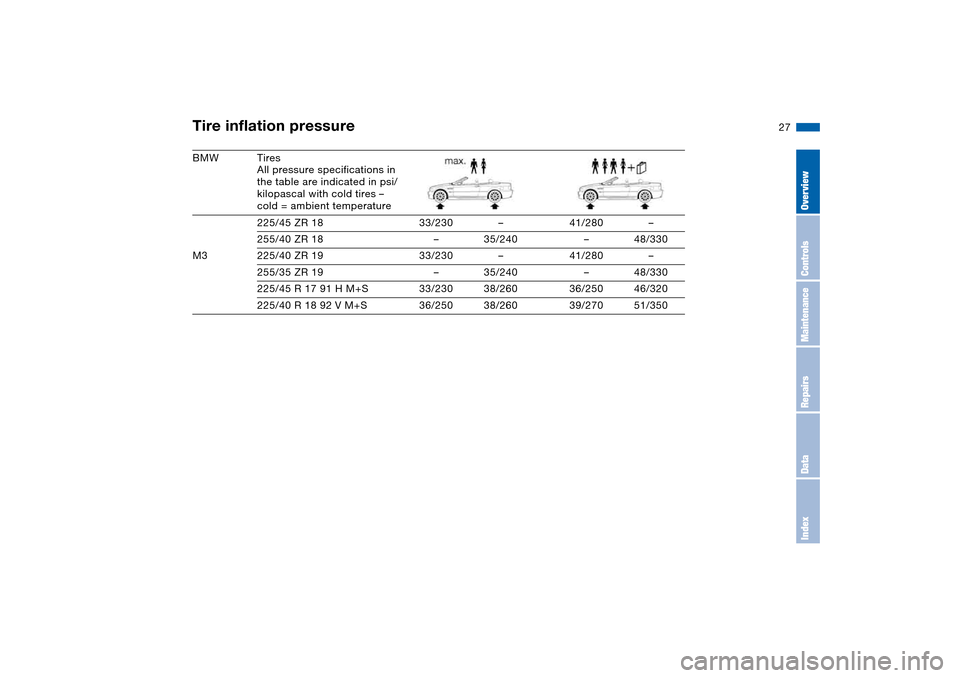
BMW Tires
All pressure specifications in
the table are indicated in psi/
kilopascal with cold tires –
cold = ambient temperature
225/45 ZR 18 33/230 – 41/280 –
255/40 ZR 18 – 35/240 – 48/330
M3 225/40 ZR 19 33/230 – 41/280 –
255/35 ZR 19 – 35/240 – 48/330
225/45 R 17 91 H M+S 33/230 38/260 36/250 46/320
225/40 R 18 92 V M+S 36/250 38/260 39/270 51/350Tire inflation pressure
OverviewControlsMaintenanceRepairsDataIndex
Page 87 of 174
87
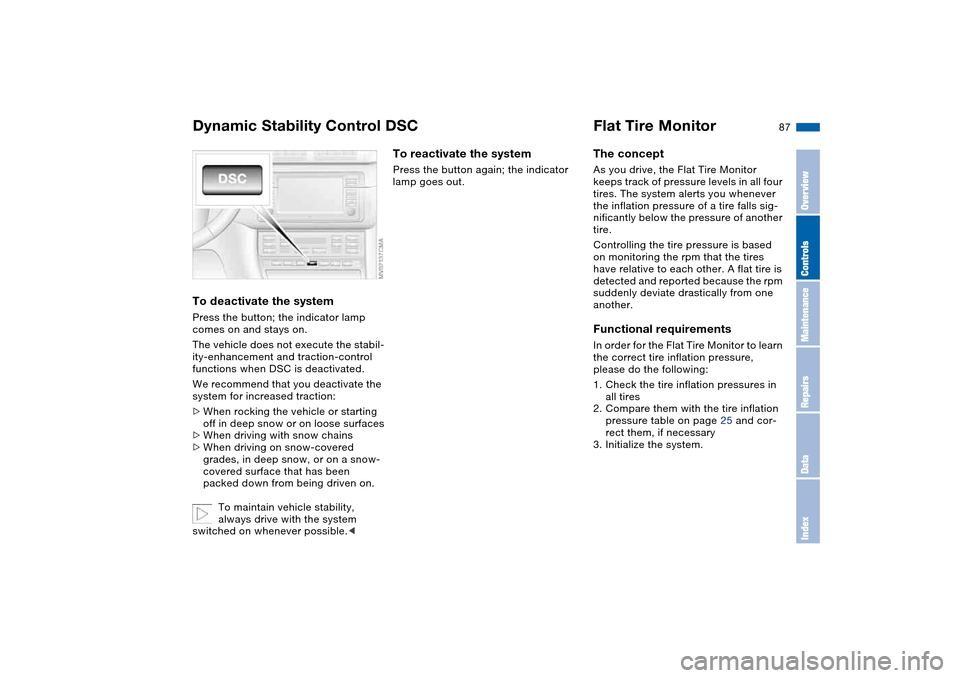
To deactivate the systemPress the button; the indicator lamp
comes on and stays on.
The vehicle does not execute the stabil-
ity-enhancement and traction-control
functions when DSC is deactivated.
We recommend that you deactivate the
system for increased traction:
>When rocking the vehicle or starting
off in deep snow or on loose surfaces
>When driving with snow chains
>When driving on snow-covered
grades, in deep snow, or on a snow-
covered surface that has been
packed down from being driven on.
To maintain vehicle stability,
always drive with the system
switched on whenever possible.<
To reactivate the systemPress the button again; the indicator
lamp goes out.
Flat Tire MonitorThe conceptAs you drive, the Flat Tire Monitor
keeps track of pressure levels in all four
tires. The system alerts you whenever
the inflation pressure of a tire falls sig-
nificantly below the pressure of another
tire.
Controlling the tire pressure is based
on monitoring the rpm that the tires
have relative to each other. A flat tire is
detected and reported because the rpm
suddenly deviate drastically from one
another.Functional requirementsIn order for the Flat Tire Monitor to learn
the correct tire inflation pressure,
please do the following:
1. Check the tire inflation pressures in
all tires
2. Compare them with the tire inflation
pressure table on page 25 and cor-
rect them, if necessary
3. Initialize the system.
Dynamic Stability Control DSC
OverviewControlsMaintenanceRepairsDataIndex
Page 88 of 174
88
System limitations
The Flat Tire Monitor cannot pro-
vide you with advance warning of
sudden and severe tire damage caused
by external factors and does not detect
the balanced and very gradual pressure
loss that takes place in all four tires
over an extended period of time.<
On the other hand, the following situa-
tions can lead to a delayed detection of
pressure loss and even to the system
not functioning:
>Driving on snow-covered or slippery
roads
>Performance-oriented driving: slip at
the drive wheels, high levels of lateral
acceleration
>When driving with snow chains, false
warnings and undetected pressure
losses may occur.
Initializing the system
Each time you correct the pres-
sure in a tire, or change a wheel or
tire, reinitialize the system immediately
afterwards. This requires a bit of driv-
ing.<
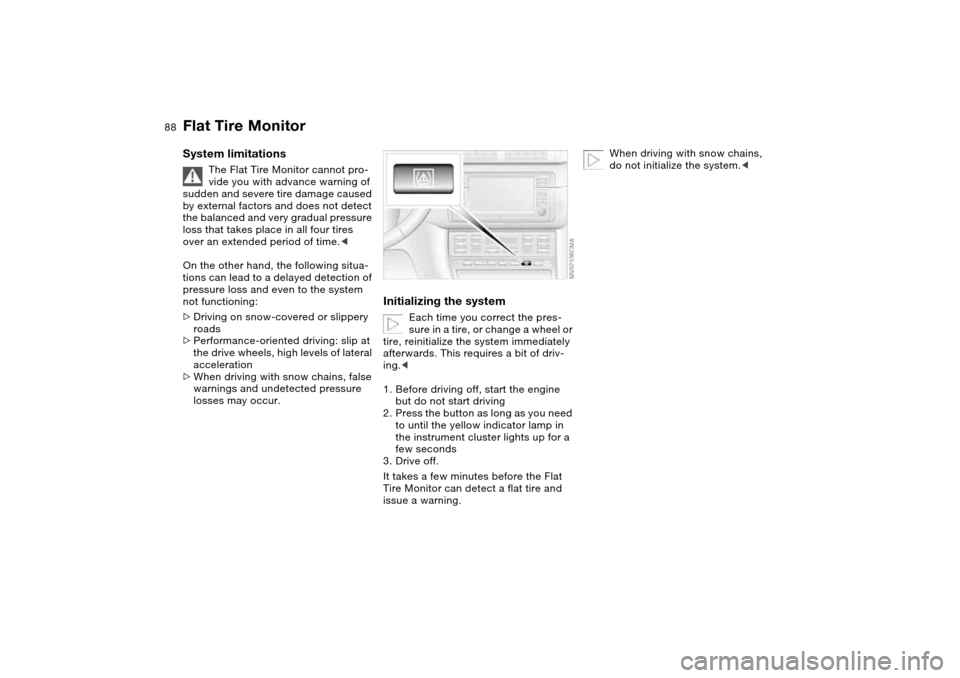
1. Before driving off, start the engine
but do not start driving
2. Press the button as long as you need
to until the yellow indicator lamp in
the instrument cluster lights up for a
few seconds
3. Drive off.
It takes a few minutes before the Flat
Tire Monitor can detect a flat tire and
issue a warning.
When driving with snow chains,
do not initialize the system.<
Flat Tire Monitor
Page 89 of 174
89
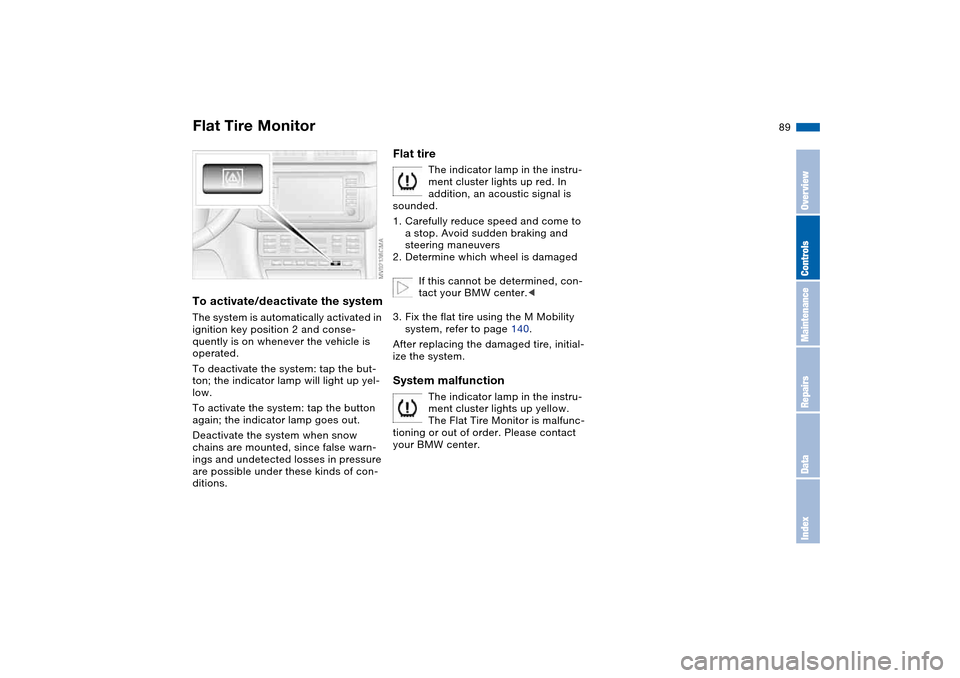
To activate/deactivate the systemThe system is automatically activated in
ignition key position 2 and conse-
quently is on whenever the vehicle is
operated.
To deactivate the system: tap the but-
ton; the indicator lamp will light up yel-
low.
To activate the system: tap the button
again; the indicator lamp goes out.
Deactivate the system when snow
chains are mounted, since false warn-
ings and undetected losses in pressure
are possible under these kinds of con-
ditions.
Flat tire
The indicator lamp in the instru-
ment cluster lights up red. In
addition, an acoustic signal is
sounded.
1. Carefully reduce speed and come to
a stop. Avoid sudden braking and
steering maneuvers
2. Determine which wheel is damaged
If this cannot be determined, con-
tact your BMW center.<
3. Fix the flat tire using the M Mobility
system, refer to page 140.
After replacing the damaged tire, initial-
ize the system.
System malfunction
The indicator lamp in the instru-
ment cluster lights up yellow.
The Flat Tire Monitor is malfunc-
tioning or out of order. Please contact
your BMW center.
Flat Tire Monitor
OverviewControlsMaintenanceRepairsDataIndex
Page 106 of 174
106
Cargo loading
Avoid overloading the vehicle so
that the permitted load on the tires
is not exceeded. Overloading can lead
to overheating and internal tire damage.
This can result in a sudden loss of tire
inflation pressure.<
Determining the maximum load1. Locate the following statement on
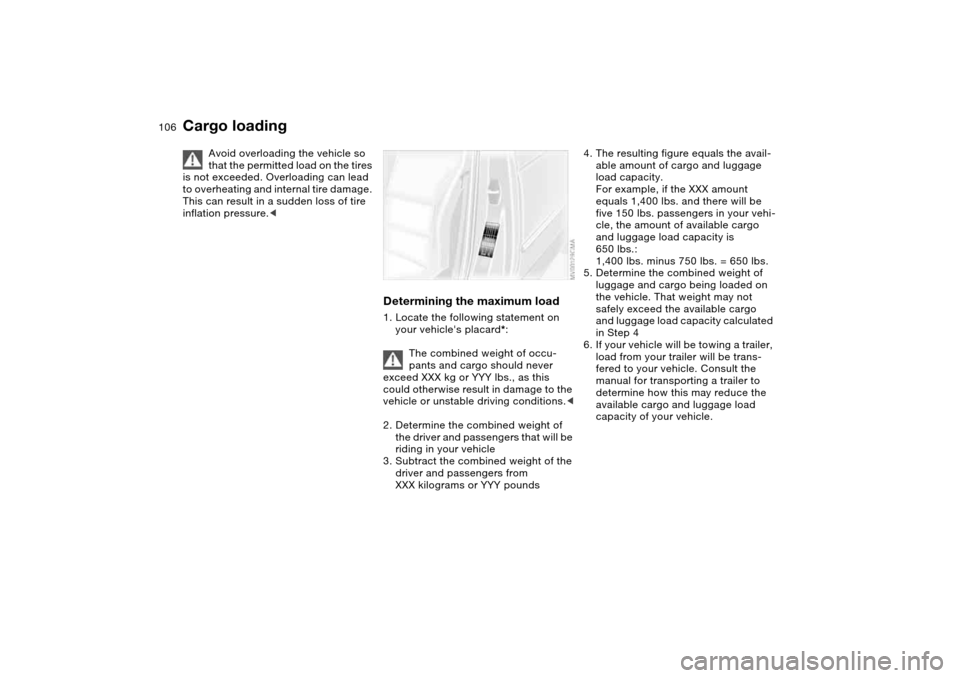
your vehicle's placard*:
The combined weight of occu-
pants and cargo should never
exceed XXX kg or YYY lbs., as this
could otherwise result in damage to the
vehicle or unstable driving conditions.<
2. Determine the combined weight of
the driver and passengers that will be
riding in your vehicle
3. Subtract the combined weight of the
driver and passengers from
XXX kilograms or YYY pounds
4. The resulting figure equals the avail-
able amount of cargo and luggage
load capacity.
For example, if the XXX amount
equals 1,400 lbs. and there will be
five 150 lbs. passengers in your vehi-
cle, the amount of available cargo
and luggage load capacity is
650 lbs.:
1,400 lbs. minus 750 lbs. = 650 lbs.
5. Determine the combined weight of
luggage and cargo being loaded on
the vehicle. That weight may not
safely exceed the available cargo
and luggage load capacity calculated
in Step 4
6. If your vehicle will be towing a trailer,
load from your trailer will be trans-
fered to your vehicle. Consult the
manual for transporting a trailer to
determine how this may reduce the
available cargo and luggage load
capacity of your vehicle.