engine BMW M3 CONVERTIBLE 2006 E46 Owner's Guide
[x] Cancel search | Manufacturer: BMW, Model Year: 2006, Model line: M3 CONVERTIBLE, Model: BMW M3 CONVERTIBLE 2006 E46Pages: 174, PDF Size: 2.68 MB
Page 78 of 174
78
The speed stored in memory is deleted.To store and maintain speed or to
acceleratePress button + briefly:
The system maintains and stores the
current vehicle speed. Every time you
tap the button, the speed increases by
approx. 0.6 mph / 1 km/h.
Press and hold button +:
The vehicle accelerates without pres-
sure on the accelerator pedal. When
you release the button, the system
maintains and stores the current speed.
If on a downhill gradient the
engine braking effect is not suffi-
cient, the controlled speed can be
exceeded. Speed can drop on uphill
grades if the engine output is insuffi-
cient.<
To deceleratePress button – briefly:
If you are already driving with activated
cruise control, the speed is decreased
by approx. 0.6 mph / 1 km/h every time
you tap the button.
Press and hold button –:
With the cruise control active, the sys-
tem automatically reduces the throttle
opening to slow the vehicle. When you
release the button, the system main-
tains and stores the current speed.To interrupt the cruise controlWhen the system is activated, press the
button. The indicator lamp stays on.
You can use the cruise control again
whenever you want by calling up the
speed that was stored last.
In addition, cruise control is interrupted
automatically:
>When the brakes are applied
>When pressing down the clutch pedal
>If you exceed or fall below the pro-
grammed speed for an extended
period – by depressing the accelera-
tor, for example
>Sequential M gearbox with Drivel-
ogic, refer to page 70: when shifting
in the sequential mode.To recall the stored settingPress the button:
The vehicle accelerates to and main-
tains the last speed stored.
Cruise control
Page 79 of 174
79 Everything under control
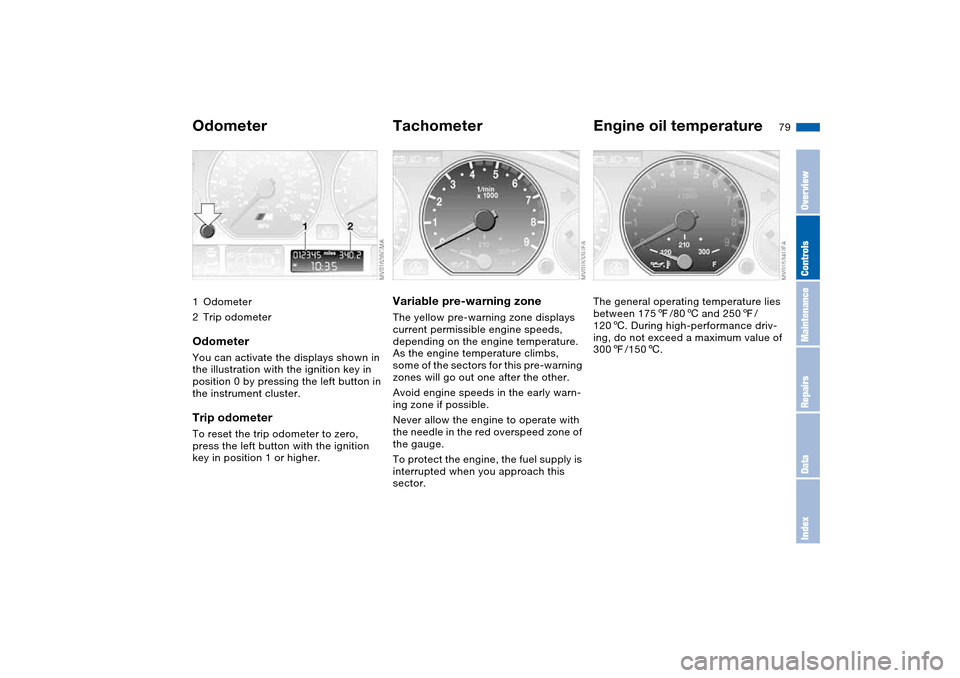
Odometer1Odometer
2Trip odometerOdometerYou can activate the displays shown in
the illustration with the ignition key in
position 0 by pressing the left button in
the instrument cluster.Trip odometerTo reset the trip odometer to zero,
press the left button with the ignition
key in position 1 or higher.
TachometerVariable pre-warning zoneThe yellow pre-warning zone displays
current permissible engine speeds,
depending on the engine temperature.
As the engine temperature climbs,
some of the sectors for this pre-warning
zones will go out one after the other.
Avoid engine speeds in the early warn-
ing zone if possible.
Never allow the engine to operate with
the needle in the red overspeed zone of
the gauge.
To protect the engine, the fuel supply is
interrupted when you approach this
sector.
Engine oil temperatureThe general operating temperature lies
between 1757/806 and 2507/
1206. During high-performance driv-
ing, do not exceed a maximum value of
3007/1506.
OverviewControlsMaintenanceRepairsDataIndex
Page 80 of 174
80
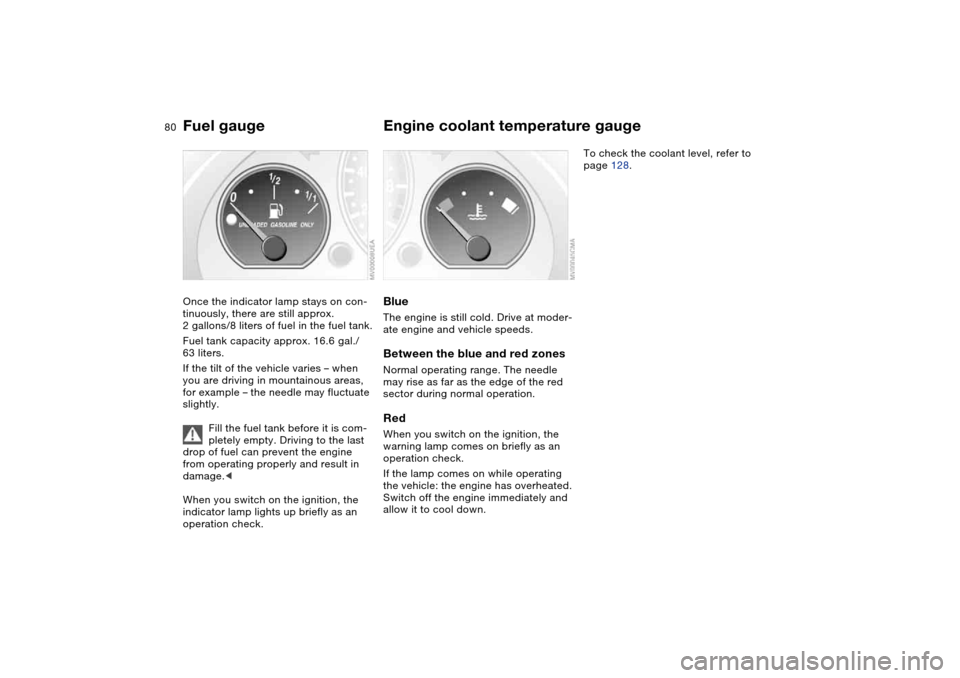
Fuel gaugeOnce the indicator lamp stays on con-
tinuously, there are still approx.
2 gallons/8 liters of fuel in the fuel tank.
Fuel tank capacity approx. 16.6 gal./
63 liters.
If the tilt of the vehicle varies – when
you are driving in mountainous areas,
for example – the needle may fluctuate
slightly.
Fill the fuel tank before it is com-
pletely empty. Driving to the last
drop of fuel can prevent the engine
from operating properly and result in
damage.<
When you switch on the ignition, the
indicator lamp lights up briefly as an
operation check.
Engine coolant temperature gaugeBlueThe engine is still cold. Drive at moder-
ate engine and vehicle speeds.Between the blue and red zonesNormal operating range. The needle
may rise as far as the edge of the red
sector during normal operation.RedWhen you switch on the ignition, the
warning lamp comes on briefly as an
operation check.
If the lamp comes on while operating
the vehicle: the engine has overheated.
Switch off the engine immediately and
allow it to cool down.
To check the coolant level, refer to
page 128.
Page 81 of 174
81
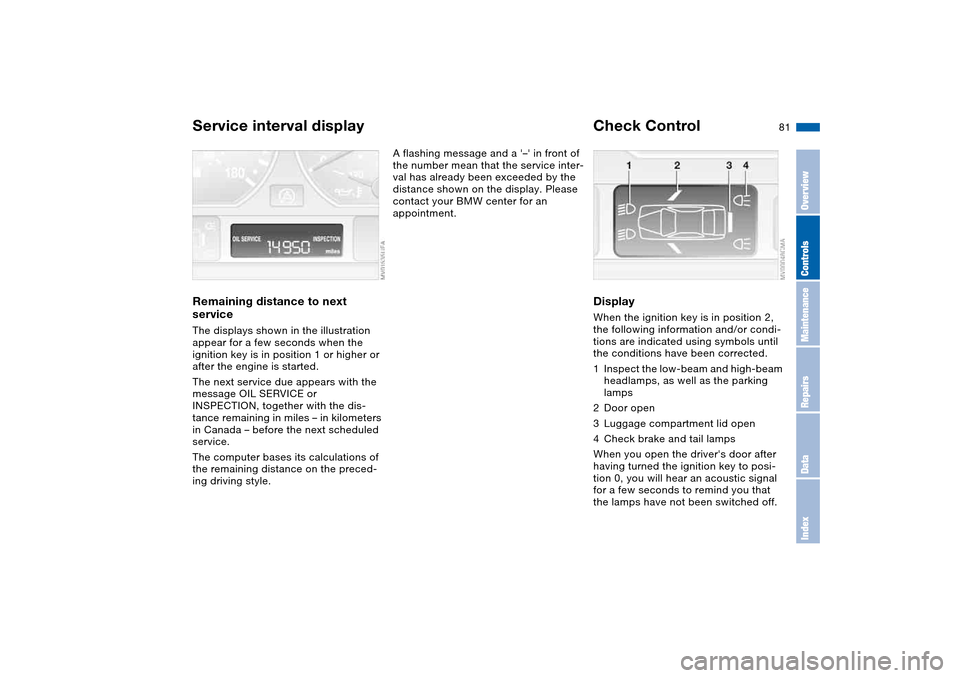
Service interval displayRemaining distance to next
serviceThe displays shown in the illustration
appear for a few seconds when the
ignition key is in position 1 or higher or
after the engine is started.
The next service due appears with the
message OIL SERVICE or
INSPECTION, together with the dis-
tance remaining in miles – in kilometers
in Canada – before the next scheduled
service.
The computer bases its calculations of
the remaining distance on the preced-
ing driving style.
A flashing message and a '–' in front of
the number mean that the service inter-
val has already been exceeded by the
distance shown on the display. Please
contact your BMW center for an
appointment.
Check ControlDisplayWhen the ignition key is in position 2,
the following information and/or condi-
tions are indicated using symbols until
the conditions have been corrected.
1Inspect the low-beam and high-beam
headlamps, as well as the parking
lamps
2Door open
3Luggage compartment lid open
4Check brake and tail lamps
When you open the driver's door after
having turned the ignition key to posi-
tion 0, you will hear an acoustic signal
for a few seconds to remind you that
the lamps have not been switched off.
OverviewControlsMaintenanceRepairsDataIndex
Page 84 of 174
84
After giving an ice warning, the
display returns to the previous
setting.<
The ice warning does not alter the
fact that surface ice can form at
temperatures above 37.57/+36, on
bridges or shaded road surfaces, for
instance.<
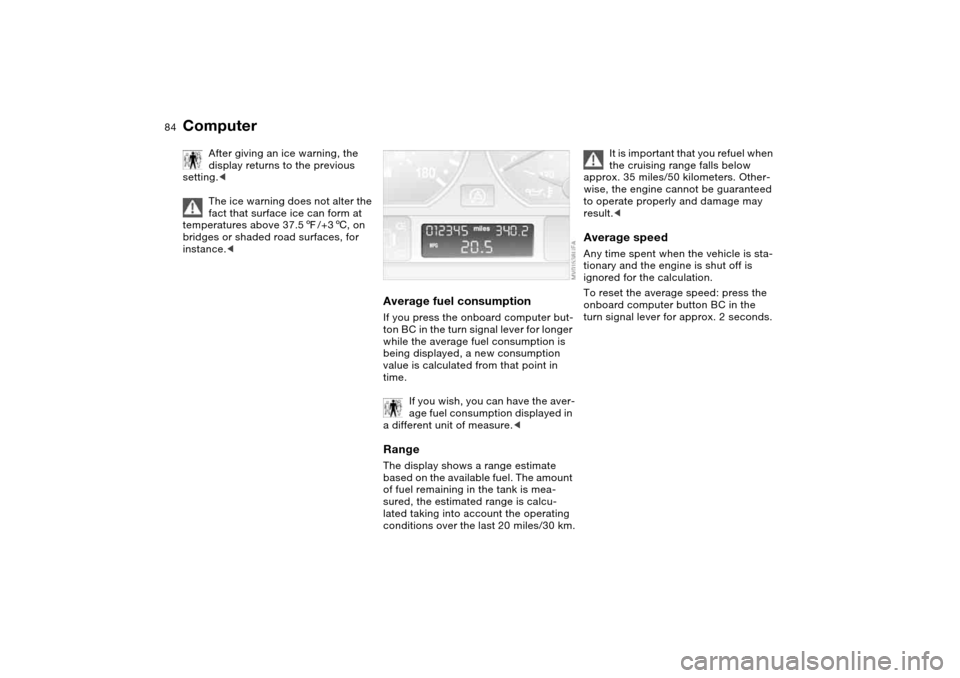
Average fuel consumptionIf you press the onboard computer but-
ton BC in the turn signal lever for longer
while the average fuel consumption is
being displayed, a new consumption
value is calculated from that point in
time.
If you wish, you can have the aver-
age fuel consumption displayed in
a different unit of measure.
of fuel remaining in the tank is mea-
sured, the estimated range is calcu-
lated taking into account the operating
conditions over the last 20 miles/30 km.
It is important that you refuel when
the cruising range falls below
approx. 35 miles/50 kilometers. Other-
wise, the engine cannot be guaranteed
to operate properly and damage may
result.<
Average speedAny time spent when the vehicle is sta-
tionary and the engine is shut off is
ignored for the calculation.
To reset the average speed: press the
onboard computer button BC in the
turn signal lever for approx. 2 seconds.
Computer
Page 86 of 174
86
Dynamic Stability Control DSCThe conceptDSC supports vehicle stability, even in
critical driving situations.
DSC optimizes driving stability and
traction during acceleration and when
you are starting from a standstill. In
addition, it also recognizes unstable
vehicle conditions, such as understeer-
ing and oversteering. By reducing
engine power and applying brakes at
the wheels, DSC helps to keep the
vehicle on a steady course within phys-
ically feasible limits.
The system starts up automatically
each time you start the engine.
The laws of physics cannot be
repealed, even with DSC. The
driver remains responsible for the con-
sequences of any inadequate driving
style. Therefore, do not take any risks
because of the additional safety pro-
vided. Do not make any modifications
to the DSC system. Allow only autho-
rized technicians to perform service
procedures on the DSC.<
Indicator lamp for DSC
The indicator lamp in the instru-
ment cluster will go out shortly
after the ignition has been
switched on, refer to page 20.
>The indicator lamp flashes: DSC is
active and is controlling the drive
torque based on driving conditions
>The indicator lamp does not go out
after the engine is started or lights up
continuously while you are driving:
DSC has been deactivated via the
button or is defective.
Please consult your BMW center for
repairs.
You can continue to drive the vehicle
normally without DSC. In the event of a
malfunction, contact a BMW center or a
workshop that works according to
BMW requirements with appropriately
trained personnel.
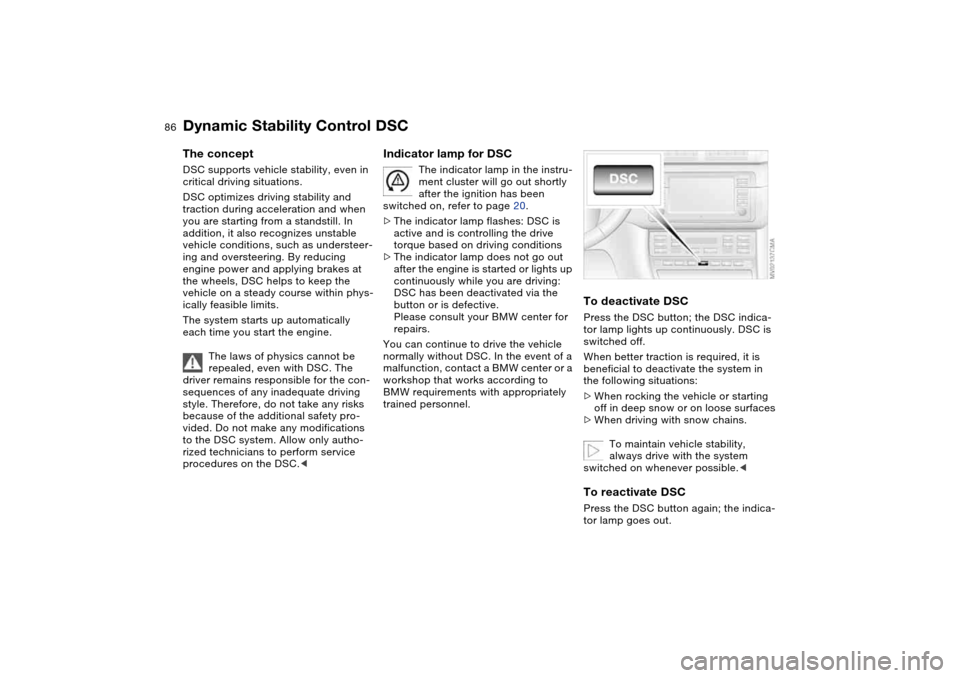
To deactivate DSCPress the DSC button; the DSC indica-
tor lamp lights up continuously. DSC is
switched off.
When better traction is required, it is
beneficial to deactivate the system in
the following situations:
>When rocking the vehicle or starting
off in deep snow or on loose surfaces
>When driving with snow chains.
To maintain vehicle stability,
always drive with the system
switched on whenever possible.
Page 87 of 174
87
Flat Tire MonitorThe conceptAs you drive, the Flat Tire Monitor
keeps track of pressure levels in all four
tires. The system alerts you whenever
the inflation pressure of a tire falls sig-
nificantly below the pressure of another
tire.
In the event of tire pressure loss, the
rolling radius of the tire changes, and
thereby the rotational speed of the
wheel. This change is detected, and a
flat tire warning is issued to the driver.Functional requirementsTo ensure a reliable flat tire warning,
the system must be initialized with the
correct tire inflation pressures.
Initialize the system immediately
after you have corrected a tire
inflation pressure, or changed the tire
or wheel.
vide you with advance warning of
sudden and severe tire damage caused
by external factors and does not detect
the balanced and very gradual pressure
loss that takes place in all four tires
over an extended period of time.<
The system could issue a false warning
or function in a delayed manner in the
following situations:
>System was not initialized
>You are driving on a snow-covered or
slippery road surface
>Performance-oriented driving: slip at
the drive wheels, high levels of lateral
acceleration
>You are driving with snow chains.Initializing the system
The initialization is completed
while you are driving, and can be
interrupted at any time. Initialization is
automatically continued when you con-
tinue driving. When driving with snow
chains, do not initialize the system.<
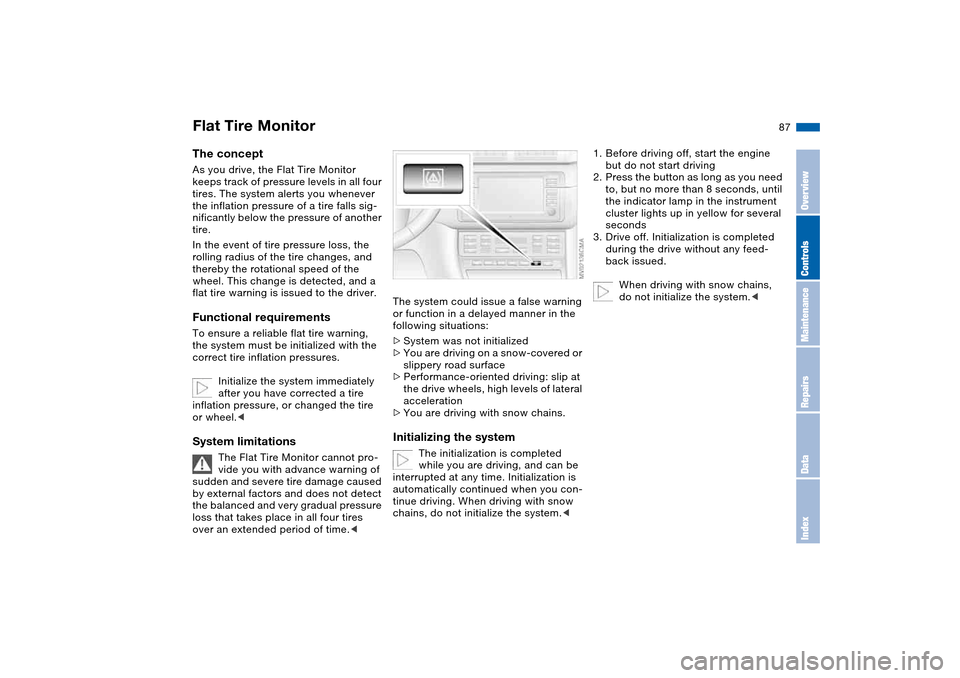
1. Before driving off, start the engine
but do not start driving
2. Press the button as long as you need
to, but no more than 8 seconds, until
the indicator lamp in the instrument
cluster lights up in yellow for several
seconds
3. Drive off. Initialization is completed
during the drive without any feed-
back issued.
When driving with snow chains,
do not initialize the system.<
OverviewControlsMaintenanceRepairsDataIndex
Page 89 of 174
89
M Engine dynamics controlThe system – Sport mode – will cause
the engine to respond more spontane-
ously to any motion of the accelerator
pedal.Activating/deactivating Sport
modeActivating: with the ignition key in posi-
tion 2, press the SPORT button. The
indicator lamp will come on.
When the system is activated, the
vehicle may gain speed without
any additional pressure on the acceler-
ator pedal.<
Deactivating: press the SPORT button
again; the indicator lamp will go out.
The Sport mode is deactivated every
time the engine is started.
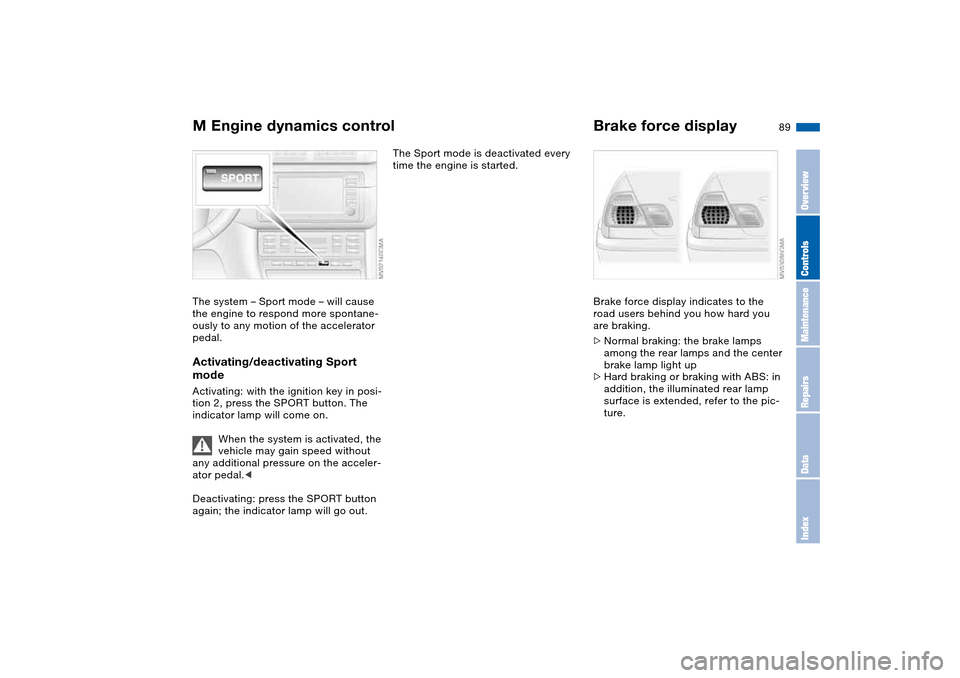
Brake force displayBrake force display indicates to the
road users behind you how hard you
are braking.
>Normal braking: the brake lamps
among the rear lamps and the center
brake lamp light up
>Hard braking or braking with ABS: in
addition, the illuminated rear lamp
surface is extended, refer to the pic-
ture.
OverviewControlsMaintenanceRepairsDataIndex
Page 91 of 174
91
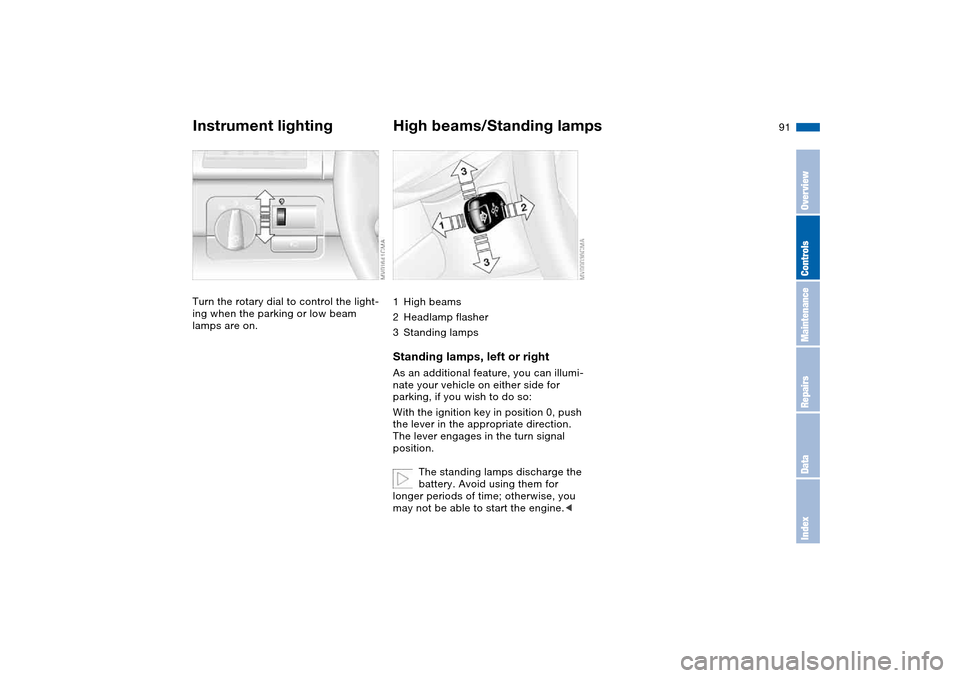
Instrument lightingTurn the rotary dial to control the light-
ing when the parking or low beam
lamps are on.
High beams/Standing lamps1High beams
2Headlamp flasher
3Standing lampsStanding lamps, left or rightAs an additional feature, you can illumi-
nate your vehicle on either side for
parking, if you wish to do so:
With the ignition key in position 0, push
the lever in the appropriate direction.
The lever engages in the turn signal
position.
The standing lamps discharge the
battery. Avoid using them for
longer periods of time; otherwise, you
may not be able to start the engine.<
OverviewControlsMaintenanceRepairsDataIndex
Page 96 of 174
96
Tips for pleasant drivingUse the automatic mode – switch on
with AUTO button 6. Select the desired
interior temperature.
Detailed setting options are described
for you in the following sections.
You can make the settings of your
vehicle in such a manner that,
when you unlock the vehicle with the
remote control of your personal key,
your own personalized setting for the
automatic climate control is initiated.
air supply and the air distribu-
tion to the windshield and the side win-
dows, towards the upper body and to
the footwells, and in addition adapts
the temperature to external influences:
e.g. summer, winter.
The cooling function is automatically
switched on when you are using the
AUTO program.
Individual air distribution
You can cancel the AUTO pro-
gram by selecting specific dis-
tribution patterns to suit your
own individual requirements.
While the AUTO program is then deacti-
vated, the automatic airflow control
remains in operation. Air flows onto
the windows , toward the upper
body , and into the footwell . You
can reactivate the automatic air supply
by pressing the AUTO button.Temperature
The interior temperature that
appears in the display panel is a
general figure intended for refer-
ence purposes. We recommend
727/+226 as a comfortable setting,
even if the air conditioning is on. When
you start the vehicle, the system
ensures that the selected temperature
is reached as quickly as possible. It
then maintains this temperature,
regardless of the season.
To select the units of measure 7/6
of the display, refer to page 83.
Air supply/Blower
By pressing the upper or lower
button, you can vary the air sup-
ply. This deactivates the auto-
matic air supply – the AUTO display dis-
appears from the panel. Nevertheless,
the automatic air distribution remains
unchanged. You can reactivate the
automatic air supply by pressing the
AUTO button.
When the lowest blower speed is set
and you press the lower button, all of
the displays are canceled: the blower,
heating and air conditioner are
switched off, and the air supply is
stopped. You can reactivate the system
by pressing any button for the auto-
matic climate control.To defrost windows and remove
condensation
This program quickly removes
ice and condensation from the
windshield and the side windows.
Air conditioning
The air is cooled and dehumidi-
fied and – depending on the
temperature setting – rewarmed.
Depending on the weather, the wind-
shield may fog over briefly when the
engine is started. Air conditioning helps
prevent the windows from fogging up.
The cooling function is automatically
switched on when you are using the
AUTO program.
Automatic climate control