sensor BMW M3 CONVERTIBLE 2006 E46 Owner's Manual
[x] Cancel search | Manufacturer: BMW, Model Year: 2006, Model line: M3 CONVERTIBLE, Model: BMW M3 CONVERTIBLE 2006 E46Pages: 174, PDF Size: 2.68 MB
Page 9 of 174
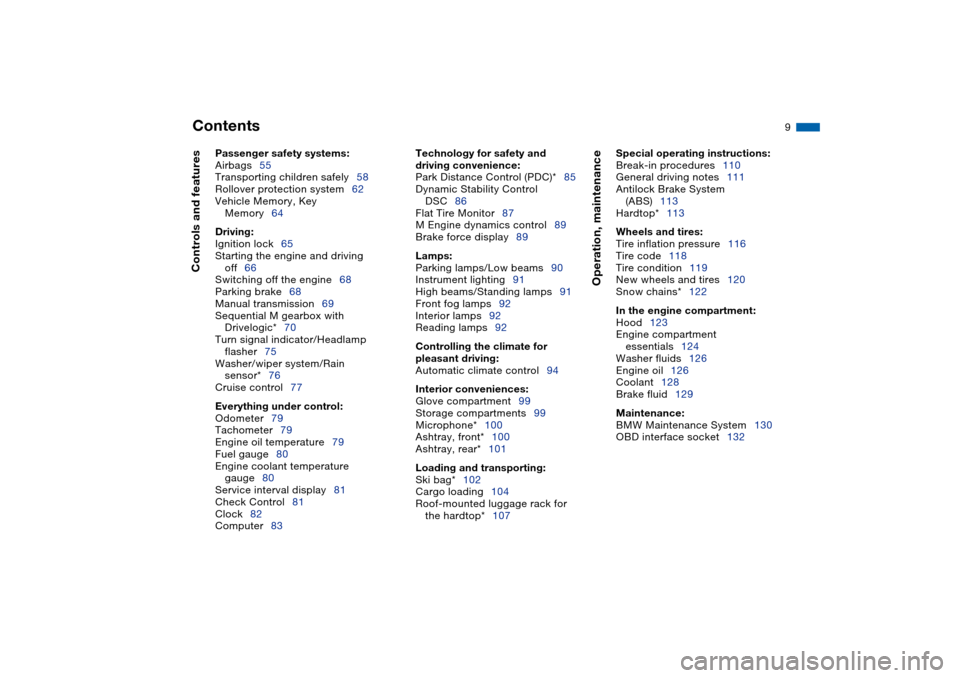
Contents
9
Passenger safety systems:
Airbags55
Transporting children safely58
Rollover protection system62
Vehicle Memory, Key
Memory64
Driving:
Ignition lock65
Starting the engine and driving
off66
Switching off the engine68
Parking brake68
Manual transmission69
Sequential M gearbox with
Drivelogic*70
Turn signal indicator/Headlamp
flasher75
Washer/wiper system/Rain
sensor*76
Cruise control77
Everything under control:
Odometer79
Tachometer79
Engine oil temperature79
Fuel gauge80
Engine coolant temperature
gauge80
Service interval display81
Check Control81
Clock82
Computer83
Technology for safety and
driving convenience:
Park Distance Control (PDC)*85
Dynamic Stability Control
DSC86
Flat Tire Monitor87
M Engine dynamics control89
Brake force display89
Lamps:
Parking lamps/Low beams90
Instrument lighting91
High beams/Standing lamps91
Front fog lamps92
Interior lamps92
Reading lamps92
Controlling the climate for
pleasant driving:
Automatic climate control94
Interior conveniences:
Glove compartment99
Storage compartments99
Microphone*100
Ashtray, front*100
Ashtray, rear*101
Loading and transporting:
Ski bag*102
Cargo loading104
Roof-mounted luggage rack for
the hardtop*107
Operation, maintenance
Special operating instructions:
Break-in procedures110
General driving notes111
Antilock Brake System
(ABS)113
Hardtop*113
Wheels and tires:
Tire inflation pressure116
Tire code118
Tire condition119
New wheels and tires120
Snow chains*122
In the engine compartment:
Hood123
Engine compartment
essentials124
Washer fluids126
Engine oil126
Coolant128
Brake fluid129
Maintenance:
BMW Maintenance System130
OBD interface socket132
Controls and features
Page 15 of 174
15
1Parking lamps/Low beams90
2
>
Turn signal indicators75
>
Standing lamps91
>
High beams91
>
Headlamp flasher75
>
Computer83
3Washer/wiper system/Rain
sensor76
4Hazard warning flashers
5Rear window defroster97
6
>
Initiating an emergency call146
>
Mobile Service147
7Central locking system28
8Horn: the entire surface
9Steering wheel adjustment54
10 Fog lamps92
Cockpit
OverviewControlsMaintenanceRepairsDataIndex
Page 36 of 174
36
When opening the convertible top,
refer to page 39, make sure that
the convertible top compartment panel
is folded down in the luggage compart-
ment; otherwise you may damage
something.<
Alarm system*The conceptThe vehicle alarm system responds:
>When a door, the hood or the lug-
gage compartment lid are opened
>To movement inside the vehicle –
interior motion sensor
>To variations in the vehicle's tilt angle
such as those occurring during
attempts to steal the wheels or tow
the vehicle – tilt alarm sensor
>To interruption of battery voltage.
The system responds to unauthorized
vehicle entry and attempted theft by
simultaneously activating the following:
>The acoustic alarm sounds for
30 seconds
>The hazard warning flashers are acti-
vated for approx. five minutes
>Flashing the high beams on and off in
rhythm with the hazard warning flash-
ers.To arm and disarm the alarm
systemWhen the vehicle is locked or unlocked
via the remote control or the driver's
door lock, the alarm system is also
simultaneously armed or disarmed.You can have a signal set as con-
firmation that the alarm system
has been armed or disarmed.<
You can also open the luggage com-
partment lid when the system is armed
by pressing the button of the remote
control. When it is closed, the lid is
once again secured.
Extended pressure on the button sets
off the alarm – Panic mode, refer to
page 30.
Luggage compartment
Page 37 of 174
37
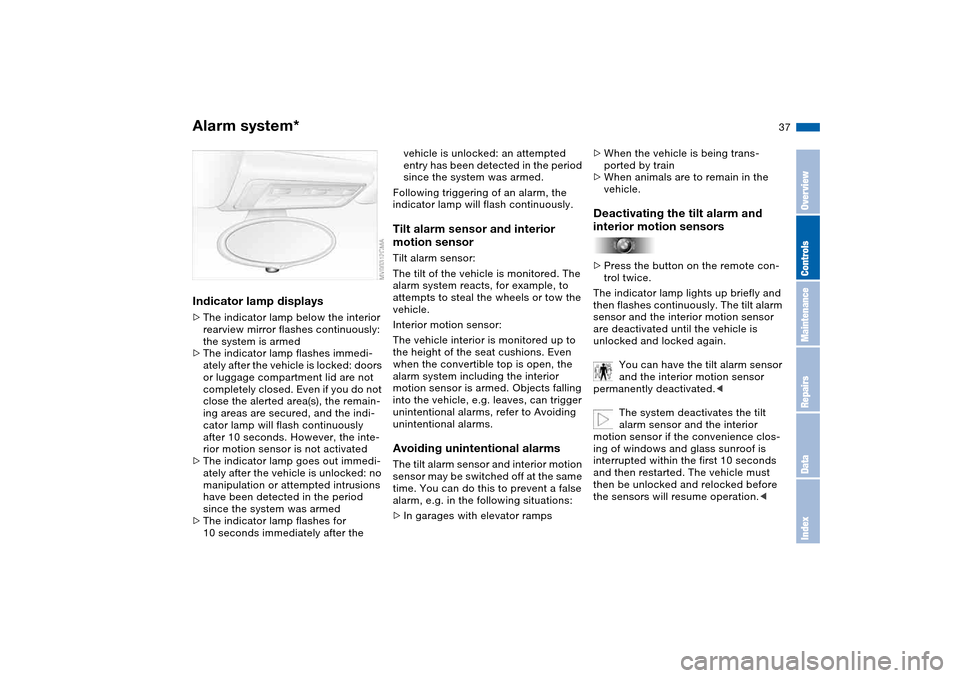
Indicator lamp displays>The indicator lamp below the interior
rearview mirror flashes continuously:
the system is armed
>The indicator lamp flashes immedi-
ately after the vehicle is locked: doors
or luggage compartment lid are not
completely closed. Even if you do not
close the alerted area(s), the remain-
ing areas are secured, and the indi-
cator lamp will flash continuously
after 10 seconds. However, the inte-
rior motion sensor is not activated
>The indicator lamp goes out immedi-
ately after the vehicle is unlocked: no
manipulation or attempted intrusions
have been detected in the period
since the system was armed
>The indicator lamp flashes for
10 seconds immediately after the
vehicle is unlocked: an attempted
entry has been detected in the period
since the system was armed.
Following triggering of an alarm, the
indicator lamp will flash continuously.Tilt alarm sensor and interior
motion sensorTilt alarm sensor:
The tilt of the vehicle is monitored. The
alarm system reacts, for example, to
attempts to steal the wheels or tow the
vehicle.
Interior motion sensor:
The vehicle interior is monitored up to
the height of the seat cushions. Even
when the convertible top is open, the
alarm system including the interior
motion sensor is armed. Objects falling
into the vehicle, e.g. leaves, can trigger
unintentional alarms, refer to Avoiding
unintentional alarms.Avoiding unintentional alarmsThe tilt alarm sensor and interior motion
sensor may be switched off at the same
time. You can do this to prevent a false
alarm, e.g. in the following situations:
>In garages with elevator ramps>When the vehicle is being trans-
ported by train
>When animals are to remain in the
vehicle.
Deactivating the tilt alarm and
interior motion sensors>Press the button on the remote con-
trol twice.
The indicator lamp lights up briefly and
then flashes continuously. The tilt alarm
sensor and the interior motion sensor
are deactivated until the vehicle is
unlocked and locked again.
You can have the tilt alarm sensor
and the interior motion sensor
permanently deactivated.<
The system deactivates the tilt
alarm sensor and the interior
motion sensor if the convenience clos-
ing of windows and glass sunroof is
interrupted within the first 10 seconds
and then restarted. The vehicle must
then be unlocked and relocked before
the sensors will resume operation.<
Alarm system*
OverviewControlsMaintenanceRepairsDataIndex
Page 70 of 174
70
Sequential M gearbox with Drivelogic*The conceptThe sequential M gearbox with
Drivelogic is an automated manual
gearbox with which clutching and shift-
ing is assumed by an electro-hydraulic
system.
The SMG Drivelogic is operated via two
shift paddles on the steering wheel and
the selector lever in the center console.
It offers the following functions:
>Sequential and automated shifting
mode
>Ability to choose between different
driving programs – Drivelogic
>Gradient assistance, refer to page 73
>Upshift display and shift lights, refer
to page 74
>RPM matching on downshifts
>Driving dependent functions:
The respective driving situation, e.g.
cornering, mountain driving or brak-
ing, is detected by sensors and taken
into account for shifting, e.g. to
achieve optimum gear selection dur-
ing deceleration and subsequent
acceleration
>Slip recognition at the rear axle for
increasing driving stability, e.g. dur-
ing downshifting on slippery road
surfaces>Operating safety through protection
against misshifting.
Under normal operating conditions, fuel
consumption is lowest when driving in
the first driving program of the auto-
mated shifting mode.
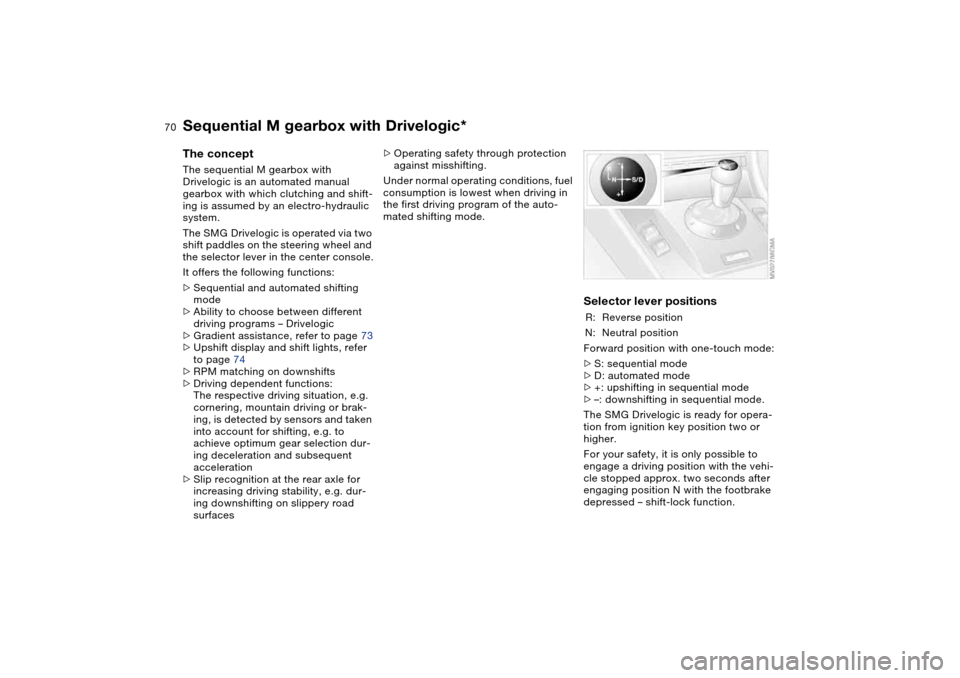
Selector lever positionsR: Reverse position
N: Neutral position
Forward position with one-touch mode:
>S: sequential mode
>D: automated mode
>+: upshifting in sequential mode
>–: downshifting in sequential mode.
The SMG Drivelogic is ready for opera-
tion from ignition key position two or
higher.
For your safety, it is only possible to
engage a driving position with the vehi-
cle stopped approx. two seconds after
engaging position N with the footbrake
depressed – shift-lock function.
Page 72 of 174
72
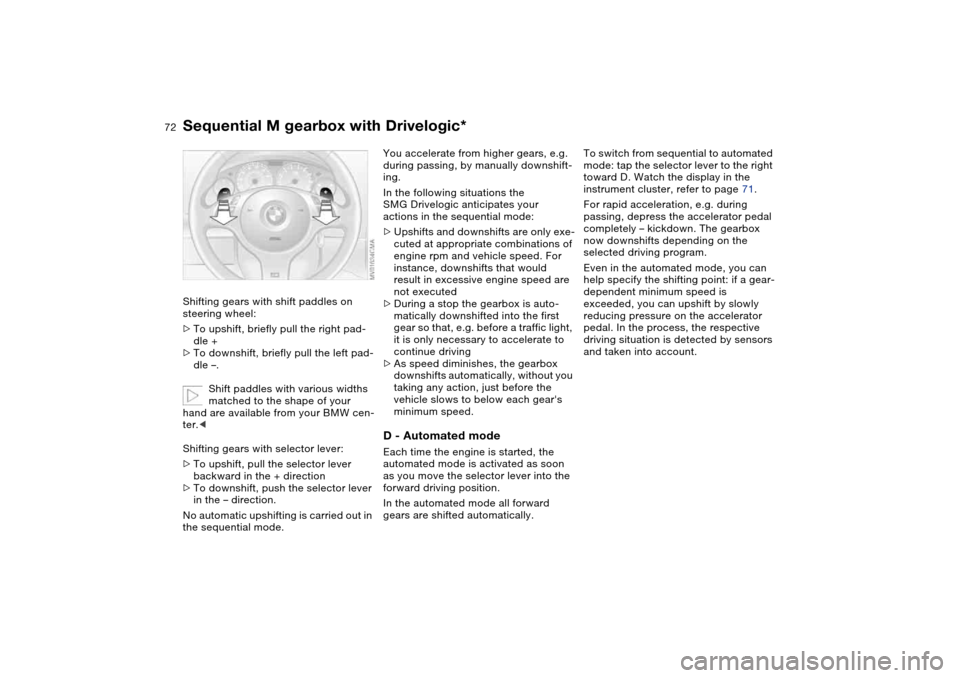
Shifting gears with shift paddles on
steering wheel:
>To upshift, briefly pull the right pad-
dle +
>To downshift, briefly pull the left pad-
dle –.
Shift paddles with various widths
matched to the shape of your
hand are available from your BMW cen-
ter.<
Shifting gears with selector lever:
>To upshift, pull the selector lever
backward in the + direction
>To downshift, push the selector lever
in the – direction.
No automatic upshifting is carried out in
the sequential mode.
You accelerate from higher gears, e.g.
during passing, by manually downshift-
ing.
In the following situations the
SMG Drivelogic anticipates your
actions in the sequential mode:
>Upshifts and downshifts are only exe-
cuted at appropriate combinations of
engine rpm and vehicle speed. For
instance, downshifts that would
result in excessive engine speed are
not executed
>During a stop the gearbox is auto-
matically downshifted into the first
gear so that, e.g. before a traffic light,
it is only necessary to accelerate to
continue driving
>As speed diminishes, the gearbox
downshifts automatically, without you
taking any action, just before the
vehicle slows to below each gear's
minimum speed.D - Automated modeEach time the engine is started, the
automated mode is activated as soon
as you move the selector lever into the
forward driving position.
In the automated mode all forward
gears are shifted automatically.To switch from sequential to automated
mode: tap the selector lever to the right
toward D. Watch the display in the
instrument cluster, refer to page 71.
For rapid acceleration, e.g. during
passing, depress the accelerator pedal
completely – kickdown. The gearbox
now downshifts depending on the
selected driving program.
Even in the automated mode, you can
help specify the shifting point: if a gear-
dependent minimum speed is
exceeded, you can upshift by slowly
reducing pressure on the accelerator
pedal. In the process, the respective
driving situation is detected by sensors
and taken into account.
Sequential M gearbox with Drivelogic*
Page 76 of 174
76
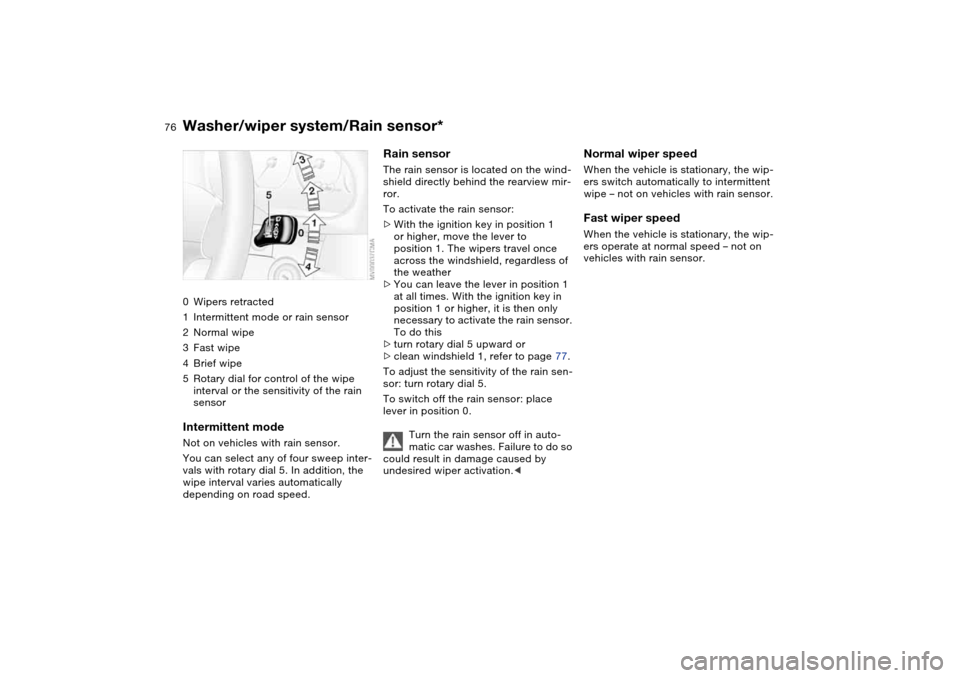
Washer/wiper system/Rain sensor*0Wipers retracted
1Intermittent mode or rain sensor
2Normal wipe
3Fast wipe
4Brief wipe
5Rotary dial for control of the wipe
interval or the sensitivity of the rain
sensorIntermittent modeNot on vehicles with rain sensor.
You can select any of four sweep inter-
vals with rotary dial 5. In addition, the
wipe interval varies automatically
depending on road speed.
Rain sensorThe rain sensor is located on the wind-
shield directly behind the rearview mir-
ror.
To activate the rain sensor:
>With the ignition key in position 1
or higher, move the lever to
position 1. The wipers travel once
across the windshield, regardless of
the weather
>You can leave the lever in position 1
at all times. With the ignition key in
position 1 or higher, it is then only
necessary to activate the rain sensor.
To do this
>turn rotary dial 5 upward or
>clean windshield 1, refer to page 77.
To adjust the sensitivity of the rain sen-
sor: turn rotary dial 5.
To switch off the rain sensor: place
lever in position 0.
Turn the rain sensor off in auto-
matic car washes. Failure to do so
could result in damage caused by
undesired wiper activation.<
Normal wiper speedWhen the vehicle is stationary, the wip-
ers switch automatically to intermittent
wipe – not on vehicles with rain sensor.Fast wiper speedWhen the vehicle is stationary, the wip-
ers operate at normal speed – not on
vehicles with rain sensor.
Page 77 of 174
77
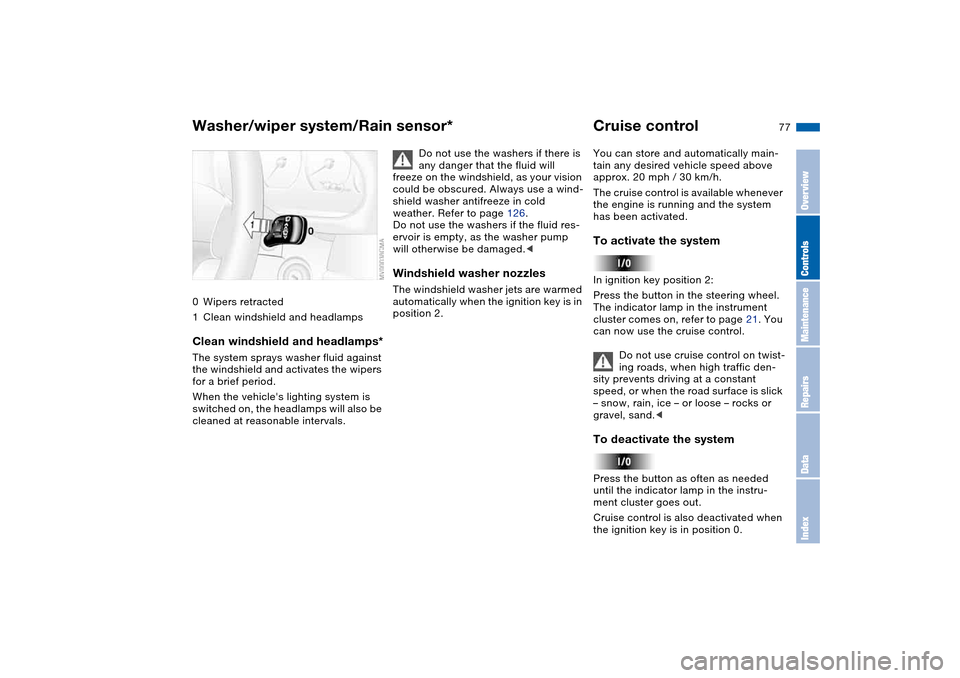
0Wipers retracted
1Clean windshield and headlampsClean windshield and headlamps*The system sprays washer fluid against
the windshield and activates the wipers
for a brief period.
When the vehicle's lighting system is
switched on, the headlamps will also be
cleaned at reasonable intervals.
Do not use the washers if there is
any danger that the fluid will
freeze on the windshield, as your vision
could be obscured. Always use a wind-
shield washer antifreeze in cold
weather. Refer to page 126.
Do not use the washers if the fluid res-
ervoir is empty, as the washer pump
will otherwise be damaged.<
Windshield washer nozzlesThe windshield washer jets are warmed
automatically when the ignition key is in
position 2.
Cruise controlYou can store and automatically main-
tain any desired vehicle speed above
approx. 20 mph / 30 km/h.
The cruise control is available whenever
the engine is running and the system
has been activated.To activate the systemIn ignition key position 2:
Press the button in the steering wheel.
The indicator lamp in the instrument
cluster comes on, refer to page 21. You
can now use the cruise control.
Do not use cruise control on twist-
ing roads, when high traffic den-
sity prevents driving at a constant
speed, or when the road surface is slick
– snow, rain, ice – or loose – rocks or
gravel, sand.
ment cluster goes out.
Cruise control is also deactivated when
the ignition key is in position 0.
Washer/wiper system/Rain sensor*
OverviewControlsMaintenanceRepairsDataIndex
Page 85 of 174
85 Technology for safety and driving convenience
Park Distance Control (PDC)*The conceptPDC assists you when you back into a
parking space. Acoustic signals alert
you to the momentary distance to an
object behind your vehicle. To do this,
four ultrasonic sensors in the rear
bumper measure the distance to the
nearest object. The range for the sen-
sors located at both rear corners ends
approx. 2 ft/60 cm behind the bumpers.
The range for the two middle sensors is
slightly less than 5 ft/1.50 m.
PDC is a parking aid that can
identify objects if they are
approached slowly, as is generally the
case when parking. Avoid driving
towards objects rapidly; due to underly-
ing physical principles, the system may
otherwise alert you too late for you to
take evasive steps.<
The system starts to operate automati-
cally approx. one second after you shift
into Reverse or move the selector lever
into the R position with the ignition key
in position 2.
Let this short period elapse before
driving backwards.<
PDC is deactivated when you shift back
out of Reverse.
You can have a signal set to con-
firm that the PDC has been acti-
vated. The signal then sounds when
you shift into Reverse or move the
selector lever into the R position.
intervals. As the distance between vehi-
cle and object decreases, the intervals
between the tones become shorter. A
continuous tone indicates the pres-
ence of an object less than 1 ft/30 cm
away.
The warning signal is canceled after
approx. three seconds if the distance to
the object remains constant during this
time – if you are moving parallel to
a wall, for instance.
System malfunctions will be indicated
by a continuous high-pitched tone
when the system is activated the first
time. Please have your BMW center
resolve the problem.
PDC does not remove the driver's
personal responsibility for evaluat-
ing the distance between the vehicle
and any objects. Even when sensors
are involved, there is a blind spot in
which objects cannot be detected. This
applies especially in those cases where
the system approaches the physical
limits of ultrasonic measurement, as
occurs with tow bars and trailer cou-
plings, and in the vicinity of thin or
wedge-shaped objects. Moreover, low
objects that have already been
detected – such as a curb edge – can
disappear out of the detection range of
the sensors before a continuous tone
sounds.
Loud sources of sound from outside or
inside the vehicle could drown out the
PDC signal tone.<
Keep the sensors clean and free
of ice or snow in order to ensure
that they will continue to operate effec-
tively.
Do not apply high pressure spray to the
sensors for a prolonged period of time.
Always maintain a distance of more
than 4 in/10 cm.<
OverviewControlsMaintenanceRepairsDataIndex
Page 90 of 174
90Lamps
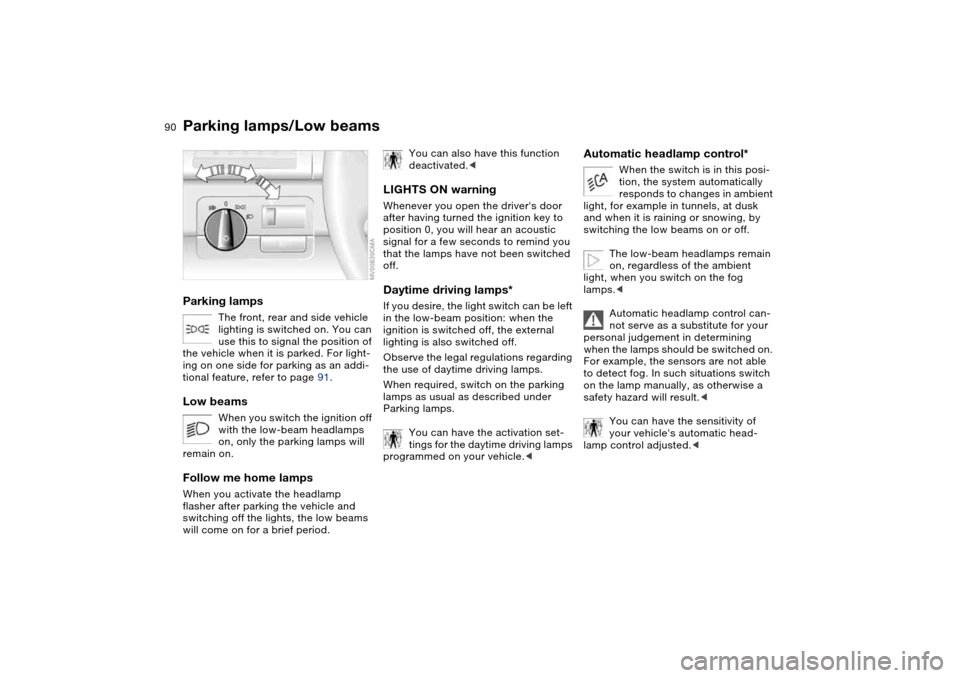
Parking lamps/Low beamsParking lamps
The front, rear and side vehicle
lighting is switched on. You can
use this to signal the position of
the vehicle when it is parked. For light-
ing on one side for parking as an addi-
tional feature, refer to page 91.
Low beams
When you switch the ignition off
with the low-beam headlamps
on, only the parking lamps will
remain on.
Follow me home lampsWhen you activate the headlamp
flasher after parking the vehicle and
switching off the lights, the low beams
will come on for a brief period.
You can also have this function
deactivated.<
LIGHTS ON warningWhenever you open the driver's door
after having turned the ignition key to
position 0, you will hear an acoustic
signal for a few seconds to remind you
that the lamps have not been switched
off.Daytime driving lamps*If you desire, the light switch can be left
in the low-beam position: when the
ignition is switched off, the external
lighting is also switched off.
Observe the legal regulations regarding
the use of daytime driving lamps.
When required, switch on the parking
lamps as usual as described under
Parking lamps.
You can have the activation set-
tings for the daytime driving lamps
programmed on your vehicle.<
Automatic headlamp control*
When the switch is in this posi-
tion, the system automatically
responds to changes in ambient
light, for example in tunnels, at dusk
and when it is raining or snowing, by
switching the low beams on or off.
The low-beam headlamps remain
on, regardless of the ambient
light, when you switch on the fog
lamps.<
Automatic headlamp control can-
not serve as a substitute for your
personal judgement in determining
when the lamps should be switched on.
For example, the sensors are not able
to detect fog. In such situations switch
on the lamp manually, as otherwise a
safety hazard will result.<
You can have the sensitivity of
your vehicle's automatic head-
lamp control adjusted.<