tow BMW M3 COUPE 2002 E46 User Guide
[x] Cancel search | Manufacturer: BMW, Model Year: 2002, Model line: M3 COUPE, Model: BMW M3 COUPE 2002 E46Pages: 151, PDF Size: 2.14 MB
Page 88 of 151
88n
Automatic climate control
*
Air conditioner
The air is cooled and dehumidi-
fied and Ð depending on the
temperature setting Ð rewarmed when
the air conditioner system is switched
on. Depending on the weather, the
windshield may fog over briefly when
the engine is started. Window mist will
be reduced by switching on the air
conditioner.
Condensation forms in the air
conditioning system during opera-
tion, which then exits under the vehicle.
Traces of condensed water of this kind
are thus normal.<
Automatic recirculated-air control
(AUC)
If there are unpleasant odors or
pollutants in the outside air, you
can temporarily block the air supply from
the outside. The system then recircu-
lates the air currently within the vehicle.
By repeatedly pressing the button, you
can select one of three different oper-
ating modes.
>Indicator lamps off: outside air always
flowing into the vehicle
>Left-hand indicator lamp on Ð auto-
matic mode: the system detects
pollutants in the outside air and
responds by deactivating the outside
air supply as required. The system
then recirculates the air currently
within the vehicle
Depending on air quality require-
ments, the system automatically
switches between outside air supply
and recirculation of the air already
within the vehicle
>Right-hand indicator lamp on: the air
supply of outside air is permanently
blocked. The system recirculates the
air already within the vehicle.
If the windows fog over in the
recirculated-air mode, switch the
recirculated-air mode off and increase
the air supply as required.
is activated, the indicator lamp
comes on. The rear window defroster
switches off automatically.
The rear window defroster auto-
matically assumes operation
within 5 minutes after the engine is
started at outside temperatures below
40 7 (4 6).<
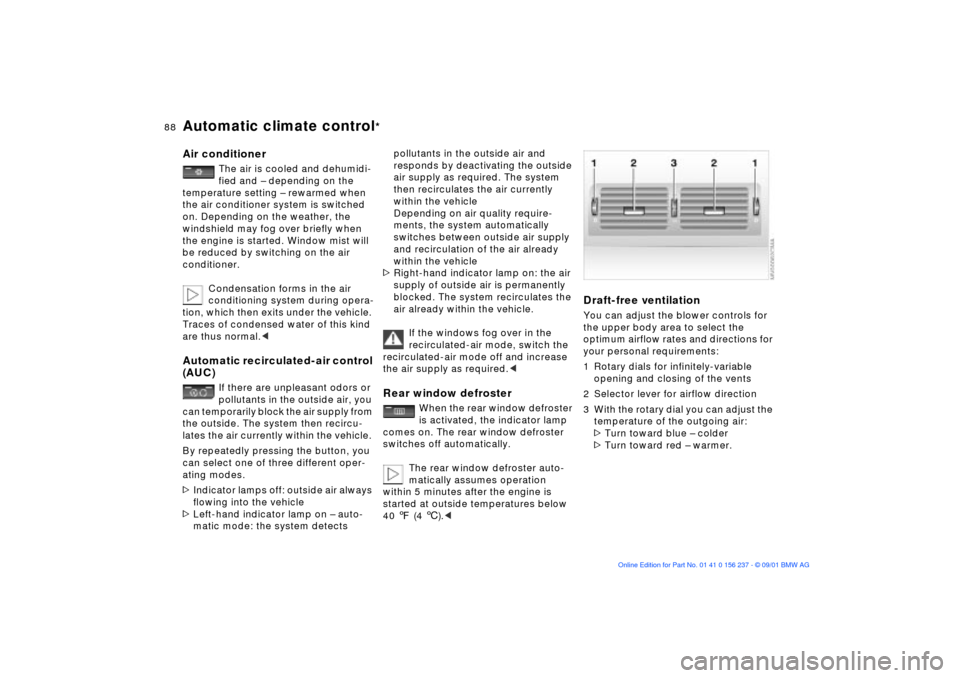
Draft-free ventilation You can adjust the blower controls for
the upper body area to select the
optimum airflow rates and directions for
your personal requirements:
1 Rotary dials for infinitely-variable
opening and closing of the vents
2 Selector lever for airflow direction
3 With the rotary dial you can adjust the
temperature of the outgoing air:
>Turn toward blue Ð colder
>Turn toward red Ð warmer.
Page 96 of 151
96n
Cargo loading
Always position and secure the
load correctly. If you do not, it can
endanger the passengers during
braking or evasive maneuvers.
Do not exceed the approved gross
weight and the approved axle loads
(refer to page 138), otherwise the
vehicle's operating safety is no longer
assured and you are in violation of the
law.
Do not stow heavy or hard objects in
the passenger compartment without
first securing them. Otherwise they
would be thrown around during braking
and evasive maneuvers and endanger
the passengers.<
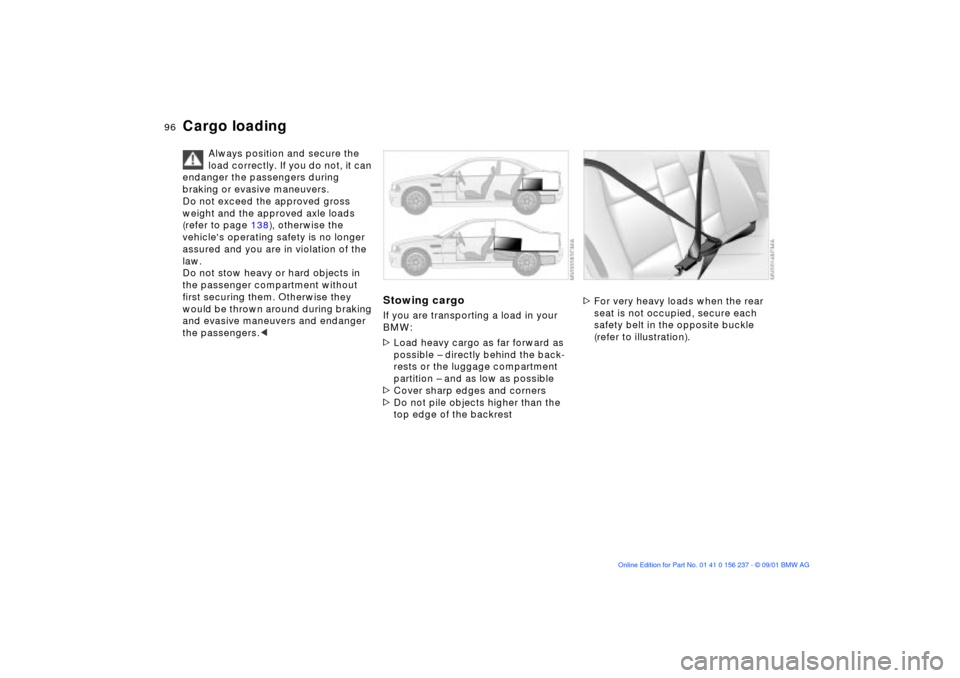
Stowing cargo If you are transporting a load in your
BMW:
>Load heavy cargo as far forward as
possible Ð directly behind the back-
rests or the luggage compartment
partition Ð and as low as possible
>Cover sharp edges and corners
>Do not pile objects higher than the
top edge of the backrest
>For very heavy loads when the rear
seat is not occupied, secure each
safety belt in the opposite buckle
(refer to illustration).
Page 100 of 151

100n
To ensure that your vehicle provides
maximum economy throughout a long
service life, we request that you
observe the following instructions.
Because of its engineering design,
the BMW M3 is an especially high-
quality vehicle. It is in your best interest
to follow the break-in instructions very
closely. Doing this, you will create the
basis for a long, optimum service life.<
Engine and differential>Until a km reading of 1,200 miles
(2,000 km): drive at varying engine
and road speeds, but do not exceed
the following rpms or road speeds:
5,500 rpm or 105 mph (170 km/h)
Obey your local and state maximum
speed limits.
Do not depress the accelerator pedal to
the full-throttle position.
Vehicles with SMG II
* (refer to
page 59): refrain from using driving
program 6 in the sequential mode
during the break-in period.
>After you have monitored the break-
in period for 1,200 miles (2,000 km),
you can begin to gradually increase
both engine and road speed.
Please remember to observe the same
break-in procedures if either the engine
or the differential is replaced later in the
course of the vehicle's service life.TiresOwing to technical factors associated
with their manufacture, tires do not
achieve their full traction potential until
an initial break-in period has elapsed.
Thus drive with extra care during the
initial 200 miles (300 km).
Obey your local and state maximum
speed limits.
When the vehicle is operated on
wet or slushy roads, a wedge of
water may form between the tire and
the road surface. This phenomenon is
referred to as aquaplaning, or hydro-
planing, and can lead to partial or
complete loss of traction, vehicle
control and braking effectiveness.
Reduce your speed on wet roads.<
Brake systemApprox. 300 miles (500 km) must
elapse before the brake pads and
rotors achieve the optimal pad-surface
and wear patterns required for trouble-
free operation and long service life later
on.
To break-in the separate parking brake
drums, apply the parking brake lightly
when coasting to a standstill (at a traffic
signal, for instance), provided that
traffic conditions allow you to do so. To
avoid corrosion, repeat this procedure
from time to time.
The brake lamps do not come on
when the parking brake is
engaged.
Vacuum for the brake system servo unit
on your BMW is available only when the
engine is running. When you move the
vehicle with the engine off Ð when
towing, for example Ð substantially
higher levels of pedal force will be
required to brake the vehicle.
(500 km). Drive cautiously during this
break-in period and do not shift at high
engine speeds.
Break-in procedures
Page 103 of 151
103n
OverviewControlsMaintenanceRepairsDataIndex
Information for your safetyThe factory-approved radial tires are
matched to the vehicle and have been
selected to provide optimum safety and
driving comfort on your vehicle.
It is not merely the tire's service life, but
also driving comfort and Ð above all else
Ð driving safety that depend on the
condition of the tires and the mainte-
nance of the specified tire pressure.
Incorrect inflation pressures are a
frequent cause of tire problems
and tire damage. Tire pressure also has
a major effect on your BMW's handling
response. Check tire inflation pressures
on a regular basis (refer to page 25), at
least every two weeks and before
beginning a longer trip. Failure to
observe these precautions can result in
incorrect tire pressures, which cause
instable handling response as well as
tire damage, and can ultimately lead to
an accident.<
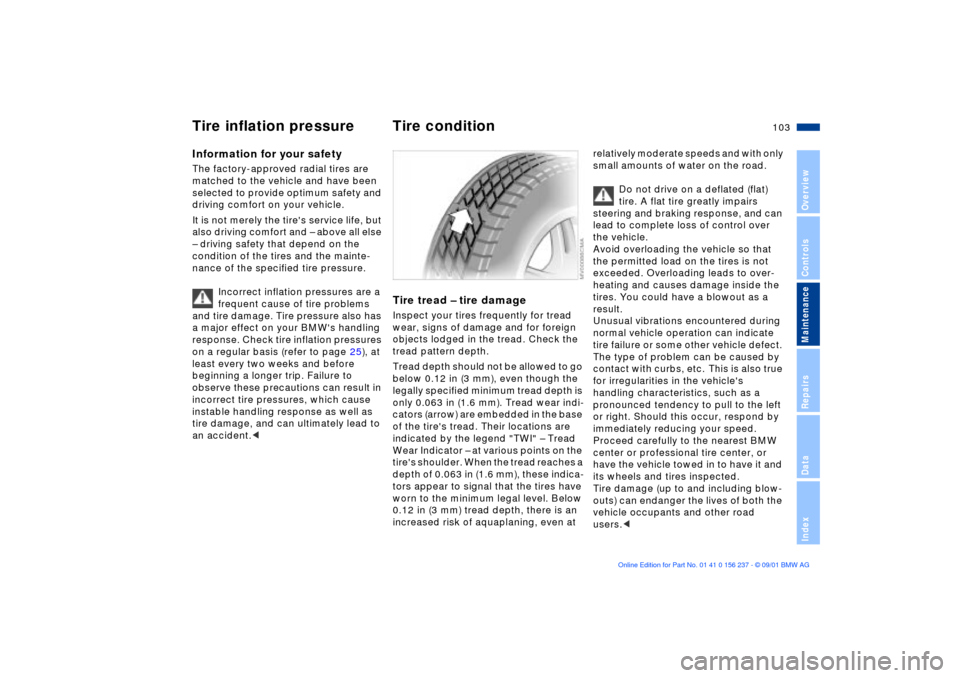
Tire tread Ð tire damageInspect your tires frequently for tread
wear, signs of damage and for foreign
objects lodged in the tread. Check the
tread pattern depth.
Tread depth should not be allowed to go
below 0.12 in (3 mm), even though the
legally specified minimum tread depth is
only 0.063 in (1.6 mm). Tread wear indi-
cators (arrow) are embedded in the base
of the tire's tread. Their locations are
indicated by the legend "TWI" Ð Tread
Wear Indicator Ð at various points on the
tire's shoulder. When the tread reaches a
depth of 0.063 in (1.6 mm), these indica-
tors appear to signal that the tires have
worn to the minimum legal level. Below
0.12 in (3 mm) tread depth, there is an
increased risk of aquaplaning, even at
relatively moderate speeds and with only
small amounts of water on the road.
Do not drive on a deflated (flat)
tire. A flat tire greatly impairs
steering and braking response, and can
lead to complete loss of control over
the vehicle.
Avoid overloading the vehicle so that
the permitted load on the tires is not
exceeded. Overloading leads to over-
heating and causes damage inside the
tires. You could have a blowout as a
result.
Unusual vibrations encountered during
normal vehicle operation can indicate
tire failure or some other vehicle defect.
The type of problem can be caused by
contact with curbs, etc. This is also true
for irregularities in the vehicle's
handling characteristics, such as a
pronounced tendency to pull to the left
or right. Should this occur, respond by
immediately reducing your speed.
Proceed carefully to the nearest BMW
center or professional tire center, or
have the vehicle towed in to have it and
its wheels and tires inspected.
Tire damage (up to and including blow-
outs) can endanger the lives of both the
vehicle occupants and other road
users.<
Tire inflation pressure Tire condition
Page 110 of 151
110n
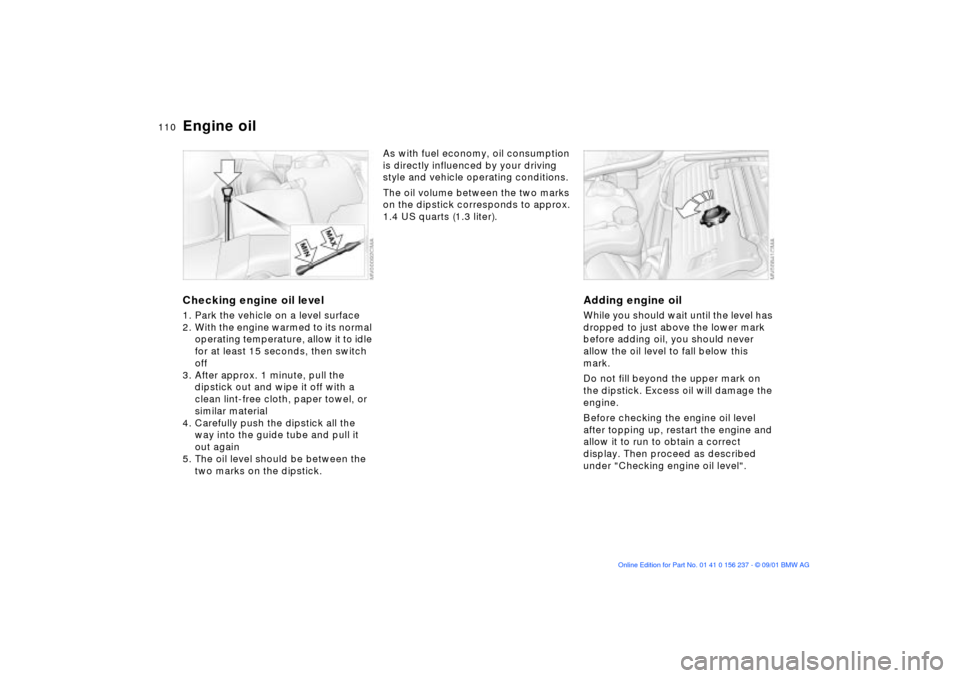
Engine oilChecking engine oil level 1. Park the vehicle on a level surface
2. With the engine warmed to its normal
operating temperature, allow it to idle
for at least 15 seconds, then switch
off
3. After approx. 1 minute, pull the
dipstick out and wipe it off with a
clean lint-free cloth, paper towel, or
similar material
4. Carefully push the dipstick all the
way into the guide tube and pull it
out again
5. The oil level should be between the
two marks on the dipstick.
As with fuel economy, oil consumption
is directly influenced by your driving
style and vehicle operating conditions.
The oil volume between the two marks
on the dipstick corresponds to approx.
1.4 US quarts (1.3 liter).
Adding engine oil While you should wait until the level has
dropped to just above the lower mark
before adding oil, you should never
allow the oil level to fall below this
mark.
Do not fill beyond the upper mark on
the dipstick. Excess oil will damage the
engine.
Before checking the engine oil level
after topping up, restart the engine and
allow it to run to obtain a correct
display. Then proceed as described
under "Checking engine oil level".
Page 120 of 151
120n
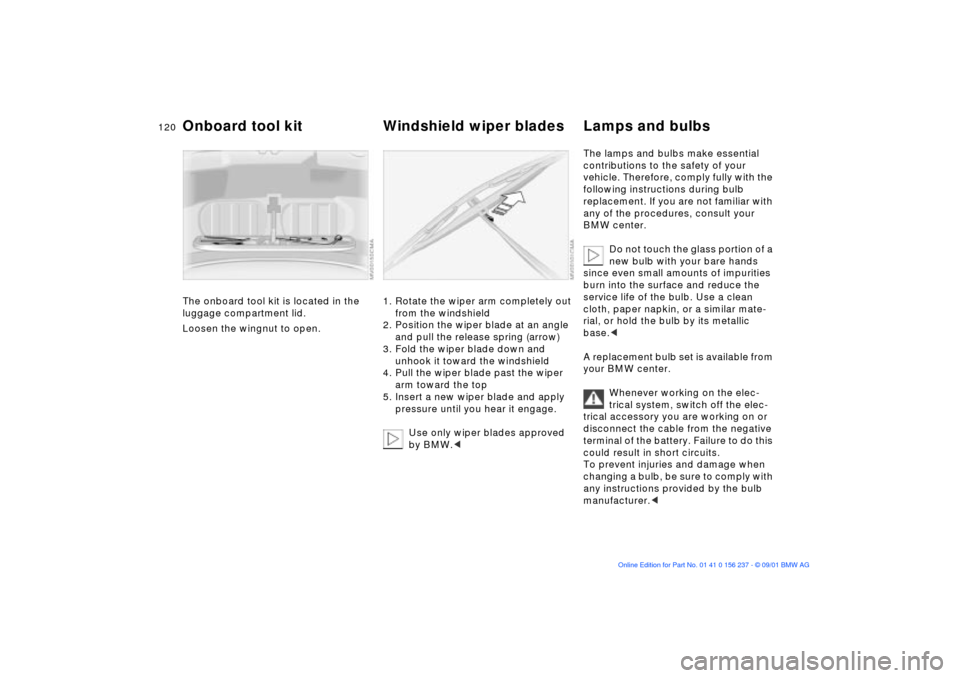
The onboard tool kit is located in the
luggage compartment lid.
Loosen the wingnut to open.
1. Rotate the wiper arm completely out
from the windshield
2. Position the wiper blade at an angle
and pull the release spring (arrow)
3. Fold the wiper blade down and
unhook it toward the windshield
4. Pull the wiper blade past the wiper
arm toward the top
5. Insert a new wiper blade and apply
pressure until you hear it engage.
Use only wiper blades approved
by BMW.<
The lamps and bulbs make essential
contributions to the safety of your
vehicle. Therefore, comply fully with the
following instructions during bulb
replacement. If you are not familiar with
any of the procedures, consult your
BMW center.
Do not touch the glass portion of a
new bulb with your bare hands
since even small amounts of impurities
burn into the surface and reduce the
service life of the bulb. Use a clean
cloth, paper napkin, or a similar mate-
rial, or hold the bulb by its metallic
base.<
A replacement bulb set is available from
your BMW center.
Whenever working on the elec-
trical system, switch off the elec-
trical accessory you are working on or
disconnect the cable from the negative
terminal of the battery. Failure to do this
could result in short circuits.
To prevent injuries and damage when
changing a bulb, be sure to comply with
any instructions provided by the bulb
manufacturer.<
Onboard tool kit Windshield wiper blades Lamps and bulbs
Page 122 of 151
122n
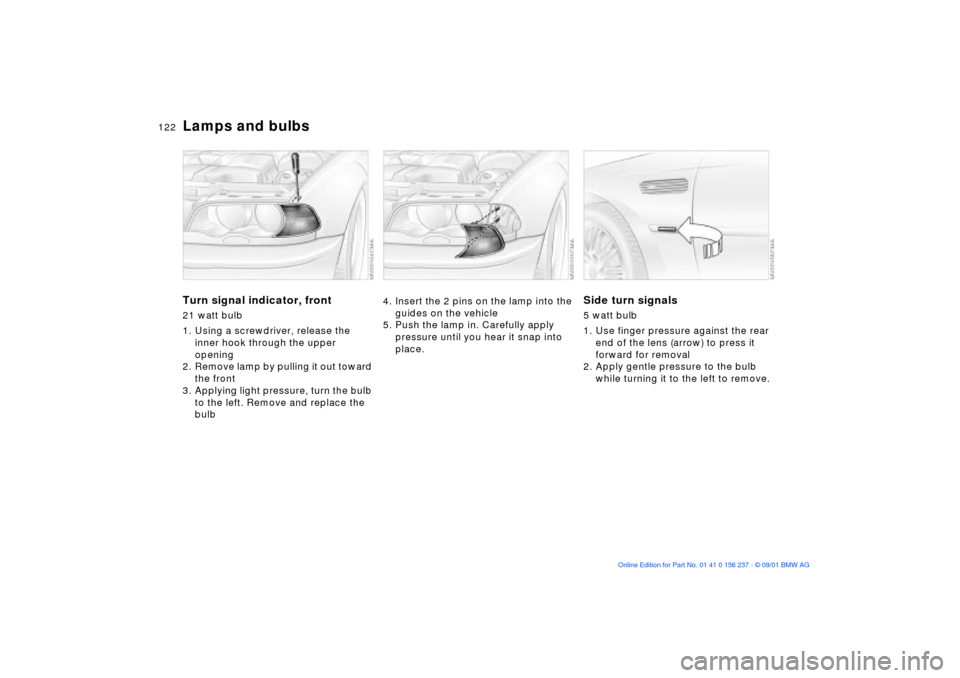
Lamps and bulbsTurn signal indicator, front 21 watt bulb
1. Using a screwdriver, release the
inner hook through the upper
opening
2. Remove lamp by pulling it out toward
the front
3. Applying light pressure, turn the bulb
to the left. Remove and replace the
bulb
4. Insert the 2 pins on the lamp into the
guides on the vehicle
5. Push the lamp in. Carefully apply
pressure until you hear it snap into
place.
Side turn signals5 watt bulb
1. Use finger pressure against the rear
end of the lens (arrow) to press it
forward for removal
2. Apply gentle pressure to the bulb
while turning it to the left to remove.
Page 125 of 151
125n
OverviewControlsMaintenanceRepairsDataIndex
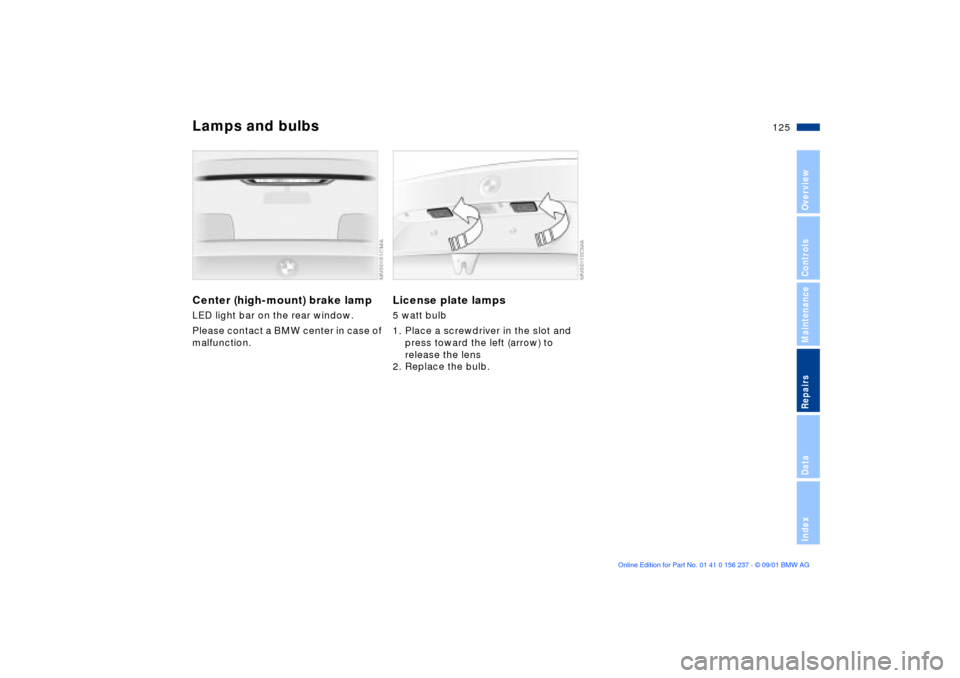
Lamps and bulbsCenter (high-mount) brake lamp
LED light bar on the rear window.
Please contact a BMW center in case of
malfunction.
License plate lamps 5 watt bulb
1. Place a screwdriver in the slot and
press toward the left (arrow) to
release the lens
2. Replace the bulb.
Page 128 of 151
128n
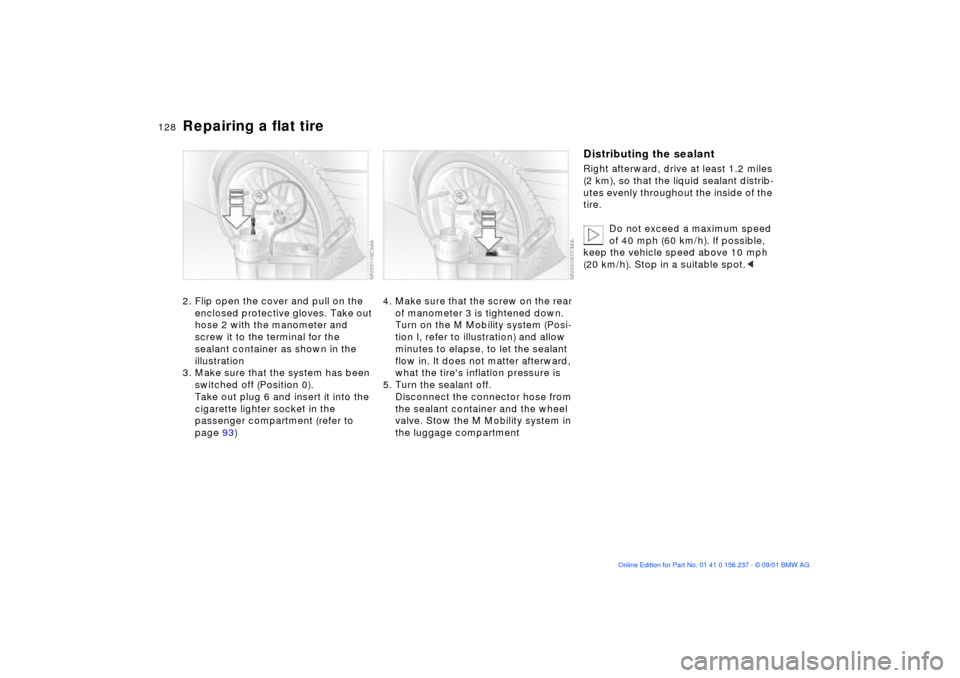
Repairing a flat tire2. Flip open the cover and pull on the
enclosed protective gloves. Take out
hose 2 with the manometer and
screw it to the terminal for the
sealant container as shown in the
illustration
3. Make sure that the system has been
switched off (Position 0).
Take out plug 6 and insert it into the
cigarette lighter socket in the
passenger compartment (refer to
page 93)
4. Make sure that the screw on the rear
of manometer 3 is tightened down.
Turn on the M Mobility system (Posi-
tion I, refer to illustration) and allow
minutes to elapse, to let the sealant
flow in. It does not matter afterward,
what the tire's inflation pressure is
5. Turn the sealant off.
Disconnect the connector hose from
the sealant container and the wheel
valve. Stow the M Mobility system in
the luggage compartment
Distributing the sealantRight afterward, drive at least 1.2 miles
(2 km), so that the liquid sealant distrib-
utes evenly throughout the inside of the
tire.
Do not exceed a maximum speed
of 40 mph (60 km/h). If possible,
keep the vehicle speed above 10 mph
(20 km/h). Stop in a suitable spot.<
Page 129 of 151
129n
OverviewControlsMaintenanceRepairsDataIndex
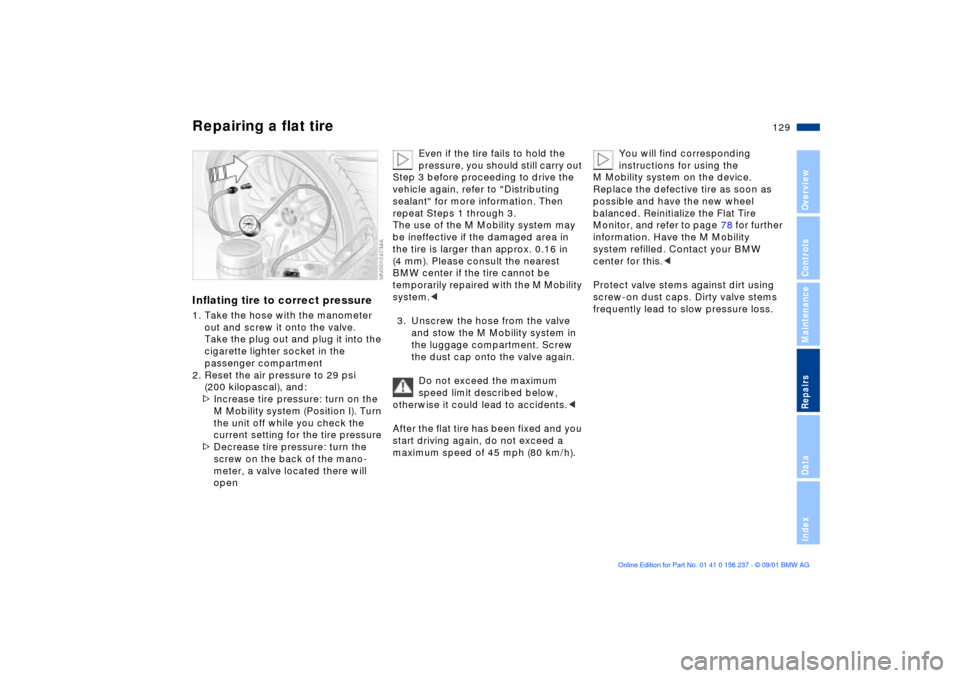
Repairing a flat tire Inflating tire to correct pressure1. Take the hose with the manometer
out and screw it onto the valve.
Take the plug out and plug it into the
cigarette lighter socket in the
passenger compartment
2. Reset the air pressure to 29 psi
(200 kilopascal), and:
>Increase tire pressure: turn on the
M Mobility system (Position I). Turn
the unit off while you check the
current setting for the tire pressure
>Decrease tire pressure: turn the
screw on the back of the mano-
meter, a valve located there will
open
Even if the tire fails to hold the
pressure, you should still carry out
Step 3 before proceeding to drive the
vehicle again, refer to "Distributing
sealant" for more information. Then
repeat Steps 1 through 3.
The use of the M Mobility system may
be ineffective if the damaged area in
the tire is larger than approx. 0.16 in
(4 mm). Please consult the nearest
BMW center if the tire cannot be
temporarily repaired with the M Mobility
system.<
3. Unscrew the hose from the valve
and stow the M Mobility system in
the luggage compartment. Screw
the dust cap onto the valve again.
Do not exceed the maximum
speed limit described below,
otherwise it could lead to accidents.<
After the flat tire has been fixed and you
start driving again, do not exceed a
maximum speed of 45 mph (80 km/h).
You will find corresponding
instructions for using the
M Mobility system on the device.
Replace the defective tire as soon as
possible and have the new wheel
balanced. Reinitialize the Flat Tire
Monitor, and refer to page 78 for further
information. Have the M Mobility
system refilled. Contact your BMW
center for this.<
Protect valve stems against dirt using
screw-on dust caps. Dirty valve stems
frequently lead to slow pressure loss.