roof BMW M3 COUPE 2006 E46 Owner's Manual
[x] Cancel search | Manufacturer: BMW, Model Year: 2006, Model line: M3 COUPE, Model: BMW M3 COUPE 2006 E46Pages: 170, PDF Size: 2.63 MB
Page 8 of 170
Contents
Notes
About this Owner's Manual4
Additional sources of
information4
Symbols used4
Your individual vehicle5
Status at time of printing5
For your own safety6
Service and warranty7
Reporting safety defects7
Overview
Cockpit14
Instrument cluster16
Indicator and warning lamps18
Buttons* in steering wheel22
Hazard warning triangle*23
First-aid kit*23
Refueling24
Fuel specifications25
Controls and features
Opening and closing:
Keys28
Central locking system28
Opening and closing – via the
remote control29
Opening and closing – via the
door lock32
Opening and closing – from the
inside33
Luggage compartment lid34
Luggage compartment36
Alarm system*37
Electric power windows39
Glass sunroof, electric*40
To adjust:
Safe seating position42
Seats43
Manual seat adjustment43
Power seat adjustment*44
Head restraints45
Entering the rear46
Safety belts46
Seat and mirror memory*48
Seat heating*49
Mirrors50
Steering wheel51
Passenger safety systems:
Airbags52
Transporting children safely55
Vehicle Memory, Key
Memory59
Page 9 of 170
Contents
9
Driving:
Ignition lock61
Starting the engine and driving
off62
Switching off the engine64
Parking brake64
Manual transmission65
Sequential M gearbox with
Drivelogic*66
Turn signal indicator/Headlamp
flasher71
Washer/wiper system/Rain
sensor*72
Cruise control*73
Everything under control:
Odometer75
Tachometer75
Engine oil temperature75
Fuel gauge76
Engine coolant temperature
gauge76
Service interval display77
Check Control77
Clock78
Computer79
Technology for safety and
driving convenience:
Park Distance Control (PDC)*81
Dynamic Stability Control
(DSC)82
Flat Tire Monitor83
M Engine dynamics control85
Brake force display86
Lamps:
Parking lamps/Low beams87
Instrument lighting88
High beams/Standing lamps88
Front fog lamps89
Interior lamps89
Controlling the climate for
pleasant driving:
Automatic climate control90
Roller sun blind*94
Interior conveniences:
Premium sound system*95
Glove compartment95
Storage compartments96
Microphone*97
Ashtray, front*98
Ashtray, rear*98
Clothes hooks99
Loading and transporting:
Through-loading system100
Ski bag*101
Cargo loading102
Roof-mounted luggage
rack*105
Controls and features
Page 30 of 170
30
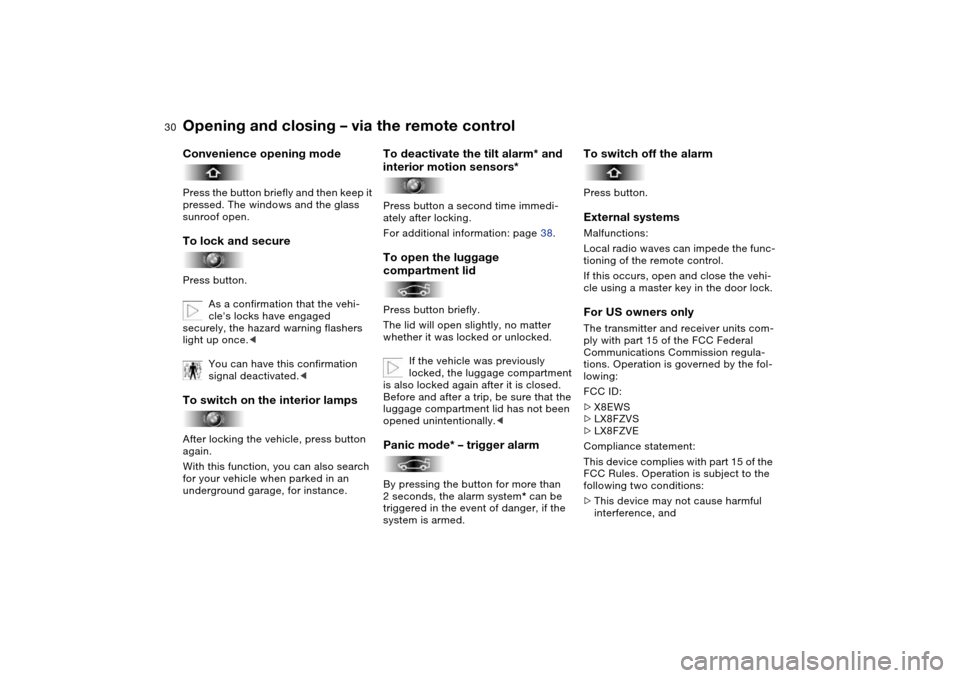
Convenience opening modePress the button briefly and then keep it
pressed. The windows and the glass
sunroof open.To lock and securePress button.
As a confirmation that the vehi-
cle's locks have engaged
securely, the hazard warning flashers
light up once.<
You can have this confirmation
signal deactivated.
With this function, you can also search
for your vehicle when parked in an
underground garage, for instance.
To deactivate the tilt alarm* and
interior motion sensors*Press button a second time immedi-
ately after locking.
For additional information: page 38.To open the luggage
compartment lidPress button briefly.
The lid will open slightly, no matter
whether it was locked or unlocked.
If the vehicle was previously
locked, the luggage compartment
is also locked again after it is closed.
Before and after a trip, be sure that the
luggage compartment lid has not been
opened unintentionally.
triggered in the event of danger, if the
system is armed.
To switch off the alarmPress button.External systemsMalfunctions:
Local radio waves can impede the func-
tioning of the remote control.
If this occurs, open and close the vehi-
cle using a master key in the door lock.For US owners onlyThe transmitter and receiver units com-
ply with part 15 of the FCC Federal
Communications Commission regula-
tions. Operation is governed by the fol-
lowing:
FCC ID:
>X8EWS
>LX8FZVS
>LX8FZVE
Compliance statement:
This device complies with part 15 of the
FCC Rules. Operation is subject to the
following two conditions:
>This device may not cause harmful
interference, and
Opening and closing – via the remote control
Page 32 of 170
32
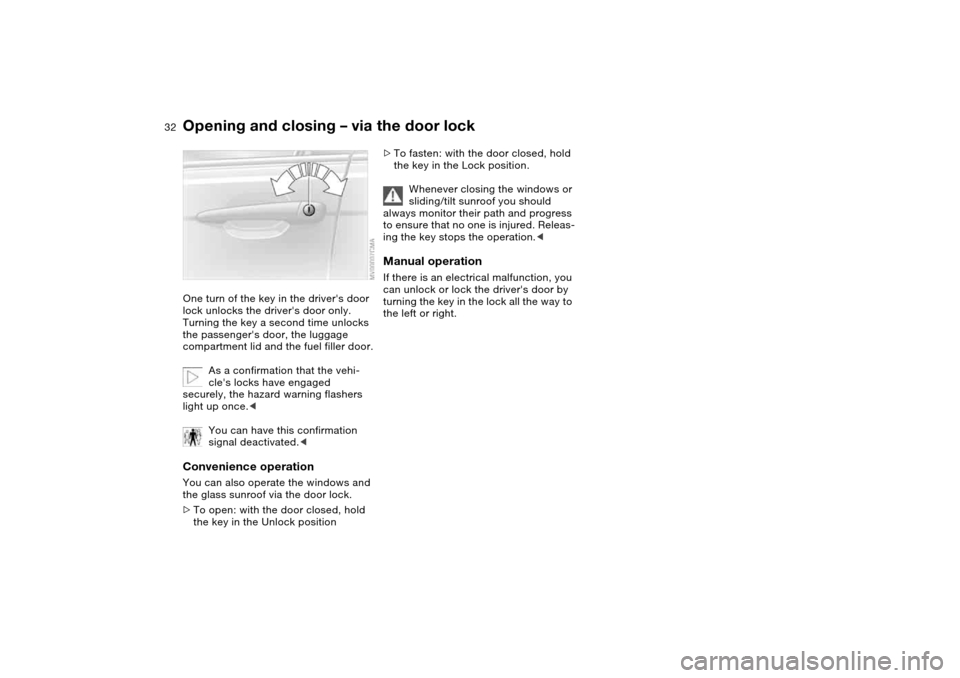
Opening and closing – via the door lockOne turn of the key in the driver's door
lock unlocks the driver's door only.
Turning the key a second time unlocks
the passenger's door, the luggage
compartment lid and the fuel filler door.
As a confirmation that the vehi-
cle's locks have engaged
securely, the hazard warning flashers
light up once.<
You can have this confirmation
signal deactivated.
>To open: with the door closed, hold
the key in the Unlock position
>To fasten: with the door closed, hold
the key in the Lock position.
Whenever closing the windows or
sliding/tilt sunroof you should
always monitor their path and progress
to ensure that no one is injured. Releas-
ing the key stops the operation.
turning the key in the lock all the way to
the left or right.
Page 35 of 170
35
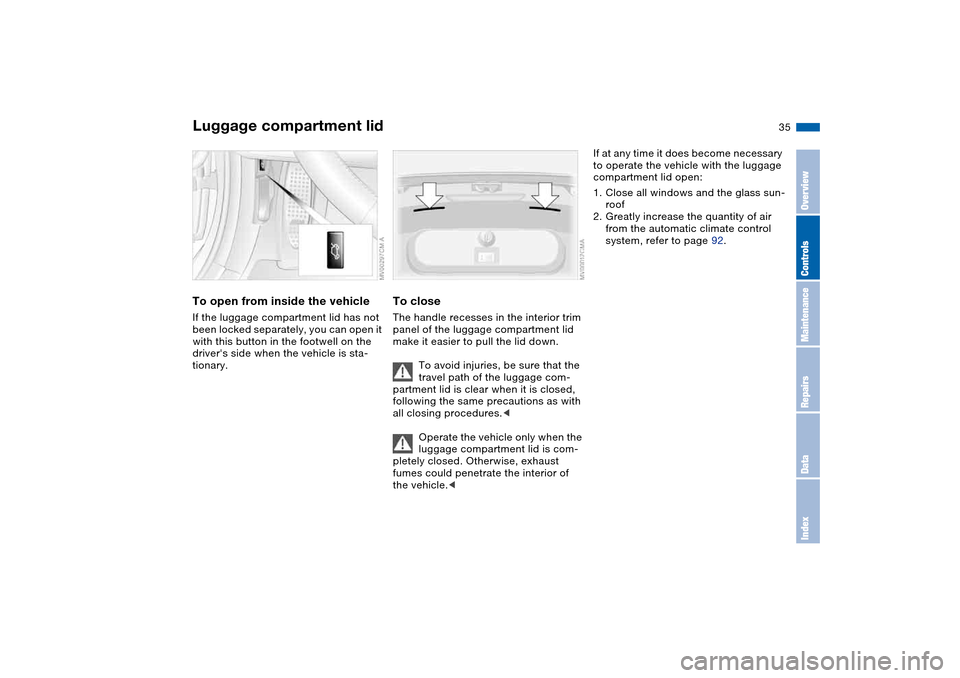
To open from inside the vehicleIf the luggage compartment lid has not
been locked separately, you can open it
with this button in the footwell on the
driver's side when the vehicle is sta-
tionary.
To closeThe handle recesses in the interior trim
panel of the luggage compartment lid
make it easier to pull the lid down.
To avoid injuries, be sure that the
travel path of the luggage com-
partment lid is clear when it is closed,
following the same precautions as with
all closing procedures.<
Operate the vehicle only when the
luggage compartment lid is com-
pletely closed. Otherwise, exhaust
fumes could penetrate the interior of
the vehicle.<
If at any time it does become necessary
to operate the vehicle with the luggage
compartment lid open:
1. Close all windows and the glass sun-
roof
2. Greatly increase the quantity of air
from the automatic climate control
system, refer to page 92.
Luggage compartment lid
OverviewControlsMaintenanceRepairsDataIndex
Page 38 of 170
38
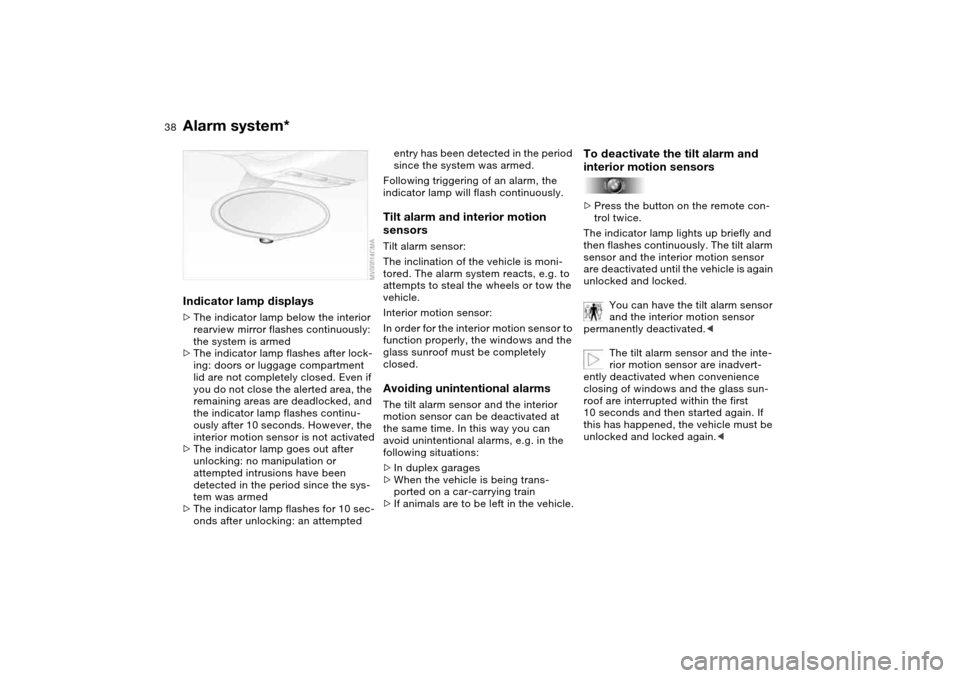
Indicator lamp displays>The indicator lamp below the interior
rearview mirror flashes continuously:
the system is armed
>The indicator lamp flashes after lock-
ing: doors or luggage compartment
lid are not completely closed. Even if
you do not close the alerted area, the
remaining areas are deadlocked, and
the indicator lamp flashes continu-
ously after 10 seconds. However, the
interior motion sensor is not activated
>The indicator lamp goes out after
unlocking: no manipulation or
attempted intrusions have been
detected in the period since the sys-
tem was armed
>The indicator lamp flashes for 10 sec-
onds after unlocking: an attempted
entry has been detected in the period
since the system was armed.
Following triggering of an alarm, the
indicator lamp will flash continuously.Tilt alarm and interior motion
sensorsTilt alarm sensor:
The inclination of the vehicle is moni-
tored. The alarm system reacts, e.g. to
attempts to steal the wheels or tow the
vehicle.
Interior motion sensor:
In order for the interior motion sensor to
function properly, the windows and the
glass sunroof must be completely
closed.Avoiding unintentional alarmsThe tilt alarm sensor and the interior
motion sensor can be deactivated at
the same time. In this way you can
avoid unintentional alarms, e.g. in the
following situations:
>In duplex garages
>When the vehicle is being trans-
ported on a car-carrying train
>If animals are to be left in the vehicle.
To deactivate the tilt alarm and
interior motion sensors>Press the button on the remote con-
trol twice.
The indicator lamp lights up briefly and
then flashes continuously. The tilt alarm
sensor and the interior motion sensor
are deactivated until the vehicle is again
unlocked and locked.
You can have the tilt alarm sensor
and the interior motion sensor
permanently deactivated.<
The tilt alarm sensor and the inte-
rior motion sensor are inadvert-
ently deactivated when convenience
closing of windows and the glass sun-
roof are interrupted within the first
10 seconds and then started again. If
this has happened, the vehicle must be
unlocked and locked again.<
Alarm system*
Page 40 of 170
40
Glass sunroof, electric*
Watch the glass sunroof while it is
closing, to avoid any injuries.
When leaving the vehicle, always take
the ignition key with you and close the
doors, since children could otherwise
operate the sunroof and injure them-
selves.<
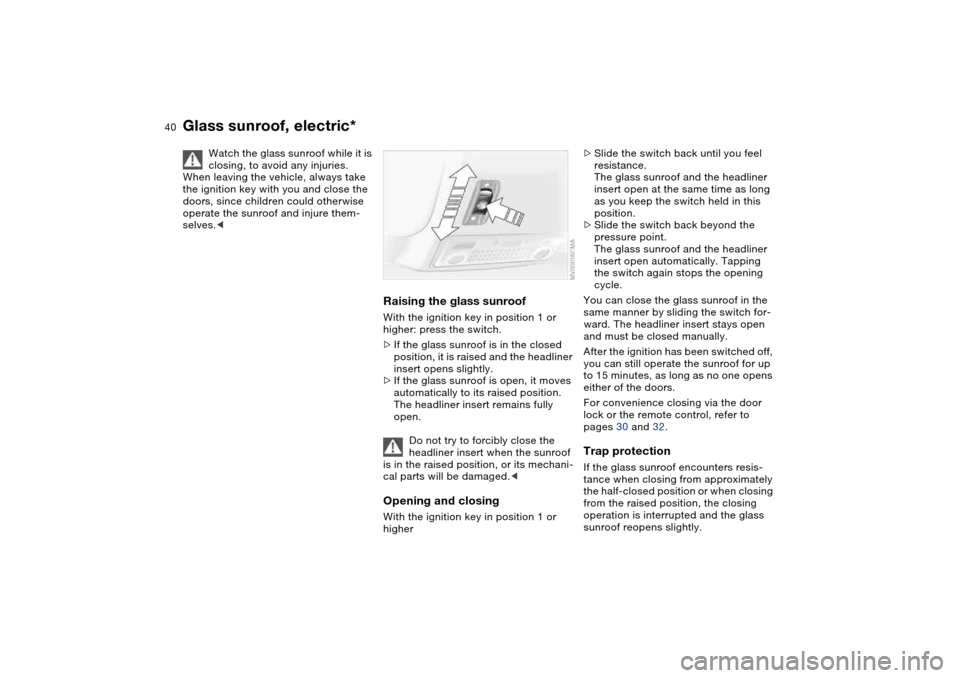
Raising the glass sunroofWith the ignition key in position 1 or
higher: press the switch.
>If the glass sunroof is in the closed
position, it is raised and the headliner
insert opens slightly.
>If the glass sunroof is open, it moves
automatically to its raised position.
The headliner insert remains fully
open.
Do not try to forcibly close the
headliner insert when the sunroof
is in the raised position, or its mechani-
cal parts will be damaged.
>Slide the switch back until you feel
resistance.
The glass sunroof and the headliner
insert open at the same time as long
as you keep the switch held in this
position.
>Slide the switch back beyond the
pressure point.
The glass sunroof and the headliner
insert open automatically. Tapping
the switch again stops the opening
cycle.
You can close the glass sunroof in the
same manner by sliding the switch for-
ward. The headliner insert stays open
and must be closed manually.
After the ignition has been switched off,
you can still operate the sunroof for up
to 15 minutes, as long as no one opens
either of the doors.
For convenience closing via the door
lock or the remote control, refer to
pages 30 and 32.Trap protectionIf the glass sunroof encounters resis-
tance when closing from approximately
the half-closed position or when closing
from the raised position, the closing
operation is interrupted and the glass
sunroof reopens slightly.
Page 41 of 170
41
Despite trap protection, always
make sure that the sunroof can
close without obstruction, otherwise in
some cases, e.g. with thin objects, it is
not guaranteed that the closing opera-
tion will be interrupted.
Trap protection is restricted when the
switch is pressed and held beyond the
pressure point. The sunroof opens only
slightly. If the switch is pressed and
held beyond the pressure point again
within approx. 2 seconds, trap protec-
tion is overridden.<
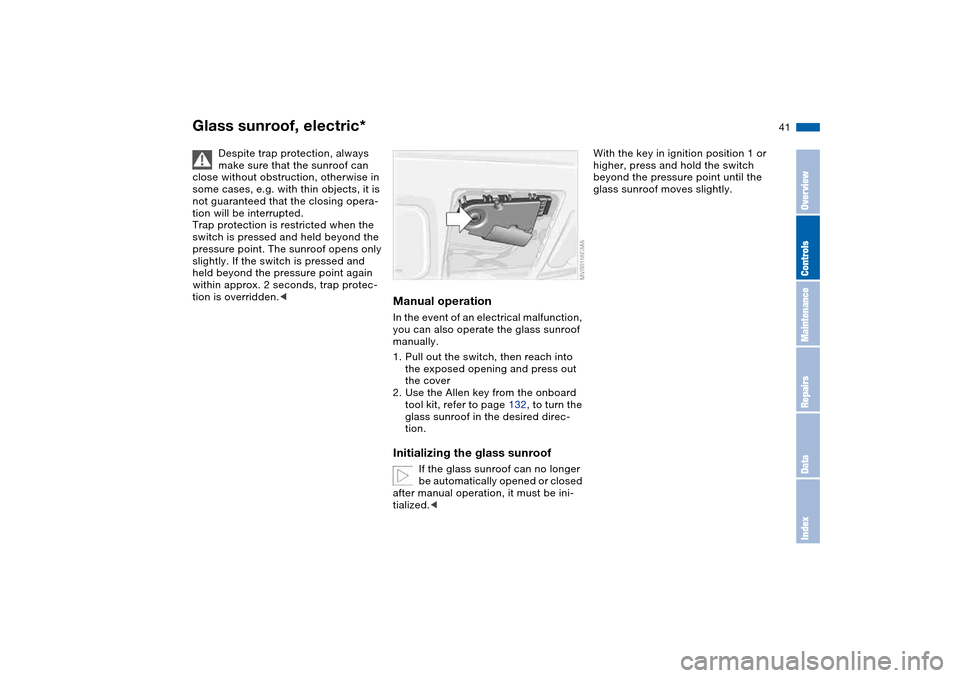
Manual operationIn the event of an electrical malfunction,
you can also operate the glass sunroof
manually.
1. Pull out the switch, then reach into
the exposed opening and press out
the cover
2. Use the Allen key from the onboard
tool kit, refer to page 132, to turn the
glass sunroof in the desired direc-
tion.Initializing the glass sunroof
If the glass sunroof can no longer
be automatically opened or closed
after manual operation, it must be ini-
tialized.<
With the key in ignition position 1 or
higher, press and hold the switch
beyond the pressure point until the
glass sunroof moves slightly.
Glass sunroof, electric*
OverviewControlsMaintenanceRepairsDataIndex
Page 52 of 170
52Passenger safety systems
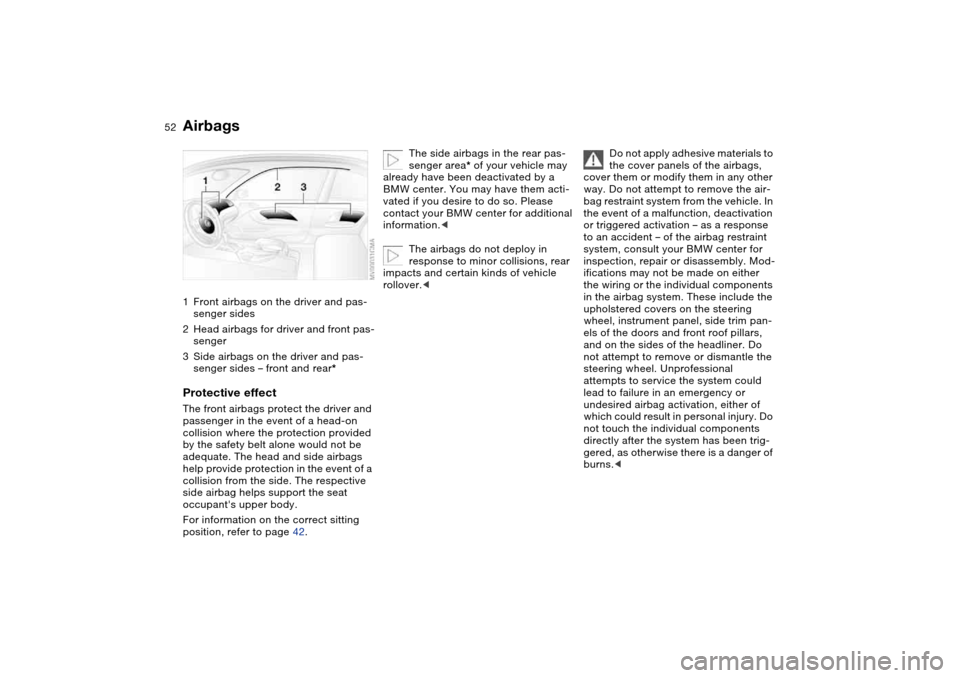
Airbags1Front airbags on the driver and pas-
senger sides
2Head airbags for driver and front pas-
senger
3Side airbags on the driver and pas-
senger sides – front and rear*Protective effectThe front airbags protect the driver and
passenger in the event of a head-on
collision where the protection provided
by the safety belt alone would not be
adequate. The head and side airbags
help provide protection in the event of a
collision from the side. The respective
side airbag helps support the seat
occupant's upper body.
For information on the correct sitting
position, refer to page 42.
The side airbags in the rear pas-
senger area* of your vehicle may
already have been deactivated by a
BMW center. You may have them acti-
vated if you desire to do so. Please
contact your BMW center for additional
information.<
The airbags do not deploy in
response to minor collisions, rear
impacts and certain kinds of vehicle
rollover.<
Do not apply adhesive materials to
the cover panels of the airbags,
cover them or modify them in any other
way. Do not attempt to remove the air-
bag restraint system from the vehicle. In
the event of a malfunction, deactivation
or triggered activation – as a response
to an accident – of the airbag restraint
system, consult your BMW center for
inspection, repair or disassembly. Mod-
ifications may not be made on either
the wiring or the individual components
in the airbag system. These include the
upholstered covers on the steering
wheel, instrument panel, side trim pan-
els of the doors and front roof pillars,
and on the sides of the headliner. Do
not attempt to remove or dismantle the
steering wheel. Unprofessional
attempts to service the system could
lead to failure in an emergency or
undesired airbag activation, either of
which could result in personal injury. Do
not touch the individual components
directly after the system has been trig-
gered, as otherwise there is a danger of
burns.<
Page 97 of 170
97
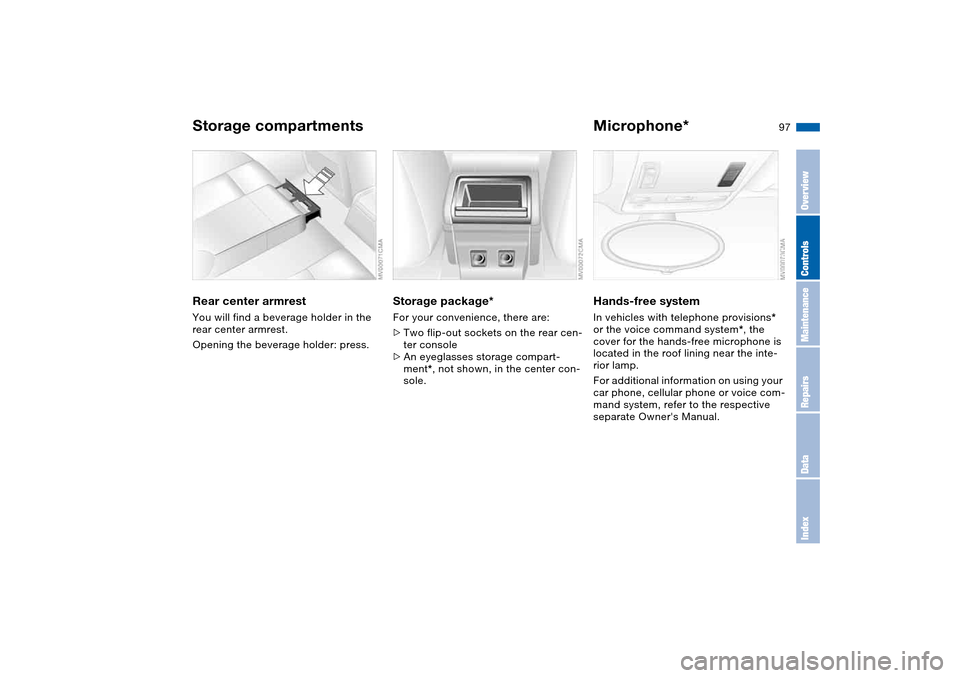
Rear center armrestYou will find a beverage holder in the
rear center armrest.
Opening the beverage holder: press.
Storage package*For your convenience, there are:
>Two flip-out sockets on the rear cen-
ter console
>An eyeglasses storage compart-
ment*, not shown, in the center con-
sole.
Microphone*Hands-free systemIn vehicles with telephone provisions*
or the voice command system*, the
cover for the hands-free microphone is
located in the roof lining near the inte-
rior lamp.
For additional information on using your
car phone, cellular phone or voice com-
mand system, refer to the respective
separate Owner's Manual.
Storage compartments
OverviewControlsMaintenanceRepairsDataIndex