climate settings BMW M5 2015 F10M Owner's Manual
[x] Cancel search | Manufacturer: BMW, Model Year: 2015, Model line: M5, Model: BMW M5 2015 F10MPages: 239, PDF Size: 5.04 MB
Page 22 of 239
iDriveVehicle features and options
This chapter describes all standard, country-
specific and optional features offered with the
series. It also describes features that are not
necessarily available in your car, e. g., due to
the selected options or country versions. This
also applies to safety-related functions and
systems. The respectively applicable country
provisions must be observed when using the
respective features and systems.
The concept
The iDrive combines the functions of many
switches. Thus, these functions can be oper‐
ated from a central location.
Using the iDrive during a trip
To avoid becoming distracted and pos‐
ing an unnecessary hazard to your vehicle's
occupants and to other traffic, never attempt
to use the controls or enter information unless
traffic and road conditions allow it.◀
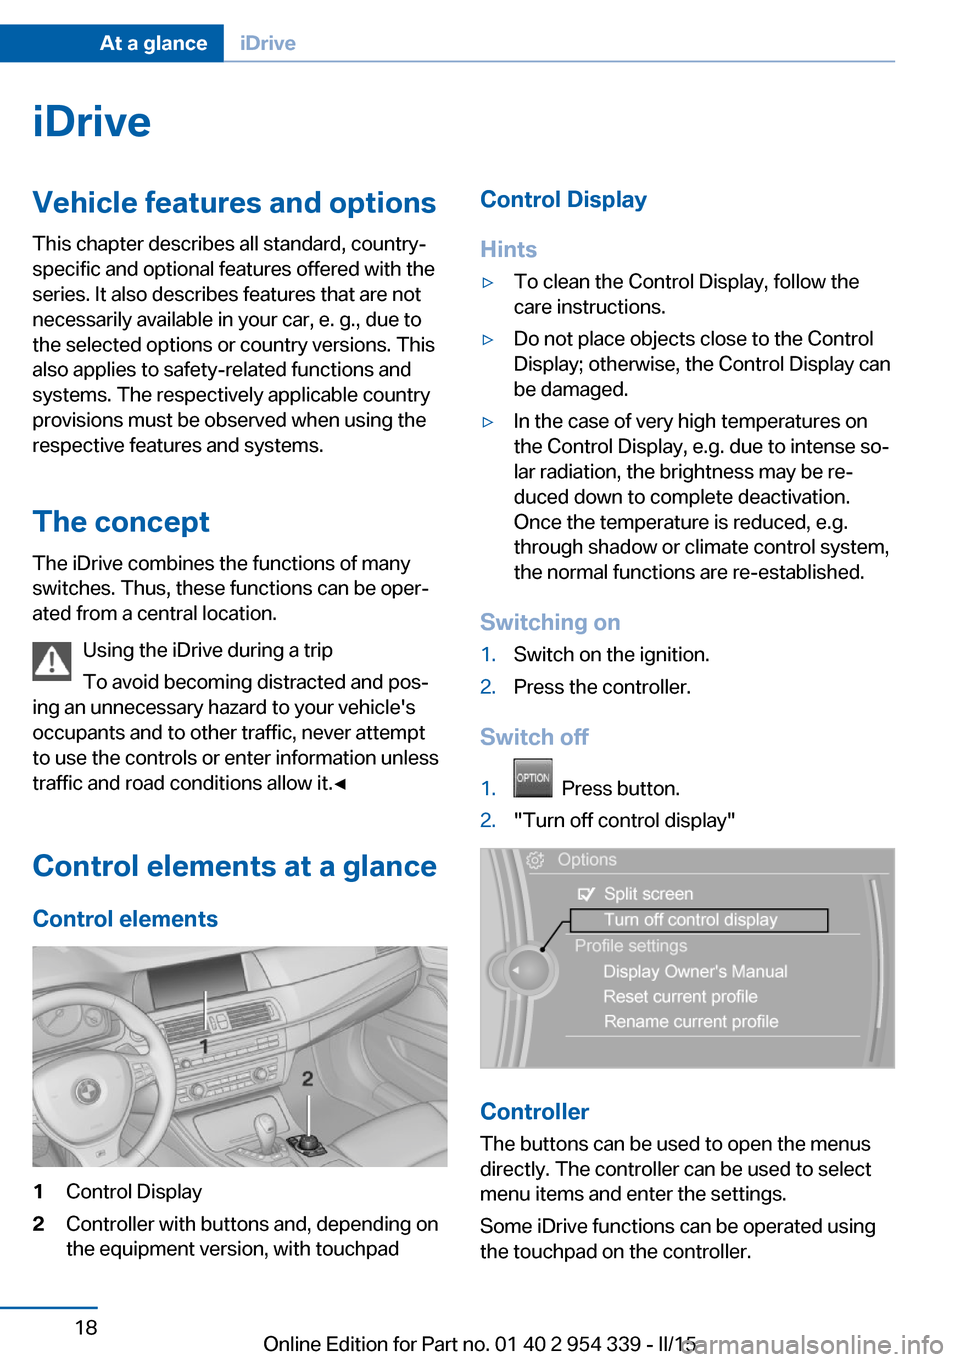
Control elements at a glanceControl elements1Control Display2Controller with buttons and, depending on
the equipment version, with touchpadControl Display
Hints▷To clean the Control Display, follow the
care instructions.▷Do not place objects close to the Control
Display; otherwise, the Control Display can
be damaged.▷In the case of very high temperatures on
the Control Display, e.g. due to intense so‐
lar radiation, the brightness may be re‐
duced down to complete deactivation.
Once the temperature is reduced, e.g.
through shadow or climate control system,
the normal functions are re-established.
Switching on
1.Switch on the ignition.2.Press the controller.
Switch off
1. Press button.2."Turn off control display"
Controller
The buttons can be used to open the menus
directly. The controller can be used to select
menu items and enter the settings.
Some iDrive functions can be operated using
the touchpad on the controller.
Seite 18At a glanceiDrive18
Online Edition for Part no. 01 40 2 954 339 - II/15
Page 40 of 239
vated. All settings stored in the profile are au‐
tomatically applied.
If several drivers use their own remote control,
the vehicle will adjust the personal settings
during unlocking. These settings are also re‐
stored, if the vehicle has been used in the
meantime by a person with a different remote
control.
Changes to the settings are automatically
saved in the personal profile.
Three personal profiles and a guest profile can
be created.
Adjusting
The settings for the following systems and
functions are saved in the active profile. The
scope of storable settings is country- and
equipment-dependable.▷Unlocking and locking.▷Lights.▷Climate control.▷Radio.▷Instrument cluster.▷Programmable memory buttons.▷Volumes, tone.▷Control Display.▷Navigation.▷Park Distance Control PDC.▷Rearview camera▷Side View.▷Head-up Display.▷M Drive: configurations.▷Driver's seat position, exterior mirror posi‐
tion, steering wheel position.▷Cruise control.▷Intelligent Safety.▷Active Blind Spot Detection.▷Night vision.Profile management
Opening profiles Regardless of the remote control in use a dif‐
ferent profile may be activated.1."Settings"2."Profiles"3.Select a profile.▷All settings stored in the called-up profile
are automatically applied.▷The called-up profile is assigned to the re‐
mote control being used at the time.▷If the profile is already assigned to a differ‐
ent remote control, this profile will apply to
both remote controls. It cannot be differen‐
tiated anymore between the settings for
the two remote controls.
Renaming profiles
A personal name can be assigned to every pro‐
file to avoid confusion between the profiles.
1."Settings"2."Profiles"3."Options"4."Rename current profile"
Resetting profiles
The settings of the active profile are reset to
their default values.
1."Settings"2."Profiles"3."Options"4."Reset current profile"
Exporting profiles
Most settings of the active profile can be ex‐
ported.
This can be helpful for securing and retrieving
personal settings, before delivering the vehicle
to a workshop, e.g. Profiles can be taken to an‐
Seite 36ControlsOpening and closing36
Online Edition for Part no. 01 40 2 954 339 - II/15
Page 94 of 239
Displaying energy recovery1."Settings"2."Instrument cluster"3.If necessary, "M dynamic driving syst."
The display for the energy recovery is
active.
Display of the dynamic driving sys‐
tems, refer to page 90.
EfficientDynamics display
Displaying Efficient Dynamics
Information on fuel consumption and technol‐ ogy can be displayed while driving.
1."Vehicle info"2."EfficientDynamics"
Displaying fuel consumption history
The average fuel consumption can be dis‐
played within an adjustable time frame.
"Consumption history"
Adjusting fuel consumption history time frame
Select the symbol.
Resetting fuel consumption history
1.Open "Options".2."Reset consumption history"
Displaying EfficientDynamics info
The current efficiency can be displayed.
"EfficientDynamics info"
The following systems are displayed:
▷Auto Start/Stop function.▷Energy recovery.▷Climate control output.Dynamic driving systems
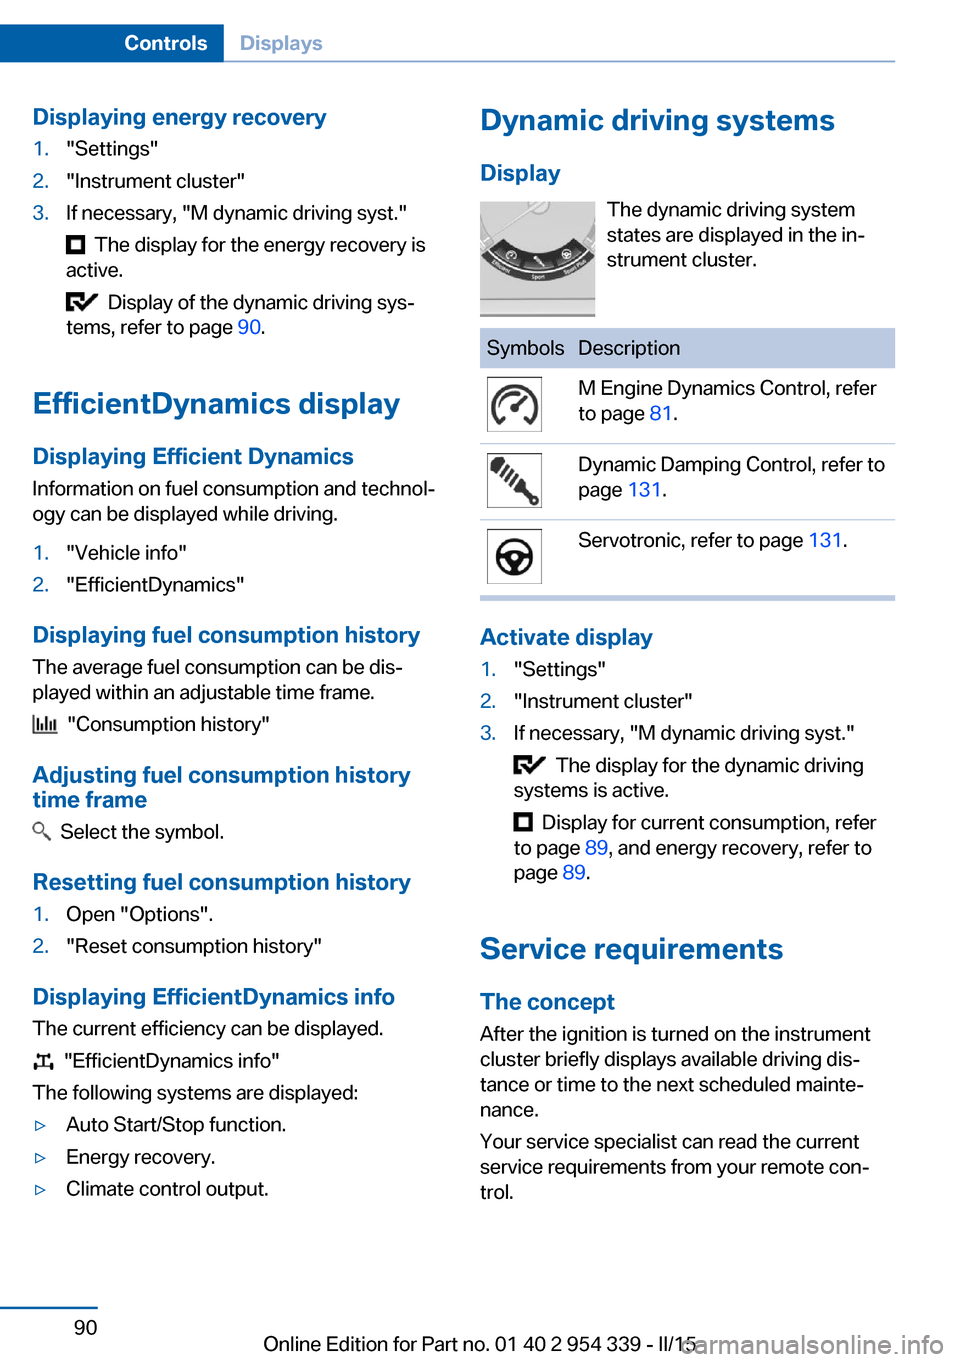
Display The dynamic driving system
states are displayed in the in‐
strument cluster.SymbolsDescriptionM Engine Dynamics Control, refer
to page 81.Dynamic Damping Control, refer to
page 131.Servotronic, refer to page 131.
Activate display
1."Settings"2."Instrument cluster"3.If necessary, "M dynamic driving syst."
The display for the dynamic driving
systems is active.
Display for current consumption, refer
to page 89, and energy recovery, refer to
page 89.
Service requirements
The concept After the ignition is turned on the instrument
cluster briefly displays available driving dis‐
tance or time to the next scheduled mainte‐
nance.
Your service specialist can read the current
service requirements from your remote con‐
trol.
Seite 90ControlsDisplays90
Online Edition for Part no. 01 40 2 954 339 - II/15
Page 149 of 239
HintsSufficient ventilation
When remaining in the vehicle for an ex‐
tended period of time, ensure sufficient exter‐
nal ventilation. Do not continuously use recir‐
culated-air mode; otherwise the air quality in
the interior continuously deteriorates and win‐
dow condensation increases.◀
Climate control functions in detail
Manual air distribution Press button repeatedly to select a
program:▷Upper body region.▷Upper body region and footwell.▷Footwell.▷Windows and footwell.▷Windows, upper body region, and footwell.▷Windows: driver's side only.▷Windows and upper body region.
If the windows are fogged over, press the
AUTO button on the driver's side to utilize the
condensation sensor.
Temperature Turn the ring to set the desired
temperature.
The automatic climate control achieves this
temperature as quickly as possible, if needed
by using the maximum cooling or heating li‐
dacity, and then keeps it constant.
Do not rapidly switch between different tem‐
perature settings. Otherwise, the automatic cli‐
mate control will not have sufficient time to ad‐
just the set temperature.
AUTO program
Press button.
Air flow, air distribution and tempera‐
ture are controlled automatically.
Depending on the selected temperature,
AUTO intensity program and outside influen‐
ces, the air is directed to the windshield, side
windows, upper body, and into the footwell.
The cooling function, refer to page 146, is
switched on automatically with the AUTO pro‐
gram.
At the same time, a condensation sensor con‐
trols the program so as to prevent window
condensation as much as possible.
Intensity of the AUTO program
With the AUTO program activated, the auto‐
matic intensity control can be changed.
Press the left or right side of the but‐
ton: decrease or increase the inten‐
sity.
The selected intensity is shown on the display
of the automatic climate control.
Air flow, manual
To manually adjust air flow turn off AUTO pro‐
gram first.
Press the left or right side of the but‐
ton: decrease or increase air flow.
The selected air flow is shown on the display of
the automatic climate control.
The air flow of the automatic climate control
may be reduced automatically to save battery
power.
Defrosts windows and removes
condensation
Press button.Seite 145Climate controlControls145
Online Edition for Part no. 01 40 2 954 339 - II/15
Page 150 of 239
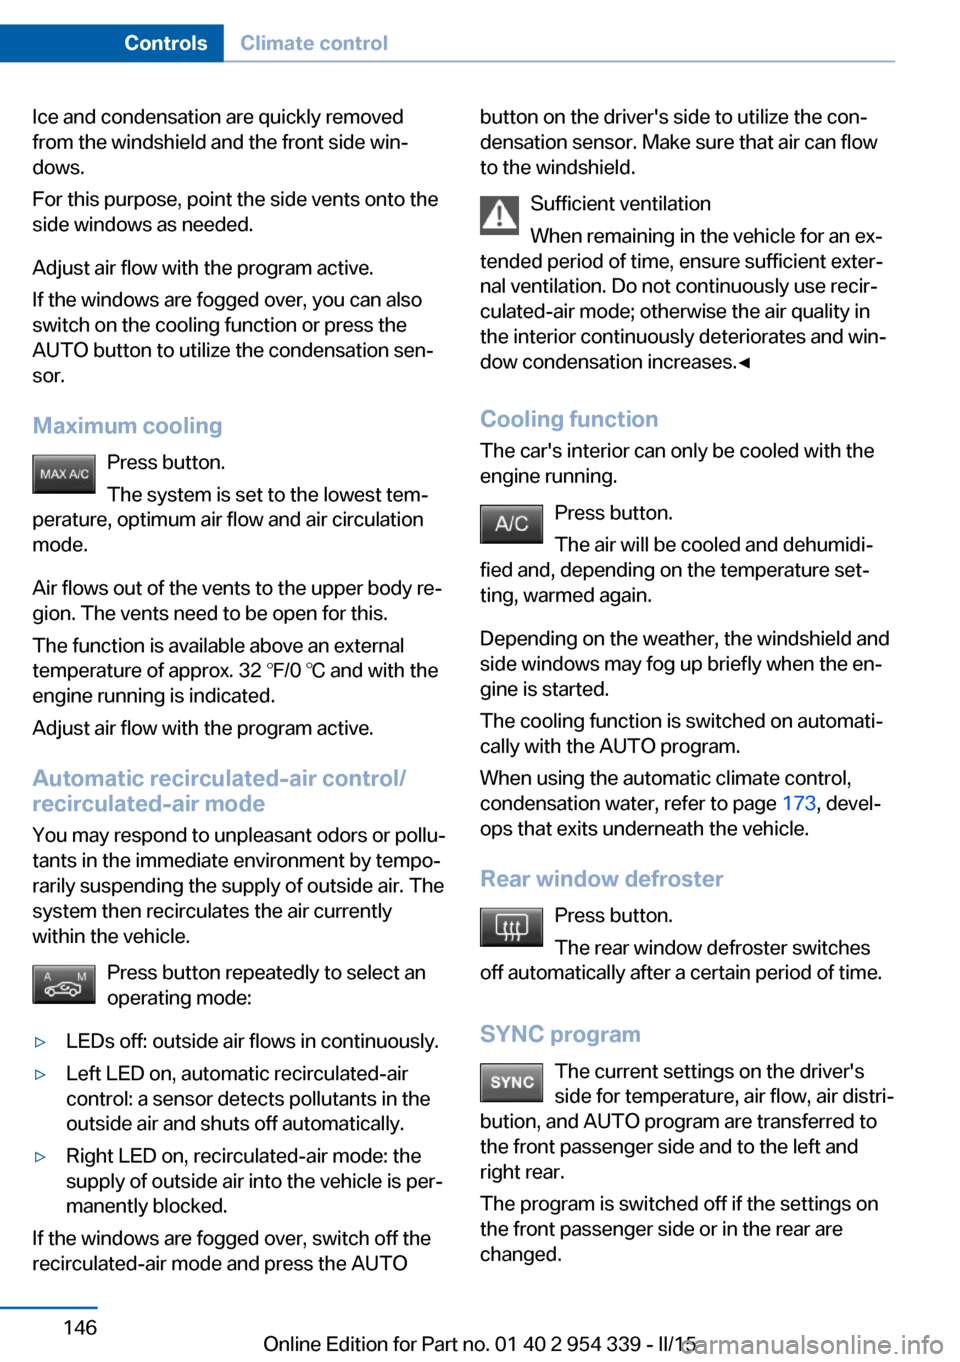
Ice and condensation are quickly removed
from the windshield and the front side win‐
dows.
For this purpose, point the side vents onto the
side windows as needed.
Adjust air flow with the program active.
If the windows are fogged over, you can also
switch on the cooling function or press the
AUTO button to utilize the condensation sen‐
sor.
Maximum cooling Press button.
The system is set to the lowest tem‐
perature, optimum air flow and air circulation mode.
Air flows out of the vents to the upper body re‐
gion. The vents need to be open for this.
The function is available above an external
temperature of approx. 32 ℉/0 ℃ and with the
engine running is indicated.
Adjust air flow with the program active.
Automatic recirculated-air control/
recirculated-air mode
You may respond to unpleasant odors or pollu‐
tants in the immediate environment by tempo‐
rarily suspending the supply of outside air. The
system then recirculates the air currently
within the vehicle.
Press button repeatedly to select an
operating mode:▷LEDs off: outside air flows in continuously.▷Left LED on, automatic recirculated-air
control: a sensor detects pollutants in the
outside air and shuts off automatically.▷Right LED on, recirculated-air mode: the
supply of outside air into the vehicle is per‐
manently blocked.
If the windows are fogged over, switch off the
recirculated-air mode and press the AUTO
button on the driver's side to utilize the con‐
densation sensor. Make sure that air can flow
to the windshield.
Sufficient ventilation
When remaining in the vehicle for an ex‐
tended period of time, ensure sufficient exter‐
nal ventilation. Do not continuously use recir‐
culated-air mode; otherwise the air quality in
the interior continuously deteriorates and win‐
dow condensation increases.◀
Cooling function The car's interior can only be cooled with the
engine running.
Press button.
The air will be cooled and dehumidi‐
fied and, depending on the temperature set‐
ting, warmed again.
Depending on the weather, the windshield and
side windows may fog up briefly when the en‐
gine is started.
The cooling function is switched on automati‐
cally with the AUTO program.
When using the automatic climate control,
condensation water, refer to page 173, devel‐
ops that exits underneath the vehicle.
Rear window defroster Press button.
The rear window defroster switches
off automatically after a certain period of time.
SYNC program The current settings on the driver's
side for temperature, air flow, air distri‐
bution, and AUTO program are transferred to the front passenger side and to the left and
right rear.
The program is switched off if the settings on
the front passenger side or in the rear are
changed.Seite 146ControlsClimate control146
Online Edition for Part no. 01 40 2 954 339 - II/15
Page 152 of 239
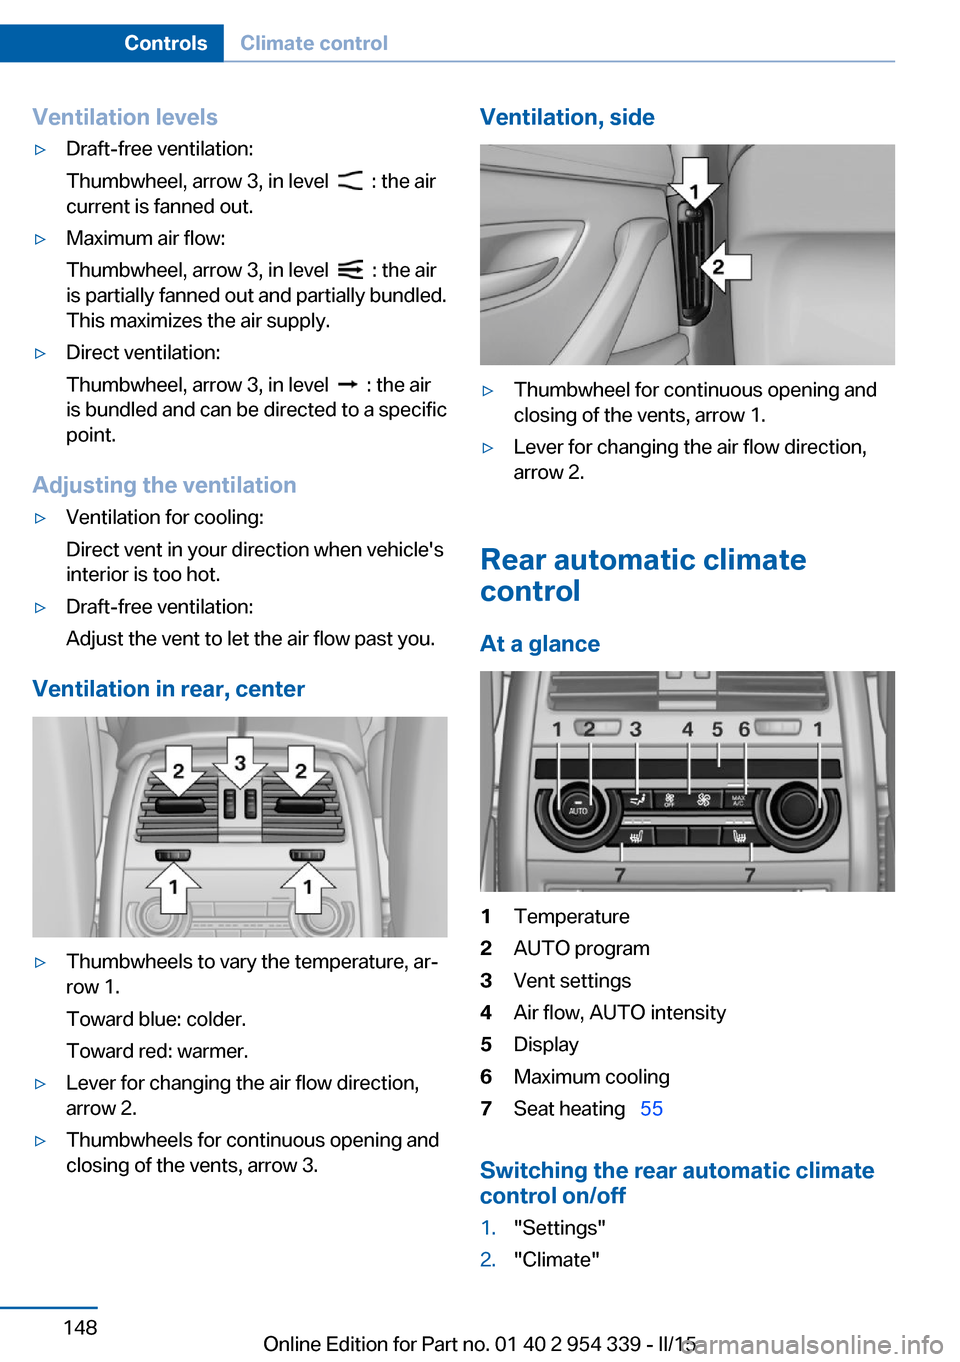
Ventilation levels▷Draft-free ventilation:
Thumbwheel, arrow 3, in level
: the air
current is fanned out.
▷Maximum air flow:
Thumbwheel, arrow 3, in level
: the air
is partially fanned out and partially bundled.
This maximizes the air supply.
▷Direct ventilation:
Thumbwheel, arrow 3, in level
: the air
is bundled and can be directed to a specific
point.
Adjusting the ventilation
▷Ventilation for cooling:
Direct vent in your direction when vehicle's
interior is too hot.▷Draft-free ventilation:
Adjust the vent to let the air flow past you.
Ventilation in rear, center
▷Thumbwheels to vary the temperature, ar‐
row 1.
Toward blue: colder.
Toward red: warmer.▷Lever for changing the air flow direction,
arrow 2.▷Thumbwheels for continuous opening and
closing of the vents, arrow 3.Ventilation, side▷Thumbwheel for continuous opening and
closing of the vents, arrow 1.▷Lever for changing the air flow direction,
arrow 2.
Rear automatic climate
control
At a glance
1Temperature2AUTO program3Vent settings4Air flow, AUTO intensity5Display6Maximum cooling7Seat heating 55
Switching the rear automatic climate
control on/off
1."Settings"2."Climate"Seite 148ControlsClimate control148
Online Edition for Part no. 01 40 2 954 339 - II/15
Page 153 of 239
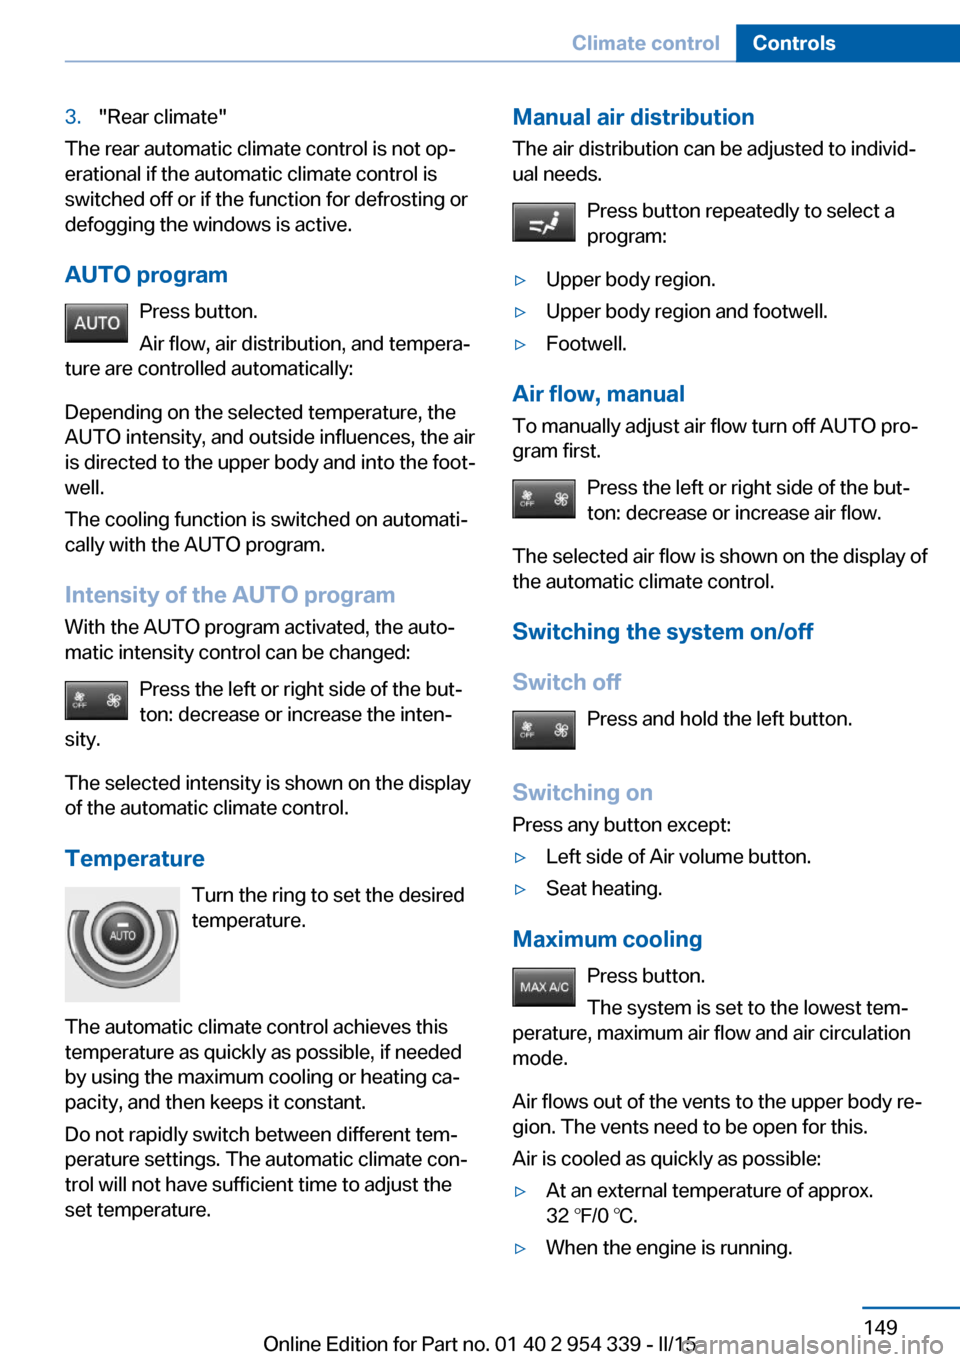
3."Rear climate"
The rear automatic climate control is not op‐
erational if the automatic climate control is
switched off or if the function for defrosting or
defogging the windows is active.
AUTO program Press button.
Air flow, air distribution, and tempera‐
ture are controlled automatically:
Depending on the selected temperature, the
AUTO intensity, and outside influences, the air
is directed to the upper body and into the foot‐
well.
The cooling function is switched on automati‐
cally with the AUTO program.
Intensity of the AUTO program With the AUTO program activated, the auto‐
matic intensity control can be changed:
Press the left or right side of the but‐
ton: decrease or increase the inten‐
sity.
The selected intensity is shown on the display
of the automatic climate control.
Temperature Turn the ring to set the desired
temperature.
The automatic climate control achieves this
temperature as quickly as possible, if needed
by using the maximum cooling or heating ca‐
pacity, and then keeps it constant.
Do not rapidly switch between different tem‐
perature settings. The automatic climate con‐
trol will not have sufficient time to adjust the
set temperature.
Manual air distribution
The air distribution can be adjusted to individ‐
ual needs.
Press button repeatedly to select a
program:▷Upper body region.▷Upper body region and footwell.▷Footwell.
Air flow, manual
To manually adjust air flow turn off AUTO pro‐
gram first.
Press the left or right side of the but‐
ton: decrease or increase air flow.
The selected air flow is shown on the display of
the automatic climate control.
Switching the system on/off
Switch off Press and hold the left button.
Switching on Press any button except:
▷Left side of Air volume button.▷Seat heating.
Maximum cooling
Press button.
The system is set to the lowest tem‐
perature, maximum air flow and air circulation
mode.
Air flows out of the vents to the upper body re‐
gion. The vents need to be open for this.
Air is cooled as quickly as possible:
▷At an external temperature of approx.
32 ℉/0 ℃.▷When the engine is running.Seite 149Climate controlControls149
Online Edition for Part no. 01 40 2 954 339 - II/15
Page 154 of 239
Parked-car ventilation
The concept The parked-car ventilation ventilates the vehi‐
cle interior and lowers its temperature, if
needed.
Operation can be performed via iDrive.
Functional requirements
Parked-car ventilation▷Using the preset reel-on time or when op‐
erated directly: any external temperature.
Open the vents to allow air to flow out.
Switching on/off directly
On the Control Display:
1."Settings"2."Climate"3."Activate comf. ventilation"
The symbol on the automatic climate con‐
trol flashes if the system is switched on.
The system continues to run for some time af‐
ter being switched off.
Preselecting the reel-on time On the Control Display:
1."Settings"2."Climate"3."Timer 1:" or "Timer 2:"4.Set the desired time.
Activating the reel-on time
On the Control Display:
1."Settings"2."Climate"3."Activate timer 1" or "Activate timer 2"
The symbol on the automatic climate con‐
trol lights up when the reel-on time is acti‐
vated.
The symbol on the automatic climate con‐
trol flashes when the system has been
switched on.
The system will only be switched on within the
next 24 hours. After that, it needs to be reacti‐
vated.Seite 150ControlsClimate control150
Online Edition for Part no. 01 40 2 954 339 - II/15
Page 229 of 239
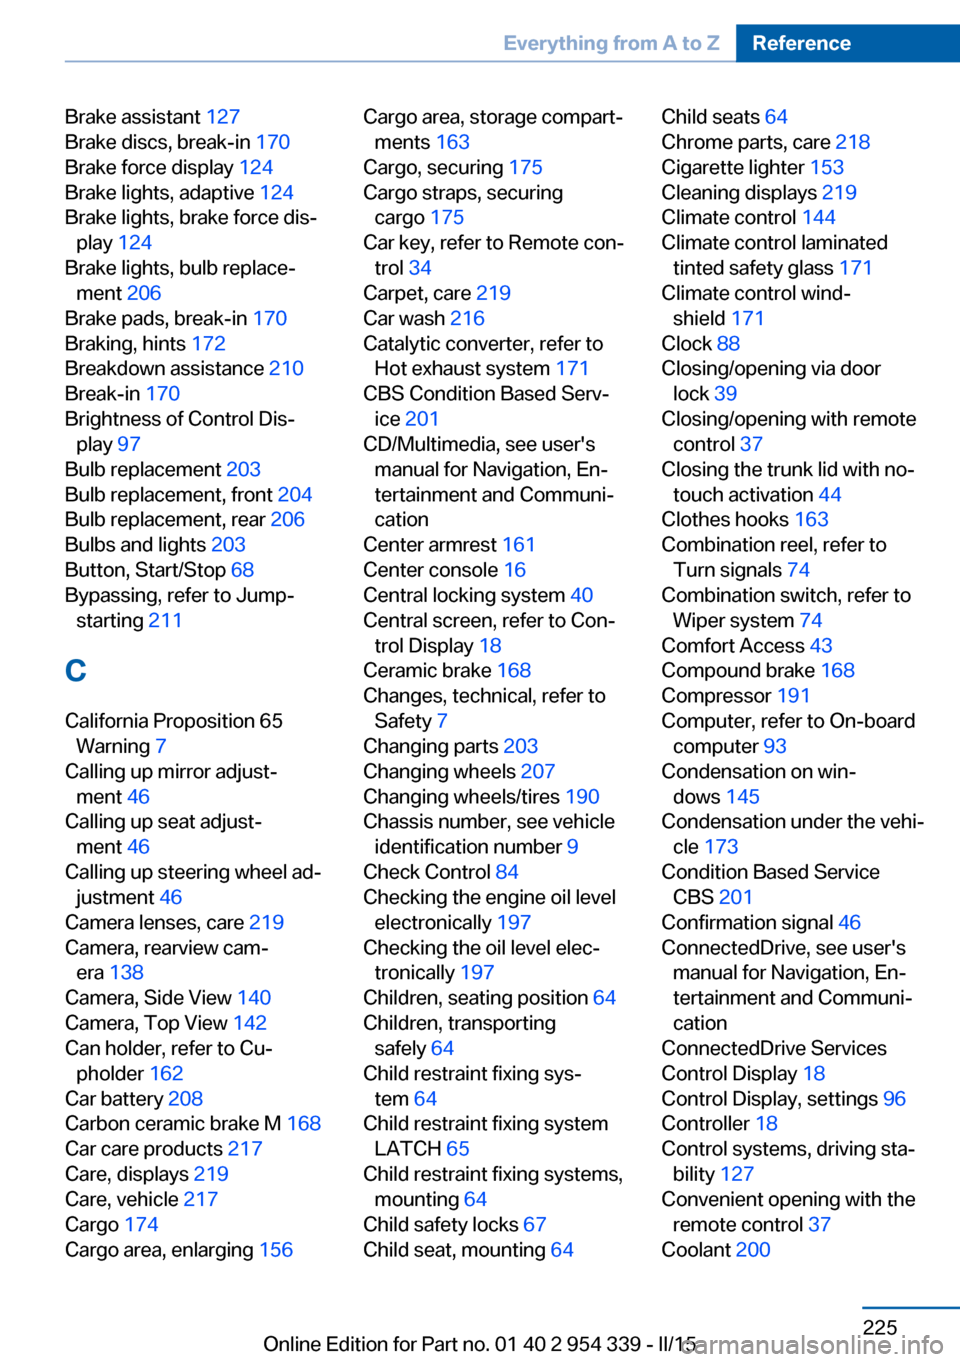
Brake assistant 127
Brake discs, break-in 170
Brake force display 124
Brake lights, adaptive 124
Brake lights, brake force dis‐ play 124
Brake lights, bulb replace‐ ment 206
Brake pads, break-in 170
Braking, hints 172
Breakdown assistance 210
Break-in 170
Brightness of Control Dis‐ play 97
Bulb replacement 203
Bulb replacement, front 204
Bulb replacement, rear 206
Bulbs and lights 203
Button, Start/Stop 68
Bypassing, refer to Jump- starting 211
C
California Proposition 65 Warning 7
Calling up mirror adjust‐ ment 46
Calling up seat adjust‐ ment 46
Calling up steering wheel ad‐ justment 46
Camera lenses, care 219
Camera, rearview cam‐ era 138
Camera, Side View 140
Camera, Top View 142
Can holder, refer to Cu‐ pholder 162
Car battery 208
Carbon ceramic brake M 168
Car care products 217
Care, displays 219
Care, vehicle 217
Cargo 174
Cargo area, enlarging 156 Cargo area, storage compart‐
ments 163
Cargo, securing 175
Cargo straps, securing cargo 175
Car key, refer to Remote con‐ trol 34
Carpet, care 219
Car wash 216
Catalytic converter, refer to Hot exhaust system 171
CBS Condition Based Serv‐ ice 201
CD/Multimedia, see user's manual for Navigation, En‐
tertainment and Communi‐
cation
Center armrest 161
Center console 16
Central locking system 40
Central screen, refer to Con‐ trol Display 18
Ceramic brake 168
Changes, technical, refer to Safety 7
Changing parts 203
Changing wheels 207
Changing wheels/tires 190
Chassis number, see vehicle identification number 9
Check Control 84
Checking the engine oil level electronically 197
Checking the oil level elec‐ tronically 197
Children, seating position 64
Children, transporting safely 64
Child restraint fixing sys‐ tem 64
Child restraint fixing system LATCH 65
Child restraint fixing systems, mounting 64
Child safety locks 67
Child seat, mounting 64 Child seats 64
Chrome parts, care 218
Cigarette lighter 153
Cleaning displays 219
Climate control 144
Climate control laminated tinted safety glass 171
Climate control wind‐ shield 171
Clock 88
Closing/opening via door lock 39
Closing/opening with remote control 37
Closing the trunk lid with no- touch activation 44
Clothes hooks 163
Combination reel, refer to Turn signals 74
Combination switch, refer to Wiper system 74
Comfort Access 43
Compound brake 168
Compressor 191
Computer, refer to On-board computer 93
Condensation on win‐ dows 145
Condensation under the vehi‐ cle 173
Condition Based Service CBS 201
Confirmation signal 46
ConnectedDrive, see user's manual for Navigation, En‐
tertainment and Communi‐
cation
ConnectedDrive Services
Control Display 18
Control Display, settings 96
Controller 18
Control systems, driving sta‐ bility 127
Convenient opening with the remote control 37
Coolant 200 Seite 225Everything from A to ZReference225
Online Edition for Part no. 01 40 2 954 339 - II/15
Page 236 of 239
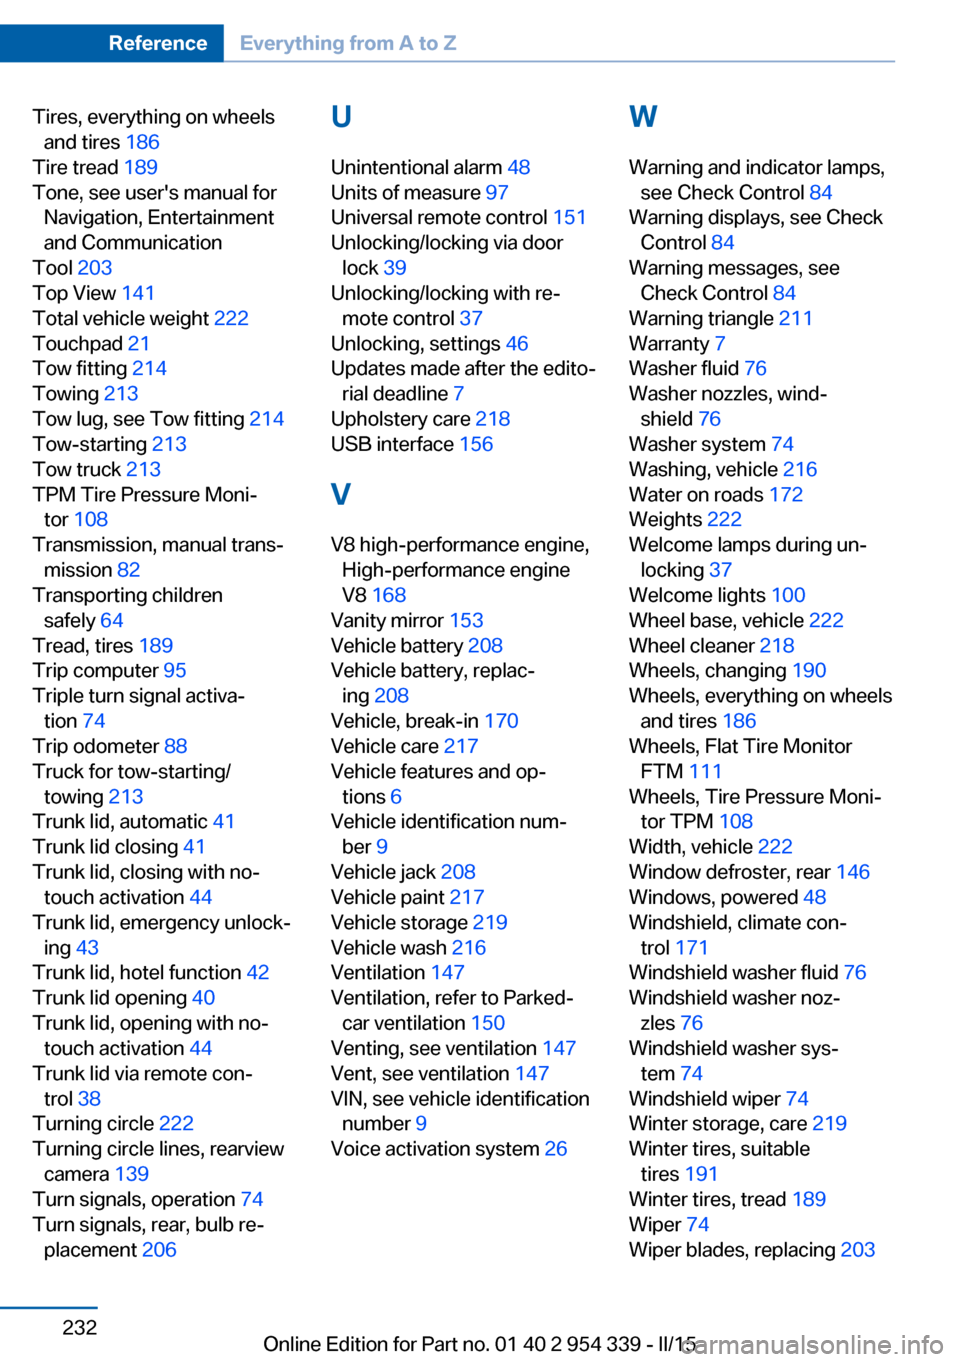
Tires, everything on wheelsand tires 186
Tire tread 189
Tone, see user's manual for Navigation, Entertainment
and Communication
Tool 203
Top View 141
Total vehicle weight 222
Touchpad 21
Tow fitting 214
Towing 213
Tow lug, see Tow fitting 214
Tow-starting 213
Tow truck 213
TPM Tire Pressure Moni‐ tor 108
Transmission, manual trans‐ mission 82
Transporting children safely 64
Tread, tires 189
Trip computer 95
Triple turn signal activa‐ tion 74
Trip odometer 88
Truck for tow-starting/ towing 213
Trunk lid, automatic 41
Trunk lid closing 41
Trunk lid, closing with no- touch activation 44
Trunk lid, emergency unlock‐ ing 43
Trunk lid, hotel function 42
Trunk lid opening 40
Trunk lid, opening with no- touch activation 44
Trunk lid via remote con‐ trol 38
Turning circle 222
Turning circle lines, rearview camera 139
Turn signals, operation 74
Turn signals, rear, bulb re‐ placement 206 U
Unintentional alarm 48
Units of measure 97
Universal remote control 151
Unlocking/locking via door lock 39
Unlocking/locking with re‐ mote control 37
Unlocking, settings 46
Updates made after the edito‐ rial deadline 7
Upholstery care 218
USB interface 156
V
V8 high-performance engine, High-performance engine
V8 168
Vanity mirror 153
Vehicle battery 208
Vehicle battery, replac‐ ing 208
Vehicle, break-in 170
Vehicle care 217
Vehicle features and op‐ tions 6
Vehicle identification num‐ ber 9
Vehicle jack 208
Vehicle paint 217
Vehicle storage 219
Vehicle wash 216
Ventilation 147
Ventilation, refer to Parked- car ventilation 150
Venting, see ventilation 147
Vent, see ventilation 147
VIN, see vehicle identification number 9
Voice activation system 26 W
Warning and indicator lamps, see Check Control 84
Warning displays, see Check Control 84
Warning messages, see Check Control 84
Warning triangle 211
Warranty 7
Washer fluid 76
Washer nozzles, wind‐ shield 76
Washer system 74
Washing, vehicle 216
Water on roads 172
Weights 222
Welcome lamps during un‐ locking 37
Welcome lights 100
Wheel base, vehicle 222
Wheel cleaner 218
Wheels, changing 190
Wheels, everything on wheels and tires 186
Wheels, Flat Tire Monitor FTM 111
Wheels, Tire Pressure Moni‐ tor TPM 108
Width, vehicle 222
Window defroster, rear 146
Windows, powered 48
Windshield, climate con‐ trol 171
Windshield washer fluid 76
Windshield washer noz‐ zles 76
Windshield washer sys‐ tem 74
Windshield wiper 74
Winter storage, care 219
Winter tires, suitable tires 191
Winter tires, tread 189
Wiper 74
Wiper blades, replacing 203 Seite 232ReferenceEverything from A to Z232
Online Edition for Part no. 01 40 2 954 339 - II/15