steering BMW M6 CONVERTIBLE 2013 F12 User Guide
[x] Cancel search | Manufacturer: BMW, Model Year: 2013, Model line: M6 CONVERTIBLE, Model: BMW M6 CONVERTIBLE 2013 F12Pages: 222, PDF Size: 7.3 MB
Page 62 of 222
Adjusting electricallyThe setting corresponds to the direc‐
tion in which the button is pressed.
Saving positions
Seat, mirror, and steering wheel memory, refer
to page 56.
Adjusting manually If an electrical malfunction occurs, for example,
press the edges of the mirror glass.
Automatic Curb Monitor
When the reverse gear is engaged, the mirror
glass tilts downward slightly on the front pas‐
senger side. This improves your view of the
curb and other low-lying obstacles when park‐
ing, for example.
Activating1. Slide the mirror changeover switch
to the driver's side mirror position.2.Engage transmission position R.
Deactivating
Slide the mirror changeover switch to the pas‐
senger's side mirror position.
Fold in and out Press the button.
Possible up to approx. 15 mph/20 km/h.
For example, this is advantageous
▷In car washes.▷In narrow streets.▷For folding back mirrors that were folded
away manually.
Mirrors that were folded in are folded out auto‐
matically at a speed of approx.
25 mph/40 km/h.
Fold in the mirror in a car wash
Before washing the car in an automatic
car wash, fold in the exterior mirrors by hand or
with the button; otherwise, the mirrors could
be damaged, depending on the width of the
vehicle.◀
Automatic heating
Both exterior mirrors are automatically heated
whenever the engine is running.
Automatic dimming feature Both exterior mirrors are automatically dim‐
med. Photocells are used for control in the In‐
terior rear view mirror, refer to page 58.
Interior rearview mirror, automatic
dimming feature
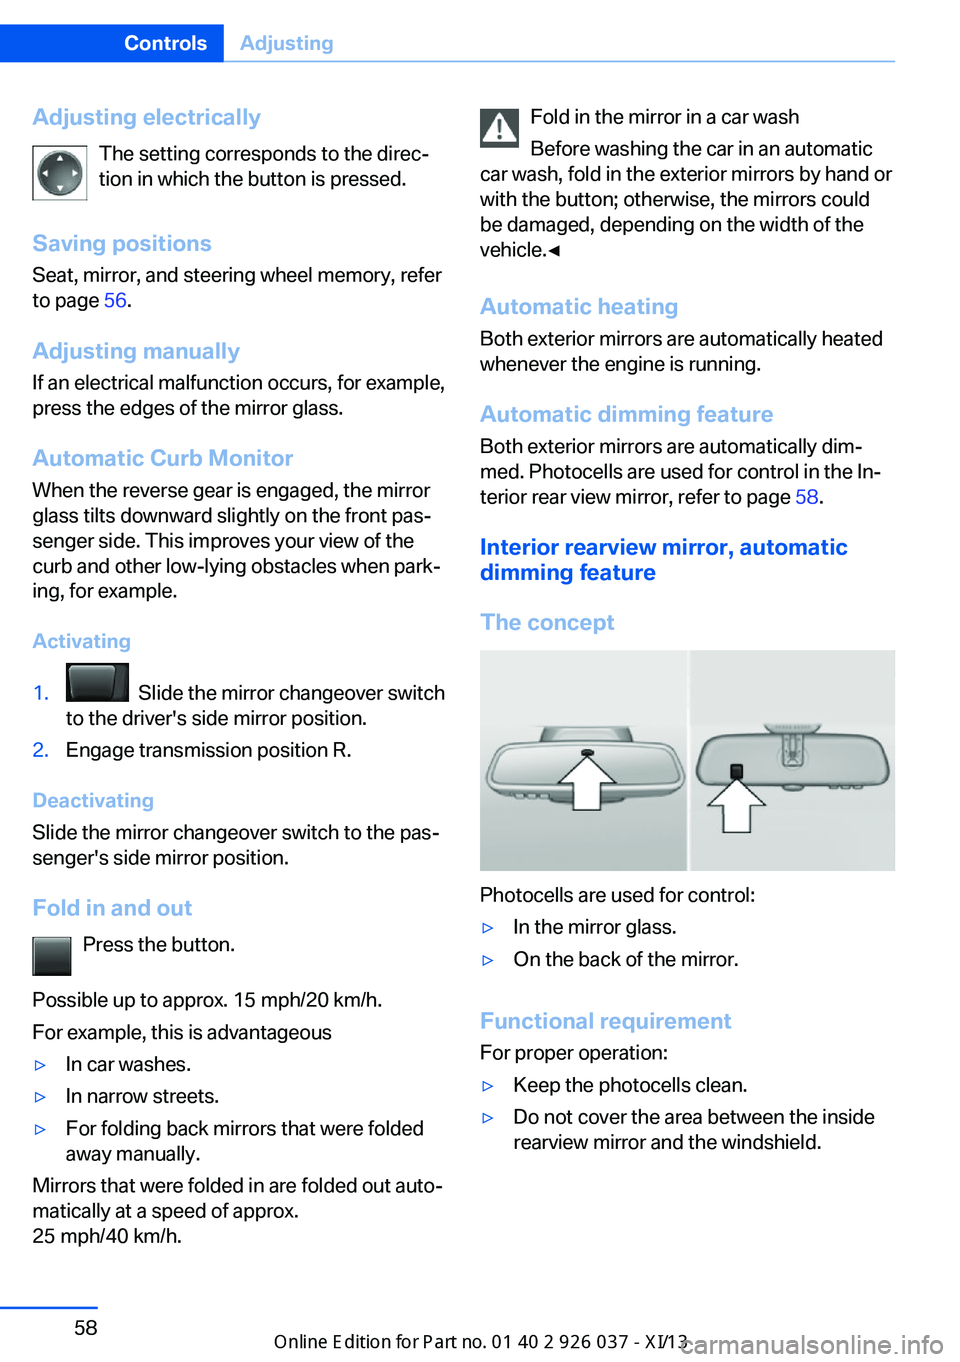
The concept
Photocells are used for control:
▷In the mirror glass.▷On the back of the mirror.
Functional requirement For proper operation:
▷Keep the photocells clean.▷Do not cover the area between the inside
rearview mirror and the windshield.Seite 58ControlsAdjusting58
Online Edition for Part no. 01 40 2 910 746 - VI/13
Page 63 of 222
Steering wheel
General information Do not adjust while driving
Do not adjust the steering wheel while
driving; otherwise, an unexpected movement
could result in an accident.◀
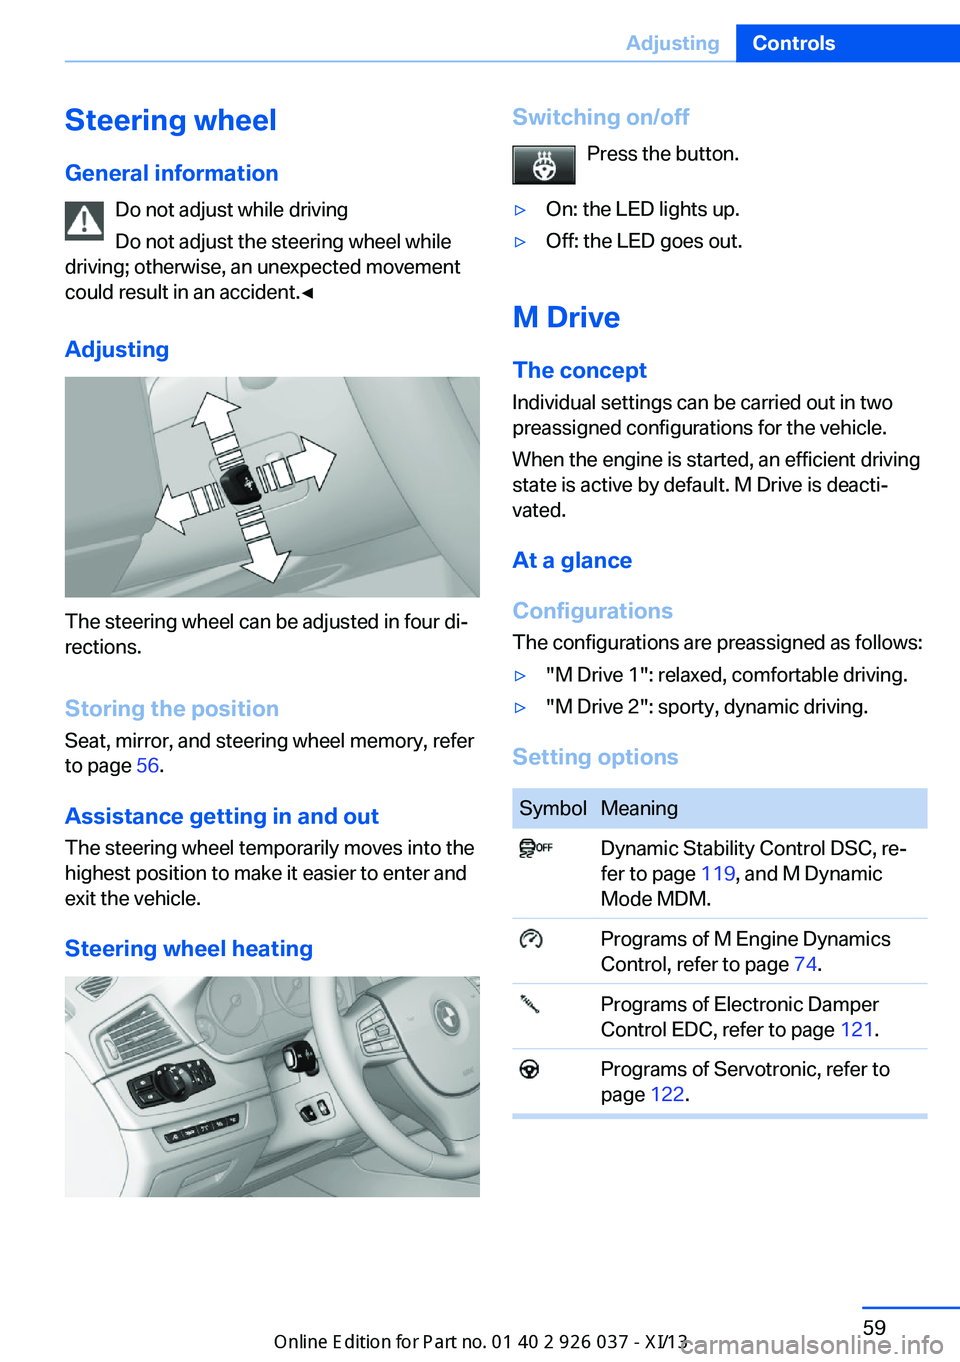
Adjusting
The steering wheel can be adjusted in four di‐
rections.
Storing the position Seat, mirror, and steering wheel memory, refer
to page 56.
Assistance getting in and out
The steering wheel temporarily moves into the
highest position to make it easier to enter and
exit the vehicle.
Steering wheel heating
Switching on/off Press the button.▷On: the LED lights up.▷Off: the LED goes out.
M Drive
The conceptIndividual settings can be carried out in two
preassigned configurations for the vehicle.
When the engine is started, an efficient driving
state is active by default. M Drive is deacti‐
vated.
At a glance
Configurations
The configurations are preassigned as follows:
▷"M Drive 1": relaxed, comfortable driving.▷"M Drive 2": sporty, dynamic driving.
Setting options
SymbolMeaning Dynamic Stability Control DSC, re‐
fer to page 119, and M Dynamic
Mode MDM. Programs of M Engine Dynamics
Control, refer to page 74. Programs of Electronic Damper
Control EDC, refer to page 121. Programs of Servotronic, refer to
page 122.Seite 59AdjustingControls59
Online Edition for Part no. 01 40 2 910 746 - VI/13
Page 70 of 222
Engine stop
Hints Take the remote control with youTake the remote control with you when
leaving the vehicle so that children, for exam‐
ple, cannot start the engine.◀
Set the parking brake and further secure
the vehicle as required
Set the parking brake firmly when parking; oth‐
erwise, the vehicle could roll. On steep upward
and downward inclines, further secure the ve‐
hicle, for example, by turning the steering
wheel in the direction of the curb. ◀
Before driving into a car wash
In order for the vehicle to be able to roll into a
car wash, heed the information regarding
Washing in automatic car washes, refer to
page 196.
Manual transmission
Switching off the engine1.With the vehicle at a standstill, press the
Start/Stop button.2.Shift into first gear or reverse.3.Set the parking brake.
Double-clutch transmission
Switching off the engine
1.Apply the brakes until the vehicle comes to
a stop.2.Press the Start/Stop button.
The engine is switched off.
The radio ready state is switched on.3.Set the parking brake.Automatic Engine Start/Stop
Function
The concept The Auto Start/Stop function helps save fuel.
The system switches off the engine during a
stop, e.g., in a traffic congestion or at traffic
lights. The ignition remains switched on. The
engine starts again automatically for driving
off.
Certain vehicle components may experience
additional wear as a result of this system.
Semi-automatic mode
After every start of the engine, the Auto Start
Stop function is in the last selected state, refer
to page 68. When the Auto Start Stop func‐
tion is active, it is available when the vehicle is
traveling faster than about 3 mph, approx.
5 km/h.
Engine stop
The engine is switched off automatically dur‐
ing a stop under the following conditions:
Double-clutch transmission:▷The selector lever is in transmission posi‐
tion D.▷Brake pedal remains depressed while the
vehicle is stopped.▷The driver's seat belt is buckled or the driv‐
er's door is closed.
The air volume of the air conditioner is reduced
when the engine is switched off.
Displays in the instrument cluster The display indicates that the
automatic engine start-stop
function is ready for an auto‐
matic engine start.
Seite 66ControlsDriving66
Online Edition for Part no. 01 40 2 910 746 - VI/13
Page 71 of 222
The display indicates that the
conditions for an automatic en‐
gine stop have not been satis‐
fied.
Note
The engine is not switched off automatically in
the following situations:▷External temperature too low.▷The external temperature is high and auto‐
matic climate control is running.▷The passenger compartment has not yet
been heated or cooled to the required
level.▷The engine is not yet at operating temper‐
ature.▷The wheels are at a sharp angle or the
steering wheel is being turned.▷After driving in reverse.▷Fogging of the windows when the auto‐
matic climate control is switched on.▷Vehicle battery is heavily discharged.▷The engine compartment lid is unlocked.▷Stop-and-go traffic.▷Use of fuel with high ethanol content.
Starting the engine
The engine starts automatically under the fol‐
lowing conditions:
▷Manual transmission:
The clutch pedal is pressed.▷Double-clutch transmission:
By releasing the brake pedal.
After the engine starts, accelerate as usual.
Safety mode
After the engine switches off automatically, it
will not start again automatically if any one of
the following conditions are met.
▷The driver's safety belt is unbuckled and
the driver's door is open.▷The hood was unlocked.
Some indicator lamps light up for varying
lengths of time.
The engine can only be started via the Start/
Stop button.
Note Even if driving away was not intended, the de‐
activated engine starts up automatically in the
following situations:
▷Excessive warming of the passenger com‐
partment when the cooling function is
switched on.▷The steering wheel is turned.▷Double-clutch transmission: Change of the
transmission from D to N, R or D/S.▷Double-clutch transmission: Accelerating
while simultaneously applying the brake.▷Fogging of the windows when the auto‐
matic climate control is switched on.▷Vehicle battery is heavily discharged.▷Excessive cooling of the passenger com‐
partment when the heating is switched on.
Preventing an automatic engine stop with a double-clutch transmission
The concept To make it possible to drive away very quickly,
such as at an intersection, the automatic en‐
gine stop can be actively prevented.
Preventing an engine stop using the
brake pedal
The engine stop can be actively prevented
within one second after the vehicle comes to a
standstill.
▷Immediately after the vehicle comes to a
standstill, briefly press the brake pedal
forcefully.Seite 67DrivingControls67
Online Edition for Part no. 01 40 2 910 746 - VI/13
Page 73 of 222
hicle, for example, by turning the steering
wheel in the direction of the curb. ◀
While driving
Use while driving serves as an emergency
braking function:
Pull the switch and hold it. The vehicle brakes
hard while the switch is being pulled.
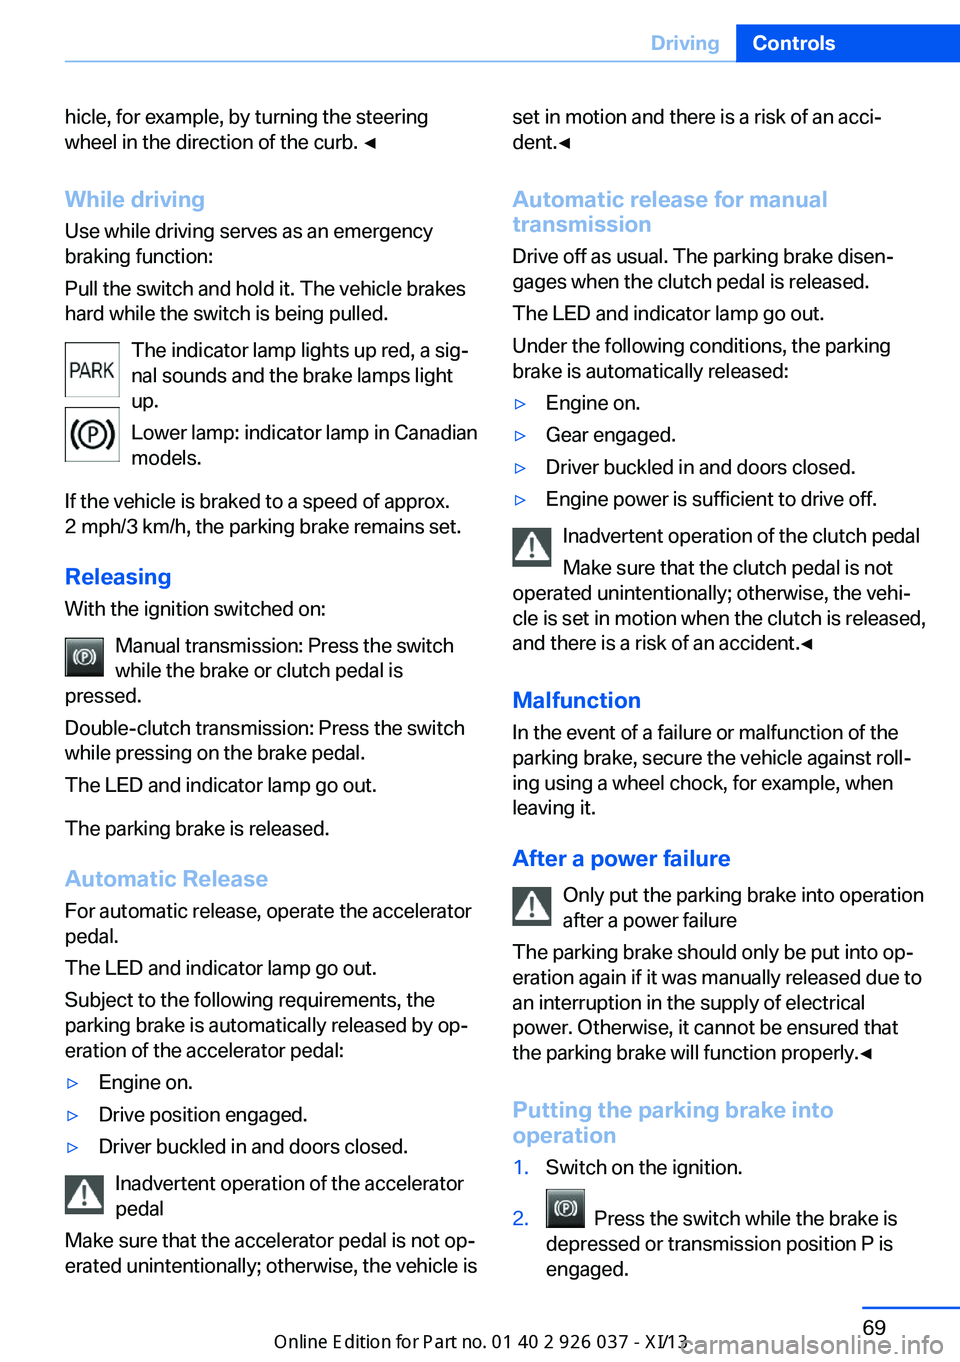
The indicator lamp lights up red, a sig‐
nal sounds and the brake lamps light
up.
Lower lamp: indicator lamp in Canadian
models.
If the vehicle is braked to a speed of approx.
2 mph/3 km/h, the parking brake remains set.
Releasing
With the ignition switched on:
Manual transmission: Press the switch
while the brake or clutch pedal is
pressed.
Double-clutch transmission: Press the switch
while pressing on the brake pedal.
The LED and indicator lamp go out.
The parking brake is released.
Automatic Release
For automatic release, operate the accelerator
pedal.
The LED and indicator lamp go out.
Subject to the following requirements, the
parking brake is automatically released by op‐
eration of the accelerator pedal:▷Engine on.▷Drive position engaged.▷Driver buckled in and doors closed.
Inadvertent operation of the accelerator
pedal
Make sure that the accelerator pedal is not op‐
erated unintentionally; otherwise, the vehicle is
set in motion and there is a risk of an acci‐
dent.◀
Automatic release for manual
transmission
Drive off as usual. The parking brake disen‐
gages when the clutch pedal is released.
The LED and indicator lamp go out.
Under the following conditions, the parking
brake is automatically released:▷Engine on.▷Gear engaged.▷Driver buckled in and doors closed.▷Engine power is sufficient to drive off.
Inadvertent operation of the clutch pedal
Make sure that the clutch pedal is not
operated unintentionally; otherwise, the vehi‐
cle is set in motion when the clutch is released,
and there is a risk of an accident.◀
Malfunction
In the event of a failure or malfunction of the parking brake, secure the vehicle against roll‐
ing using a wheel chock, for example, when leaving it.
After a power failure Only put the parking brake into operation
after a power failure
The parking brake should only be put into op‐
eration again if it was manually released due to
an interruption in the supply of electrical
power. Otherwise, it cannot be ensured that
the parking brake will function properly.◀
Putting the parking brake into
operation
1.Switch on the ignition.2. Press the switch while the brake is
depressed or transmission position P is
engaged.
Seite 69DrivingControls69
Online Edition for Part no. 01 40 2 910 746 - VI/13
Page 74 of 222
It may take several seconds for the brake to be
put into operation. Any sounds associated with
this are normal.
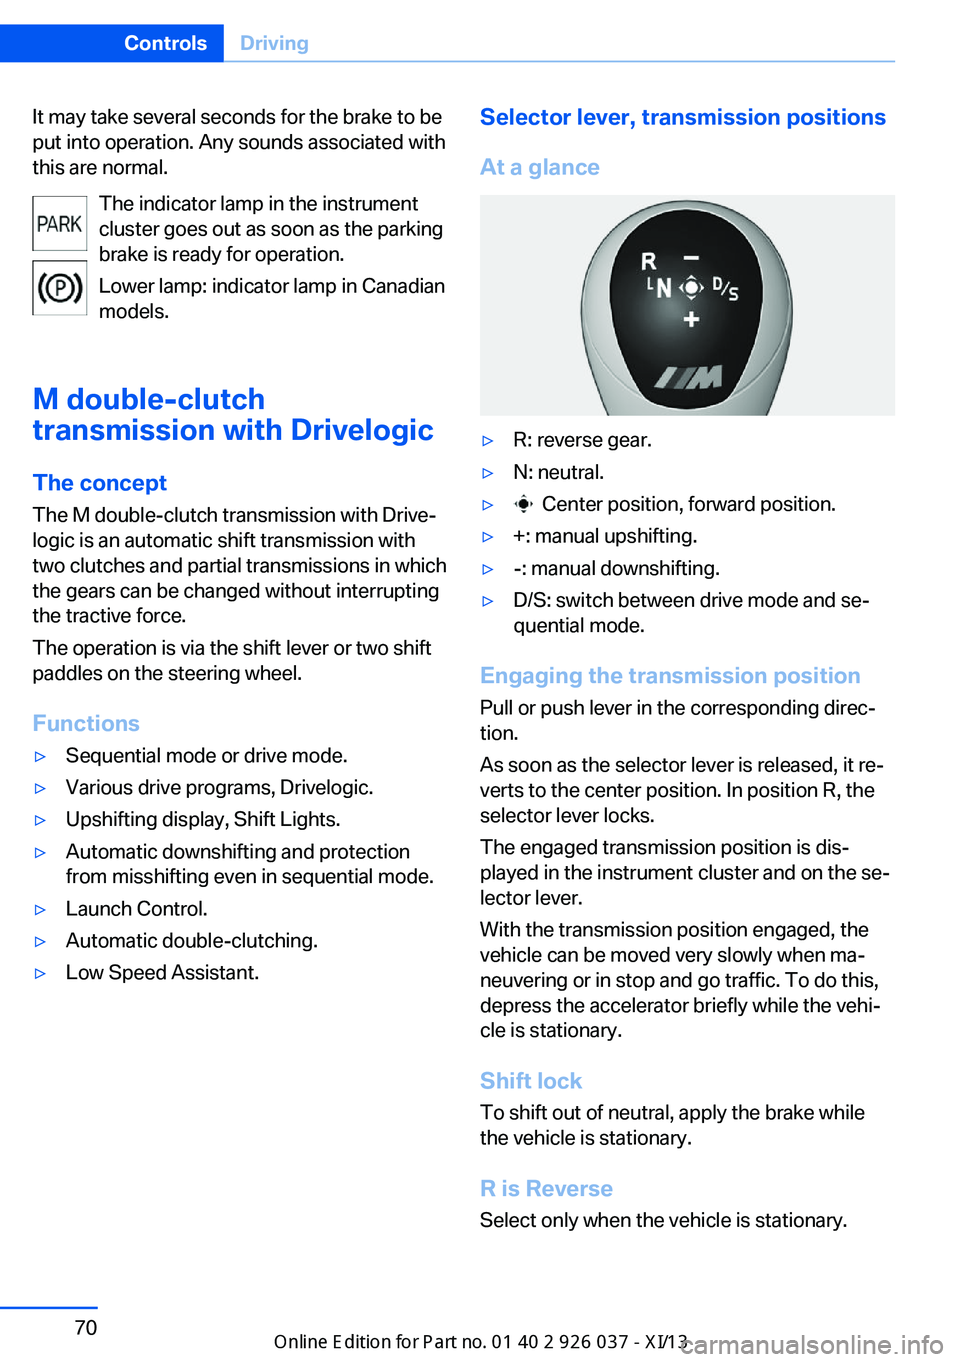
The indicator lamp in the instrument
cluster goes out as soon as the parking
brake is ready for operation.
Lower lamp: indicator lamp in Canadian
models.
M double-clutch
transmission with Drivelogic
The conceptThe M double-clutch transmission with Drive‐
logic is an automatic shift transmission with
two clutches and partial transmissions in which
the gears can be changed without interrupting
the tractive force.
The operation is via the shift lever or two shift
paddles on the steering wheel.
Functions▷Sequential mode or drive mode.▷Various drive programs, Drivelogic.▷Upshifting display, Shift Lights.▷Automatic downshifting and protection
from misshifting even in sequential mode.▷Launch Control.▷Automatic double-clutching.▷Low Speed Assistant.Selector lever, transmission positions
At a glance▷R: reverse gear.▷N: neutral.▷ Center position, forward position.▷+: manual upshifting.▷-: manual downshifting.▷D/S: switch between drive mode and se‐
quential mode.
Engaging the transmission position
Pull or push lever in the corresponding direc‐
tion.
As soon as the selector lever is released, it re‐
verts to the center position. In position R, the
selector lever locks.
The engaged transmission position is dis‐
played in the instrument cluster and on the se‐
lector lever.
With the transmission position engaged, the
vehicle can be moved very slowly when ma‐
neuvering or in stop and go traffic. To do this,
depress the accelerator briefly while the vehi‐
cle is stationary.
Shift lock
To shift out of neutral, apply the brake while
the vehicle is stationary.
R is Reverse
Select only when the vehicle is stationary.
Seite 70ControlsDriving70
Online Edition for Part no. 01 40 2 910 746 - VI/13
Page 76 of 222
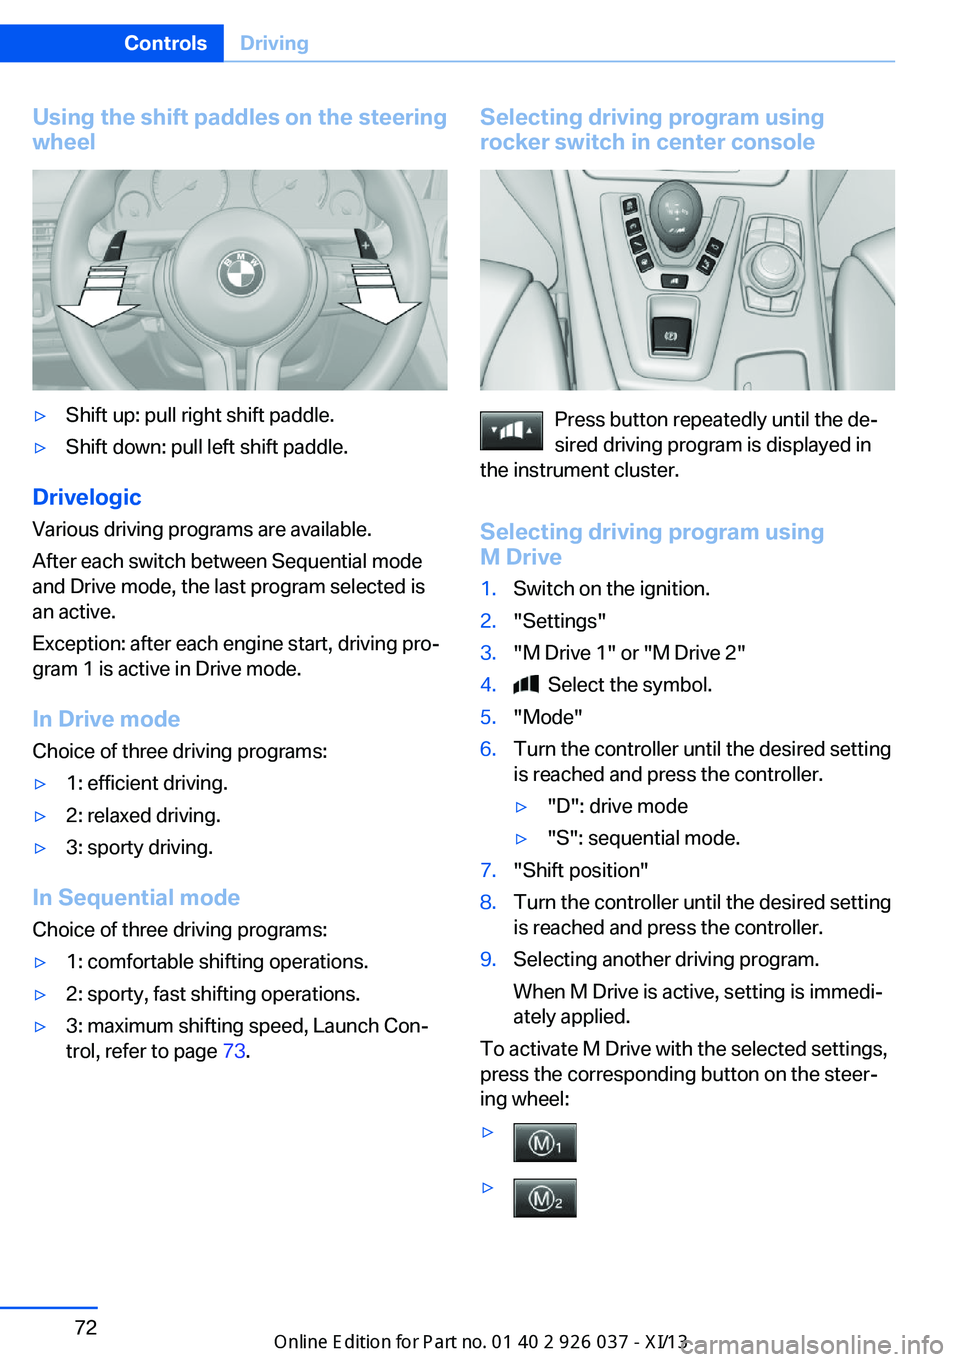
Using the shift paddles on the steeringwheel▷Shift up: pull right shift paddle.▷Shift down: pull left shift paddle.
Drivelogic
Various driving programs are available.
After each switch between Sequential mode
and Drive mode, the last program selected is
an active.
Exception: after each engine start, driving pro‐
gram 1 is active in Drive mode.
In Drive mode
Choice of three driving programs:
▷1: efficient driving.▷2: relaxed driving.▷3: sporty driving.
In Sequential mode Choice of three driving programs:
▷1: comfortable shifting operations.▷2: sporty, fast shifting operations.▷3: maximum shifting speed, Launch Con‐
trol, refer to page 73.Selecting driving program using
rocker switch in center console
Press button repeatedly until the de‐
sired driving program is displayed in
the instrument cluster.
Selecting driving program using
M Drive
1.Switch on the ignition.2."Settings"3."M Drive 1" or "M Drive 2"4. Select the symbol.5."Mode"6.Turn the controller until the desired setting
is reached and press the controller.▷"D": drive mode▷"S": sequential mode.7."Shift position"8.Turn the controller until the desired setting
is reached and press the controller.9.Selecting another driving program.
When M Drive is active, setting is immedi‐
ately applied.
To activate M Drive with the selected settings,
press the corresponding button on the steer‐
ing wheel:
▷▷Seite 72ControlsDriving72
Online Edition for Part no. 01 40 2 910 746 - VI/13
Page 85 of 222
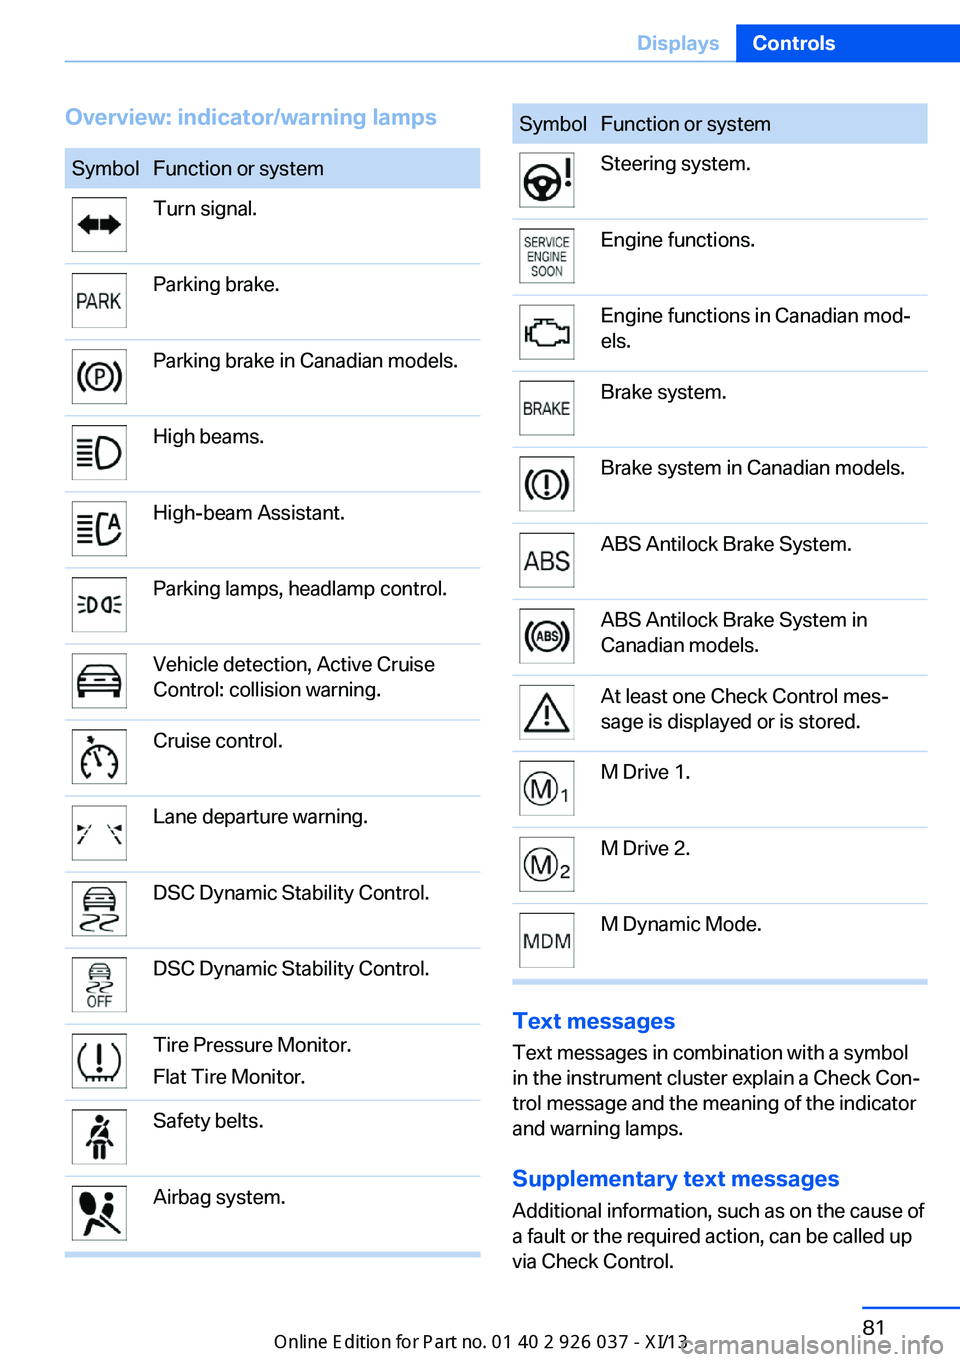
Overview: indicator/warning lampsSymbolFunction or systemTurn signal.Parking brake.Parking brake in Canadian models.High beams.High-beam Assistant.Parking lamps, headlamp control.Vehicle detection, Active Cruise
Control: collision warning.Cruise control.Lane departure warning.DSC Dynamic Stability Control.DSC Dynamic Stability Control.Tire Pressure Monitor.
Flat Tire Monitor.Safety belts.Airbag system.SymbolFunction or systemSteering system.Engine functions.Engine functions in Canadian mod‐
els.Brake system.Brake system in Canadian models.ABS Antilock Brake System.ABS Antilock Brake System in
Canadian models.At least one Check Control mes‐
sage is displayed or is stored.M Drive 1.M Drive 2.M Dynamic Mode.
Text messages
Text messages in combination with a symbol
in the instrument cluster explain a Check Con‐ trol message and the meaning of the indicator
and warning lamps.
Supplementary text messages
Additional information, such as on the cause of
a fault or the required action, can be called up
via Check Control.
Seite 81DisplaysControls81
Online Edition for Part no. 01 40 2 910 746 - VI/13
Page 92 of 222
Speed limit detection can also be displayed in
the Head-up Display.
No Passing Information▷Start of No Passing zone.▷End of No Passing zone.▷No Passing Information not
available.
No Passing Information can also be displayed
in the Head-up Display.
System limits
The system may not be fully functional and
may provide incorrect information in the fol‐ lowing situations:
▷In heavy fog, rain or snowfall.▷When signs are concealed by objects.▷When driving very close to the vehicle in
front of you.▷When driving toward bright lights.▷When the windshield behind the interior
rearview mirror is fogged over, dirty or cov‐
ered by a sticker, etc.▷In the event of incorrect detection by the
camera.▷If the speed limits stored in the navigation
system are incorrect.▷In areas not covered by the navigation sys‐
tem.▷When roads differ from the navigation,
such as due to changes in the road net‐
work.▷When passing buses or trucks with a
speed sticker.▷If the traffic signs are non-conforming.▷During calibration of the camera immedi‐
ately after vehicle shipment.Selection lists in the
instrument cluster
The concept
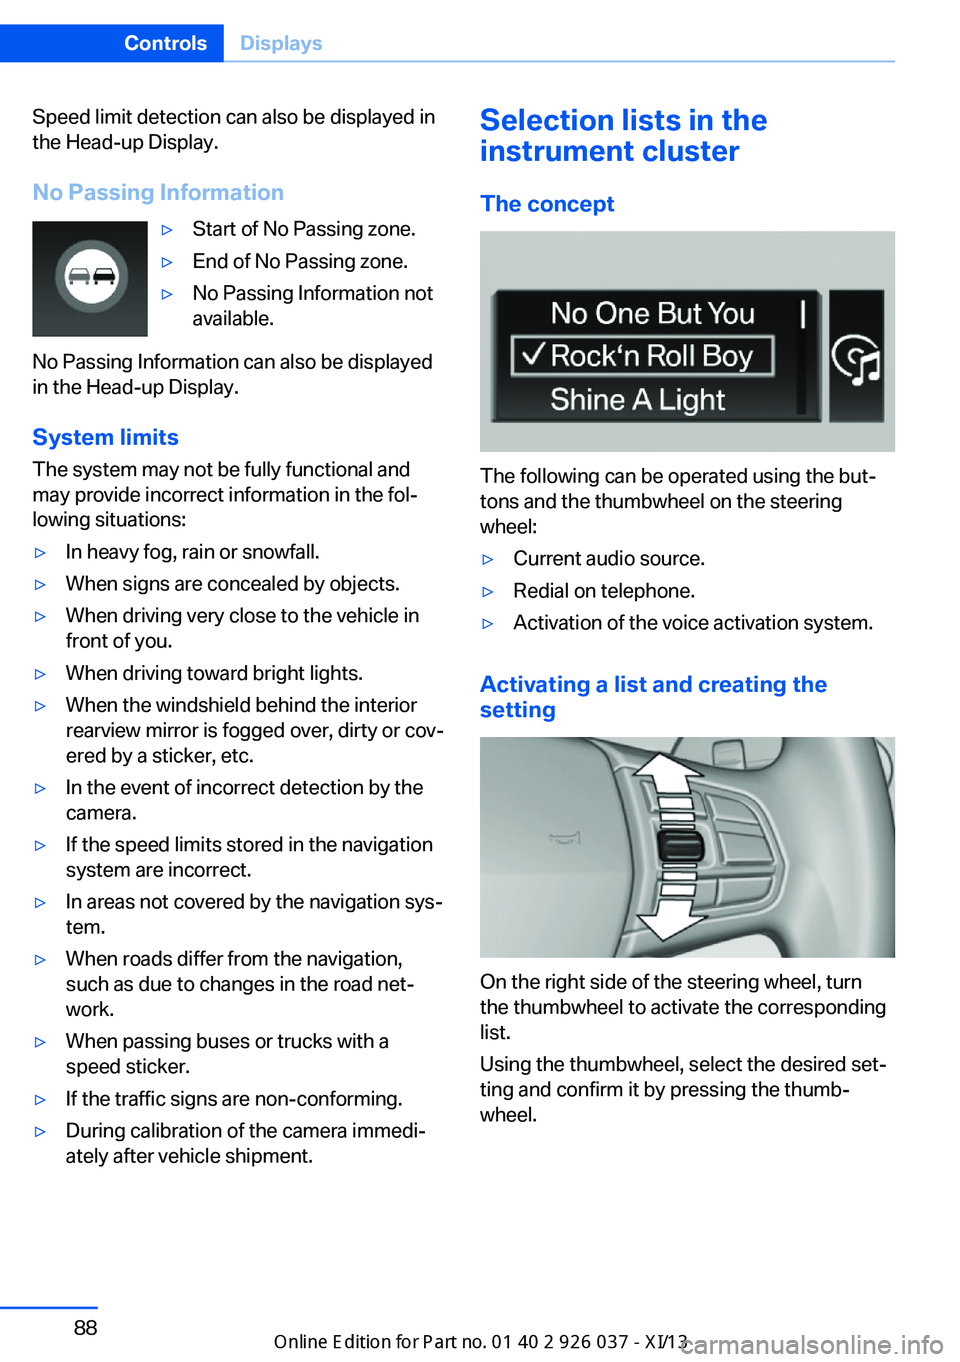
The following can be operated using the but‐
tons and the thumbwheel on the steering
wheel:
▷Current audio source.▷Redial on telephone.▷Activation of the voice activation system.
Activating a list and creating the
setting
On the right side of the steering wheel, turn
the thumbwheel to activate the corresponding
list.
Using the thumbwheel, select the desired set‐
ting and confirm it by pressing the thumb‐
wheel.
Seite 88ControlsDisplays88
Online Edition for Part no. 01 40 2 910 746 - VI/13
Page 98 of 222
The setting is stored for the remote control
currently in use.
Automatic headlamp control
Switch position
: the low beams are
switched on and off automatically, e.g., in tun‐
nels, in twilight or if there is precipitation. The
indicator lamp in the instrument cluster lights
up.
A blue sky with the sun low on the horizon can
cause the lights to be switched on.
The low beams always stay on when the fog
lamps are switched on.
Personal responsibility
The automatic headlamp control cannot
serve as a substitute for your personal judg‐
ment in determining when the lamps should be
switched on in response to ambient lighting
conditions.
For example, the sensors are unable to detect
fog or hazy weather. To avoid safety risks, you
should always switch on the lamps manually
under these conditions.◀
Daytime running lights With the ignition switched on, the daytime run‐
ning lights light up in position 0,
or .
After the ignition is switched off, the parking
lamps light up in position
.
Activating/deactivating
In some countries, daytime running lights are
compulsory, so it may not be possible to deac‐
tivate the daytime running lights.
1."Settings"2."Lighting"3."Daytime running lamps"
The setting is stored for the remote control
currently in use.
Roadside parking lamps
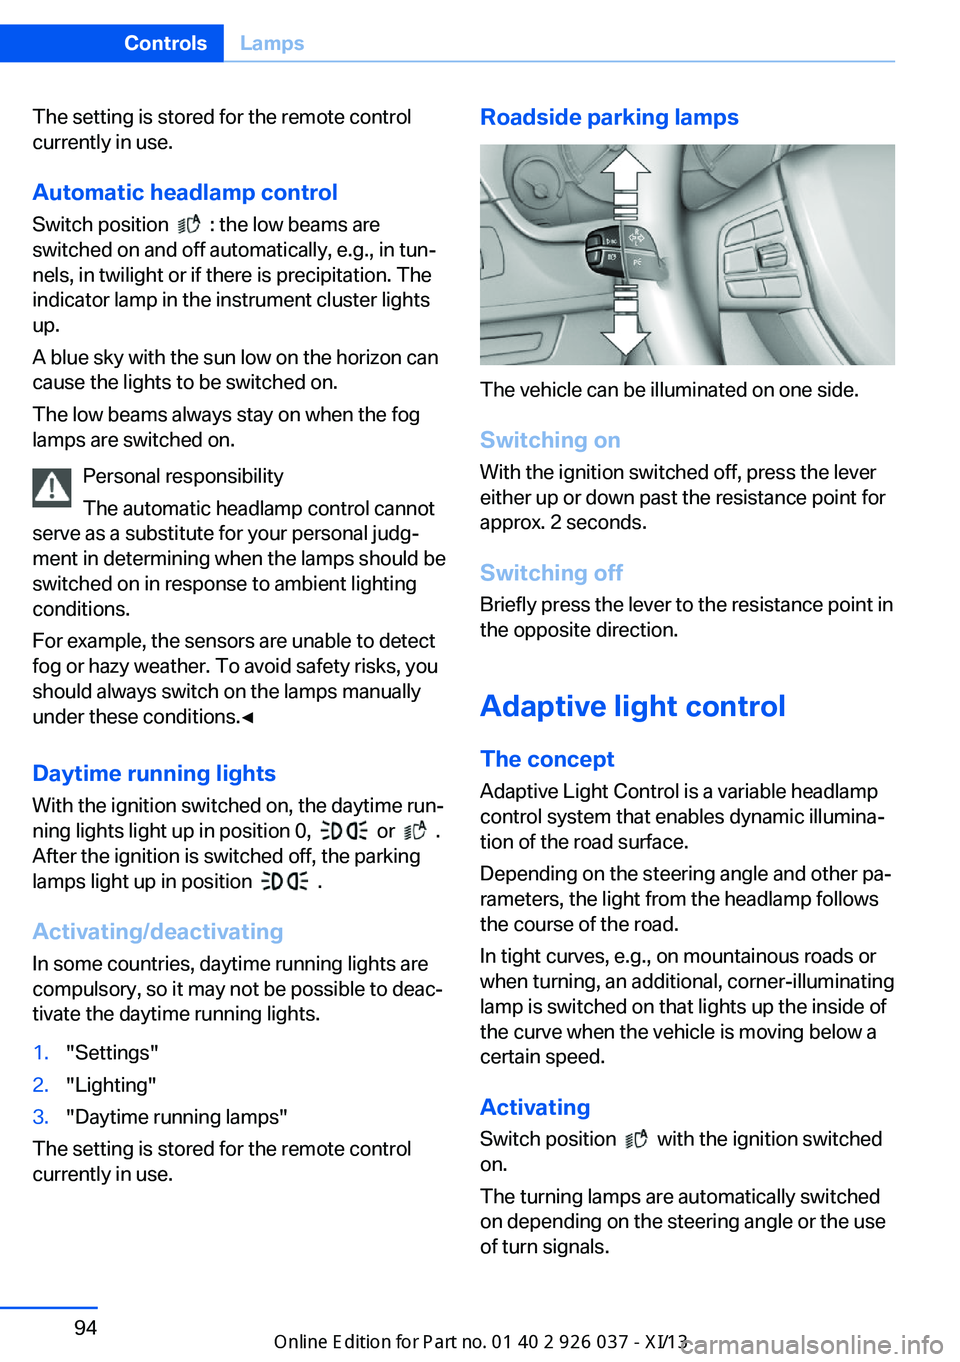
The vehicle can be illuminated on one side.
Switching on With the ignition switched off, press the lever
either up or down past the resistance point for
approx. 2 seconds.
Switching off Briefly press the lever to the resistance point in
the opposite direction.
Adaptive light control The concept Adaptive Light Control is a variable headlamp
control system that enables dynamic illumina‐
tion of the road surface.
Depending on the steering angle and other pa‐ rameters, the light from the headlamp follows
the course of the road.
In tight curves, e.g., on mountainous roads or
when turning, an additional, corner-illuminating
lamp is switched on that lights up the inside of
the curve when the vehicle is moving below a certain speed.
Activating Switch position
with the ignition switched
on.
The turning lamps are automatically switched
on depending on the steering angle or the use
of turn signals.
Seite 94ControlsLamps94
Online Edition for Part no. 01 40 2 910 746 - VI/13